

My P180 isn't designed for watercooling and to be honest any water cooling in it is a mess.
So i've decided to take one Lian Li PC-A70B and 2 PA120.2 Rads. Put 2 seperate Loops in side it, no cooling on the out side. I will be starting off with a single loop then adding a secound in the next month - with also modding the side panel to take a window.
PC Spec:
Asus P5K-Delux Wi-Fi
Q6600 GO
2gb of OCz 6400 ( poss change to 2gb of WC'd flex money dependant)
8800GT
XFI Fatality
2x320GB Wester Digital RE Drives
CPU Water loop spec
EK Supreme
Liang 18W Pro with Top
EK 100mm Multires
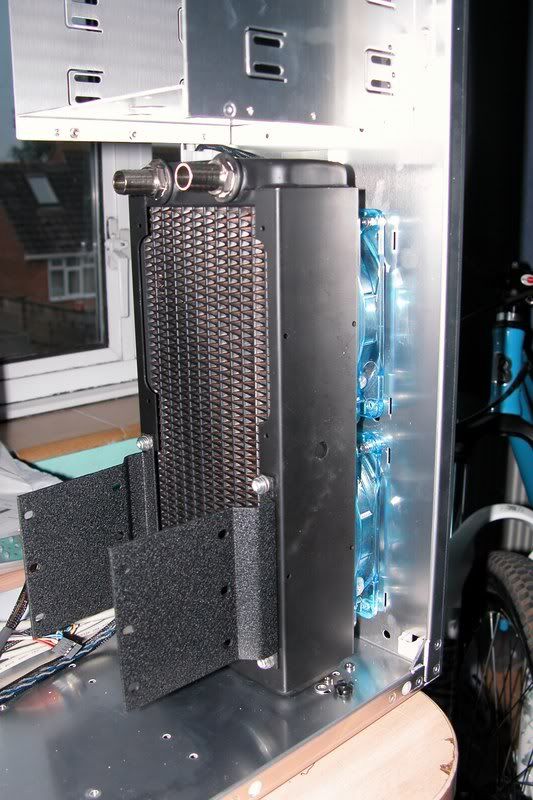
PA120.2 Rad - mounted in the front
2x Yate Loons Resistor modded to 7v and joined together
1/2 tubing
Feser 1 Pink liquid
Black Fillport
GPU/Memory Loop
Maze Block (poss change to a 88GT G92 EK Block)
Liang 18W Pro with Top
EK 100mm Multires
PA120.2 Rad - roof mounted
Feser 1 Black
Black Fillport
I will try to update this as much as possible.
Cheers
Warren
Update One
I can't get over the size of the Box the case came in its massive!!!
Box Pic:

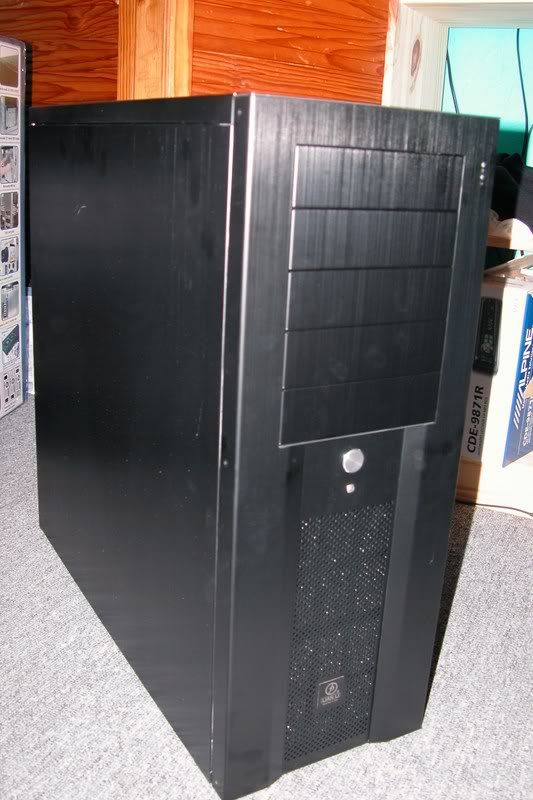
Got the case out and the box wasn't just full of padding this case is massive too! Doubt i'm gunna struggle to get 2loops in here.
Case pic:
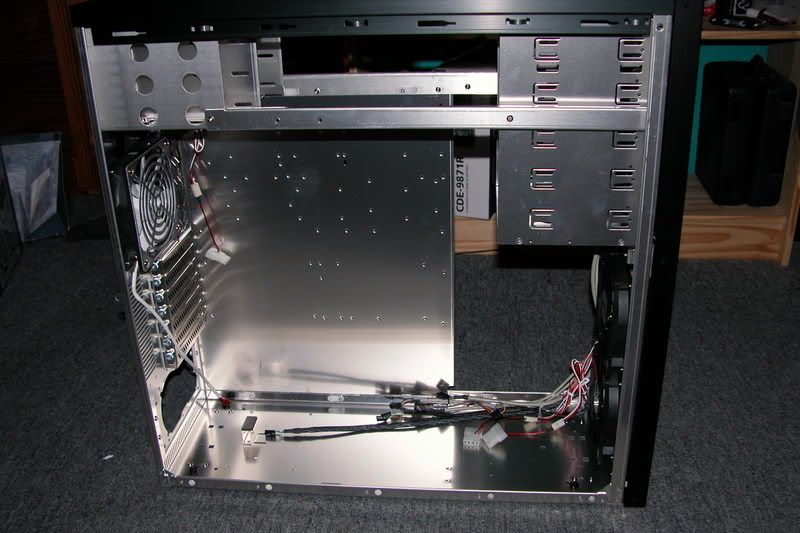
Now them time to get removing the insides and brade the LED and Power Switches.
All done looks good:
Update Two
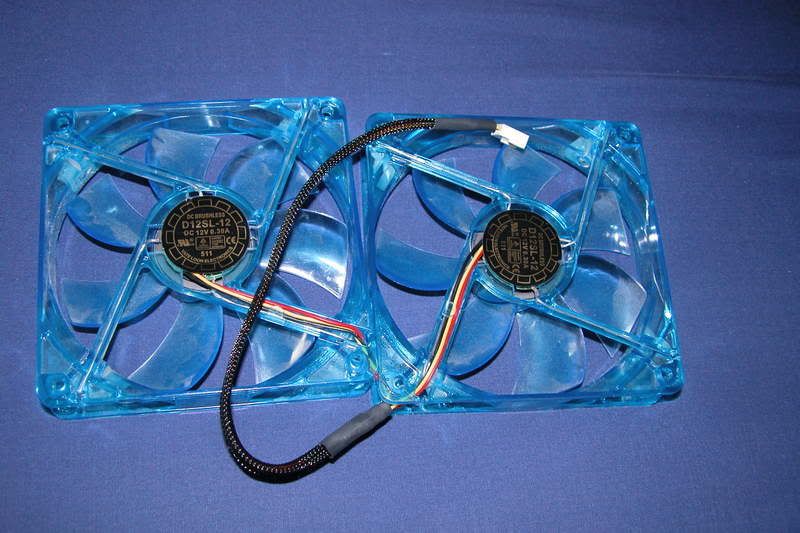
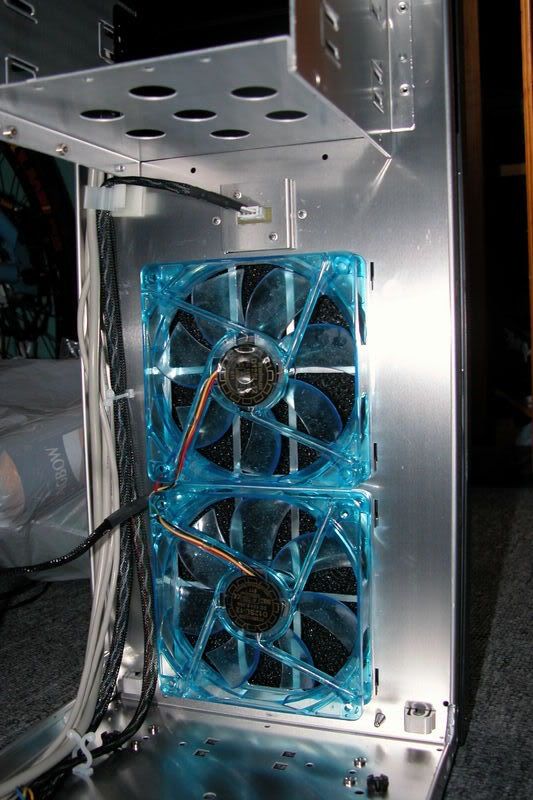
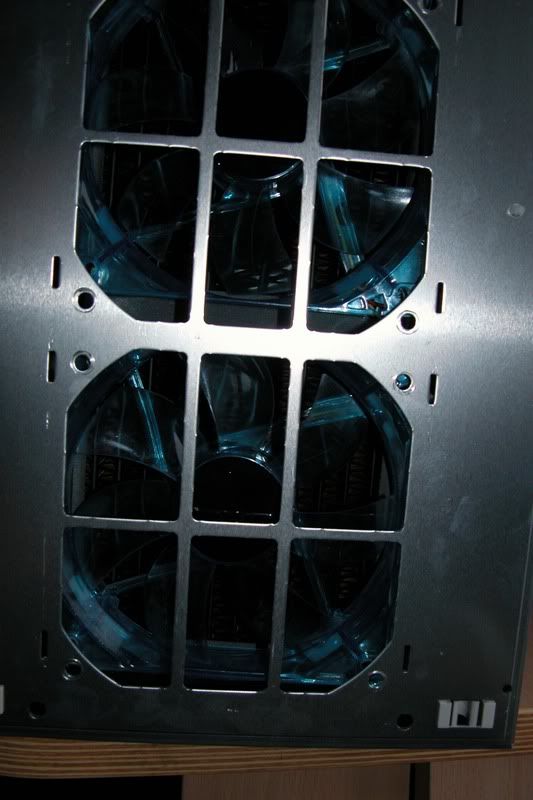
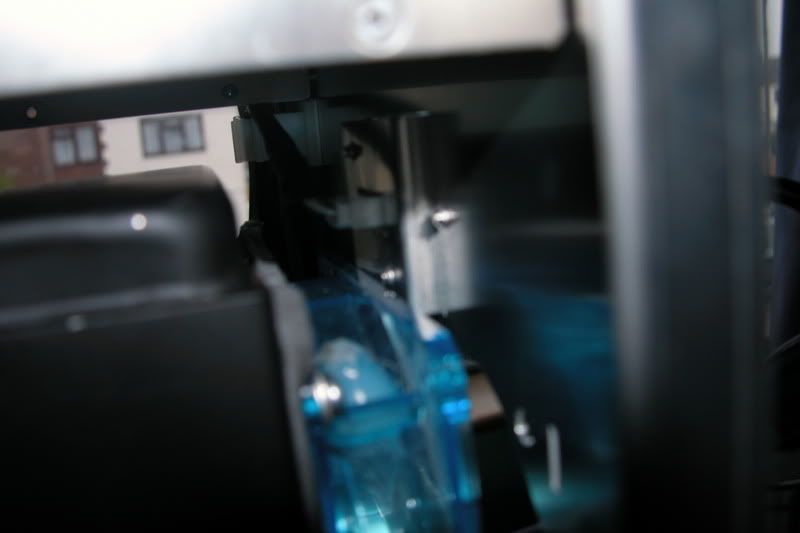
Got a hour or so to do some today, digged out the old soldering iron and linked the 2 front fans together and braided them. I also unlinked the LEDs to remove that chavness from the case")
Out the case:
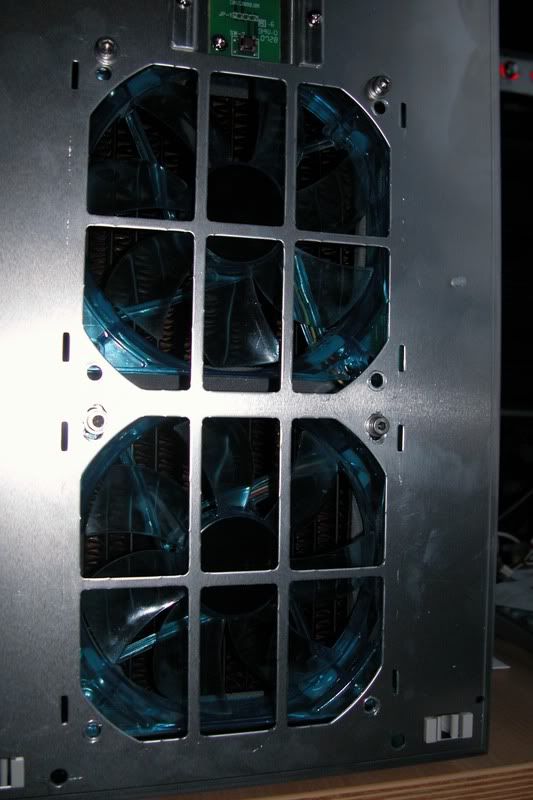
In the case:
Just need to get paid to get the rad ect now
So i've decided to take one Lian Li PC-A70B and 2 PA120.2 Rads. Put 2 seperate Loops in side it, no cooling on the out side. I will be starting off with a single loop then adding a secound in the next month - with also modding the side panel to take a window.
PC Spec:
Asus P5K-Delux Wi-Fi
Q6600 GO
2gb of OCz 6400 ( poss change to 2gb of WC'd flex money dependant)
8800GT
XFI Fatality
2x320GB Wester Digital RE Drives
CPU Water loop spec
EK Supreme
Liang 18W Pro with Top
EK 100mm Multires
PA120.2 Rad - mounted in the front
2x Yate Loons Resistor modded to 7v and joined together
1/2 tubing
Feser 1 Pink liquid
Black Fillport
GPU/Memory Loop
Maze Block (poss change to a 88GT G92 EK Block)
Liang 18W Pro with Top
EK 100mm Multires
PA120.2 Rad - roof mounted
Feser 1 Black
Black Fillport
I will try to update this as much as possible.
Cheers
Warren
Update One
I can't get over the size of the Box the case came in its massive!!!
Box Pic:
Got the case out and the box wasn't just full of padding this case is massive too! Doubt i'm gunna struggle to get 2loops in here.
Case pic:
Now them time to get removing the insides and brade the LED and Power Switches.
All done looks good:
Update Two
Got a hour or so to do some today, digged out the old soldering iron and linked the 2 front fans together and braided them. I also unlinked the LEDs to remove that chavness from the case
Out the case:
In the case:
Just need to get paid to get the rad ect now
Last edited:

 hopefully replacement will arrive tomorrow.
")
 well worth the wait for that