Don
Hi guys,
I thought I would make a basic log of my new setup. I haven't had time to do any Overclocking on it yet nor any benchmarks but hopely this will be of an interest to any budding 540 potential owners.
The rig consists of:
First impressions of the case is that it's very wide! I know you can see that from the pictures but I don't think they do it much justice, it's also extremely heavy when kitted out. I may have to reconsider putting it on my desk which is a shame as I do think with the side window it's very aesthetically pleasing.
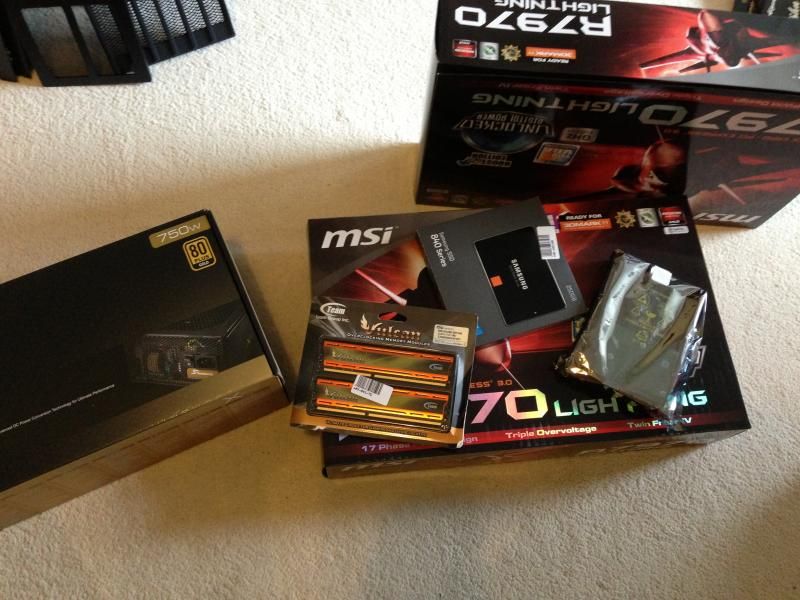
Here is a pic of said kit:
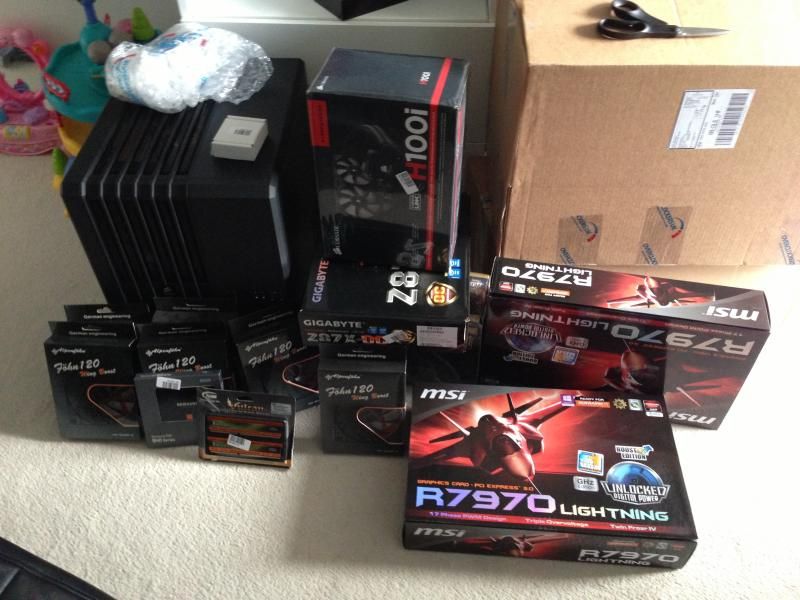
I apologise for the quality of the pictures, they're all just phone jobbies.
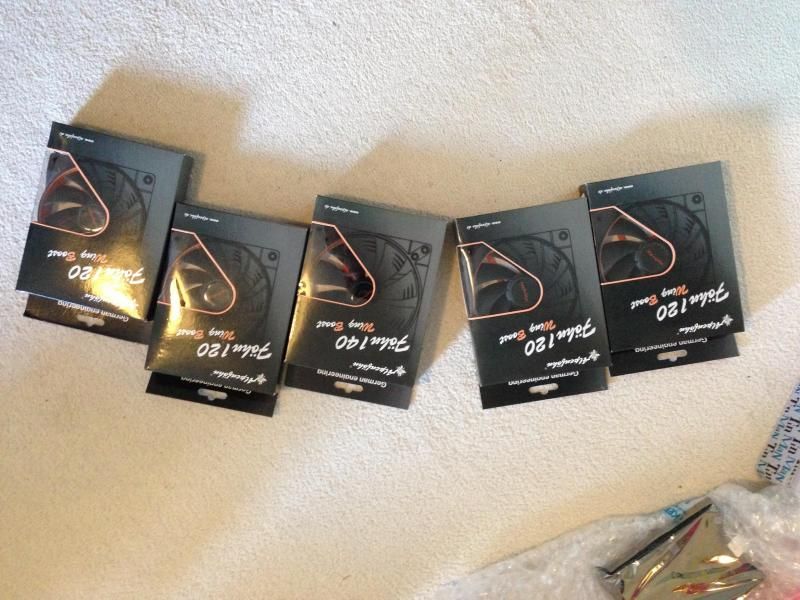
I'm not sure what order people build their rigs nowadays and to be honest I'd been out of the game for a few years (since the Xbox 360 was released) so I kind of started where I left off many moons ago. I tend to work on the outside in so I started with the fans, 5 Alpenfohn 120mm and 1 140mm. The case did come with Corsair ones but as my components tended to be Orange I wanted to carry on that theme.
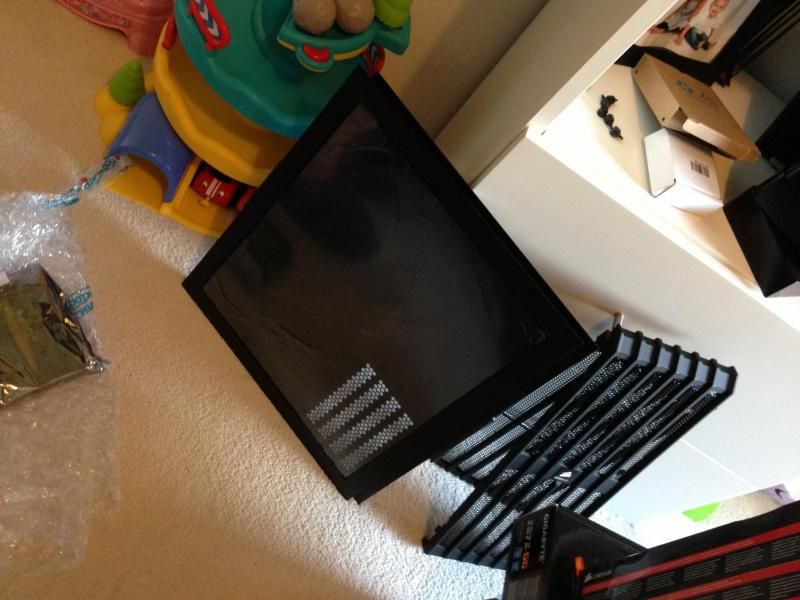
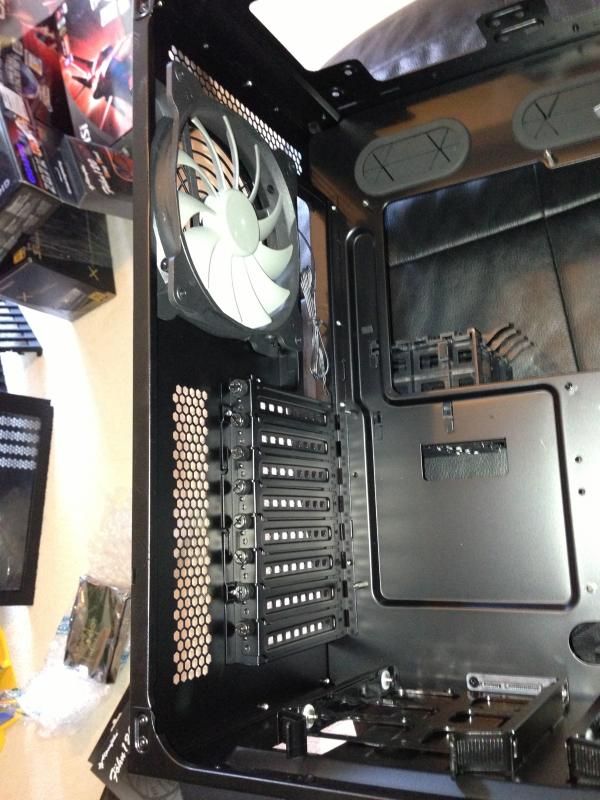
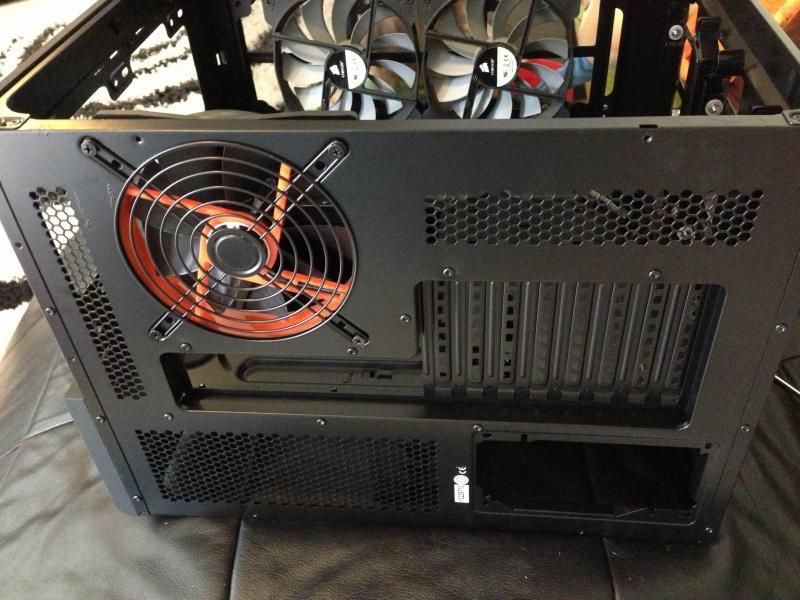
Side panels, top and front cover removed.
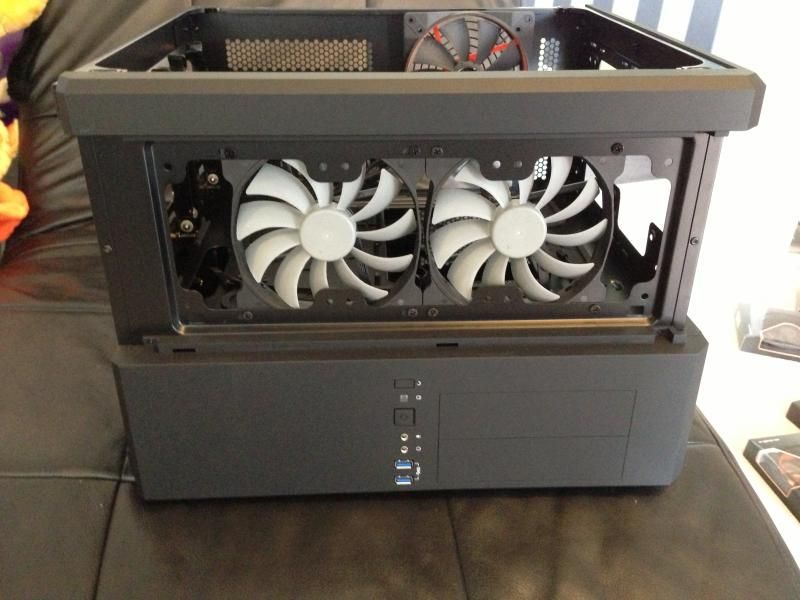
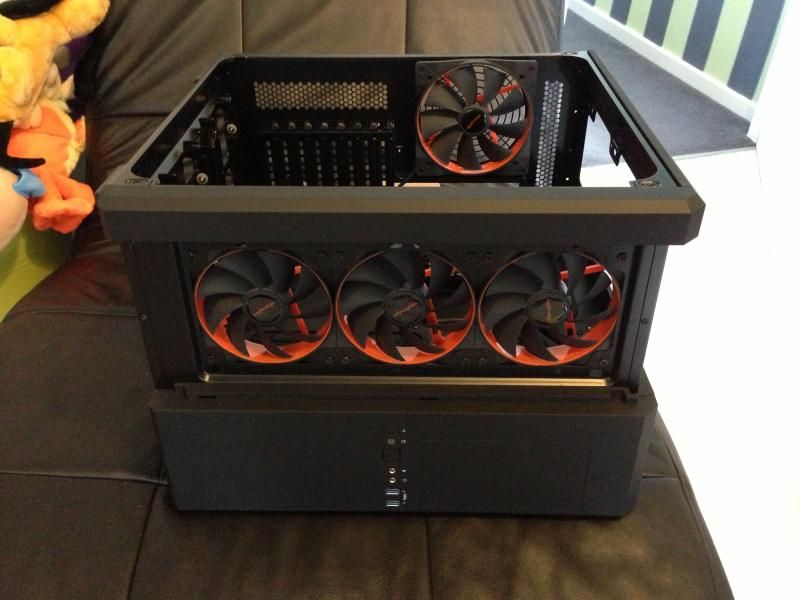
I replaced the 2 front stock 140mm fans with 3 120mm's. The case is so big it's easy to work around. I do love Corsair cases, I think they're very easy to build with.
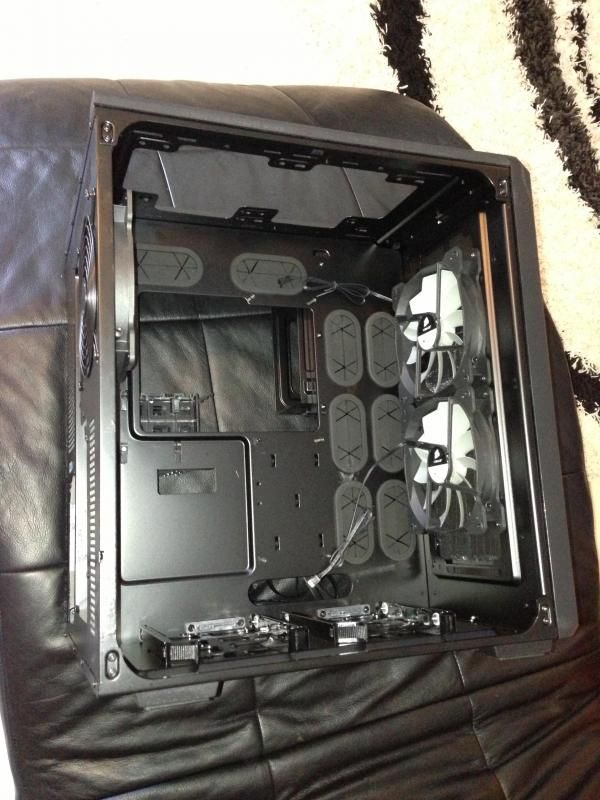
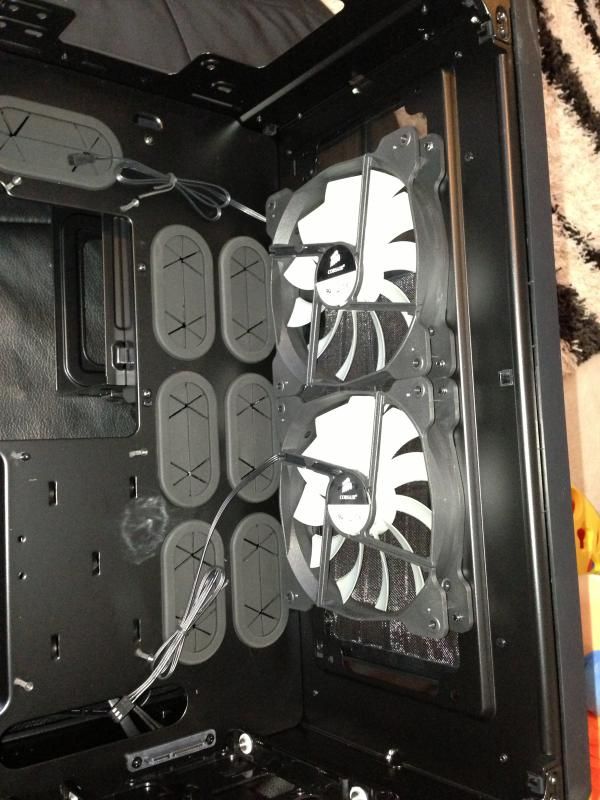
Next I installed the radiator of the H100i. Again, very simple, loads of room to manoeuvre it in. I did make a mistake with this as the picture isn't what it stands at the end of the build, the tubes in on the left fell awkwardly over the cooler so I ended up unscrewing it and turning around so the tubes came from the right.
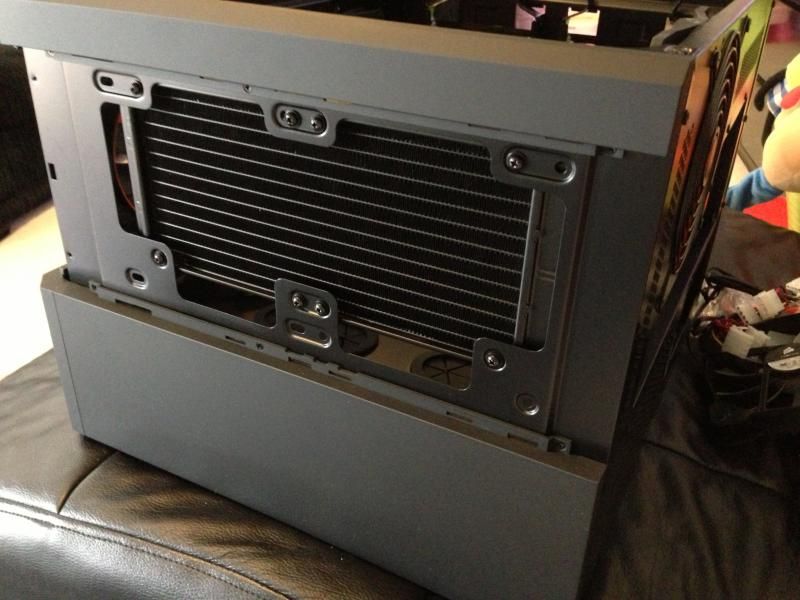
120mm fans installed on rad.
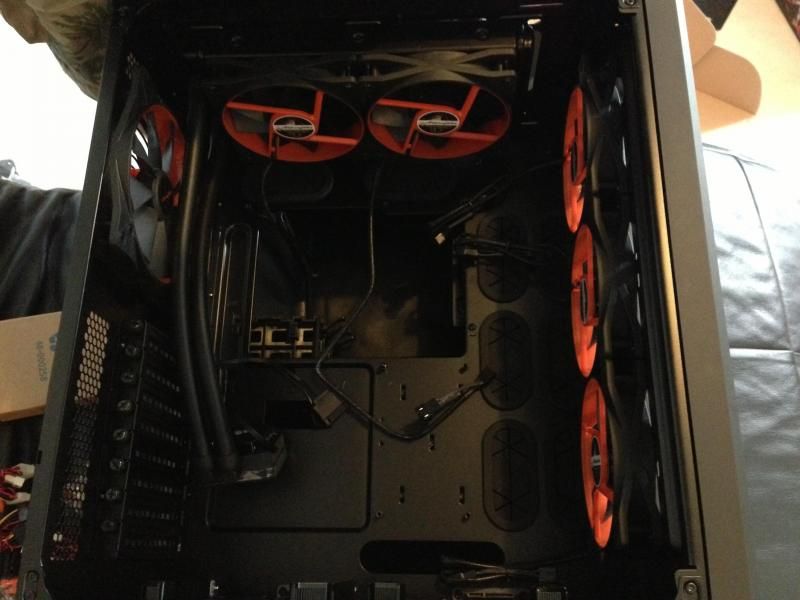
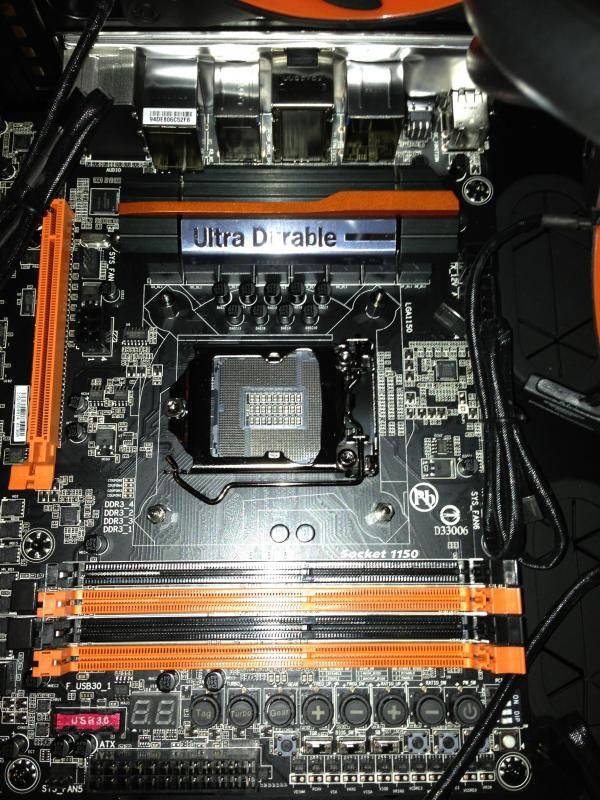
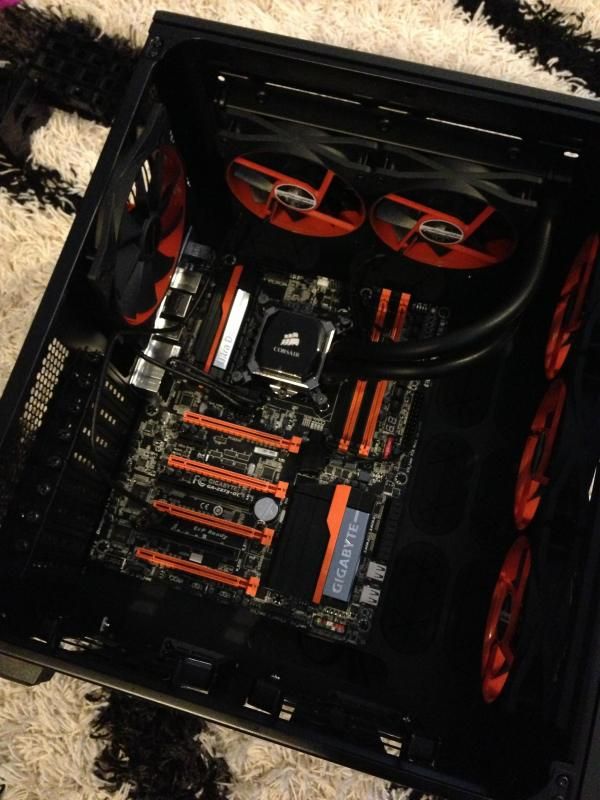
Next, the motherboard, took 2 mins to get it in place and hey presto...orrrange!
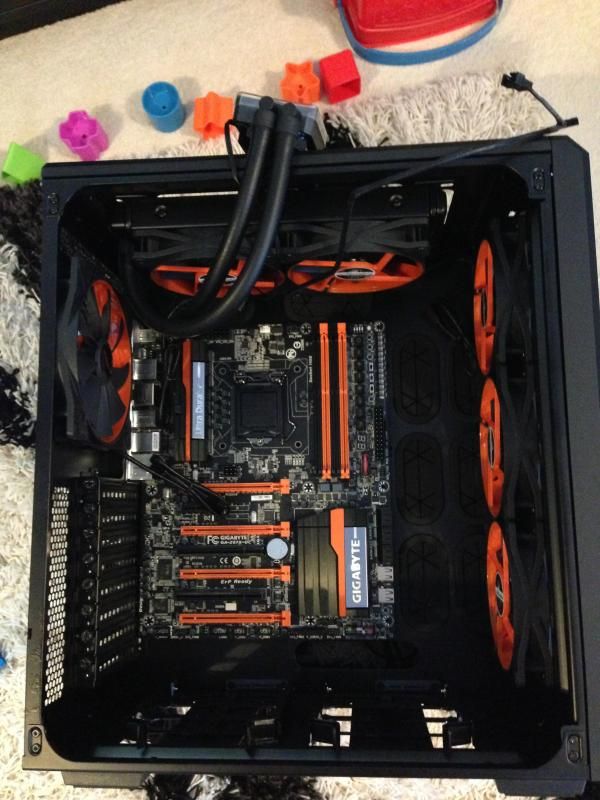
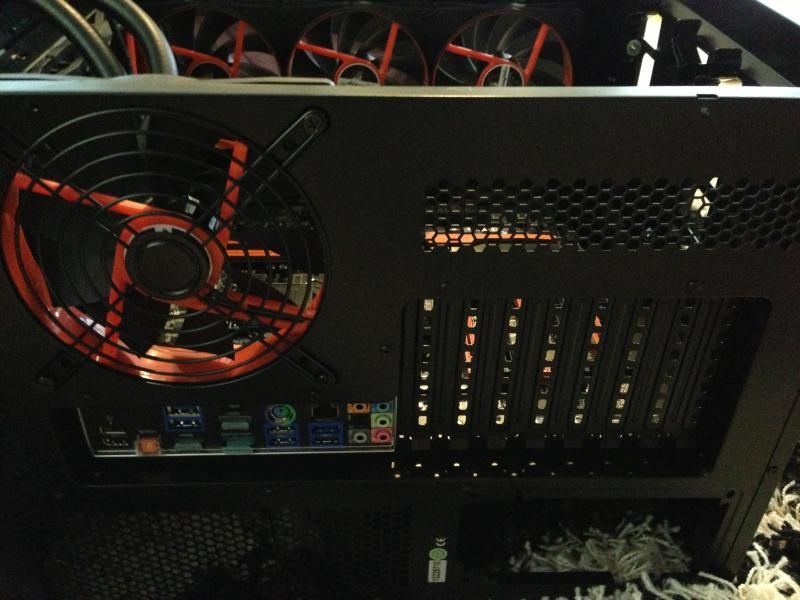
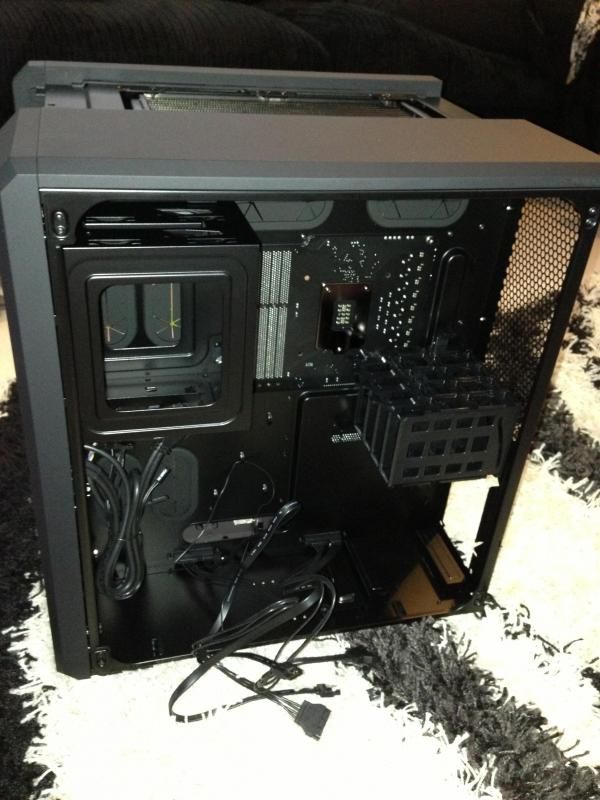
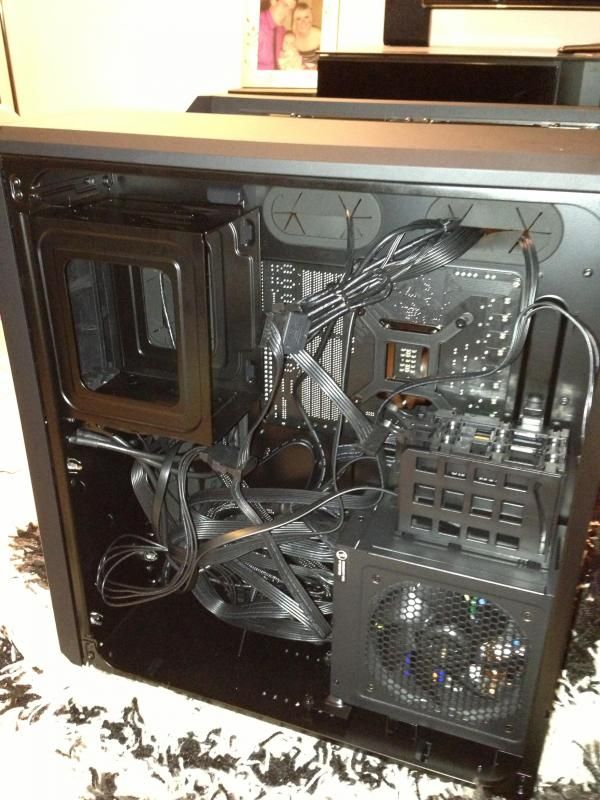
The back looks pretty empty at the mo, I must admit I did get lazy with the cable management just because there is so much room back there and no one can see any of it! Just stuff the wires in. Yes I'm naughty.
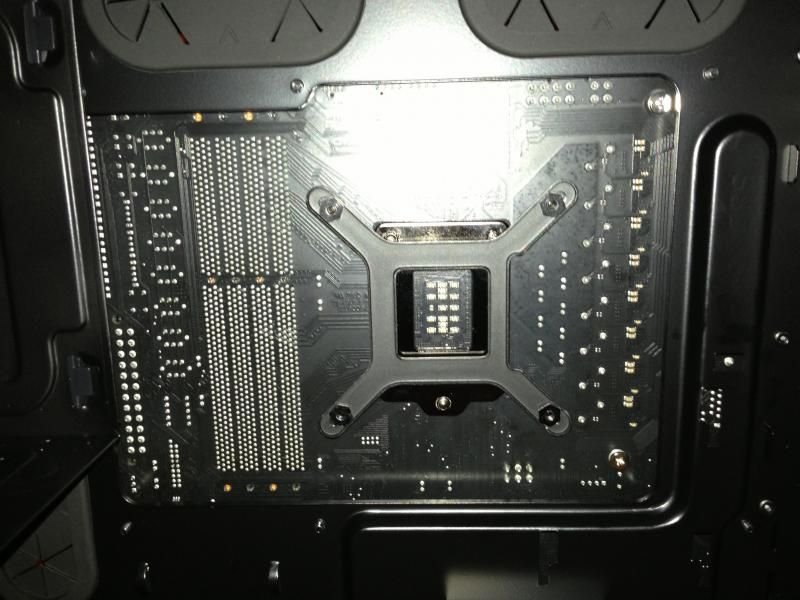
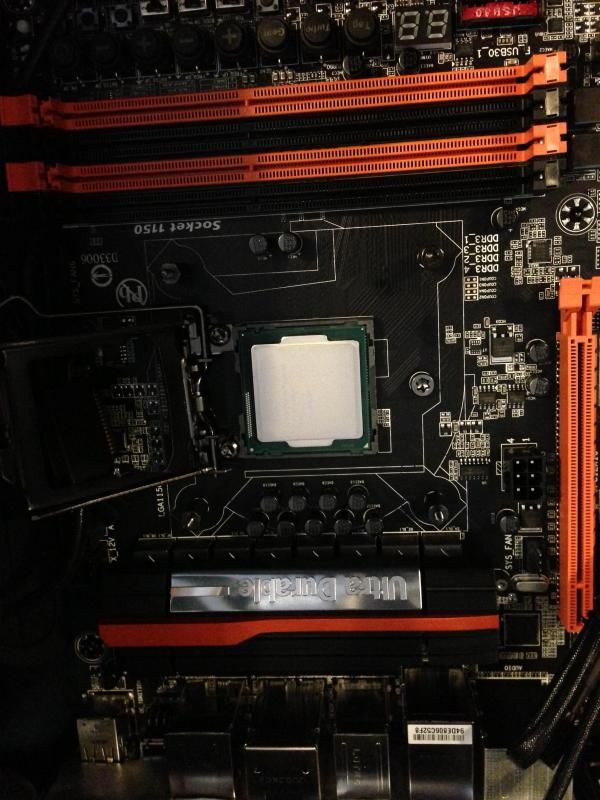
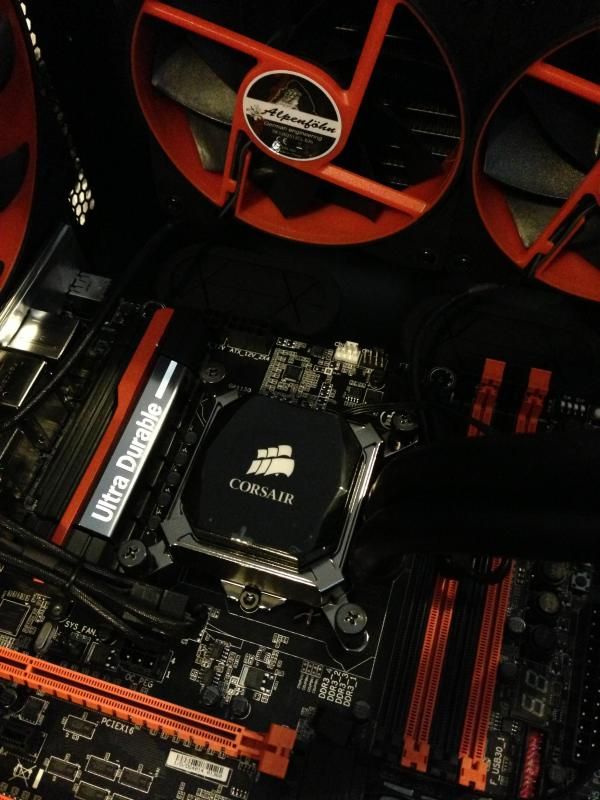
Next to install is the CPU. I installed the rear bracket for the cooler, there is a big space for cooler changes (Lian Li take note). Cooler attached.
Left to install...
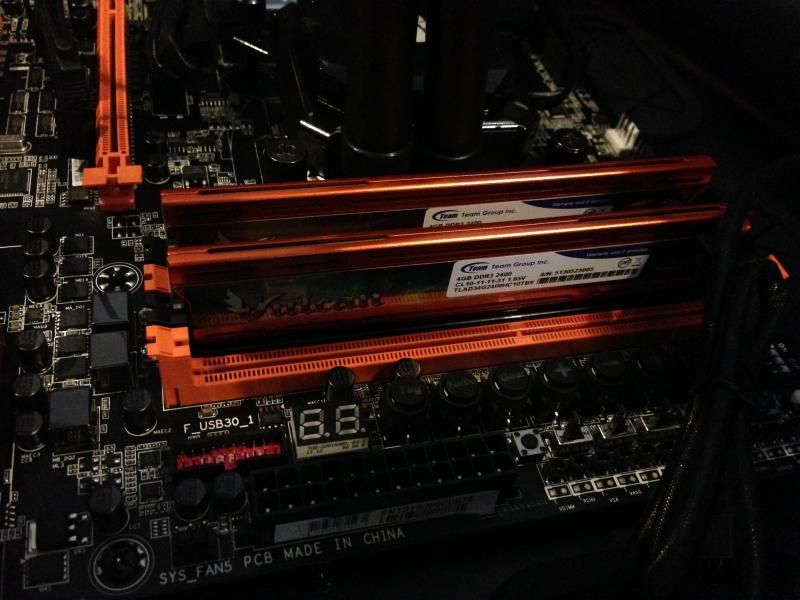
RAM installed! They were in the correct DIMS, this was for the picture, effort eh?
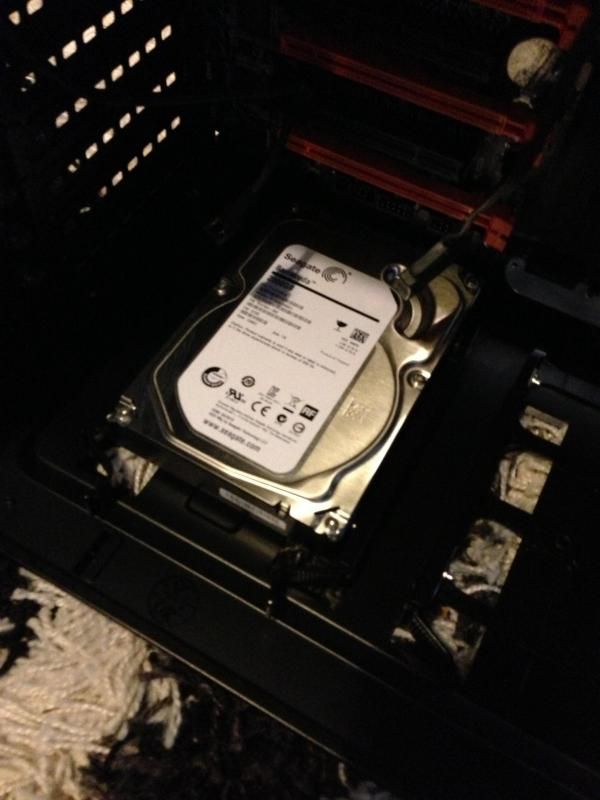
Next the storage 2TB drive, I think this is the only thing Corsair could have improved, why have the SSD storage at the rear but not damn ugly 3'5 drives? Anyway, it was extremely easy to push in and a nice click to confirm the drive is seated nice and securely.
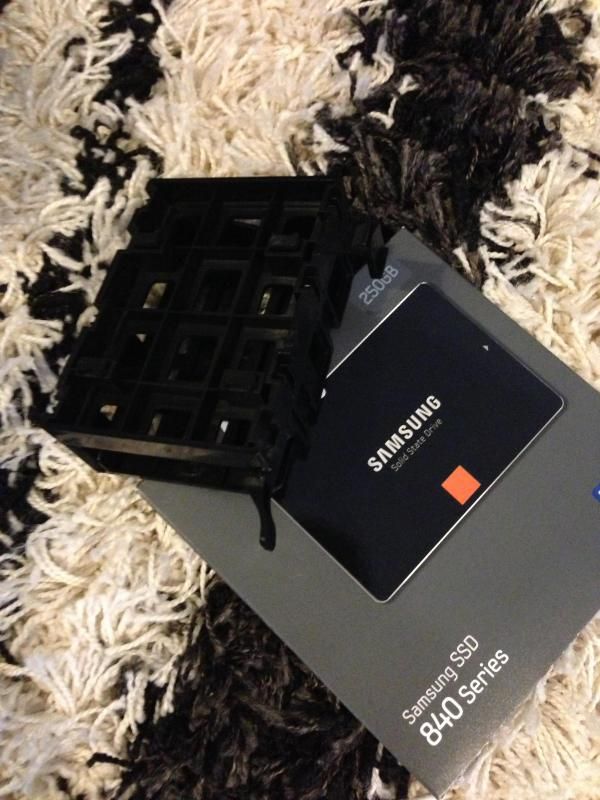
SSD to go in, like I said these get installed at the rear of the case and there is a plastic cage that can hold around 4/5 drives. You can make this cage smaller if you wish, I was installing two SSD's so I made the bracket that big.
This again was easy but the SSD wasn't as snug as the 3'5, there was movement which was a tad annoying, may need to make an adjustment to that.
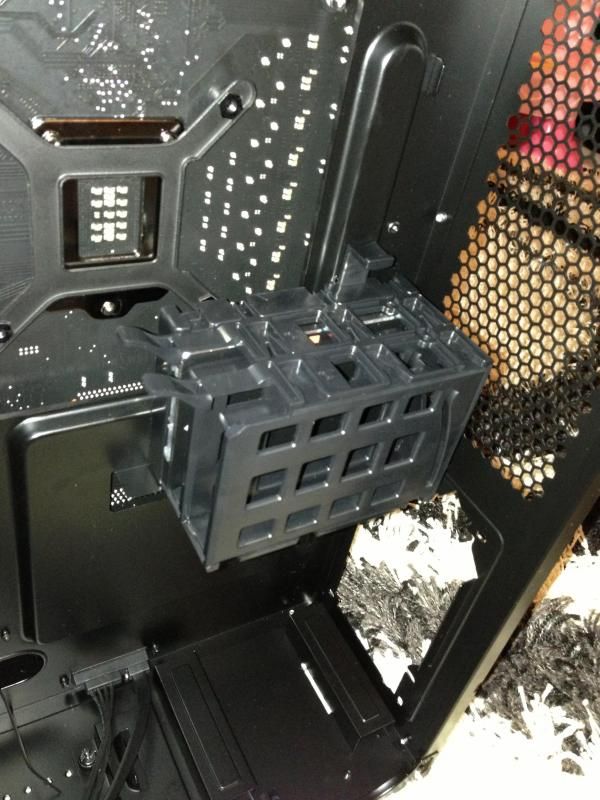
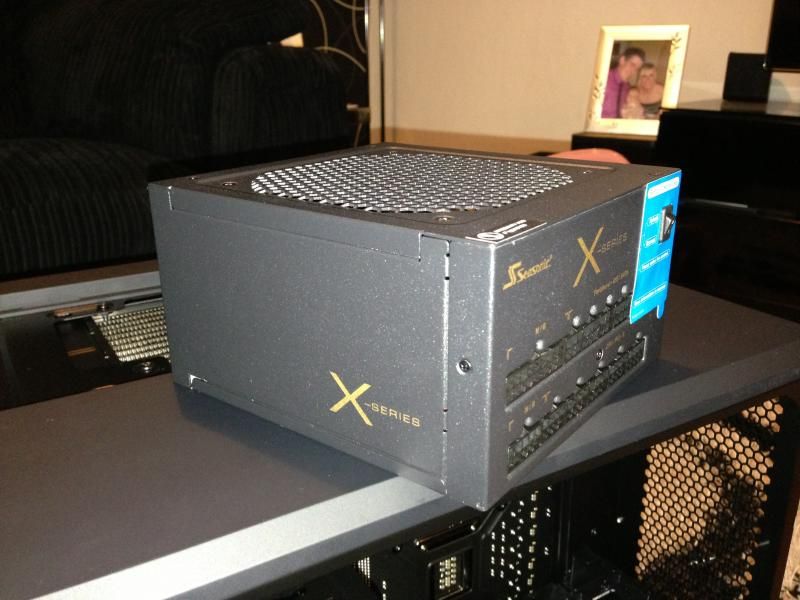
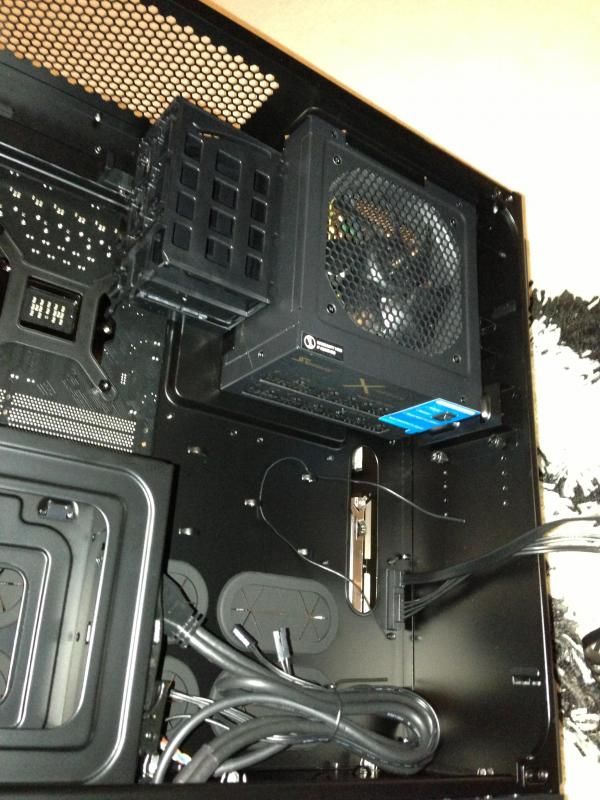
Time to bring power to the table, the PSU sites just under the SSD cage, no problems here. Cables easily assessable and again out of the eye being in the rear.
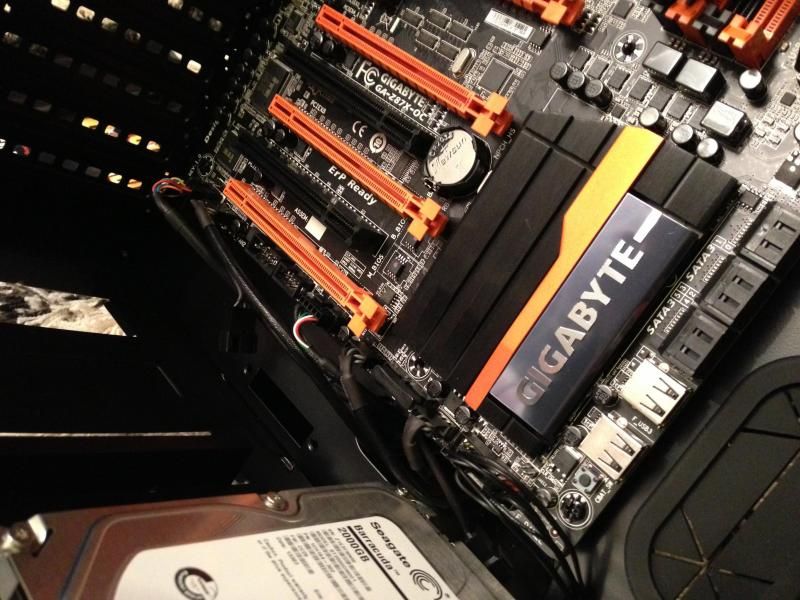
Progress shot of more things being plugged into the mobo!..
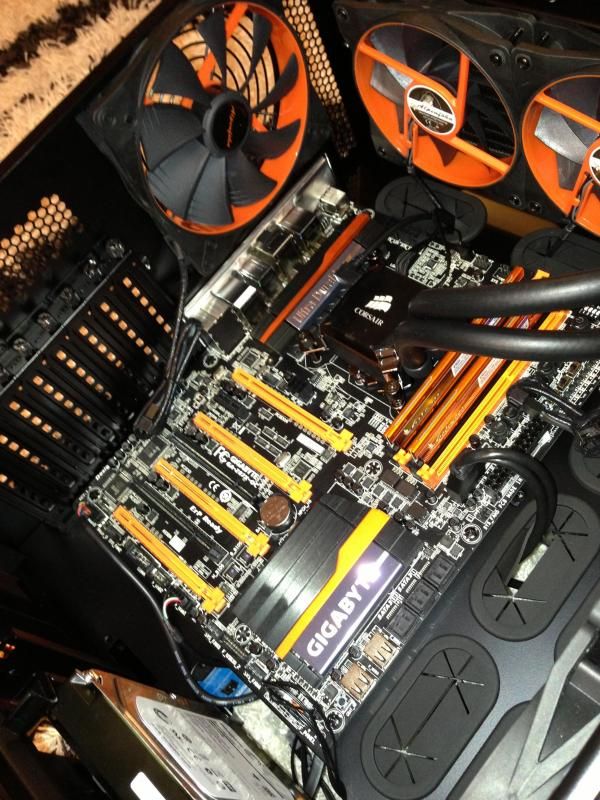
Plenty of holes for tidy cabling.
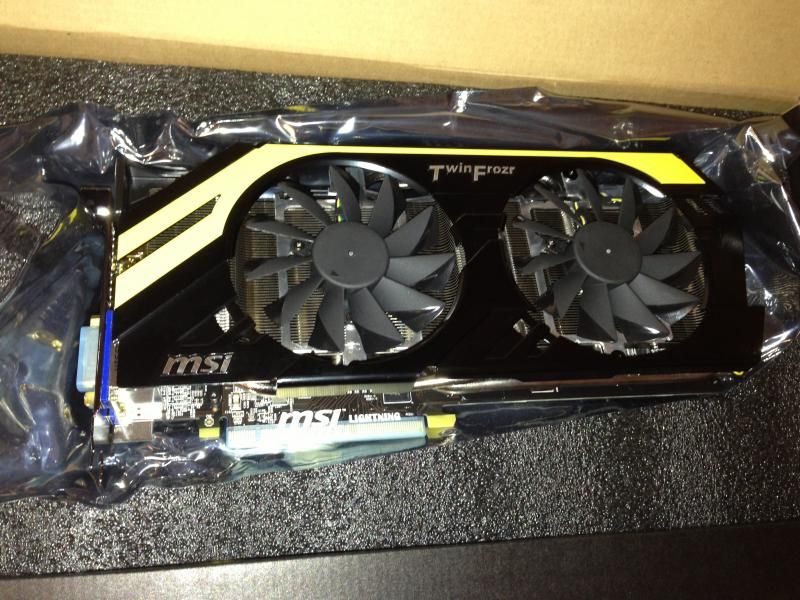
Next up, the bad boys! I had an 7870 last but this eclipses it in terms of size...the wife just couldn't understand why I needed two. They'll never understand.
Boom! Bridge setup!

Rear of the cage, not exactly pretty on the eye but like I said, I'm lazy
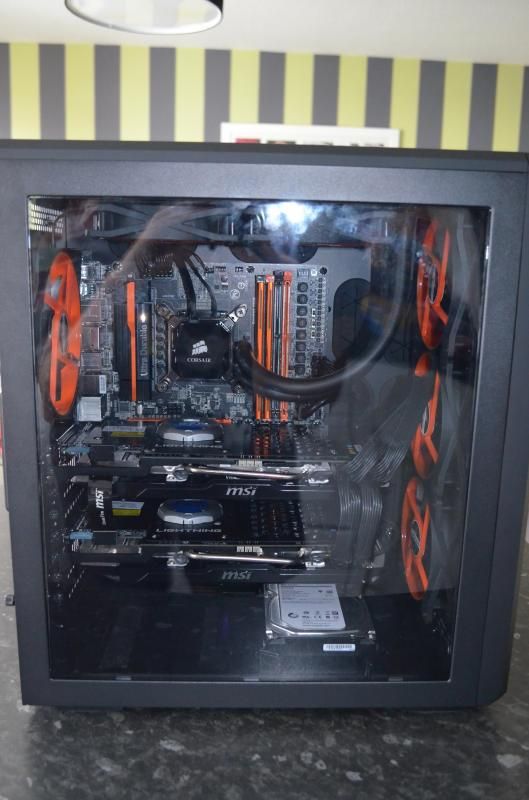
Finished shot
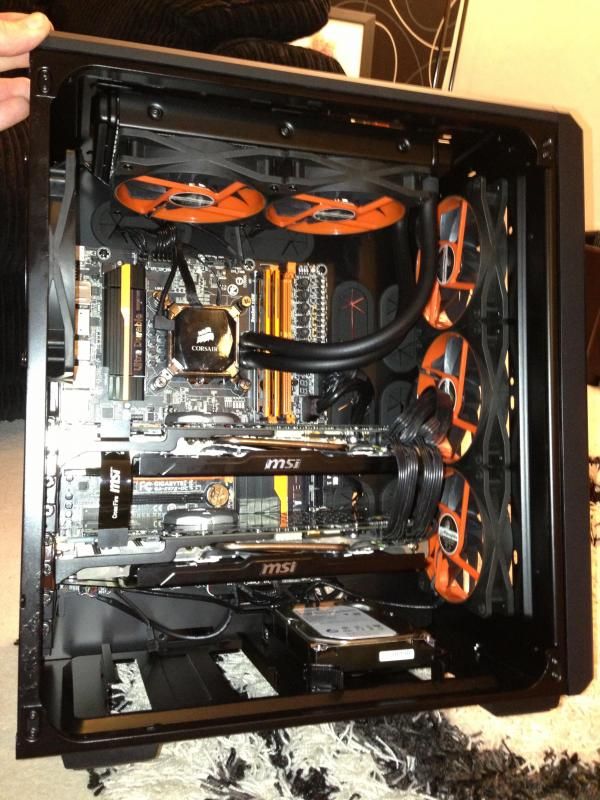
The critical moment I await something not working...
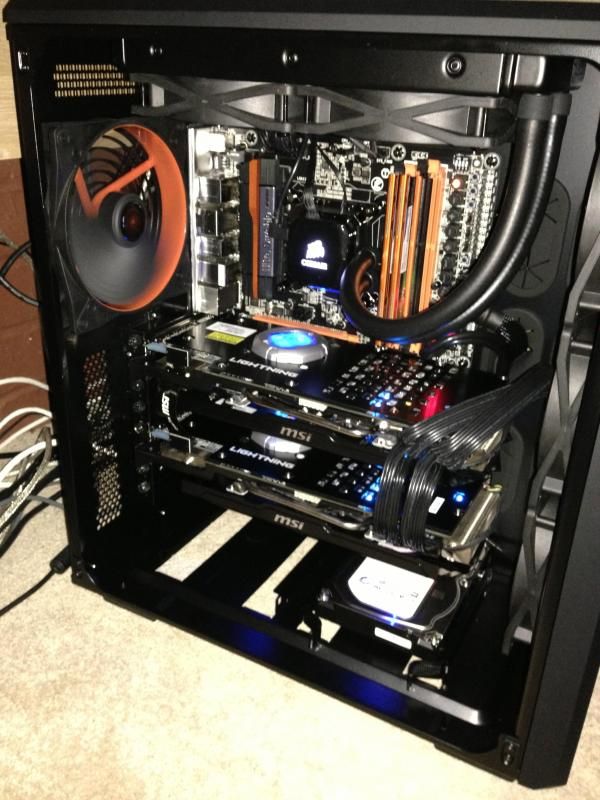
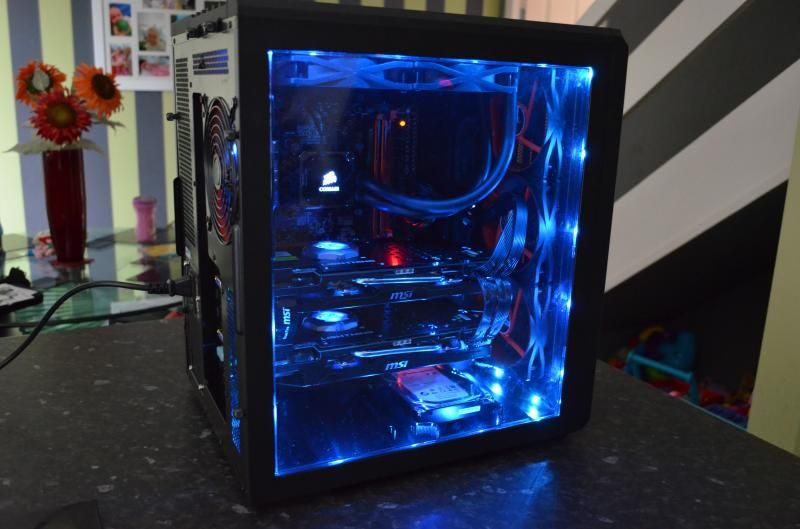
All good! Night shot, rubbish picture.
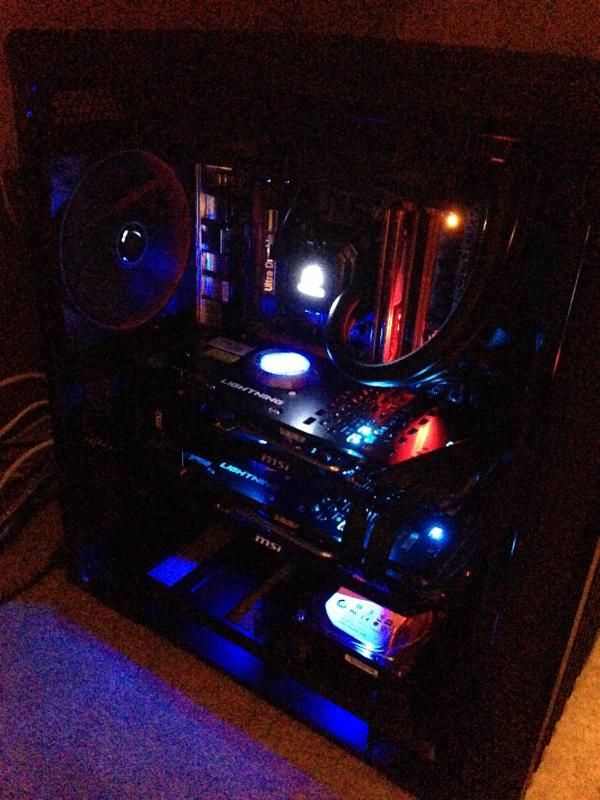
End shots.
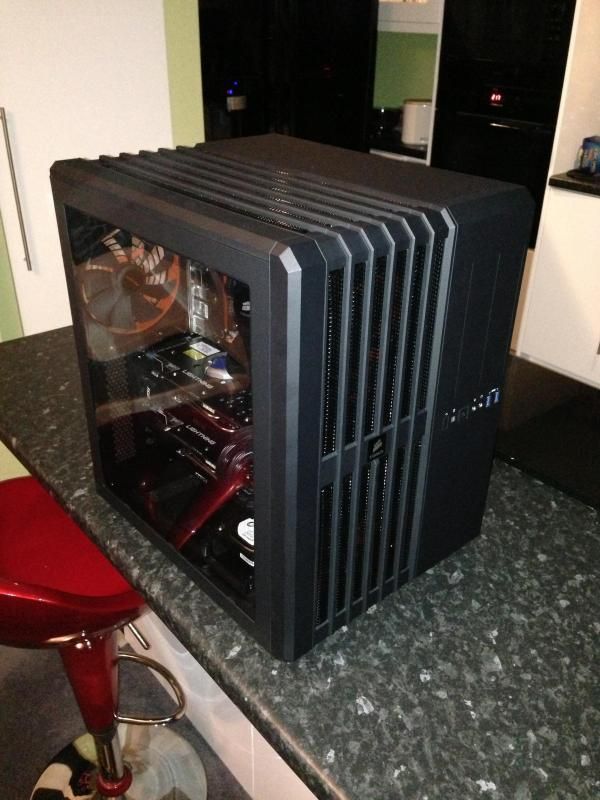
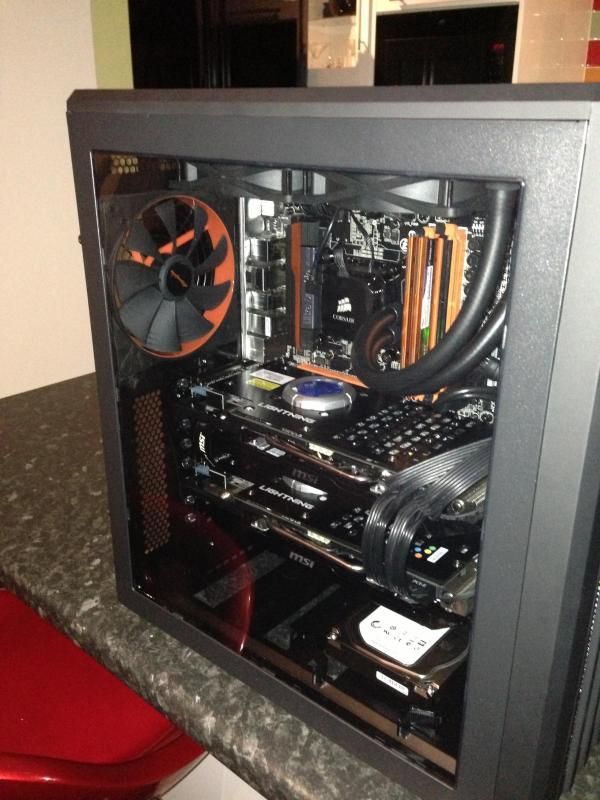
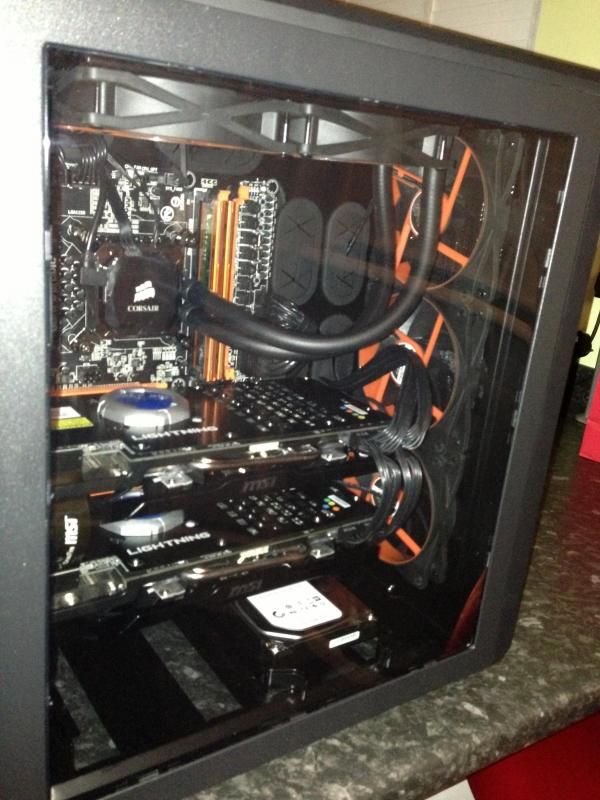
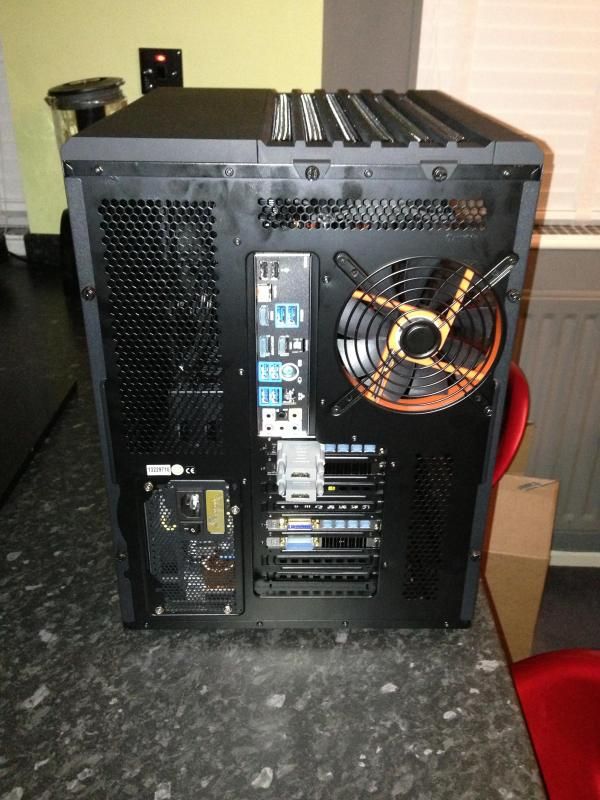
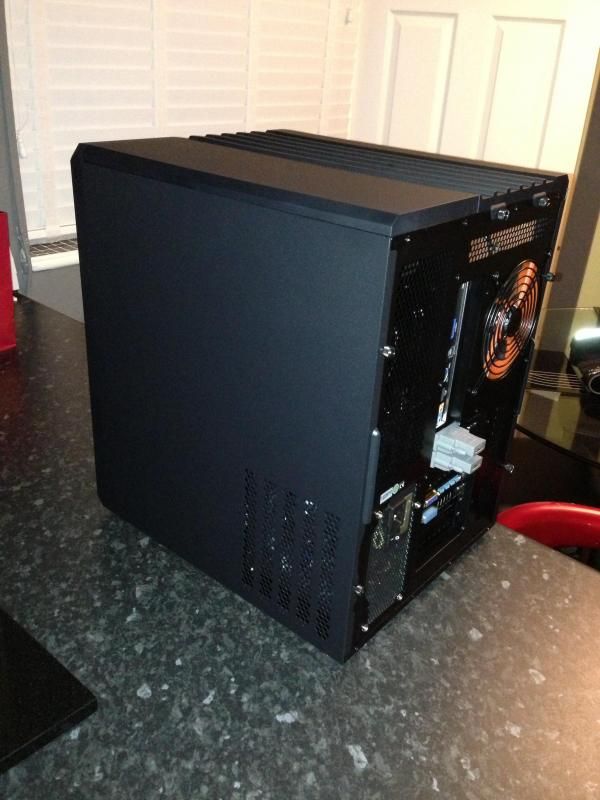
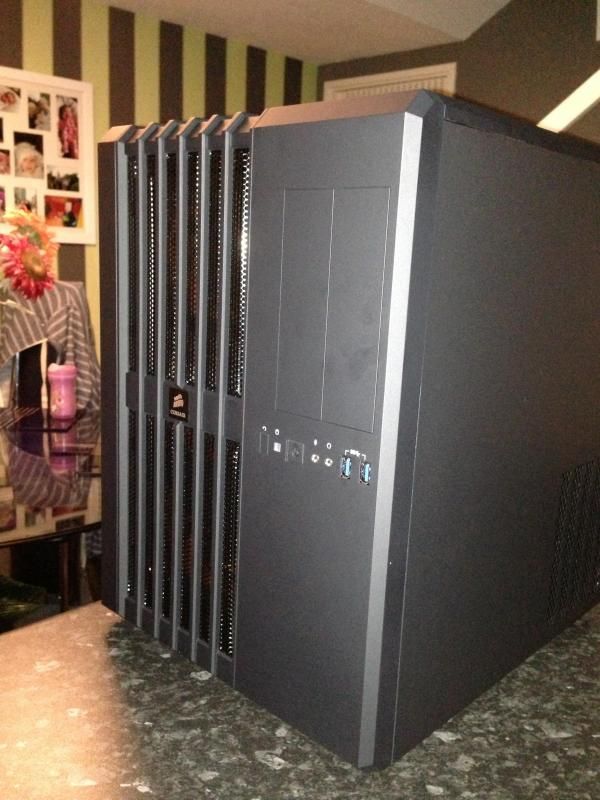
Overall I'm happy, it took a few hours to do but I take my time. I'm a bit disappointed the colours didn't stand out more, I'm not sure if to invest in a Hue and get some orange LED's but I don't want it to look too tacky, especially if it's going to sit under my desk now.
That's all folks, sorry for the poor English but I'm half asleep
I thought I would make a basic log of my new setup. I haven't had time to do any Overclocking on it yet nor any benchmarks but hopely this will be of an interest to any budding 540 potential owners.
The rig consists of:
- 2 x MSI HD 7970 Lightning BOOSTED Edition
- Intel Core i7-4770K 3.50GHz
- H100i CPU Cooler
- Gigabyte Z87X-OC Intel Z87 (Socket 1150) DDR3 ATX Motherboard
- Samsung 250GB SSD 840 SATA 6Gb/s Basic
- Seasonic X-Series 750w '80 Plus Gold' Modular Power Supply
- Corsair Carbide 540 High Airflow ATX Cube Case
- TeamGroup Vulcan ORANGE 8GB (2x4GB) DDR3 PC3-19200C10 2400MHz Dual Channel Kit
- Seagate Barracuda 2TB 7200RPM SATA 6Gb/s 64MB Cache
- 5x Alpenföhn 120mm Wing Boost Plus PWM Fan - Orange
- 1x Alpenföhn 140mm Wing Boost Plus PWM Fan - Orange
First impressions of the case is that it's very wide! I know you can see that from the pictures but I don't think they do it much justice, it's also extremely heavy when kitted out. I may have to reconsider putting it on my desk which is a shame as I do think with the side window it's very aesthetically pleasing.
Here is a pic of said kit:

I apologise for the quality of the pictures, they're all just phone jobbies.
I'm not sure what order people build their rigs nowadays and to be honest I'd been out of the game for a few years (since the Xbox 360 was released) so I kind of started where I left off many moons ago. I tend to work on the outside in so I started with the fans, 5 Alpenfohn 120mm and 1 140mm. The case did come with Corsair ones but as my components tended to be Orange I wanted to carry on that theme.

Side panels, top and front cover removed.

I replaced the 2 front stock 140mm fans with 3 120mm's. The case is so big it's easy to work around. I do love Corsair cases, I think they're very easy to build with.


Next I installed the radiator of the H100i. Again, very simple, loads of room to manoeuvre it in. I did make a mistake with this as the picture isn't what it stands at the end of the build, the tubes in on the left fell awkwardly over the cooler so I ended up unscrewing it and turning around so the tubes came from the right.

120mm fans installed on rad.

Next, the motherboard, took 2 mins to get it in place and hey presto...orrrange!


The back looks pretty empty at the mo, I must admit I did get lazy with the cable management just because there is so much room back there and no one can see any of it! Just stuff the wires in. Yes I'm naughty.

Next to install is the CPU. I installed the rear bracket for the cooler, there is a big space for cooler changes (Lian Li take note). Cooler attached.


Left to install...

RAM installed! They were in the correct DIMS, this was for the picture, effort eh?

Next the storage 2TB drive, I think this is the only thing Corsair could have improved, why have the SSD storage at the rear but not damn ugly 3'5 drives? Anyway, it was extremely easy to push in and a nice click to confirm the drive is seated nice and securely.

SSD to go in, like I said these get installed at the rear of the case and there is a plastic cage that can hold around 4/5 drives. You can make this cage smaller if you wish, I was installing two SSD's so I made the bracket that big.
This again was easy but the SSD wasn't as snug as the 3'5, there was movement which was a tad annoying, may need to make an adjustment to that.


Time to bring power to the table, the PSU sites just under the SSD cage, no problems here. Cables easily assessable and again out of the eye being in the rear.


Progress shot of more things being plugged into the mobo!..

Plenty of holes for tidy cabling.

Next up, the bad boys! I had an 7870 last but this eclipses it in terms of size...the wife just couldn't understand why I needed two. They'll never understand.

Boom! Bridge setup!

Rear of the cage, not exactly pretty on the eye but like I said, I'm lazy


Finished shot

The critical moment I await something not working...

All good! Night shot, rubbish picture.

End shots.


Overall I'm happy, it took a few hours to do but I take my time. I'm a bit disappointed the colours didn't stand out more, I'm not sure if to invest in a Hue and get some orange LED's but I don't want it to look too tacky, especially if it's going to sit under my desk now.
That's all folks, sorry for the poor English but I'm half asleep


