Case mod - Corsair 600t acrylic side panel

Soldato
Joined
22 Oct 2008
Posts
11,638
Location
Lisburn, Northern Ireland
I'm going to get an acrylic sheet to do the following case mod on my case.

900x900px-LL-60e71a17_IMG_2433_zpsxjs9s7an.jpeg

600mm x 600mm x 10mm

Dark smoke tinted sheet.

I'm going to be using my works Technology & Design department to cut the sheet.

I'm considering putting some LED's into the case to highlight the Rampage motherboard I have as well as the red Corsair SP fans on the h100 and case fans. I'm not sure what colour of LEDs to get. Anyone with LED experience suggest how many I should buy, what colour would work and placement of the LEDs in the case so as to not look too gaudy?

Should be picking up the sheet this weekend if I can the sheet and hope my friend in T&D department is in a good mood to use his time and machinery :)
 
Last edited:
Will certainly look into that thanks for the tip D.

Forgot exams started today so the T&D department is out of bounds for anything non exam related. Gonna have to put this on the back burner for a fortnight until exams are over.
 
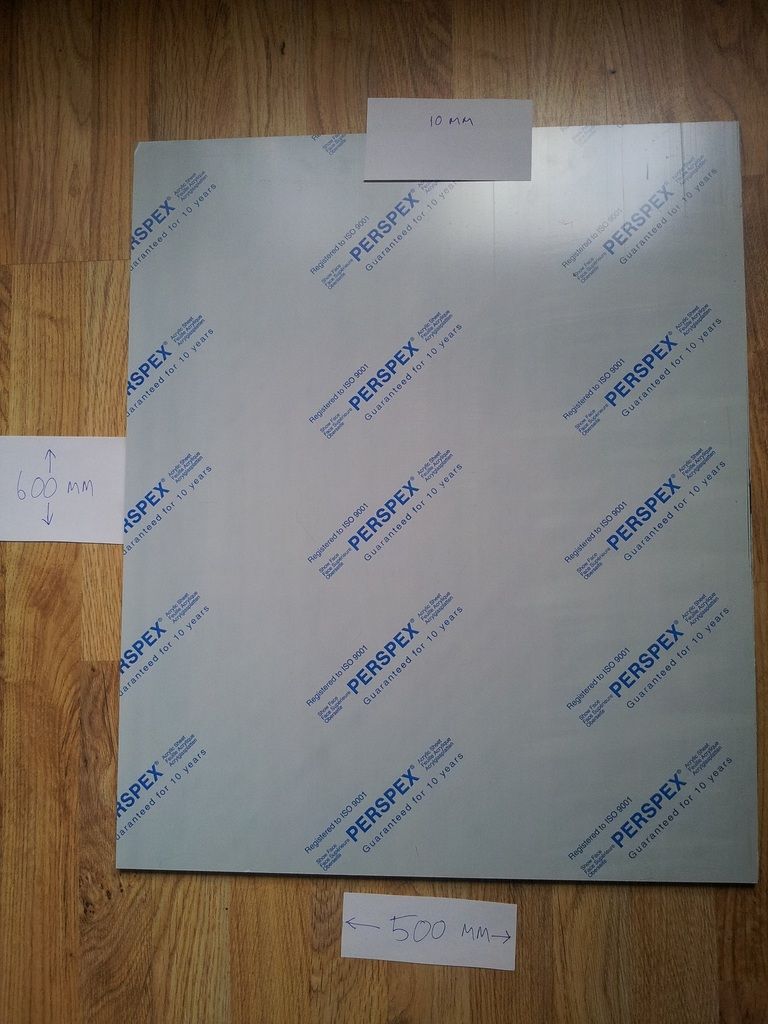
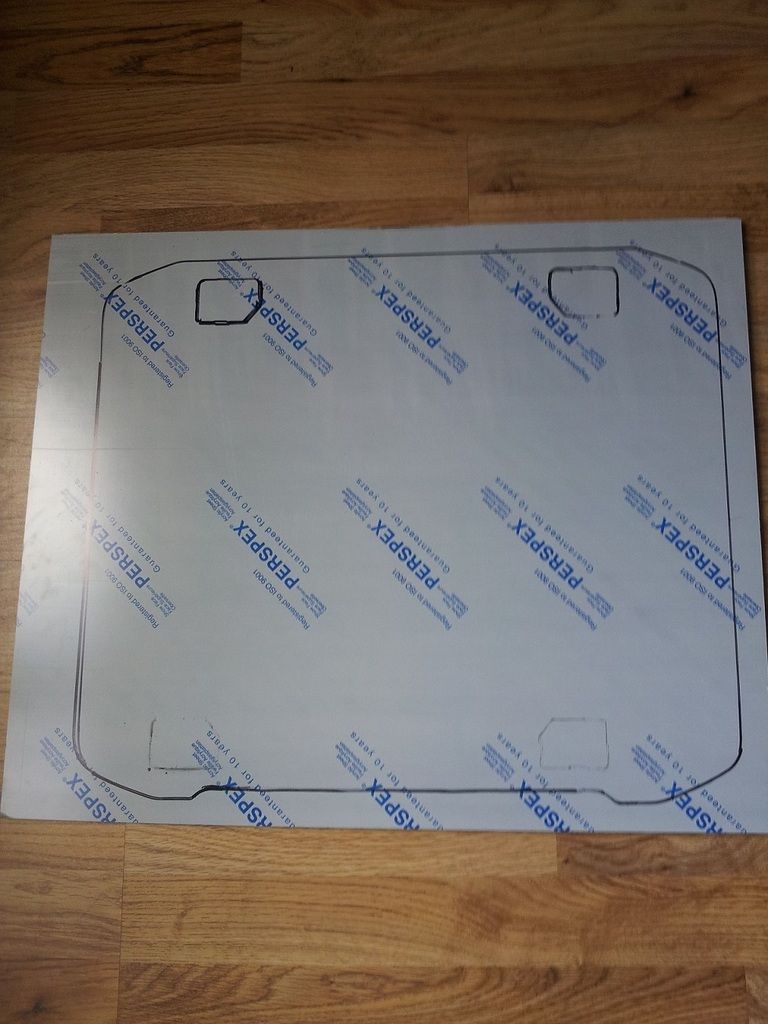
So I got the acrylic and need to measure it up. My Technology & Design department are being hijacked to use their equipment. Not sure their laser cutter will be good for acrylic so it'll be done another way.

Some pics....


sheet%20unmarked_zps1rlczzuj.jpg

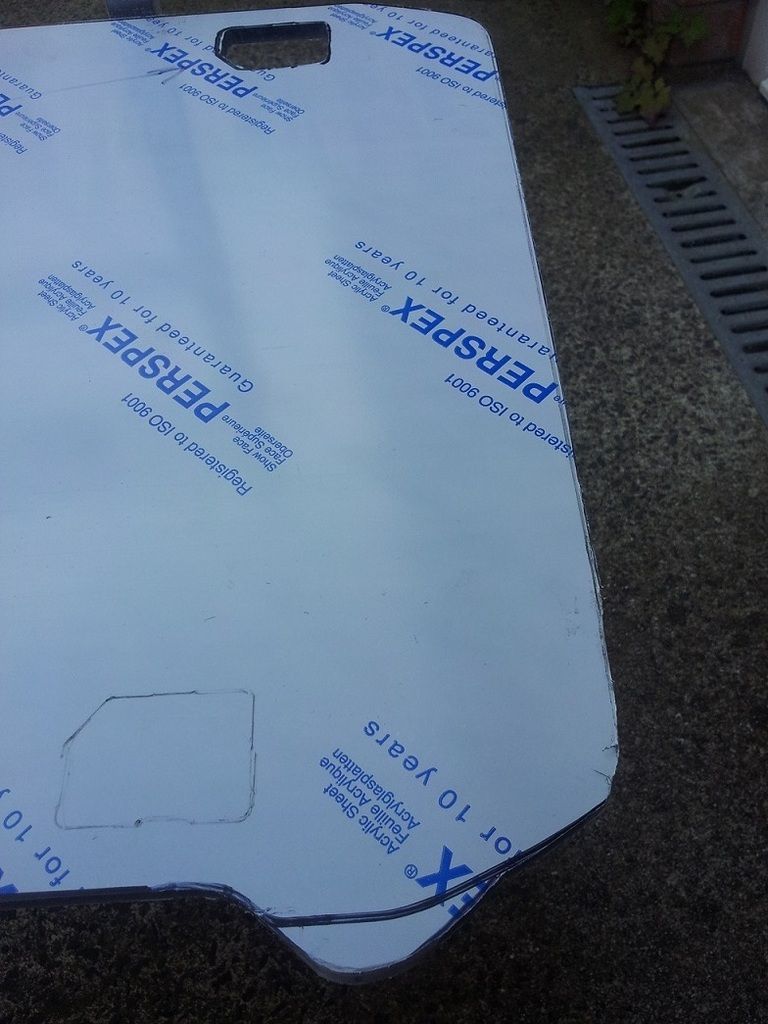
Acrylic sheet 600mm x 500mm x 10mm

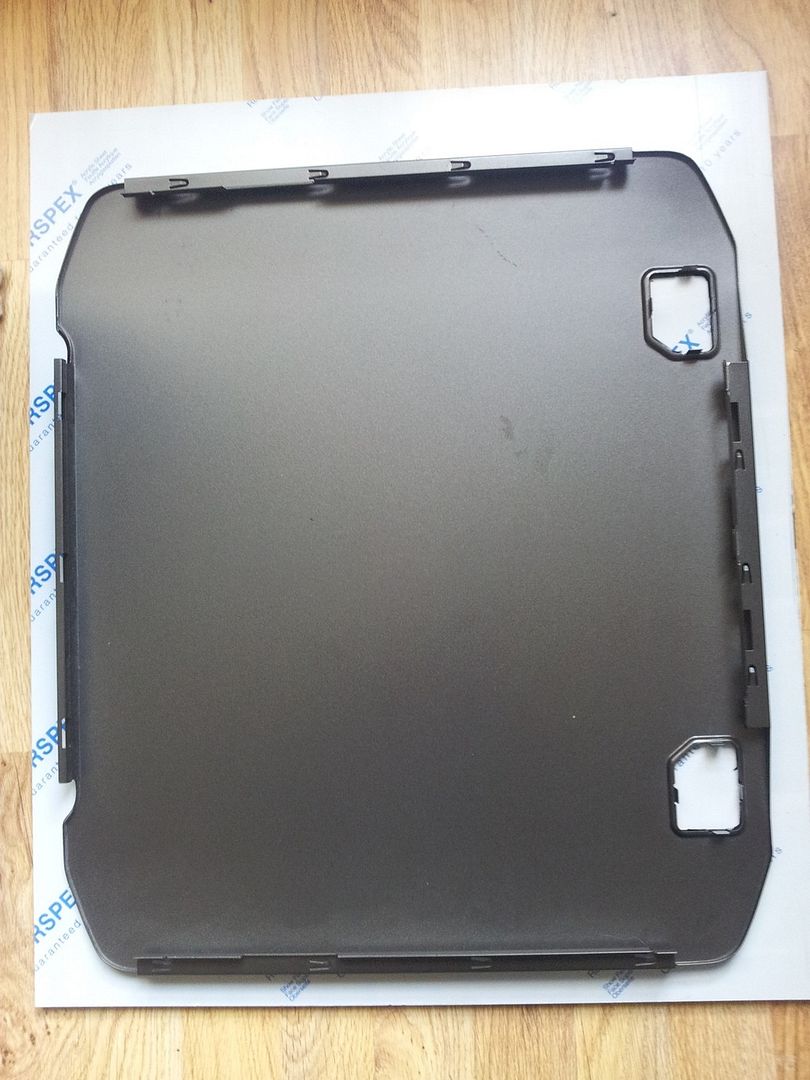
ready%20for%20marking_zpsim4uejgy.jpg

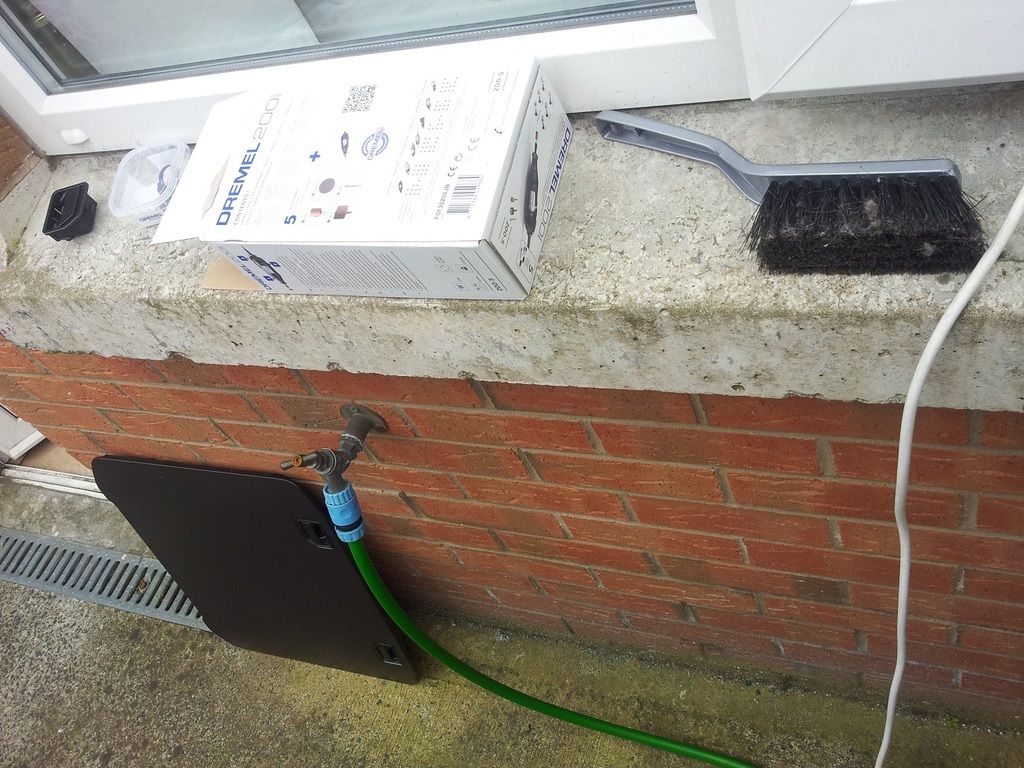
Old Corsair 600t side to measure against. It's a replacement side I got from Corsair. This spare side is also getting pillaged and I'm using u-tubing and another tinted sheet of acrylic to give me another option for the side of my case...but that's for another day.


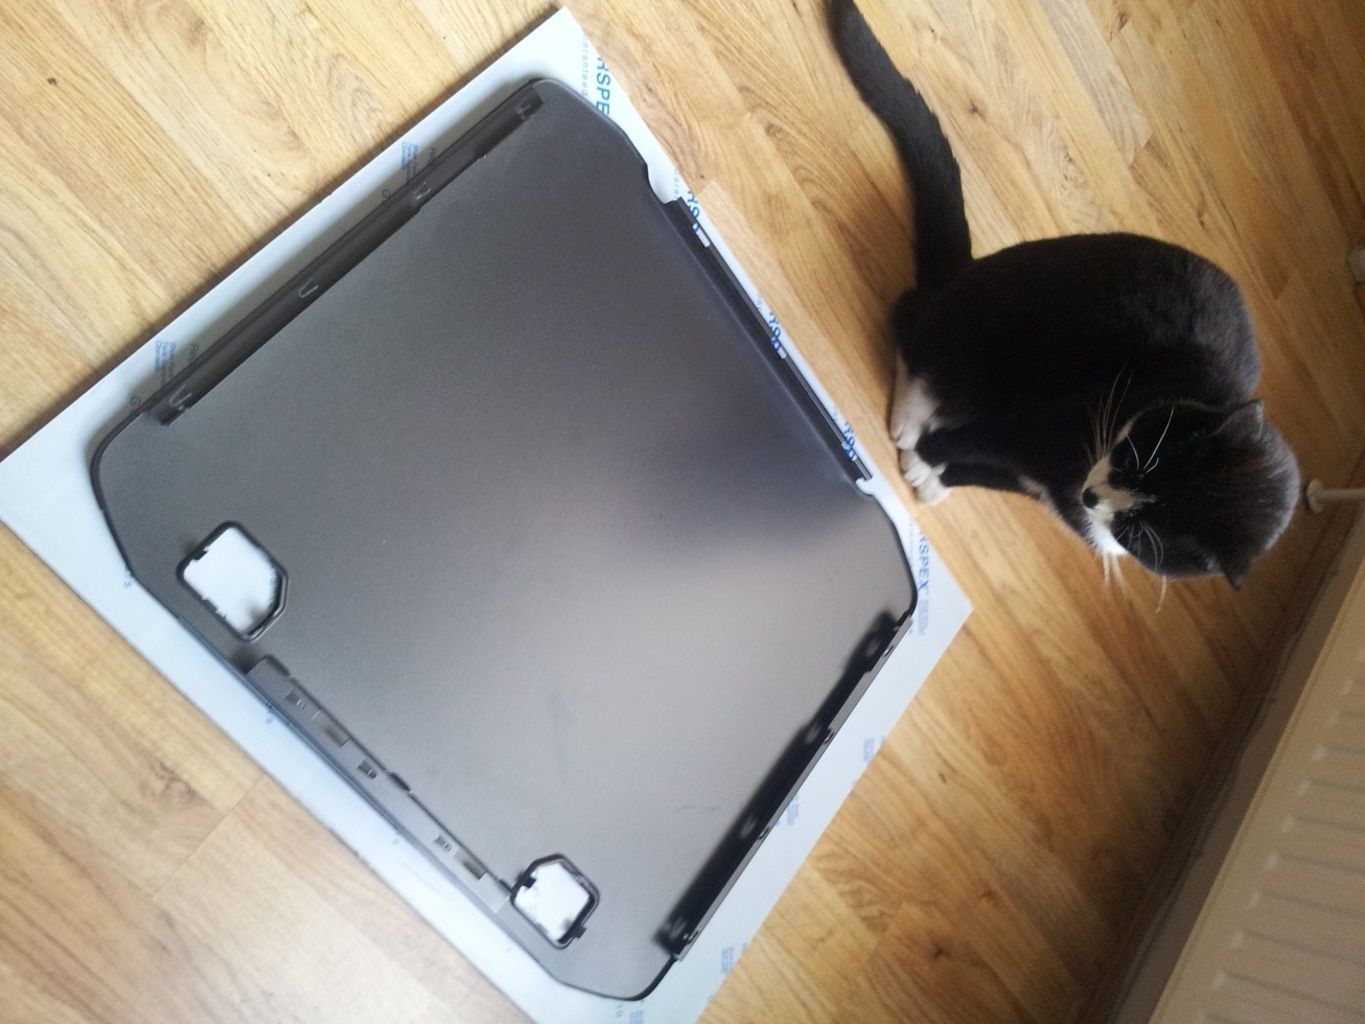
jinx%20sheet_zpsmdnvkq3x.jpg

Jinx giving her seal of approval. Glad it's got plastic cover as her paw prints appeared on the plastic cover!!


ready%20for%20marking_zpsim4uejgy.jpg

Jinx shifted into the kitchen and I'm set to trace the outline.


just%20marked_zpsmglibqo7.jpg

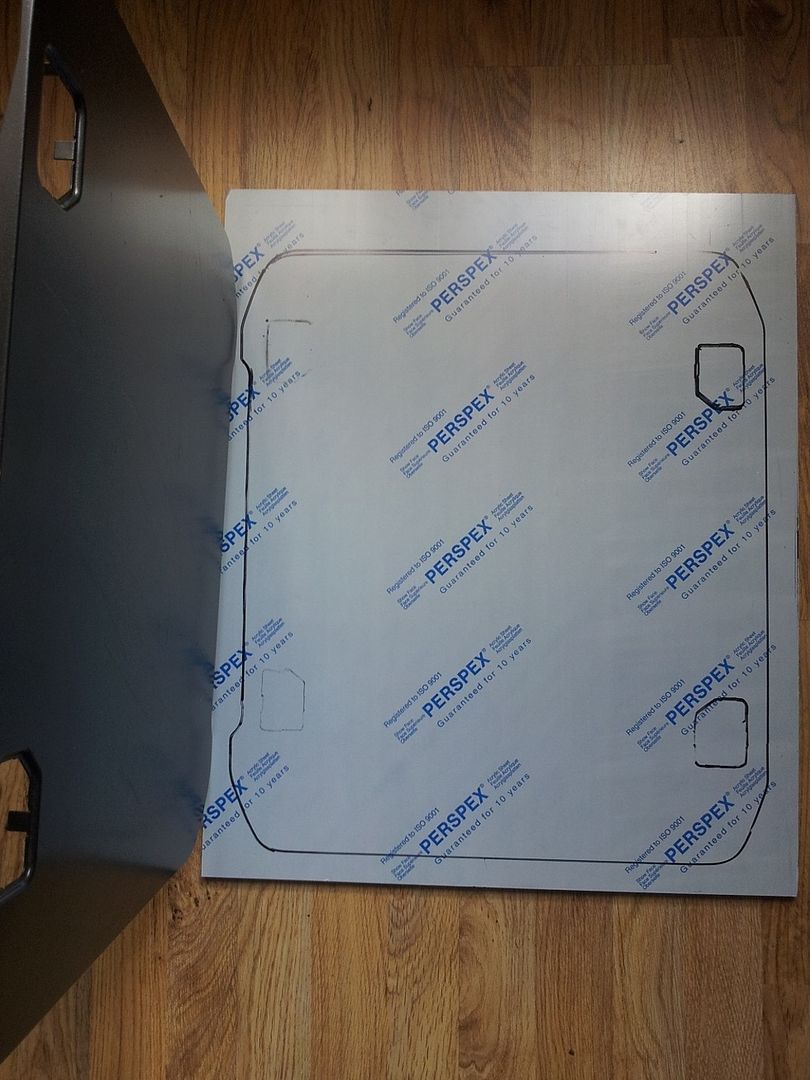
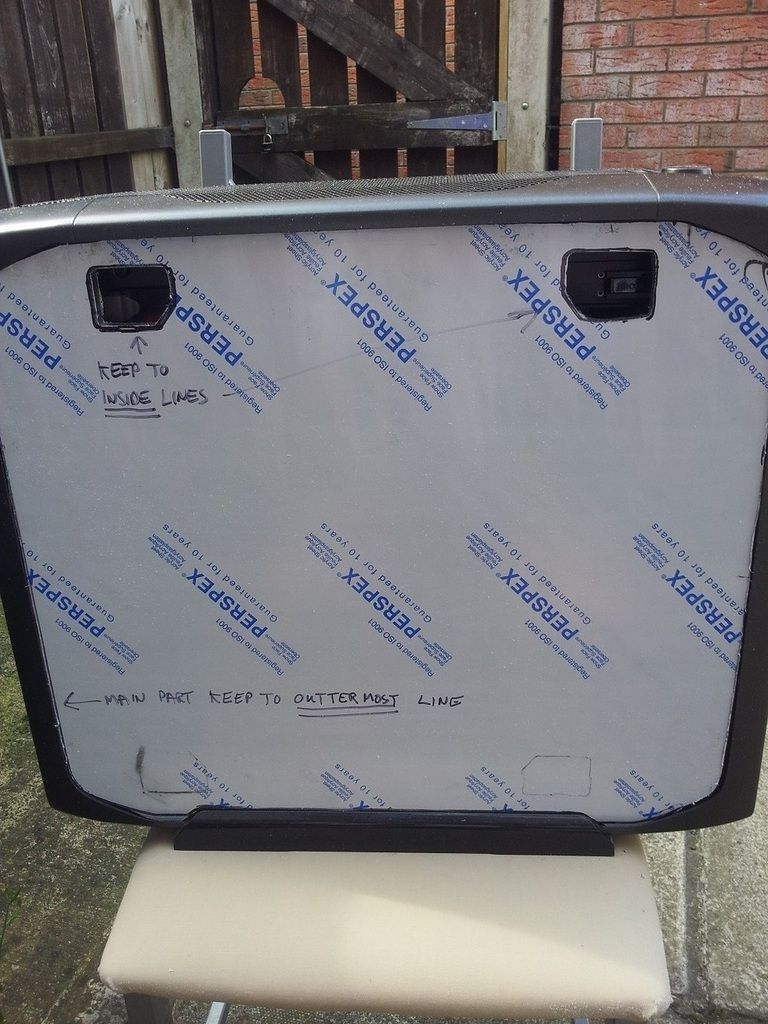
Outline done


marked_zps7gqddf0e.jpg

Outline done and ready for cutting :)

Now just have to get the case and sheet to the T&D department to get them to cut it.
 
£17.50 plus vat for the sheet. I can't link to the supplier as it's not ok with the OCUK mods.

It's a black tinted sheet so will have a dark side to it. My 600t case is all black. Looking to fit a few red LEDs into the case to highlight the components. I have a red and black theme with the MOBO and case fans.

Spoke to T&D department today and should be set to try cutting on Monday.

Just to be clear, that pic in my first post is not my case but it's the same look I'm going for :)
 
The case in the OP does look very nice. I can see why you're trying to emulate it. Red and black usually go together quite well so hopefully yours will end up looking just as good.
 
May seem dumb question, but why didn't you match the bottom of the panel to the bottom of the sheet, then mark it? Would save you cutting that whole edge...
 
You'd be right too Colin. I actually didn't think of that. I'm getting the rough outline trimmed off and I'll finish it at home myself. Always better to have too much and file it down than cut too much and have to glue it on. It's being done on a machine so it won't really take much more time but yeah I should have gone with the straight edge to start with as a measuring point. My main fear was that the sheet wasn't cut exactly straight. The fella that cut it just went off and cut the 600x500 sheet. It more than likely was cut flush (in work so can't check) but better safe than sorry in case it was off a few mm's and sat wrong in the case.
 
Wouldn't mind trying this myself, found a guide to this for this case a couple of months back,gonna look great when your done man :)
 
Right finally got this done. I ended up in hospital so I missed taking pics of the sheet being cut by the T&D department. Big thanks to Joe Hughes @ St Marys (Owe you a drink squire!)

Anyway here's what I've got.

Took the sheet home and booked time off work thinking it'll take an hour to sort it...3 hours later!!!! But it's done.
 
and%20well%20begin_zpszwir5wqr.jpg

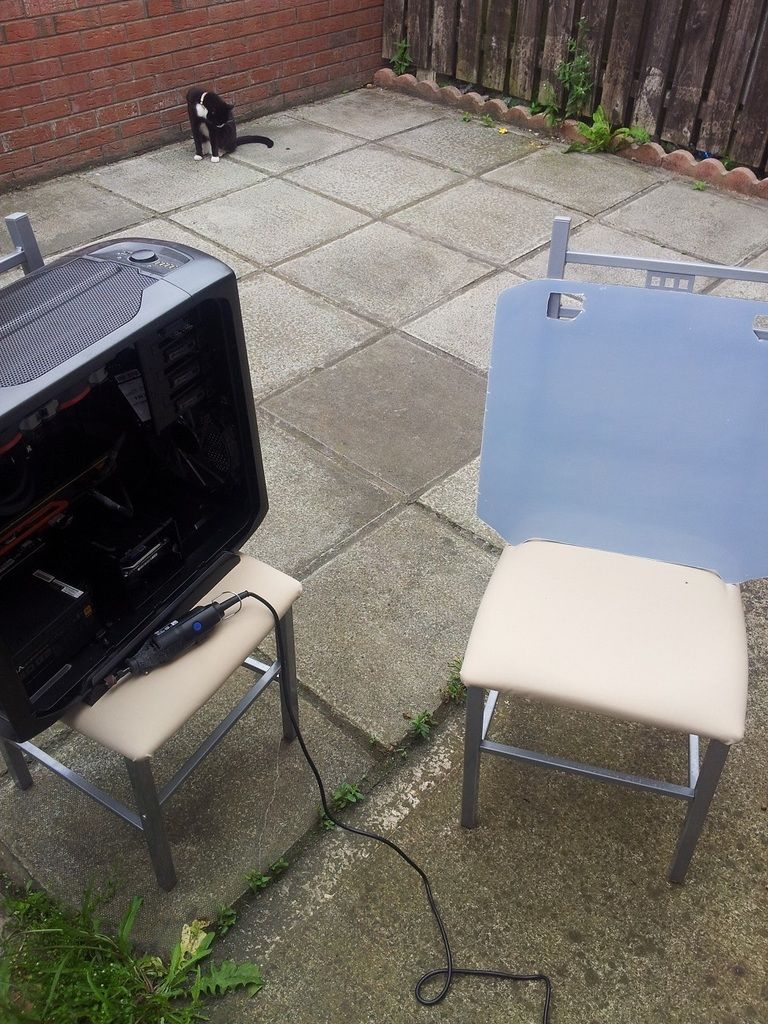
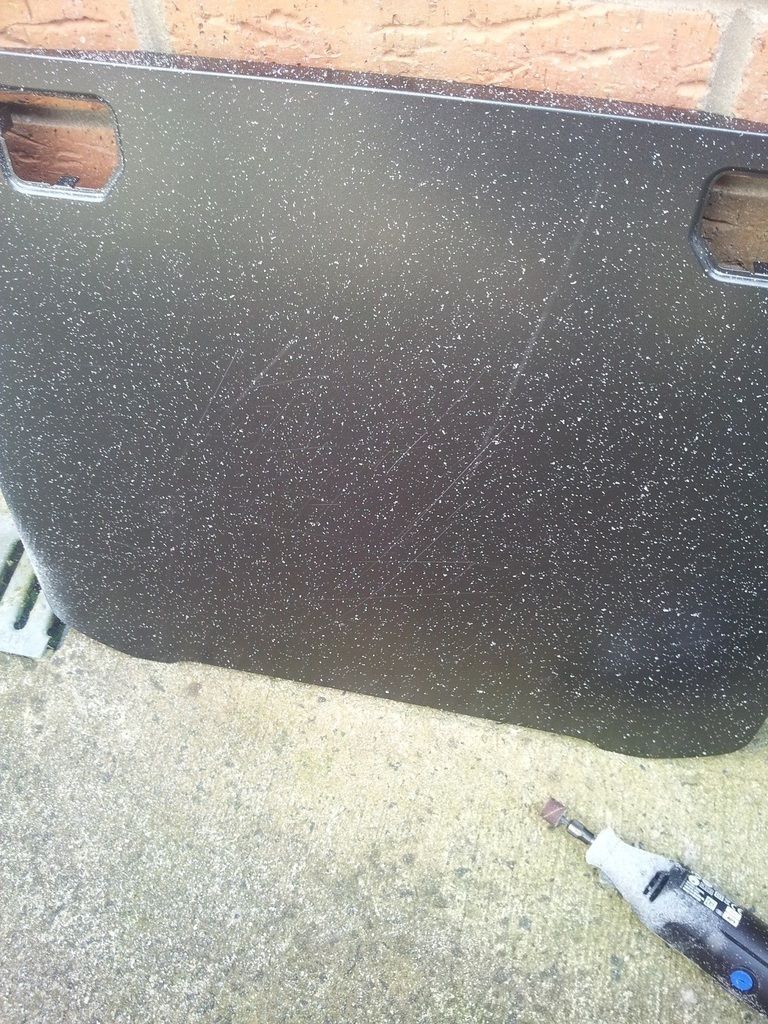
Took the PC and sheet outside as I needed to get outside in that lovely sun. Plus the dust would have cause divorce proceedings to be started. Man I'm glad I took it outside. Pics later will show.

----------------------------------------------

start_zpsxyuy42n0.jpg

Sheet ready to be hacked at...and so we begin....


----------------------------------------------------
oops%20need%20to%20plug%20in%20Dremel%20first_zpsjs9g6zgo.jpg
Errrr no we don't, not until I unpack the Dremel and get the right head on it.

NOW we begin!
 
Last edited:
I did actually edit and turn these pics 90 degrees but photobucket has reverted them back. Stupid photobucket :(
 
still%20some%20to%20grind%20off_zps2m95dp2z.jpg

Lets start trimming.


------------------------------------------------------------------------
dust%20central_zpsnlt7kf2h.jpg
ZOMG dust central! I'm glad I didn't start this in the kitchen!


-------------------------------------------------------

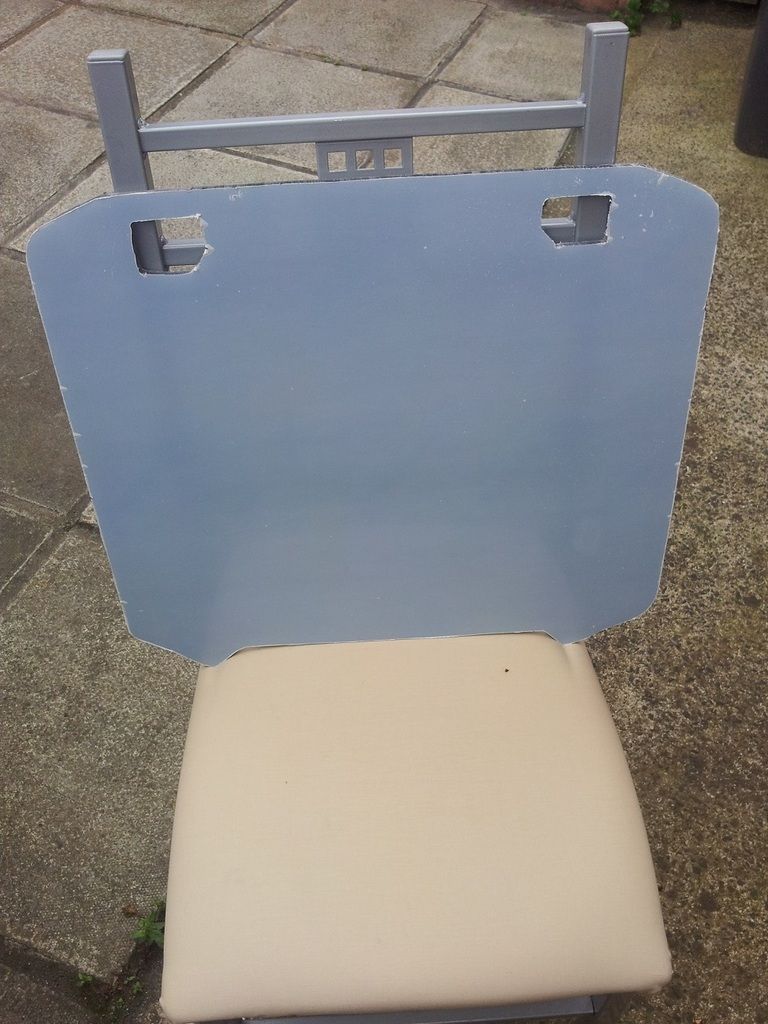
At this point i was taking the sheet back and forth from the case and I'm easily 20+ times to-ing and fro-ing to get the thing to fit like a glove.
 
Last edited:
it%20fits%202_zpswqo8epyu.jpg

It fits!!

now for the 2 handles that I've scavenged from the original case side panel. I did them but my phone corrupted the pics I took so none of them but eventually they fitted too. MUCH easier than the sheet fitting. Took 2 mins to do the handles.

------------------------------------------------------
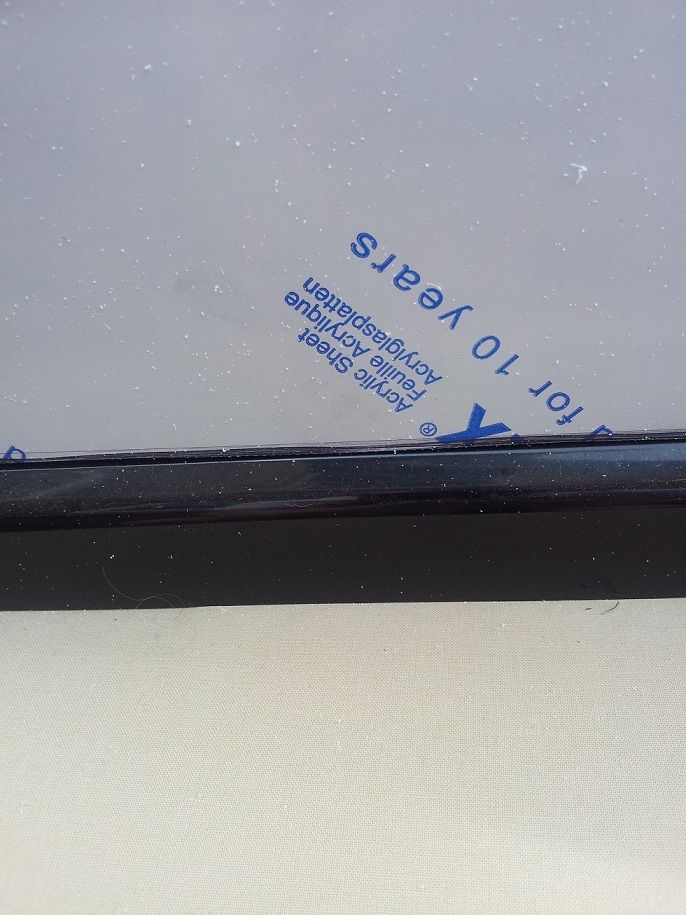
tight%20fit%202_zpsqwwpxlqj.jpg

Snug, the black line you see if just the pen markings on the plastic covering
 
Last edited:
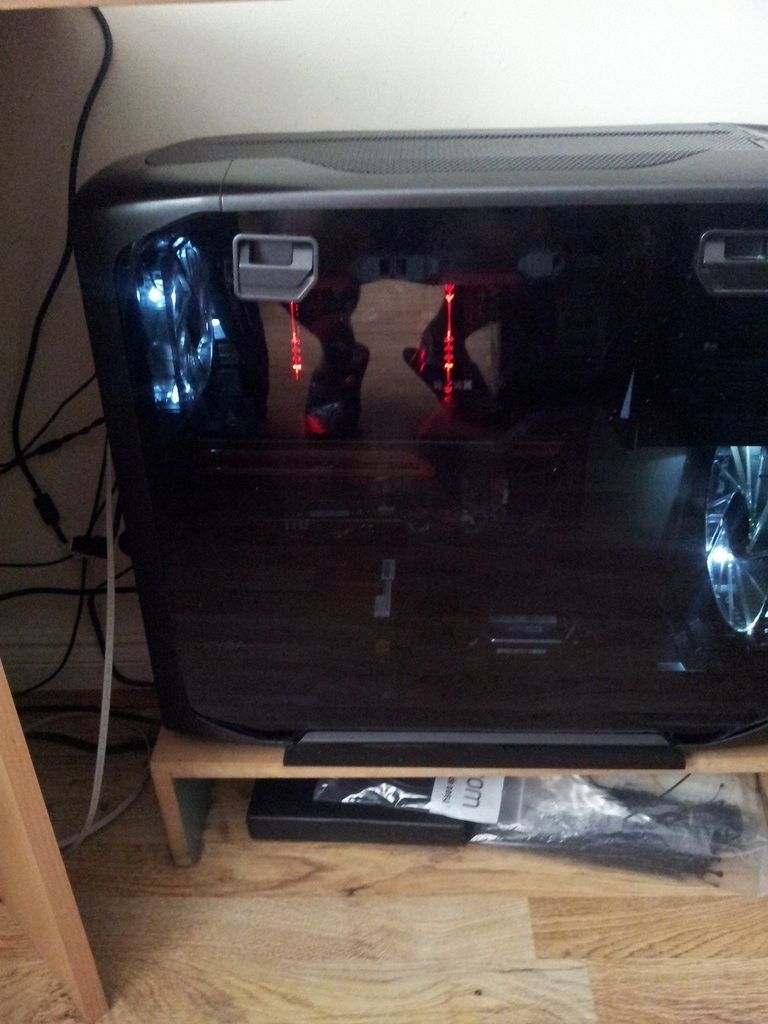
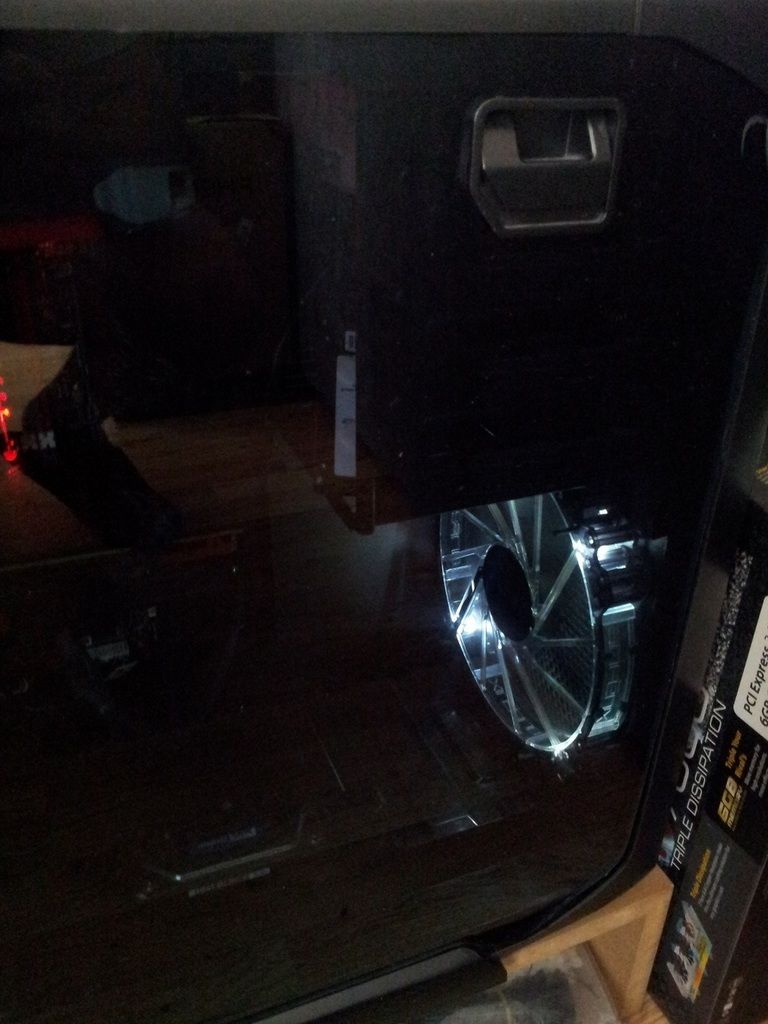
Time to see what this looks like with the plastic removed...and it's class :D :D
end%20result_zpsh68qpizc.jpg
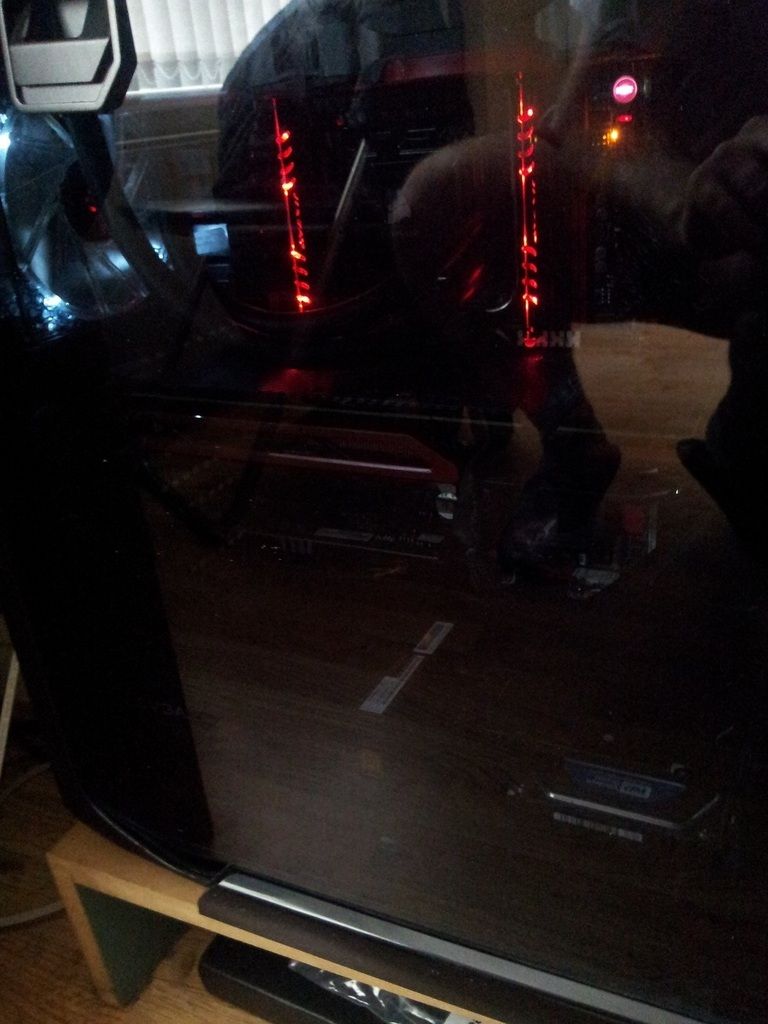
My phone doesn't do it justice but it looks great. You can see the RAM throbbing away in real life but you get to see the colour of the ram in the pic.


-------------------------------------------------------
result%202_zps5blbaloj.jpg

Looking into the front of the case


-----------------------------------------------------
RAM%20effects_zpsfaltedm9.jpg

Looking into the rear of the case
 
Last edited:
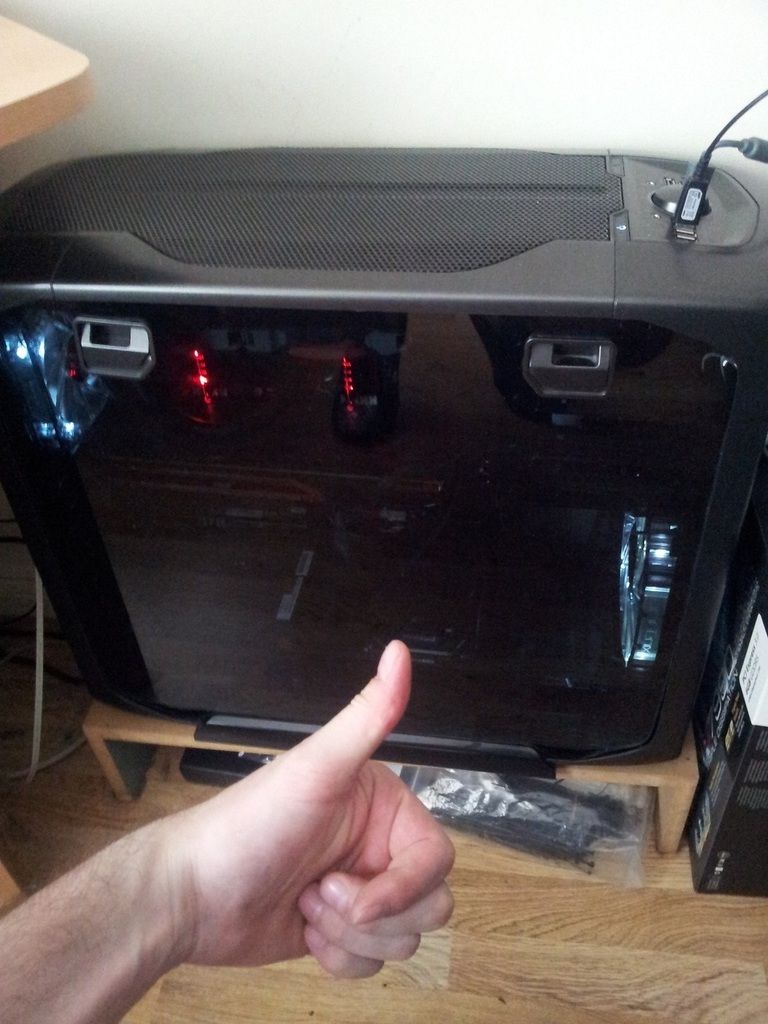
Job%20done%20and%20well%20happy_zpsgimlxt86.jpg

A few hours and roughly £25-£30 and I'm a happy boy with my new side case panel. Job done! :D

Next up is LEDs to highlight the insides of the case.
 
Last edited:
Back
Top Bottom