Only just spotted the thread, enjoyed your tri arm rebuild.
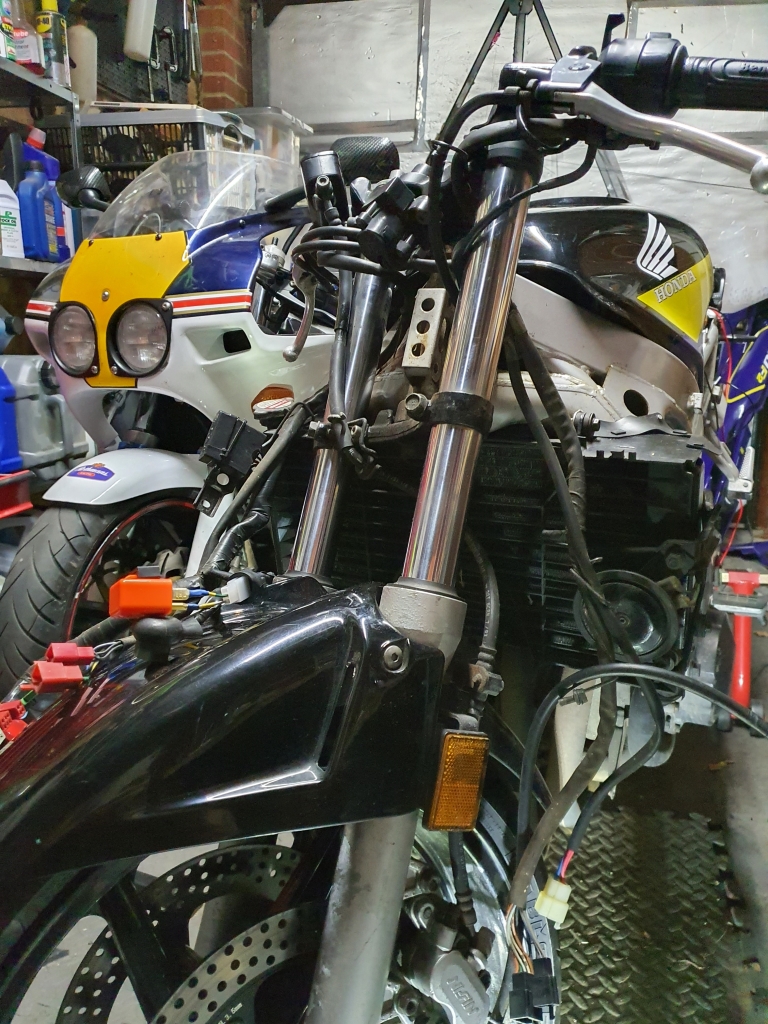
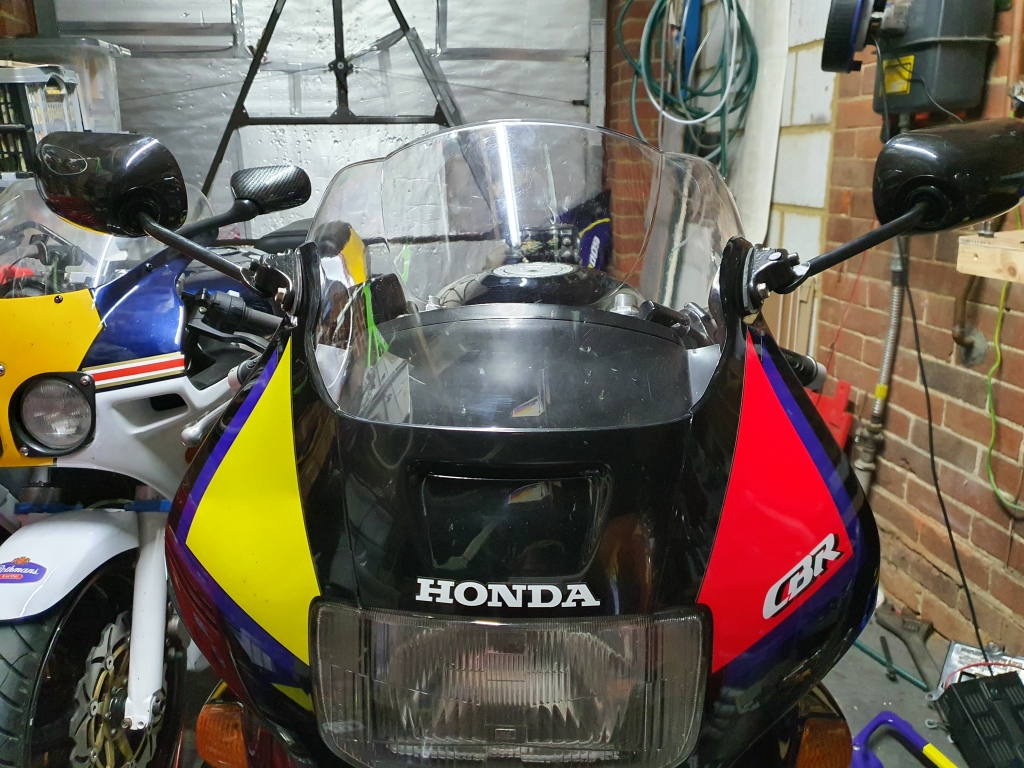
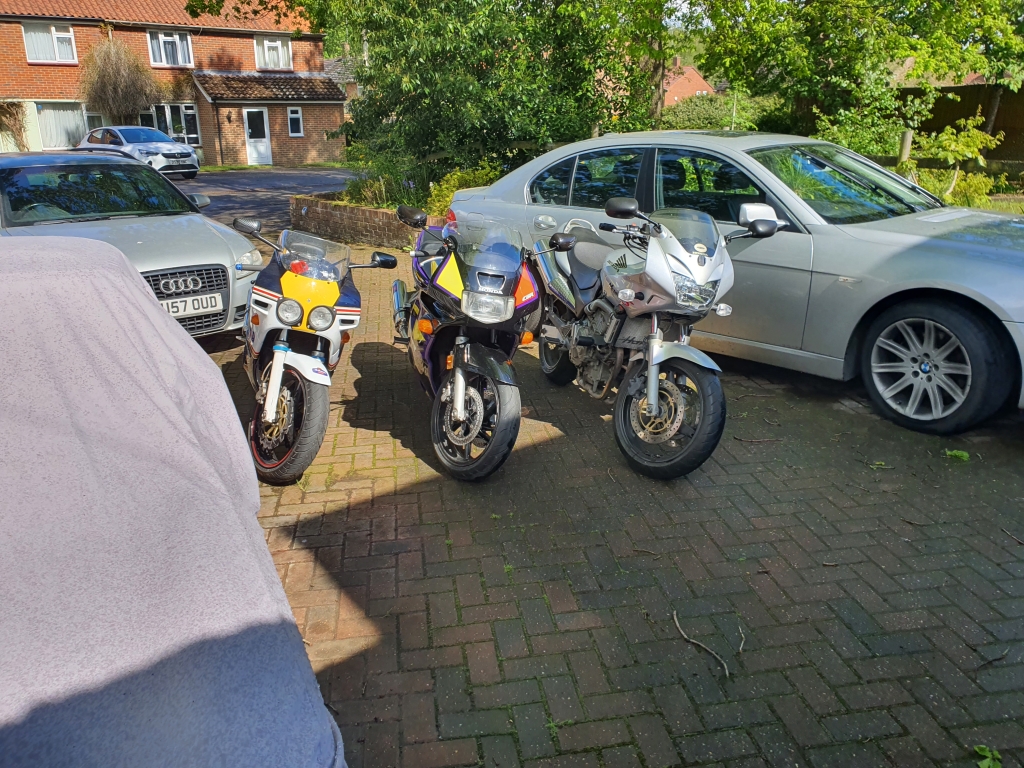
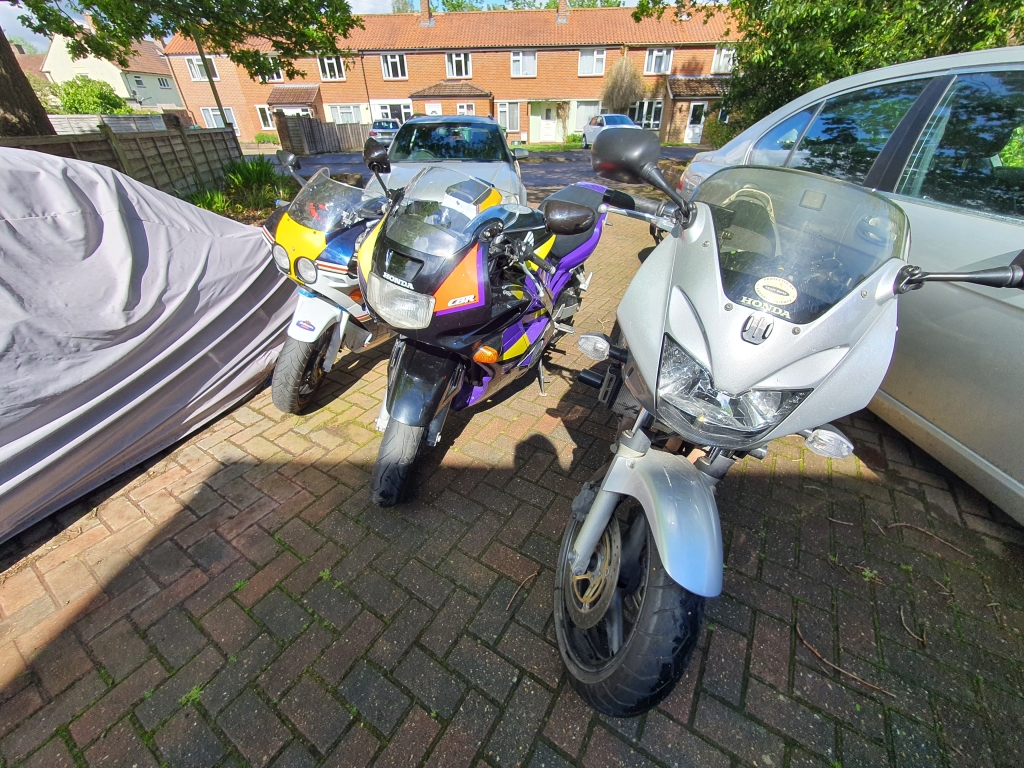
As soon as I saw the pic I thought 'that's a us import' based on the colours. Looks like and fp or fr (the f2's in the UK ran from 92 until 95 ish, FM,FN,FP,FR) most likely an fp equivalent as you've got the remote reservoir shock and alloy pillion pegs, the FN didn't have the remote reservoir and had black coated steel pillion hangers.
Loved my FN, brilliant bike.
I've got a pair of clean uncrashed standard clip ons if you want to replace yours, pm me an address and I'll send them over.
Great info on the bike! I might take you up on those bars, I will check mine out in more detail, and if I need them you will be the first to know!
I also have the extra cables for the indicators and dual/function bulbs in there, which again proved it was a designed to have them as always on extra lights.
So, onto the work done!
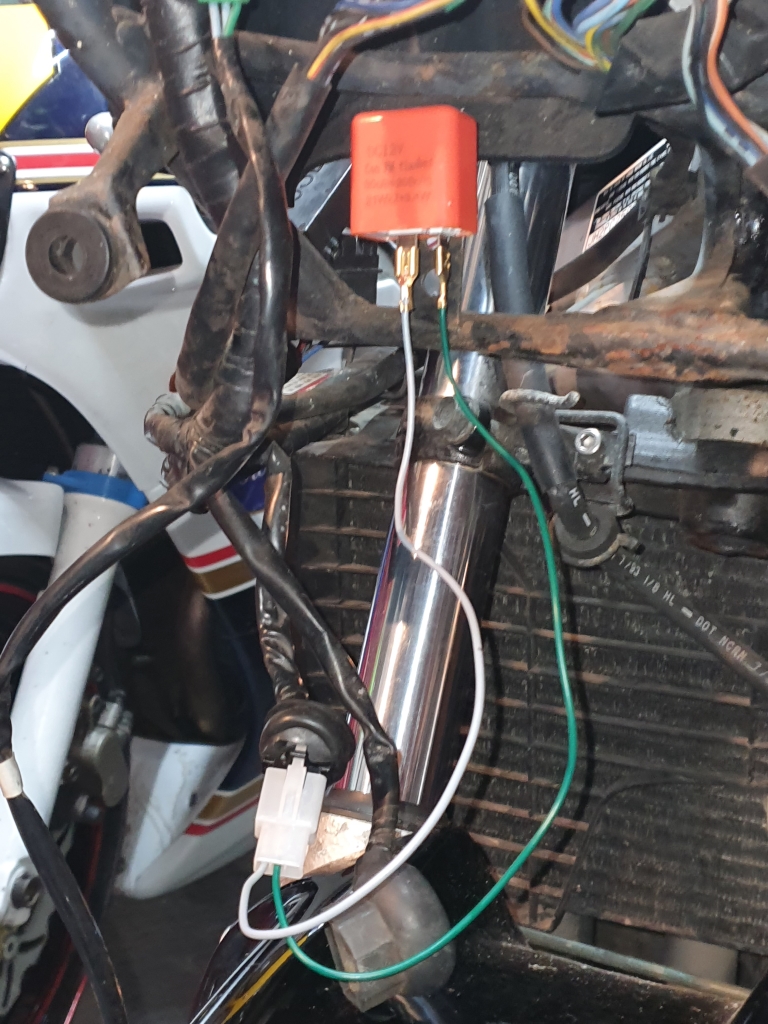
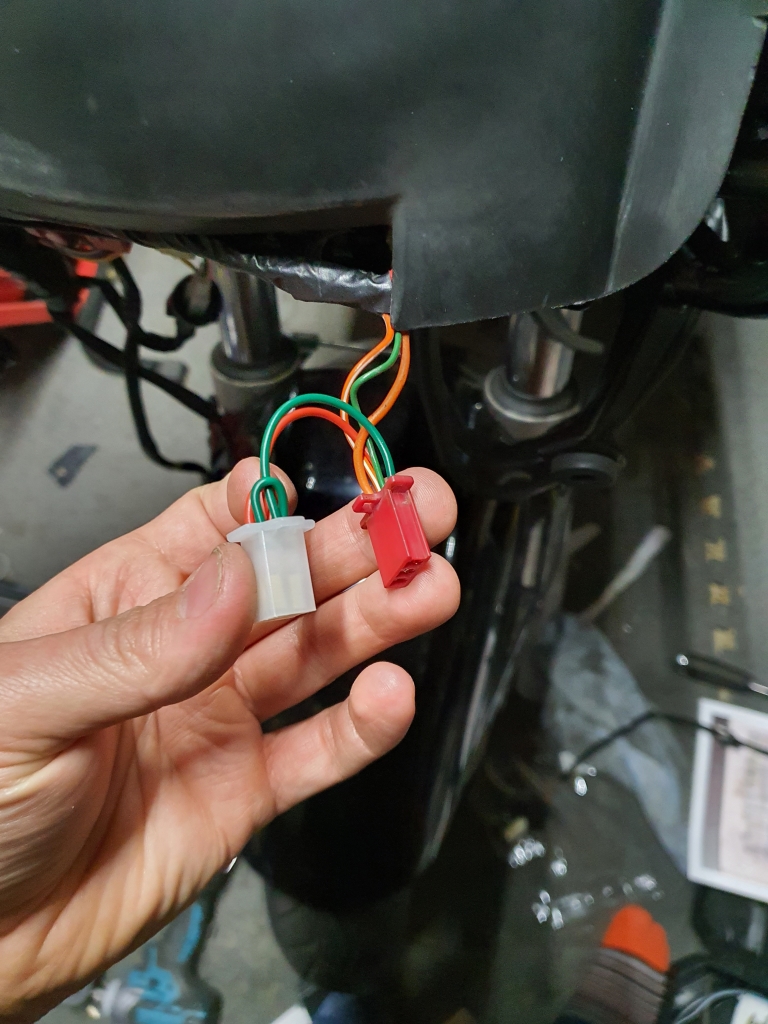
I decided I wanted to move to LED indicators, so i had to make an LED flasher fit nicely, I just hooked it up first to make sure it was working:
Tested it, proved it worked, so I shortened the cables, wrapped them up nicely, and made it look a little more presentable, without adjusting the factory loom at all.
Next... I went a bit crazy...
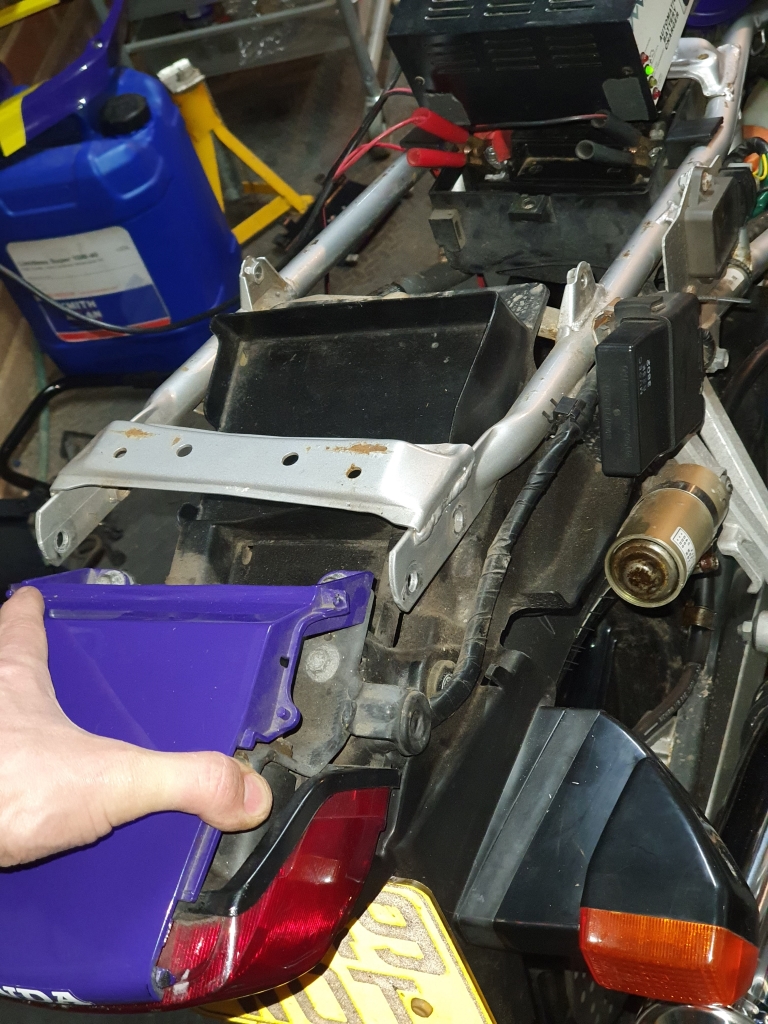
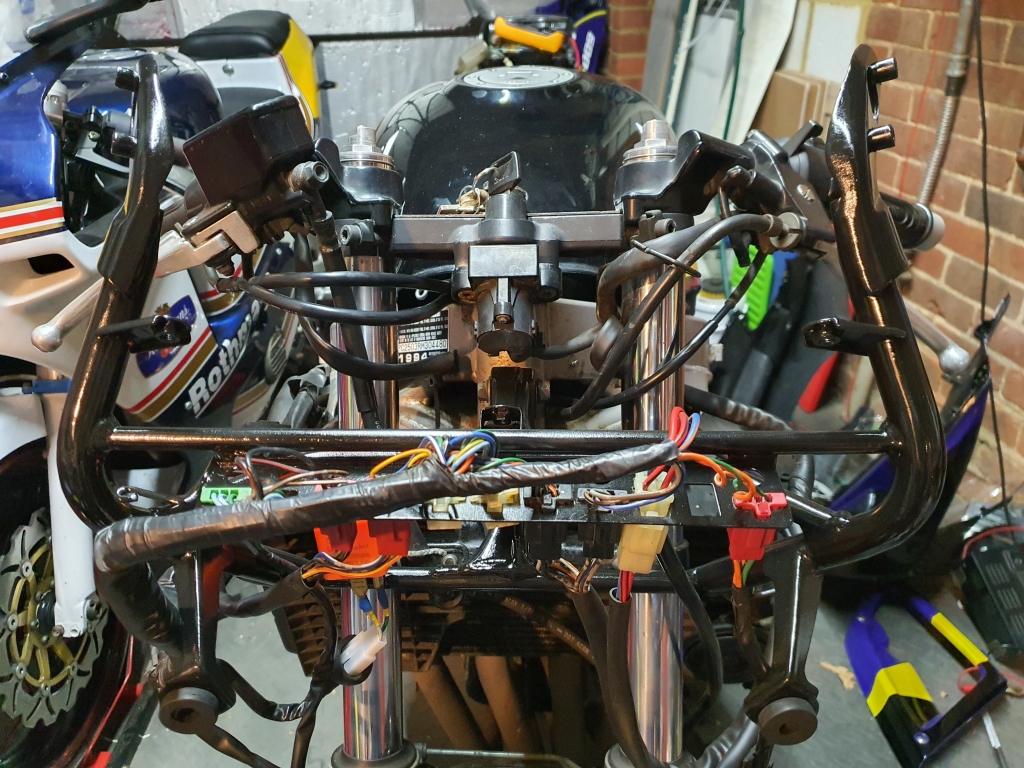
Whipped this out..
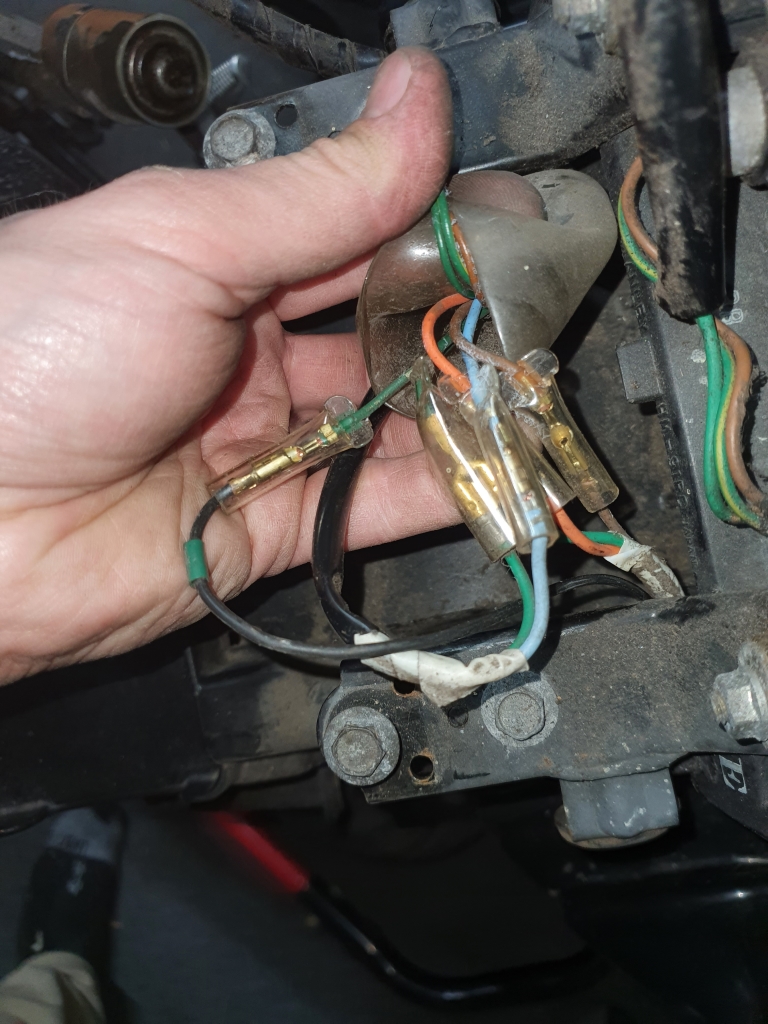
Unhooked all of this, finding two wires that are extra, and not connected to anything, so will work that out from a US wiring loom asap, as I am curious!
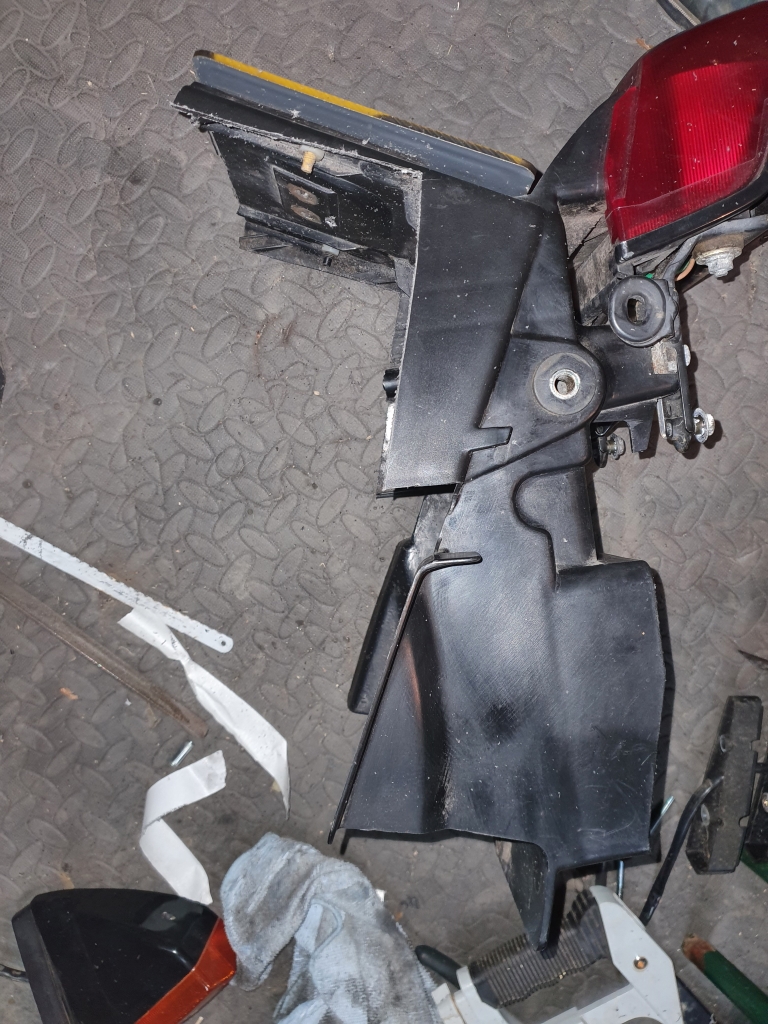
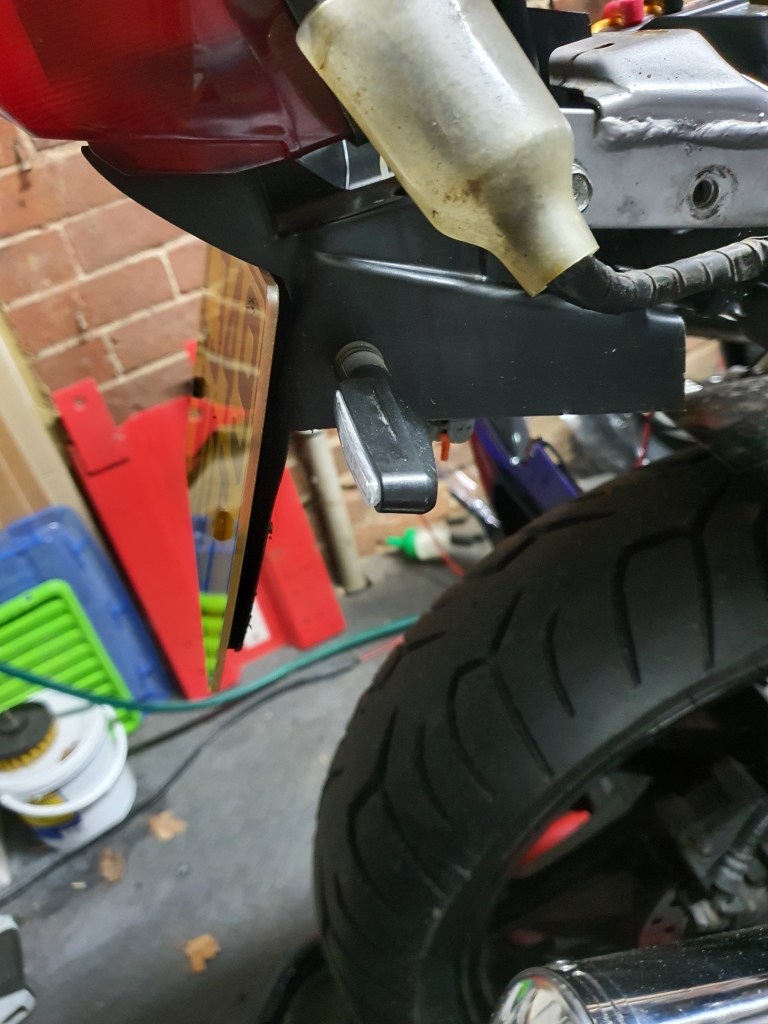
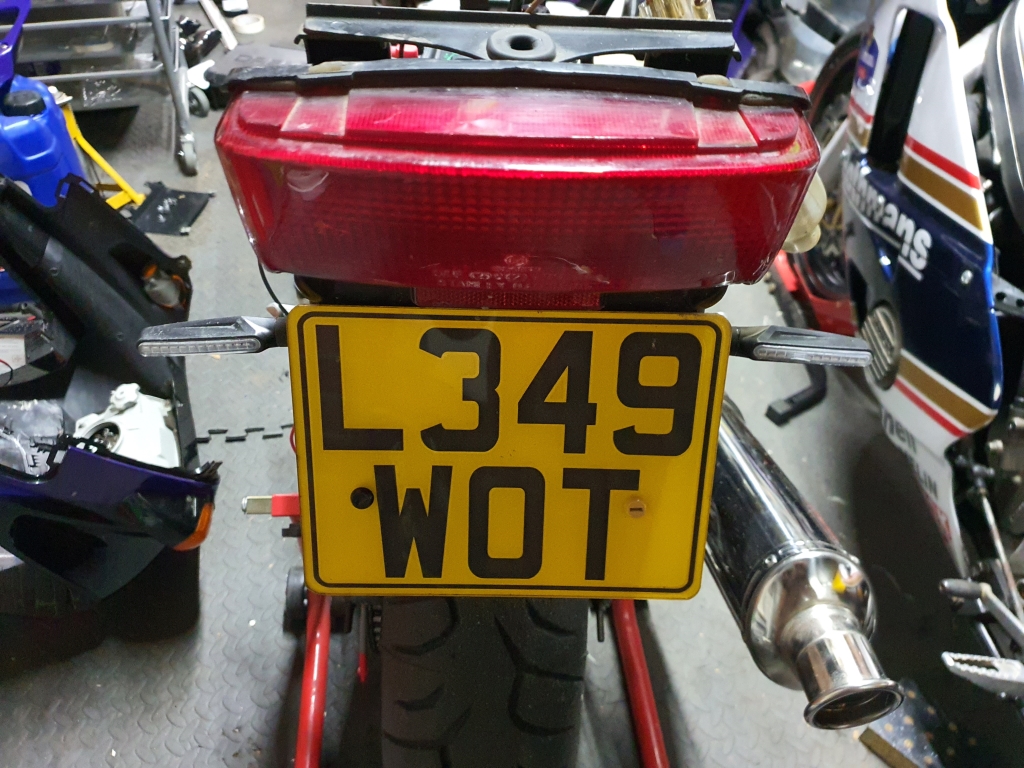
I got out a hacksaw blade...
Tidied it up a bit, and then added these (the indicators themselves are not staying, I will use a little more traditional looking smaller ones. However, these were in the parts bin here, and proved that it would work
")
I think its a LOT cleaner, but will deffo need to change the indicator units:
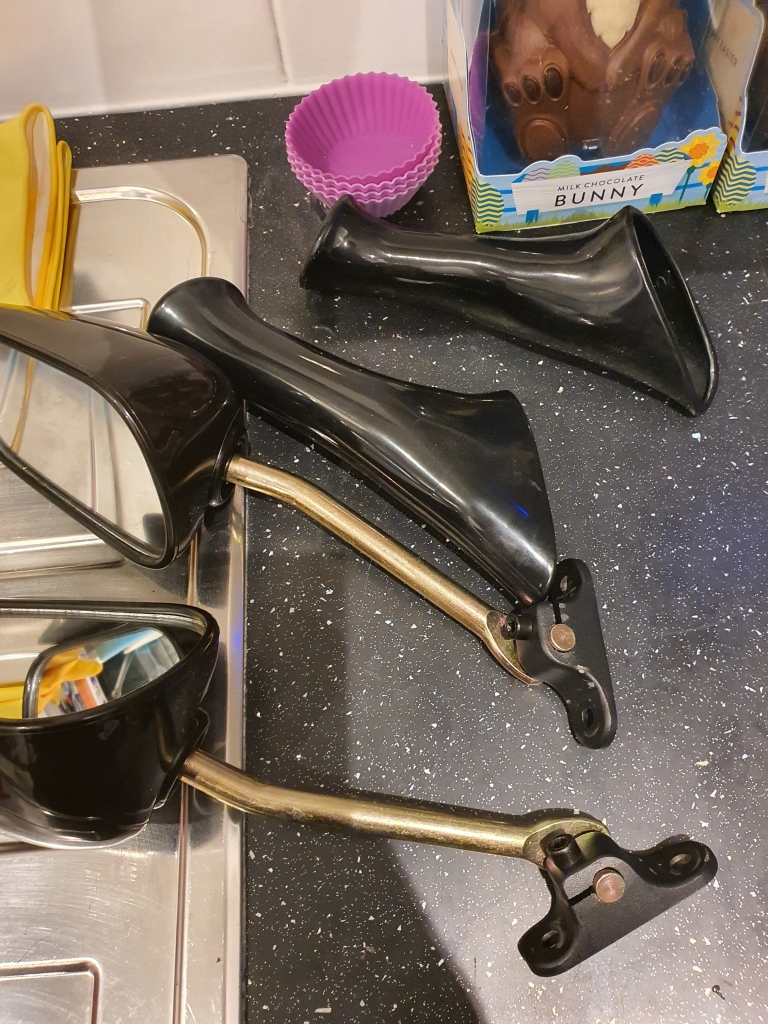
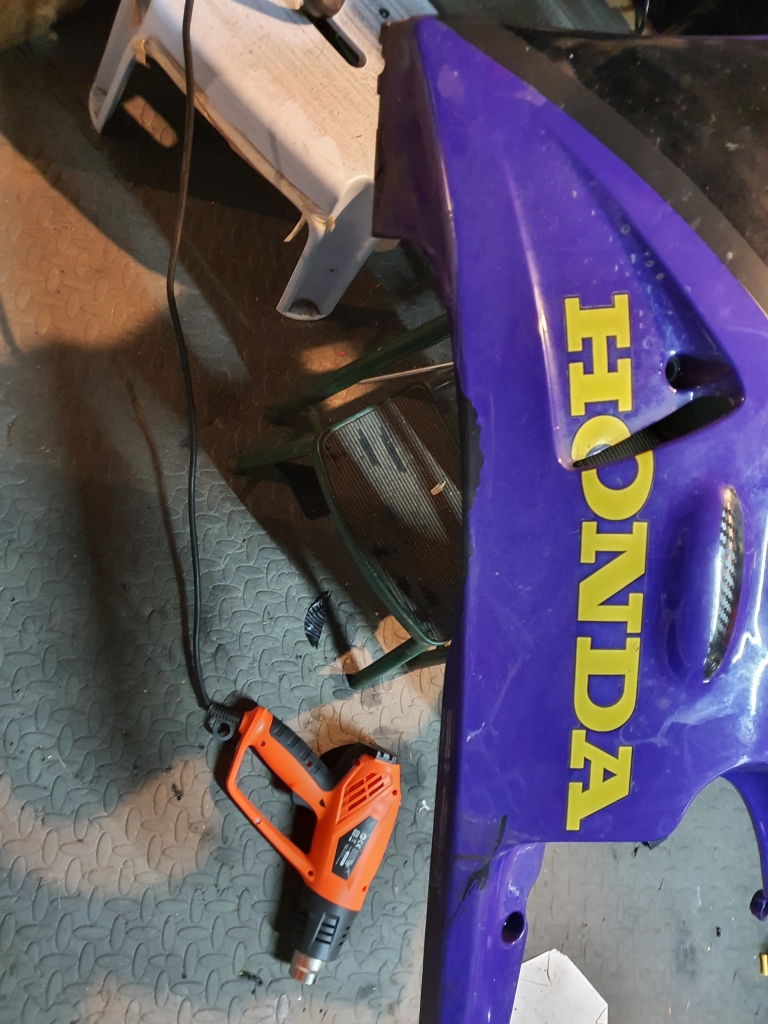
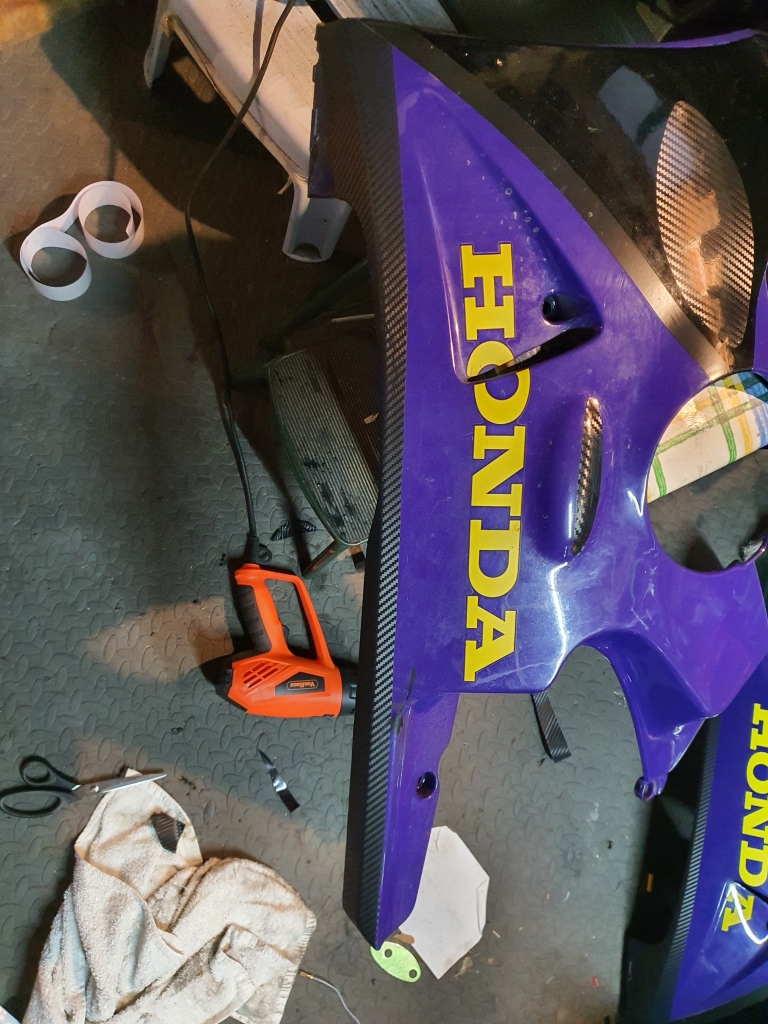
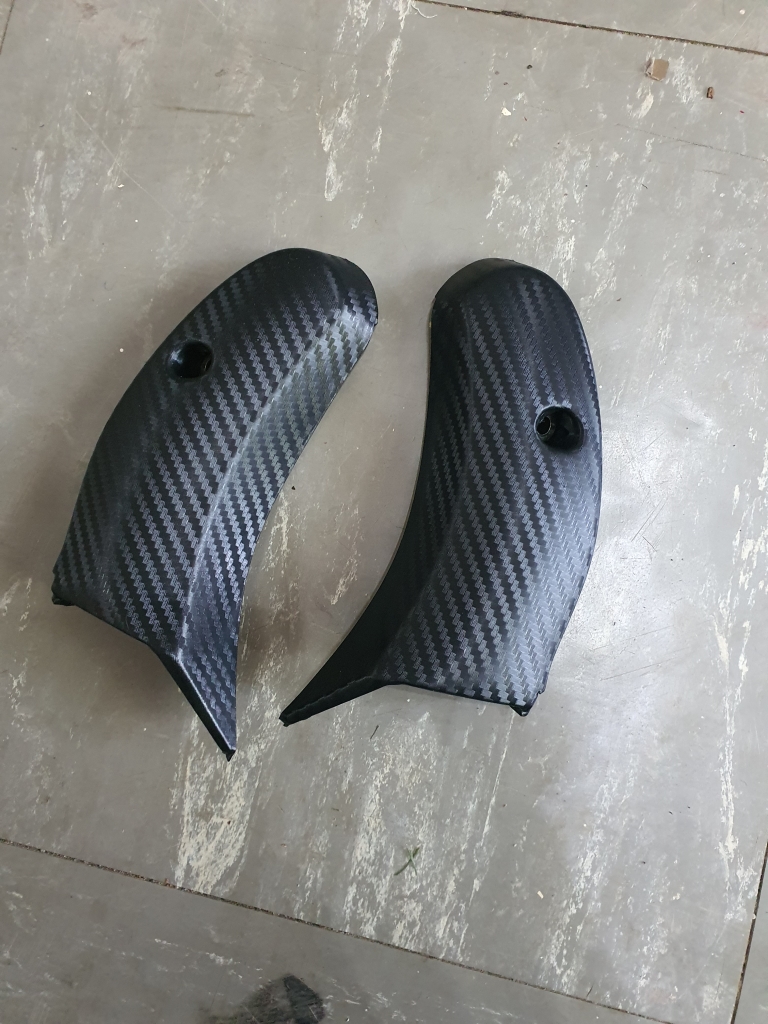
Next I wanted to get rid of these mirror covers on the new mirrors, as getting them to seat nicely was a right pain, and they kept slipping back out.
Quite like the clean look:
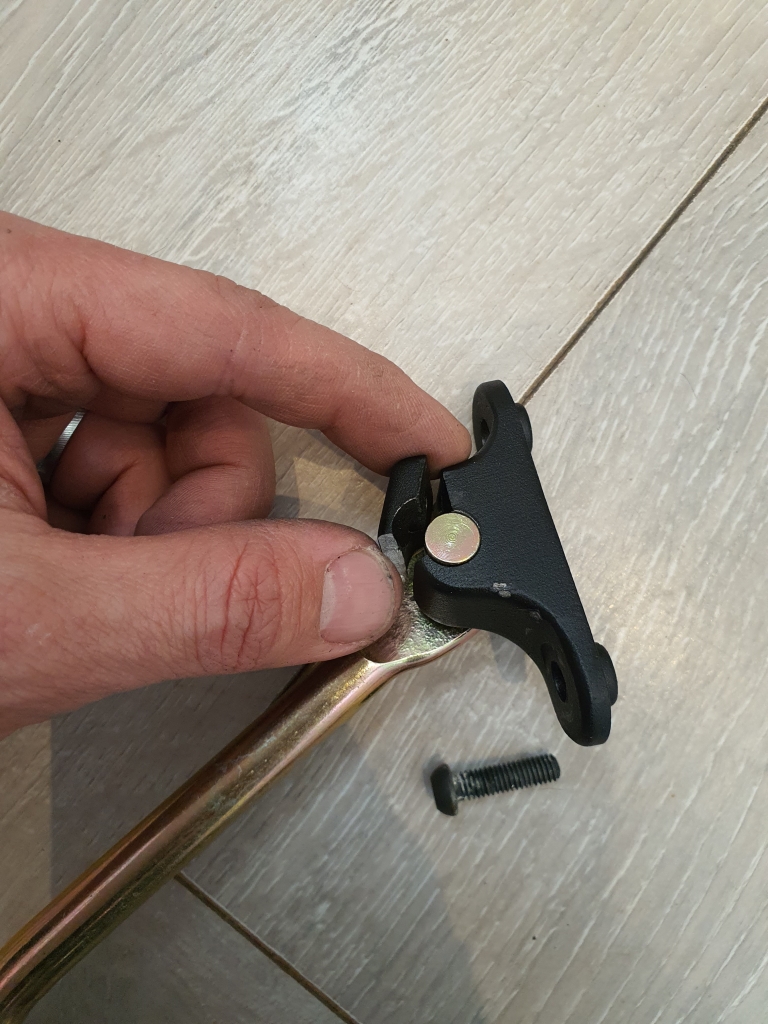
I decided to paint them black where I could, so tried to get the mirrors out of the mounts, and managed to do this:
DOH! Finest Chinesium!
Luckily the old ones were much happier with the abuse:
No problem!
Now it was time for paint. cleaned, primered, painted.
Mirror stalks were also under attack, mid primer application.
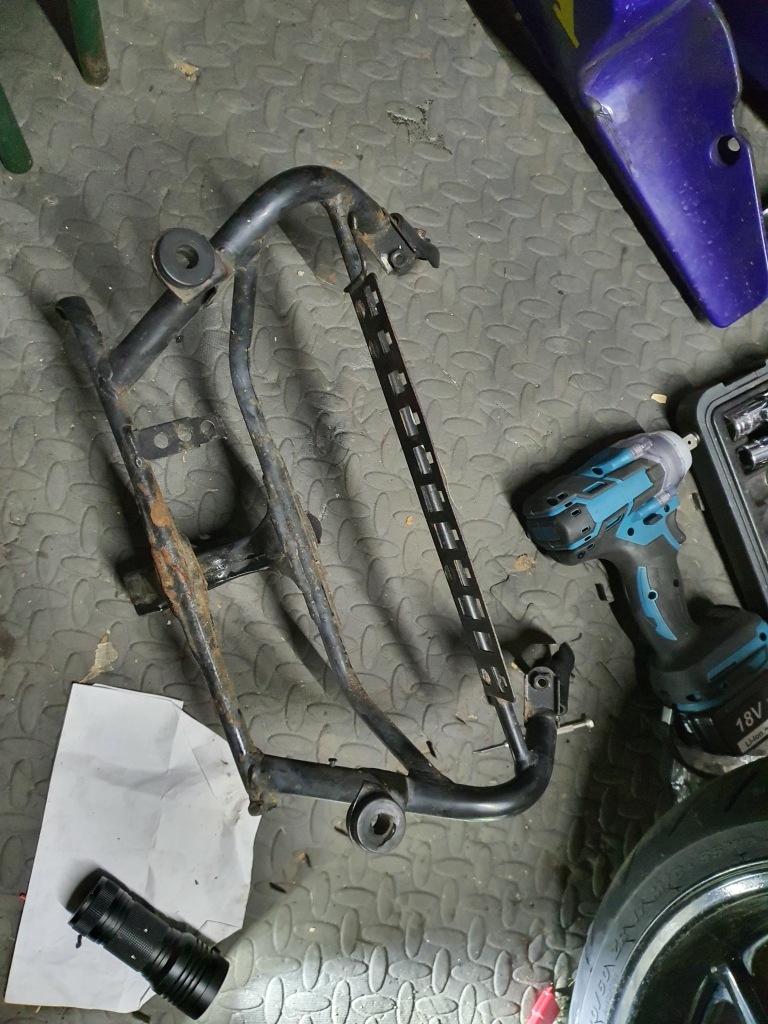
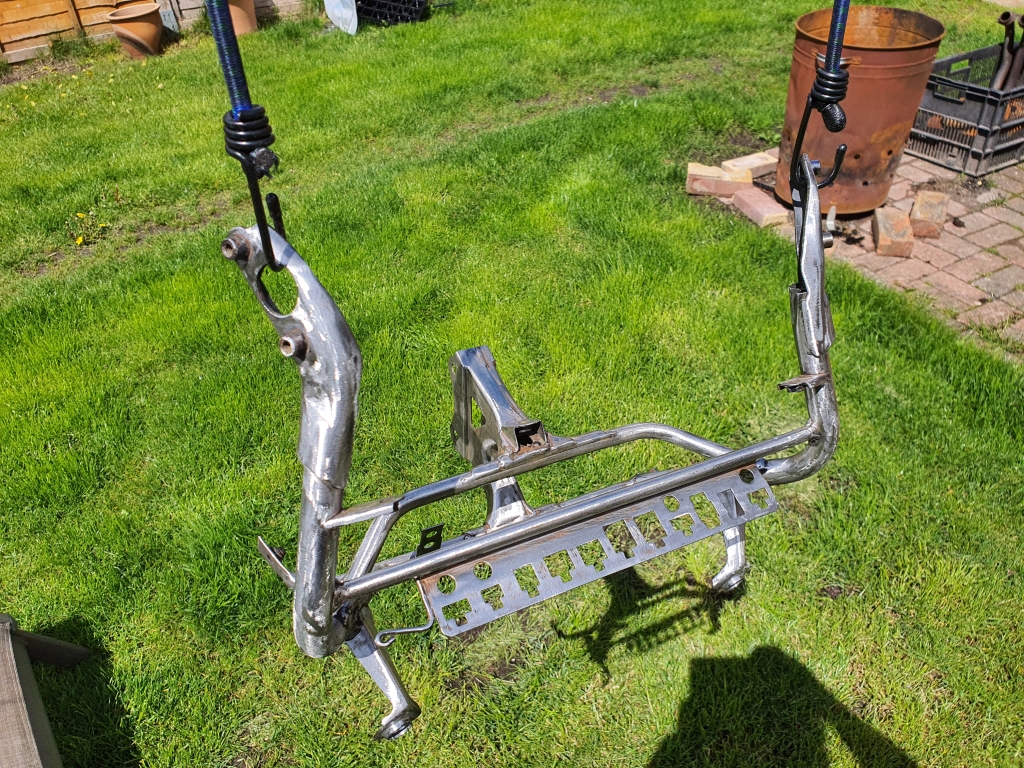
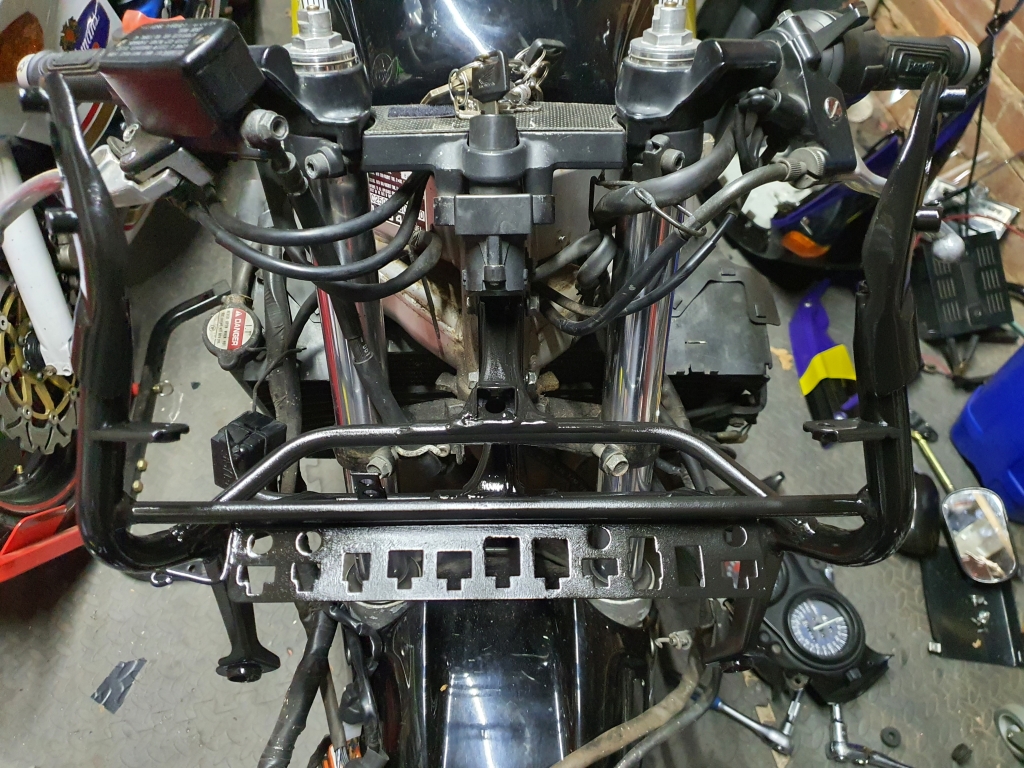
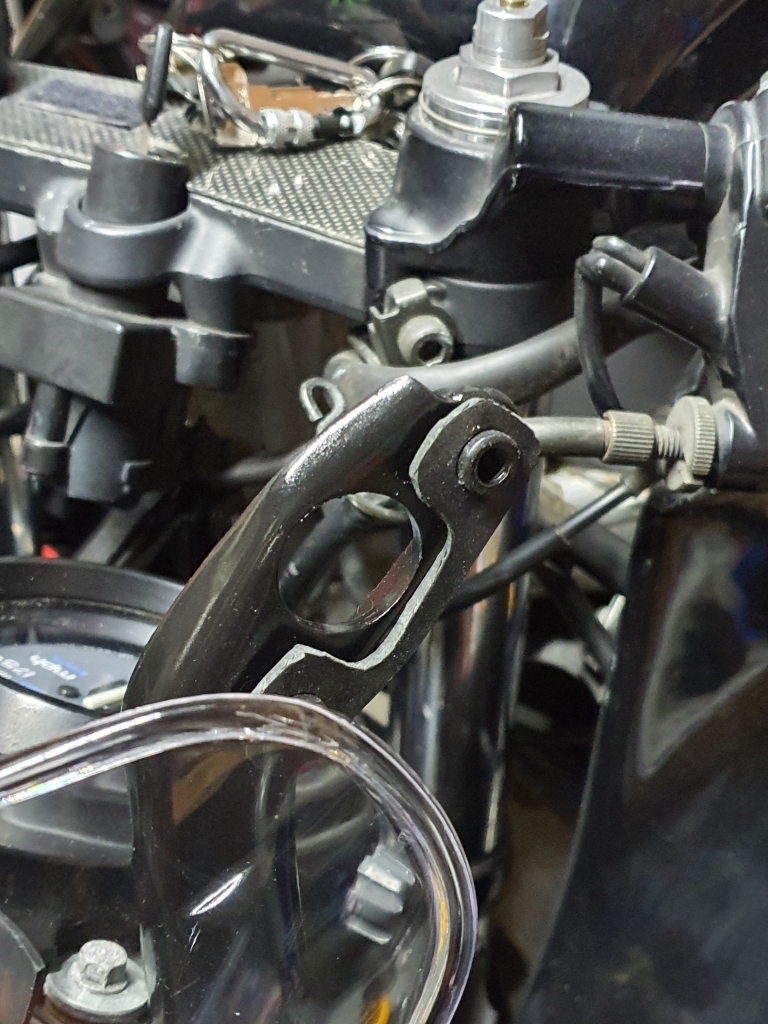
I the replaced the bulbs in the dash box with LEDs (because why not!) then I decided that the front fairing frame was a little too rusty to leave alone:
Off it comes!
Not the best looking!!
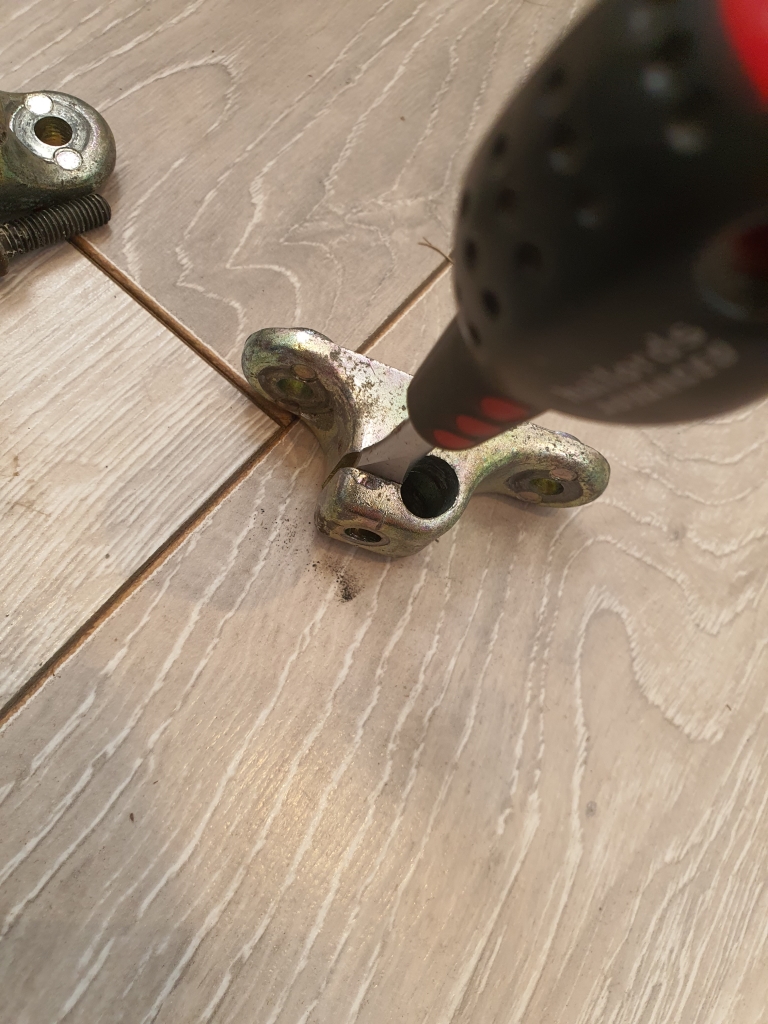
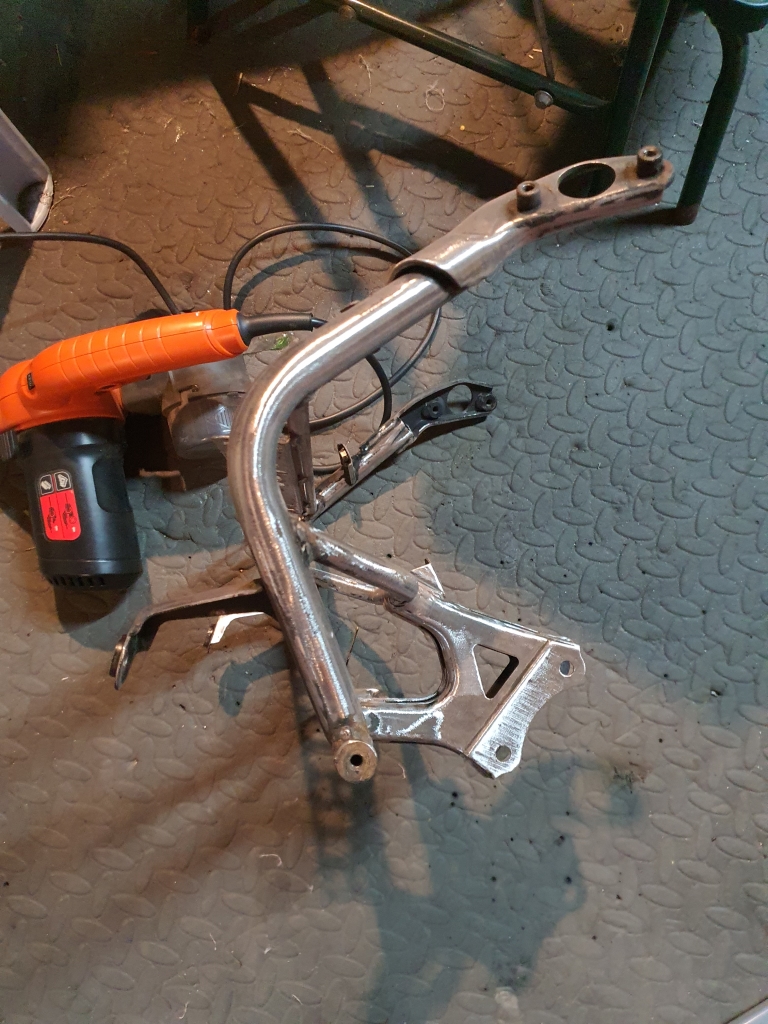
Started to attack with a finger sander:
Spent ages removing paint all over with a selection of hand tools, drill bits, sanders/etc.
A few hours later, I was bored, and then the paint turned up! So I did a little more tidying up in difficult spots with a tiny file, before painting!
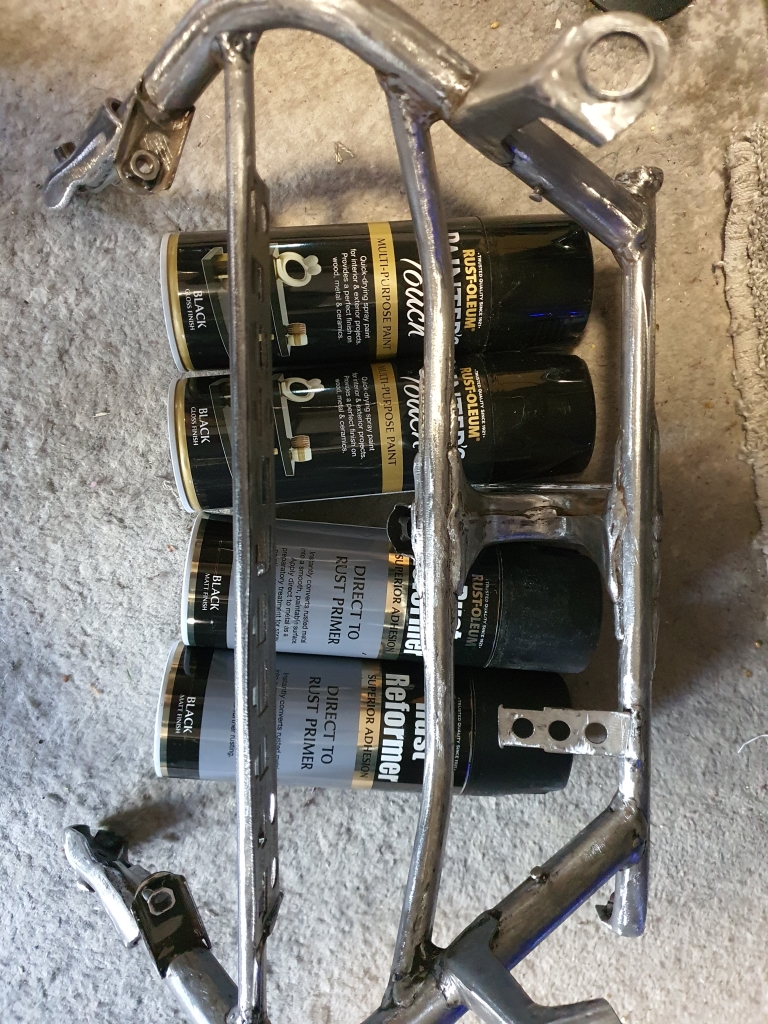
I decided that the Hammerite single stage paint was not really ideal, and the drying times were too slow, so this Rustoleum stuff came highly recommended. I used the straight to rust primer to protect any of the little spots I failed to get to (not many!)
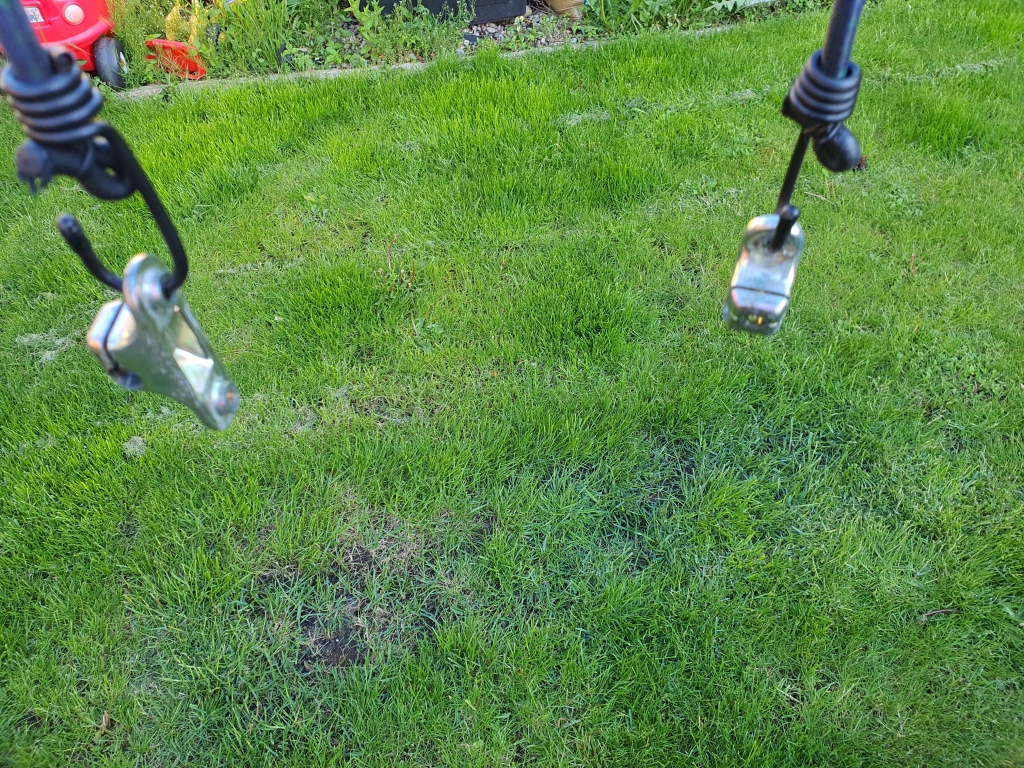
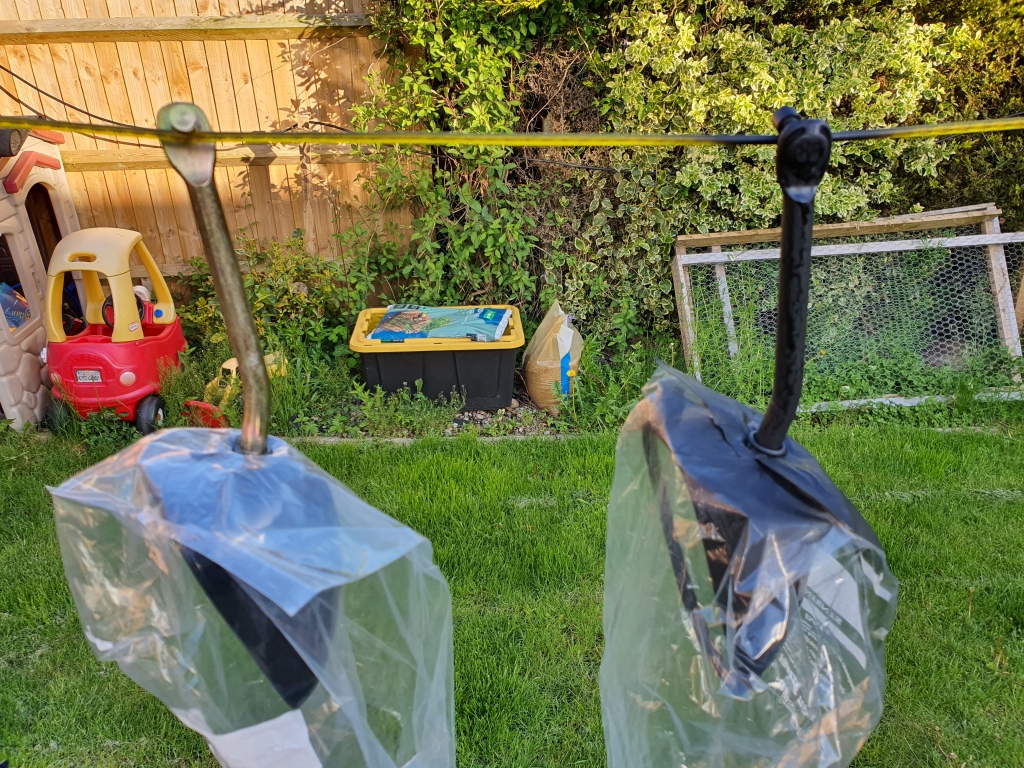
Cleaned, and hung up
primer
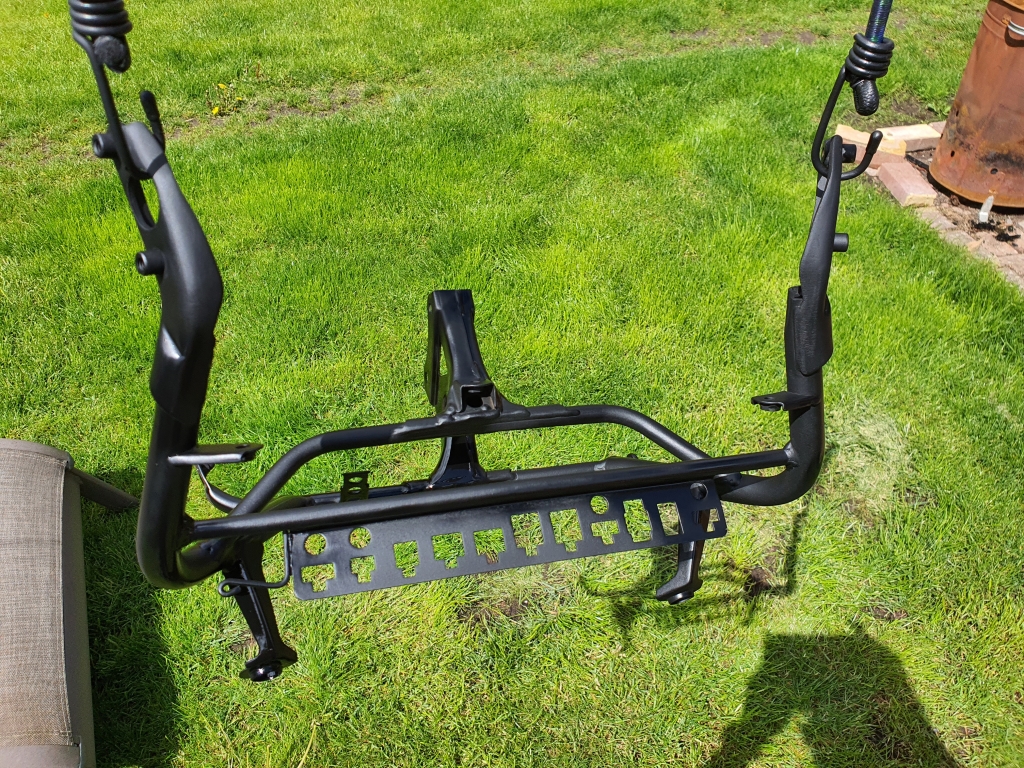
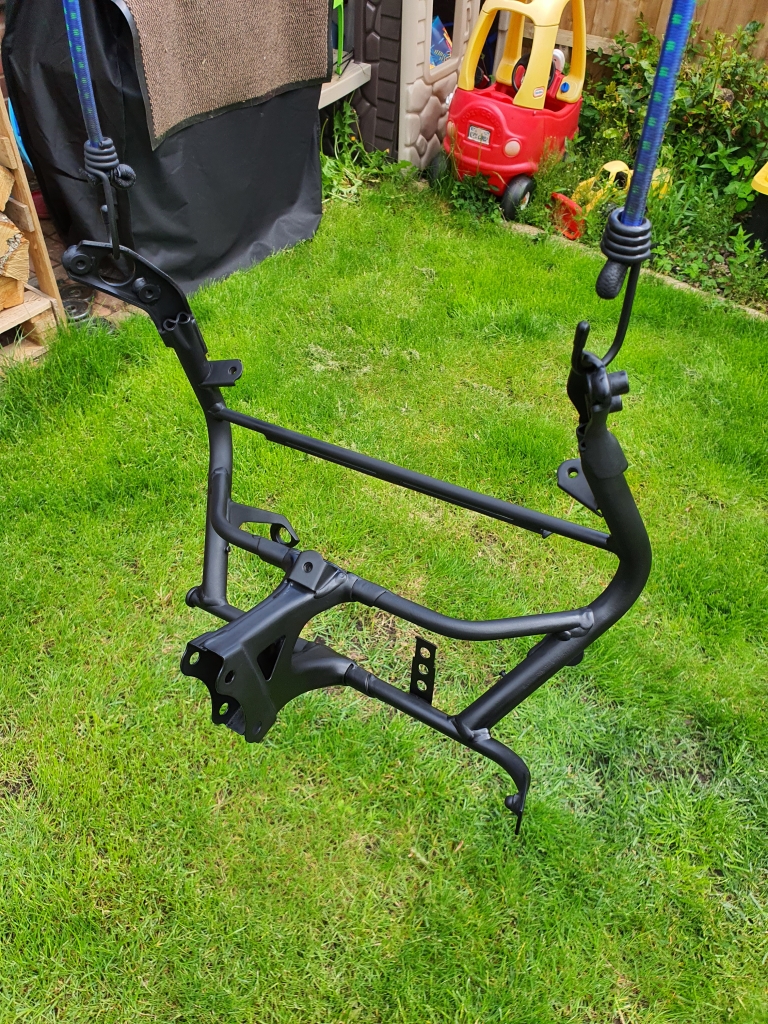
I was half tempted to leave it! It looked great, and seemed quite hard, but seeing as its going to likely get wet/collect water in a few places, I did then paint it with the gloss black single stage paint.
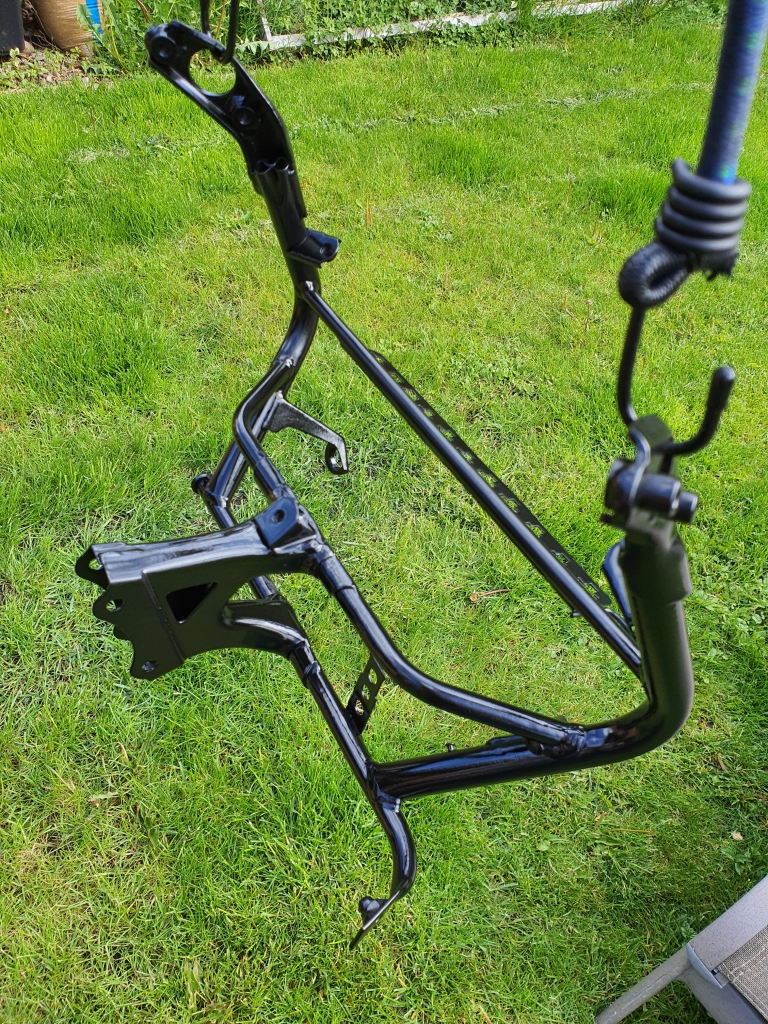
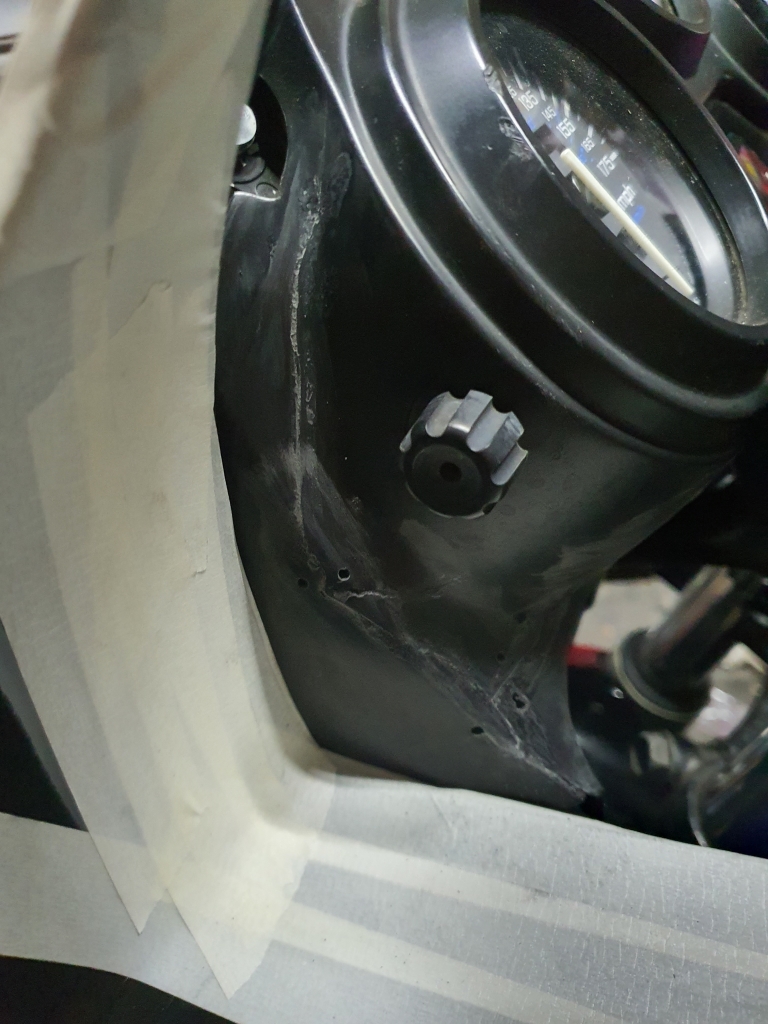
Couple of coats in, pretty happy, and then fitted!
Much better!
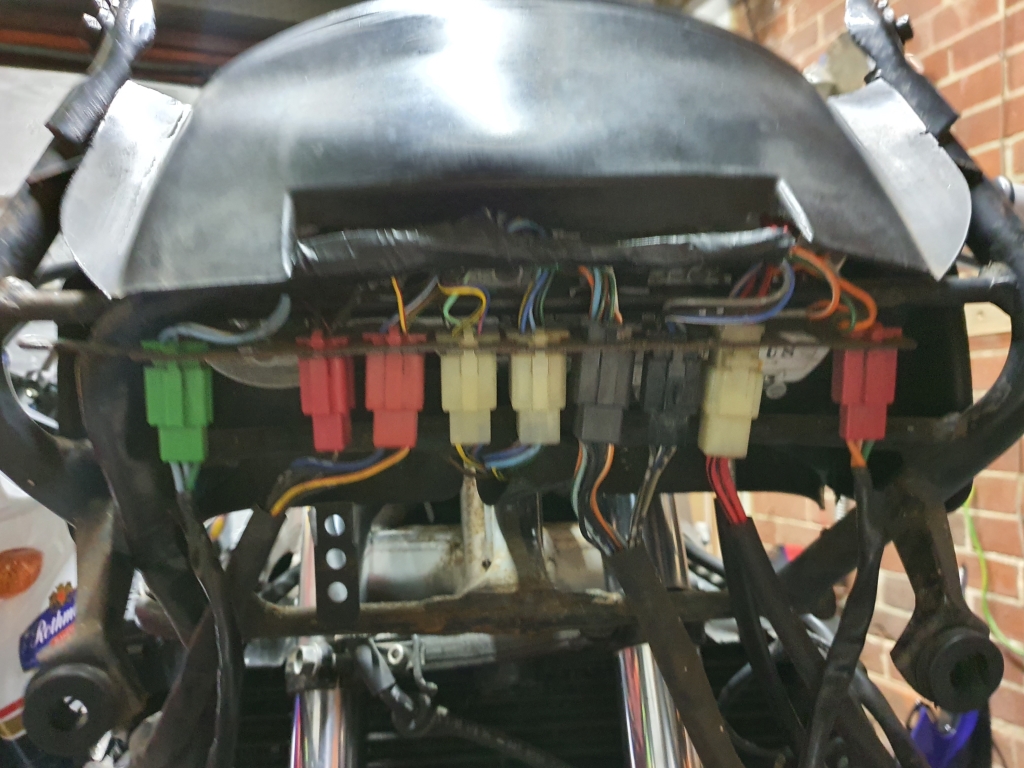
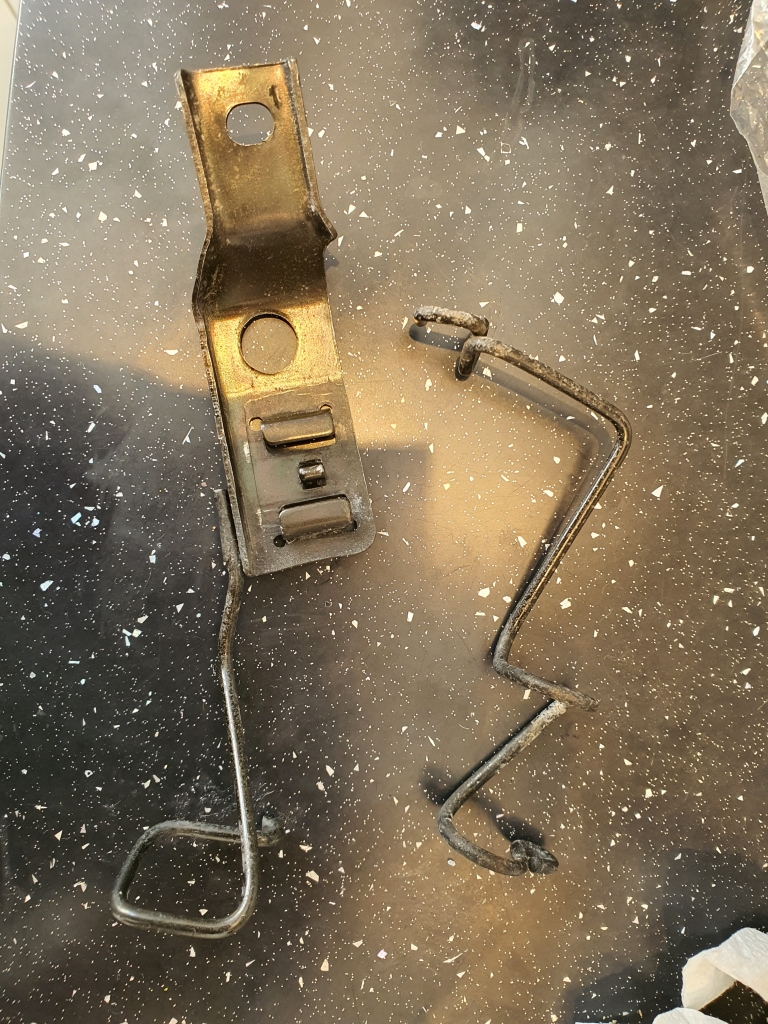
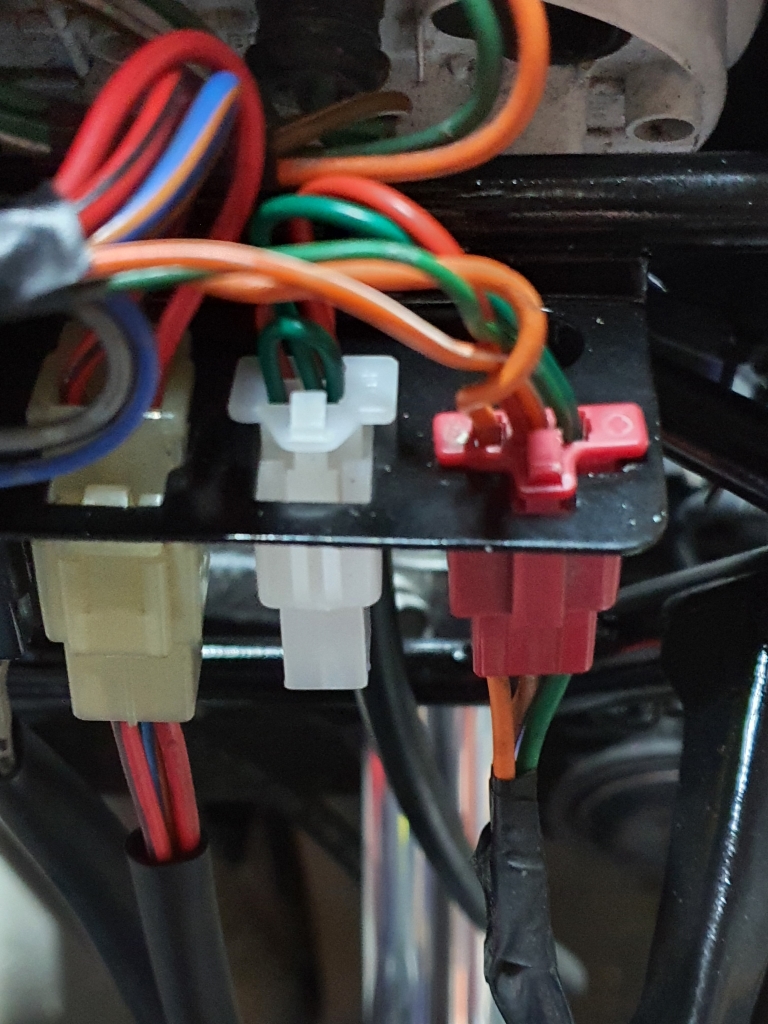
These little fuse cable guides and fuse holder were looking a little off now the other bits were painted, as they are a little more protected, I just primed them. I figure its a nice little way to see how their hold up, and they can be easily removed and redone if they go wrong!
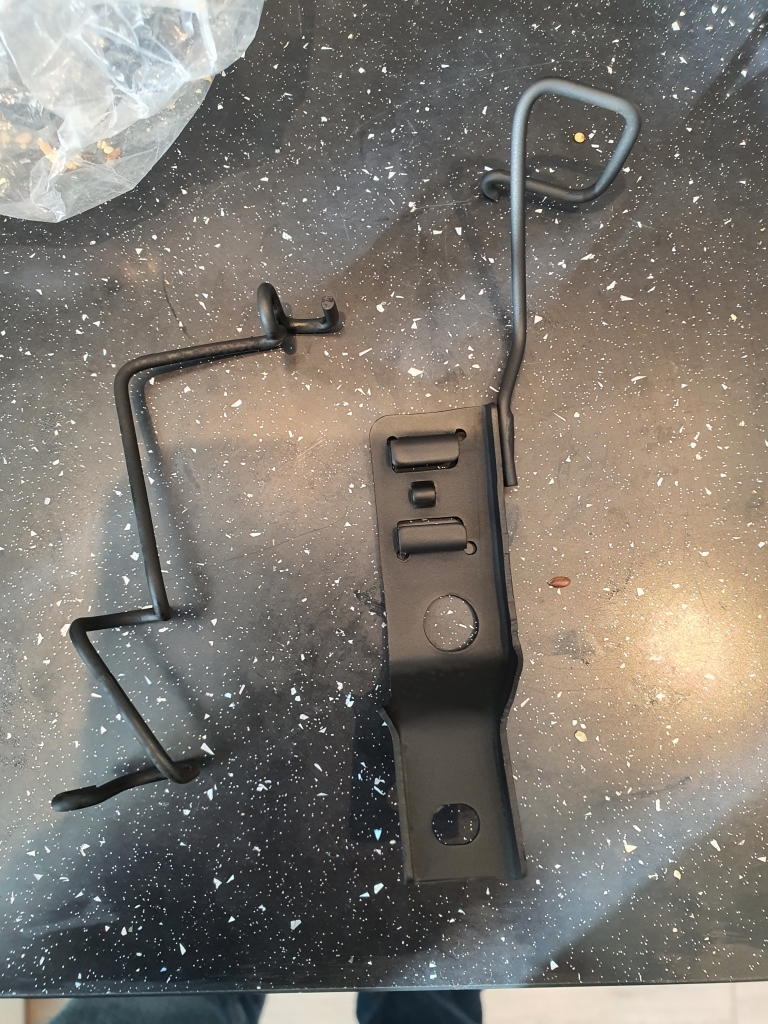
Painted:
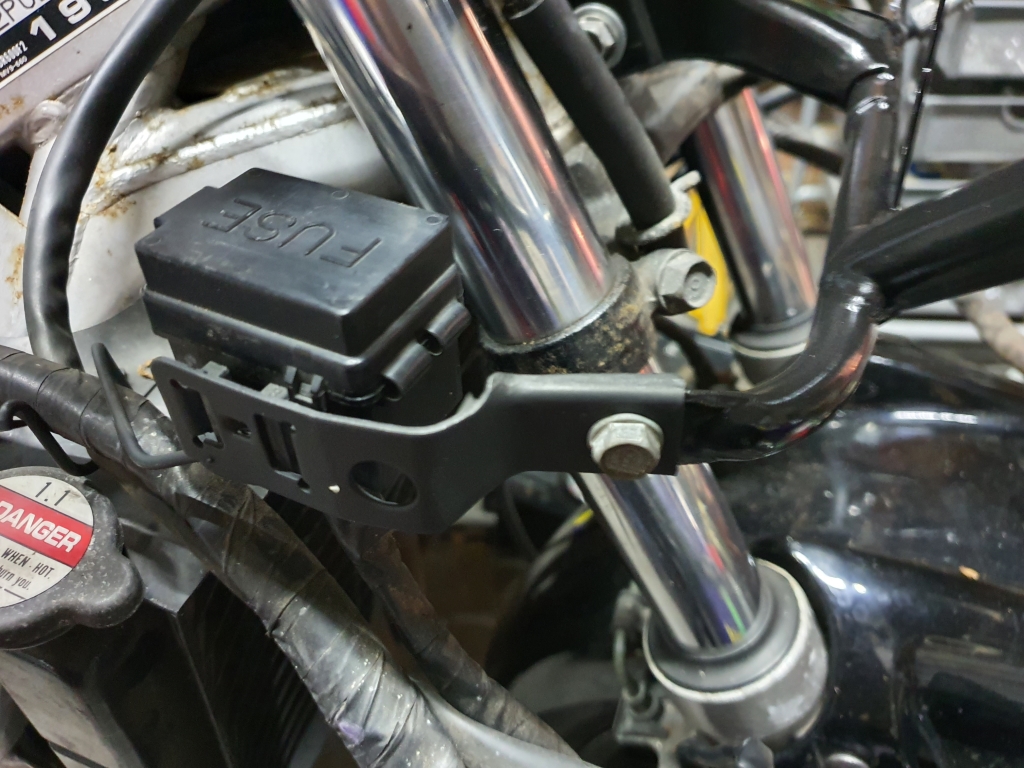
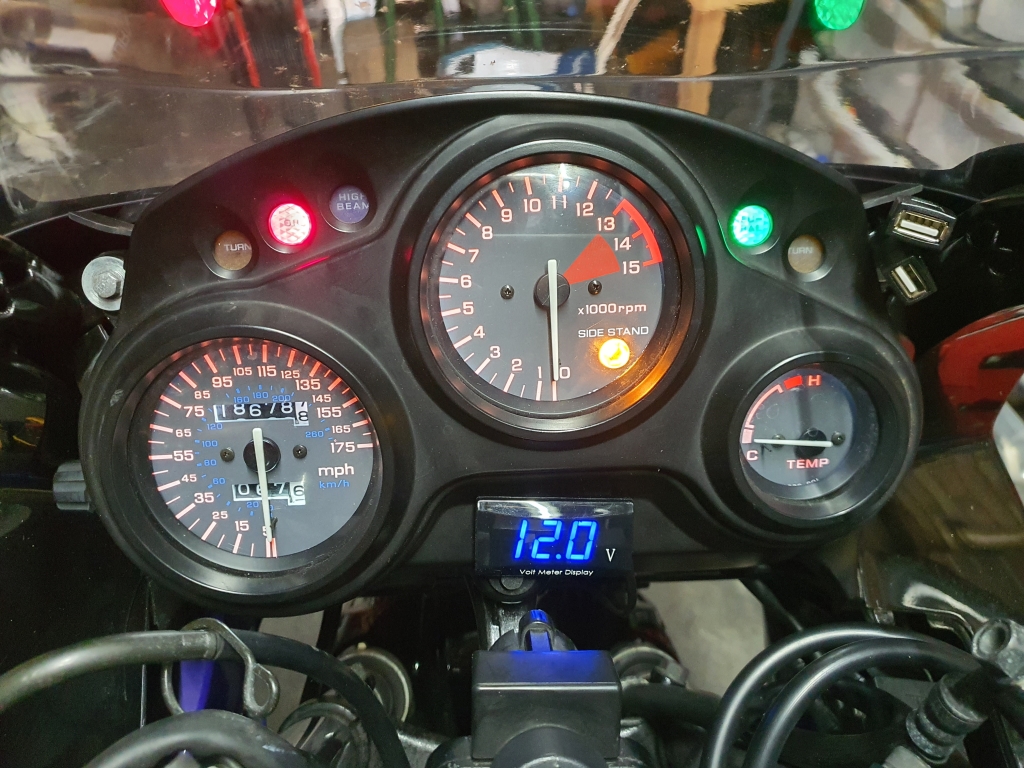
All going back together, and then tested that all was working! I am toying with the idea of using the 2 spare cable holders in there to daily chain a couple of plugs, to an ignition live and run a couple of accessories from the 12v+ without it looking too untidy, or adjusting the original loom.
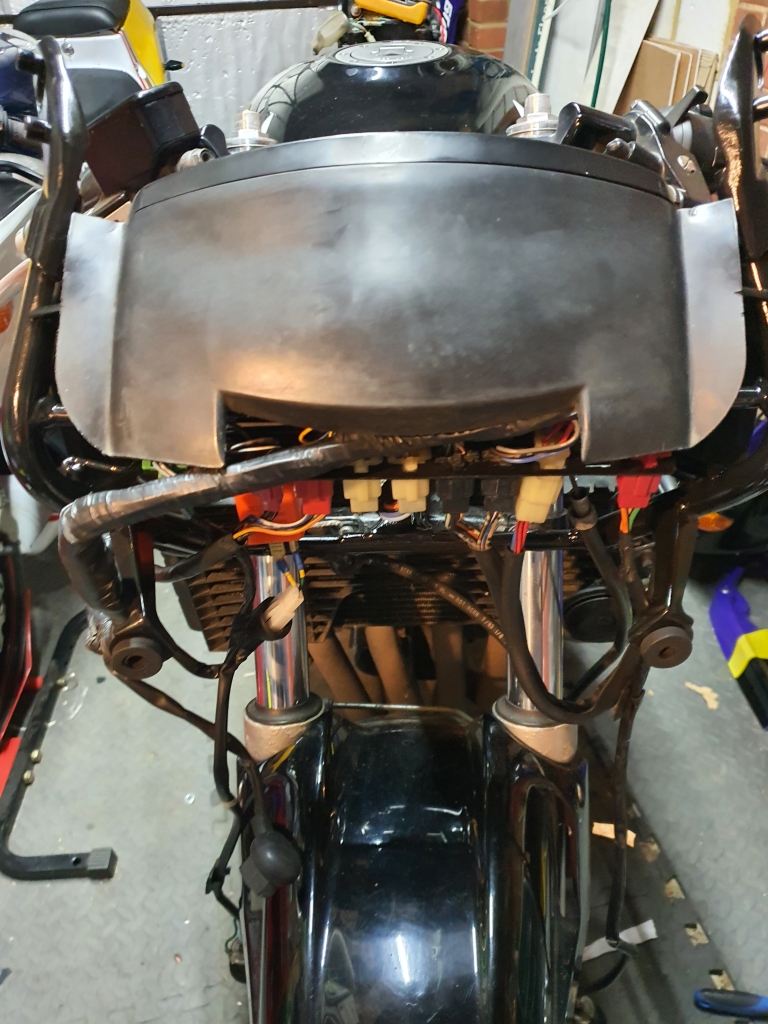
Clocks back in! Wish I knew how to tidy up this shroud, its a floppy rubbery thing. Any ideas?
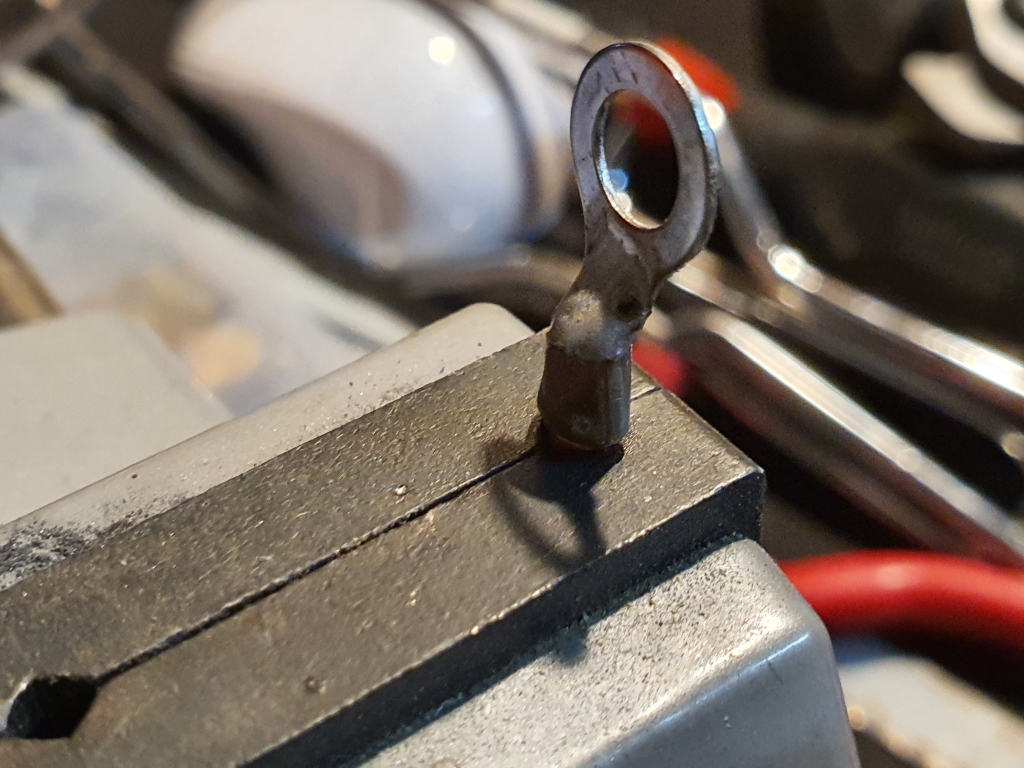
Talking of wiring, I also knocked up a charging cable for the unit. Snipped off some alligator clips off and soldered them up:
Finished up, shirnkwrapped, and then not fitted, as I had a new battery coming!
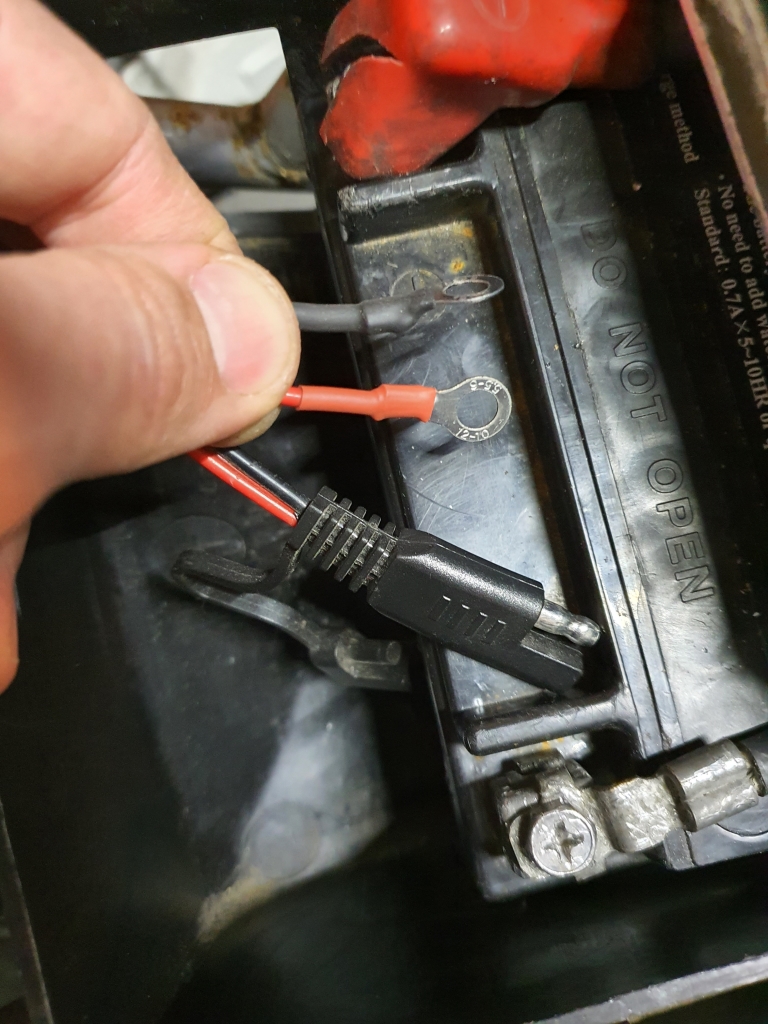
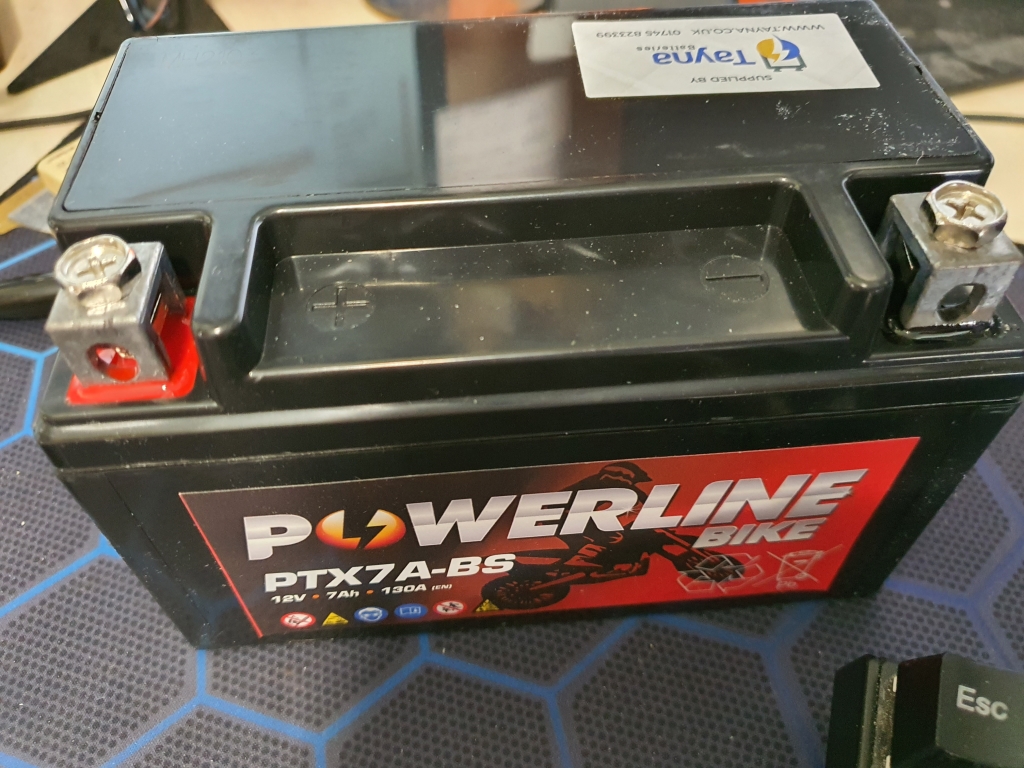
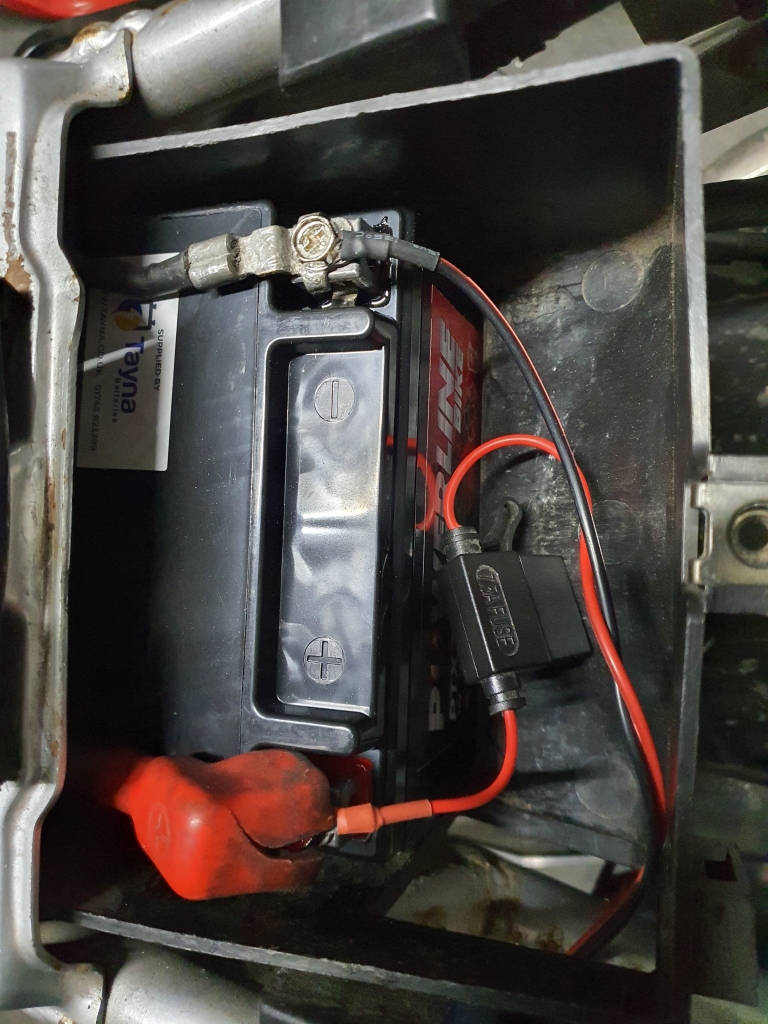
And here it is! Few more CCA and Ah
Sorted! Need to get a new Positive terminal cover!!
Now I am happy with the paint finish i can get at home again, there will be a couple of other exposed metal parts that get the cleaning/painting routine to just to clean up the overall finish.
I will want to get the frame stripped and powder-coated at some point, as its got a few little spots that I would want to clean up, but cant really do without total dis-assembly. For now I want to get on with riding it! So, it will have to wait