Custom build Log - Thermaltake X71 case (With Modding) Project no name.

Associate
Joined
24 Feb 2017
Posts
82
Location
uk
Hey Guy's

I have started a new project (no name) in the x71 case. I am going to be modding the front of the case and adding temper glass. It will have a dual loop two pumps two Res and two 360 rads, I am looking at replacing the motherboard tray and add my own plus a few little surprise a long the way. Also going to we extending and sleeving all cables.

Components.

CPU: i7 4770K overclock to 4.6
RAM: Corsair vengeance Ram 16gb
GPU: Zotec 980ti
PSU: Corsair ax 860
WATERBLOCKS: EK
2x Pump: EK d5
2x RAD: EK 360
FANS: 7x 120 Riing 12 thermaltake RGB
FANS: 3x 140 Riing 14 thermaltake RGB
FITTINGS : Thermaltake pacific petg 16mm compression.
FITTINGS : 3x EK pass through
HARD TUBE: Thermaltake Petg 16mm


Was not sure if I should use 2x 140 or 3x 120 fans still not sure what do you think?
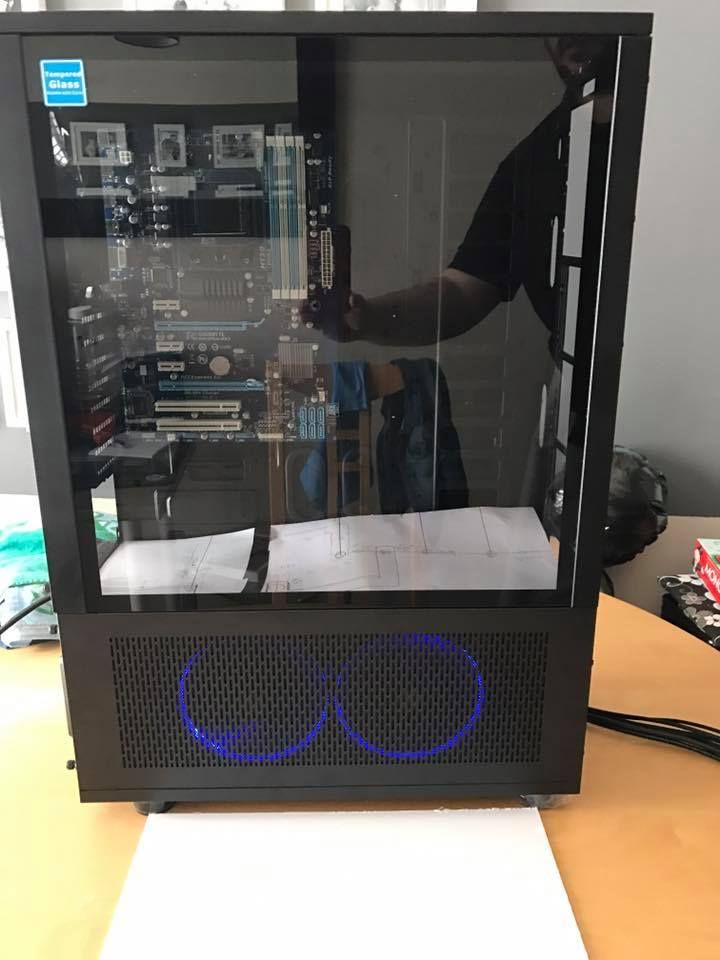
16997995_1301876643236636_1248765189986096513_n_zps9q8jmnnd.jpg


I like to draw out what I want to do and I took size for new motherboard tray.
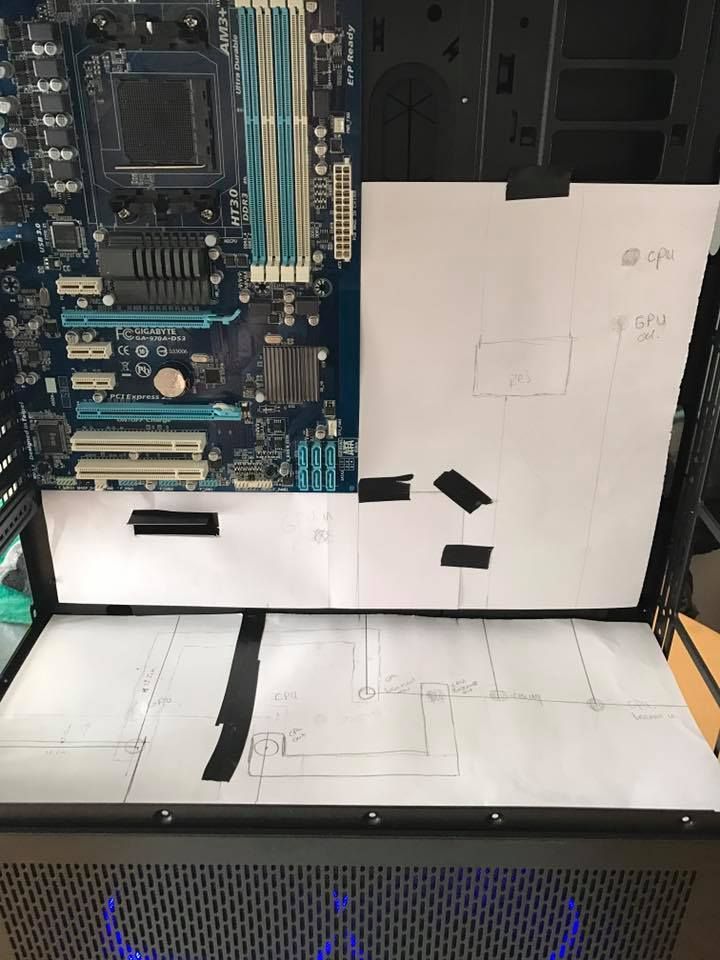
16998927_1301876646569969_7780935247742659796_n_zps1o4rjho1.jpg


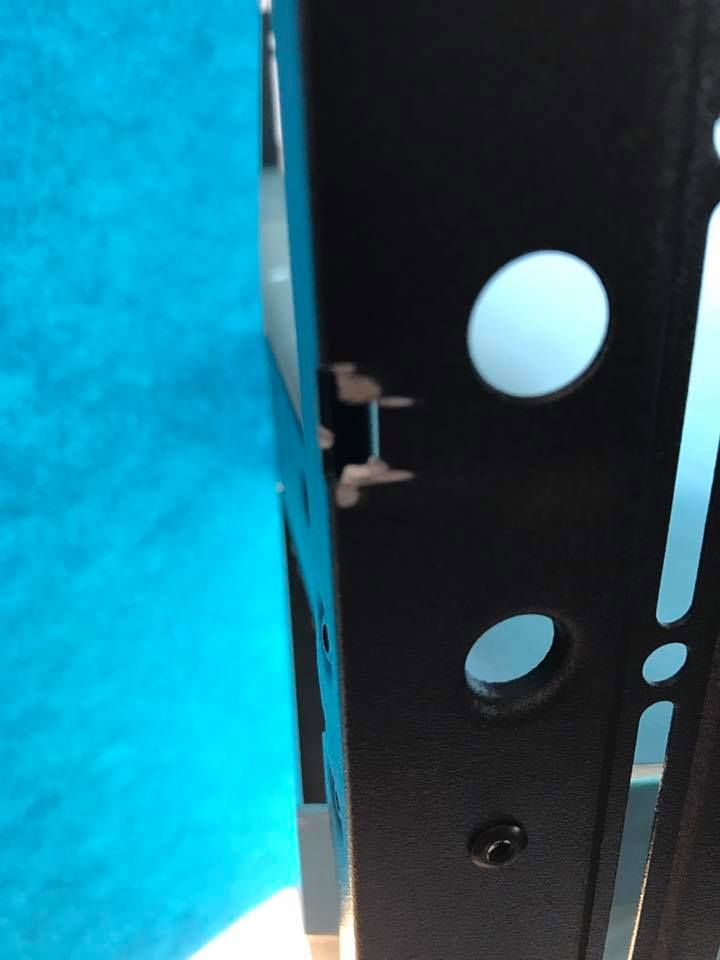
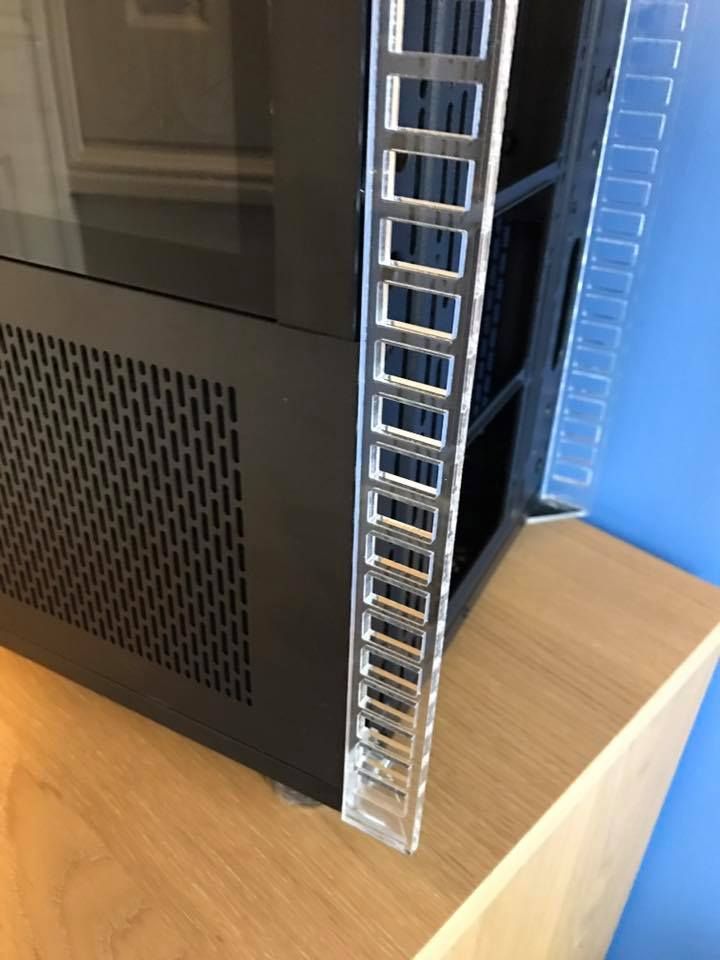
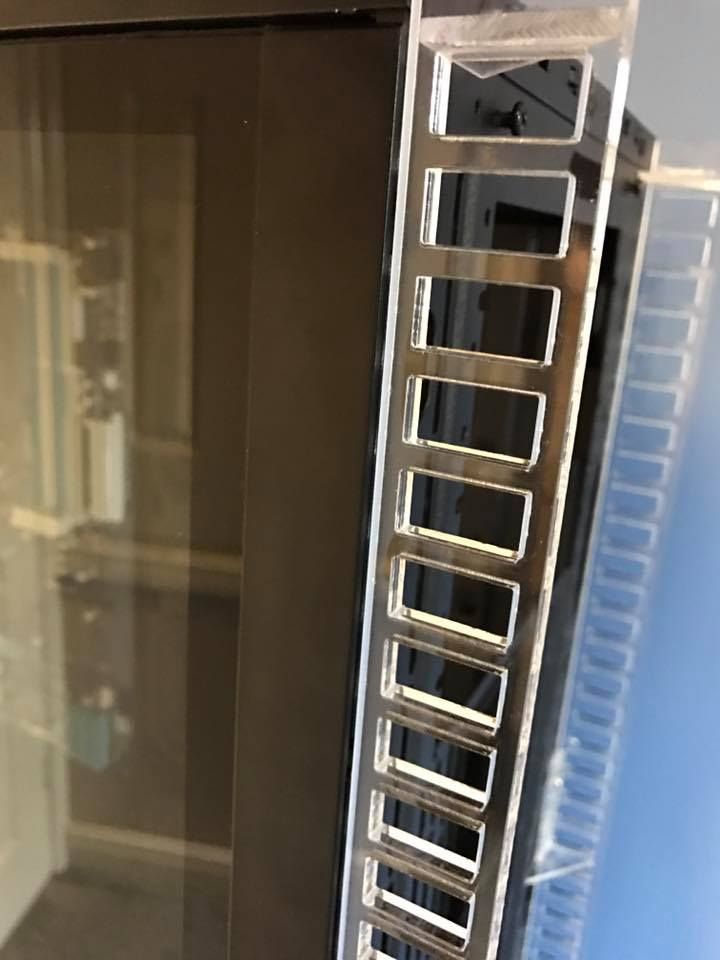
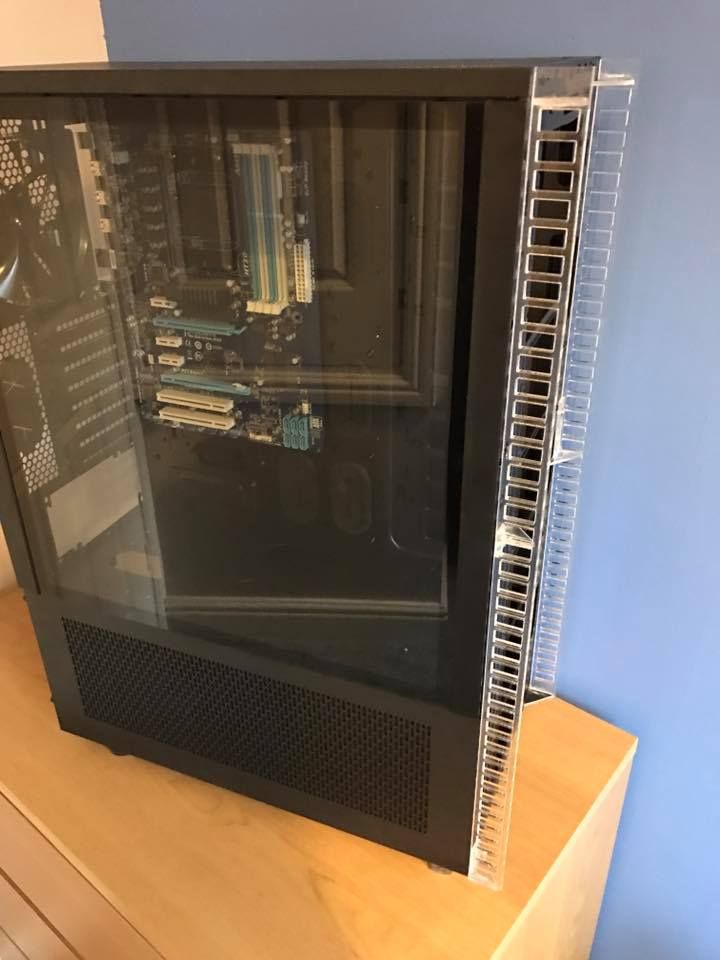
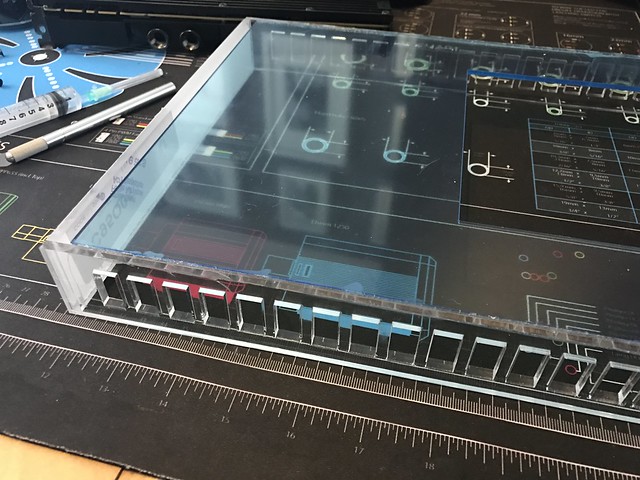
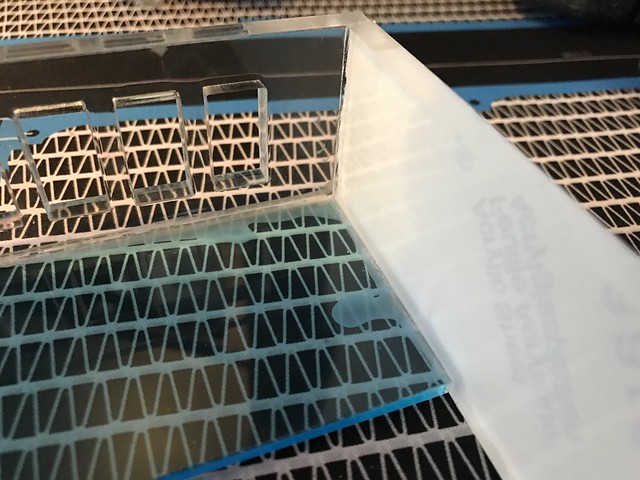
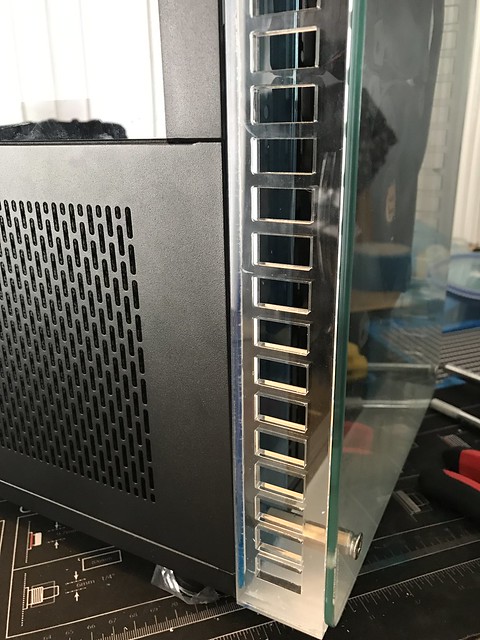
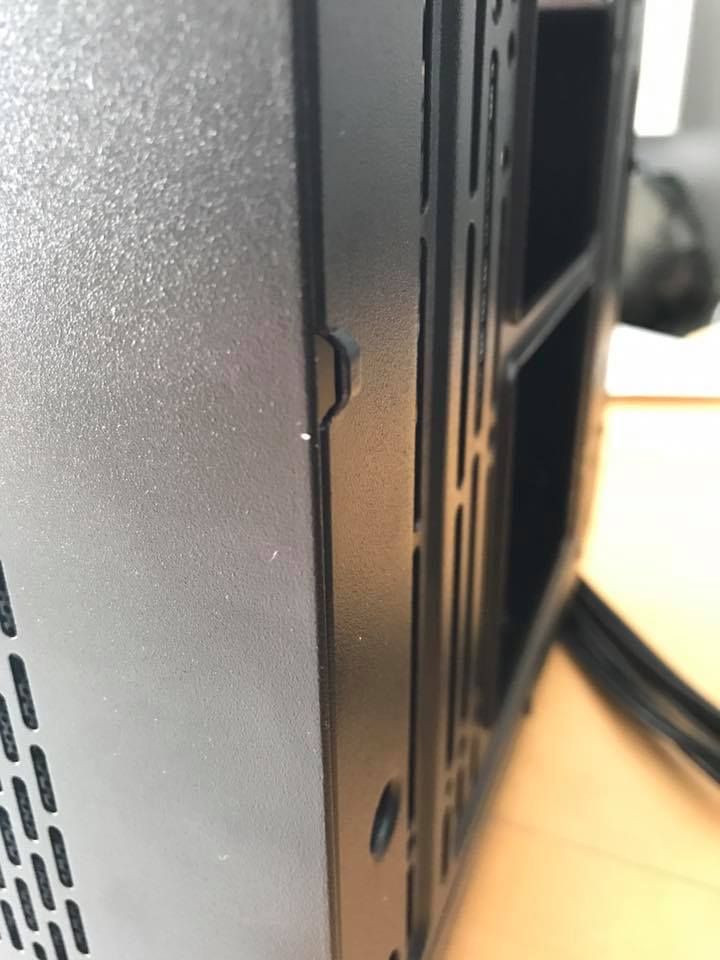
I did draw up some designs for new air intakes then got them laser cut. I had to cut some of the front case for them to fit. These are removable not sure if I am going to leave them clear or paint them.
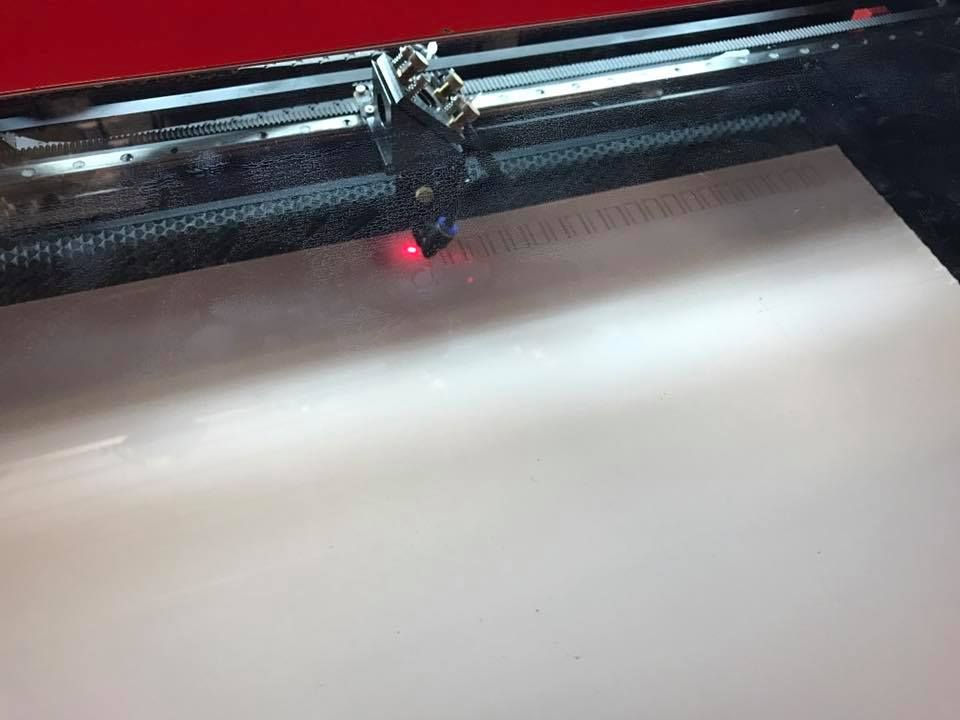
16684128_1301876579903309_1698262511755813451_n%201_zpsjn1ceuof.jpg

16939634_1301876586569975_4795992118718561829_n_zpsatsh1hnk.jpg

16806870_1301876576569976_4763509986663472095_n_zpst4o14sa6.jpg


17021930_1301876519903315_1843705610719218260_n_zpsj75oqvqk.jpg

16997771_1301876526569981_791118452331752868_n_zpsi103ejg9.jpg

16939554_1301876523236648_1514971013046667225_n_zps44qfcfcm.jpg


This weekend I am hoping to drill out the rivets and start the motherboard tray. Sleeve the pumps and front panel connectors.

Thanks for checking out my mod any question or feedback let me know below.
 
Last edited:
Hey Guy's

Had a busy day today.

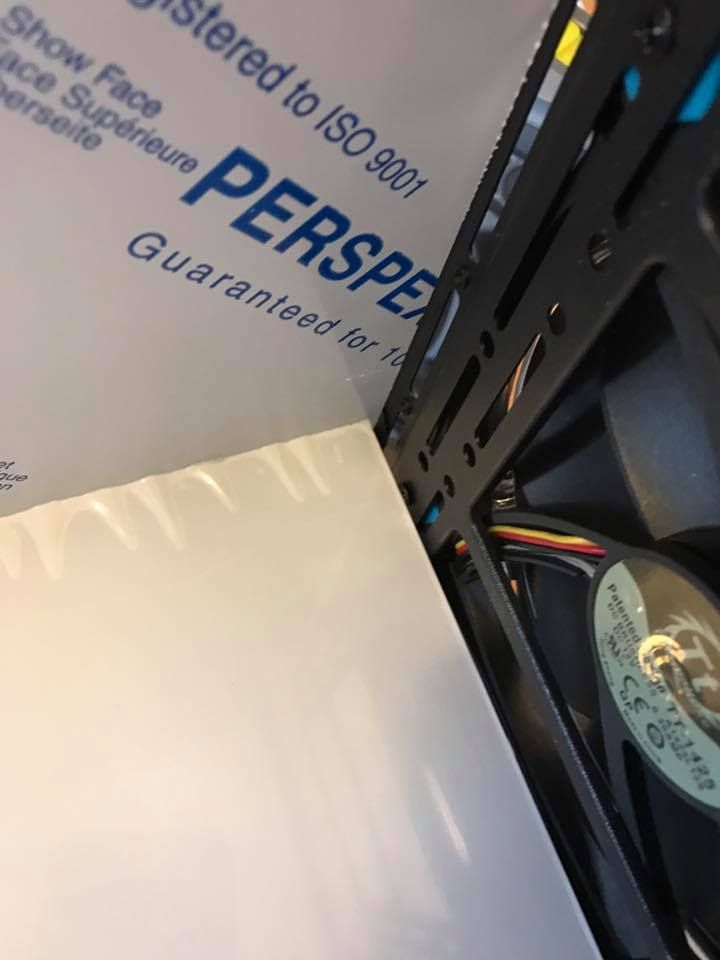
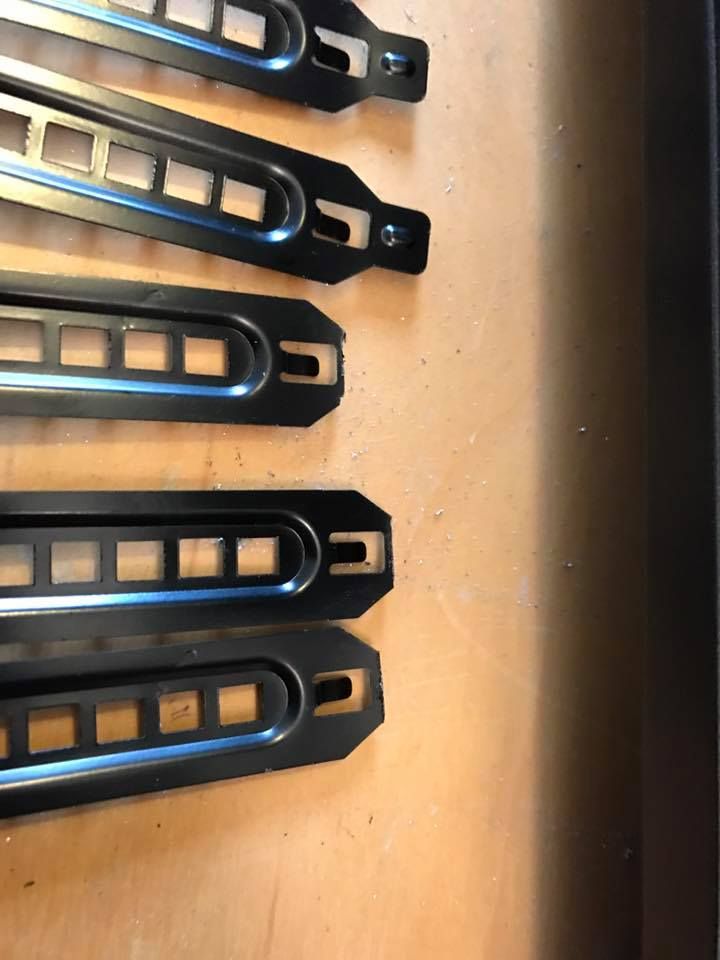
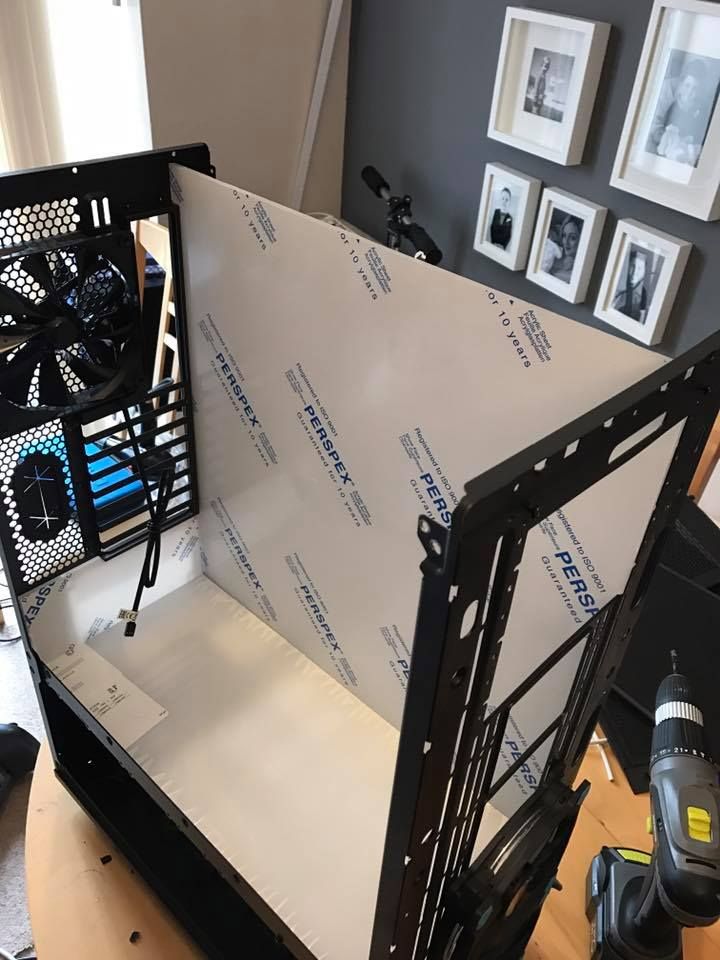
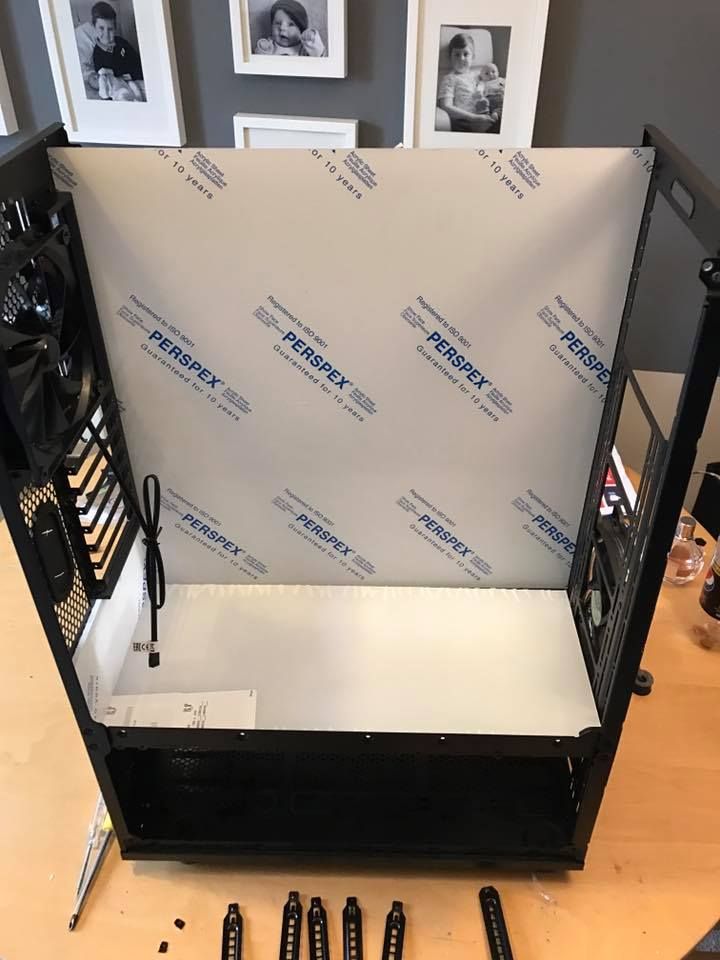
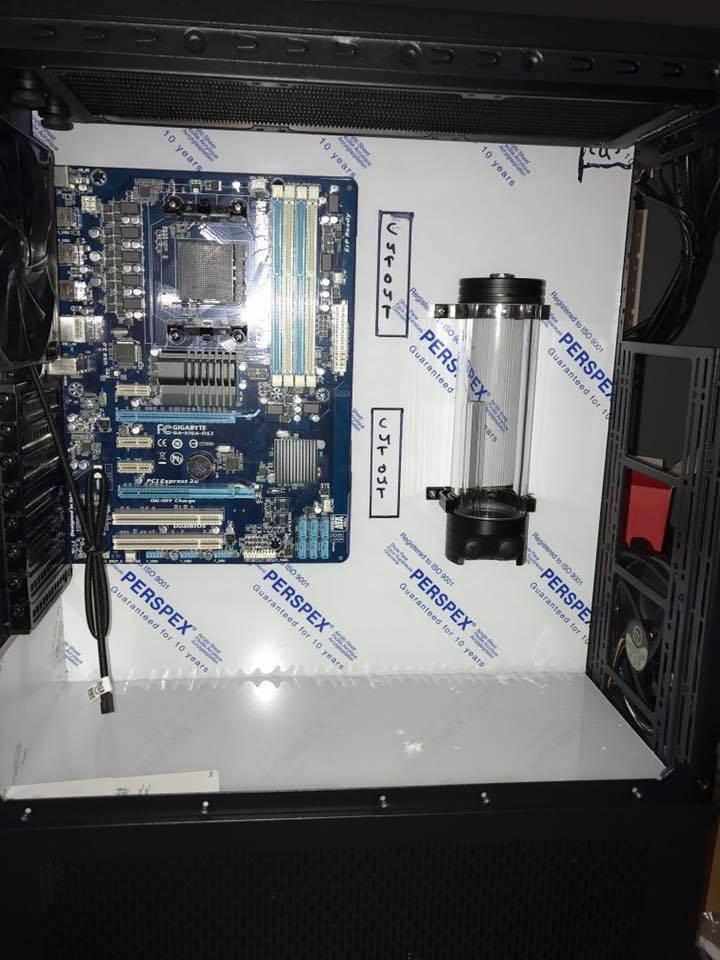
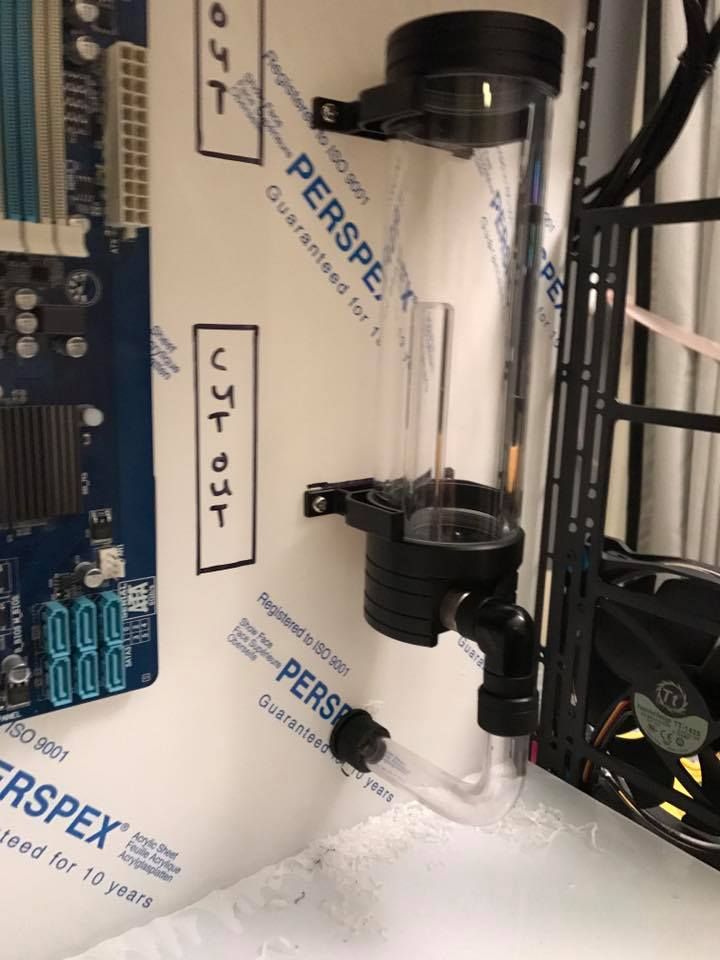
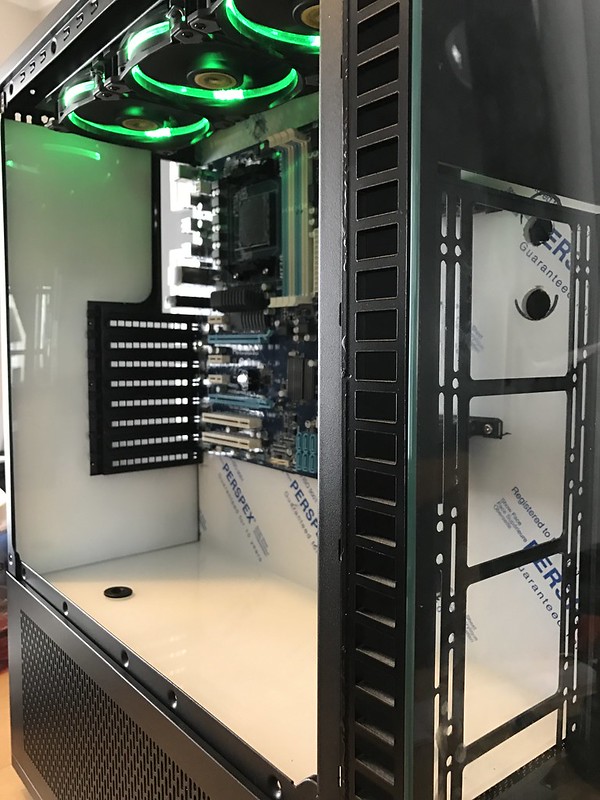
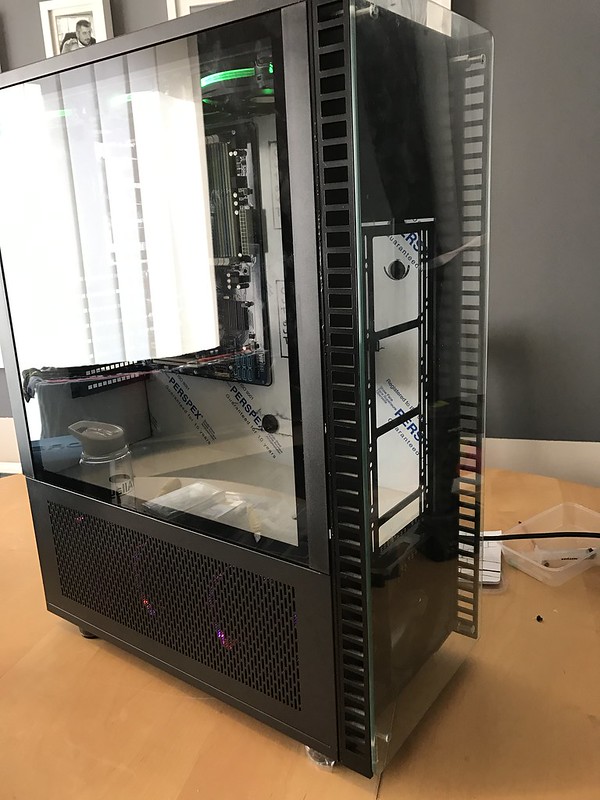
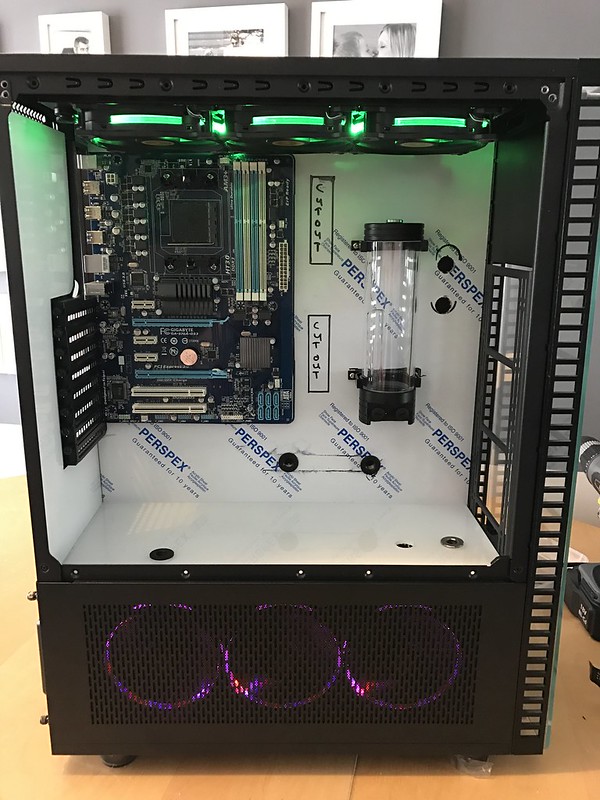
I have drilled all of the rivets out of the case and added all of the perplex. I have also got a few more parts for the build. I have started to mark out the holes and cut outs for the motherboard tray and I have added one of the reservoir.

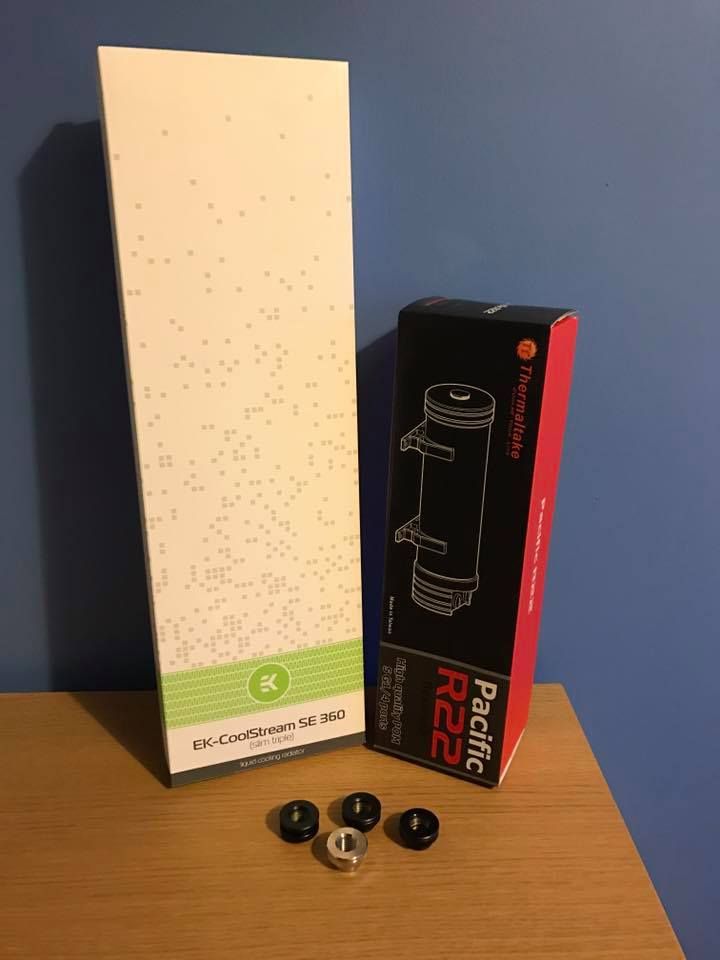
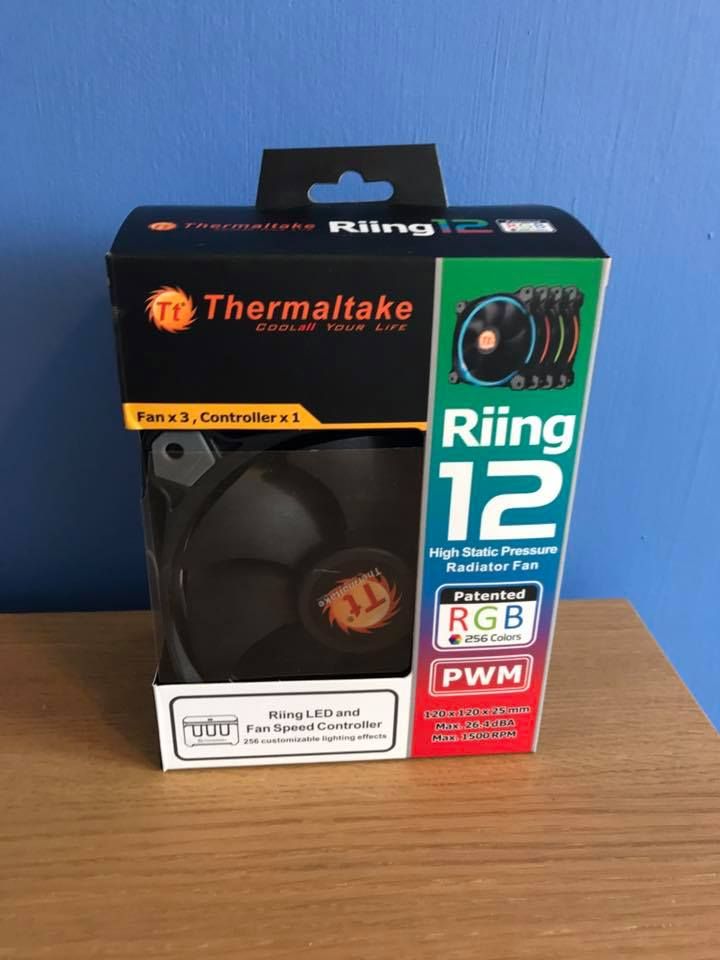
New Parts.

17200997_1315215238569443_8706295735729416501_n_zpsviff2gxz.jpg


17201425_1315215235236110_7223480663414397166_n_zpsgrjpo1wv.jpg

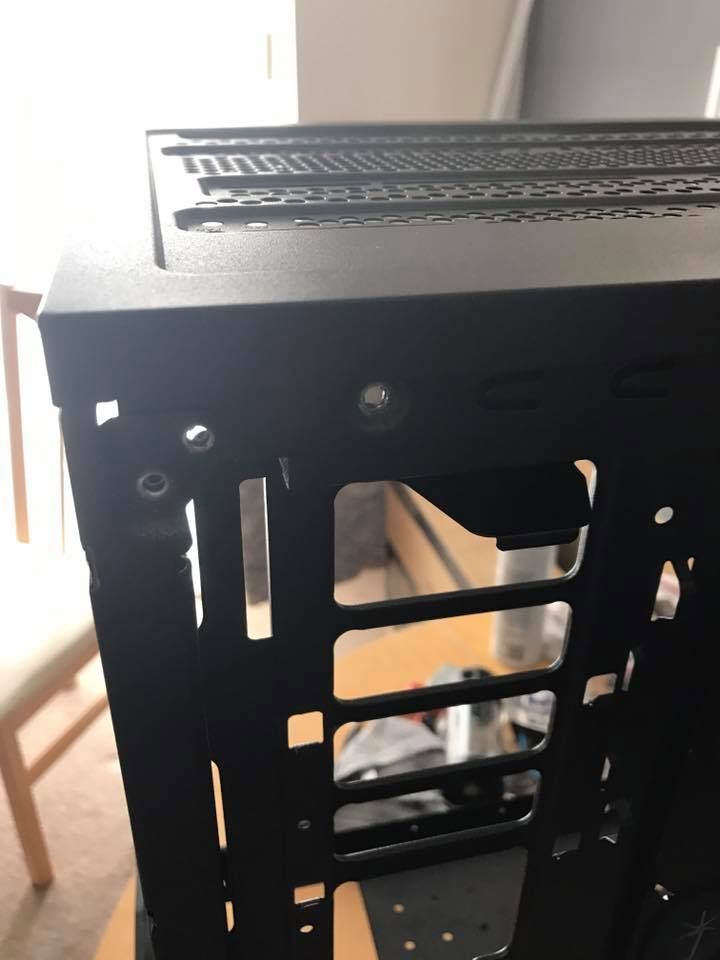
Started drilling the rivets.

17264562_1315215241902776_4058939845510658981_n_zpstilwebf4.jpg

17201046_1315215248569442_7569384771354948325_n_zpsaosnufcr.jpg

Missed one.
17265182_1315215321902768_1002436409399733681_n_zpshzhojtfg.jpg

17264824_1315215328569434_2638844338602926853_n_zpsxck6lfeg.jpg

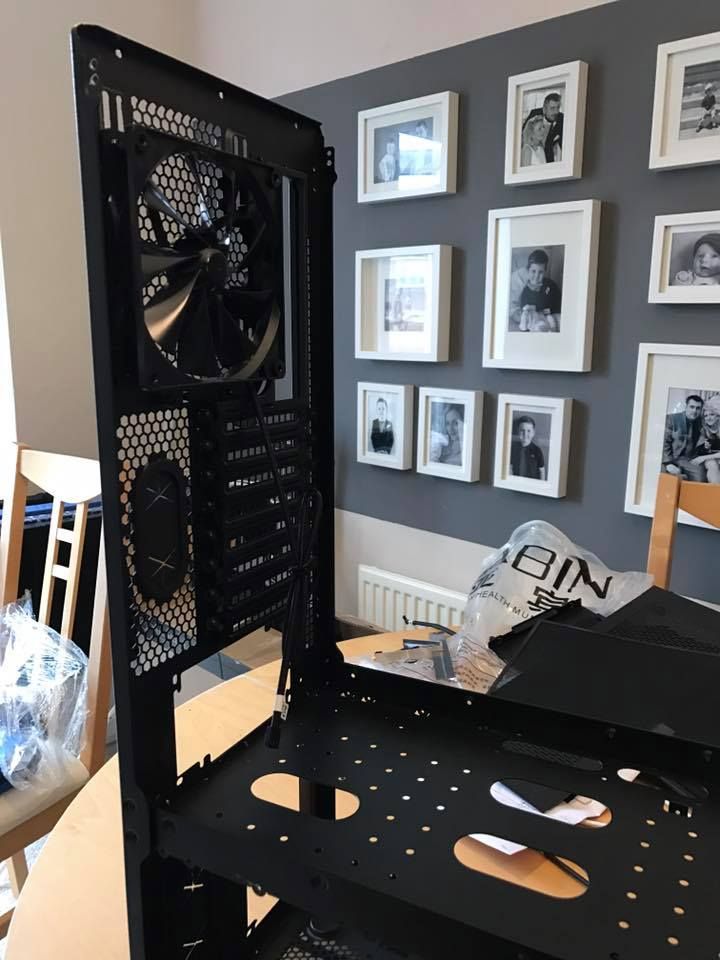
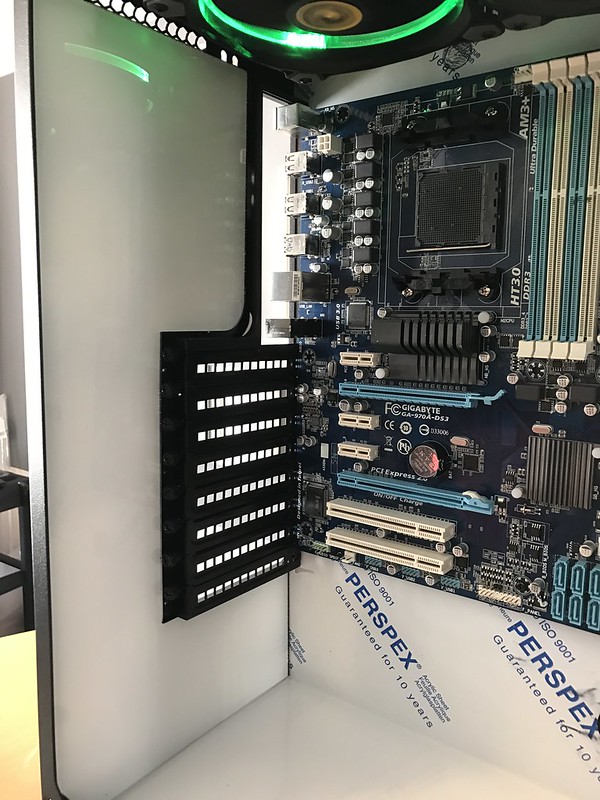
Had to cut down the PCIE covers.
17203208_1315215325236101_7748019265376501993_n_zpsvqjnnvhw.jpg

Added all the perplex.
17264201_1315215371902763_5468625038391877610_n_zps1cp2aikn.jpg

17103411_1315215368569430_8481423639360076722_n_zpsxtvdt2dl.jpg


Added the res.

17202829_1315215375236096_2761686812861528140_n_zpsbgcotnj2.jpg


Wanted to see what it would look with a bit of tube in.
17200996_1315215408569426_9208275377462509601_n_zpsn1ytsqhj.jpg

17200996_1315215408569426_9208275377462509601_n_zpsn1ytsqhj.jpg


Was hoping to have the temper glass this weekend but it broke while being toughen.


I will be starting the basement and the sleeven the pumps on sunday.
 
I know I keep changing my mind just I need to start the cables.

My last build was pink and black. Was thinking blue and pink, black and green, black and yellow green and purple. All the perplex is going to be white. Hopefully I will make a decision by the weekend.
 
Do you do you own cable braiding or do you buy them done?

With regards to the colours I like the sound of the Green and Purple or Blue and Pink, something different make it unique!!

I am going to be sleeving the front panel and pumps and I am 50/50 on the PSU. I know a few place that do them but was hoping to do them myself guess it depends on time. I like the new fluid from primochill just could get caught out on the shipping and tax.
 
Hey guys,

Sorry for the lack of update been busy juggling family, work and modding I now have the tempered glass will be fitting it this weekend but here is a sneak peek.


I still have lots of work to do.
 
Here is a little update I have been really busy with work so found it hard to work on the build

You can see where the weld is on the front grill, I have painted it but need to sand it down and paint again.

I have had a lot of issues with the tempered glass, I need longer screws. The build is really take shape not long left to do.


I really like the look of the front grill with tempered.


I really like how good the perplex look after I have painted it white.


I have added the pass through on to the mid plate I am looking at adding a custom res where the mid plate is but if I can not get this to work I will stick with this I have also painted this white


I am ordering all new fittings and going with 16mm ek. Going to get my fluid from Mayhem thinking of getting the dyes and mixing the colours myself one loop purple and the other green.

Thanks for taken the time to read my post any feedback would be great.
 
Hi Guy's,

I have a big update on the build.

I have the colour theme all sorted.

Outside of the case - Matt grey

inside of the case - White

Loop one - Purple

Loop two - Green.

I am also updating the System specs.

CPU - unknown

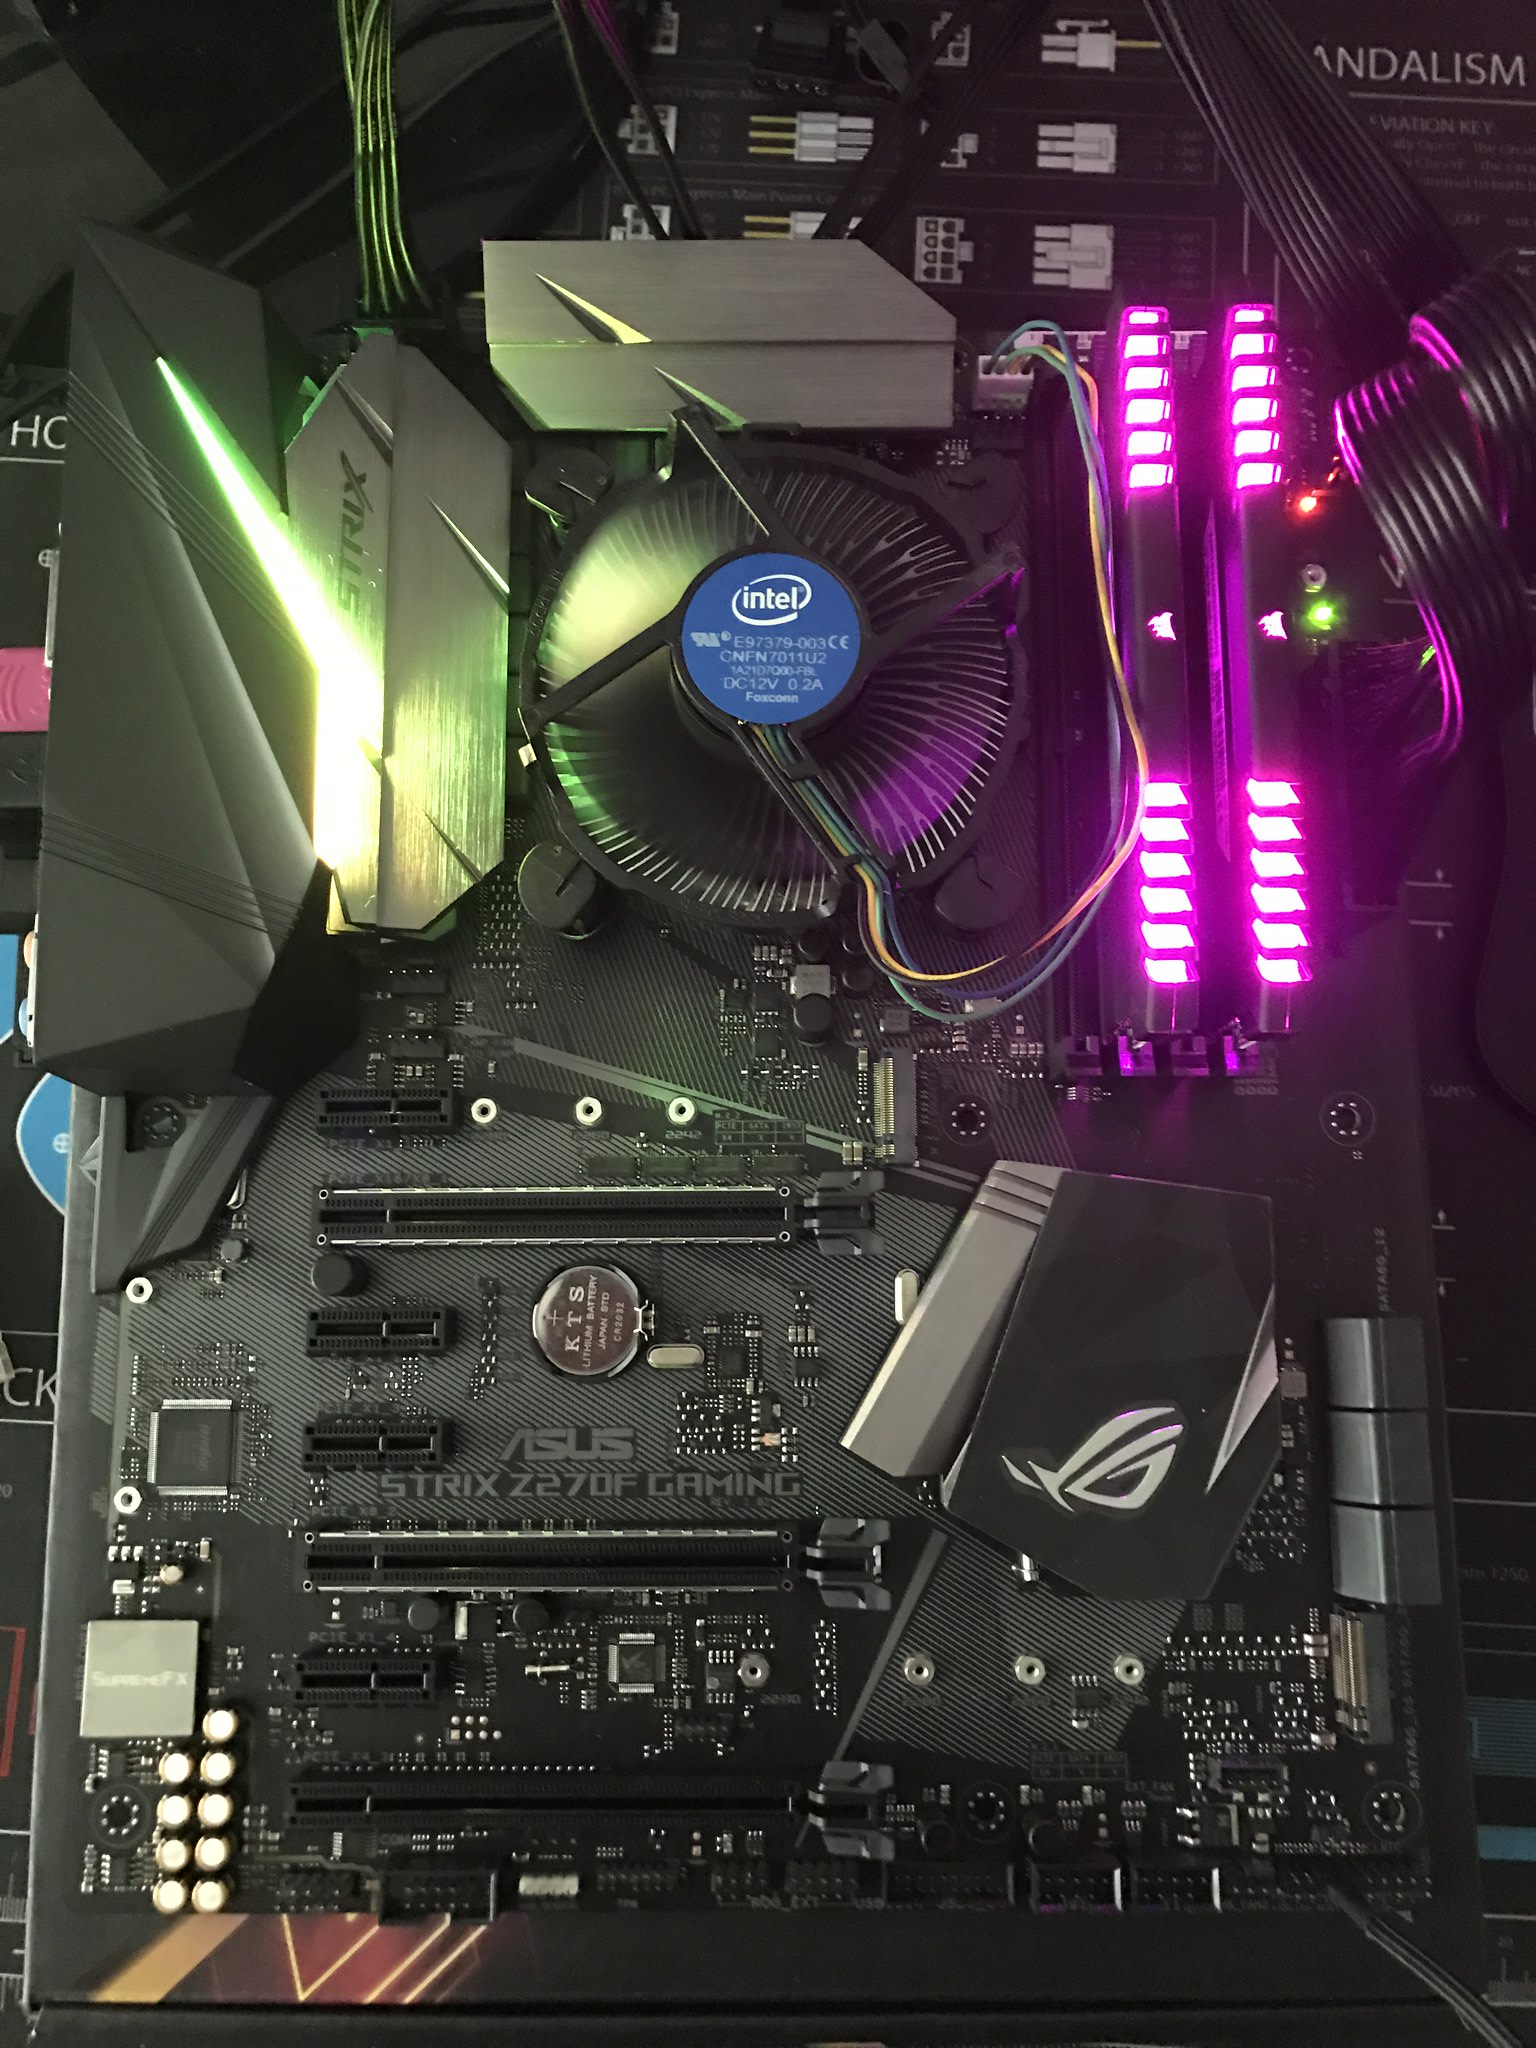
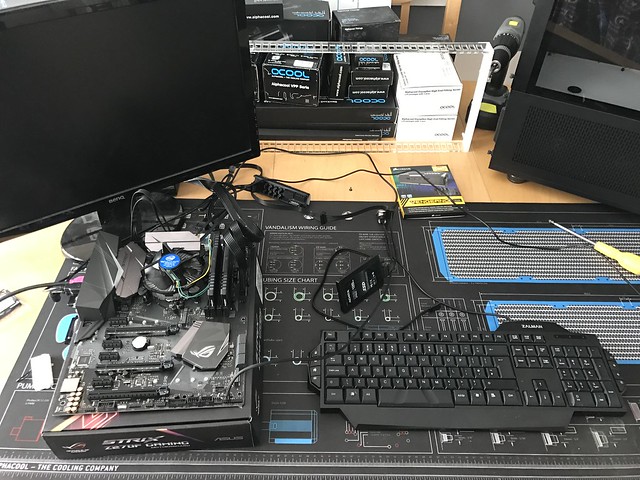
Motherboard - ASUS Strix Z270F Gaming

Ram - 16gb Corairs vengeance RGB

GPU - GTX 980Ti

SSD - Kingston 240gb

HDD - 1tb WD blue

FANS - 6 x 120 thermaltake Riing plus, 4x 140 thermaltake Riing plus (all fans could be changed)

PSU - Corsair 860 platinum


Full Custom Cables from To the wire - custom sleeving


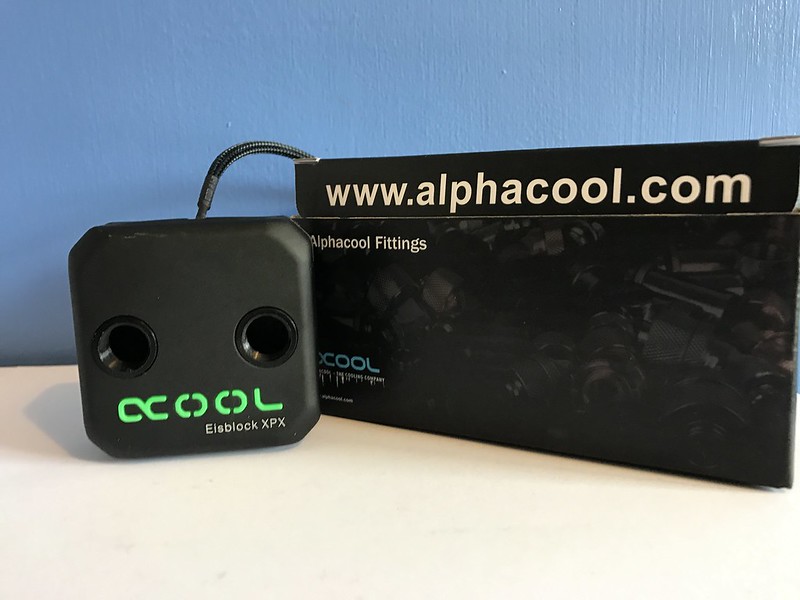
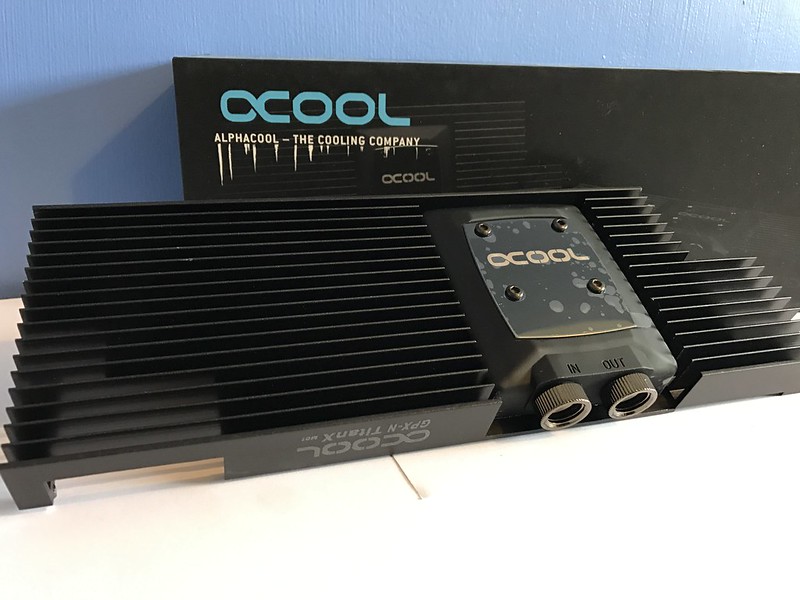
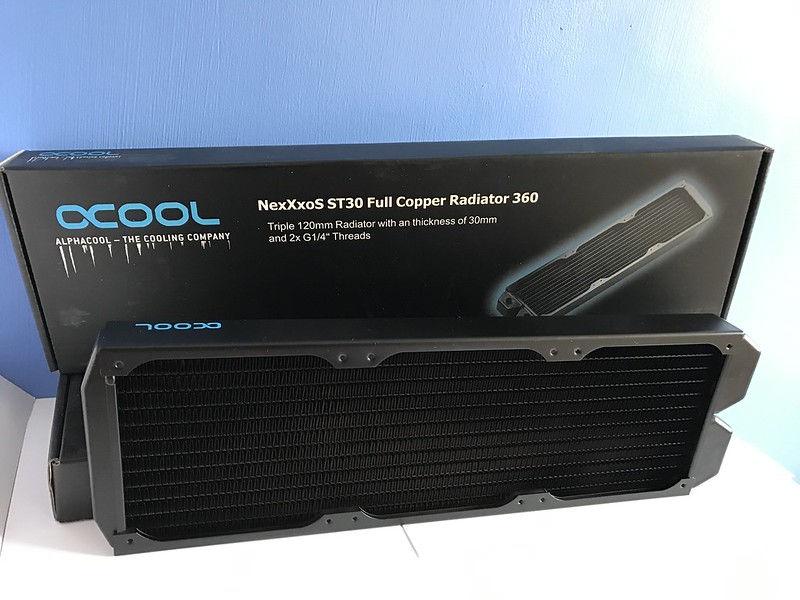
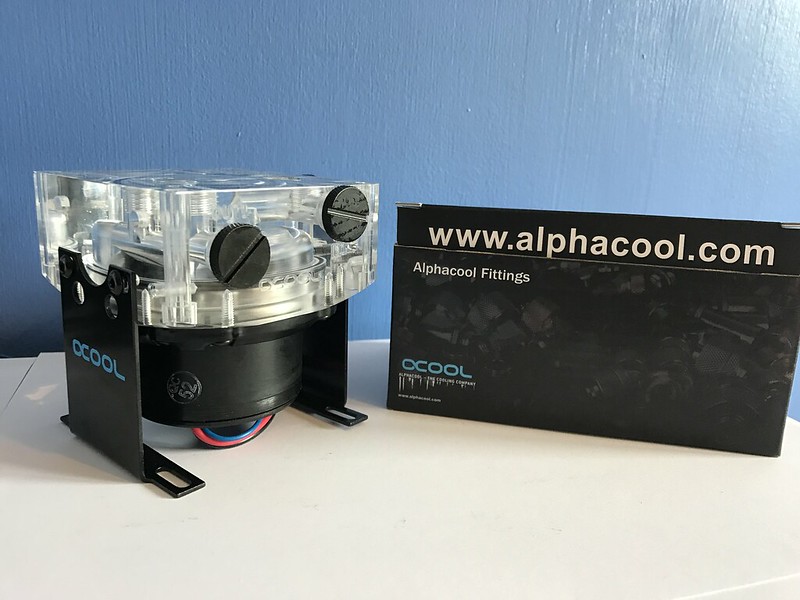
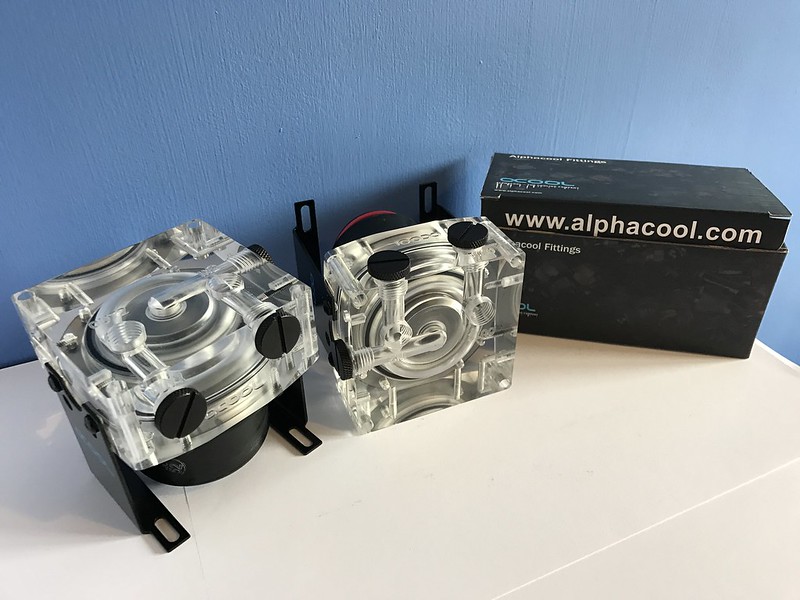
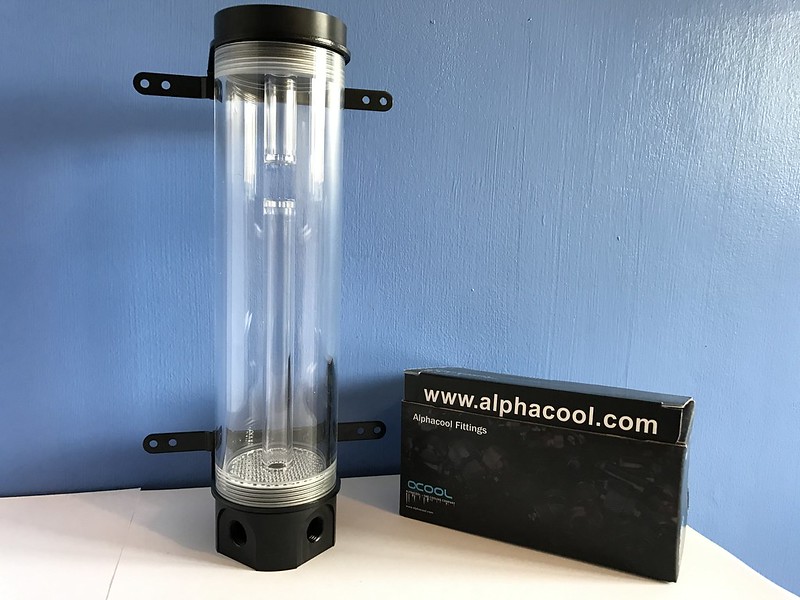
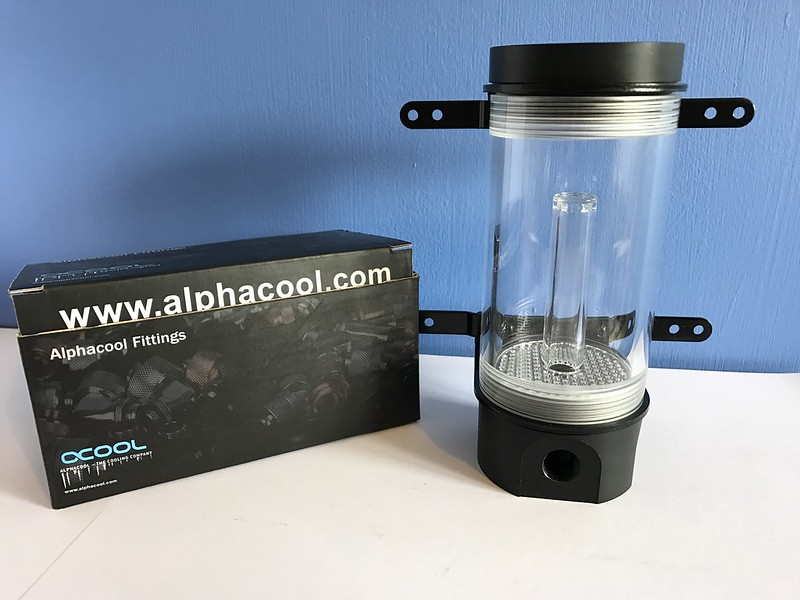
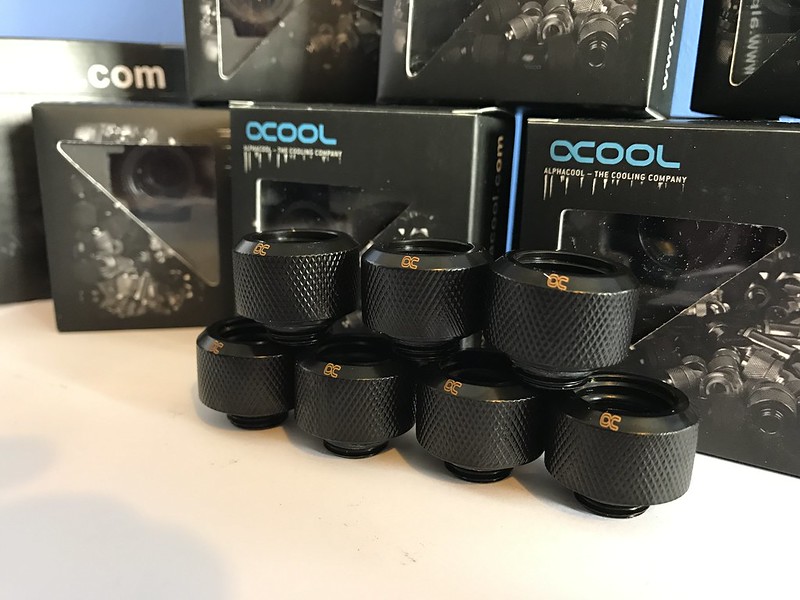
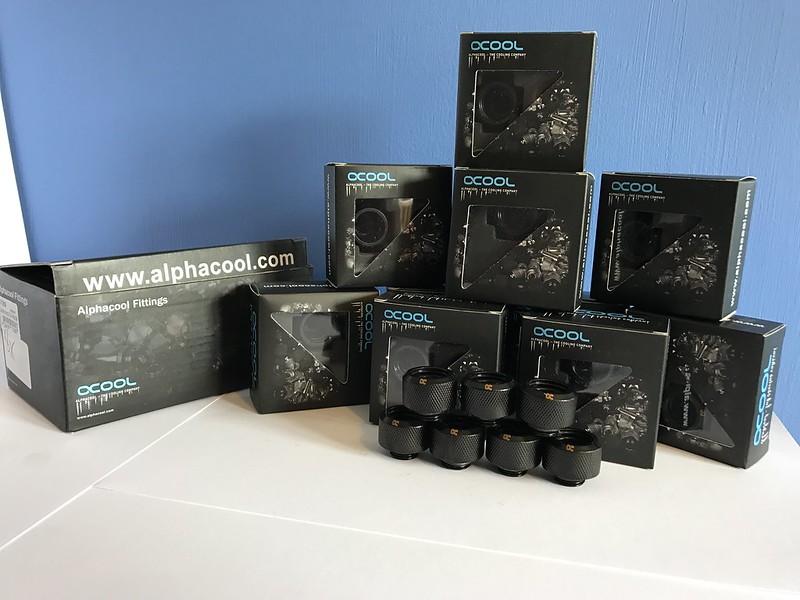
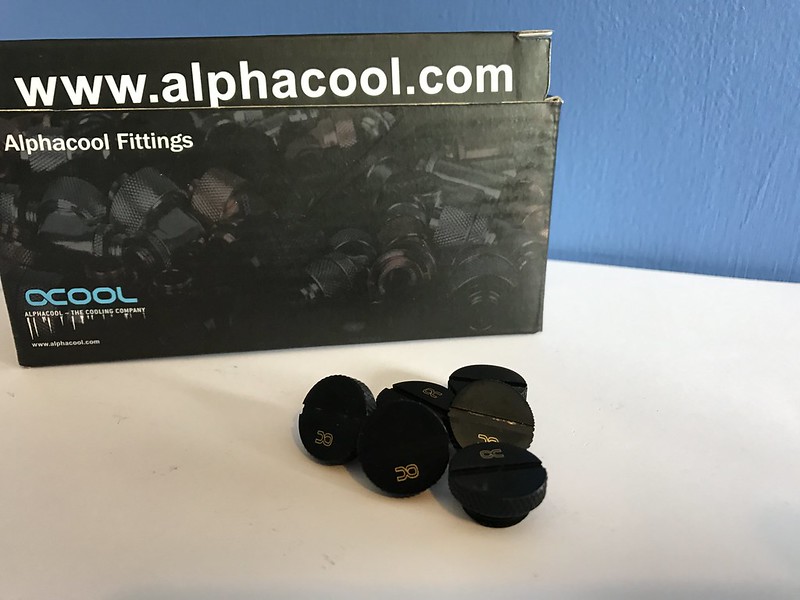
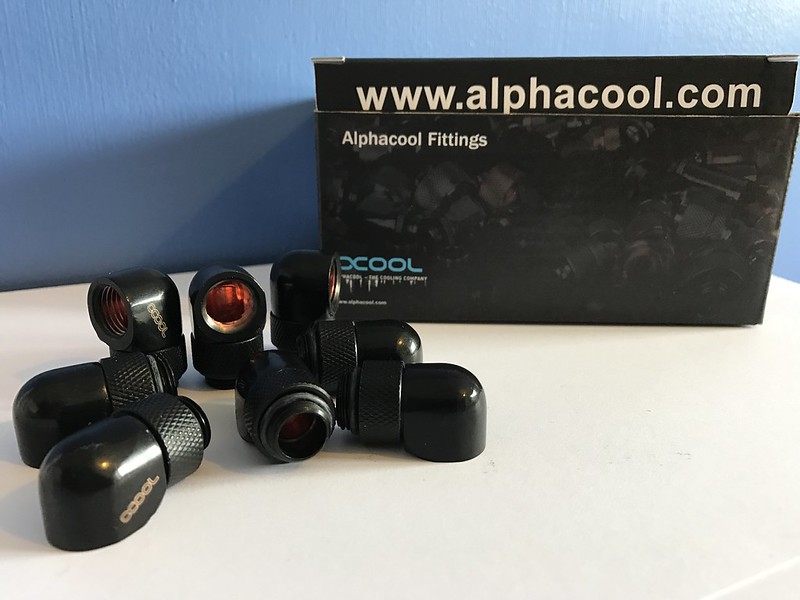
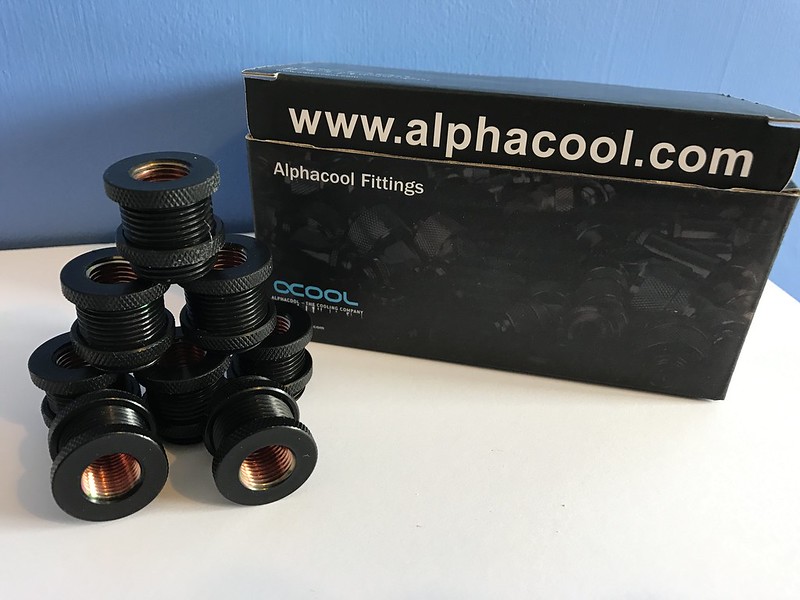
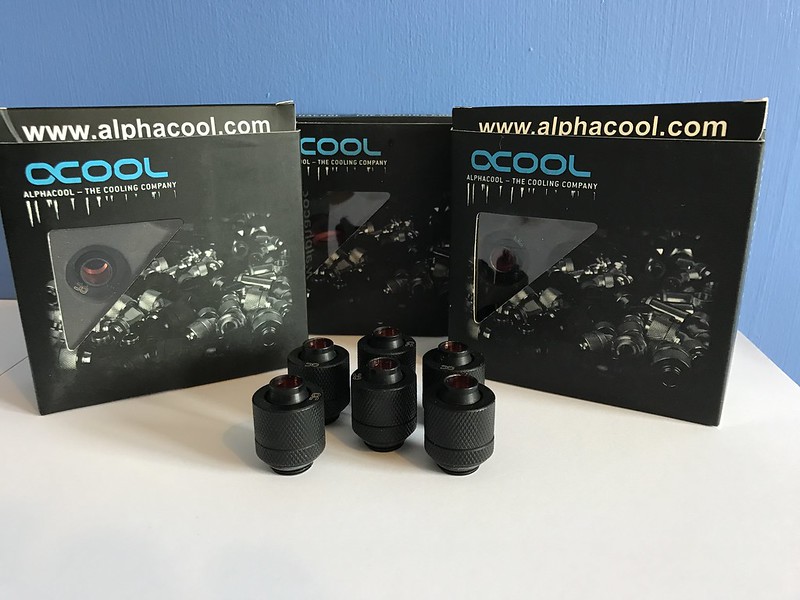
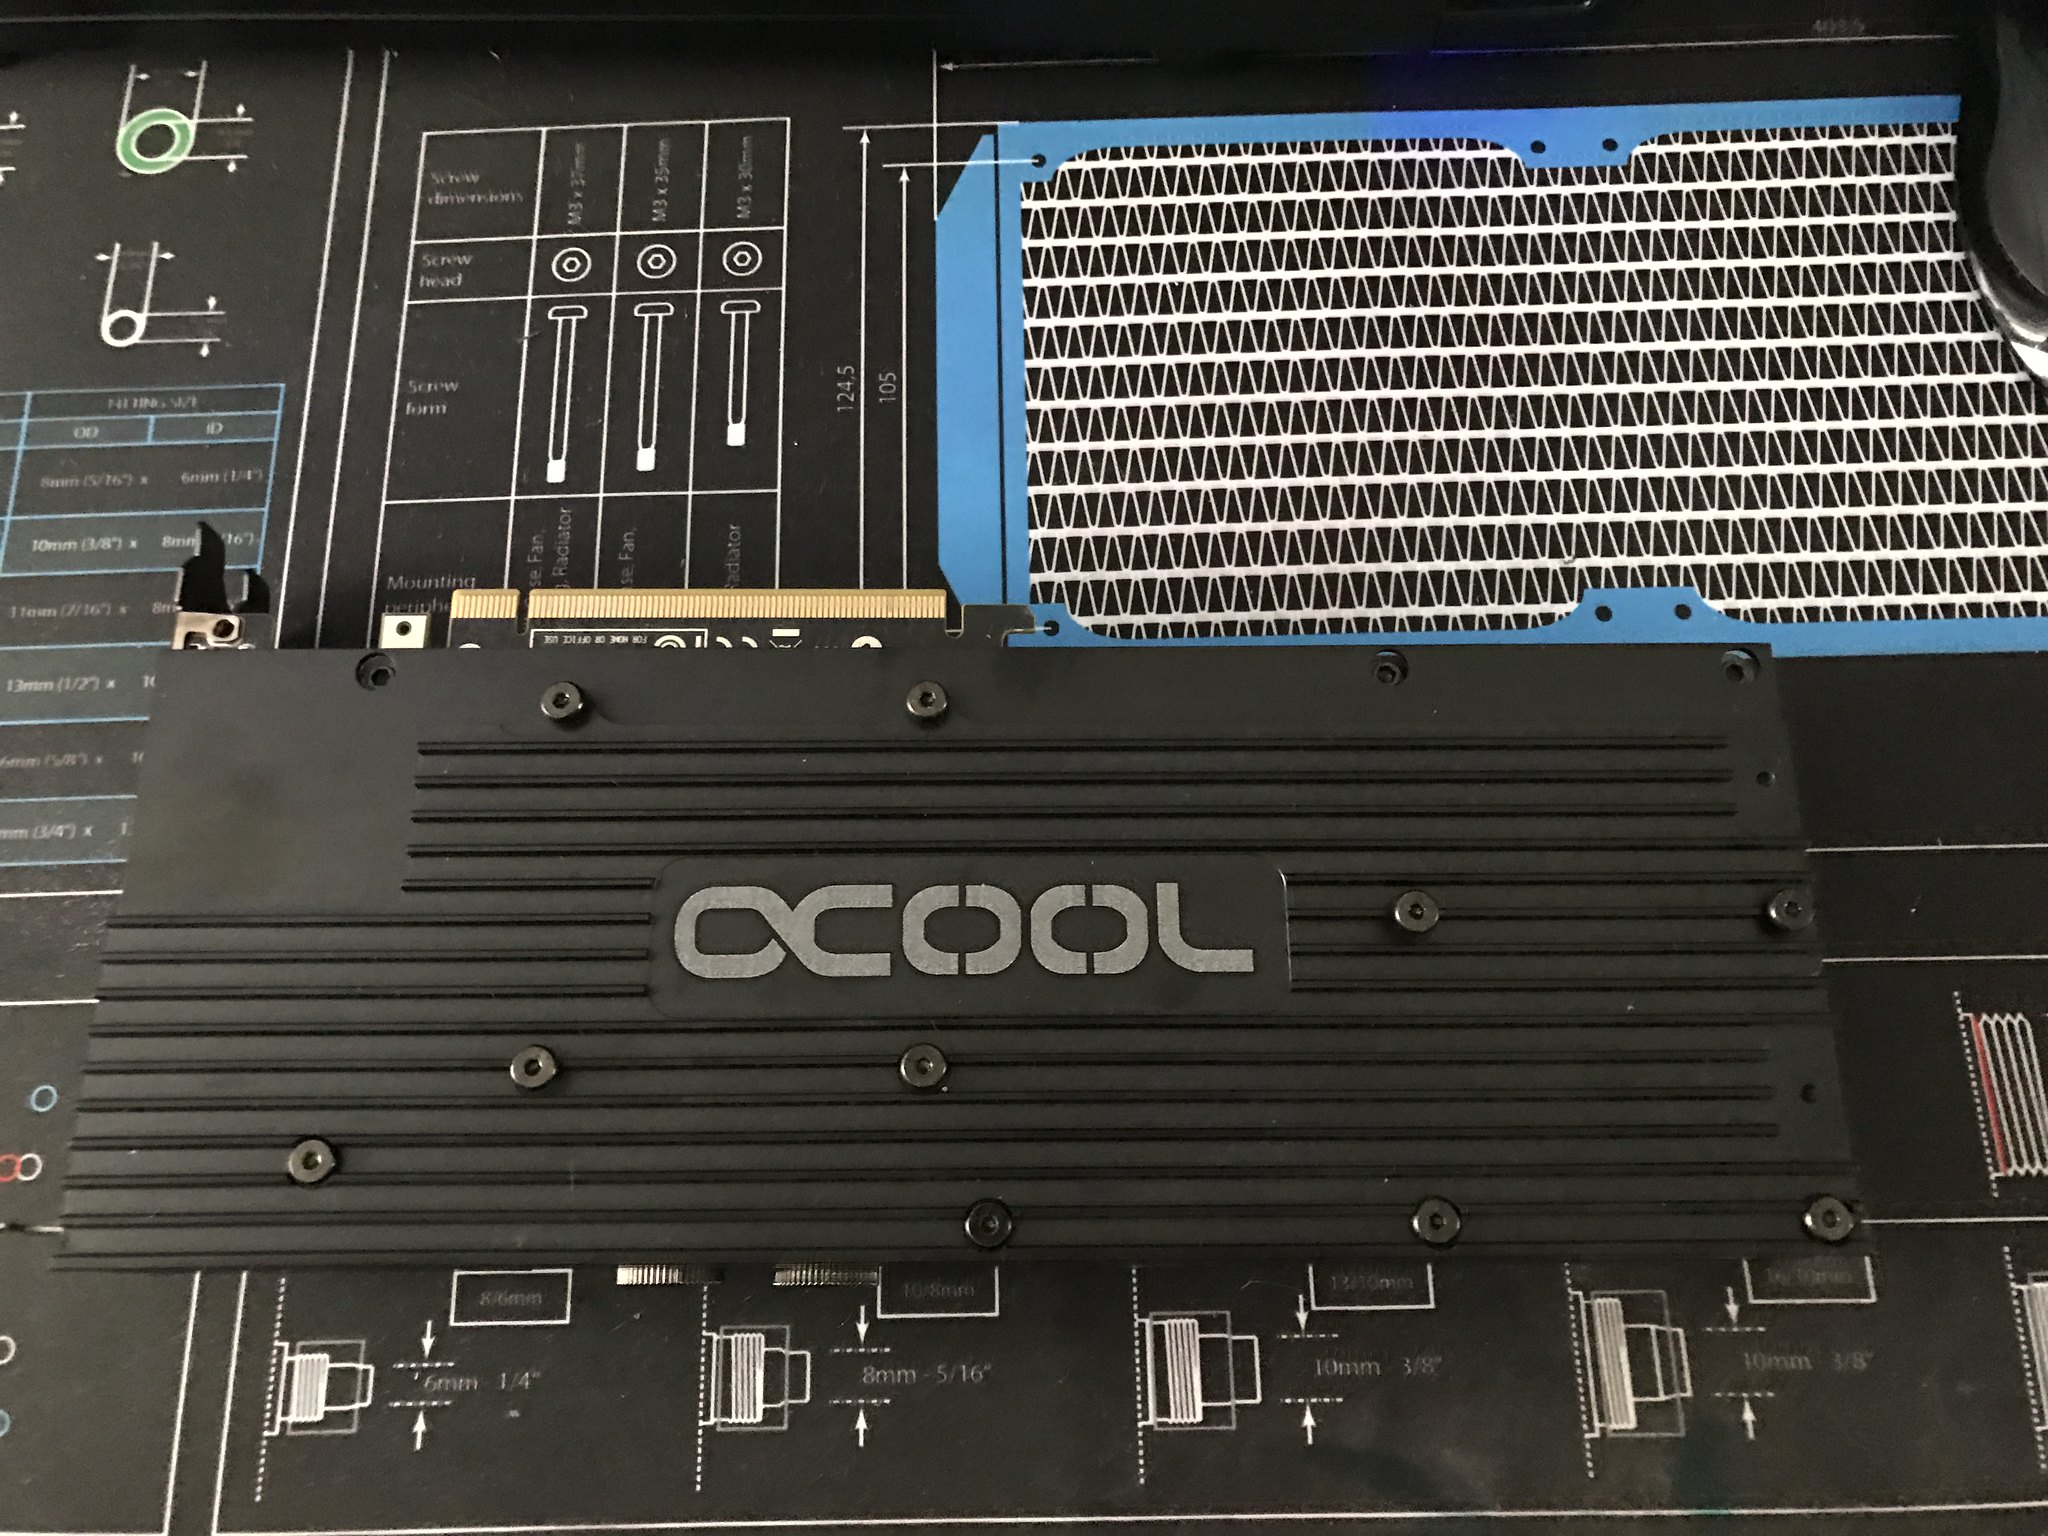
We now have Alphacool onboard as a sponsor they are supply all of the watercooling.

CPU Block - Eisblock XPX cpu mat black

GPU Block - Nexxos 980ti

RadS - 2x 360 Nexxos ST30 full copper

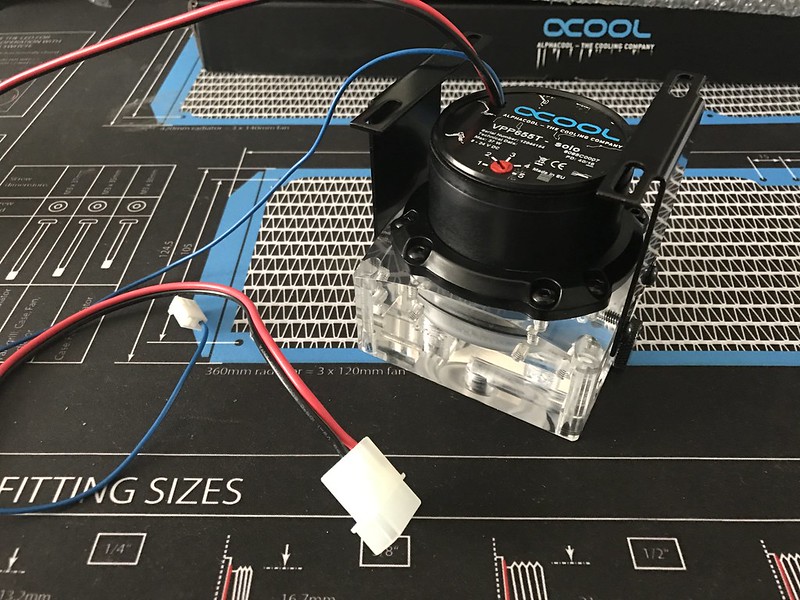
Pumps - 2x Alphacool VPP655 D5

Pump top - 2x Esidecke D5 - Plexi V.3

Reservoirs - Alphacool Eisbecher 250mm acetal and Eisbecher 150mm acetal

Fittings - Alphacool Eiszapfen 16mm hard tube compression black

Alphacool HF 13/a0 compression fittings deep black

Alphacool bulkhead connector deep black

Alphacool Eiszapfen L - connector black

Alphacool Eiszapfen extension 20mm black

Alphacool Eiszapfen 2 way ball valve black

Alphacool Eiszapfen double nippel deep black

Tubing - AlphaTube HF 13/10

Alphacool Eisrohr 16/13 PETG hardtube

Extra - Alphacool Eisbaer logo kit.


Here are some photos of the products


Hope you enjoy the update.

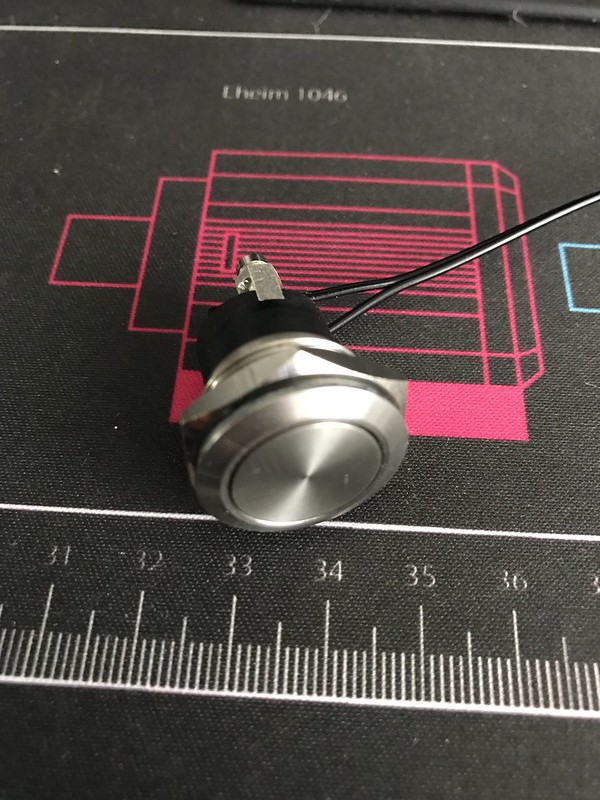
Next update I am sleeving the pumps and adding my new switch to the case.

If you have any question or feedback post below.
 
Hi Guy's here is a small update.


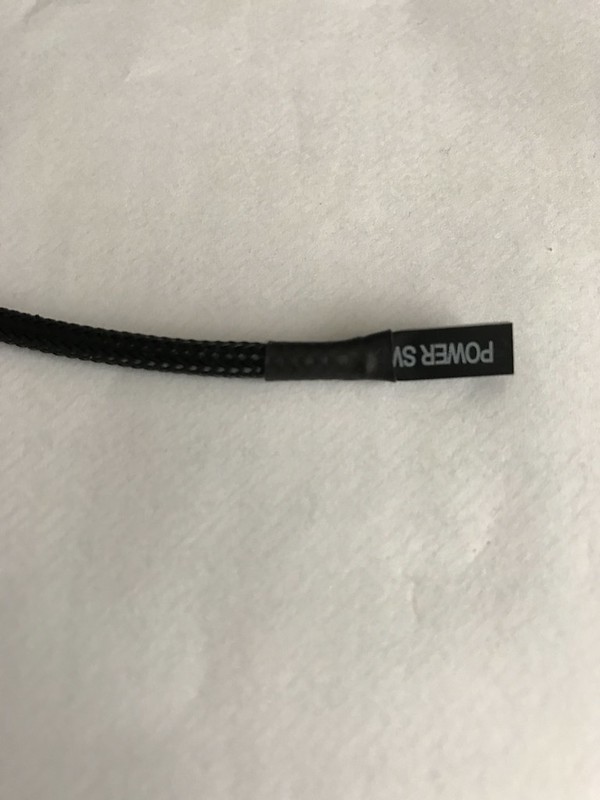
I have added a hidden power button under my case near the front left leg. Its dead simple to do I just drilled the hole and drop it in I had some older power switch from a corsair build I did before xmas and just cut it down to size and sleeved it black. I have added some photos below.


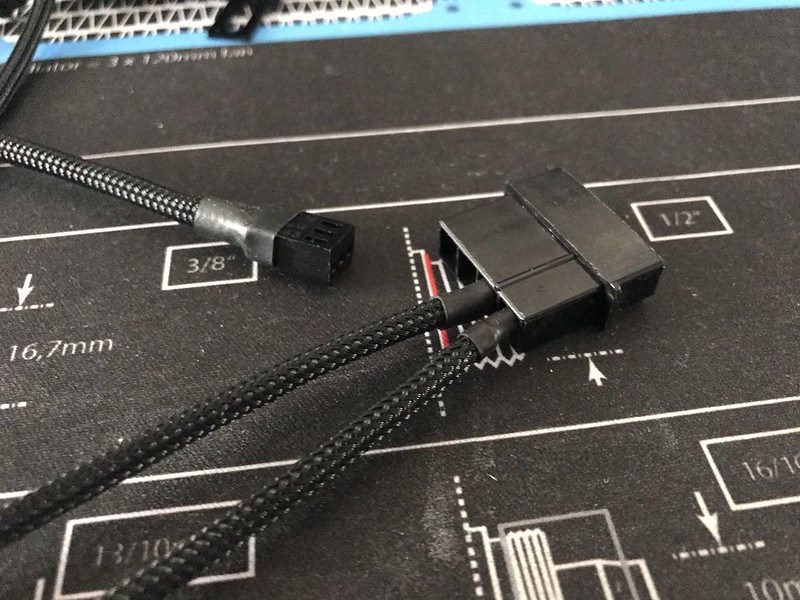
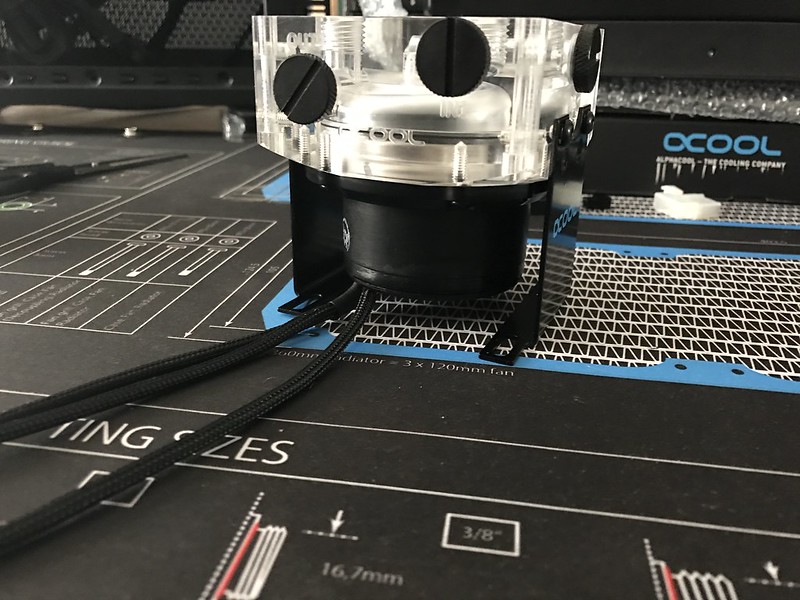
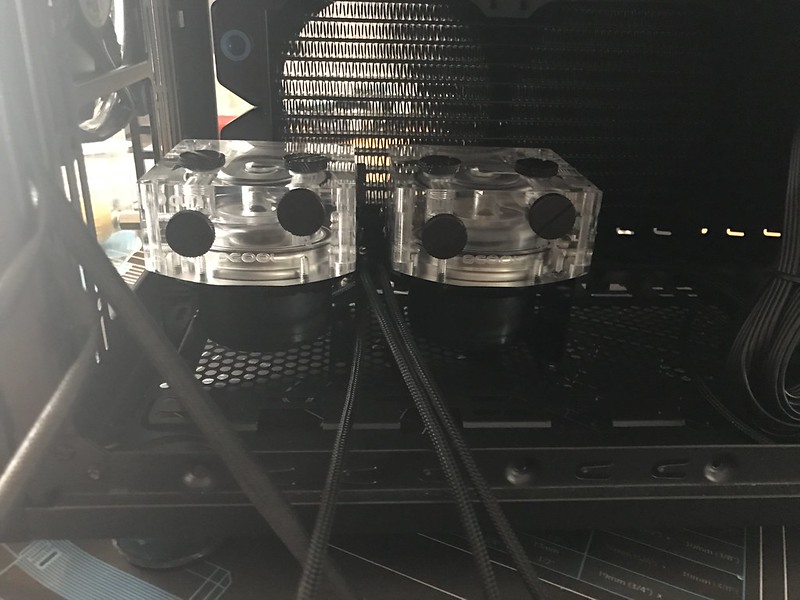
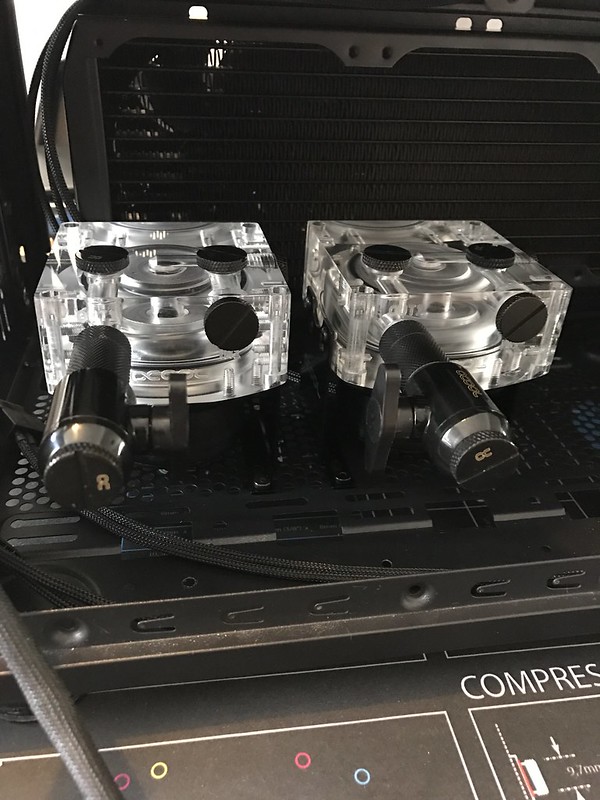
I have turned the pump tops around so all the cables go out to the back of my case and sleeve them black I have a few photos below but once I am happy and made the partition I will make sure I take more photos so you can see where everything is placed and why.


Like I said just a small update will have more for you at the weekend.


Untitled by Richard Ord, on Flickr


Untitled by Richard Ord, on Flickr


by Richard Ord, on Flickr


Untitled by Richard Ord, on Flickr


Untitled by Richard Ord, on Flickr


Untitled by Richard Ord, on Flickr


Untitled by Richard Ord, on Flickr
 
Here is this weeks update,


I want to welcome a new sponsor to this project Nanoxia, They are going to supply the fluids to this build I am getting Opaque Green UV and the have mix me a custom Opaque purple these and going to pop.


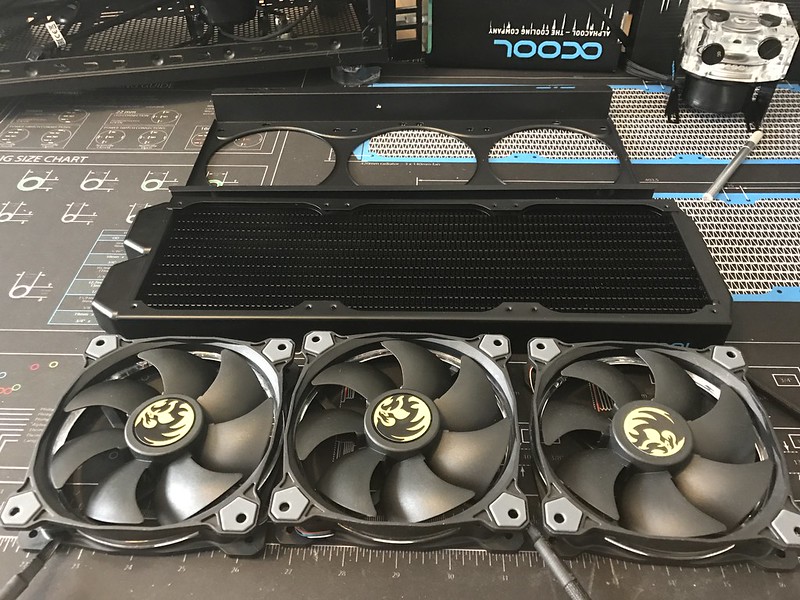
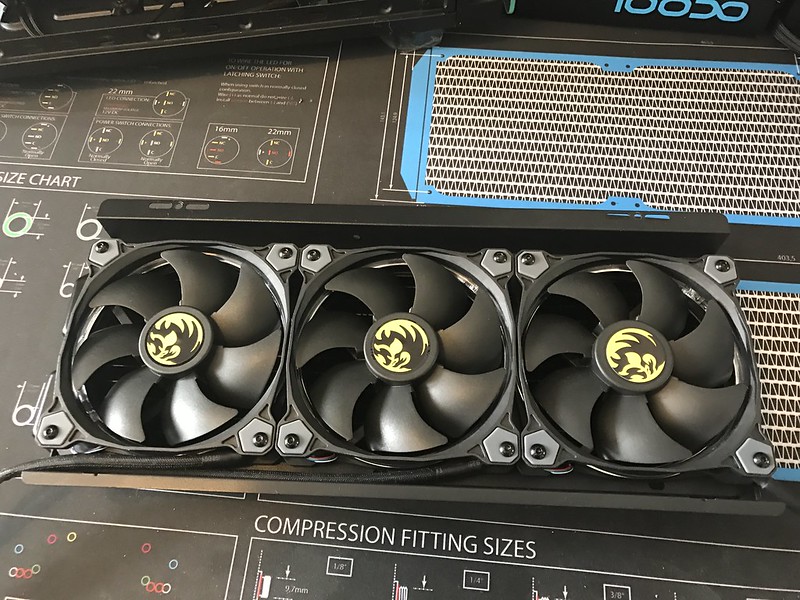
Last weekend I added the fans to rads to check spacing, cable route and watercooling loop for the basement and added my drain port to the pump(photos below).


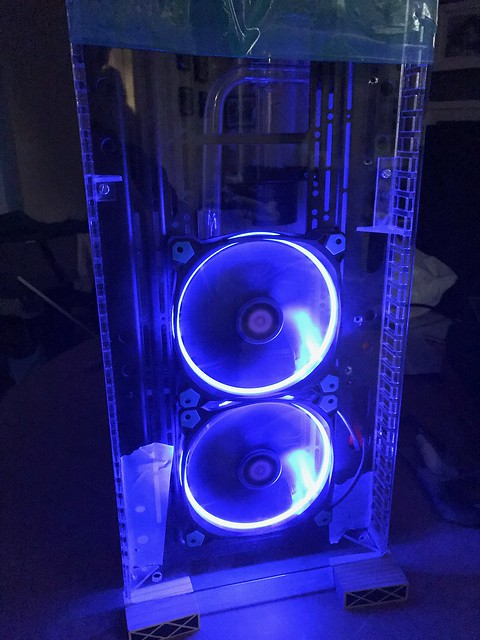
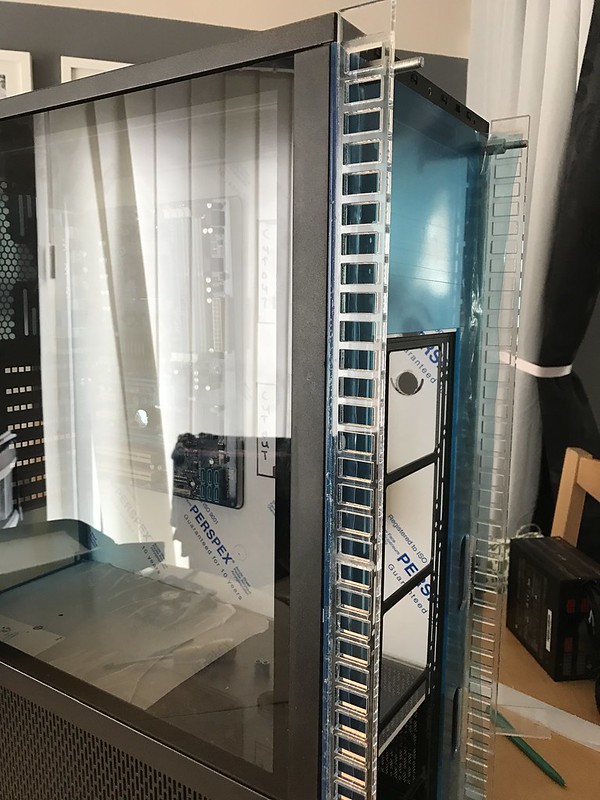
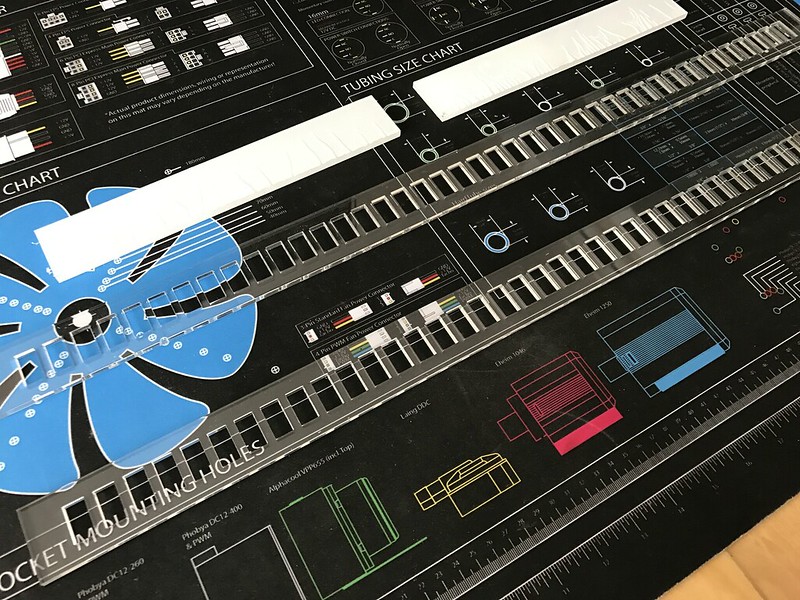
I redone the front fan intakes made them 10mm wider because I was having issues with the way the tempered glass was sitting on the old ones. I ran out of perplex to finish the front off but you can see how far I have got(photos below).


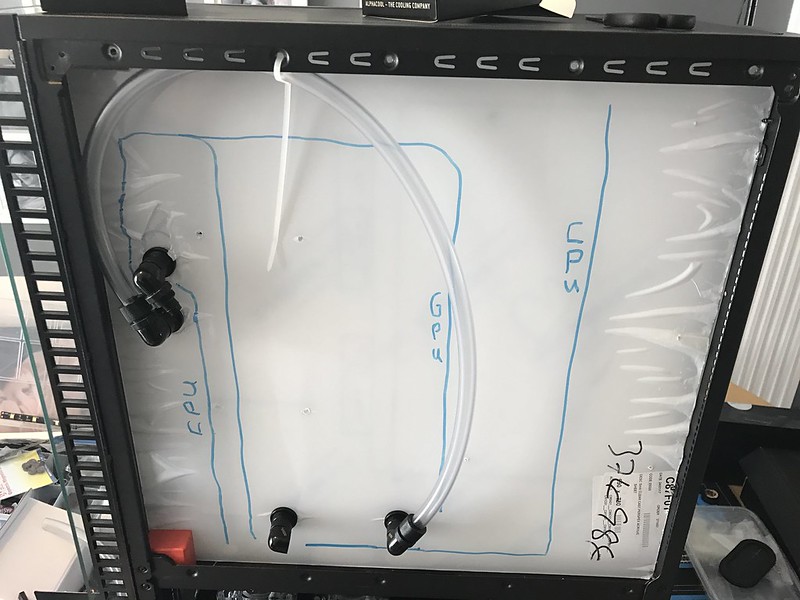
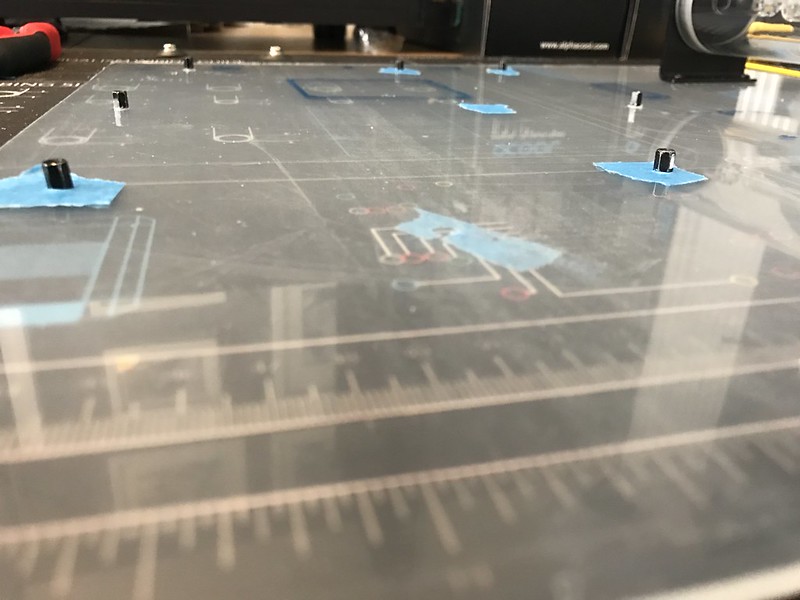
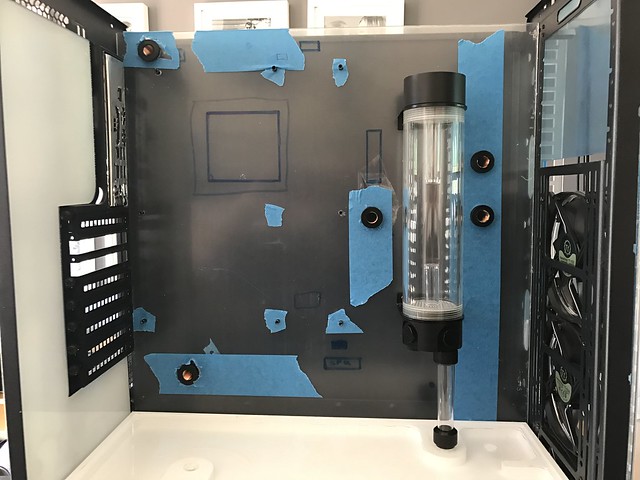
With me doing a custom res in the mid plate, I have had to re do the motherboard tray as I added holes for the pass throughs which are not going to line up with the new res. I have drawing a loop on the back of the motherboard tray to make sure I had room for the fitting and to check that I can run my cables.


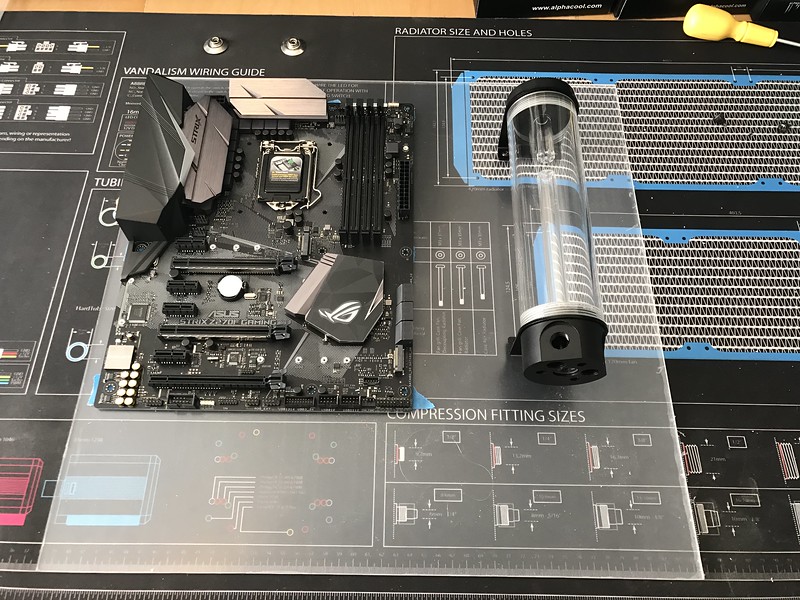
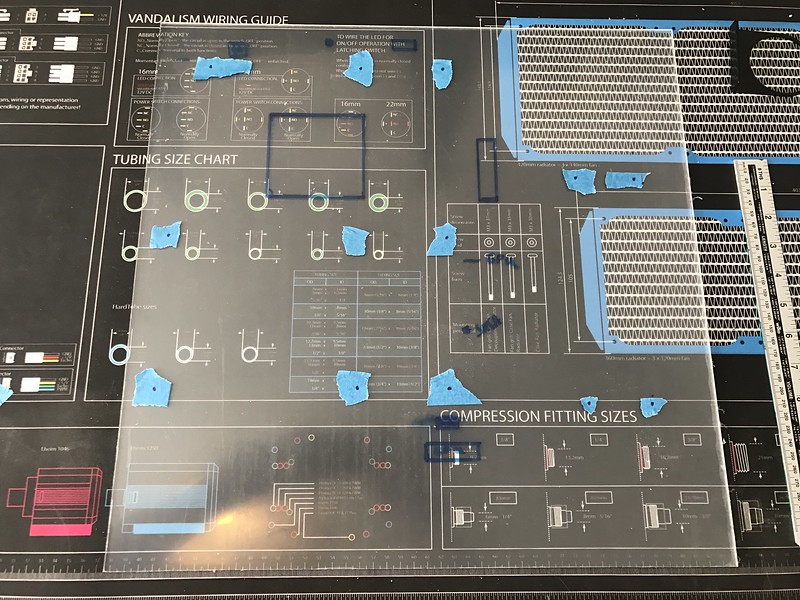
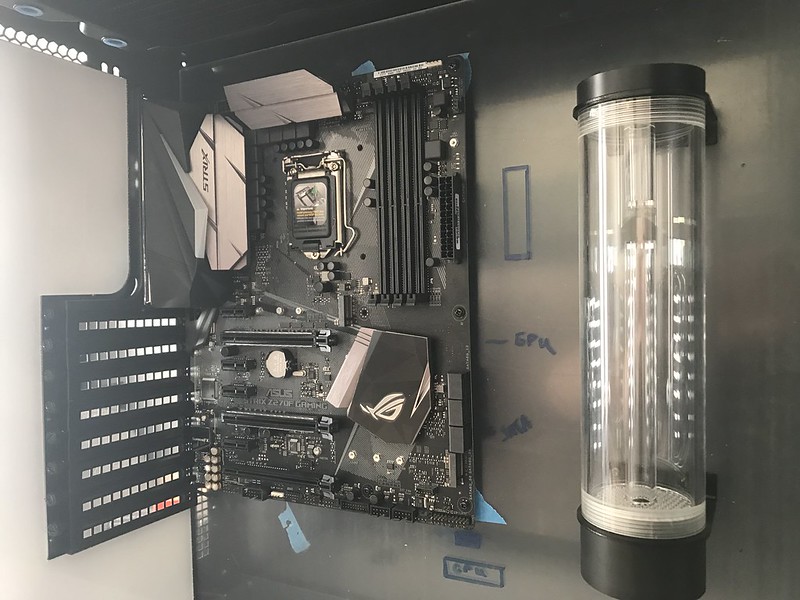
I have place the motherboard and res on to the perplex to mark out all the holes and where I need to run the cables. I also added the motherboard stand off.


All photos below.


Once I get the fluid I will post some photos of the colours.


I do need some help I am not sure if I should go hard tube in the basement or stick to soft, feel free to leave a comment below.


I am hoping to get the custom res back this week and I will do a test fit, I also need to add a pass through from the basement to the back of motherboard tray. Once this is done the case will be off to paint then the fun starts with all the componets and doing the loop.


Thanks for checking out the post.


Untitled by Richard Ord, on Flickr


Untitled by Richard Ord, on Flickr


Untitled by Richard Ord, on Flickr


Untitled by Richard Ord, on Flickr


Untitled by Richard Ord, on Flickr


Untitled by Richard Ord, on Flickr


Untitled by Richard Ord, on Flickr


Untitled by Richard Ord, on Flickr


Untitled by Richard Ord, on Flickr


Untitled by Richard Ord, on Flickr


Untitled by Richard Ord, on Flickr
 
Hey guy’s,


This weeks update.


I have got the fluid from Nanoxia it looks great, I got the UV green and they did me a custom purple colour I have some photos below.


I had some bad news this week having a issues with the custom res so I have made a new simple design this weekend and hopefully it will be cut in the next few days I have found this hard as I am using a friends CNC. I am looking at getting one myself which will help for future builds.


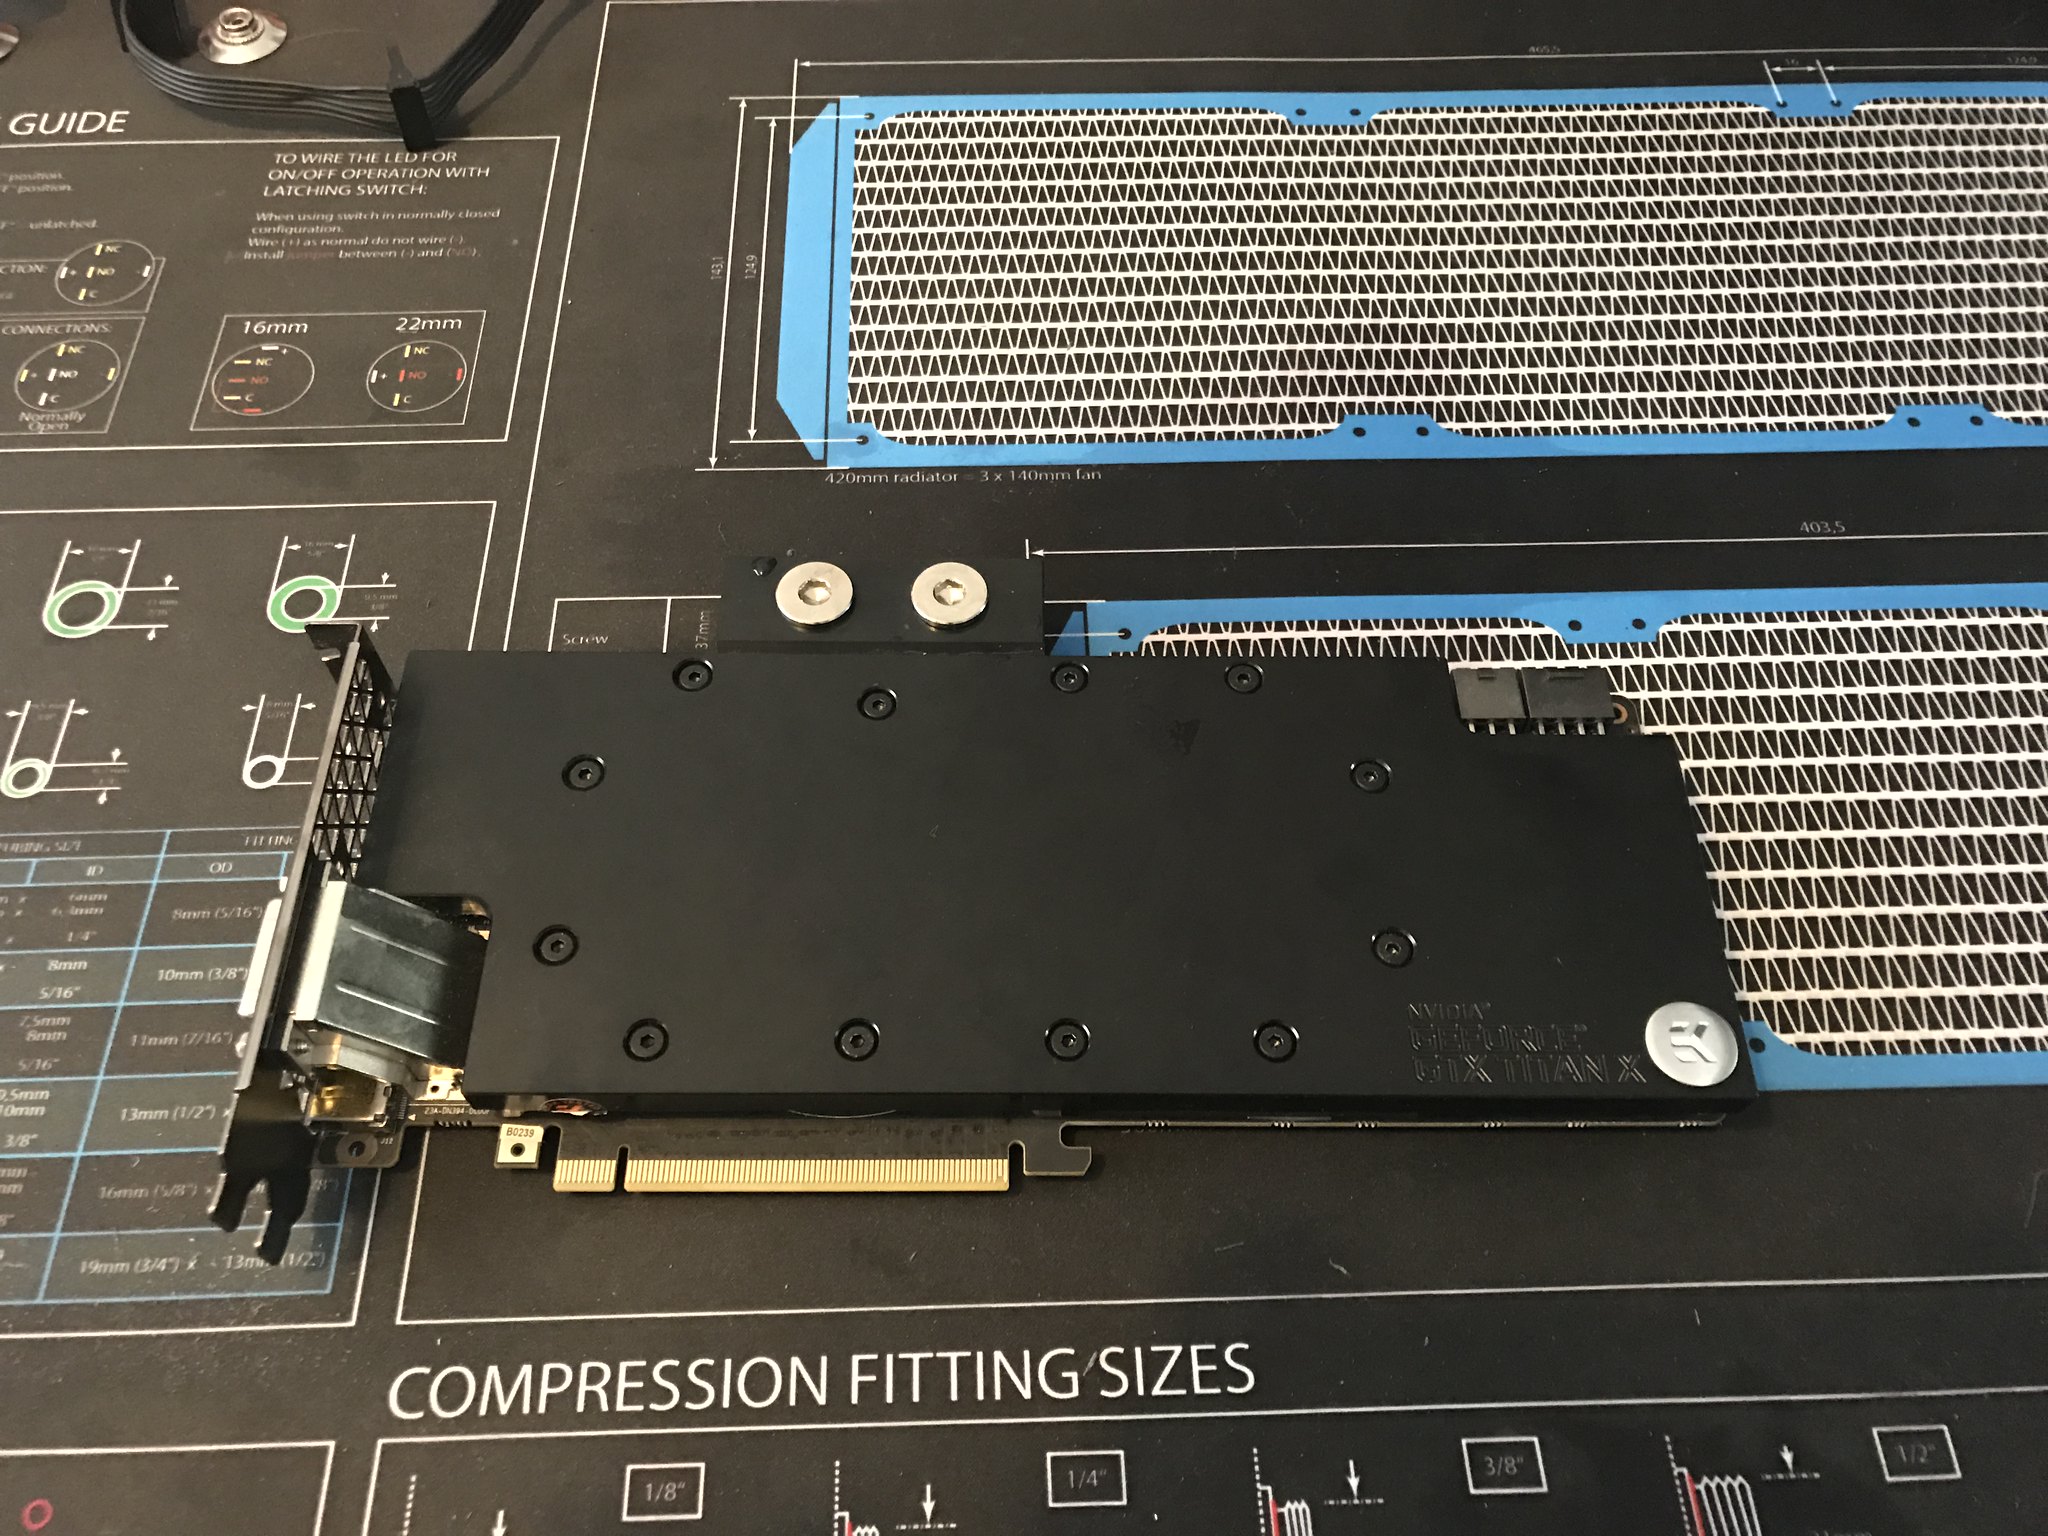
I have took the ek waterblock off the 980ti and put the Alphacool Nexxos 980ti block on, this was so simple to do (one of the easiest installs ever)and the instruction are very simple to follow and all the thermal pads already cut to size I have added some photos below.


I went and got the ram on friday 16gb corsair RGB, these are going to really suit the build they are matt black. I test these at the weekend photos below


I ended the day putting window 10 on the system.


Next update I am hoping for a big one, have a few more bits of perplex to cut and paint then one more pass through hole from the basement to the top rad then it’s off to paint.


Thanks for checking out my build log any question or feedback leave below.


Untitled by Richard Ord, on Flickr


Untitled by Richard Ord, on Flickr


Untitled by Richard Ord, on Flickr


Untitled by Richard Ord, on Flickr


Untitled by Richard Ord, on Flickr


Untitled by Richard Ord, on Flickr
 
Update,


Sorry for lack of updates it has taken a lot longer to do the custom res, than first planned.


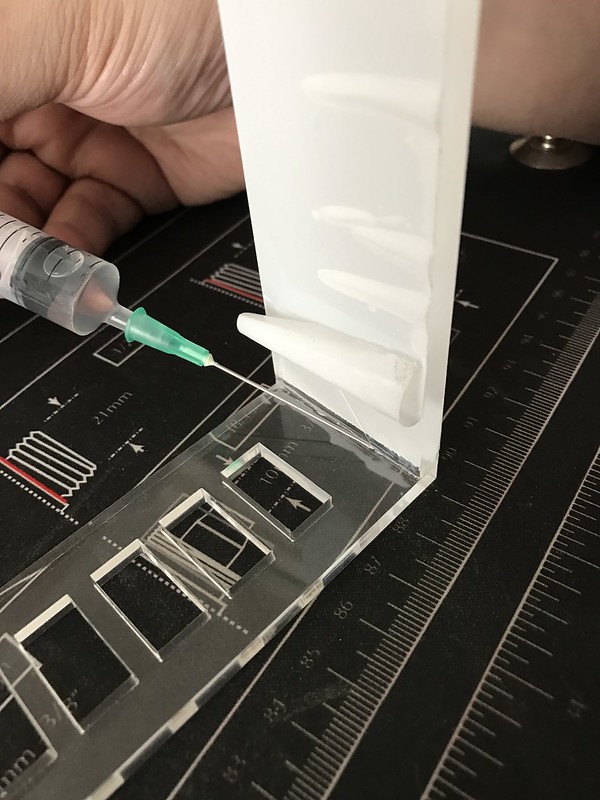
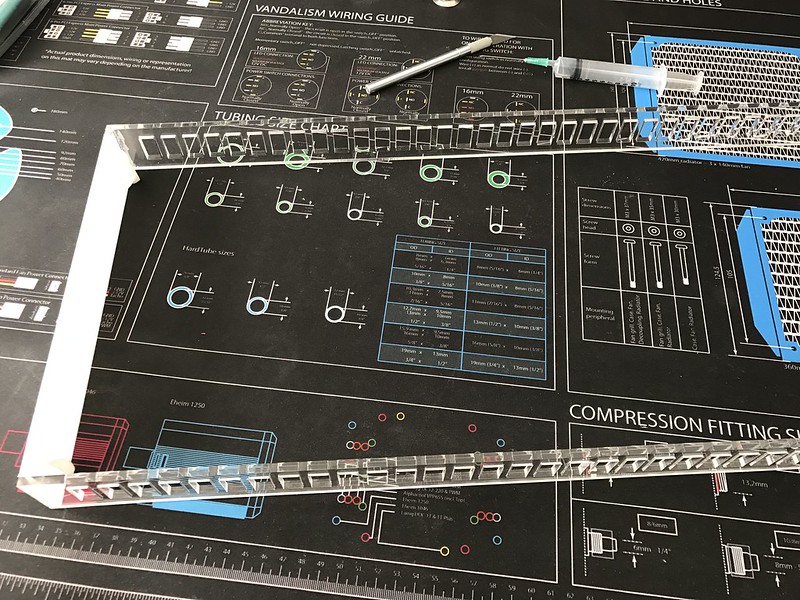
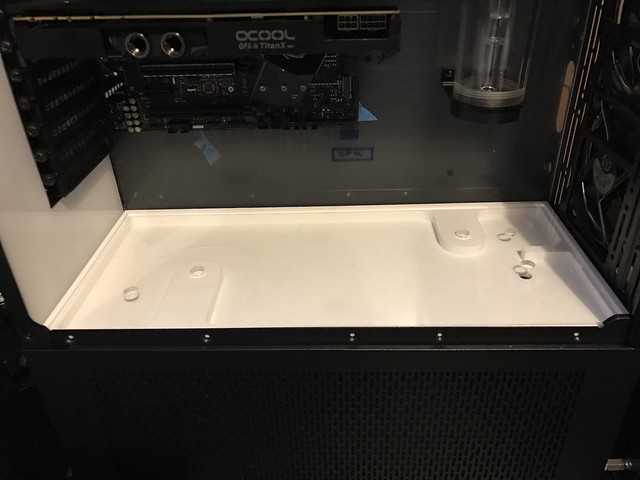
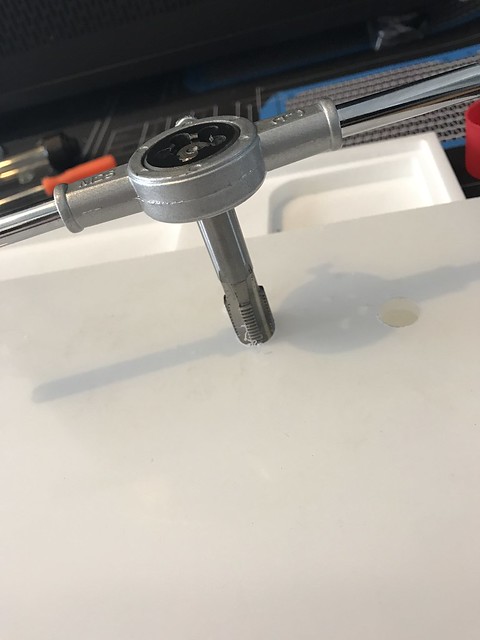
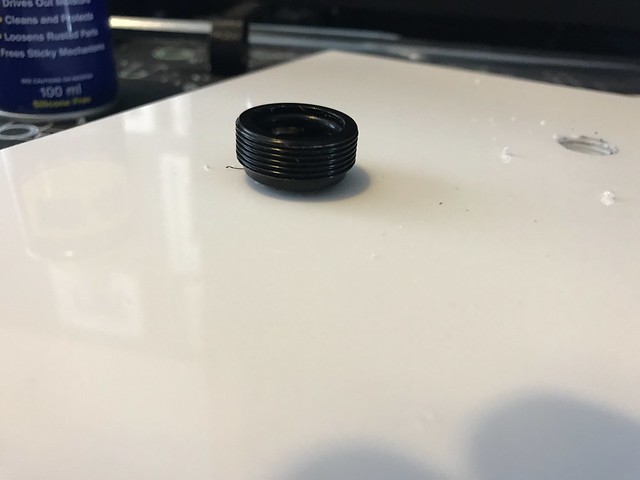
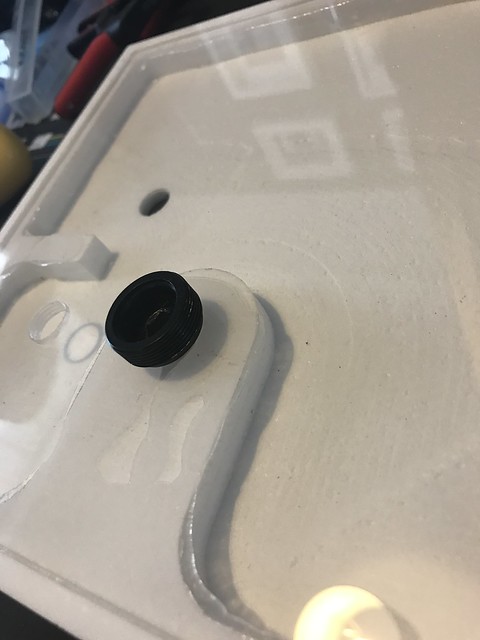
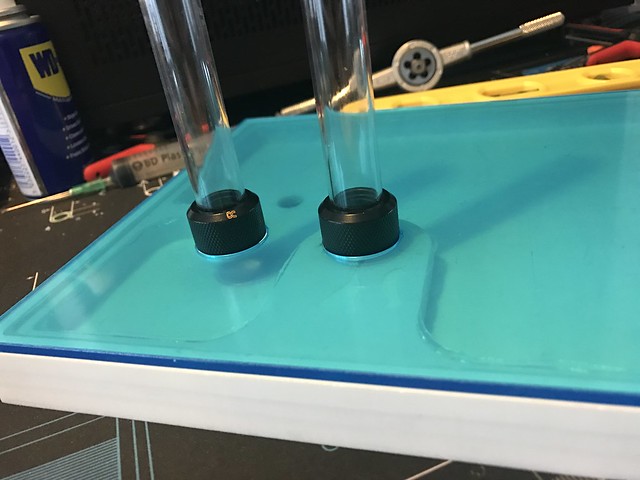
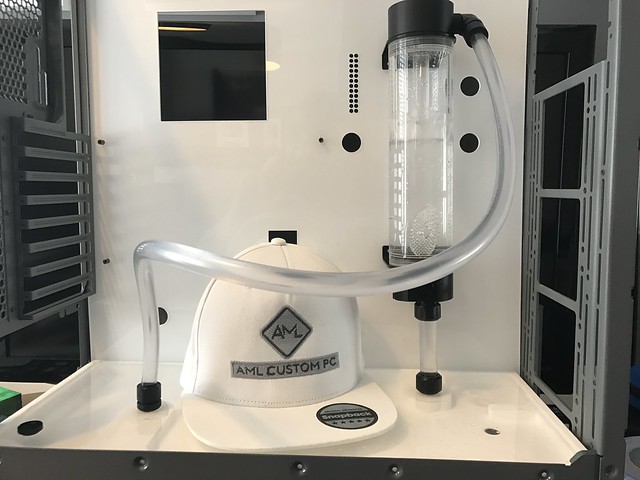
I will start this update with the custom res, the amount of time I have sat and taken measurements to designed the res then for us (paul a friend with a CNC) to produce it has been crazy. I have attached the finish res below, end up with a basic design one input, one output and a fill port, I have also included two passthroughs. I have done the base of the res in white perplex 20mm thick. The lid of the perplex is made out of 5mm perplex this should be fine as it is lying flat. I have also tap the threads for each hole, I need to make sure I did this right as I didn’t want to mess this up as I would need to start again. To seal the lid to the base I used clear silicon around the passthroughs as I don’t want purple running into the green and a product call fusion 500. I am leaving this to dry for the next few days then I will leak test.


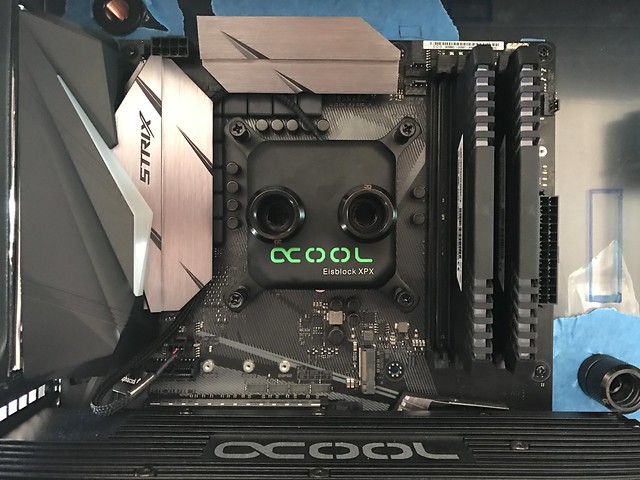
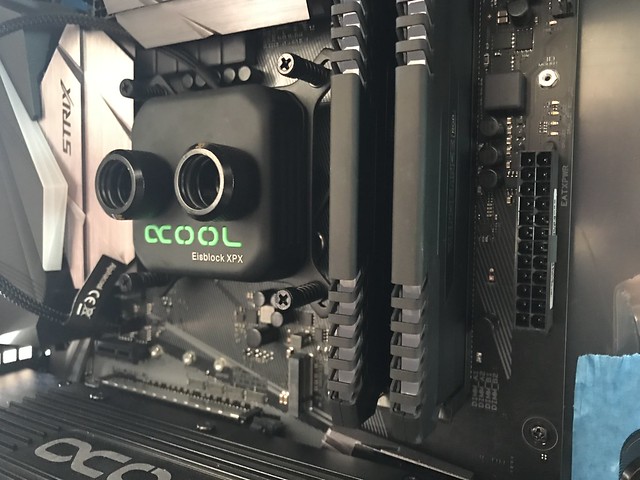
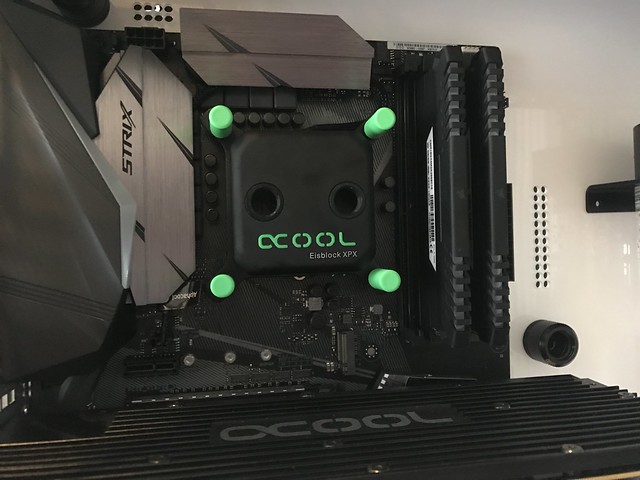
I have got my hands on a used i5 7600k for a great price which I could not turn down. I have also added the Eisblock XPX cpu block to the motherboard, I have attached photos below.


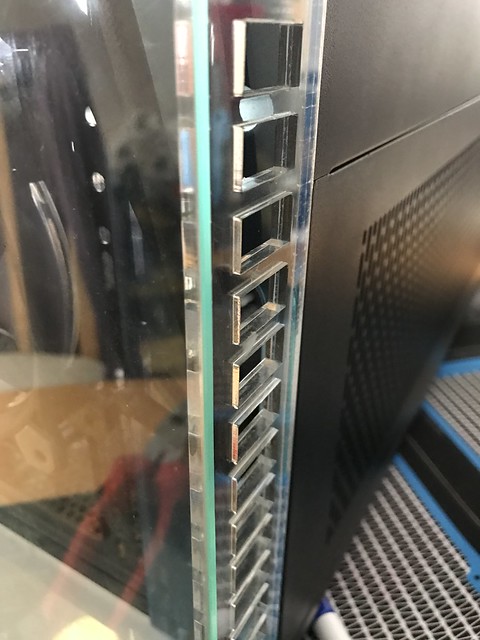
I have fitted the custom air intake on to the front of the case with the tempered glass I really like how much this has changed the look of the case. I have attached photos below.


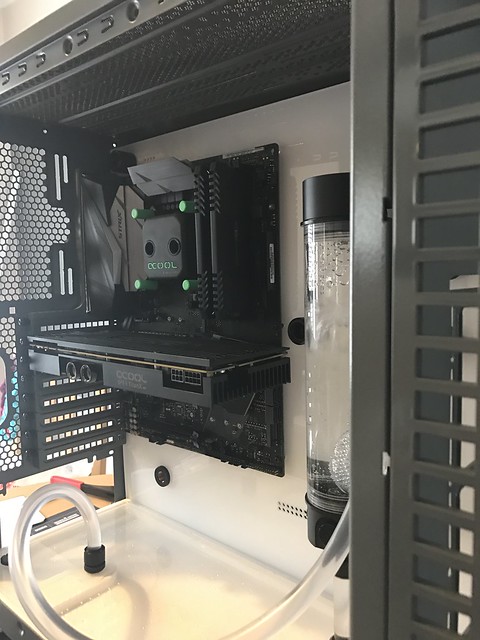
I have drilled all of the holes for the passthrough on the custom motherboard tray, I do need to try and make some spacers as it is going to be tight fit on the back side panel, I have a few ideas. I have attached the photos below.


Do do list.


Leak test,

Do loop,

Send case off to paint,

Finished custom motherboard tray need to added holes for 8 pin 24pin.

Meet up with to the wire custom sleeves and get the rest of the cables sleeved.


Hope you have enjoyed the update, any questions or feedback leave below.


Richard.


Untitled by Richard Ord, on Flickr


Untitled by Richard Ord, on Flickr


Untitled by Richard Ord, on Flickr

Untitled by Richard Ord, on Flickr


Untitled by Richard Ord, on Flickr


Untitled by Richard Ord, on Flickr


Untitled by Richard Ord, on Flickr


Untitled by Richard Ord, on Flickr


Untitled by Richard Ord, on Flickr


Untitled by Richard Ord, on Flickr


Untitled by Richard Ord, on Flickr


Untitled by Richard Ord, on Flickr
 
Hi Guy's,

Just a quick update the case is off to paint should hopefully get this back in 10 days. I will not be able to do much while this is getting done.

I will post some photos at the weekend of me leak testing the custom res. I have been thinking about painting the brackets green for the CPU block, let me know your thoughts.

Richard.
 
Hey guy’s


Here is this weeks update,


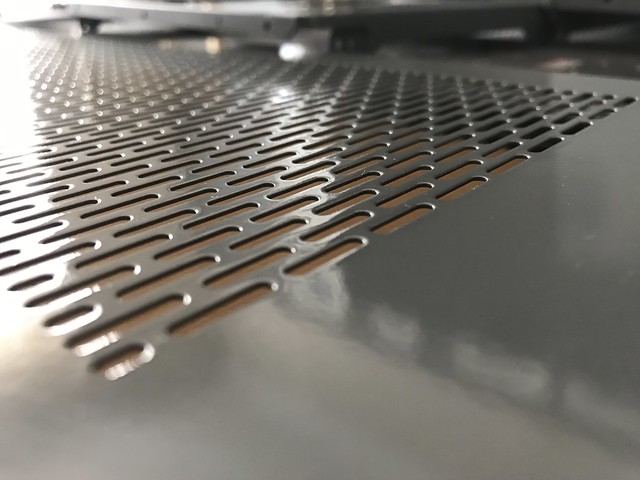
The case is back from the paint shop (one week late) it’s turn out great, I have added a few photos below but I don’t want to show too much just yet.


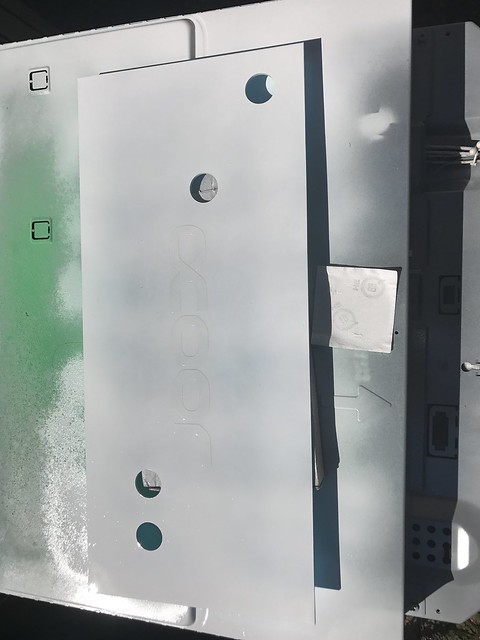
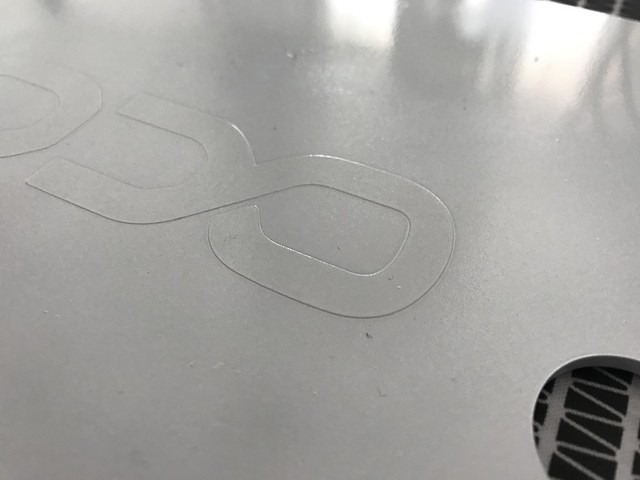
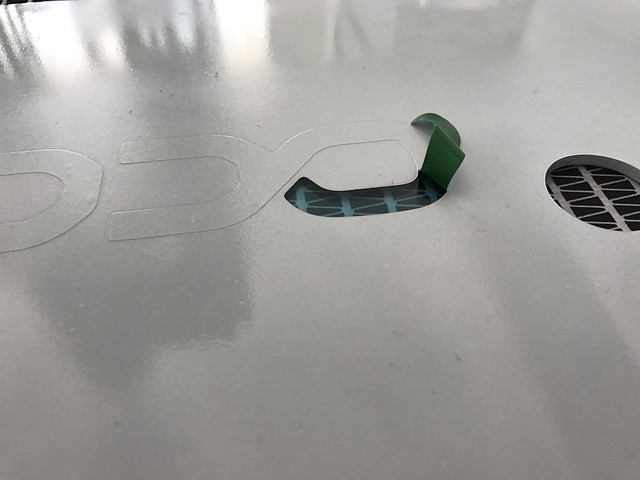
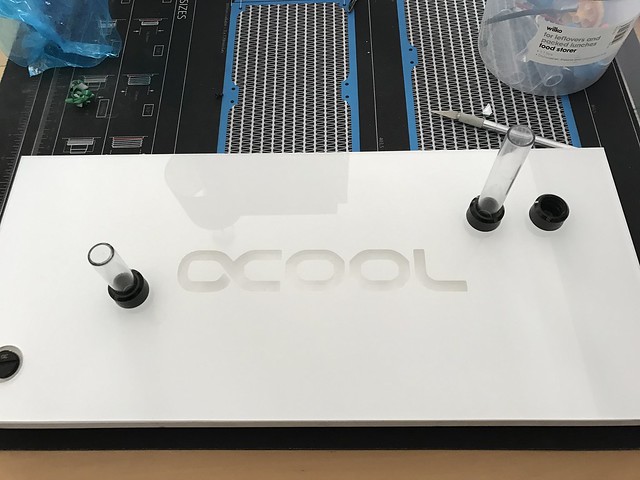
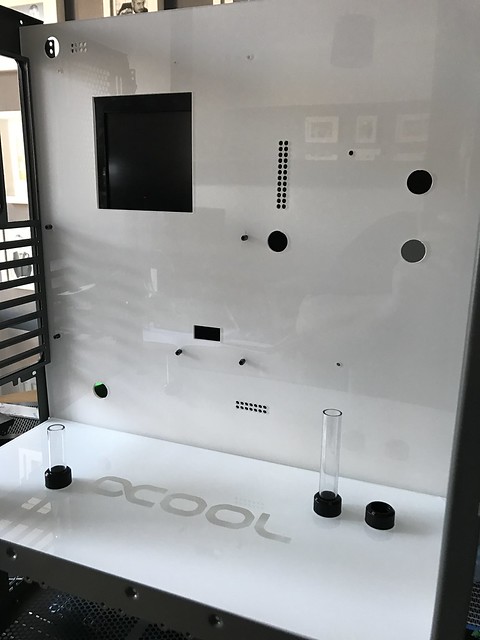
I have done a top cover for the custom res I cut the perplex to size add the holes, I want to put alphacool logo on this, so you can see the nanoxia fluid coming through the logo. I my friends at gorilla game to cut the logo out onto vinyl, I place this in the centre of back of the perplex then sprayed the back with a high gloss white. Once this was dry I peeled back the vinyl and you can see in the photos below it turned out great.


While I had the white gloss out I did the same process for the motherboard tray, I covered the front of the motherboard try in painters tape and paint the back in high white gloss. The reason why I paint the back of the perplex is because you get a nice finish when you look from the front, you can see this in the photos below.


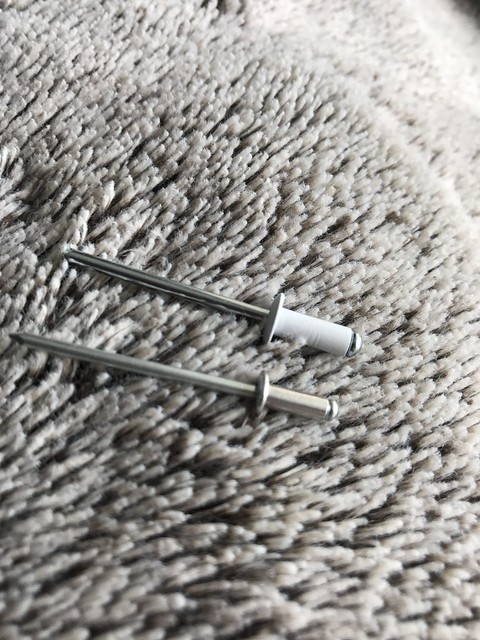
I had to buy a new rivet gun, I have some how misplaced it. I order some white 3.2mm rivets from ebay they look great (photo below) but were 4mm not 3.2mm so I didn’t use them, which mean I need to paint all the rivets white.


I have been speaking to a few people in the forums who suggested not to paint the full bracket on the CPU block, I have follow their advice and I think it’s came out great. Thanks again for your input, I have attached the photos below.


I have also leak test the custom res left it to run for hours and had no issues.


The only thing that I need is the fans which I have been told should be here the end of July.


I will be meeting up with to the wire custom sleeved in the next few weeks to get all the cable sleeved and ran.


To do list.


I need to make some custom spacers as the bulk fittings are a little bit to long, I need to think outside the box.


Run hard tubing (thinking about doing this in the basement to)


Run soft tubing behind motherboard tray.


Install fans.


Hope you all enjoy this update, if you have any questions or feedback leave a message below.

Update by Richard Ord, on Flickr


Update by Richard Ord, on Flickr


Update by Richard Ord, on Flickr


Update by Richard Ord, on Flickr


Update by Richard Ord, on Flickr


Untitled by Richard Ord, on Flickr


Update by Richard Ord, on Flickr


Update by Richard Ord, on Flickr


Update by Richard Ord, on Flickr


Update by Richard Ord, on Flickr
 
Back
Top Bottom