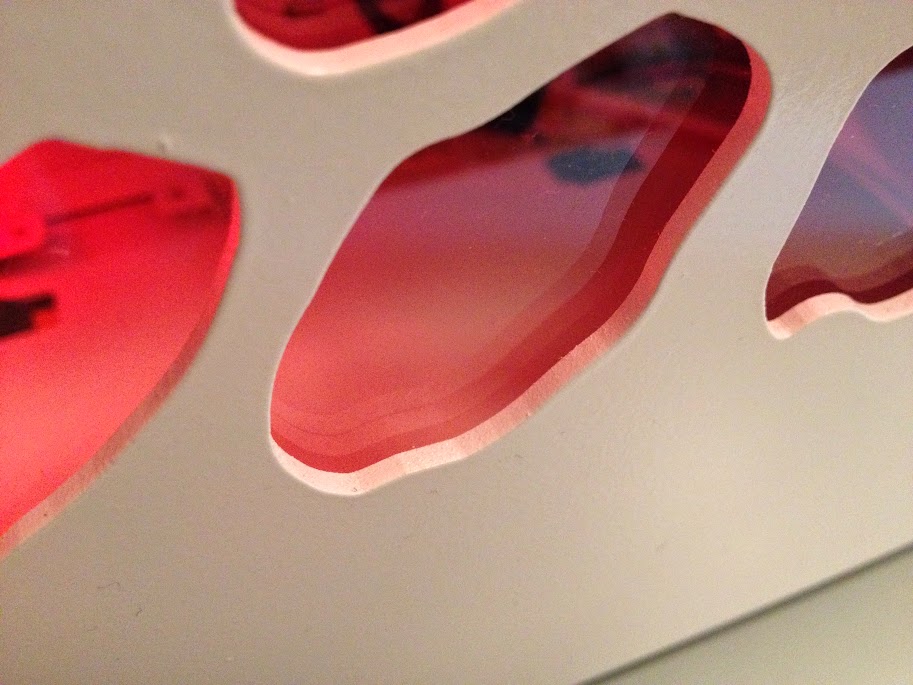
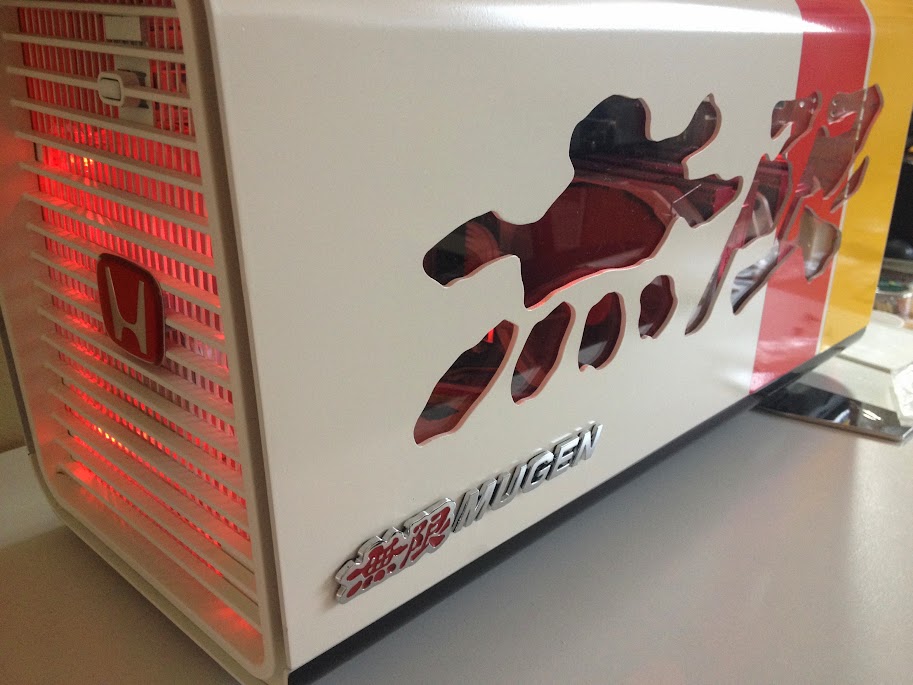
Sorry for not updating this for such a long time. Due to various things and events I was only able to return to the project in the recent week. The progress in this case have been very swift, and the build is now almost complete with some tweaks coming over this weekend, and few more updates in the next week or two, depending on receiving ordered parts.
So, here it is.
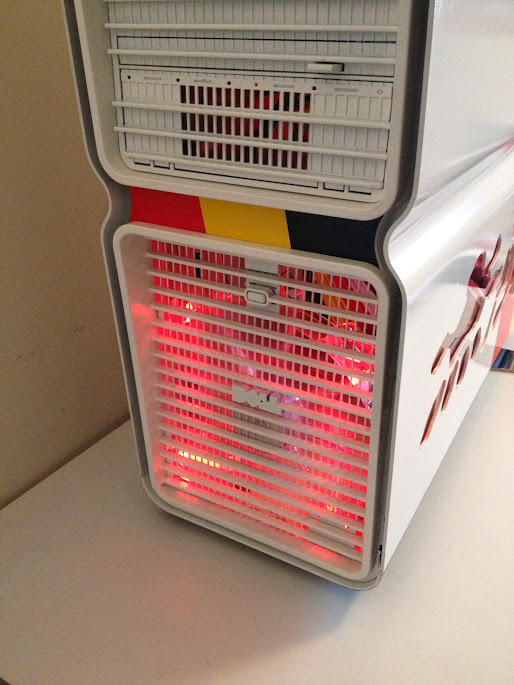
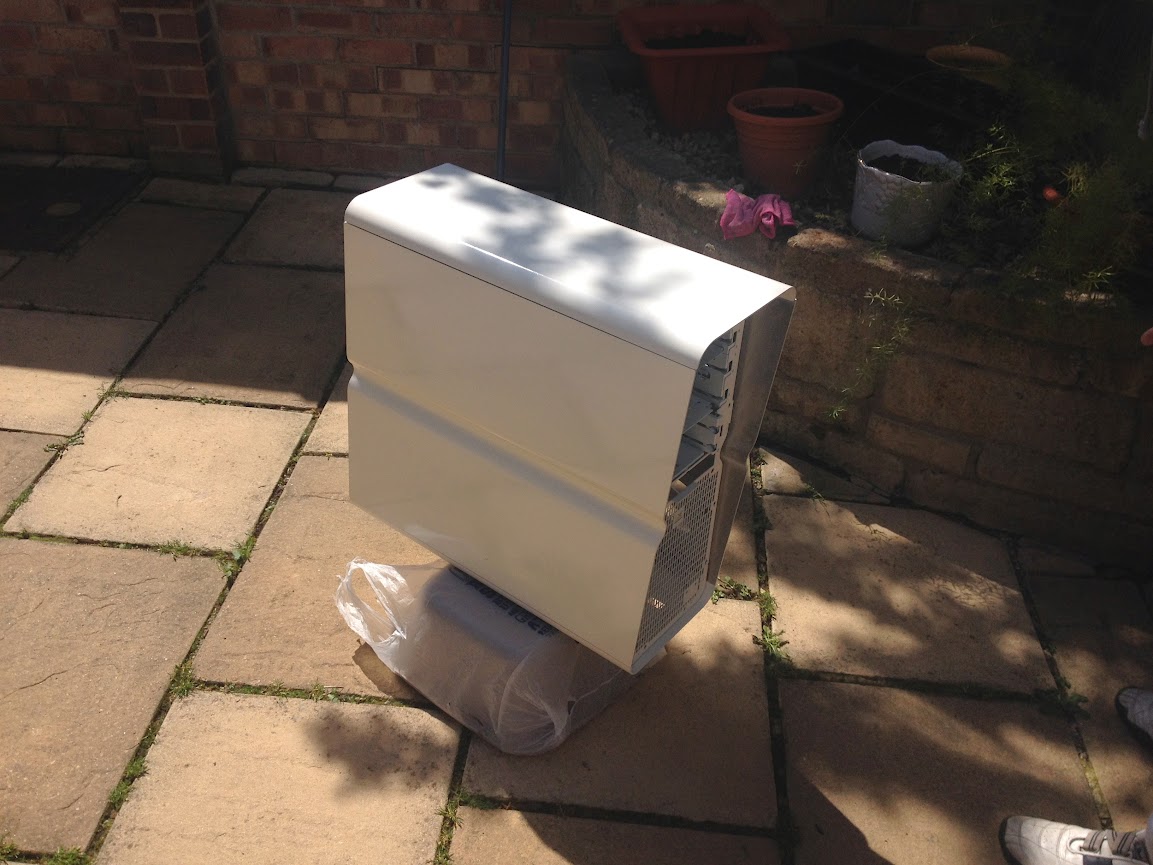
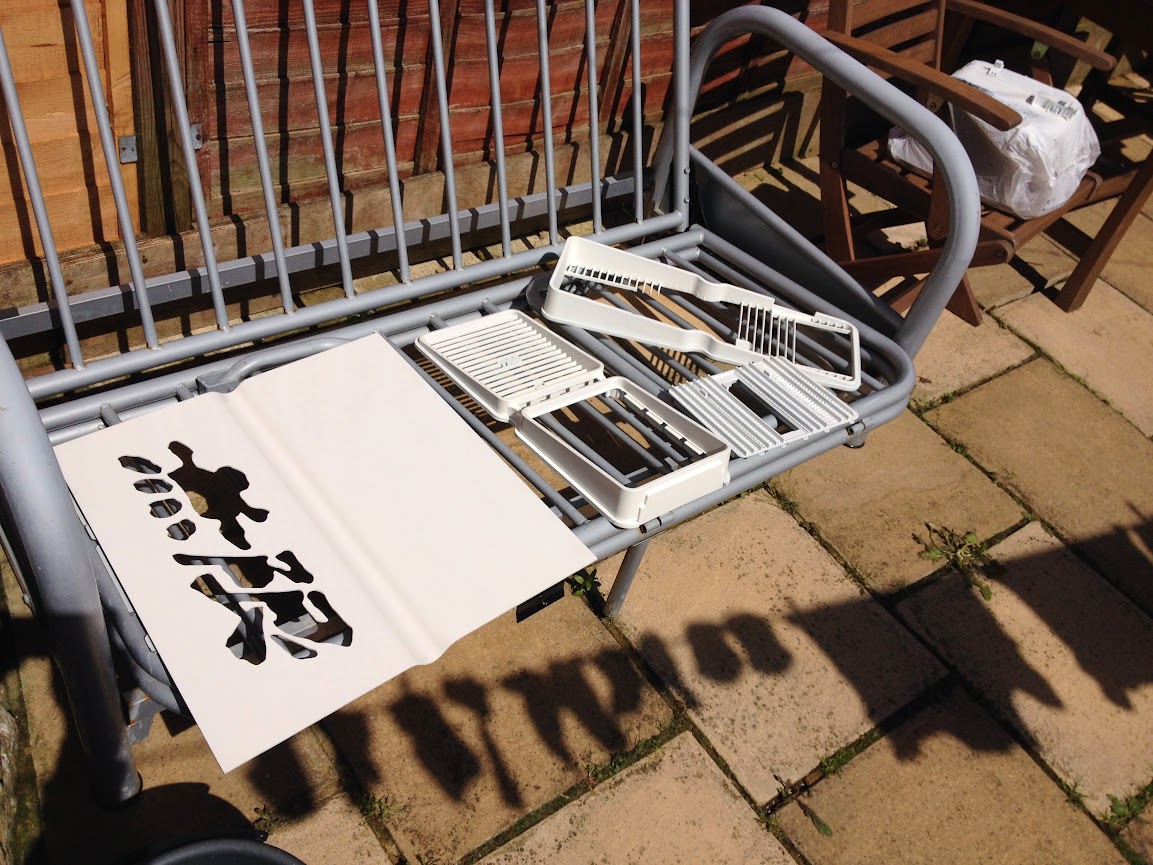
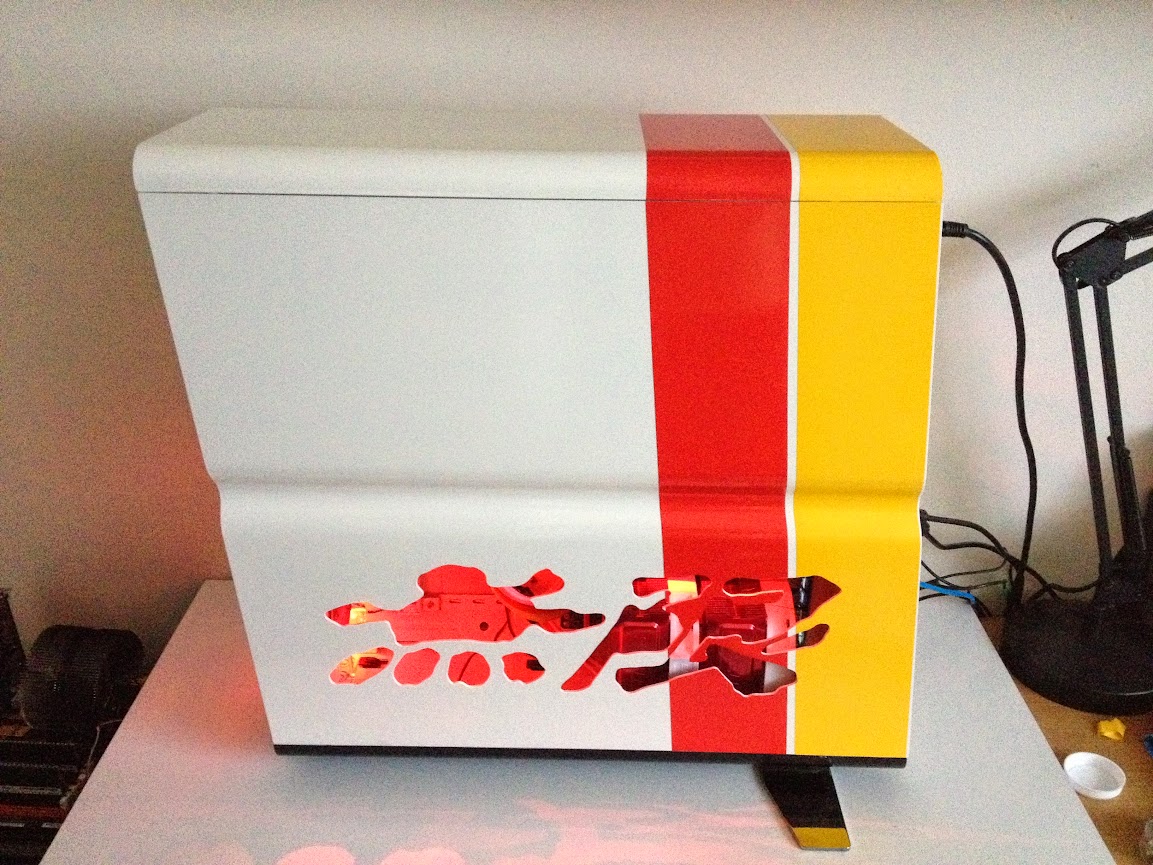
We've had some nice weather last weekend, so the case has received its lacquer treatment:
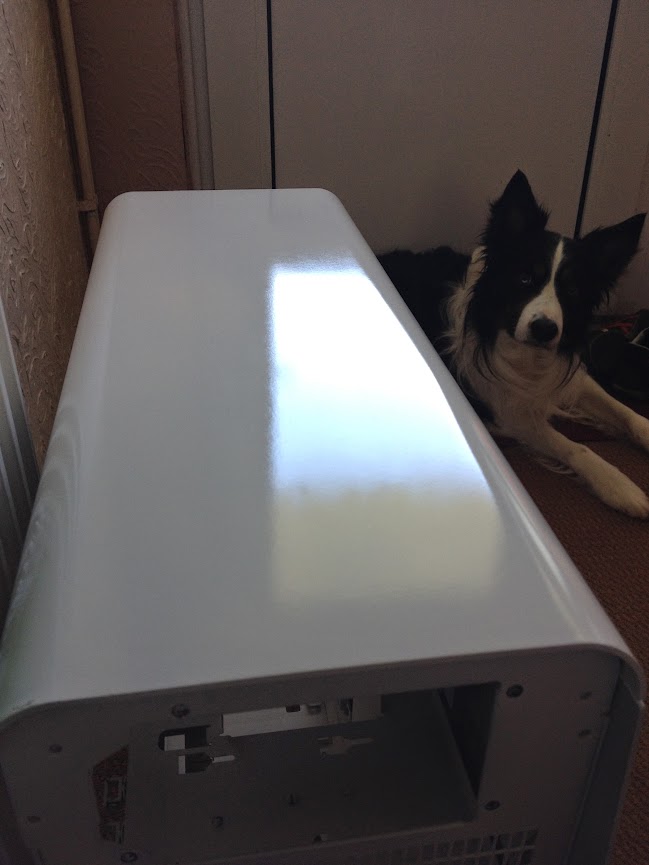
The red and yellow vinyl strips went on the side, with the black strip being put on the bottom part, to make it look like a side skirts on a car I was originally going to put all 3 colours on the side, but it was looking like a Belgium flag and wanted to avoid confusion


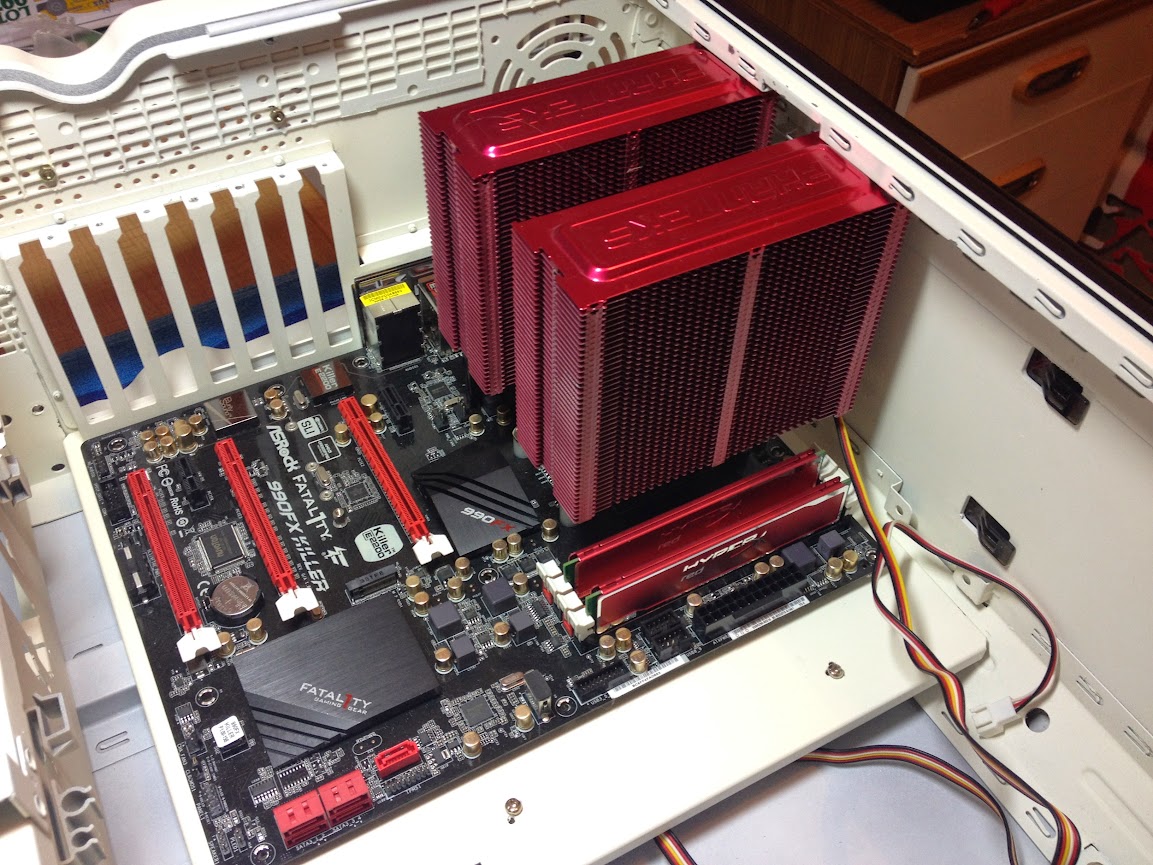
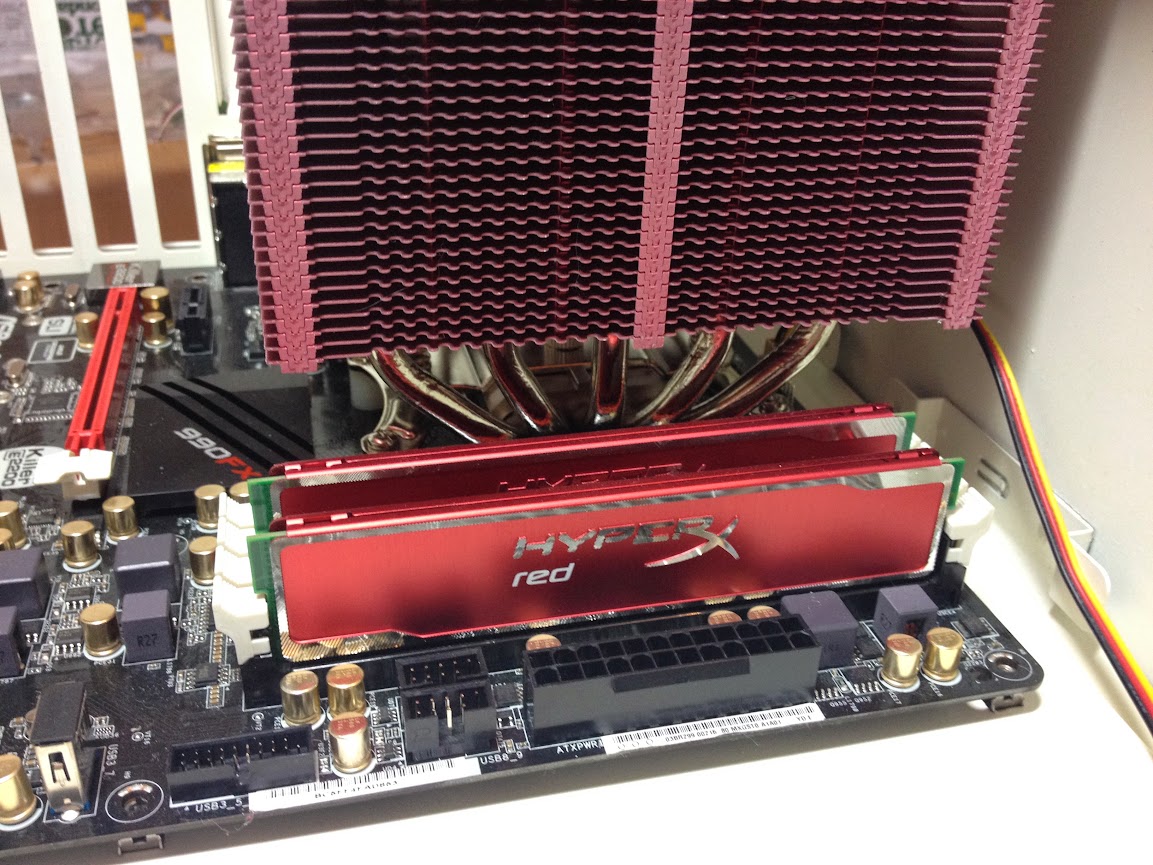
Some new components then went in. Upgraded my old Core 2 Duo to AMD FX-8350 on ASRock Fatal1ty 990FX Killer motherboard, and some matching red Kingston Hyper-X sticks.
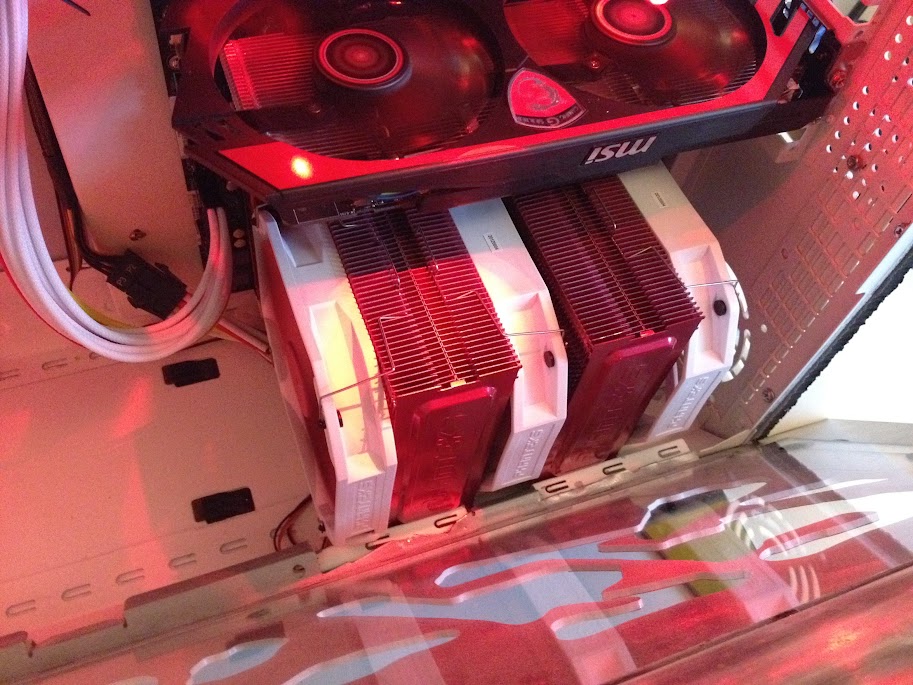
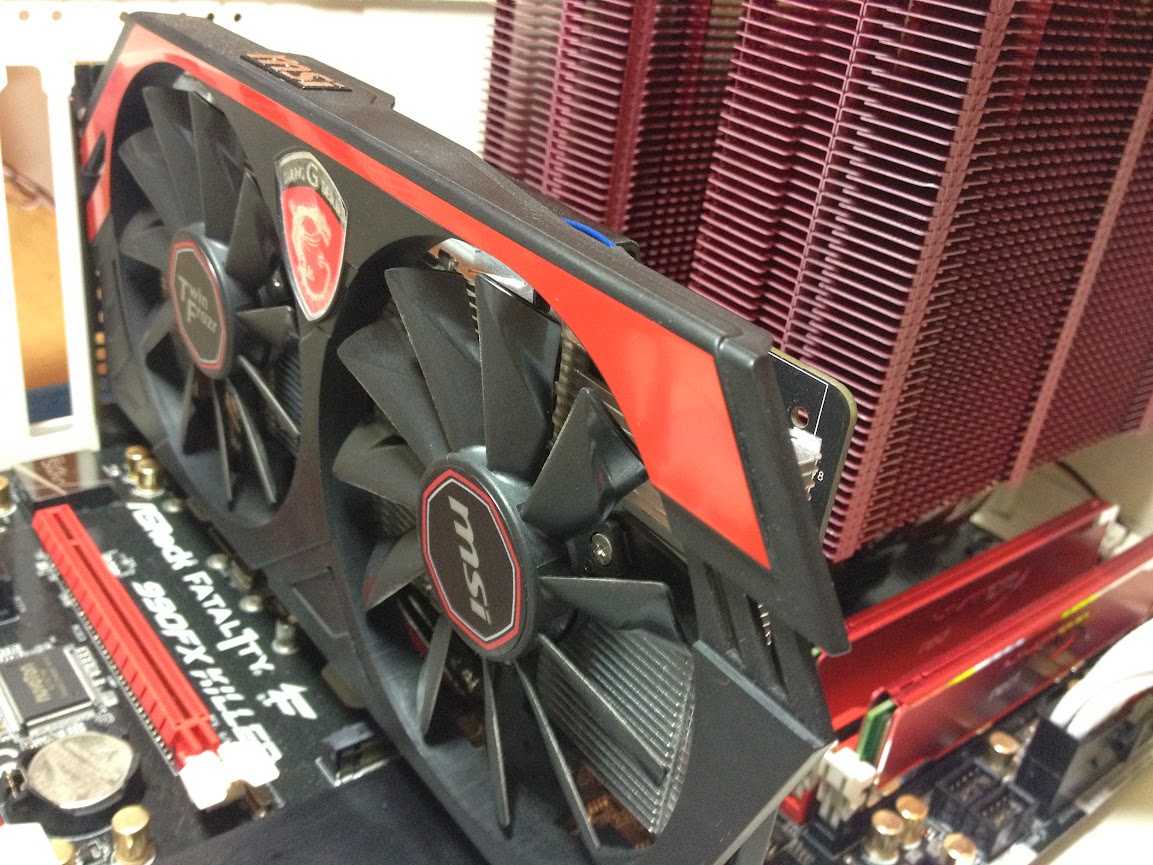
Also used MSi GTX 750Ti Gaming OC Twin Frozr IV 2GB card. It does not require additional power, which works for me as it's less cabling and it's really quiet!
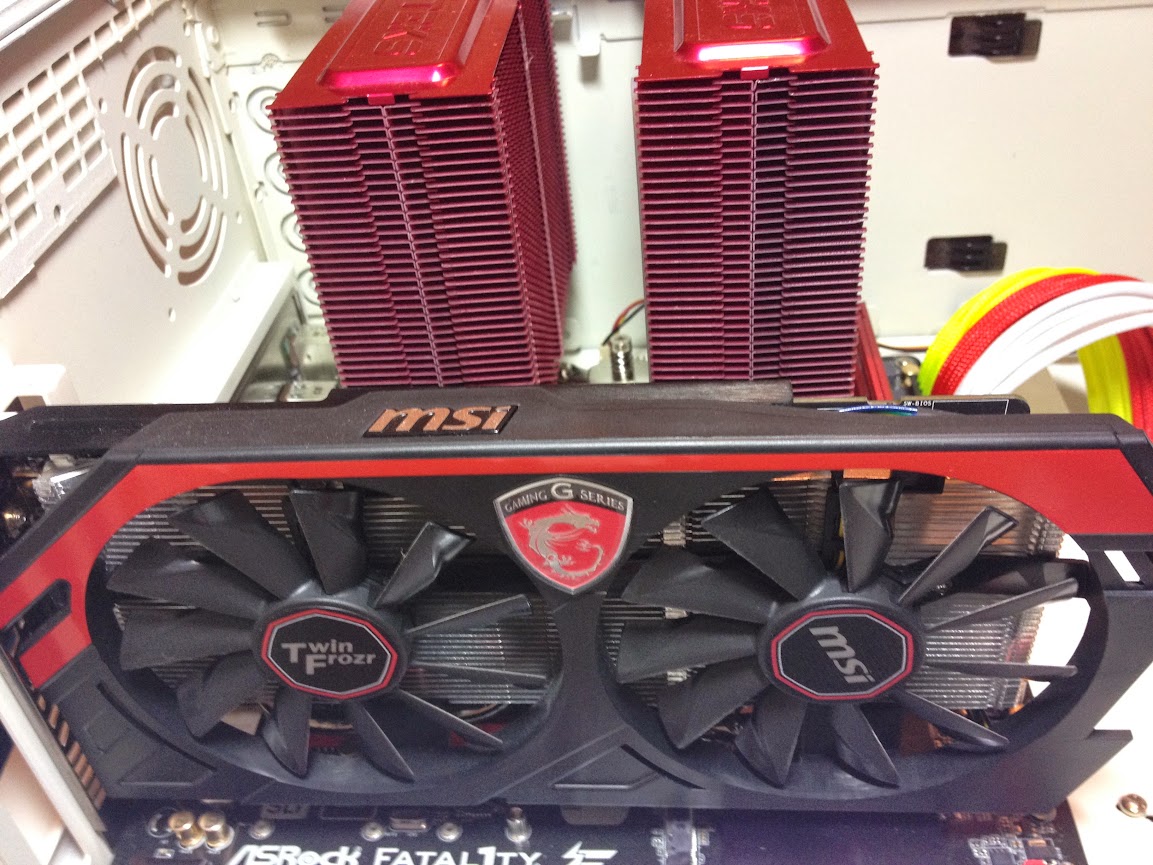
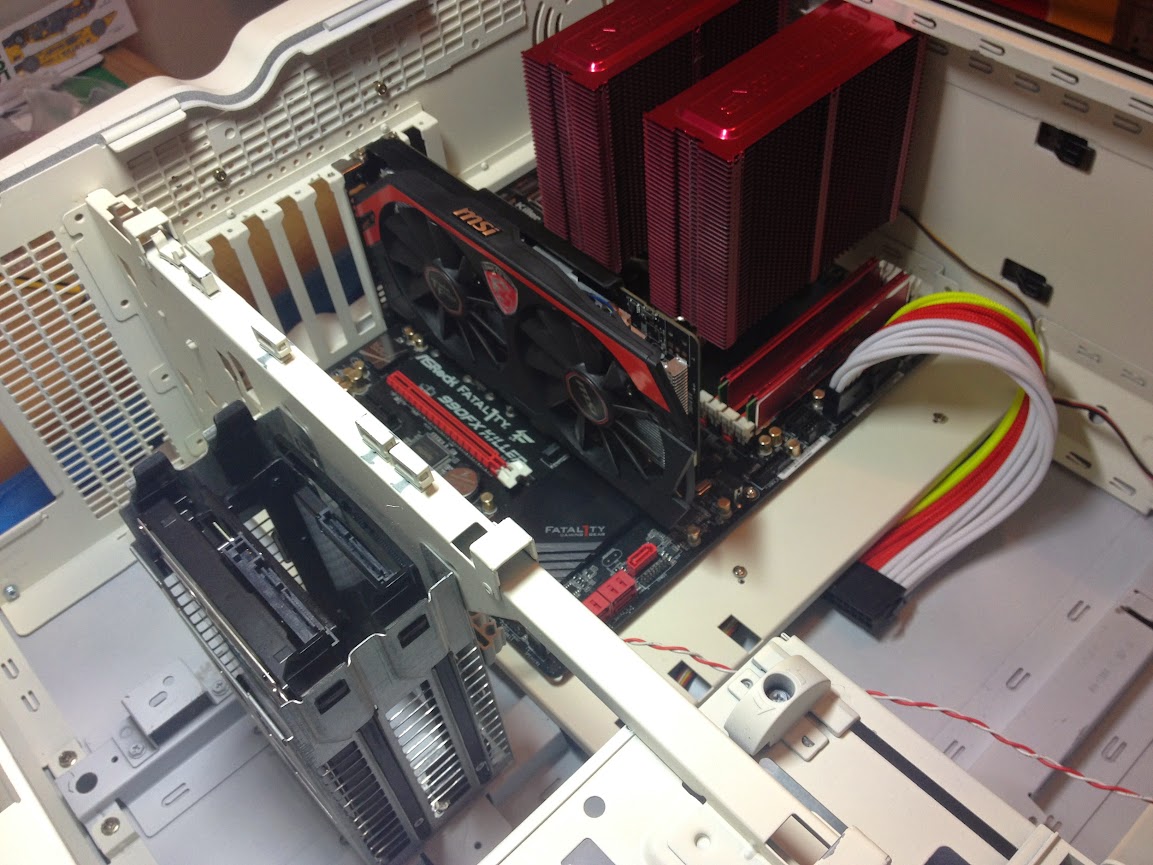
PSU, HDDs, Cooler fans going in (PSU is also being upgraded to BeQuiet Dark Power. Just waiting for delivery).
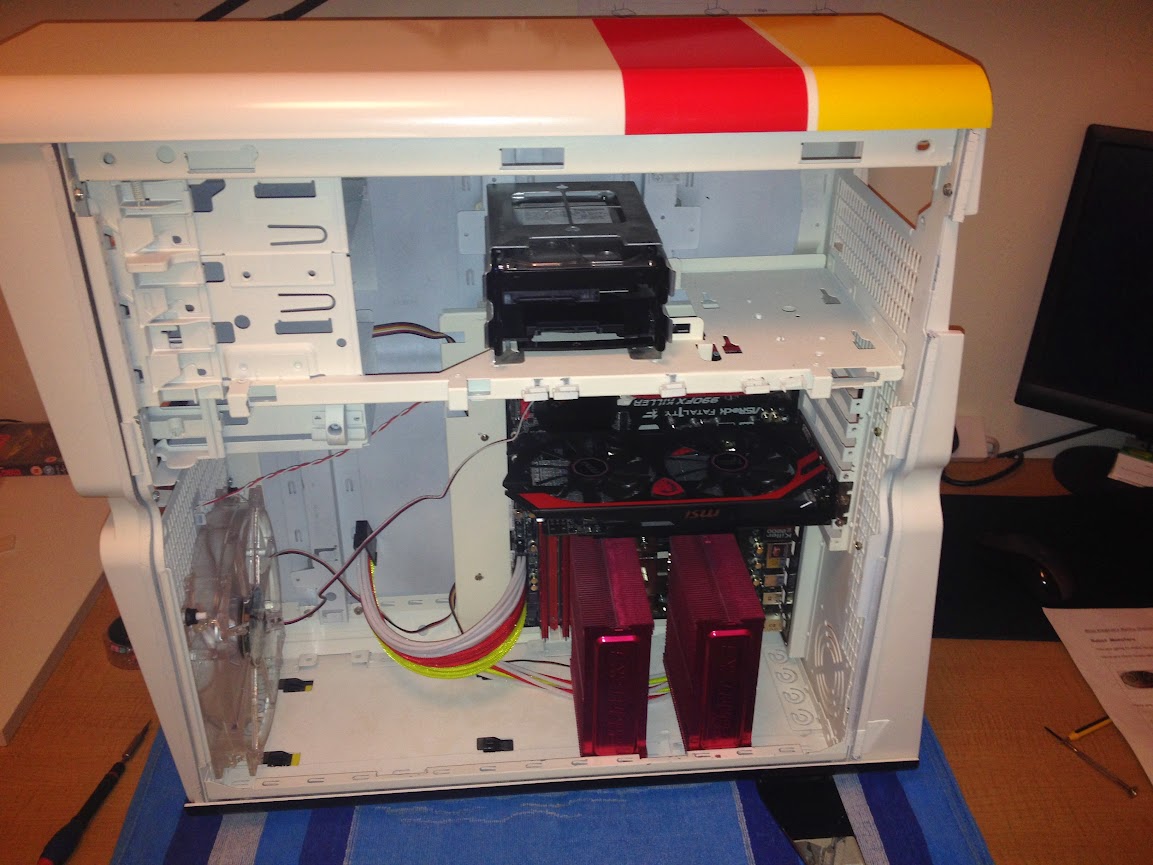

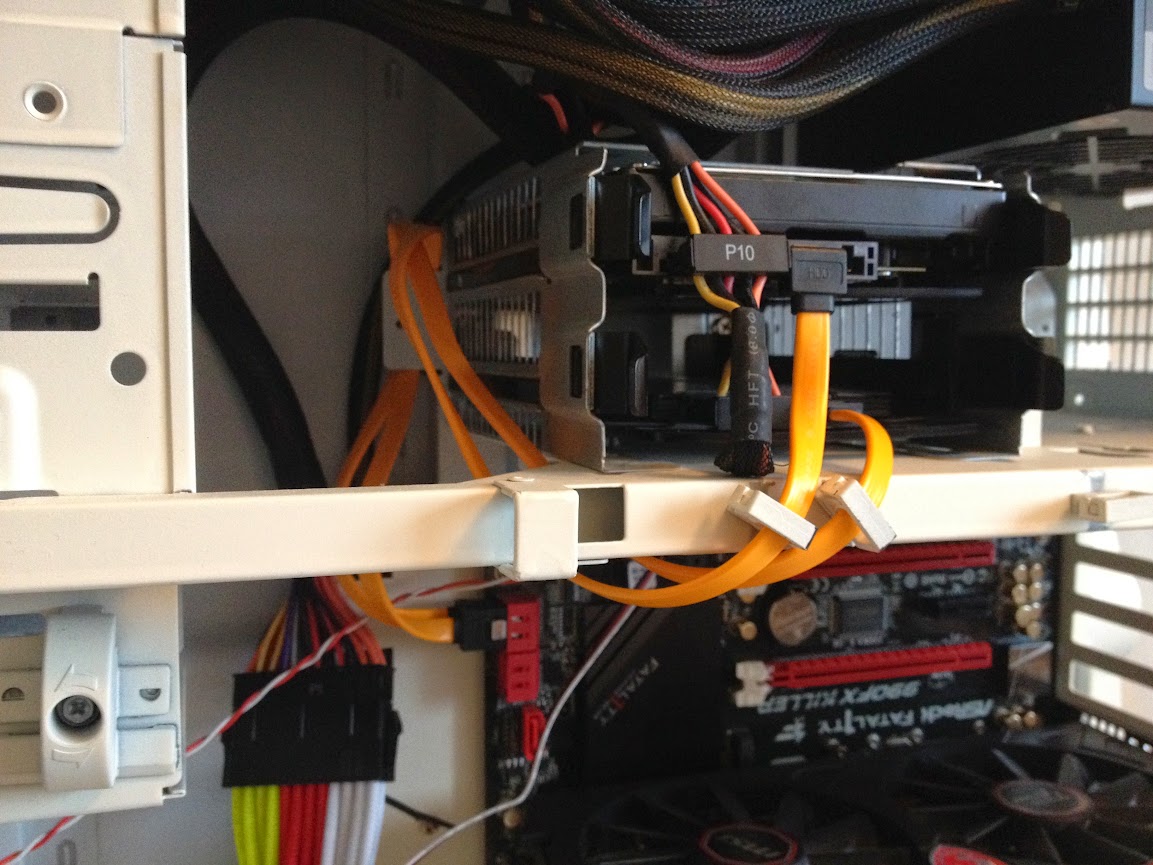
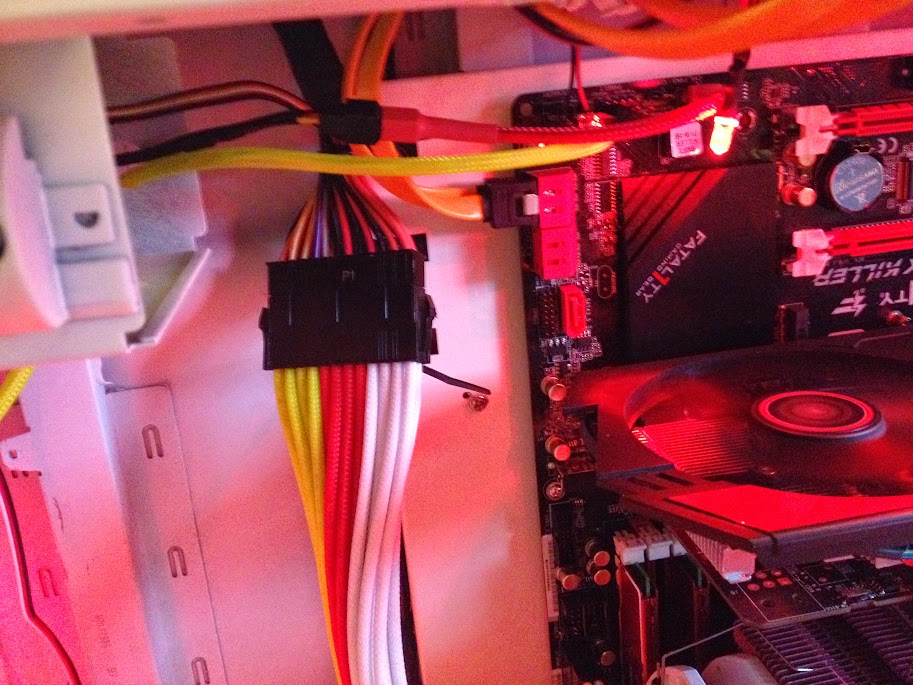
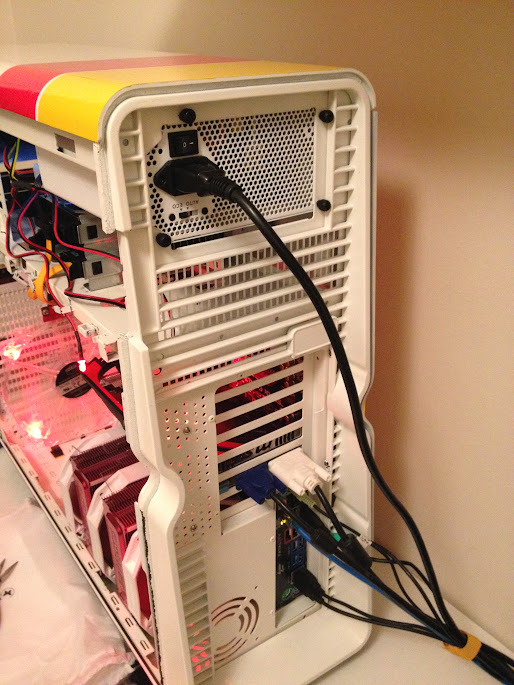
Back panel and cabling (matching yellow band)
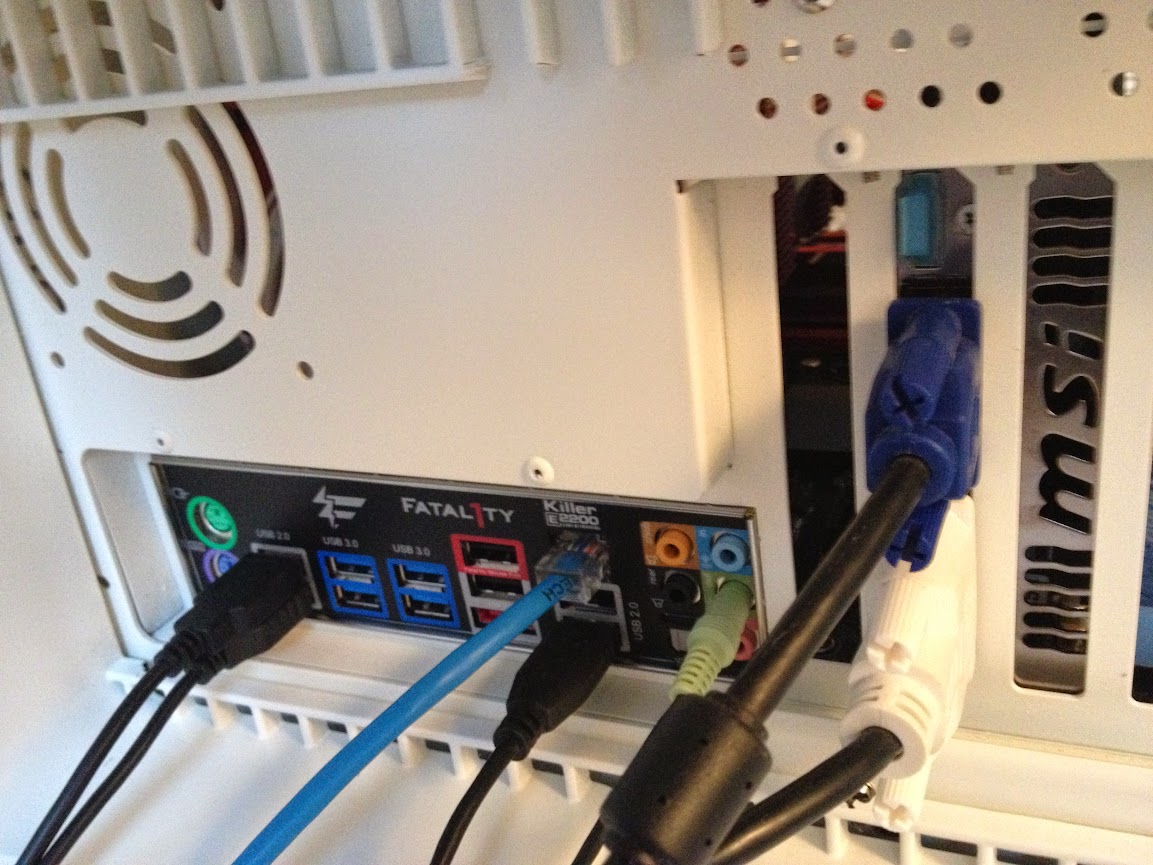
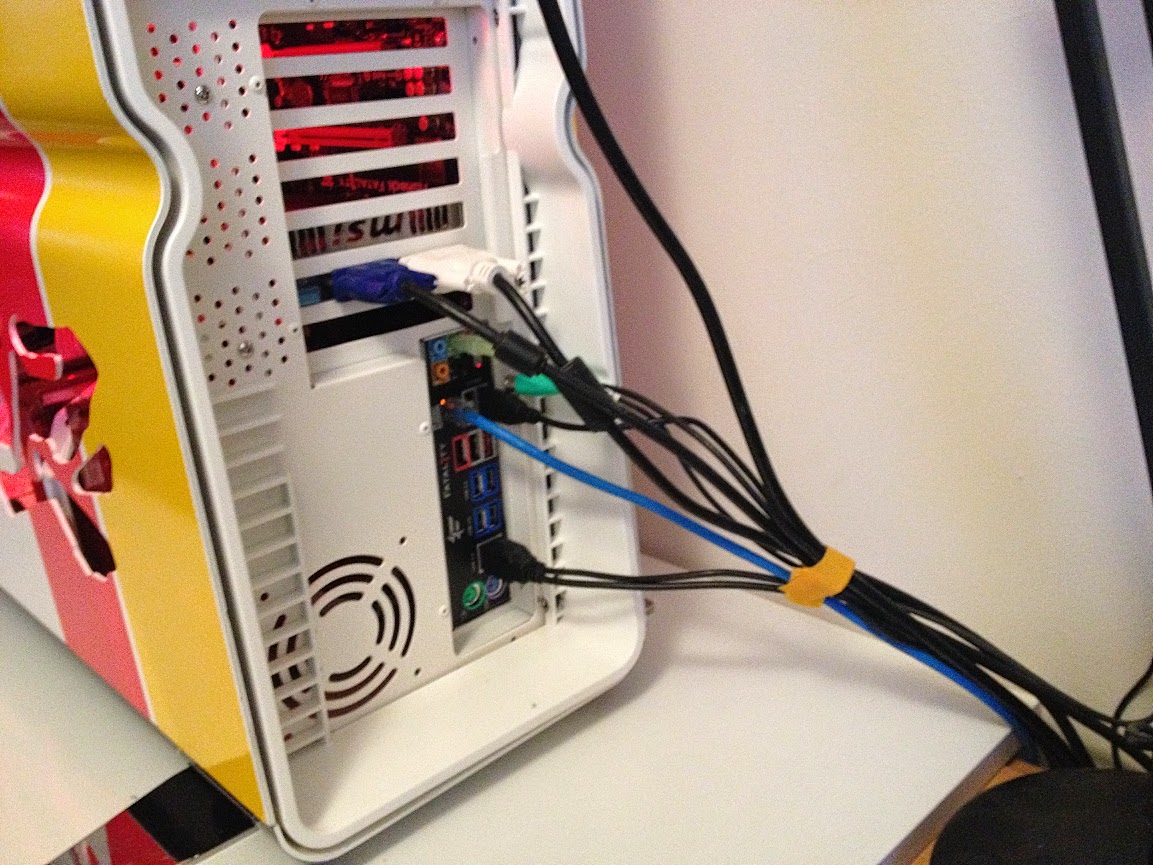
That mess is being sorted this weekend with some additonal braided cables, sleeving and white perspex.

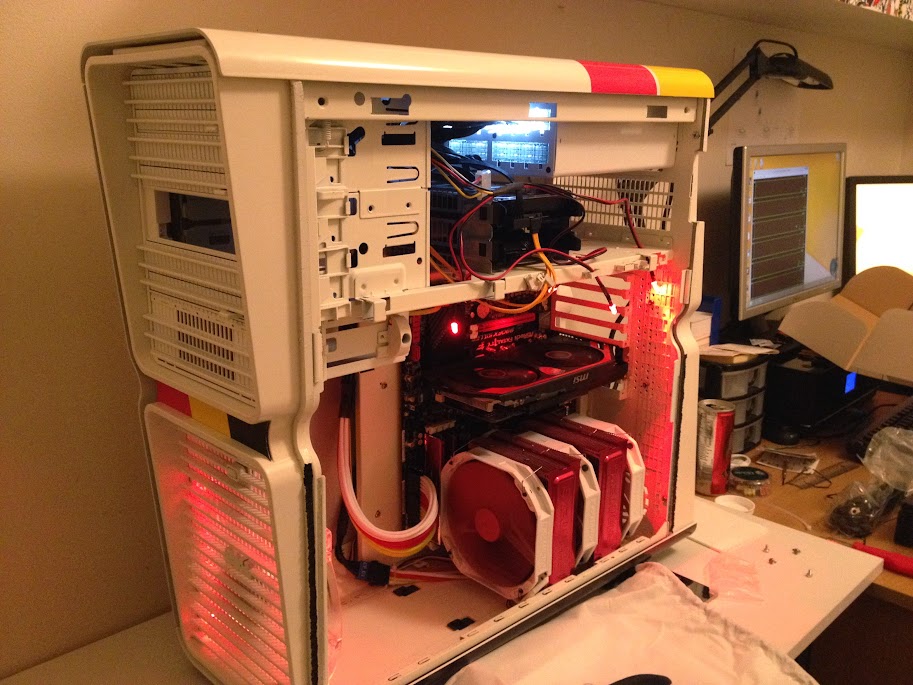
Powered on in daylight:

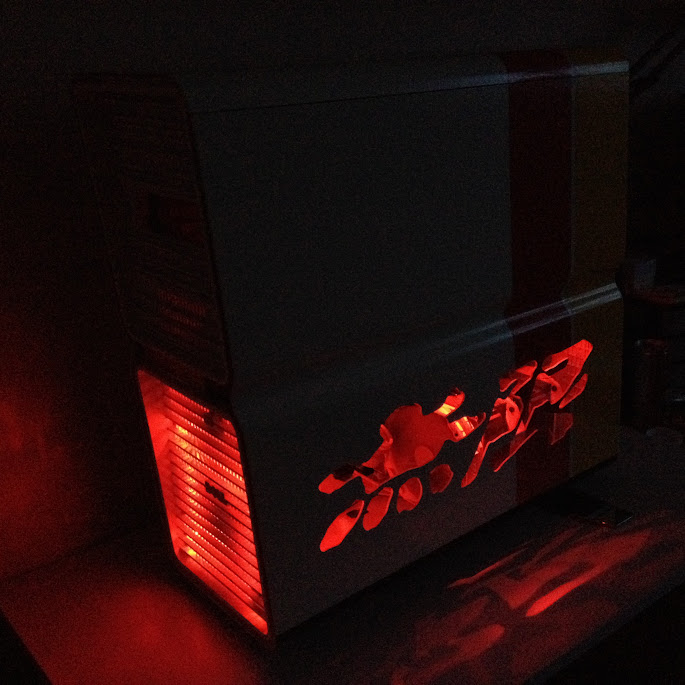
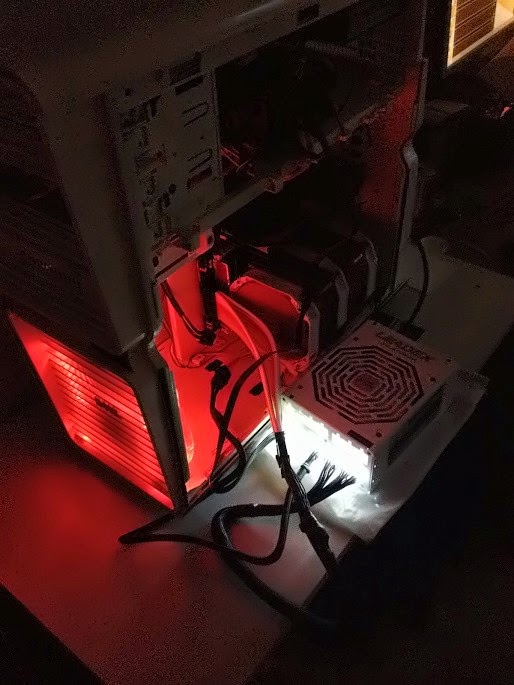
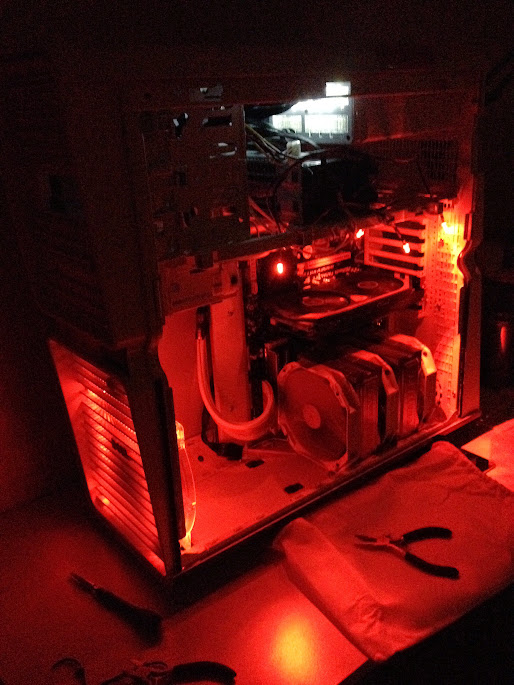
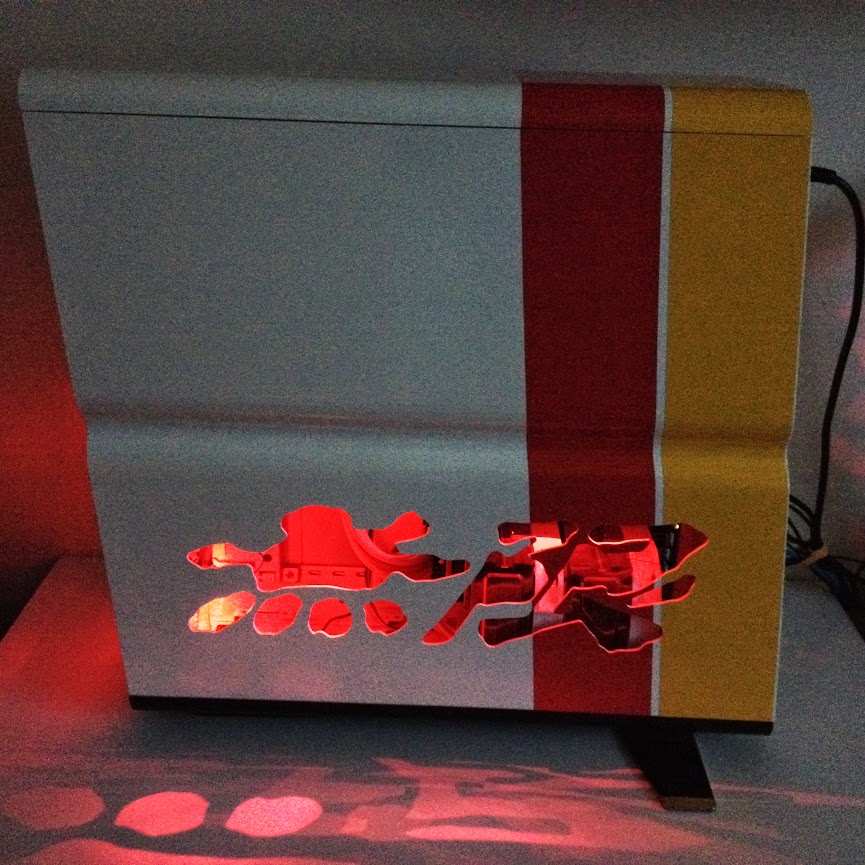
And in the dark (need to get a proper camera for better quality of the night time shots):

Will post another update after the weekend. Very happy with where I am with the build at the moment, and despite the delay I am still excited about this. Loving how it came out in the end!
So, here it is.
We've had some nice weather last weekend, so the case has received its lacquer treatment:


The red and yellow vinyl strips went on the side, with the black strip being put on the bottom part, to make it look like a side skirts on a car
 I was originally going to put all 3 colours on the side, but it was looking like a Belgium flag and wanted to avoid confusion


Some new components then went in. Upgraded my old Core 2 Duo to AMD FX-8350 on ASRock Fatal1ty 990FX Killer motherboard, and some matching red Kingston Hyper-X sticks.


Also used MSi GTX 750Ti Gaming OC Twin Frozr IV 2GB card. It does not require additional power, which works for me as it's less cabling and it's really quiet!


PSU, HDDs, Cooler fans going in (PSU is also being upgraded to BeQuiet Dark Power. Just waiting for delivery).


Back panel and cabling (matching yellow band)


That mess is being sorted this weekend with some additonal braided cables, sleeving and white perspex.

Powered on in daylight:


And in the dark (need to get a proper camera for better quality of the night time shots):


Will post another update after the weekend. Very happy with where I am with the build at the moment, and despite the delay I am still excited about this. Loving how it came out in the end!


 ) and Mugen badges.