Derek's DIY Disaster Thread - With Pics!

Good tip. And here is one of my own since you're working on your bathroom. Before applying sealant around the bath and sink, fill them with water first so you don't end up with a gap if there is any movement between full and empty.

And leave water in place until sealant has cured up to 24 hours, BUT watch the bath, if you have little ones running round.
 
Good tip. And here is one of my own since you're working on your bathroom. Before applying sealant around the bath and sink, fill them with water first so you don't end up with a gap if there is any movement between full and empty.

got told that by one of the folk in the office. made that mistake last time so hence the redoing of the seal. Tub nicely filled this time so should cater for my 14 stone equivalent weight! :D
 
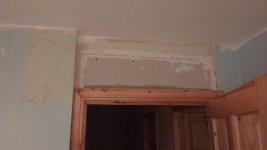
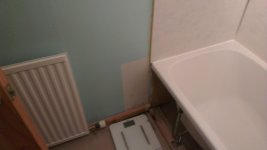
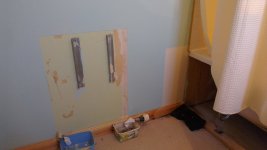
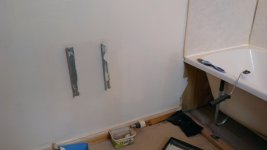
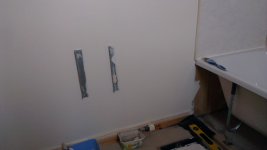
Walls all stripped back now but a couple of areas tore back to the original plasterboard rather than the 'first layer of lining paper' so I've had to cut them back for new lining paper combined with chief barker's tip :)

0h9xq1y.jpg

WIMcjC7.jpg

I'm a bit annoyed at the wallpaper behind the radiator though but not sure whether to get a plumber in to remove the radiator so i can strip that stuff off or just leave it as an 'unseen mess'

I started filling in any holes from where i removed the wallpaper so things are progressing :)

Will be getting my dad in to help get the bath shower screen fitted as it looks to be a two man job. Other than that its a bit of prep work on the walls before masking off bits to start painting.
 
Just turn the valves off each end, you can then remove the radiator, will be a small amount of water with in it.

Will need to top up system & bleed the air when you replace radiator,which is a easy job.
 
Just turn the valves off each end, you can then remove the radiator, will be a small amount of water with in it.

Will need to top up system & bleed the air when you replace radiator,which is a easy job.

Nice in theory but I'm not sure about this central heating system as the radiators don't have a valve at the top to bleed the air out which is why I'd think its best to get a plumber in. At least they know what they're doing! :p
 
Turn the water off, drain the water from taps, un-screw the radiator from the pipe,and lift up slow this will un-hook the radiator from the wall( do this slow a careful as its very heavy) and that's it.

That is the easiest for beginners as turning the water full off and emptying the water out of the pipes will be the safest.
 
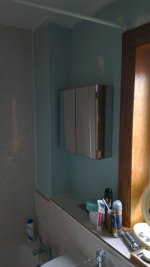
side tracked from the radiator business briefly to get a bathroom cabinet fitted.

5n5Adya.jpg

Straightforward enough, 4 plasterboard wall plugs, 4 screws et voila :D
Thought I'd get that in place first and i can remove it before painting the whole room. You'll note as well that the shower curtain rail is skew whiff as I dislodged it last night so its now balancing on the window facing and on top of the bit of wallpaper at the other side :eek:

Next up is to tackle the bath shower screen but I'll need to figure out the fixing of it as per Makhaira's post whilst still keeping it as a fully functioning bathroom as its my only one in the house.
 
woosed out of removing the radiator myself and got a mate to do it. trained as a plumber but is now a welder! just finishing off the last bit of wallpaper removal before adding the new lining paper and getting the joints filled. will post more pics in the next couple of days.
 
woosed out of removing the radiator myself and got a mate to do it. trained as a plumber but is now a welder! just finishing off the last bit of wallpaper removal before adding the new lining paper and getting the joints filled. will post more pics in the next couple of days.

Did you watch him do it? I watched my dad do a rad in our house once so I knew how to do it properly myself. It's so easy and I think he'd probably disown me as a son if I left paper behind a radiator now I've seen how it's done! :D
 
Did you watch him do it? I watched my dad do a rad in our house once so I knew how to do it properly myself. It's so easy and I think he'd probably disown me as a son if I left paper behind a radiator now I've seen how it's done! :D

Unfortunately I didn't, no. I was through in the next room as i had some work to do at home. He'll be back on Saturday after I've finished off the painting in that area so might have a look to see how its done (might have to stand in the bath as the room aint that big :D)
 
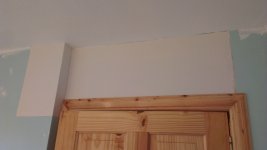
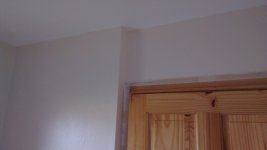
Got the lining done tonight. A little bit shoddy around where the radiator was (my straight edge went wonky) but nothing that a bit of polyfilla cant sort out tomorrow evening :)

6juvZgI.jpg

Above the door.

C3JNkJq.jpg

Beside the bath with the radiator bit still to do.

5tTLtAB.jpg

Radiator.
 
side tracked from the radiator business briefly to get a bathroom cabinet fitted.

5n5Adya.jpg

Straightforward enough, 4 plasterboard wall plugs, 4 screws et voila :D
You only screwed your bathroom cabinet to the plasterboard..:eek:

With the amount of stuff/weight everyone's put in my bathroom cabinet I glad I made up a thick metal plate that screwed to the studs and then my cabinet is screwed to the thick metal plate..
 
You'll be fine Derek, 4 proper plasterboard fixings will be more than enough unless you're planning on filling every inch of your cabinet with tins of beans!*

*Even then it'd probably be fine, although I'd worry a bit!
 
Back
Top Bottom