BIG UPDATE!
Finally completed the internal build so it actually runs, tested and setup! Initial testing was a nightmare due to not detecting hard drives, the warehouse deal was a flop... it was returned for good reason! On inspection i noticed a few bent pins and a missing pin! No wonder it was playing up. The second board which was the same Z390 Aorus Pro Wifi ITX, was perfect and from a decent seller. Thankfully it arrived safely despite it being sent by Hermes and was nearly a week late... Good ol Hermes.
Any way up and running and it detected everything on post and in Bios. As noted by the seller it has the latest Bios and was only bought as a spare so had very little use which i could tell straight away, little to no dust on the board. Managed to apply the same OC from my previous board onto this one with it being a Gigabyte board it was fairly straight forward running a more modest 5.0ghz all core at 1.28v. Thinking running a 5.1ghz at 1.31v maybe abit too much for this chassis especially while only cooling the CPU with a 240 30mm thick radiator. I'll do further testing to see if i can push it but i think a 5.0ghz at a lower voltage is a safer option to keep temps down.
Other snags included not being able to fit the GPU in the orientation i wanted which may actually have been for the better... I would have needed extremely short 90 degree fittings to stop the fitting from contacting the glass. With the gpu orientated to the backplate is facing outwards i could just about manage to fit some slim 90 degree fittings despite the fitting still contacting the glass at least i could still slide the panel on. May need some even shorter fittings which OCUK sell for future improvements or if i take the system apart again i'll make the changes but for now its acceptable.
After 4 days of a gruelling build, twisting and pushing working in this confined space i finally managed to get it how i wanted it. Fingers are sore, very sore but well worth it! Cable management was the hardest part, having had to redo it several times due to forgetting to install some components i needed. The case would have been even more perfect if it had a few more cable management holes at the bottom and sides. It definitely needs a few more cable tie down points in particular around the edges to hold things in place although with some tension it works perfectly fine though not ideal.
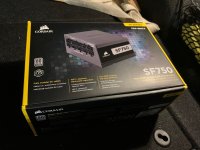
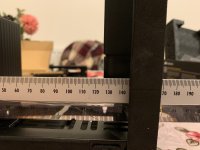
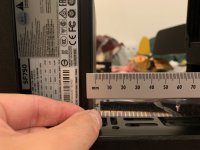
Fitting the PSU was fun, getting psu in there while ensuring there's enough room for the reservoirs was the trickiest part... literally not a mm spare! I have some proper brackets coming which should help me pull the reservoir further in towards the radiator and give me that needed space to fit the 3D printed psu cover made by a good friend of mine
@RexAlba . The 24pin and 8pin EPS were nowhere near long enough to reach, the 8pin EPS i decided to use an extension but the 24pin extension is way too bulky so in the end i resorted to routing it through the centre of the case and using straps to keep it neat and tidy, giving it a cyberpunky muscle fibre effect.
Onto some pics with a brief description:
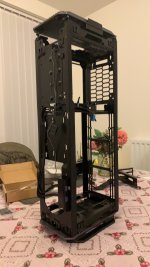
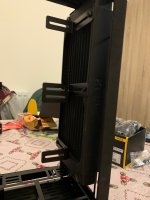
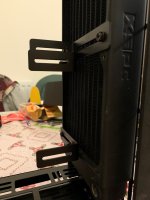
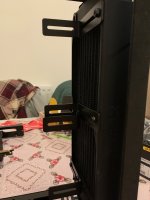
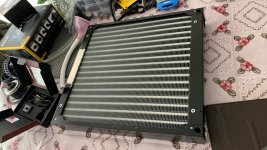
Mocking up the Radiator and Reservoir fitment.
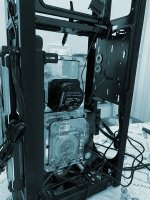
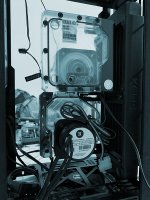
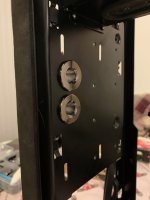
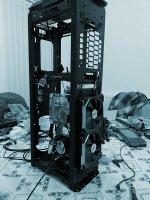 PSU fitment, pushed right up against the res. It slots in perfectly, with some slight adjustment to the res bracket was is adjustable.
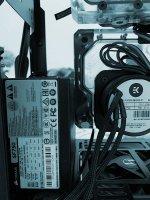
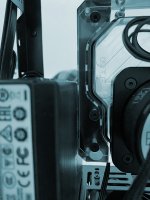 Installation of the board and block with some work starting on the cable management.
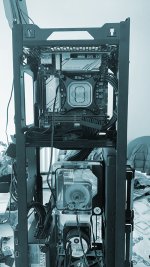 GPU installed but you'll see later i rotated it so the backplate faces outward. There was no way of fitting it this way without the fittings interfering with the glass side panel. Shame really but in retrospect it worked out better this way as i forgot how hot the backplate gets!
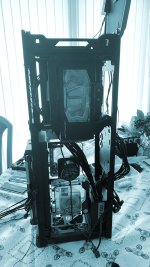
Finishing up the cable management, front and back looks tidy despite the lack of space.
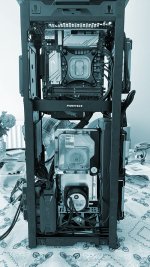
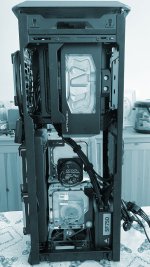 Installing the first bit of tubing, this was a troublesome bend! Had to wing it and due it by hand to get the desired angle.
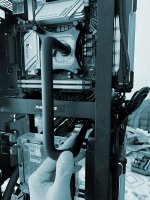
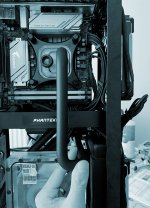
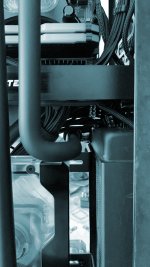
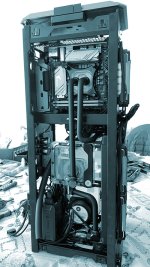
"Easy Bends"
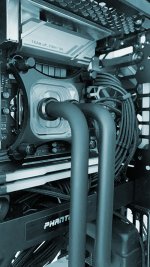
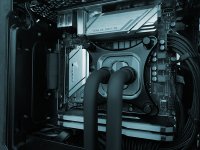
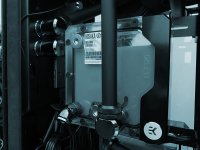
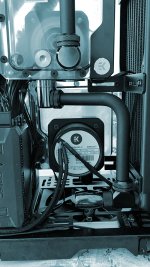 GPU side Tubing.
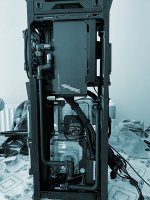 Resorted to using some soft tubing for this bend from the back of the gpu to the passthrough. Way too many turns and bends needed to get it in there, would have been a nightmare. Made things a little easier for myself with some satin black soft tubing.
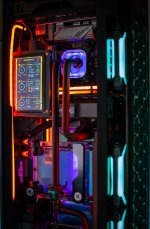
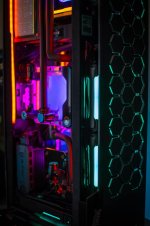
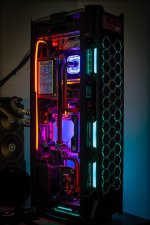
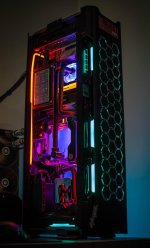
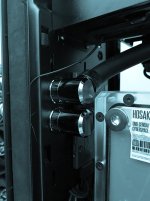 COMPLETED!
  TEARS OF JOY!
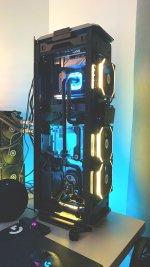 Next to do:
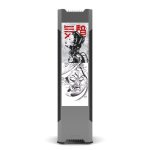
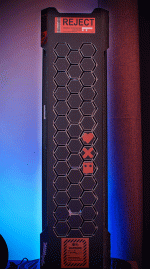
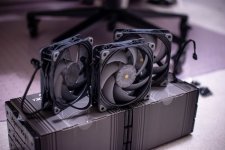
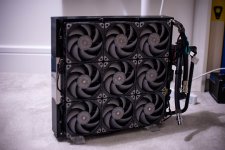
- Front panel is on the way with the 3D printed risers to fit over the full size 25mm fans. It's also Machined at the front to allow for better airflow.
- Powdercoat or plastidip the front and back panels to match the theme, thinking a strong Yellow will do the job but undecided on paint or plastidip yet.
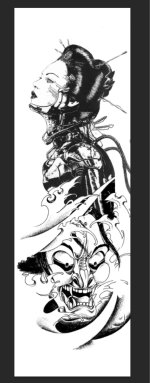
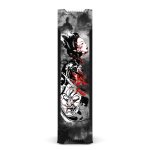
- Couple of custom decals to match the theme. Have some spare from the last build as well.
- Install the PSU cover and tidy up cables a little bit more internally.
- 3D printed Magnet cover, the stock one is abit scratched from the previous owner.



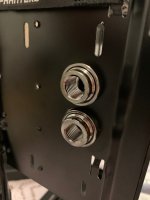
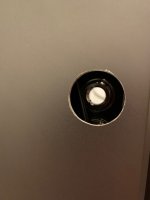
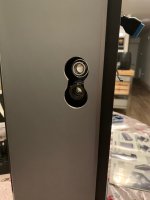
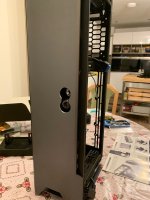
 , the front panel needs some work and a good tidy up but works as intended for now. The pass through was a nice fit, no issues there.


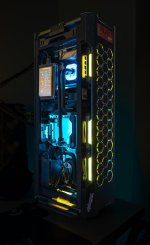
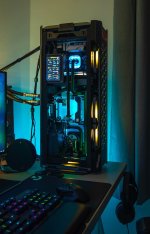
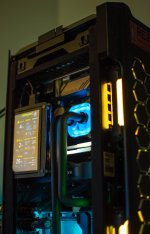
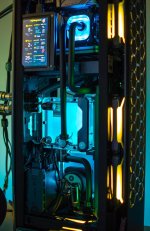


 .
.
 - Cyberpunk Evolv X - Currently Rank 77