Associate
At the moment of posting this build log from my casemod that I did last year, I already started the build log about the 2015 update, this buildog is just to show you what I did last year, if you want to see the update you weill have to look in the new build log called "HAF Pipe 480 (2015)"
Everything is an exact copy of what I posted last year in the other forums, I had no time to also post it on this forum back then so since I do have the time now, you can enjoy it here too
The final result is this, I've made it a spoiler since some like to read the thread before viewing the result

From this point everything is back in 2014!!!
Recently I started buying the parts for a Custom watercooling loop to be fitted in my Coolermaster HAF X case
At this moment I have:
EKWB Supremacy Nickel/Plexi (Polished)
Mayhems X1 Blood Red Coolant
2x Aquatube reservoir (Not sure yet if I will use them in this loop)
HardwareLabs Black Ice Sr-1 480mm radiator (which should fit nicely in a HAF X)
In this Buildlog I will show what I'm doing to my HAF X case to fit the 480mm Black Ice Sr-1 Radiator (normally it only supports 120 or 240mm rads without modding) also I will do my best to keep as much of the outside looks the same
I started by measuring the room between the front and back of the HAF X's frame which was about 519mm, the front and back panels are both 1mm thick so I have room for a 517mm radiator (which is perfect because the HWL Black Ice Sr-1 is exactly 517mm in length)
I ordered the radiator

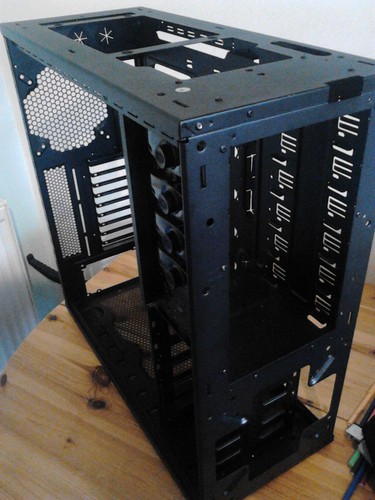
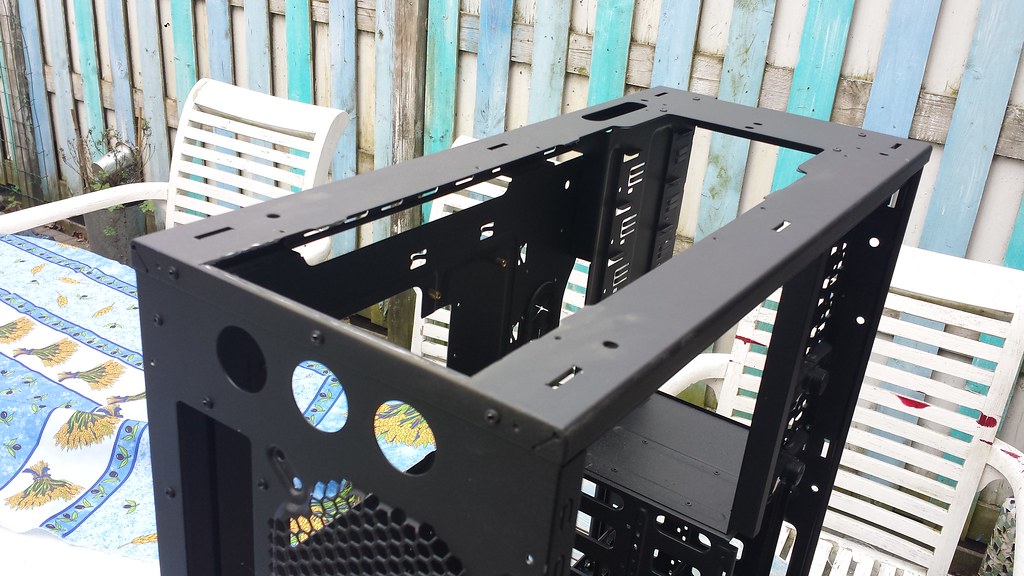
This shows how an HAF X frame looks from above before modding (not my picture)

Before I started cutting I wanted to know if I could keep my Front I/O, sadly the answer was no (kind of expected it) so I removed it (need to think about what I will do with it)

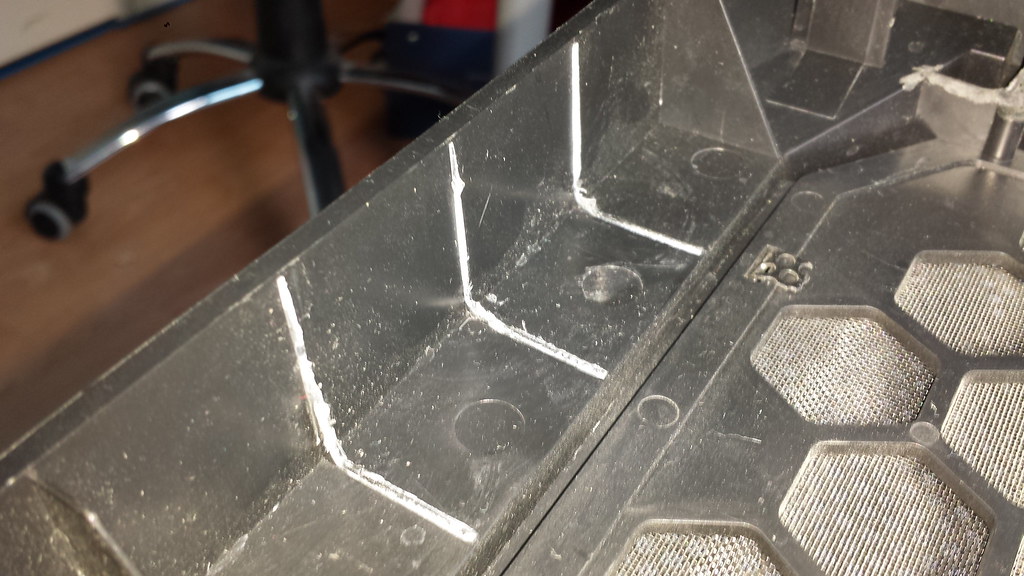
Even the plastic fins at the back had to go

First cuts are made, cut out the two radiator brackets and immediately cut out a section at the back too

Also made a start with cutting out the front

Lets start with smoothing the rough edges on these cuts

As I said it should fit

Also making surte the front and back are perfectly smooth so I don't scratch my radiator (...too much)


THE universal modding tool

Well time to see if it fits and yeah it's a perfect example of "If it fits, it sits" measurements where spot on :cooldude:

Cutting away the fins was not enough so a quick freestyle cut was needed to get it to fit at the back

Shot of the empty front I/O (at this moment I got an idea what I'll do with it) and the radiator's in and out

Now I need to make some brackets to keep the radiator 18mm higher than the old mounts (I need the maximum height to get the motherboard clear) higher than that would mean I also needed to get rid of my Power, Reset and Fan LED switches
I'm going to use the old 240 mount brackets to make some new ones

Cut the brackets in half, scraped the paint of the bending points (and some metal) to make them bendable by hand
The result

Putted the brackets on the Radiator to see if they are bend well enough to get the 18mm rise, this is how it will hang in there

Looks good from above

The clip in which the power, reset and fan LED switches are mounted rests exactly on top of the radiator so it's a perfect fit

By now it's time to get the drill and drill the holes which will be used to fasten the brackets, sadly my little brother broke the drill a few weeks before I started this so I need to get a new drill
Everything is an exact copy of what I posted last year in the other forums, I had no time to also post it on this forum back then so since I do have the time now, you can enjoy it here too

The final result is this, I've made it a spoiler since some like to read the thread before viewing the result


From this point everything is back in 2014!!!
Recently I started buying the parts for a Custom watercooling loop to be fitted in my Coolermaster HAF X case
At this moment I have:
EKWB Supremacy Nickel/Plexi (Polished)
Mayhems X1 Blood Red Coolant
2x Aquatube reservoir (Not sure yet if I will use them in this loop)
HardwareLabs Black Ice Sr-1 480mm radiator (which should fit nicely in a HAF X)
In this Buildlog I will show what I'm doing to my HAF X case to fit the 480mm Black Ice Sr-1 Radiator (normally it only supports 120 or 240mm rads without modding) also I will do my best to keep as much of the outside looks the same
I started by measuring the room between the front and back of the HAF X's frame which was about 519mm, the front and back panels are both 1mm thick so I have room for a 517mm radiator (which is perfect because the HWL Black Ice Sr-1 is exactly 517mm in length)
I ordered the radiator


This shows how an HAF X frame looks from above before modding (not my picture)

Before I started cutting I wanted to know if I could keep my Front I/O, sadly the answer was no (kind of expected it)
 so I removed it (need to think about what I will do with it)
Even the plastic fins at the back had to go

First cuts are made, cut out the two radiator brackets and immediately cut out a section at the back too

Also made a start with cutting out the front

Lets start with smoothing the rough edges on these cuts

As I said it should fit


Also making surte the front and back are perfectly smooth so I don't scratch my radiator (...too much)


THE universal modding tool


Well time to see if it fits and yeah it's a perfect example of "If it fits, it sits" measurements where spot on :cooldude:

Cutting away the fins was not enough so a quick freestyle cut was needed to get it to fit at the back

Shot of the empty front I/O (at this moment I got an idea what I'll do with it) and the radiator's in and out

Now I need to make some brackets to keep the radiator 18mm higher than the old mounts (I need the maximum height to get the motherboard clear) higher than that would mean I also needed to get rid of my Power, Reset and Fan LED switches
I'm going to use the old 240 mount brackets to make some new ones


Cut the brackets in half, scraped the paint of the bending points (and some metal) to make them bendable by hand
The result


Putted the brackets on the Radiator to see if they are bend well enough to get the 18mm rise, this is how it will hang in there


Looks good from above

The clip in which the power, reset and fan LED switches are mounted rests exactly on top of the radiator so it's a perfect fit


By now it's time to get the drill and drill the holes which will be used to fasten the brackets, sadly my little brother broke the drill a few weeks before I started this so I need to get a new drill
Last edited:


