You are using an out of date browser. It may not display this or other websites correctly.
You should upgrade or use an alternative browser.
You should upgrade or use an alternative browser.
First time using H2O!
- Thread starter benji182
- Start date
More options
Thread starter's postsDid you rock the case as you filled and bled the air out?
I have tilted it to 45' to each side and not as much forwards and backwards.
Do get a noise every now and then which sounds like air going through the pump. Not done that for a while now though.
Associate
- Joined
- 9 Jan 2013
- Posts
- 1,632
- Location
- Worthing, West Sussex
That motherboard is absolutely unreal!
Thanks guys =)
No leaks and no more bubbles or gluging sounds from the rad/res/pump when I tilt it or turn off and on again which is good news.
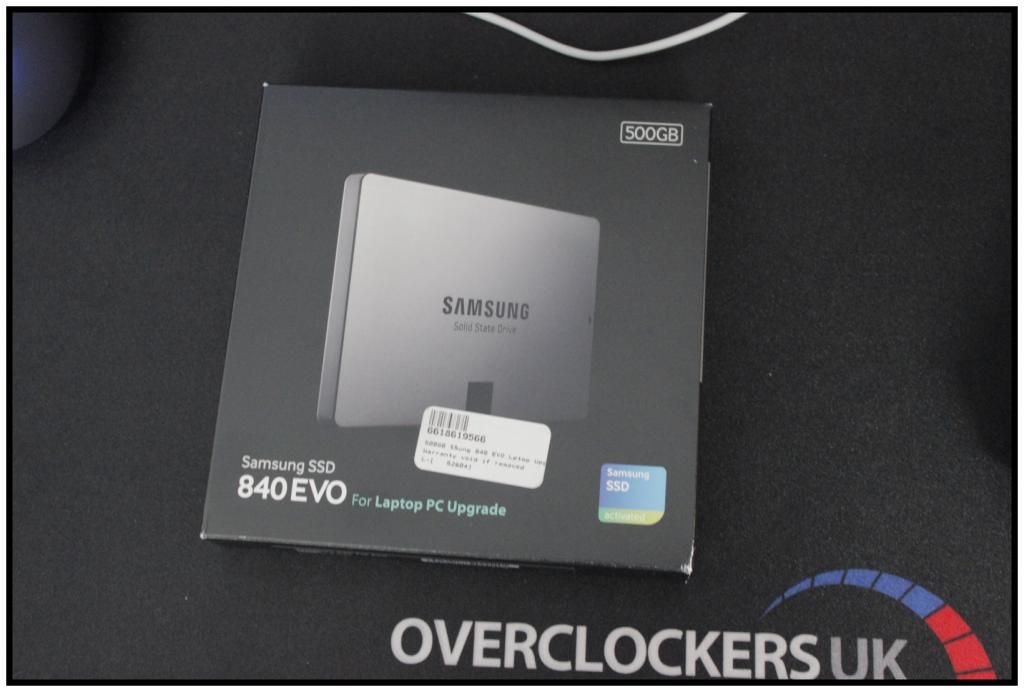
I'm still waiting for my SSD so won't be doing anything more with this until that comes as my main boot drive however; can anyone recommend me some (cheap if possible) lighting solutions?
I had red cold cathods previously and they were more pink and got very warm which wasn't great.
Rather than flooding the case and over powering it with light I was thinking something a little more subtle but no idea when it comes to LEDS or lights. Any advice?
Soldato
- Joined
- 19 Feb 2012
- Posts
- 4,409
Now get another 7970 when they are cheap!
Now get another 7970 when they are cheap!
I was semi tempted to but I don't really know if my system is good enough to cool 2 cards and a CPU and the motherboard.
It's been really warm today and my room must be at least mid 20's but CPU cores are idling around 35-40'C with the GPU idling around 37'C
The four GT fans are just 800rpm as I've gone for silence rather than uber overclocking/cooling etc.
I won't be overclocking the GPU as I don't have a clue how and I've got my CPU currently running 4.6Ghz @ 1.344V
I haven't run any stress tests but it won't boot into windows with anything less. I just need to figure how to make it drop down from 4.6Ghz when idle lol.
Old silverstone front panel switched for a USB3.0/internal SSD mount
Also the HDDs mounted with a Sharkoon 1000 rpm fan giving them some air flow despite about to be covered up. (40mm between fan and back of drive bay covers)
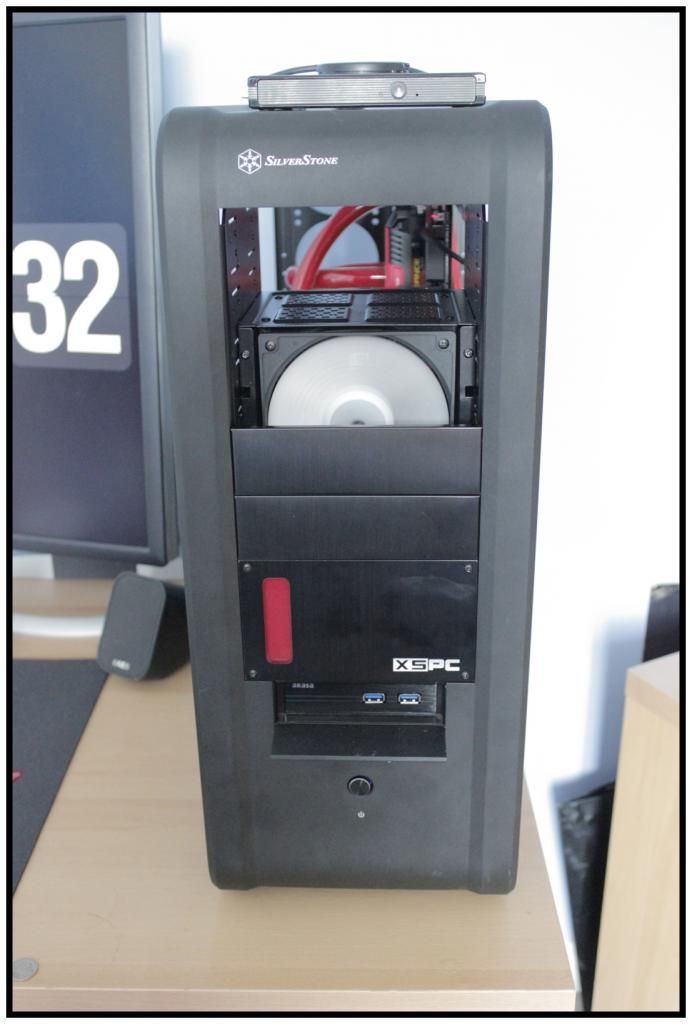
Prior to having side panels back on:
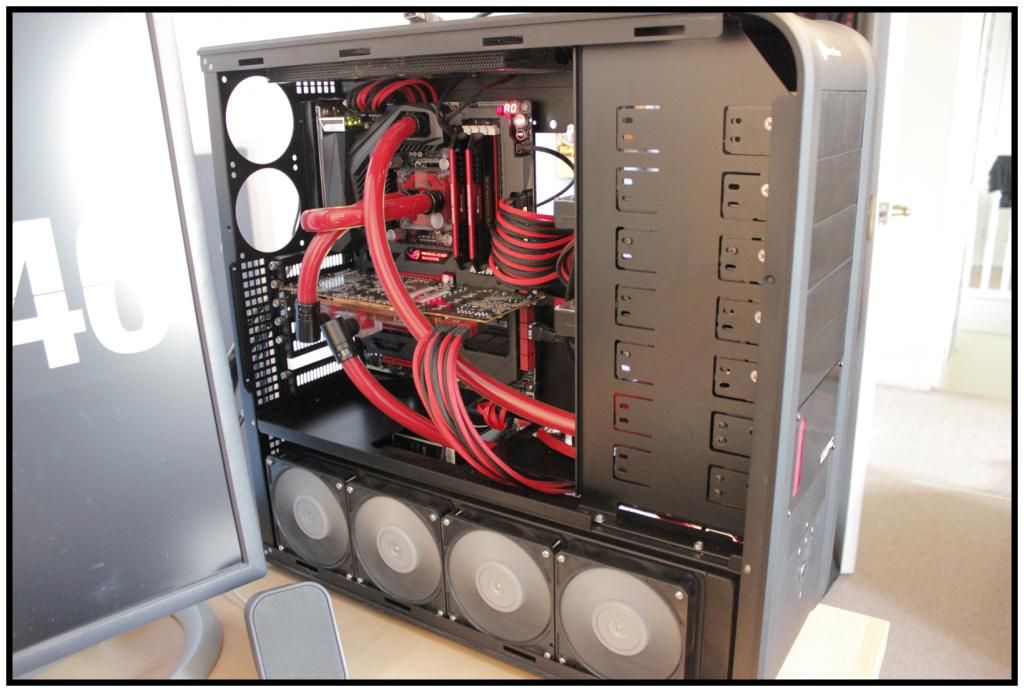
Side Panels on:
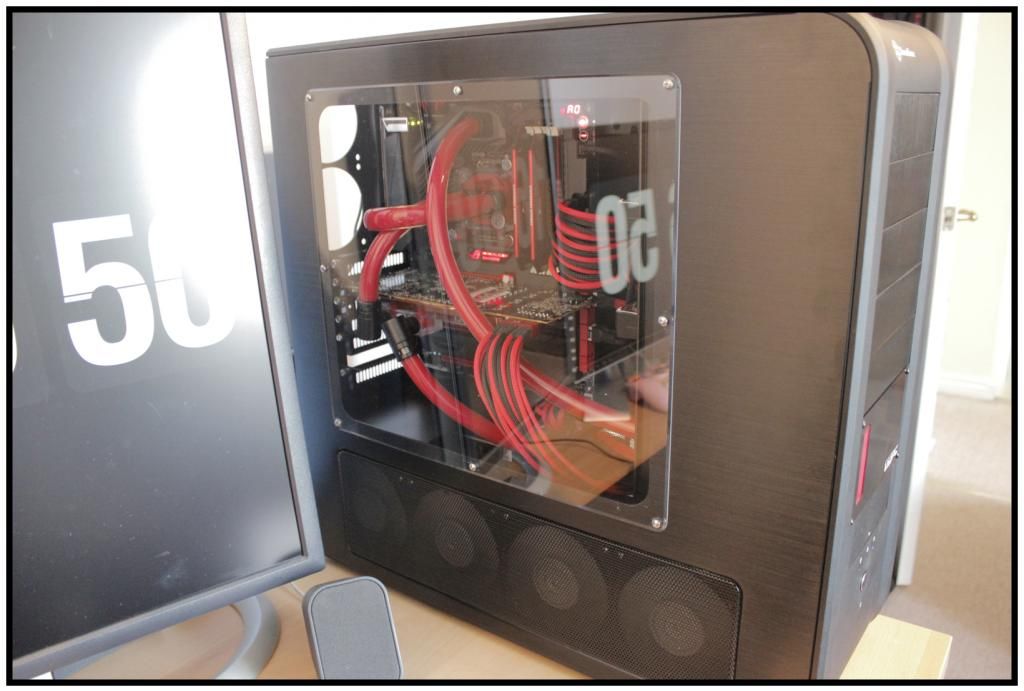
New OcUK mouse mat:
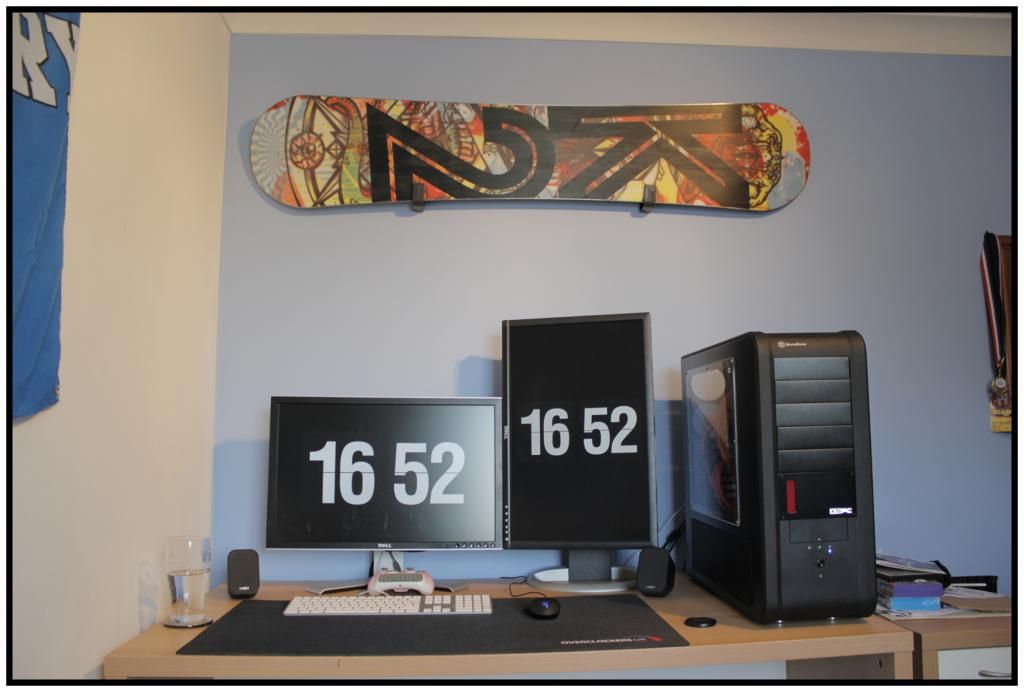
Next step is a backplate for the the GFX card and some interior lighting (not just yet though).
Also the HDDs mounted with a Sharkoon 1000 rpm fan giving them some air flow despite about to be covered up. (40mm between fan and back of drive bay covers)

Prior to having side panels back on:

Side Panels on:

New OcUK mouse mat:

Next step is a backplate for the the GFX card and some interior lighting (not just yet though).
Associate
- Joined
- 7 Aug 2013
- Posts
- 290
- Location
- Southampton [SO17]
llovely looking build mate!!! what is braided cables by the way? im still very new and trying to take in everything lol
Some very neat and patient braiding has gone into this!
A credit to you sir, keep up the good work!
A question for you; did you have to cut any of the connections out of the PSU connectors? I found when I braided my 24-pin and 8-pin that some would just not budge. I snipped them and crimped on some new connectors in the end!
A credit to you sir, keep up the good work!
A question for you; did you have to cut any of the connections out of the PSU connectors? I found when I braided my 24-pin and 8-pin that some would just not budge. I snipped them and crimped on some new connectors in the end!
Associate
- Joined
- 28 Feb 2013
- Posts
- 1,710
- Location
- Leeds
That looks very smart indeed, job well done
llovely looking build mate!!! what is braided cables by the way? im still very new and trying to take in everything lol
Braiding is just the Red & Black sleeving I have used to cover each wire from the PSU so no more black, yellow, green, blue plastic wires on show

Some very neat and patient braiding has gone into this!
A credit to you sir, keep up the good work!
A question for you; did you have to cut any of the connections out of the PSU connectors? I found when I braided my 24-pin and 8-pin that some would just not budge. I snipped them and crimped on some new connectors in the end!
It was possibly the most bored weekend of my life lol but I'm happy with the result.
There were 4 or 5 in total that REALLY gave me agro. I often left them and came back to them later and a few did eventually come out. One of the pins/crimps on the 24pin ATX power cable snapped leaving the crimp inside the plastic connector. It happened to be a double where a fat and a thin black power cable were in a single crimp.
I was able to free the crimp out of the connector once I'd unfortunately pulled the wires out of it

I was able to use some pliers to open the knackered crimp, put the fat wire in and pinch it back together. Then used a soldering iron to seal it in with some solder. The thin wire that was in there I had to solder into the fat wire by splicing the fat cable closer to the PSU and soldered it into that.
Used some electrical tape around it and then covered with the braiding. There is a slight bulge in the cable but its behind the motherboard tray so I'm not too fussed.


