


Hi Gang
Today I have something a little different to share. As you know, I buy cases for OcUK meaning I am lucky enough to get hands on with all of the latest products we list.
The HAVN HS 360 has been on my radar since its announcement at Computex this year. I was a huge fan of the HS 420 when I was shown the first sample a couple of years ago, but the biggest issue for me was the size.
Whilst the HS 420 had every feature I was looking for in a case, unfortunately it was way too big for my desk.
The HS 360 takes all of the cool features of the HS 420 and shrinks the footprint without losing out on any of the things that make a HAVN HS case attractive.
For the last four years, my system has sat in a HYTE Y60. A good case by all accounts but with some limitations that made running a modern system challenging.
When I upgraded my GPU from an RTX 3080 to a RTX 5070Ti, the size difference on the new cards meant that I needed to consider a case with larger clearances for GPU airflow.
Our friends at HAVN have supplied me with a case ahead of the launch today. This allowed me to get a hands on real world building experience that I could share with the community to support the launch.
This isn't a review, more of a focus on the smaller details that you wont see on the product description.
Starting off, the HS 360 comes in a nicely presented outer box adorned with branding.
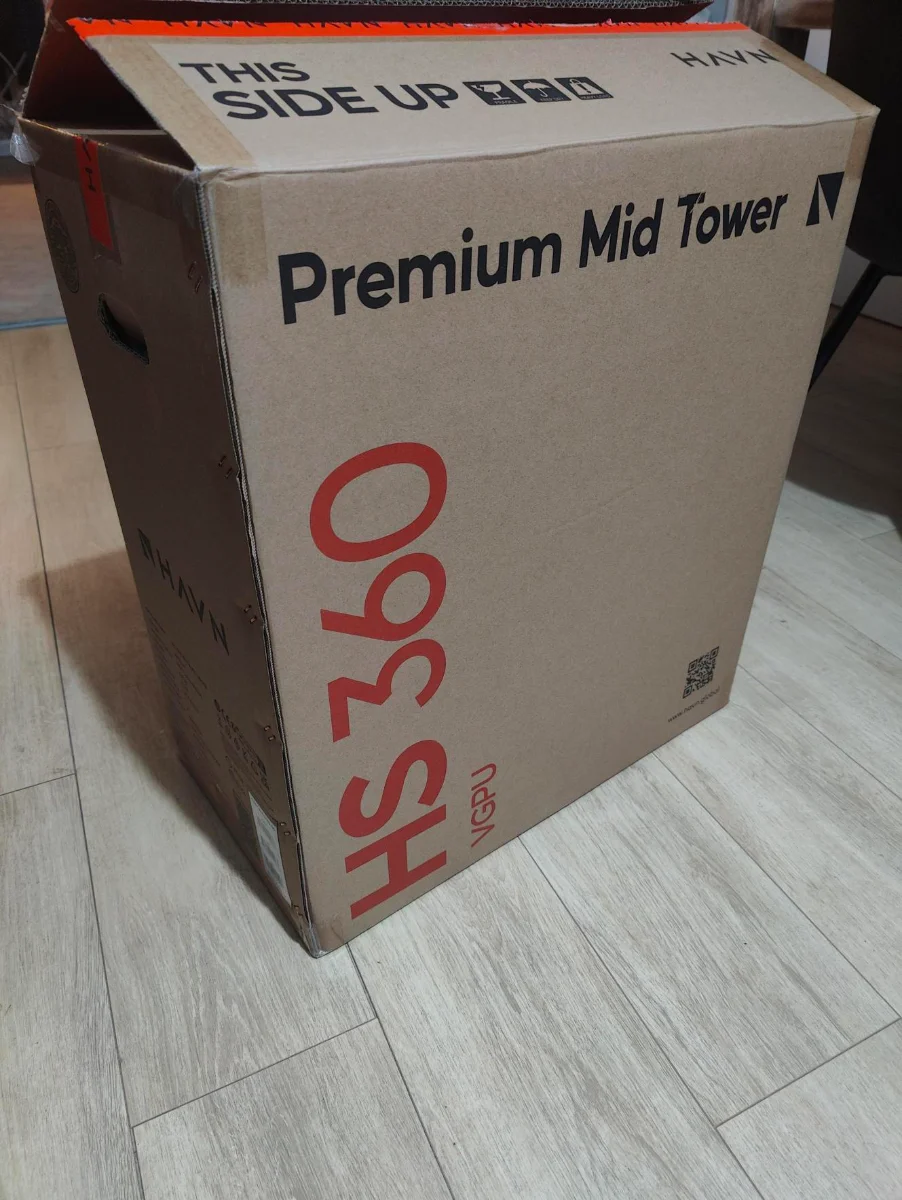
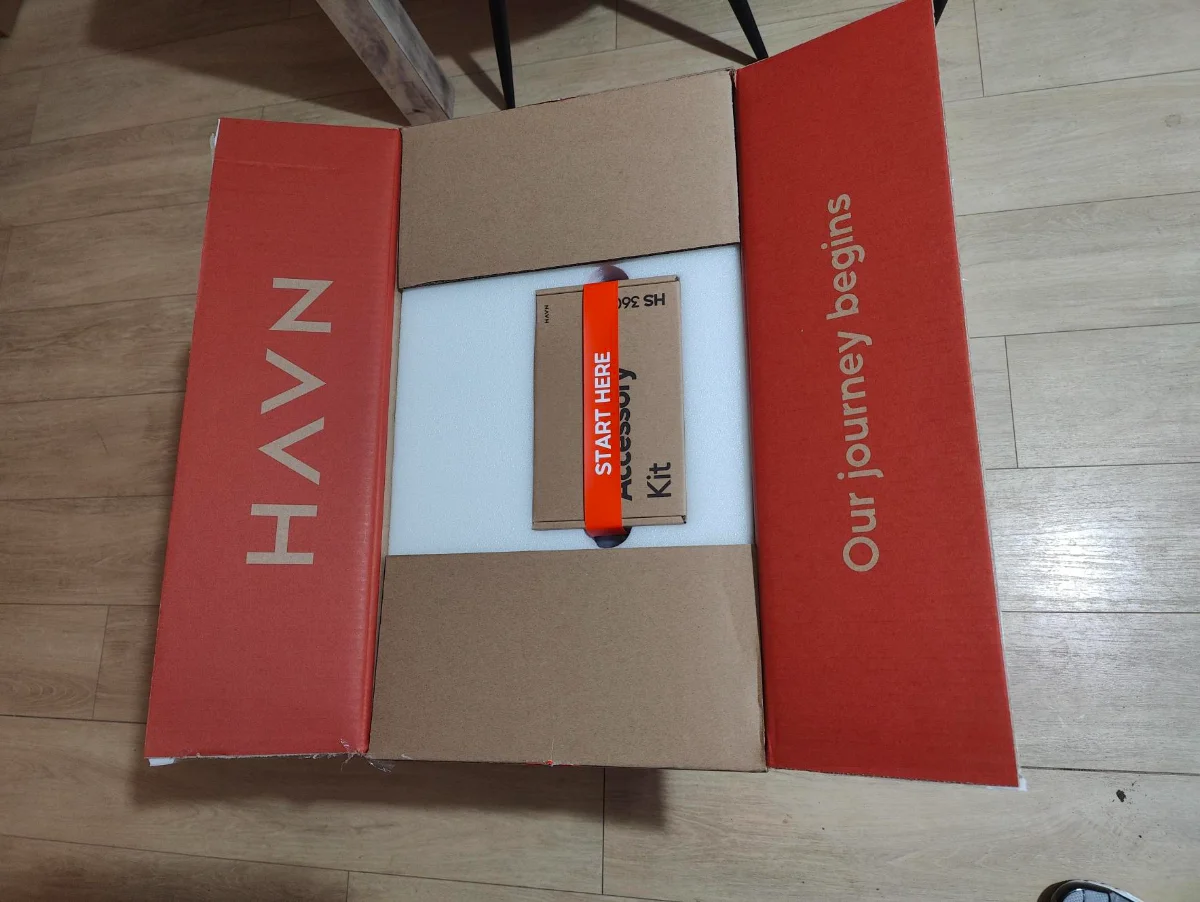
The packaging isn't really a highlight area for most cases, but there has been clear thought put into the packaging for the HS 360. The inner box presents you with the accessory pack and comprehensive product manual.
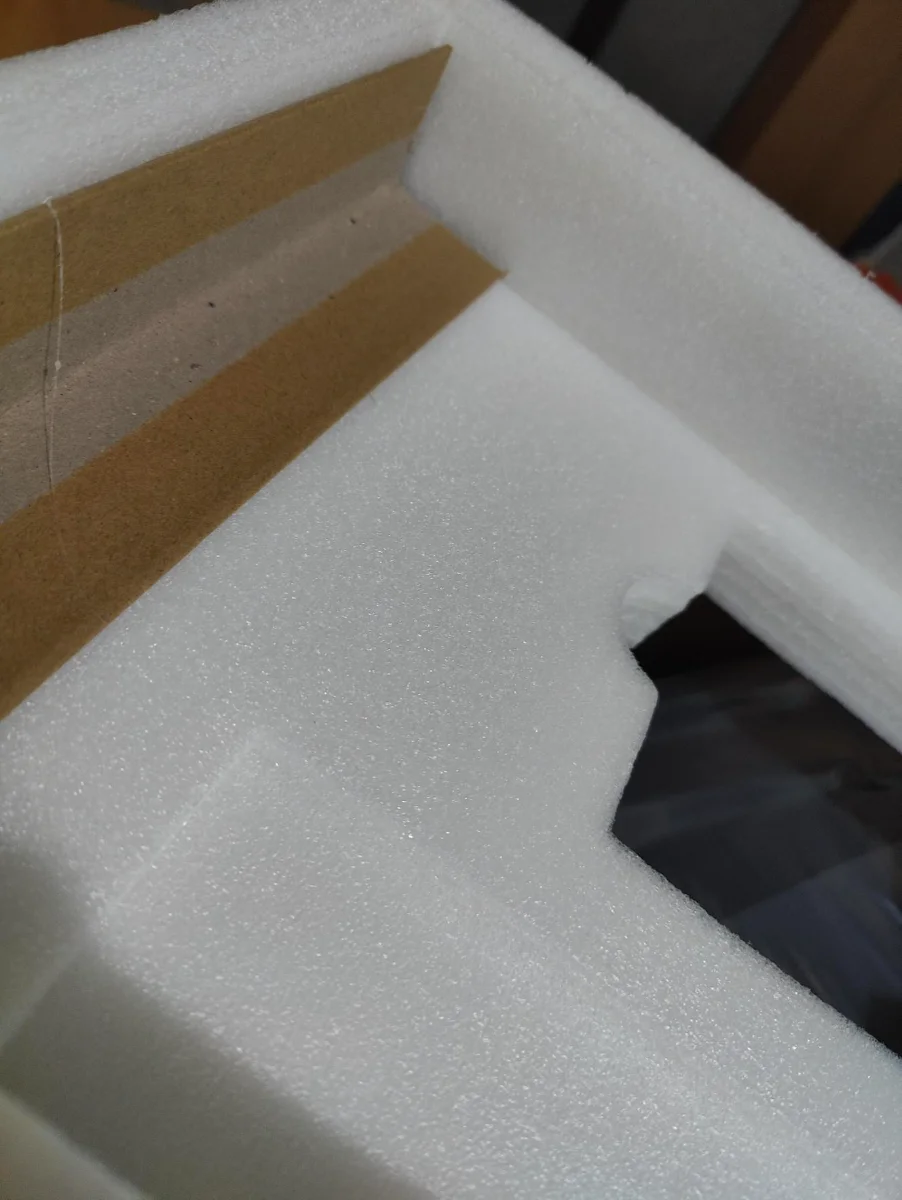
The case ships in EPS foam which offers superb levels of protection. Each corner of the foam is reenforced with thick card stock corners that hold the chassis in position for transport.
The case was upside down in the box when I opened it, Assuming this is to maximise the protection of the outer packaging and protective foams.
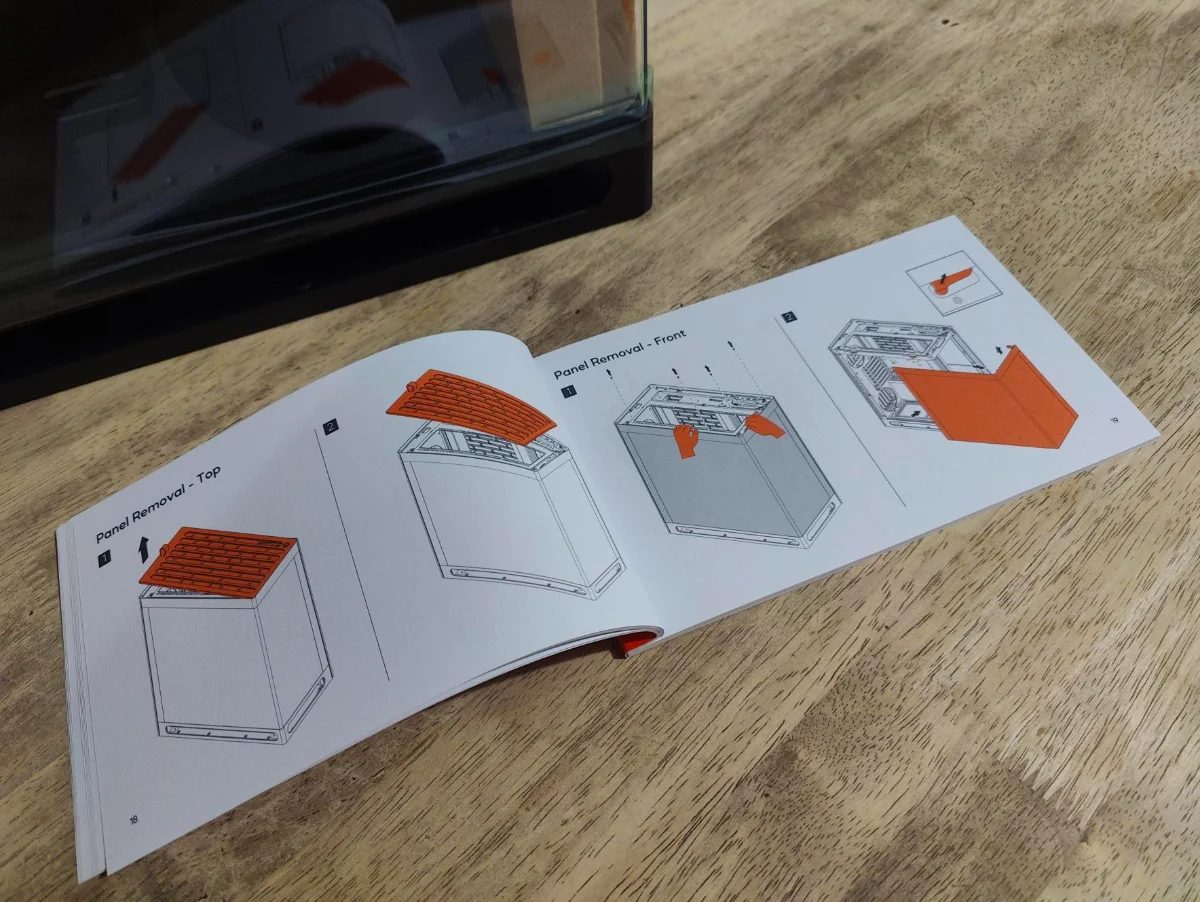
The product manual features detailed diagrams of each hardware configuration you can install in the case as well as intuitive diagrams of features specific to the case.
There are some quirks to building in the HS 360. The side panel and some of the internal brackets are a unique design you may not have encountered before. Whilst this does go a huge way to aid the clean aesthetic of the case, it will catch out even the most experienced system builder. I did try to avoid using the manual as much as possible to see how intuitive a build would be in this case but admittedly I did have to refer to it on a few occasions. Especially when I was installing my 2.5" SSDs.
It was late at that point so I am putting it down to tiredness
Removing the case from the box, you are presented with the main accessory kit at the front of the case that contains the glass airflow dividers and hardware to install them.
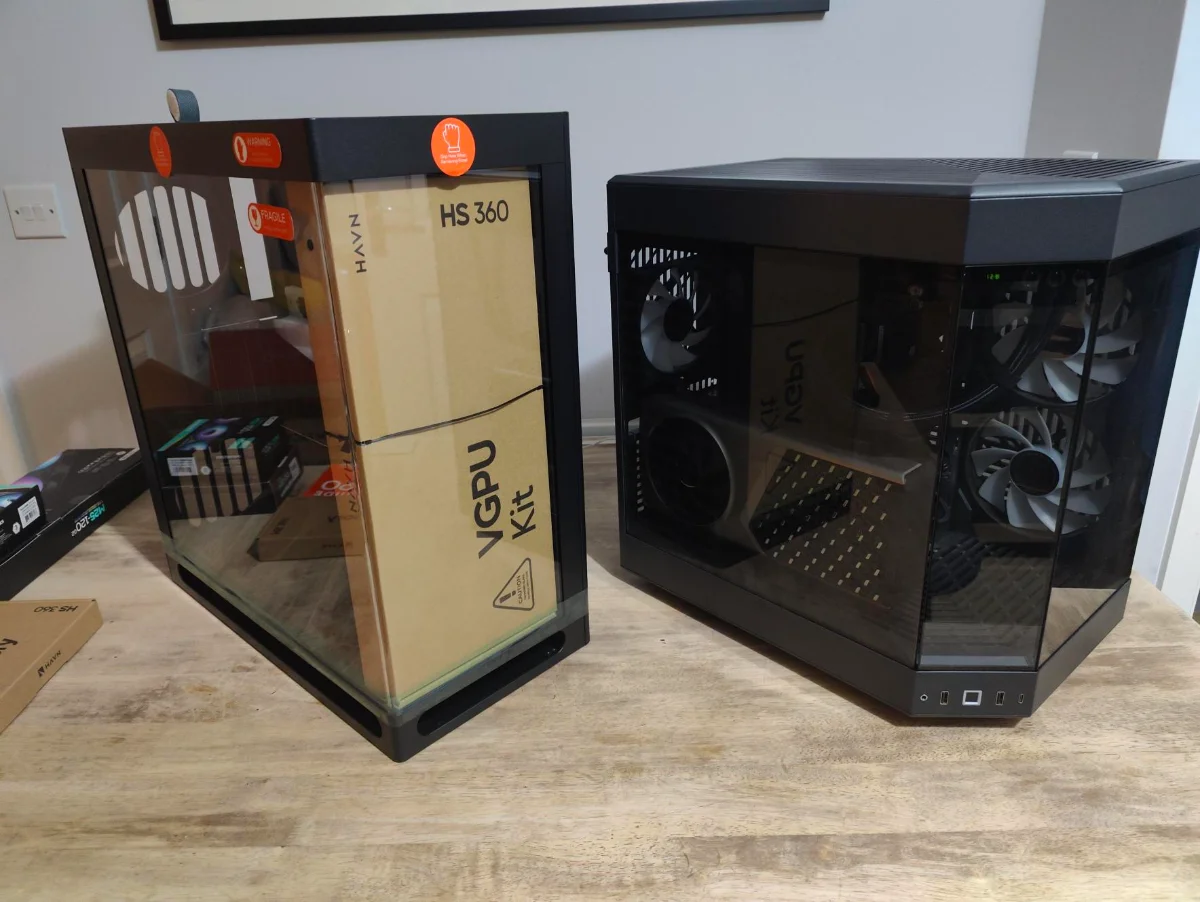
Also a side by side comparison with my old case. The HS 360 is much narrower whilst being a lot more efficient with internal space than my previous case.
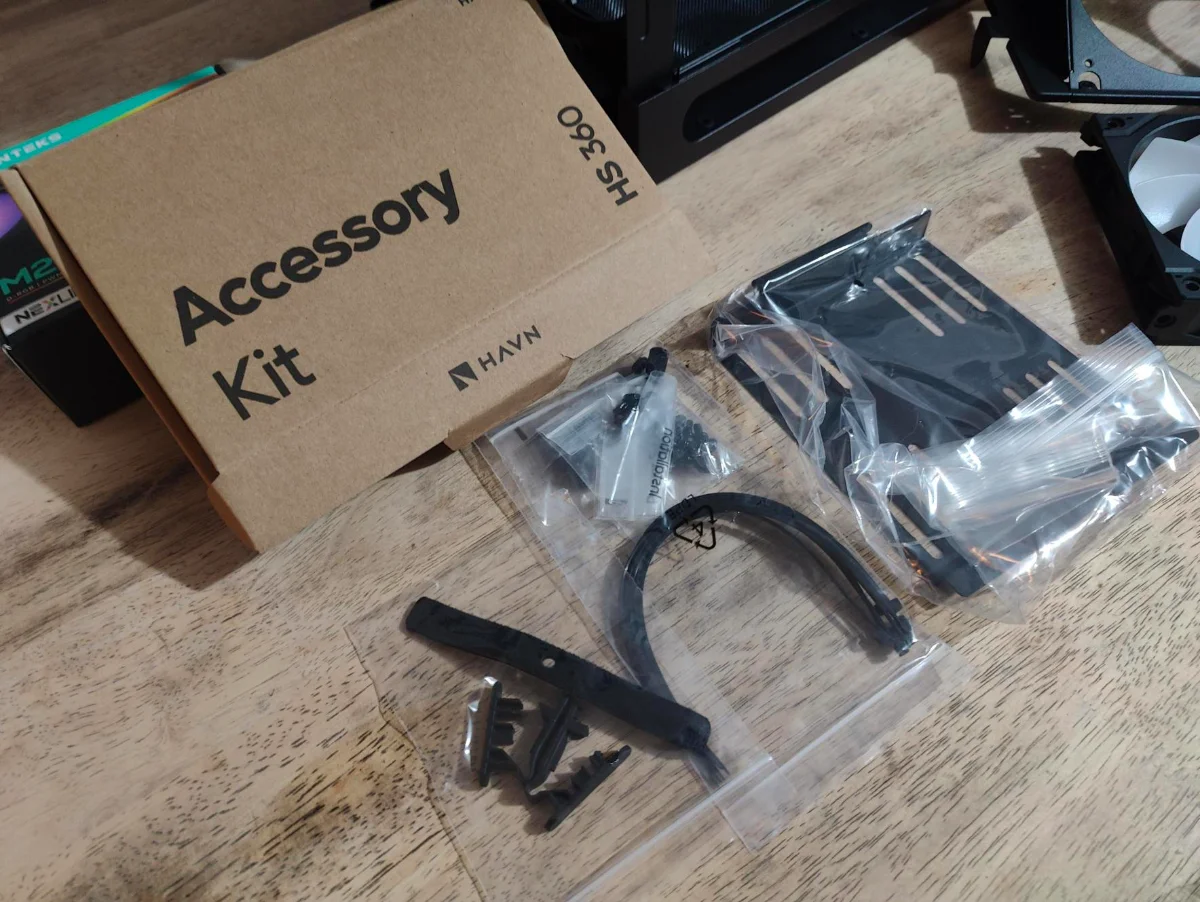
The accessory kit that comes with the HS 360 includes everything you need for your build including well labelled screw packets for each part of the install. There are also a generous amount of cable ties, velcro straps and a HDD mounting plate which I didn't get to use.
The glass panel is a notable improvement from the HS 420. The whole panel is noticeably lighter and the bend in the corner of the case eliminates a lot of the visual distortion you typically see on case windows with curved glass.
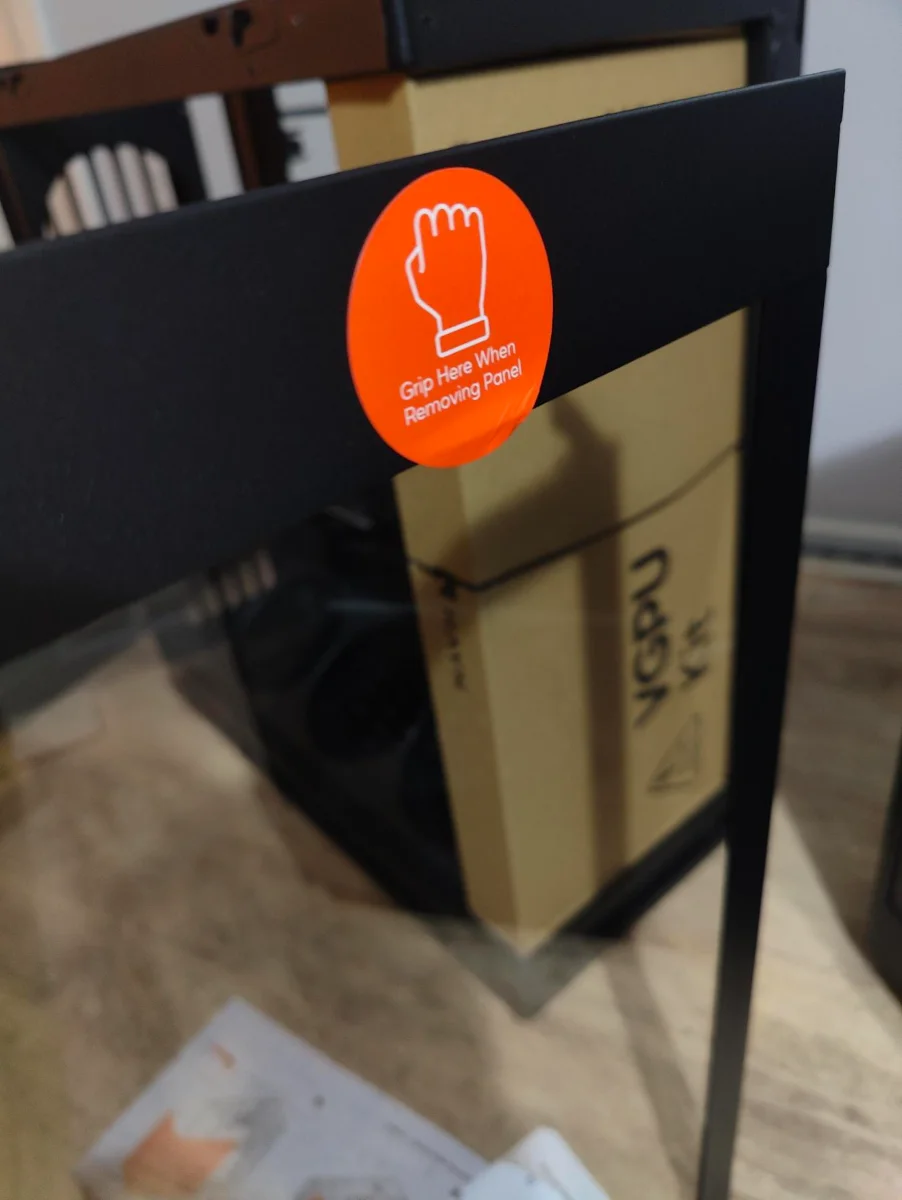
The panel ships with some guidance stickers attached to it showing you where best to hold the panel as well as how to remove it from the case safely. These stickers remove easily and don't leave behind any residue.
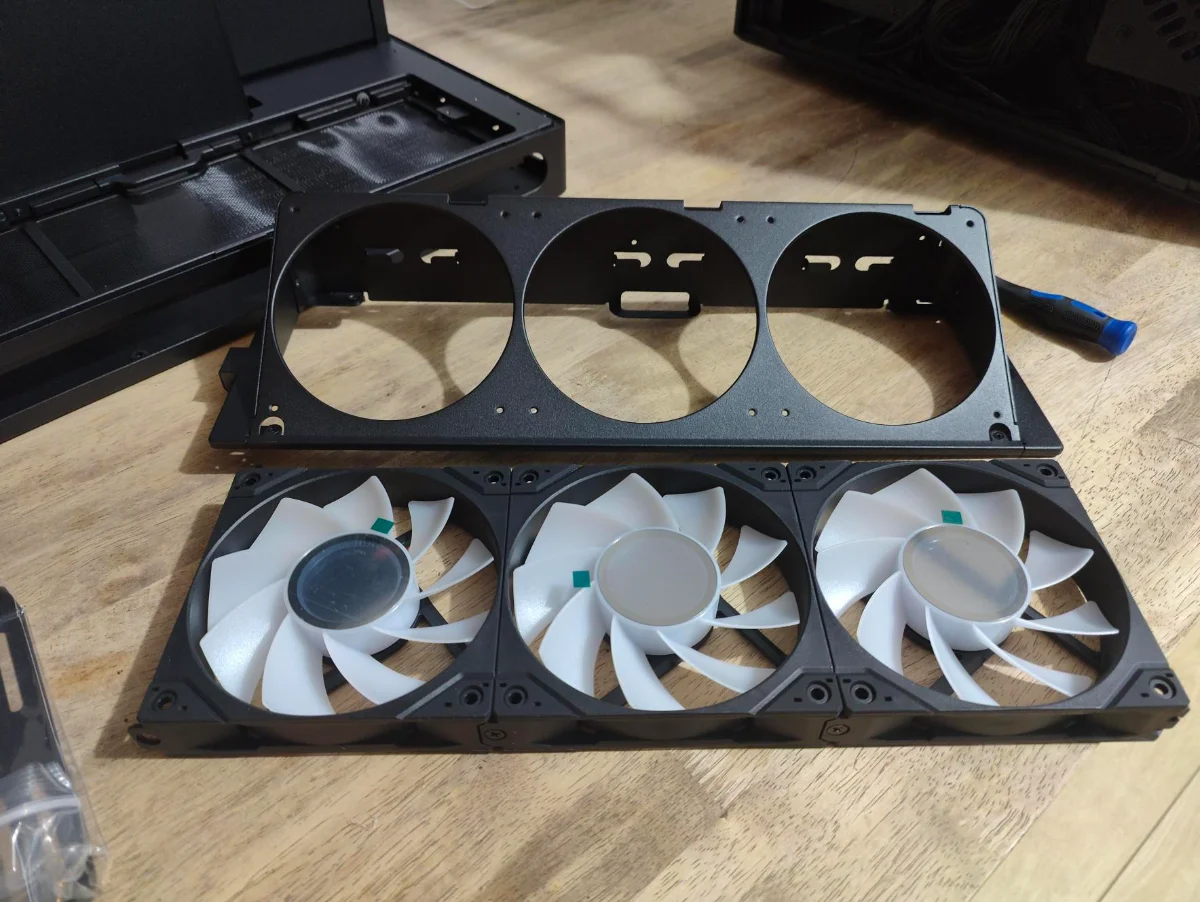
Starting the build off, I threw some Phanteks M25 reverse flow fans into the bottom of the case. They're cheap and cheerful and I have plenty of them already.
Fitting them to the case was very easy. Two screws hold in the bottom 360mm angled fan mount. Remove this from the case and you have full access to the cable routing holes, airflow divider mounting holes etc.
Removing the VGPU bracket to install the motherboard was my first struggle. I tried to do it without reading the manual and ended up admitting defeat pretty quickly. The bracket does remove fairly easily but I missed two screws around where the PCIE slot covers sit.
Look out for these when building in the case as they are not very obvious at first.
With the VGPU bracket removed, the motherboard install is easy. The case is built with excellent tolerances and there was no awkward clicks or difficulty positioning the hardware in the case.
(This picture shows the AIO mounting bracket from my old case still attached to my AIO radiator. This is not part of the HS 360 but thought it best to mention so nobody gets confused)
The lower panel around the PSU shroud includes soft grommets for your front panel connectors and are reasonably easy to access even if you install your PSU first.
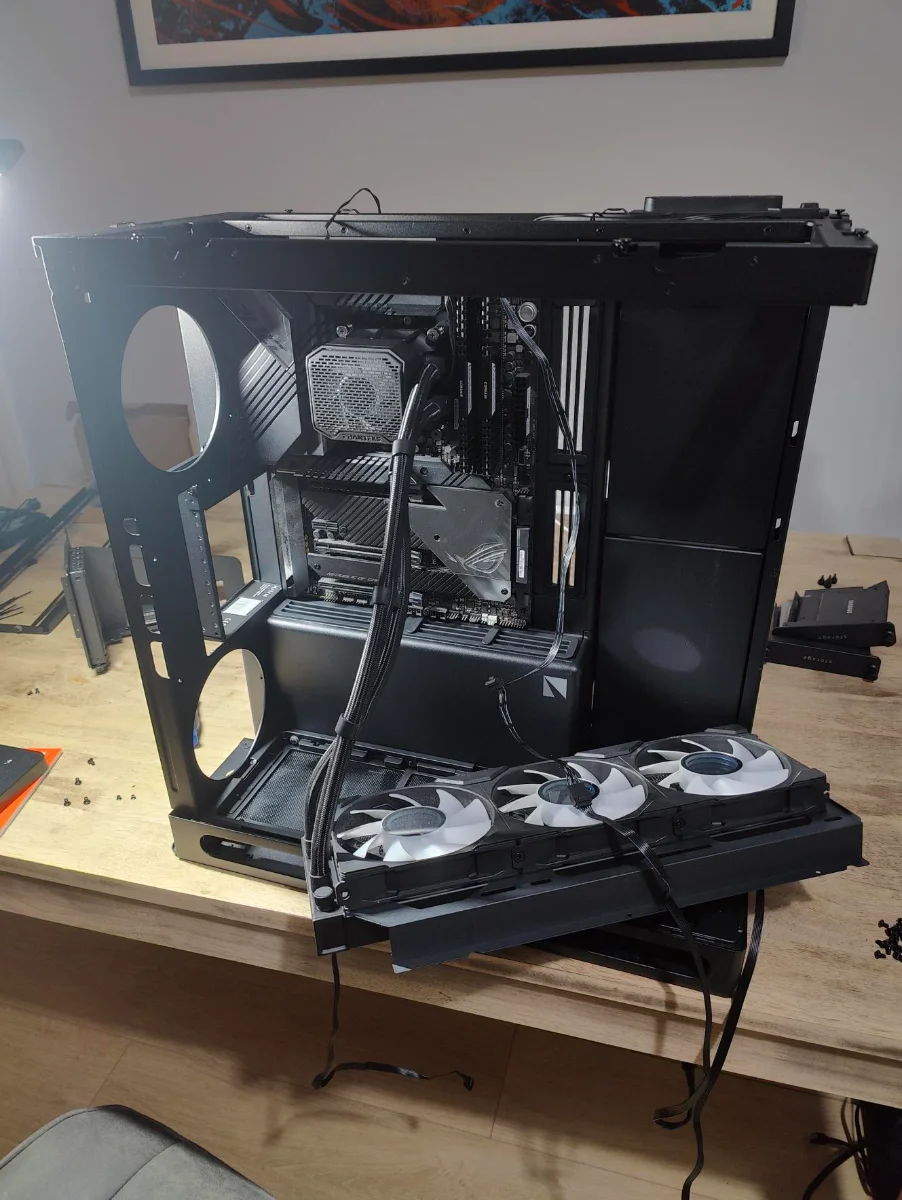
There really isn't much cable management to do at the front of the case, once you have your main components installed and your motherboard wired up, the rest of the cable management is all done at the rear of the case.
One issue I did run into here was installing my AIO radiator as the supplied screws were a touch too long. I realised shortly after that I mixed up the fan mounting screws for the bottom fan mount with the screws that come with my AIO.
So there is no real problem there, just me using the wrong hardware. Take it apart and start again...
The case does support BTF motherboards and I did take that part off around the motherboard tray just to see how it worked. It is a smart design and its really easy to modify the case to support BTF. As my motherboard is an Antiques Roadshow spec Z590, we don't need to worry about that for this build though.
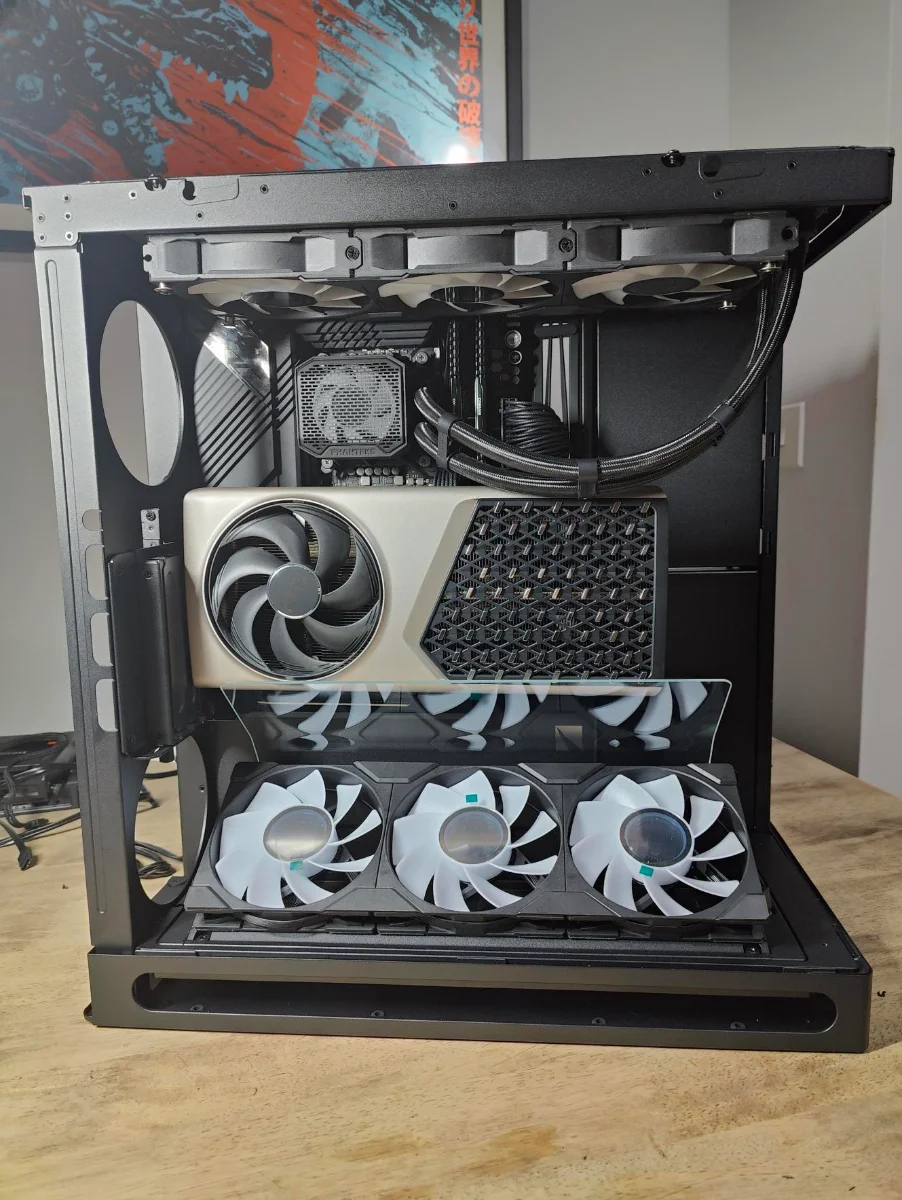
Cable management is something I used to take great pride in, but these days I do appreciate a case that you can do a slap dash job and hide it well
The rear of the motherboard tray has a lot of considerate design choices.
The front IO panel has a wide channel with tabs that guide the cables to the lower chamber of the case. Nothing new there. However these channels have tabs that hold these cables in place well and can also accommodate your 24 pin PSU connector with the velcro straps. Continuing the theme of easy installation, the side of this main channel has some well placed cable tie points to strap down the other cables that run to the top of the motherboard and your top fan AIO cables.
At the rear of the case there is another channel similar to the one at the front for your EPS connectors. This shares the same channel design that holds the cables in place well whilst building and can be easily strapped up with the pre installed velcro straps.
The case comes with a very nice PWM fan controller that is installed around this area. I did not use this feature as my fans all use proprietary power and lighting connectors.
I must say though, you don't tend to see fan controllers that nice on a lot of cases these days.
2.5" SSDs are installed in the front area of the case. There is another vibration dampened bracket here that doubles up as a radiator mounting point if you need more places to put fans or radiators.
Installing the 2.5" drives into these caddies was fairly straight forward but did require a glance at the product manual. There are a few screws holding it in place and it is a little over engineered for my liking.
That said, my drives aren't going anywhere and being able to install the power and data cables into the drives whilst mounted, then placing the full bracket with storage back into the case in one assembly is a nice touch.
Apologies for this absolute crime scene of cable management here. Lets just pretend these cables are really tidy.
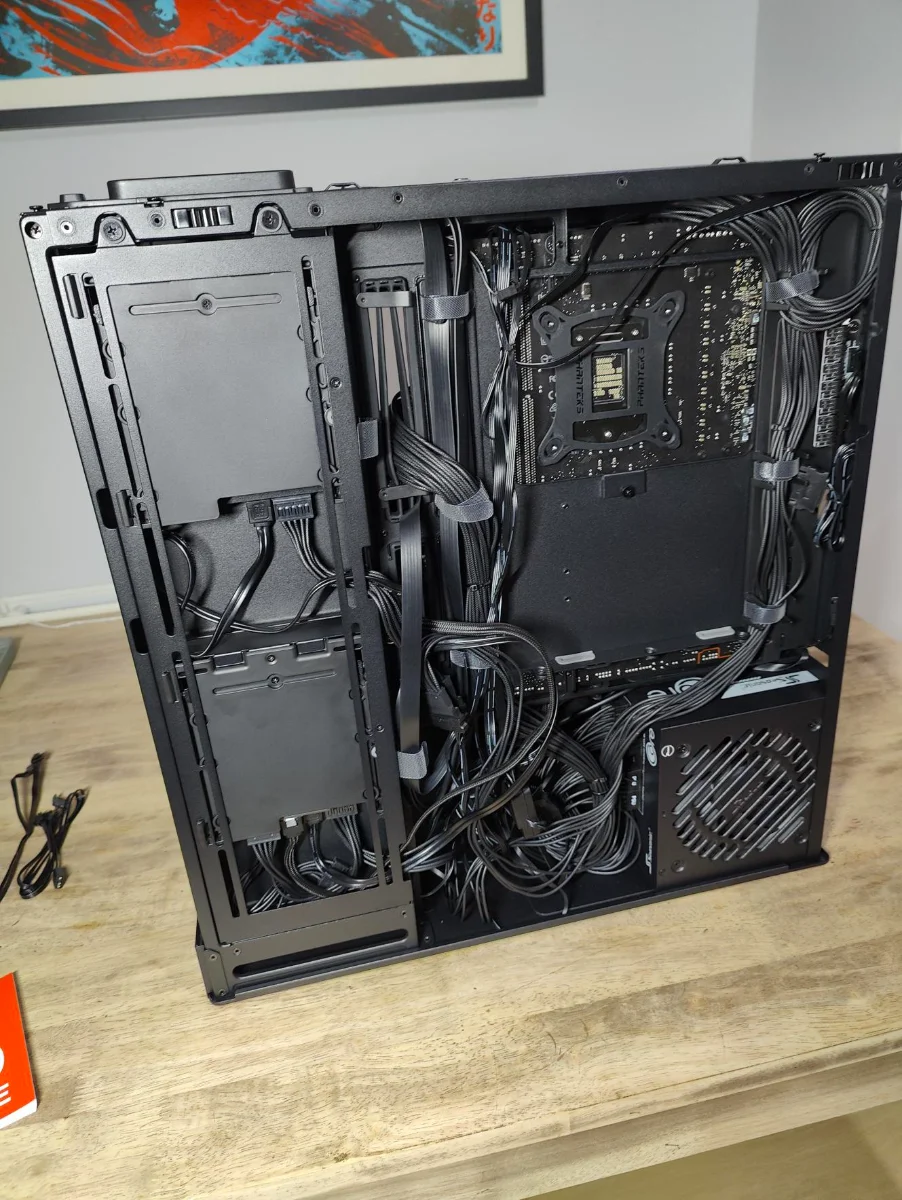
The side view of the case allowed me to plug in my SATA data cables into my motherboard easily. In addition, the VGPU mount needed some adjustment. Finding a balance between position of the GPU against the glass airflow divider whilst not pressing the GPU power cable into my motherboard too much was not much of a hassle. One thumb screw at the bottom of the VGPU mount allows you to make small adjustments on the fly. The only issue I ran into here was ensuring that the Display Ports were fully accessible as the VGPU slider does let you move the card to the point where the outputs can be partially blocked. Something to look out for when positioning your card.
I forgot to install the top airflow divider on the GPU so this is missing from the next few shots. It was late and I wanted to get this done in time for the launch today. I plan to do some thermal testing so will likely run my system in games without the top divider and then compare it again with the divider installed to see the difference it makes.
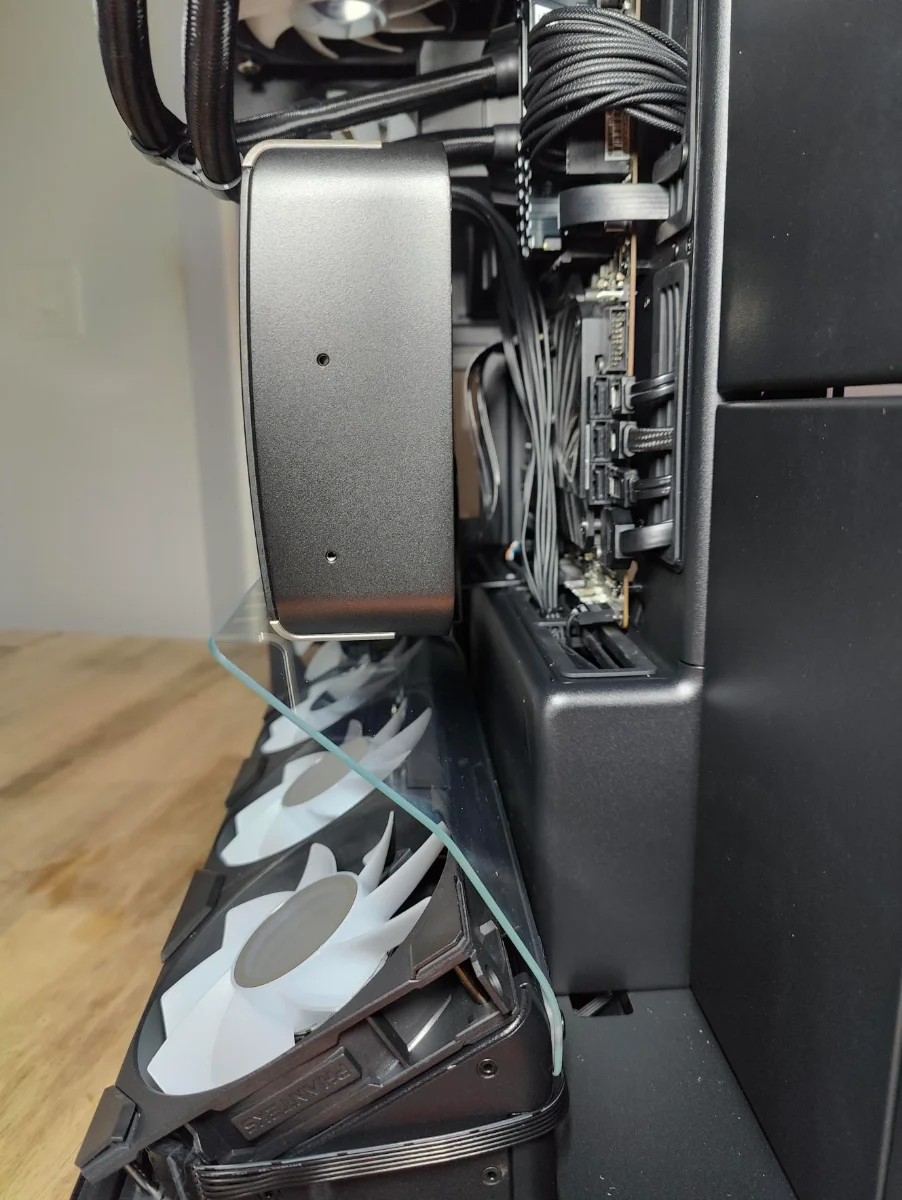
At the rear of the case, the panel is designed in a way where the rear fans can be installed without accessing the front chamber of the case. The removable panels that hold the fans in place only go in one way so try to avoid what I did and install a fan with the panel backwards. There are channels to internally route fan cables to the rear chamber of the case. This whole design is very tidy and something we don't see on a lot of cases.
For my build I opted for an intake fan (reverse blades) on the bottom rear mount and an exhaust fan on the top rear mount.
I have no idea if this is optimal or not, but I guessed that intake fans at the bottom half and exhaust fans at the top half of the case would probably work ok.
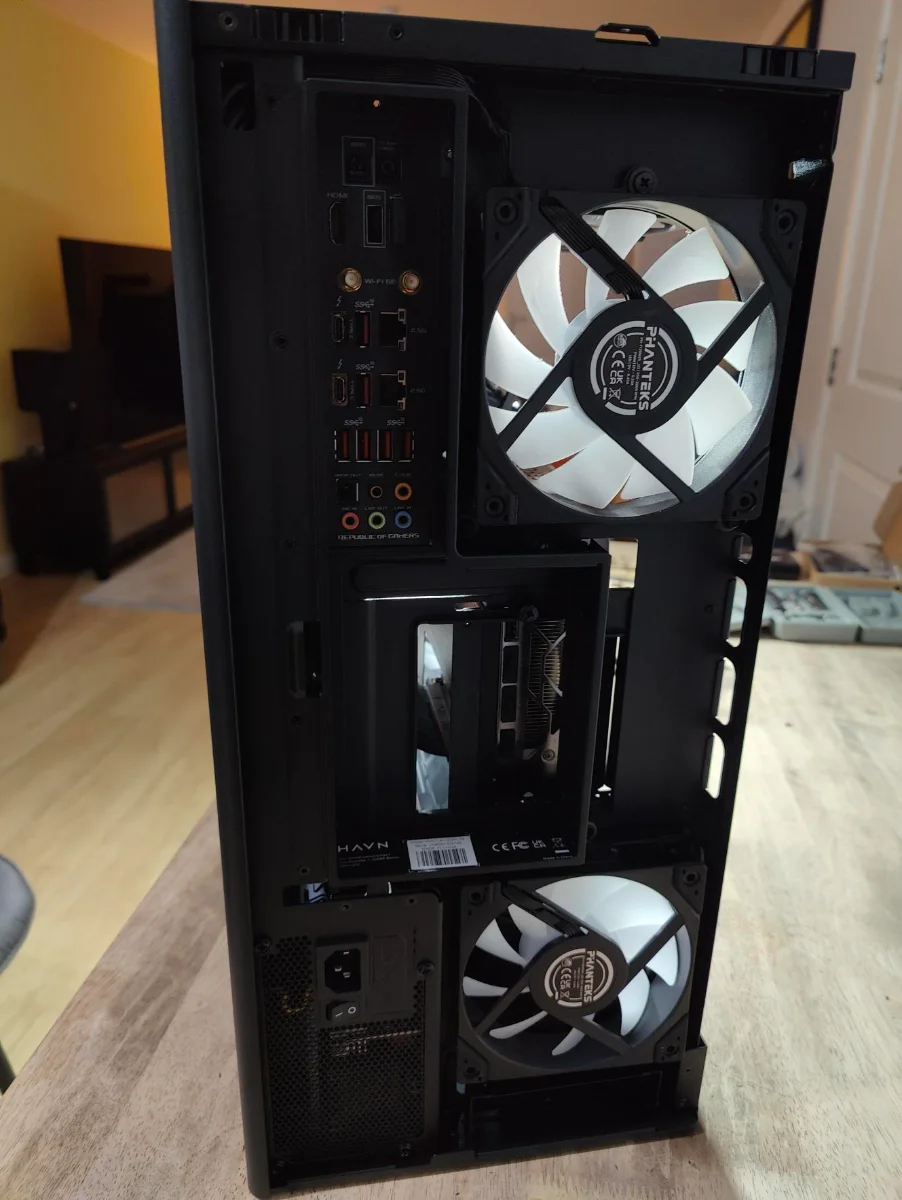
The rear panel clicks in using ball and socket connectors and is then secured with some small screws at the top of the case. there are no outward facing fixing hardware points visible on the exterior of the whole chassis
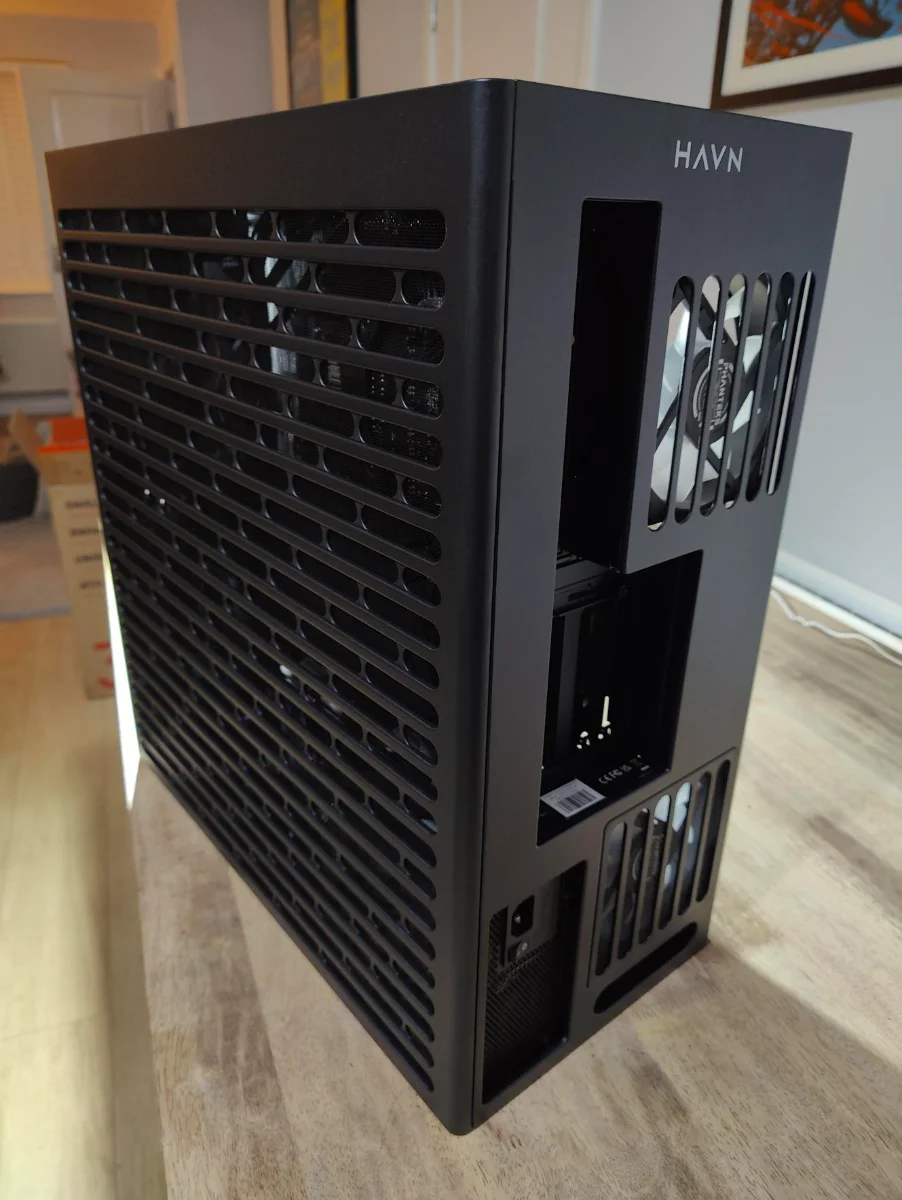
With that all done and the window panel carefully positioned into the mounting points, the build was done. The build was relatively easy and didn't take too long to assemble in full.
I am really impressed with the quality of the case and it is clear that this product is a result of enthusiast user feedback.
The only area of the case I didn't feel was easy to figure out was the SSD mounting mechanisms. It is a good design but it is also a little overengineered. Most people wont be running 3x 2.5" SSDs in their system though.
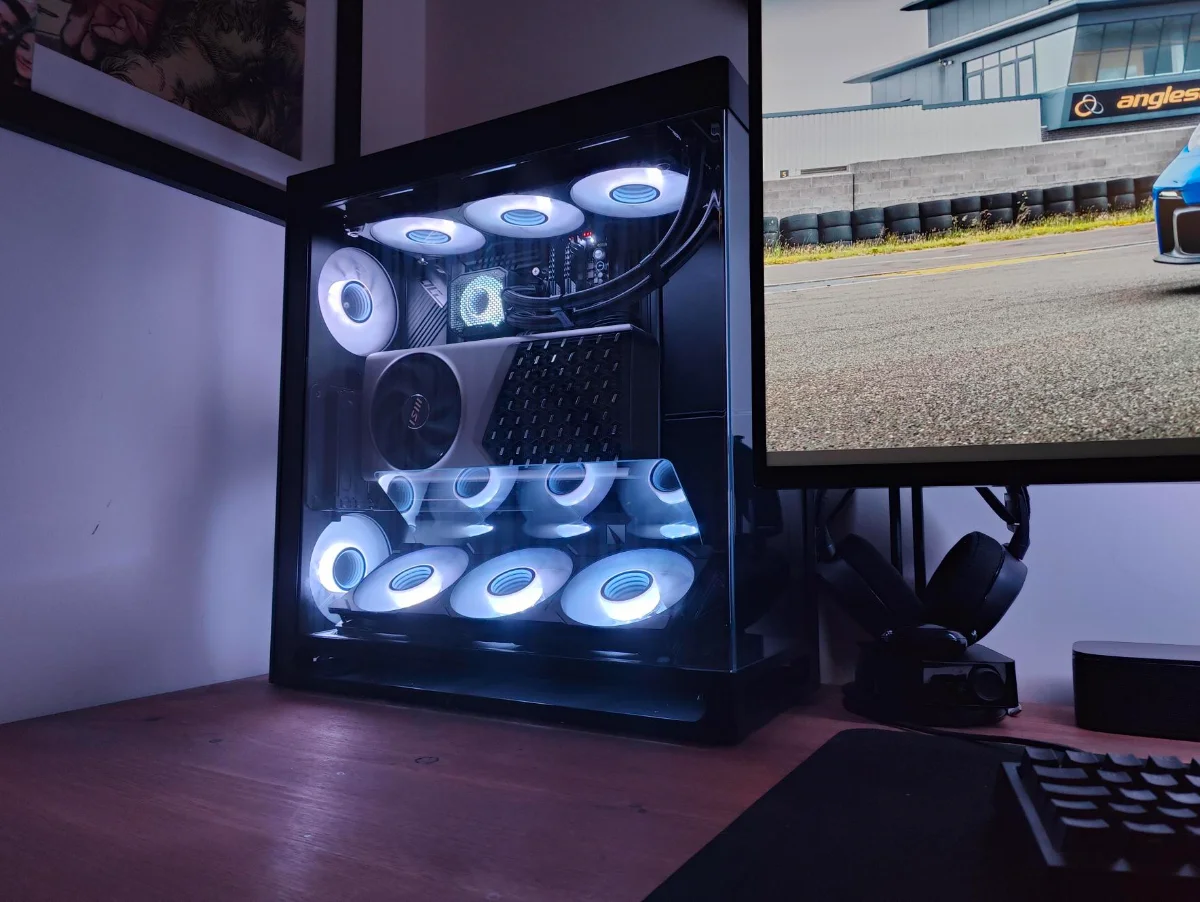
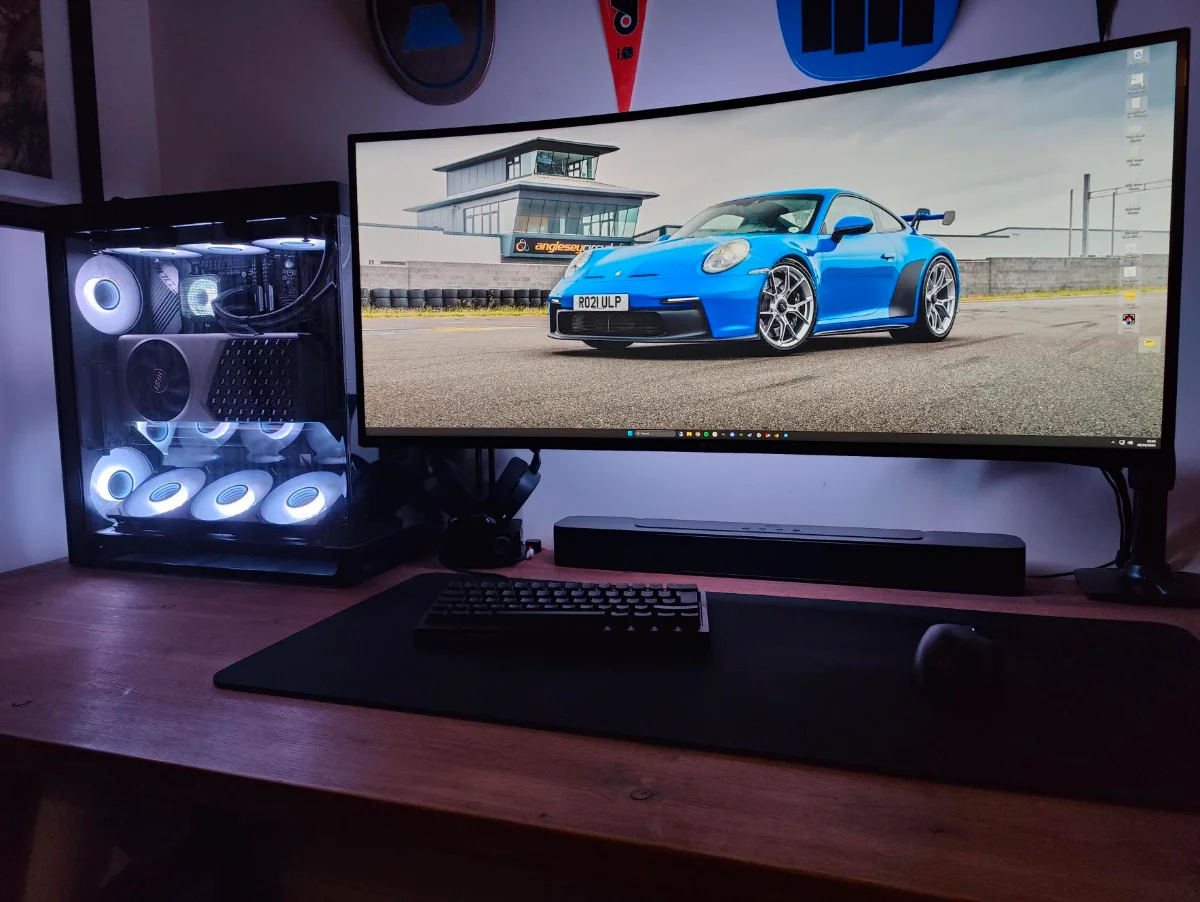
With that said, here are the final build pictures with the system fully assembled.
If you have any questions then feel free to fire them my way.
The HAVN HS 360 is available today from Overclockers UK in standard and VGPU configurations.
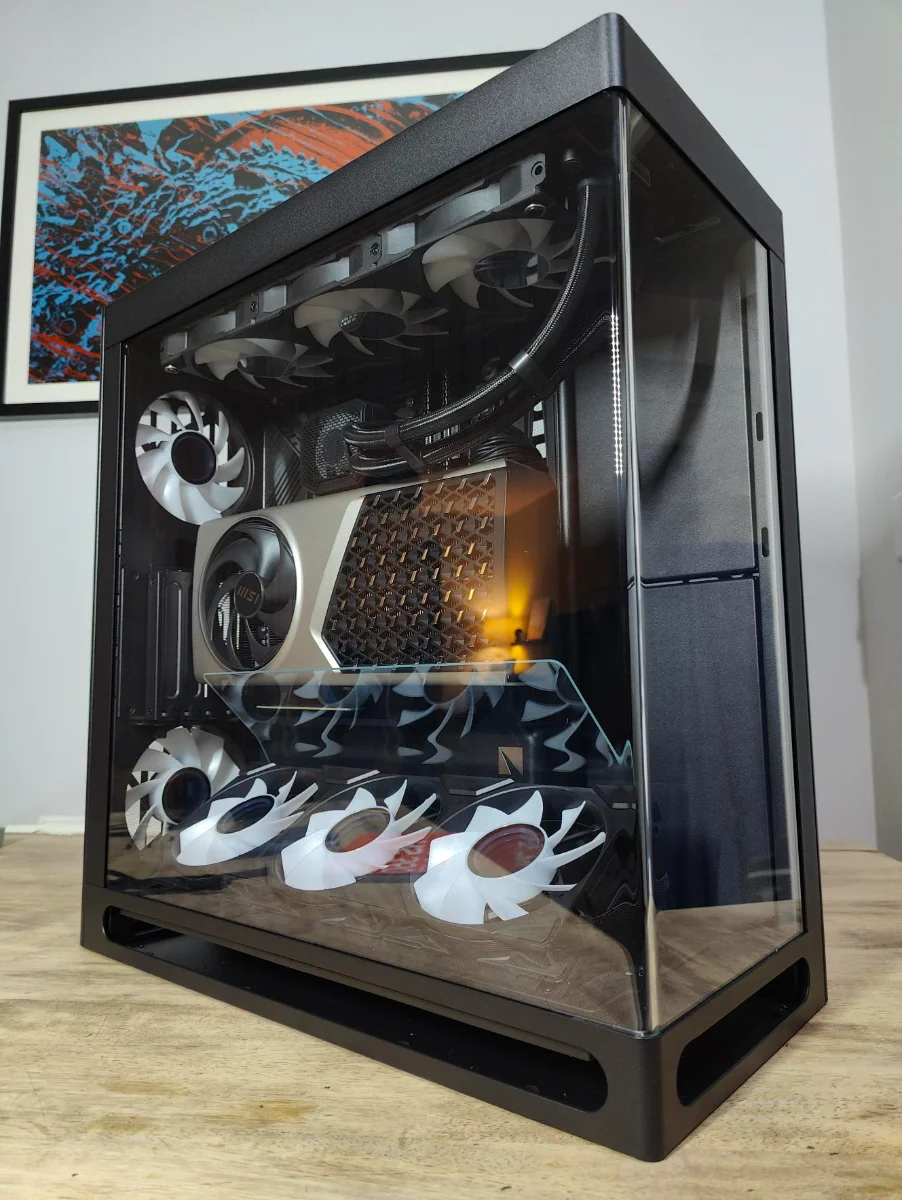
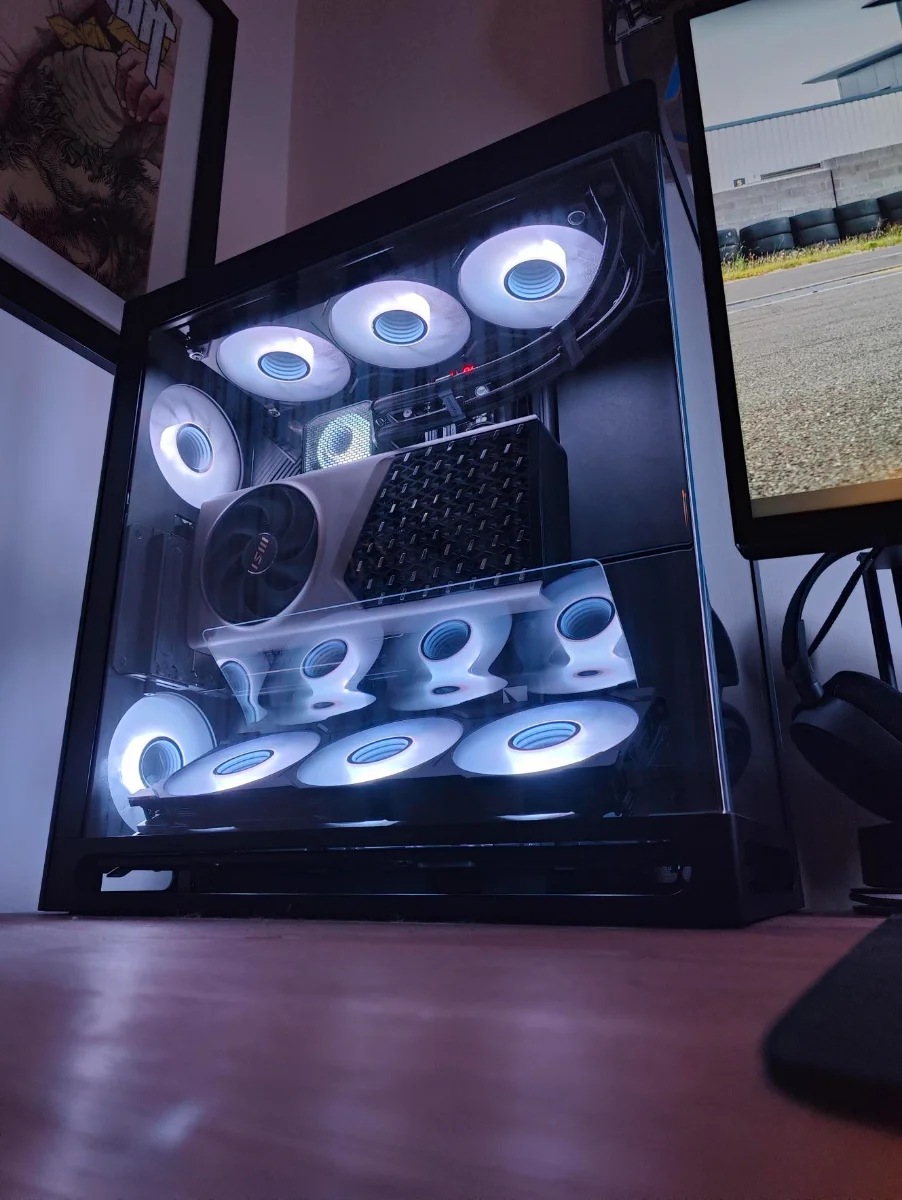
Today I have something a little different to share. As you know, I buy cases for OcUK meaning I am lucky enough to get hands on with all of the latest products we list.
The HAVN HS 360 has been on my radar since its announcement at Computex this year. I was a huge fan of the HS 420 when I was shown the first sample a couple of years ago, but the biggest issue for me was the size.
Whilst the HS 420 had every feature I was looking for in a case, unfortunately it was way too big for my desk.
The HS 360 takes all of the cool features of the HS 420 and shrinks the footprint without losing out on any of the things that make a HAVN HS case attractive.
For the last four years, my system has sat in a HYTE Y60. A good case by all accounts but with some limitations that made running a modern system challenging.
When I upgraded my GPU from an RTX 3080 to a RTX 5070Ti, the size difference on the new cards meant that I needed to consider a case with larger clearances for GPU airflow.
Our friends at HAVN have supplied me with a case ahead of the launch today. This allowed me to get a hands on real world building experience that I could share with the community to support the launch.
This isn't a review, more of a focus on the smaller details that you wont see on the product description.
Starting off, the HS 360 comes in a nicely presented outer box adorned with branding.
The packaging isn't really a highlight area for most cases, but there has been clear thought put into the packaging for the HS 360. The inner box presents you with the accessory pack and comprehensive product manual.
The case ships in EPS foam which offers superb levels of protection. Each corner of the foam is reenforced with thick card stock corners that hold the chassis in position for transport.
The case was upside down in the box when I opened it, Assuming this is to maximise the protection of the outer packaging and protective foams.
The product manual features detailed diagrams of each hardware configuration you can install in the case as well as intuitive diagrams of features specific to the case.
There are some quirks to building in the HS 360. The side panel and some of the internal brackets are a unique design you may not have encountered before. Whilst this does go a huge way to aid the clean aesthetic of the case, it will catch out even the most experienced system builder. I did try to avoid using the manual as much as possible to see how intuitive a build would be in this case but admittedly I did have to refer to it on a few occasions. Especially when I was installing my 2.5" SSDs.
It was late at that point so I am putting it down to tiredness
Removing the case from the box, you are presented with the main accessory kit at the front of the case that contains the glass airflow dividers and hardware to install them.
Also a side by side comparison with my old case. The HS 360 is much narrower whilst being a lot more efficient with internal space than my previous case.
The accessory kit that comes with the HS 360 includes everything you need for your build including well labelled screw packets for each part of the install. There are also a generous amount of cable ties, velcro straps and a HDD mounting plate which I didn't get to use.
The glass panel is a notable improvement from the HS 420. The whole panel is noticeably lighter and the bend in the corner of the case eliminates a lot of the visual distortion you typically see on case windows with curved glass.
The panel ships with some guidance stickers attached to it showing you where best to hold the panel as well as how to remove it from the case safely. These stickers remove easily and don't leave behind any residue.
Starting the build off, I threw some Phanteks M25 reverse flow fans into the bottom of the case. They're cheap and cheerful and I have plenty of them already.
Fitting them to the case was very easy. Two screws hold in the bottom 360mm angled fan mount. Remove this from the case and you have full access to the cable routing holes, airflow divider mounting holes etc.
Removing the VGPU bracket to install the motherboard was my first struggle. I tried to do it without reading the manual and ended up admitting defeat pretty quickly. The bracket does remove fairly easily but I missed two screws around where the PCIE slot covers sit.
Look out for these when building in the case as they are not very obvious at first.
With the VGPU bracket removed, the motherboard install is easy. The case is built with excellent tolerances and there was no awkward clicks or difficulty positioning the hardware in the case.
(This picture shows the AIO mounting bracket from my old case still attached to my AIO radiator. This is not part of the HS 360 but thought it best to mention so nobody gets confused)
The lower panel around the PSU shroud includes soft grommets for your front panel connectors and are reasonably easy to access even if you install your PSU first.
There really isn't much cable management to do at the front of the case, once you have your main components installed and your motherboard wired up, the rest of the cable management is all done at the rear of the case.
One issue I did run into here was installing my AIO radiator as the supplied screws were a touch too long. I realised shortly after that I mixed up the fan mounting screws for the bottom fan mount with the screws that come with my AIO.
So there is no real problem there, just me using the wrong hardware. Take it apart and start again...
The case does support BTF motherboards and I did take that part off around the motherboard tray just to see how it worked. It is a smart design and its really easy to modify the case to support BTF. As my motherboard is an Antiques Roadshow spec Z590, we don't need to worry about that for this build though.
Cable management is something I used to take great pride in, but these days I do appreciate a case that you can do a slap dash job and hide it well
The rear of the motherboard tray has a lot of considerate design choices.
The front IO panel has a wide channel with tabs that guide the cables to the lower chamber of the case. Nothing new there. However these channels have tabs that hold these cables in place well and can also accommodate your 24 pin PSU connector with the velcro straps. Continuing the theme of easy installation, the side of this main channel has some well placed cable tie points to strap down the other cables that run to the top of the motherboard and your top fan AIO cables.
At the rear of the case there is another channel similar to the one at the front for your EPS connectors. This shares the same channel design that holds the cables in place well whilst building and can be easily strapped up with the pre installed velcro straps.
The case comes with a very nice PWM fan controller that is installed around this area. I did not use this feature as my fans all use proprietary power and lighting connectors.
I must say though, you don't tend to see fan controllers that nice on a lot of cases these days.
2.5" SSDs are installed in the front area of the case. There is another vibration dampened bracket here that doubles up as a radiator mounting point if you need more places to put fans or radiators.
Installing the 2.5" drives into these caddies was fairly straight forward but did require a glance at the product manual. There are a few screws holding it in place and it is a little over engineered for my liking.
That said, my drives aren't going anywhere and being able to install the power and data cables into the drives whilst mounted, then placing the full bracket with storage back into the case in one assembly is a nice touch.
Apologies for this absolute crime scene of cable management here. Lets just pretend these cables are really tidy.
The side view of the case allowed me to plug in my SATA data cables into my motherboard easily. In addition, the VGPU mount needed some adjustment. Finding a balance between position of the GPU against the glass airflow divider whilst not pressing the GPU power cable into my motherboard too much was not much of a hassle. One thumb screw at the bottom of the VGPU mount allows you to make small adjustments on the fly. The only issue I ran into here was ensuring that the Display Ports were fully accessible as the VGPU slider does let you move the card to the point where the outputs can be partially blocked. Something to look out for when positioning your card.
I forgot to install the top airflow divider on the GPU so this is missing from the next few shots. It was late and I wanted to get this done in time for the launch today. I plan to do some thermal testing so will likely run my system in games without the top divider and then compare it again with the divider installed to see the difference it makes.
At the rear of the case, the panel is designed in a way where the rear fans can be installed without accessing the front chamber of the case. The removable panels that hold the fans in place only go in one way so try to avoid what I did and install a fan with the panel backwards. There are channels to internally route fan cables to the rear chamber of the case. This whole design is very tidy and something we don't see on a lot of cases.
For my build I opted for an intake fan (reverse blades) on the bottom rear mount and an exhaust fan on the top rear mount.
I have no idea if this is optimal or not, but I guessed that intake fans at the bottom half and exhaust fans at the top half of the case would probably work ok.
The rear panel clicks in using ball and socket connectors and is then secured with some small screws at the top of the case. there are no outward facing fixing hardware points visible on the exterior of the whole chassis
With that all done and the window panel carefully positioned into the mounting points, the build was done. The build was relatively easy and didn't take too long to assemble in full.
I am really impressed with the quality of the case and it is clear that this product is a result of enthusiast user feedback.
The only area of the case I didn't feel was easy to figure out was the SSD mounting mechanisms. It is a good design but it is also a little overengineered. Most people wont be running 3x 2.5" SSDs in their system though.
With that said, here are the final build pictures with the system fully assembled.
If you have any questions then feel free to fire them my way.
The HAVN HS 360 is available today from Overclockers UK in standard and VGPU configurations.
Last edited: