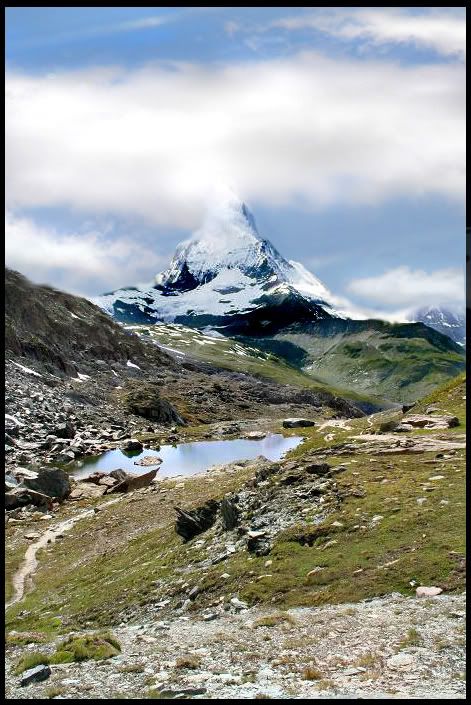
Following a trip to the Swiss alps I have come back with loads of photos with the sky over exposed. Here is an example

Original photo Alps
It would be great if someone could photo shop this to try to improve it and tell me how they did it so I can have a go myself.
Thanks")
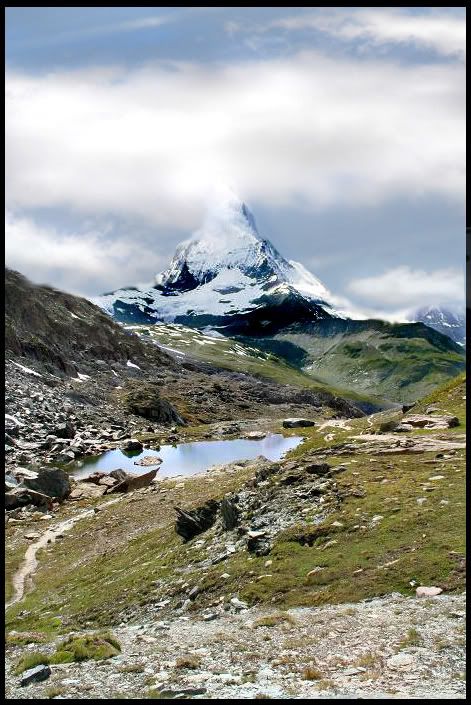
Original photo Alps
It would be great if someone could photo shop this to try to improve it and tell me how they did it so I can have a go myself.
Thanks


")