Associate
- Joined
- 3 Feb 2009
- Posts
- 945
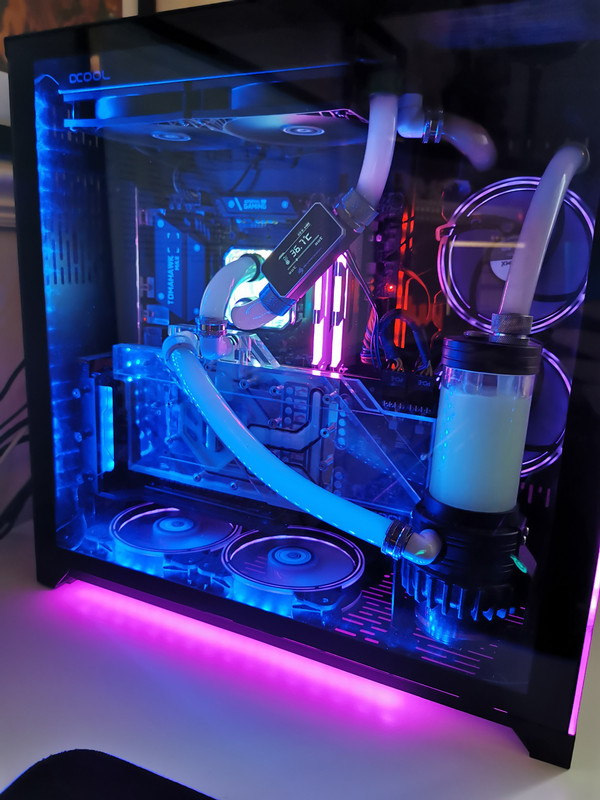
Brave words with all that tempered glass around!don't just tilt, hit it! a good thump to the case can release these bubbles.
Brave words with all that tempered glass around!don't just tilt, hit it! a good thump to the case can release these bubbles.
Good point. How do people using the ZMT black tubing get the air out of their systems? I'm planning on using it for a custom loop. Do I have to rely on being able to see them in the blocks?The beauty of clear blocks and tubes is that you can see the air for troubleshooting (rads aside), so you can treat the case like one of those mazes with a ball in that you need to tilt to get the ball to the goal at the end. Keep and eye on the bubbles and tilt the case to shift them towards the nearest outlet until they reach the res or wherever you want them.