I did it again... Bought a baby blade to rebuild...

Transmission breaker
Don
Joined
20 Oct 2002
Posts
16,814
Location
In a house
So, looking for something else to tinker with, as I have enjoyed working on other bikes, and the Hornet is not really needing a full strip down. I decided to go looking for something similar to the CBR125r I very much enjoyed riding, and just a bit more pokey.

Unimaginatively, I found a CBR400rr from 1988 listed for sale at a local breakers for £325. I contacted the guy, got some basic info about the bike, and offered him £250 cash on collection. We agreed, as he is closing down the business, and needed the space asap.

Organised to borrow my Dad's small trailer, and went up to go grab it.
CBR400rr001.jpg


Got it in the garage to take a look!
CBR400rr002.jpg


CBR400rr004.jpg


I started the strip down, and found some very interesting things :D No time today to go through it, but it should be a fun rebuild :D Planning to go totally stock looking if I can!
 
Last edited:
Transmission breaker
Don
OP
Joined
20 Oct 2002
Posts
16,814
Location
In a house
Initial impressions after a bit of tinkering last night are as follows:

Motor is supposedly free and turning, got to check this.
A lot of the wiring loom and components seem to be missing or snipped.
The fairings/light panels and plastics are mostly all scrap, so it will need a full fairing kit.
The tank key has been screwdrivered, and wont open
The tank itself has been filled and painted badly
Coolant system has fluid and seems intact
Brakes seem to be ok condition (upgraded hoses on front)
No Handlebars (I added some mtb ones to make moving it a bit easier)
Rear frame is crusty and needs stripping and painting.
Rear lights looks in good nick
Front lights are some sort of naked bike addition, will be removed and replaced with stock
Main frame and swingarm look ok from what I can see.

Managed to find the ECU hiding under the rear seat

CBR400rr006.jpg


CBR400rr007.jpg


Result, let's hope it works :D Interesting design on the tank too?!

Ordered a wiring loom for £10 from Ebay :)
 
Transmission breaker
Don
OP
Joined
20 Oct 2002
Posts
16,814
Location
In a house
The fuel tank cap had been attacked at some point, and was essentially useless:

CBR400rr008.jpg


So i attacked the already screwdrivered key with a drill to let me open and remove it:

CBR400rr009.jpg


CBR400rr010.jpg


Got it! The inside is in pretty bad nick, and the outside it not much better. Got to figure out what to do with this. Refurbish, or replace...

Now that was out of the way.. The first mystery of the bike appears...

CBR400rr011.jpg


What does that sticker say??

CBR400rr012.jpg


What in the?? A 2 stroke mix sticker? Did they ever make a 2 stroke CBR400rr?? Judging by the angle of the sticker, this must have been a random addition by someone?

Turned my attention to the fairings (whats left of them anyway) secured in with random screws!!

CBR400rr013.jpg


As you can see, they are pretty bent and worse for wear:

CBR400rr014.jpg


Now you can see why...

CBR400rr022.jpg


Starting to see whats what. The rear subframe seems to have been painted black (badly) over a silver (original?) colour:

CBR400rr023.jpg


The other side, I think it's safe to say it's had a hard life...:

CBR400rr024.jpg


Rear light panels - basically toast :(:

CBR400rr026.jpg


Rear subframe off!!

CBR400rr027.jpg


Bits mounting up - The rear light unit looks almost mint:

CBR400rr028.jpg


I also managed to pull some more off tonight, will get some pics and update later.... HOWEVER I did manage to quickly whack 12v through the starter, and it did turn, and sounded ok. Well, nothing went WHACK at least. Just got to work out how to get enough room to check the compression to make sure the thing might actually run when the loom turns up.
 
Transmission breaker
Don
OP
Joined
20 Oct 2002
Posts
16,814
Location
In a house
Haha, yeah... not a 2 stroke :p

See if you can get it running - and don't underestimate how hard/expensive it can be to collect all the little bits it needs to get it back to standard.

Looking forward to updates, I will update my FZR thread soon.

Good stuff, I like build threads as much as anyone :D That 2 stroke sticker really threw me for a moment, i was checking the frame number again to make sure i didn't get something very wrong! I wonder if the part is interchangeable with an earlier 2 stroke bike perhaps?

I am currently taking stock of what I have that I can re-use/repair and what will need to be sourced as cheaply as possible :)

Its not looking too bad for parts needed so far, lets hope it stays that way, I have a budget in mind, so trying to stick to it.

Parts piles are growing
CBR400rr030.jpg


Starting to look a little exposed now, whats that on the speedo cable???
CBR400rr031.jpg


Is that a speedo healer? (kmh to mph perhaps?):
CBR400rr032.jpg


I want to try and re-use these snipped wires from the original controls, so have do do a bit of working out what is what with the multimeter..
CBR400rr033.jpg


Exhaust and manifold off:
CBR400rr034.jpg


Only managed to break 2 of the very weak alloy hex bolts. one bore has been enlarged and tapped before, and only two original studs were left in place. I think I will try to go back to standard studs where possible when I extract the 2 dead ones, and perhaps helicoil the enlarged one to allow it to be the same?

Bit of work needed to bring this thing back to acceptable!
CBR400rr035.jpg


Wiring loom is due today I think. Should be able to start it if I can get it connected up enough to get the CDI running. Not got much time over the coming days, and starting it up without an exhaust in the garage late at night might not be terribly popular!!
 
Transmission breaker
Don
OP
Joined
20 Oct 2002
Posts
16,814
Location
In a house
So much work to do... Haha! Are you trying to get it back to mint?

I'm not actually far from you, Guildford way, and fancy getting a project bike to rebuild. Where do you find stuff?

As close to mint as I can within reason. Happy to try and take my time with this, as there will be some delays whilst I wait for, test parts and learn how to fix/restore stuff myself.

I know they guy I got this off has a few other bikes in various states of undress he was trying to shift. Hermitage way if that not too far?

Really nice progression over a short time

Cheers, pulling it to bits is always a little easier/faster than rebuilding :D

Your wiring pictures paint a familiar story!

Feeling positive about it at the mo, will see how I feel later with the replacement loom in my hands....
 
Last edited:
Transmission breaker
Don
OP
Joined
20 Oct 2002
Posts
16,814
Location
In a house
This is awesome.

I think you and @Lopéz should have a build off, we can do the judging :cool:

Thanks :) Still waiting for the wiring loom, hopefully here today.

Not ripping much more off yet, till i find out if it will run. Did a little fiddling with the wiring, and got a paddock stand under the rear so I can at least see if it might turn the wheel and check the gearbox is working ok. Handlebars are on order from China, so I can go back to the lower down, fork tube clamped type and restore the riding position. I guess the previous owner wanted a more upright position hence the riser bar adapter on the fork yoke. I really need to clean up the exhaust, and remove all the rusty bits and paint from the rear subframe next.


Not sure on a build off! Lopez's bike looks to be in a whole lot better nick, and more complete than mine. So i expect he will be done a lot faster than me :D
 
Transmission breaker
Don
OP
Joined
20 Oct 2002
Posts
16,814
Location
In a house
Yeah it probably is - but you can work inside, my bike is in the garden. Seems a good trade-off! :p

Haha, that is a good point!

So I have a wiring loom as of this AM, and it looks to be (mostly) complete:
CBR400rr036.jpg


I located a Haynes manual of the bike, and the wiring loom diagram is helping me A LOT... Using the loom and manual, I have located the key parts I am missing. Mainly a couple of fuse boxes and some relays. The remaining bits that were snipped horribly on the bike I can now label up and start to join them together. I may need to get some new OEM connectors, or replace them with modern new ones if I am missing one side. Just to help keep the costs down.

Its a daunting task, but I think I can get close to a working loom by the end of the weekend (parts willing!)
 
Transmission breaker
Don
OP
Joined
20 Oct 2002
Posts
16,814
Location
In a house
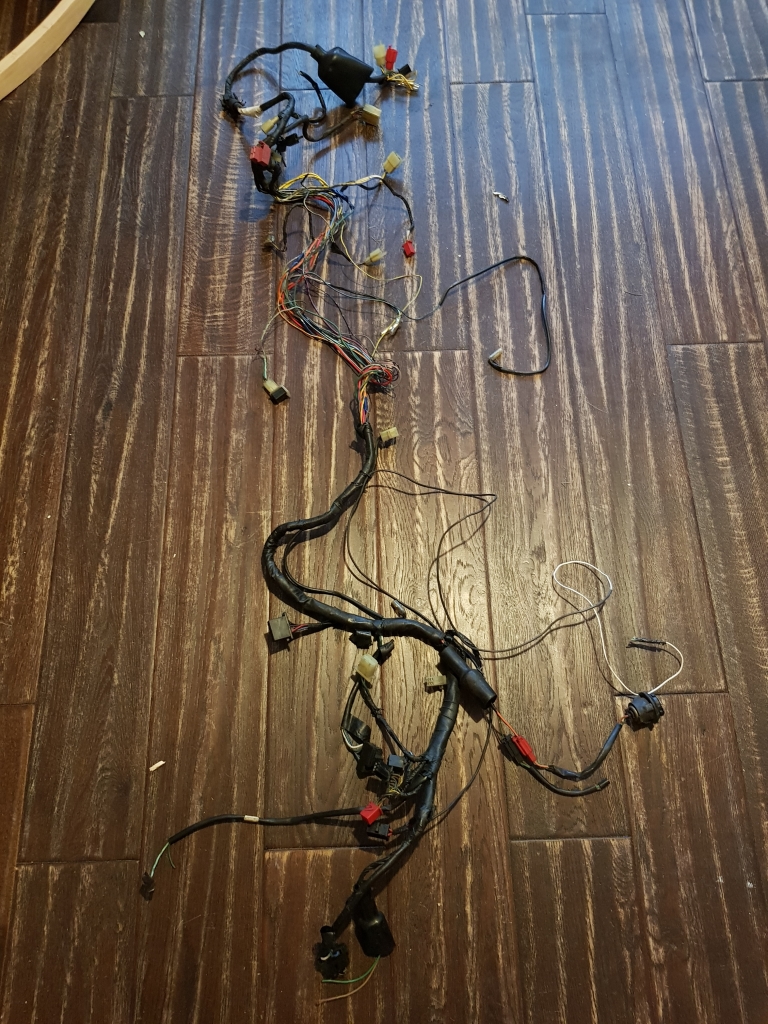
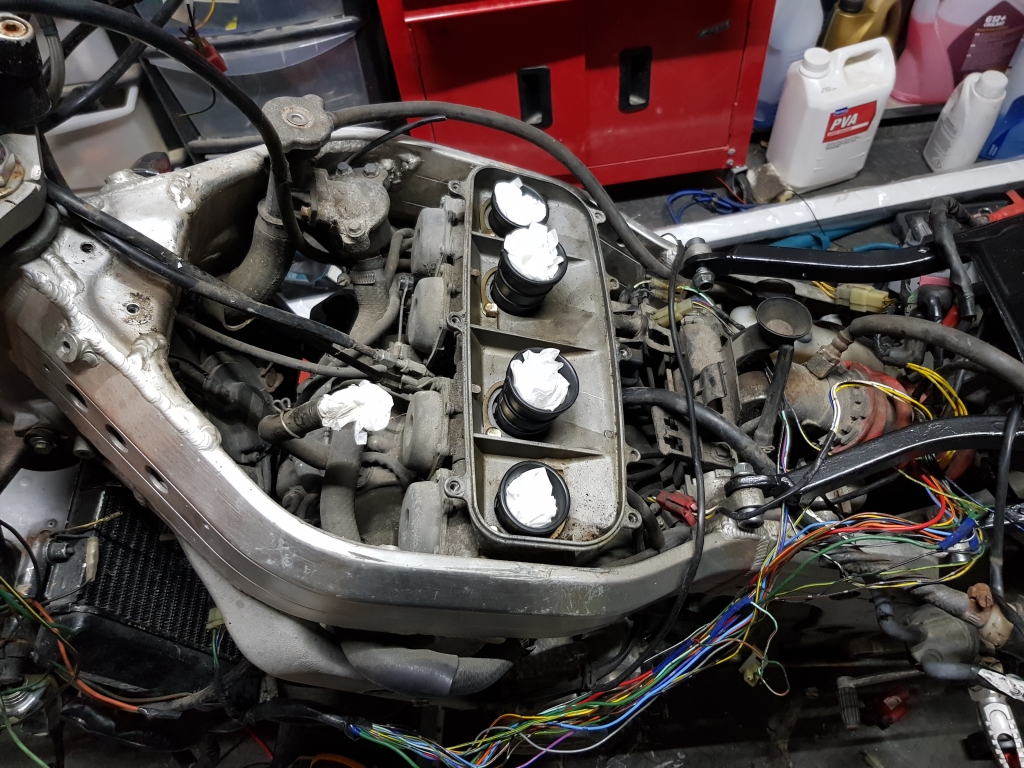
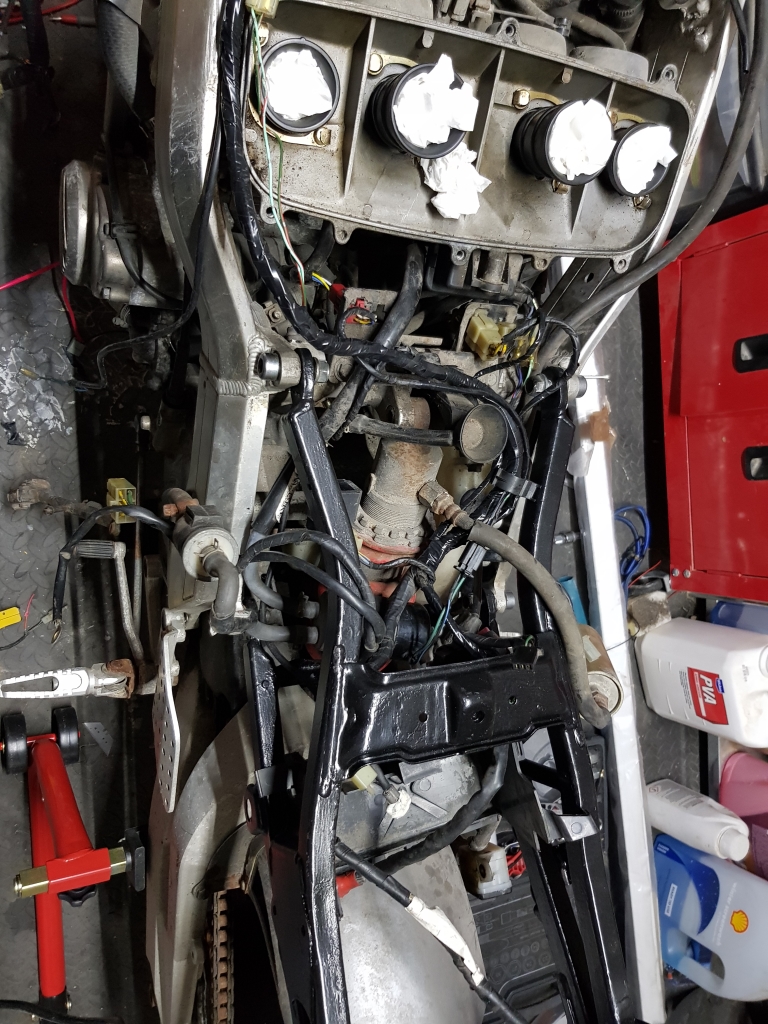
Spent some time working the loom around the bike, found a few random bits that had been altered/added in. Wanted to get the loom as close to stock as possible to make the wiring document I have as accurate as possible.

There were a number of splices and cuts in the middle area of the loom, so i did some unwrapping to find the correct wire colours and re-joined them and checked against the wiring diagram..

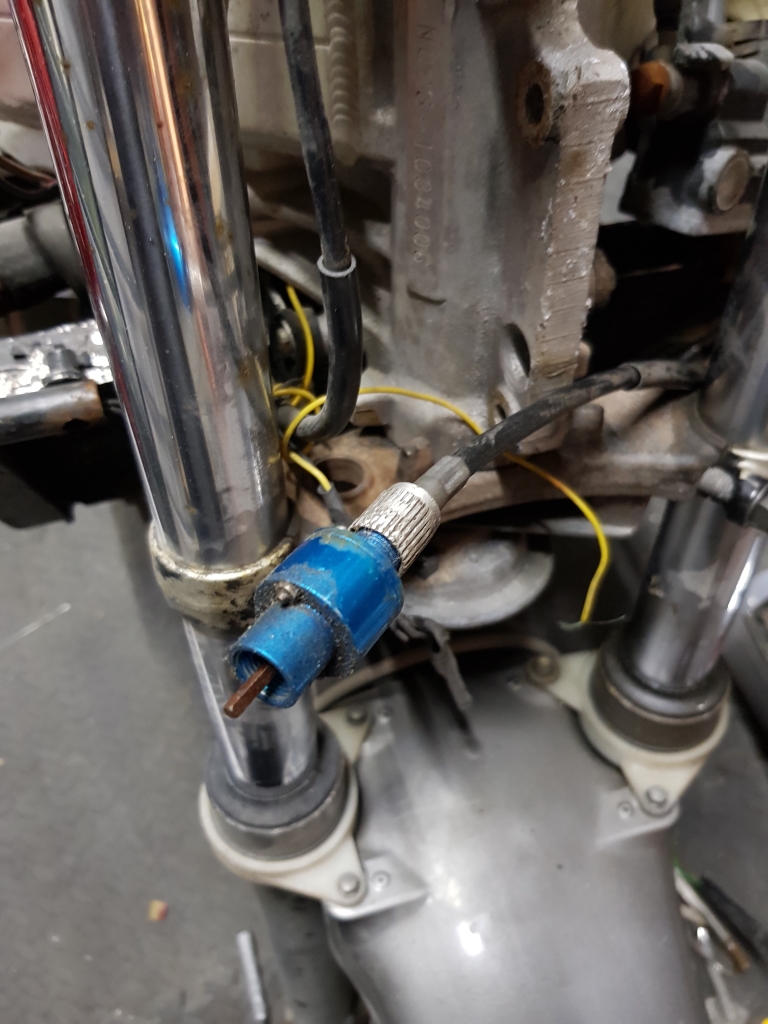
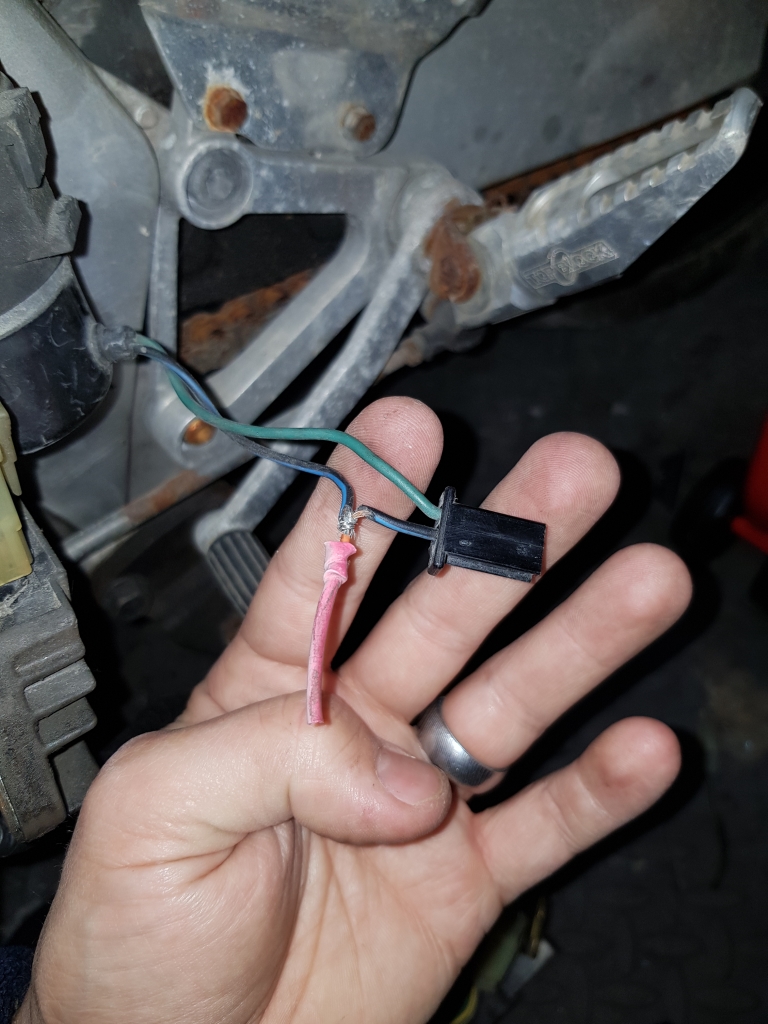
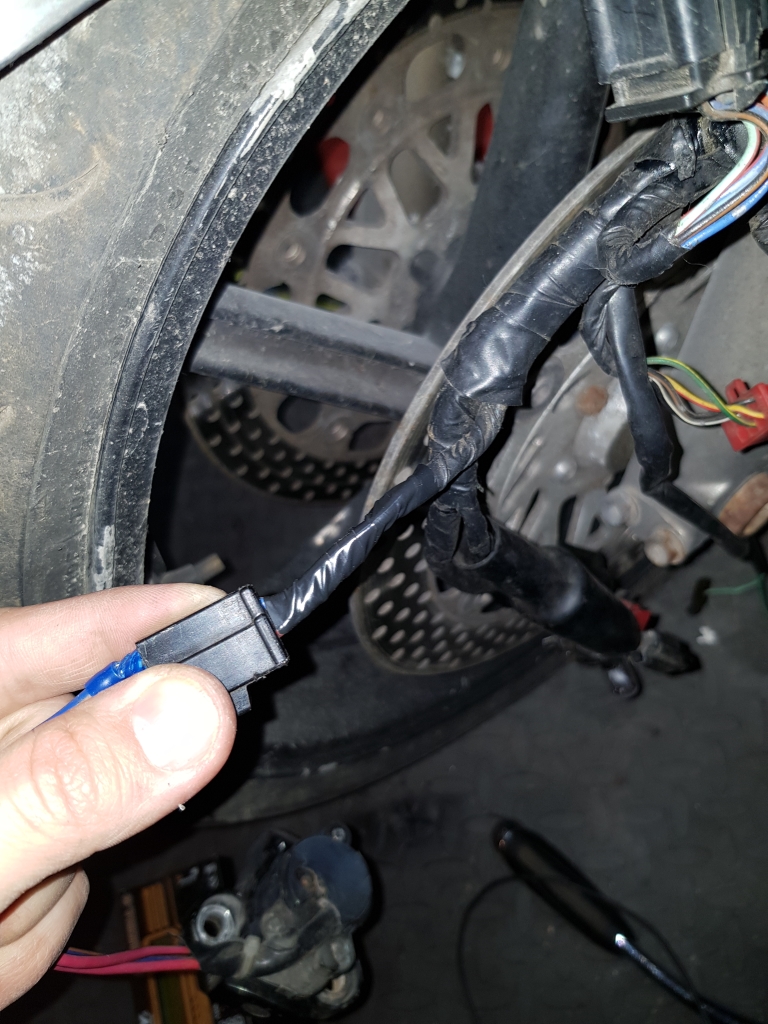
This was the wire that comes from the electric starter switch, and it seemed to have been looped, extended and then cut when it was removed I would guess. not sure what they would want to be turned on only when starting the starter?:
CBR400rr051.jpg


Stripped it back, removed the excess, and re-joined the wire and added some heatshrink:
CBR400rr050.jpg


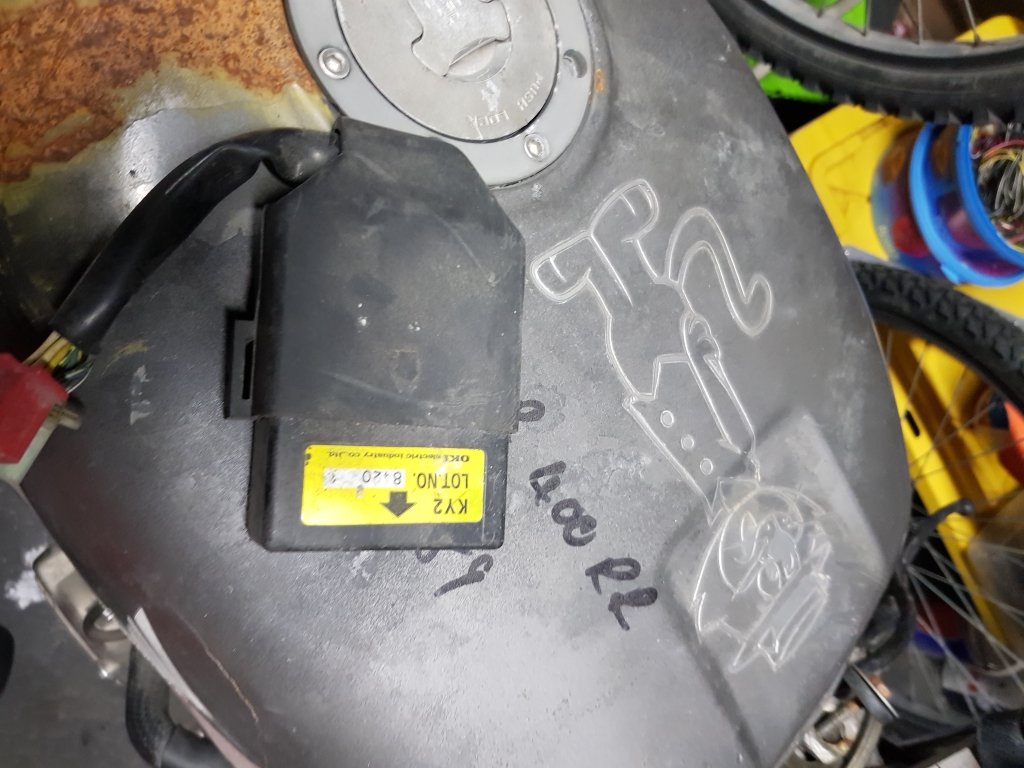
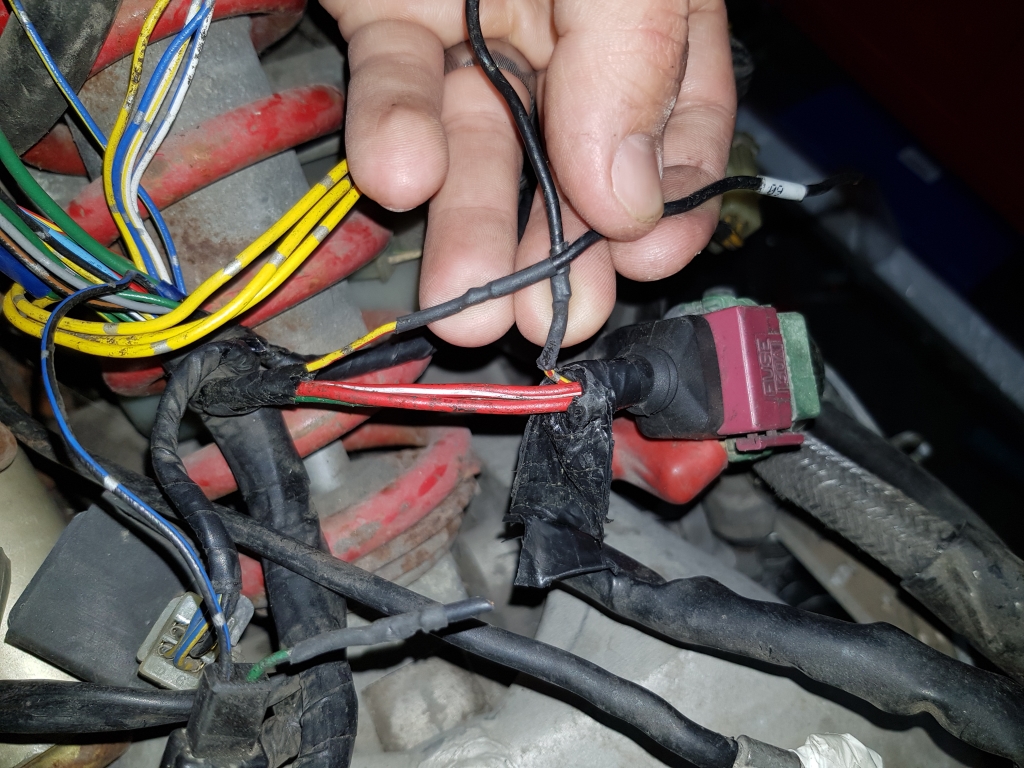
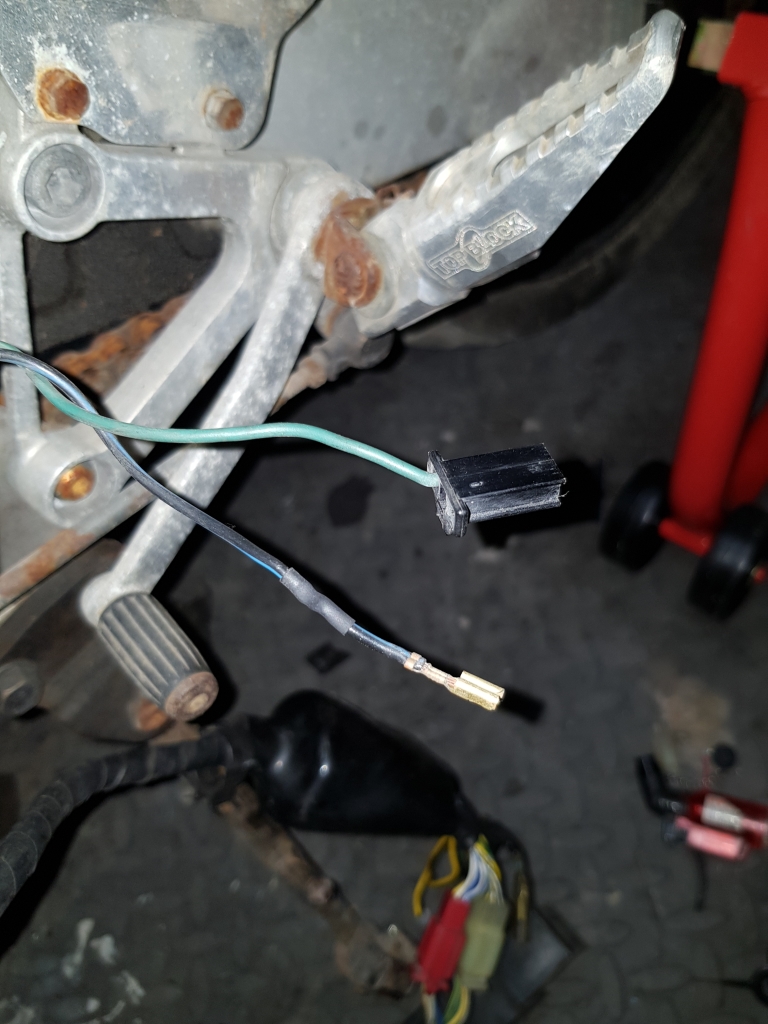
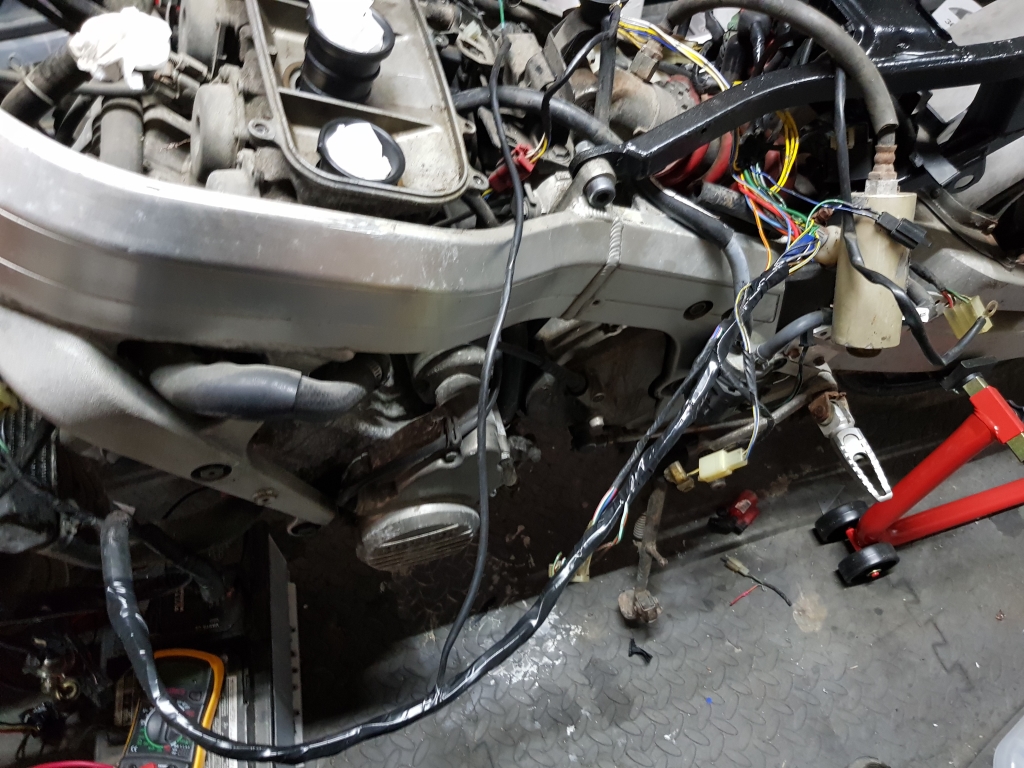
Next there was a similar cut/splice done to the fuel pump line (you can see the re-wrapped starter cable in the background:
CBR400rr049.jpg


Not my neatest shrinkwrap job, but safe as houses
CBR400rr048.jpg


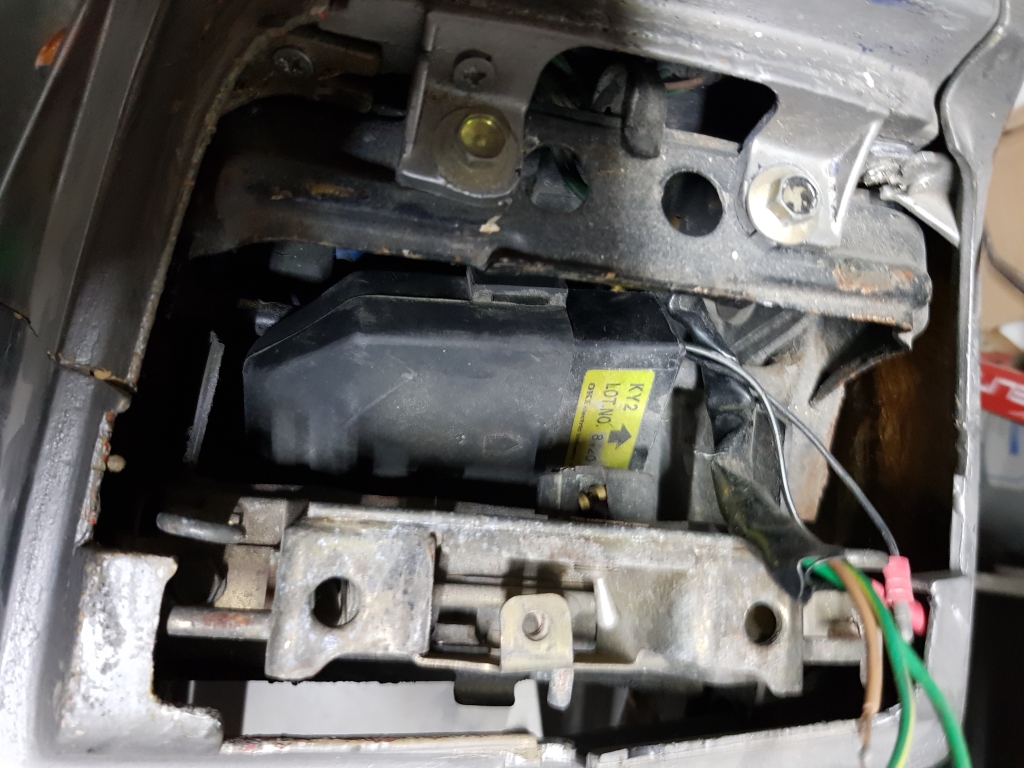
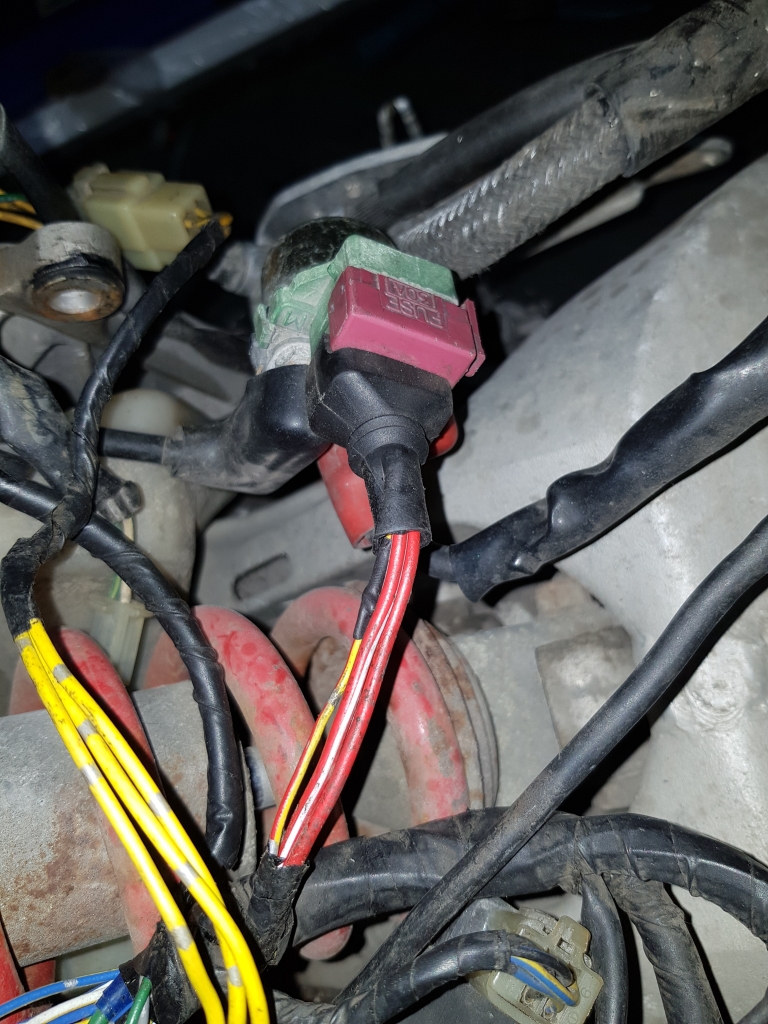
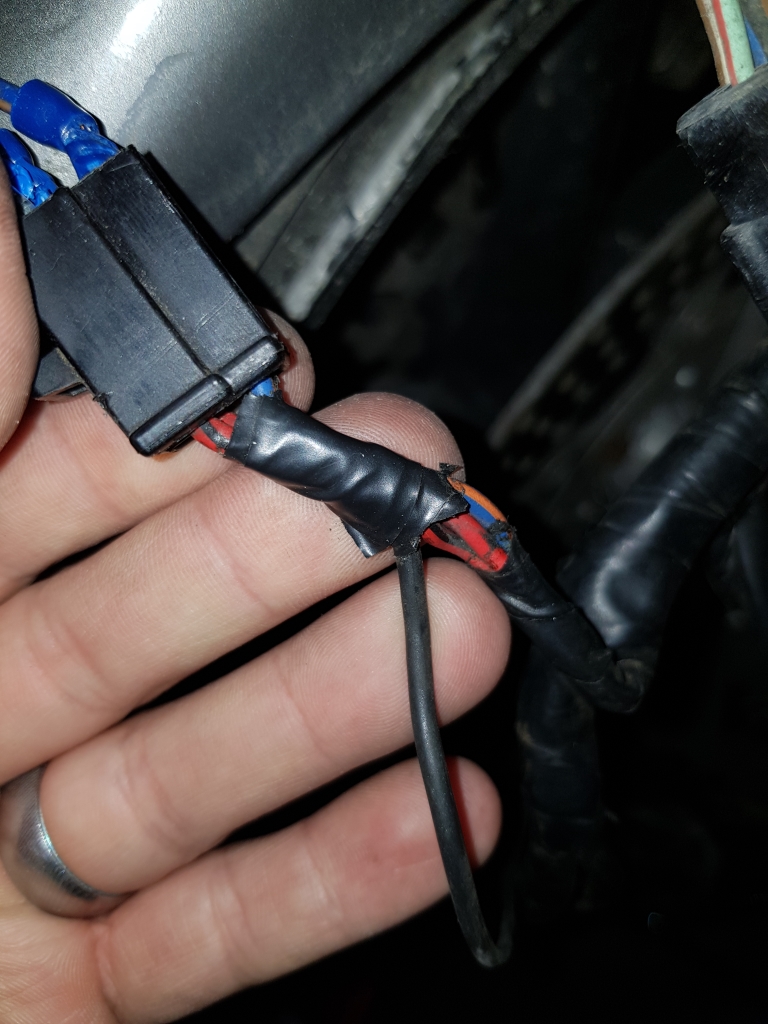
The bodgejobbery continues, now again, there was another splice off the pump side of the connector!
CBR400rr047.jpg


As the wire was not actually cut, I whipped the plug out of the connector, and slid some shrinkwrap over the top to make a neater repair.
CBR400rr046.jpg

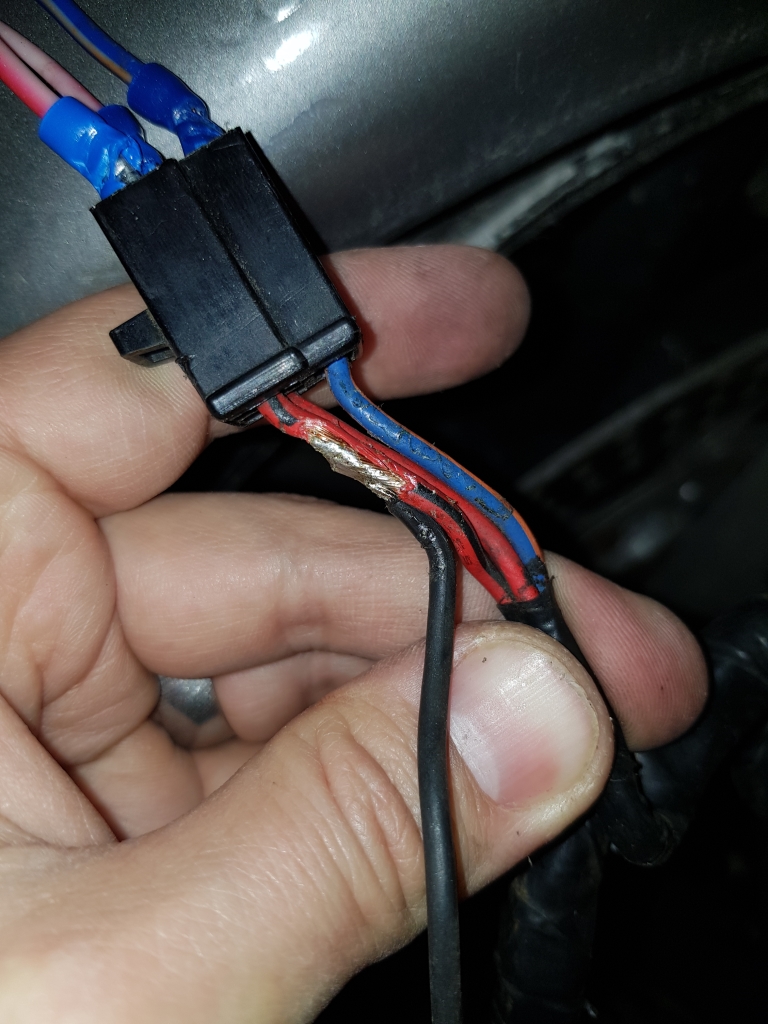
Slid it back into the connector, and its sorted.

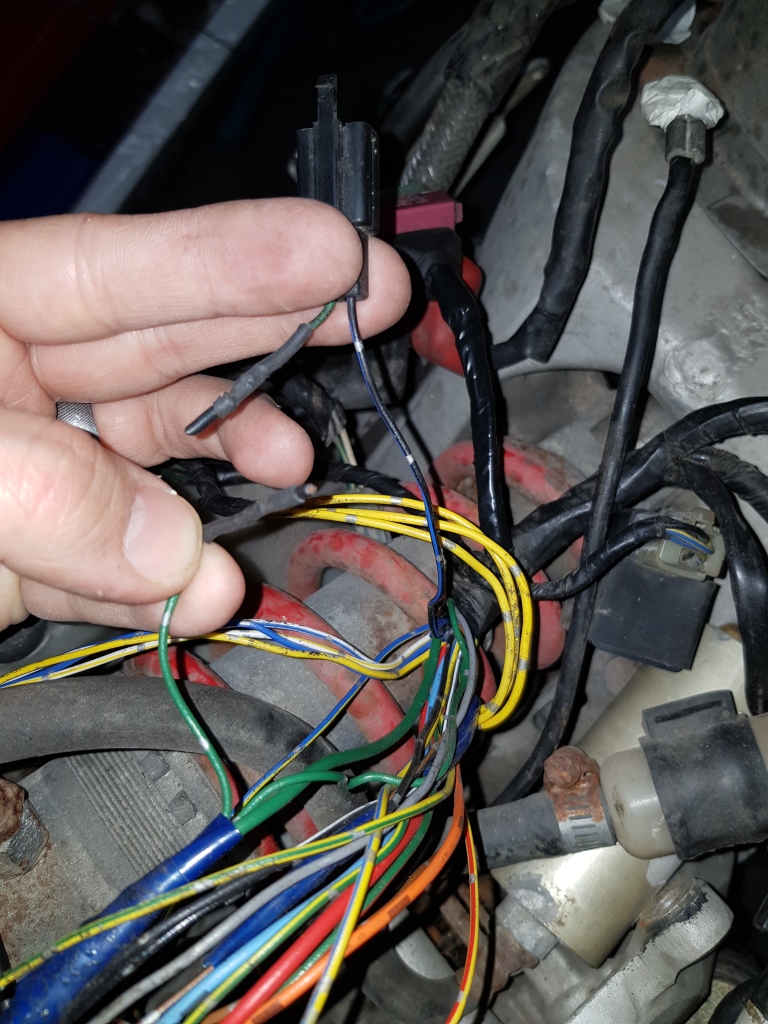
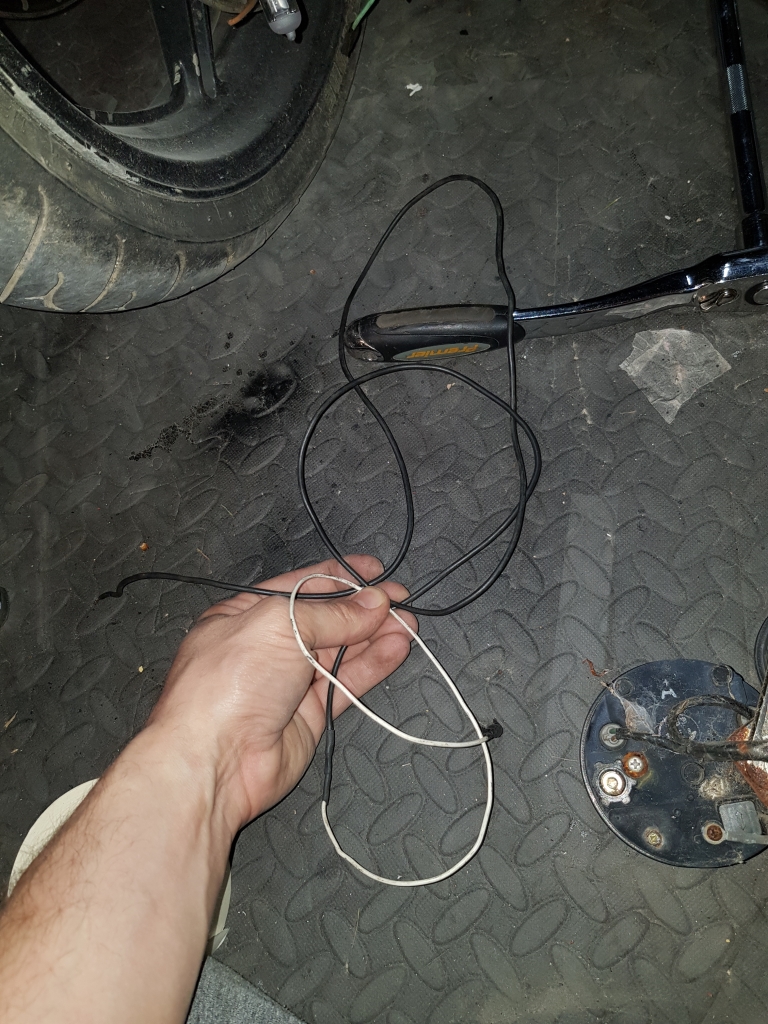
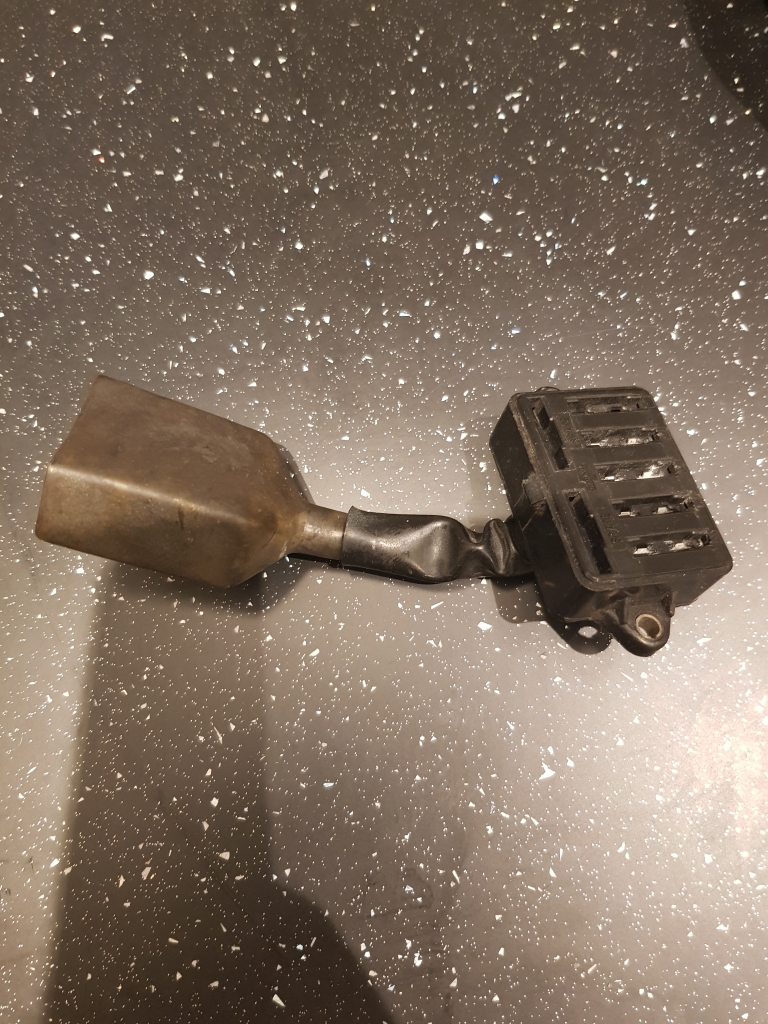
Next there was white wire that was sort of tacked, and cable tied to the main loom section, and it seemed to be coming from the three pin ignition switch. Clearly, someone wanted an ignition live, and rather than run it from the fuse box, they just soldered it to the main igntion live, and ran a LOOONG cable back, which was then split out into three wires, which were also snipped when the loom was removed.

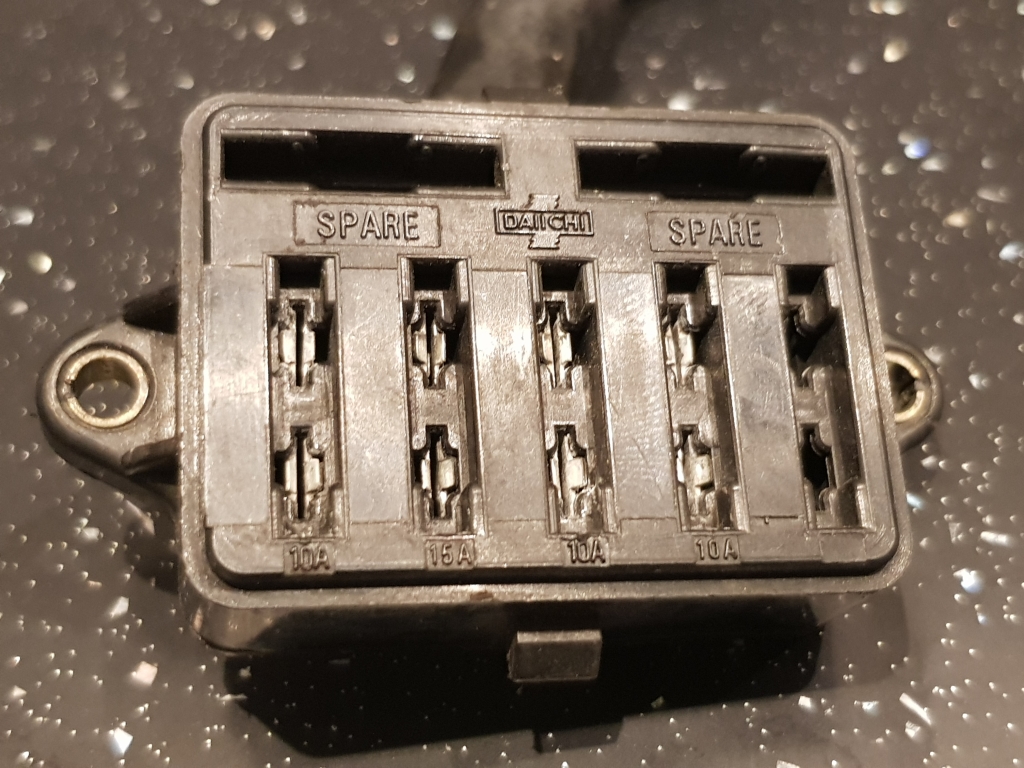
Here is the three pin connector, with 4 wires coming out...
CBR400rr045.jpg


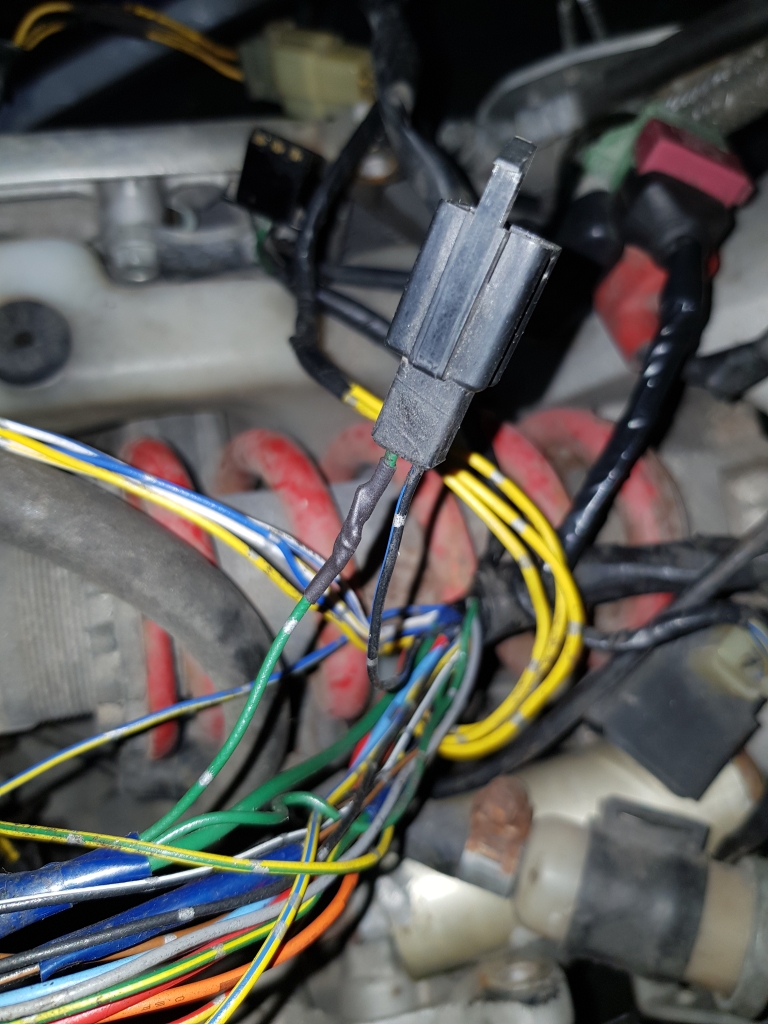
Here is the addition, at least it was soldered :) 
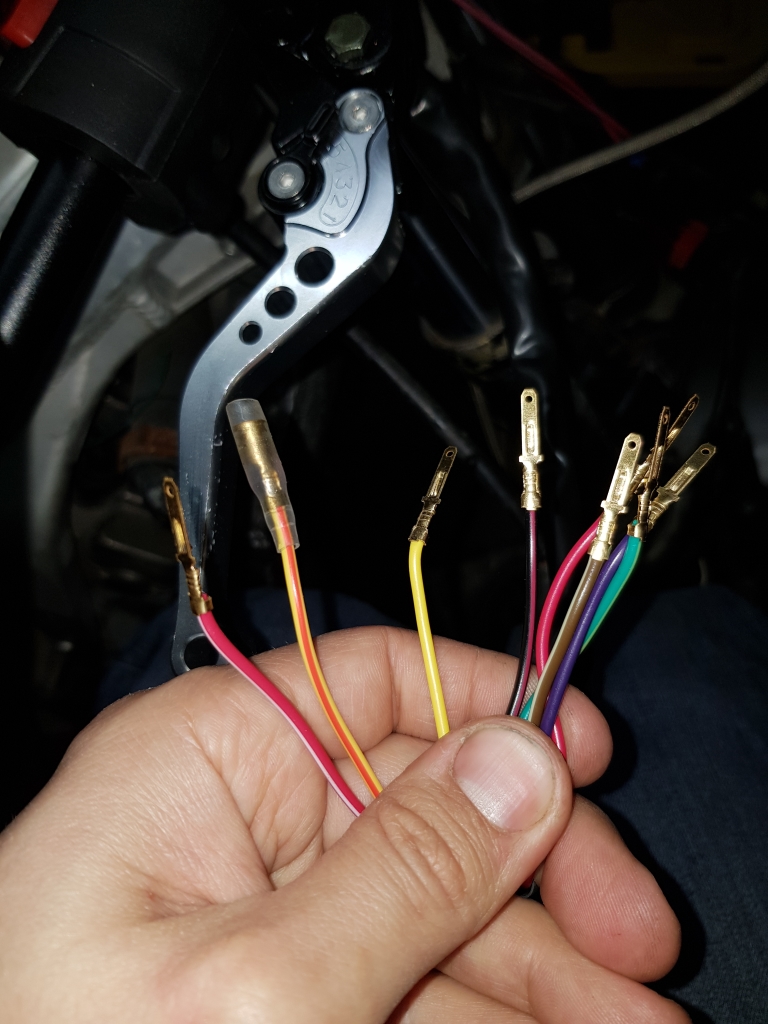
Please ignore the badly installed spade connectors, I whacked them onto the cut ignition key switch wires to quickly allow me to test continuity of the various bits, and what each click of key enabled on the loom.
CBR400rr044.jpg


Removed, and re-wrapped:
CBR400rr043.jpg


One less wire to think about!
CBR400rr042.jpg


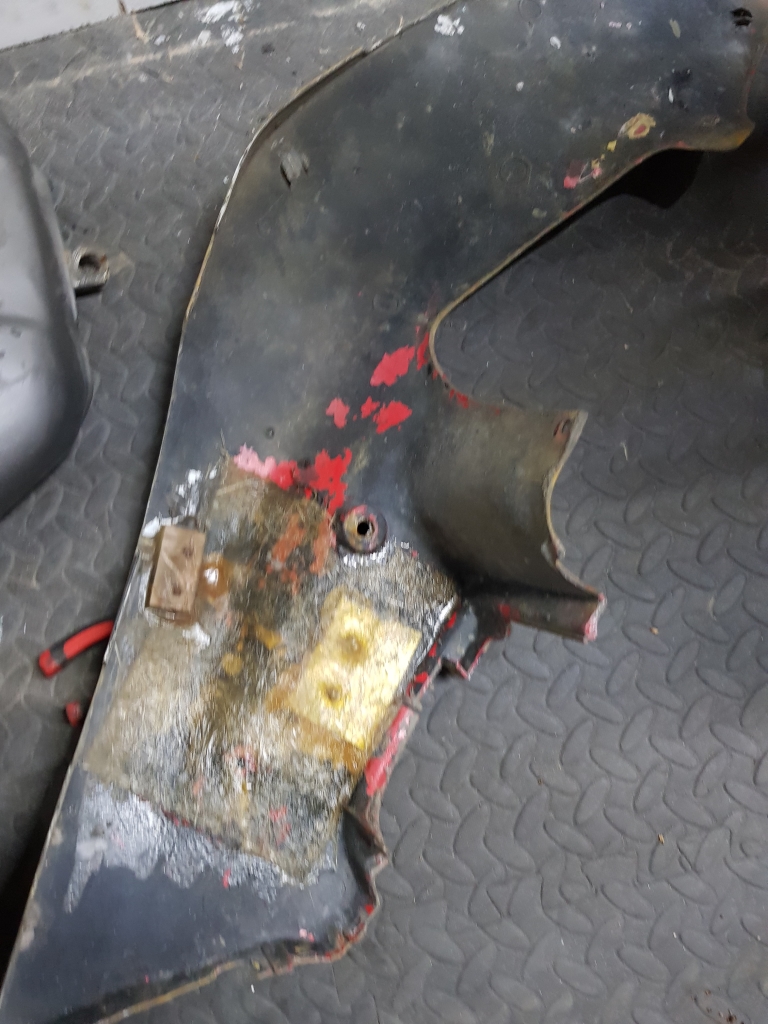
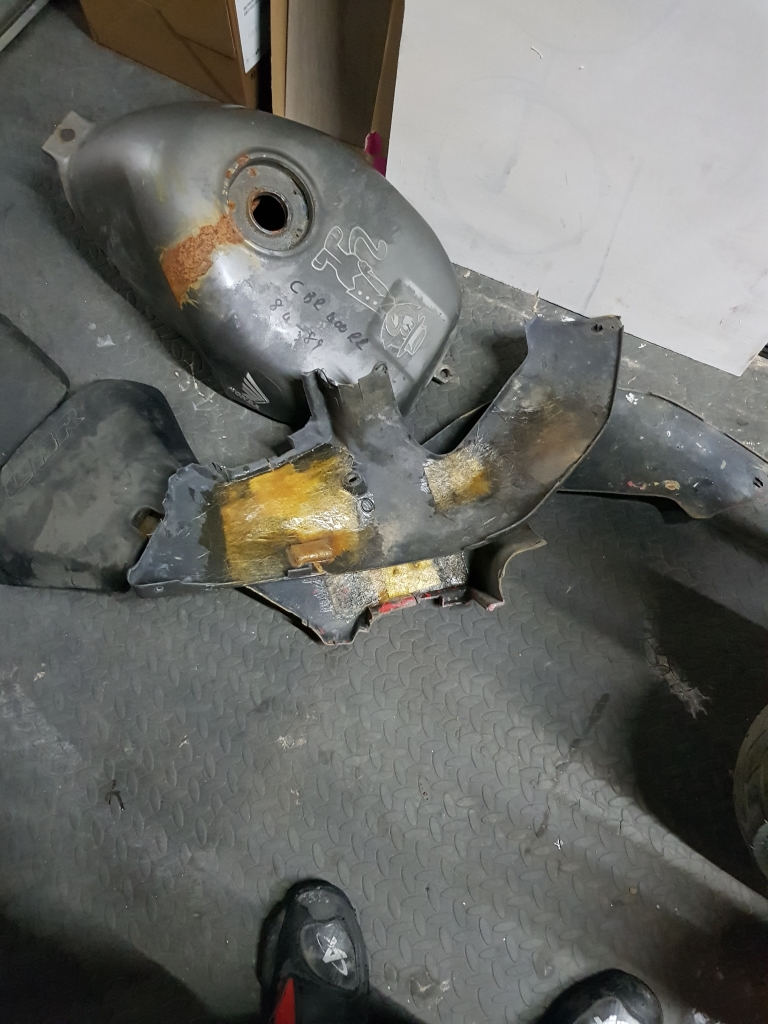
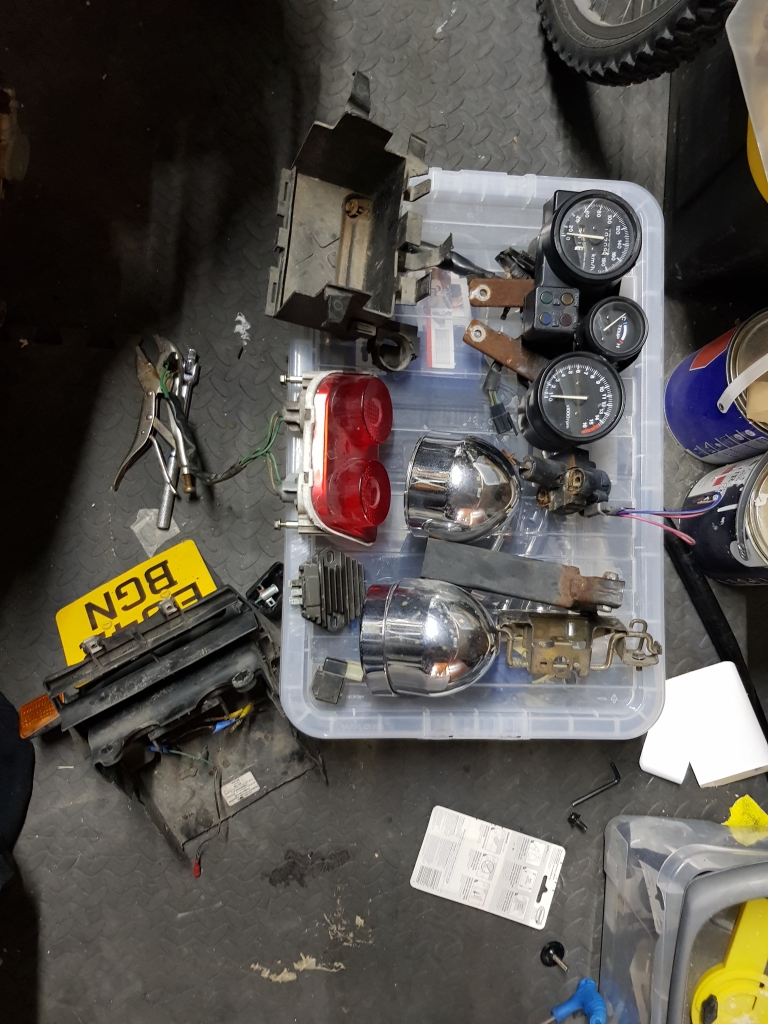
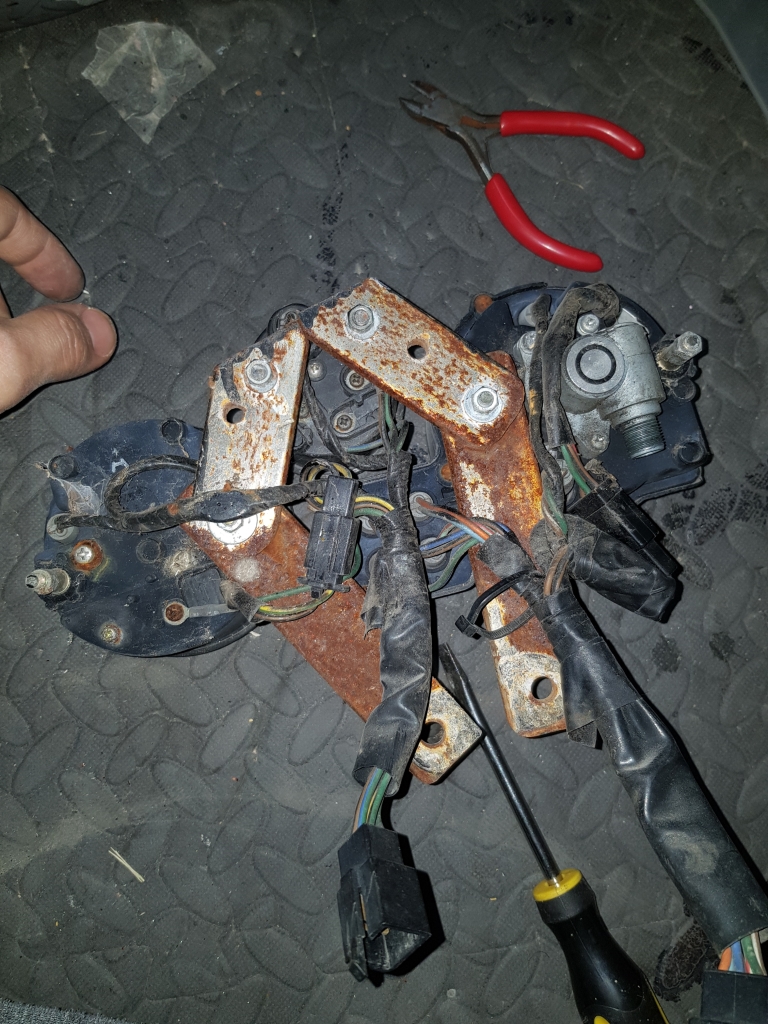
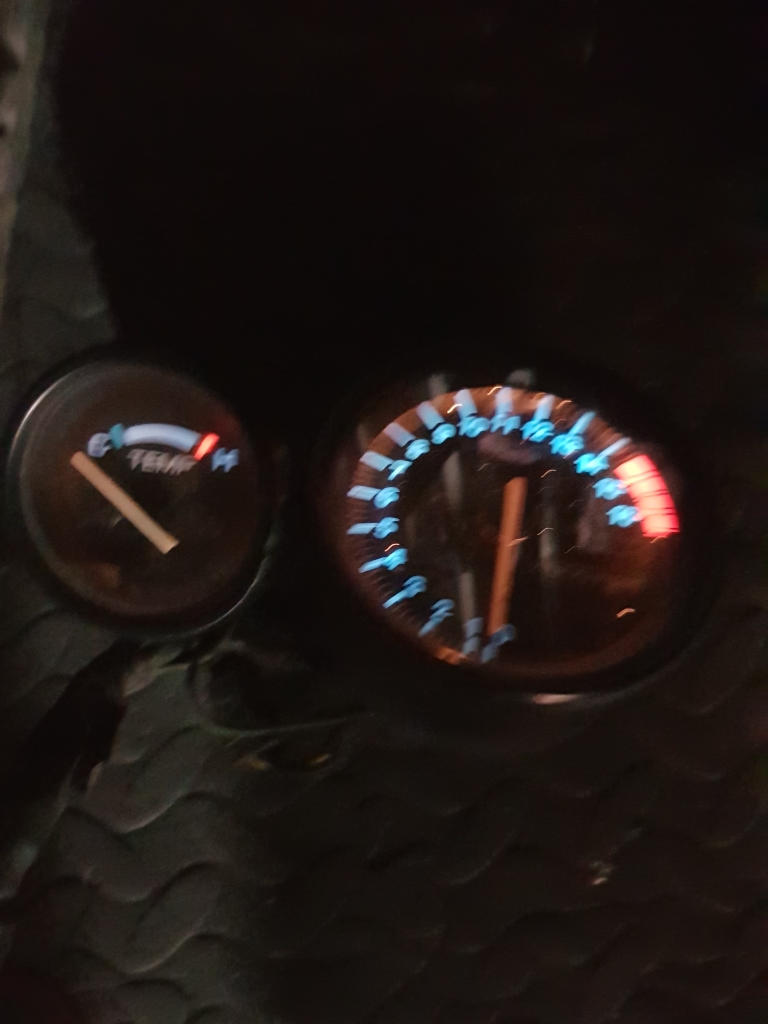
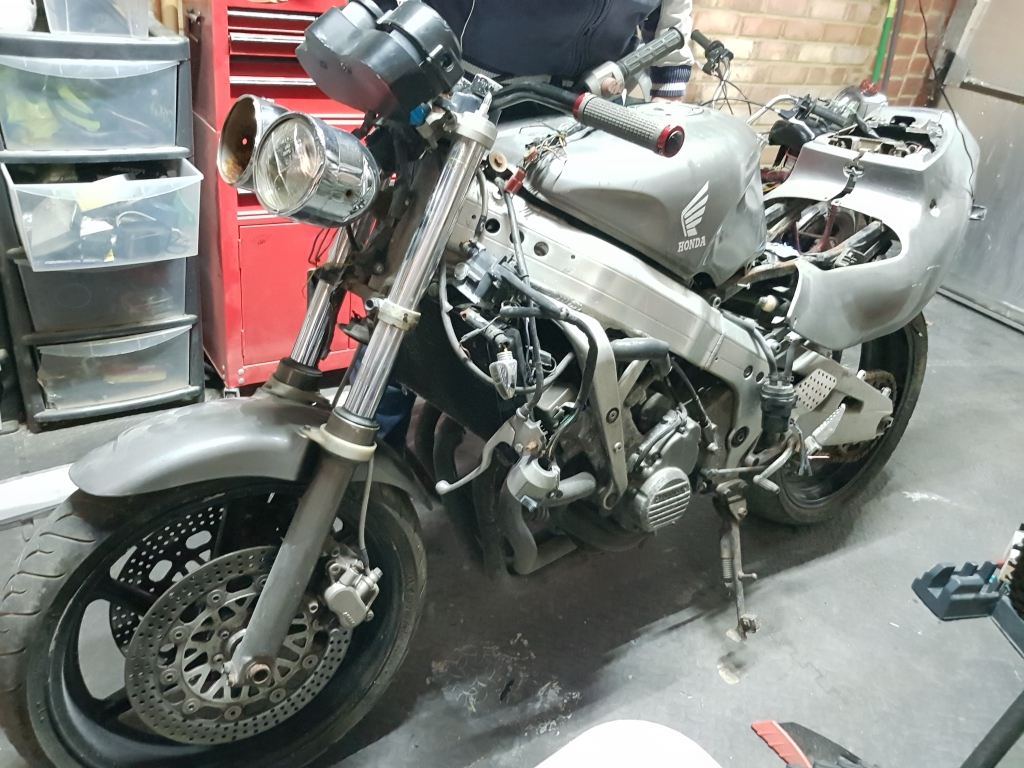
I decided to then pull the clocks apart, and see what's what.. This does not look factory...
CBR400rr041.jpg


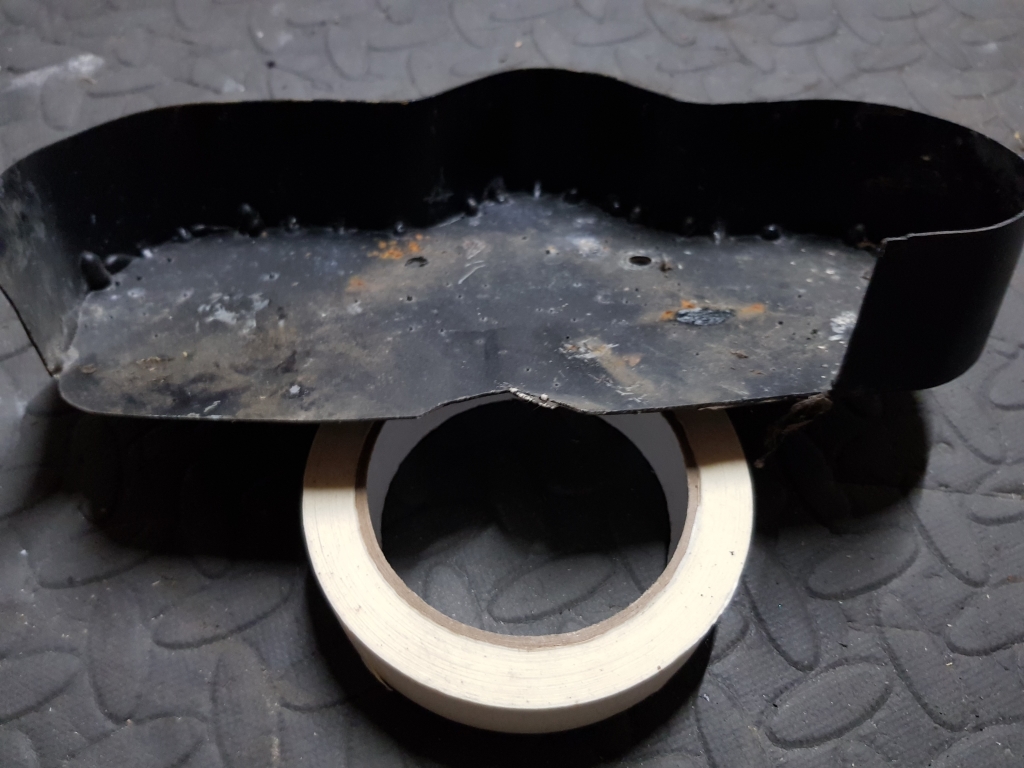
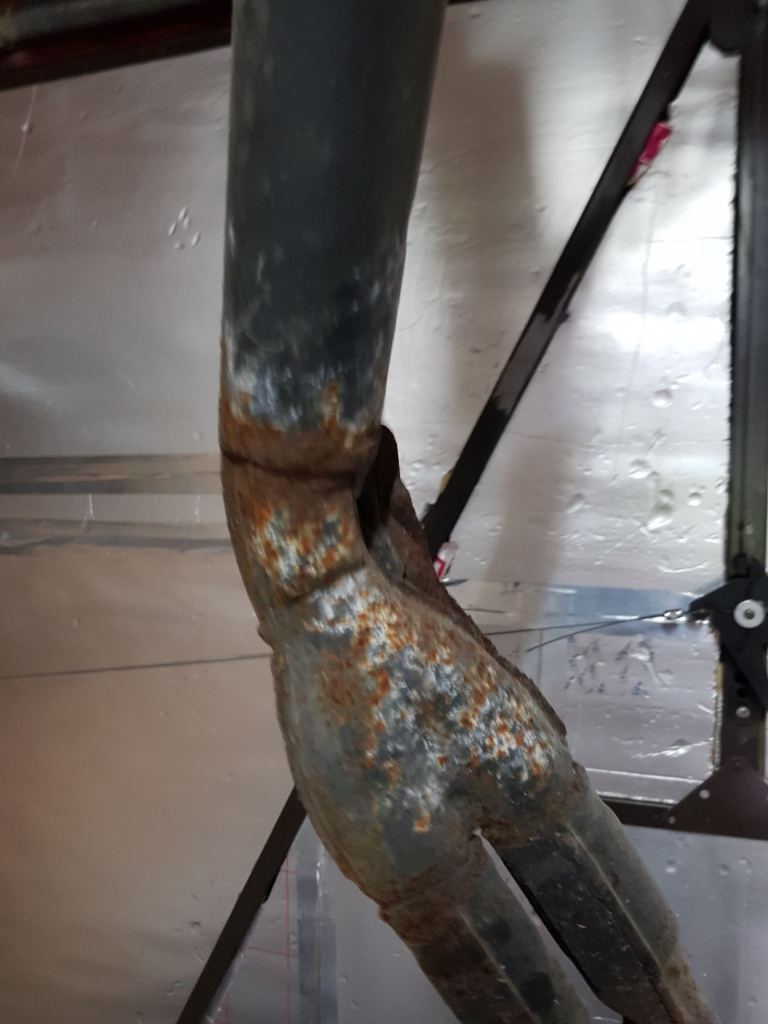
It seems the bike was run as a naked bike for quite some time, as they fabbed up a neat little enclosure for the clocks, and made this rather odd looking frame from steel flat stock to hold them in place.
CBR400rr038.jpg


Little welded up enclosure:
CBR400rr038.jpg


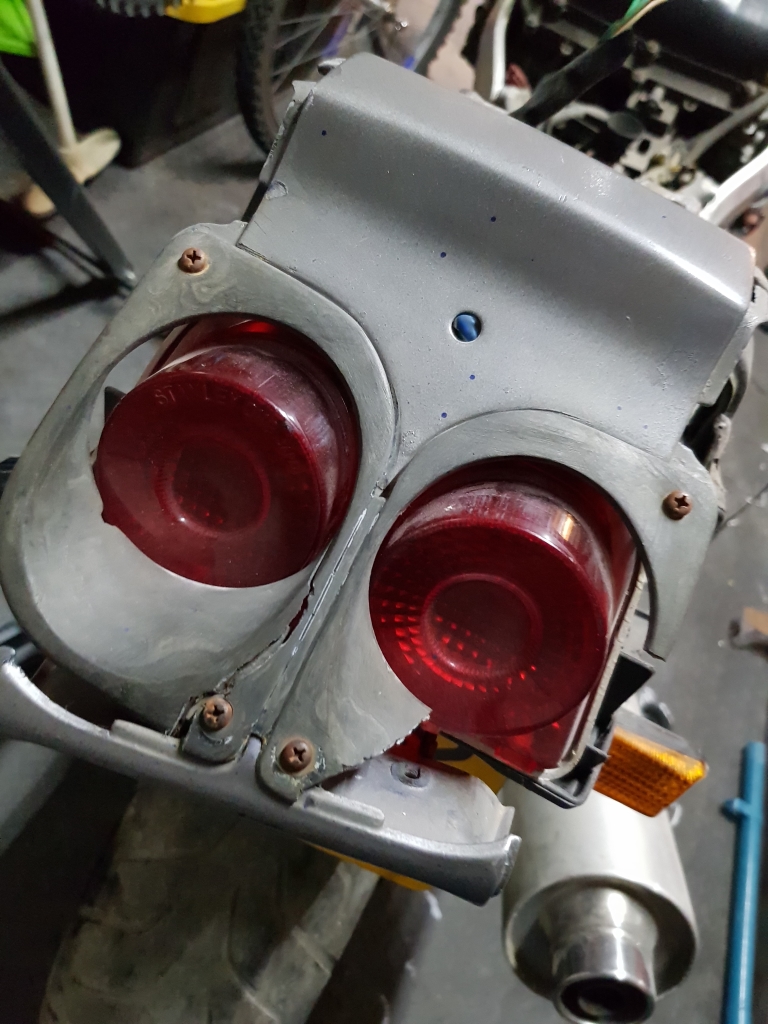
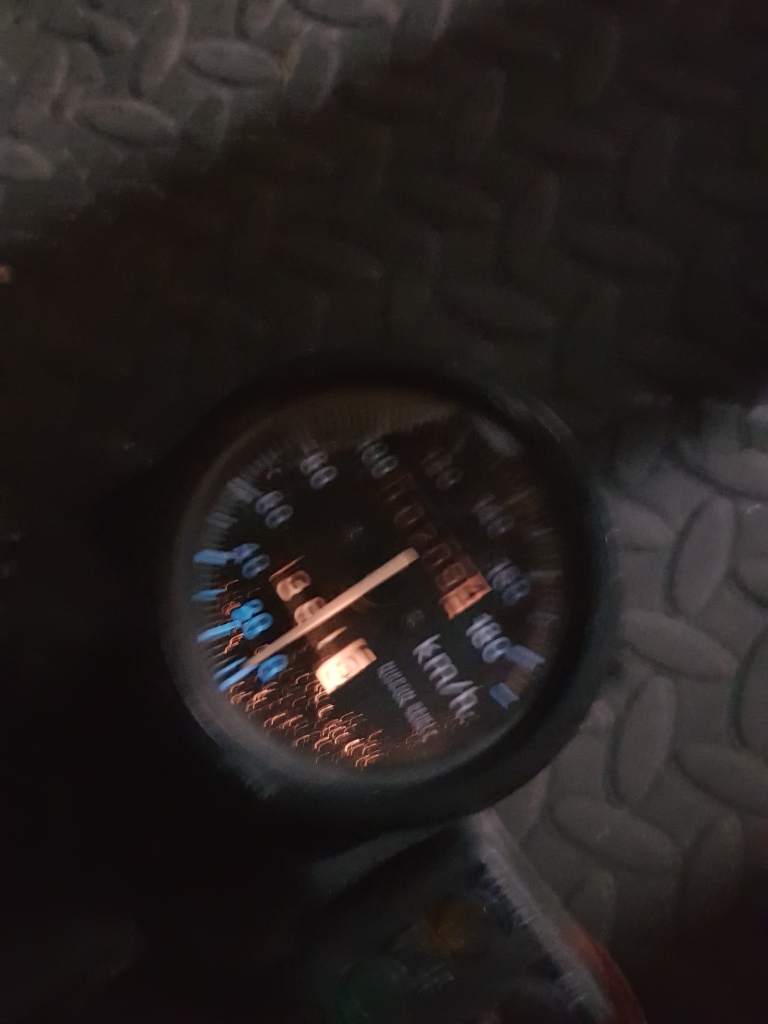
Checked the clock's lights whilst they were out:
CBR400rr039.jpg


CBR400rr040.jpg


Not sure if I will keep them standard, lighting wise. But you can see some spots of paint deterioration in the face of the speedo, that will likely need to be corrected, as it will annoy me. I suspect I can just open it up, and re=paint the back of the clock face, but I will see what I can figure out when I get around to it. I could always grab a cheap clock from ebay and swap the face to keep the mileage accurate.

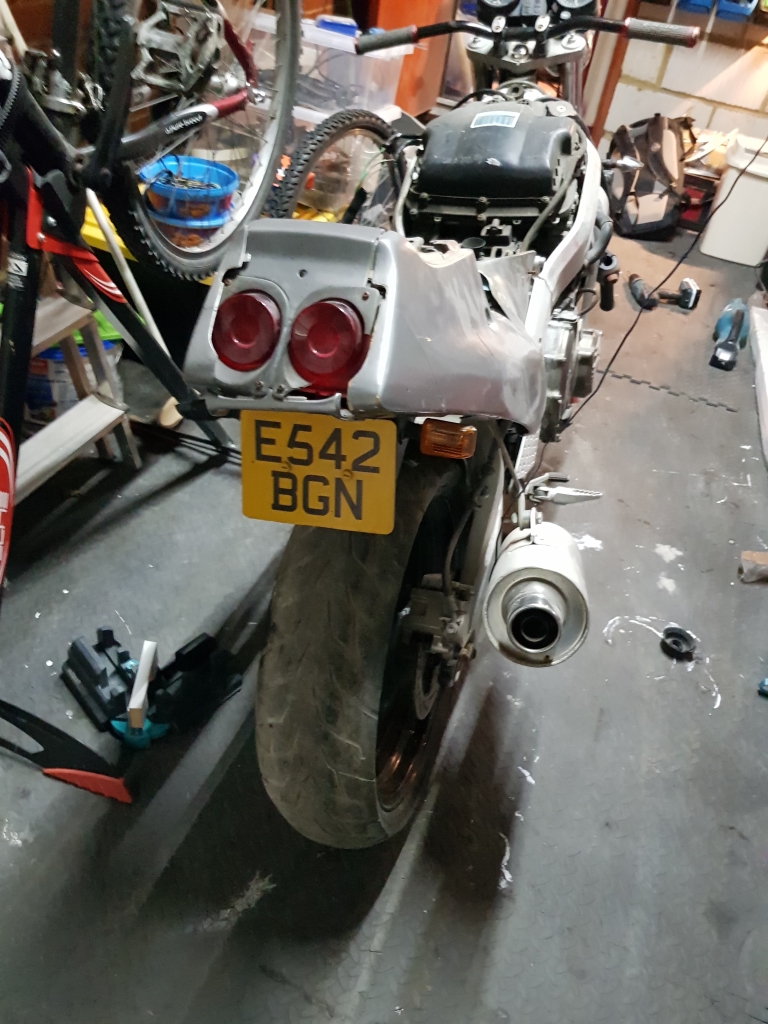
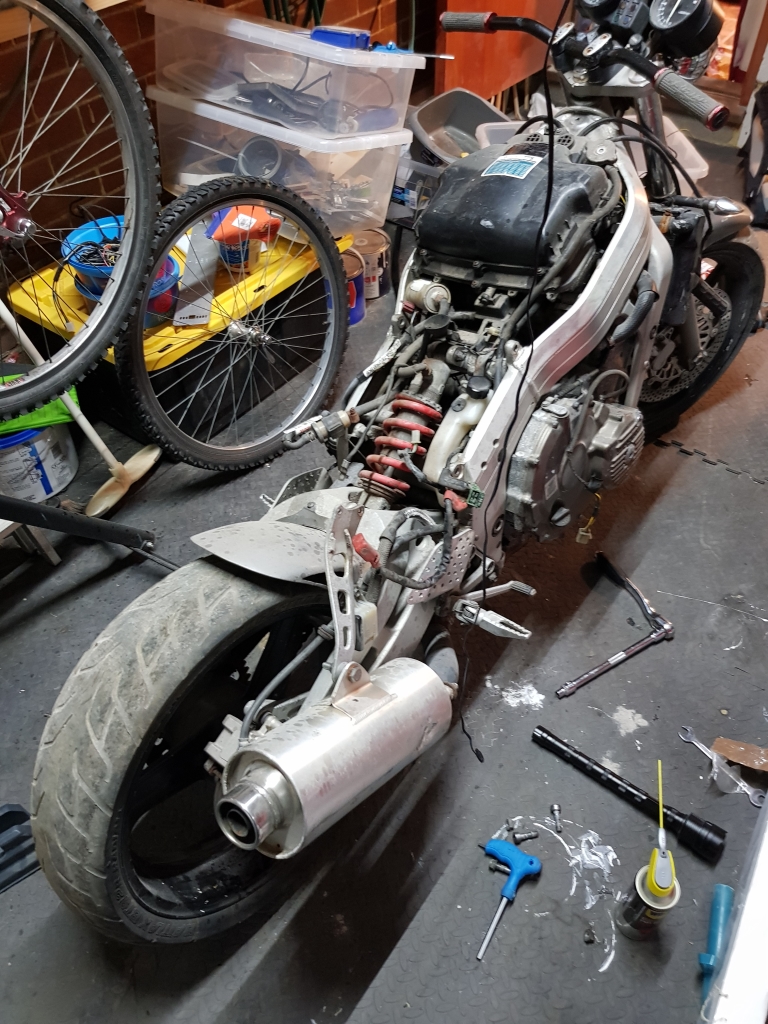
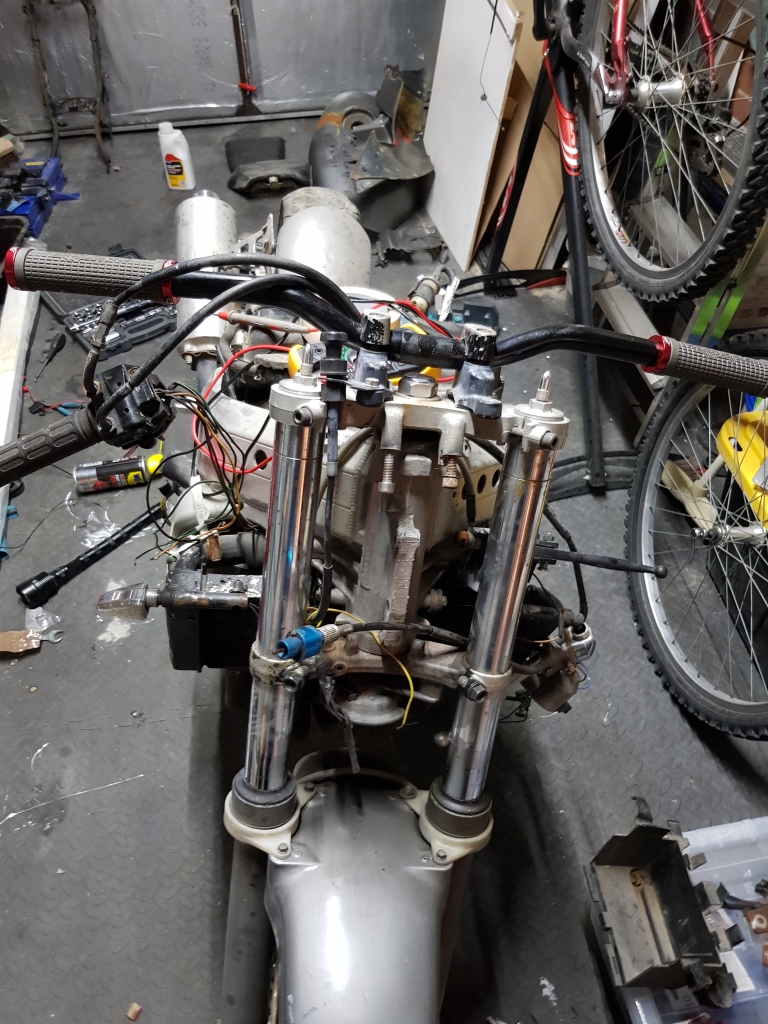
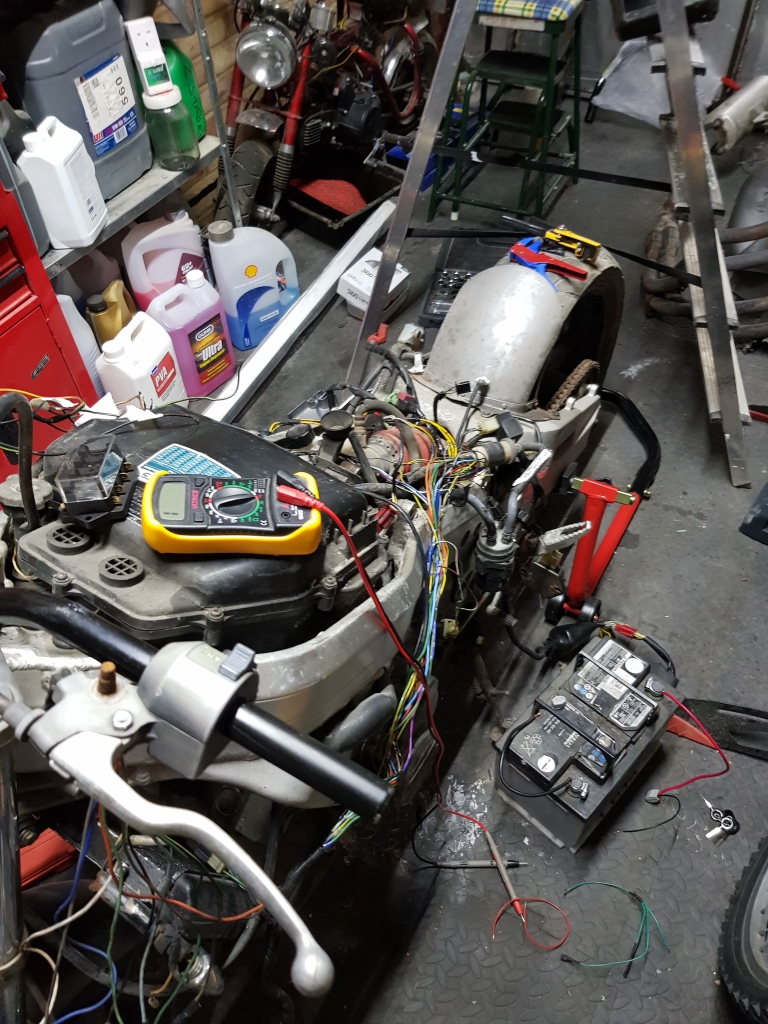
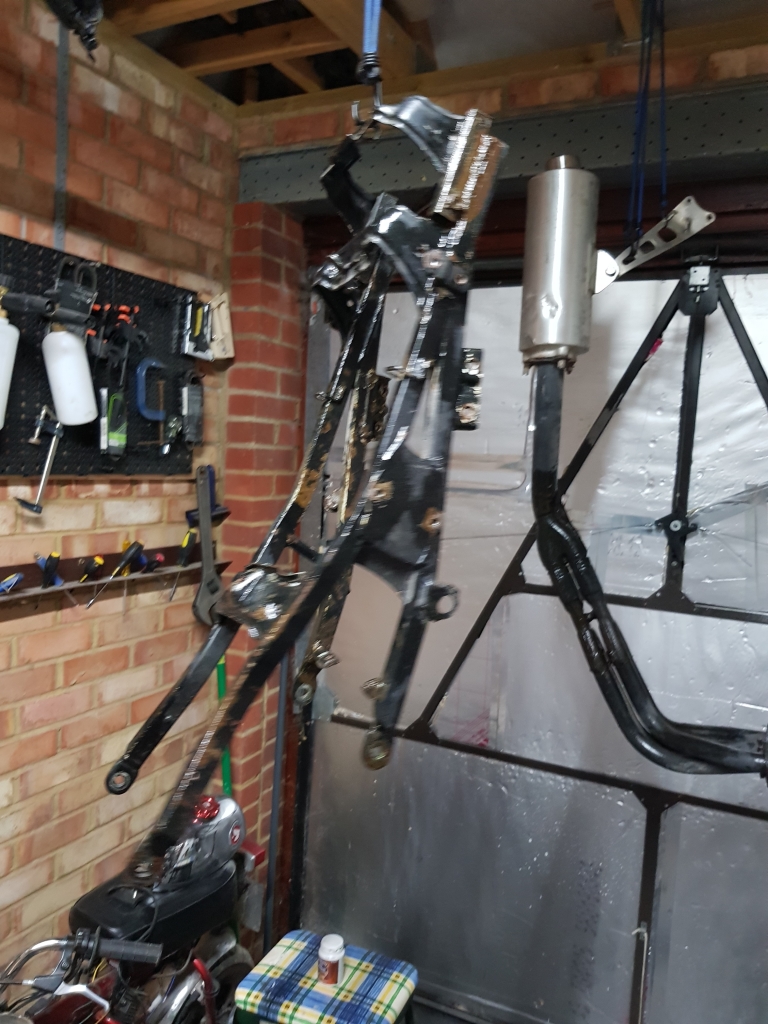
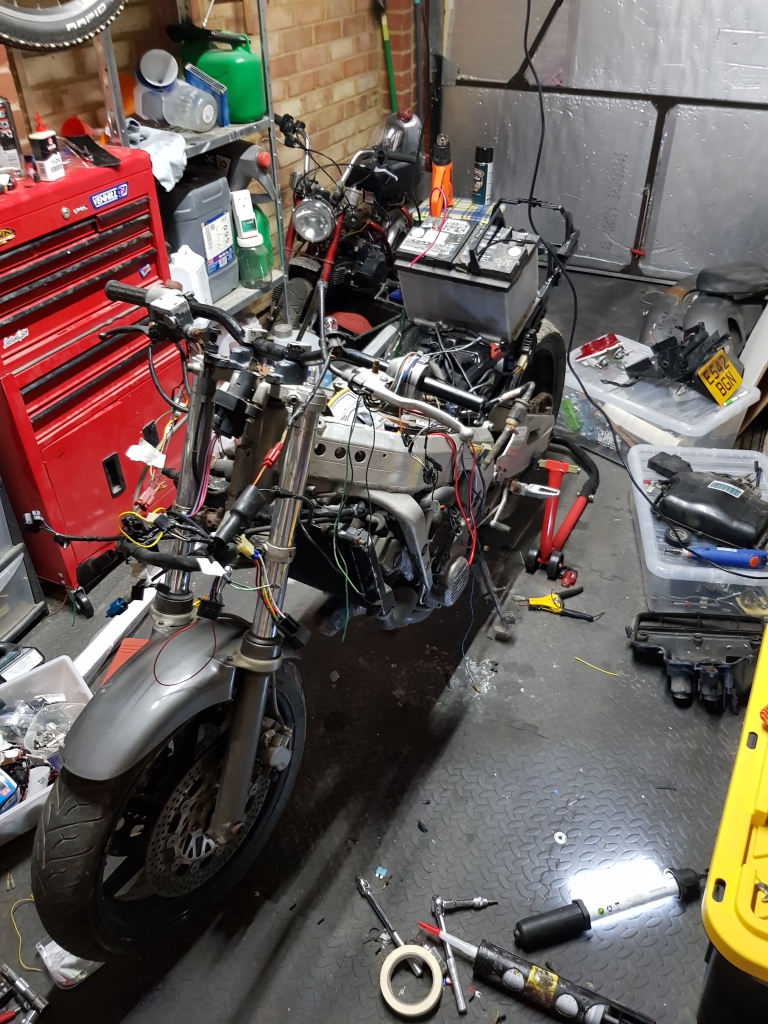
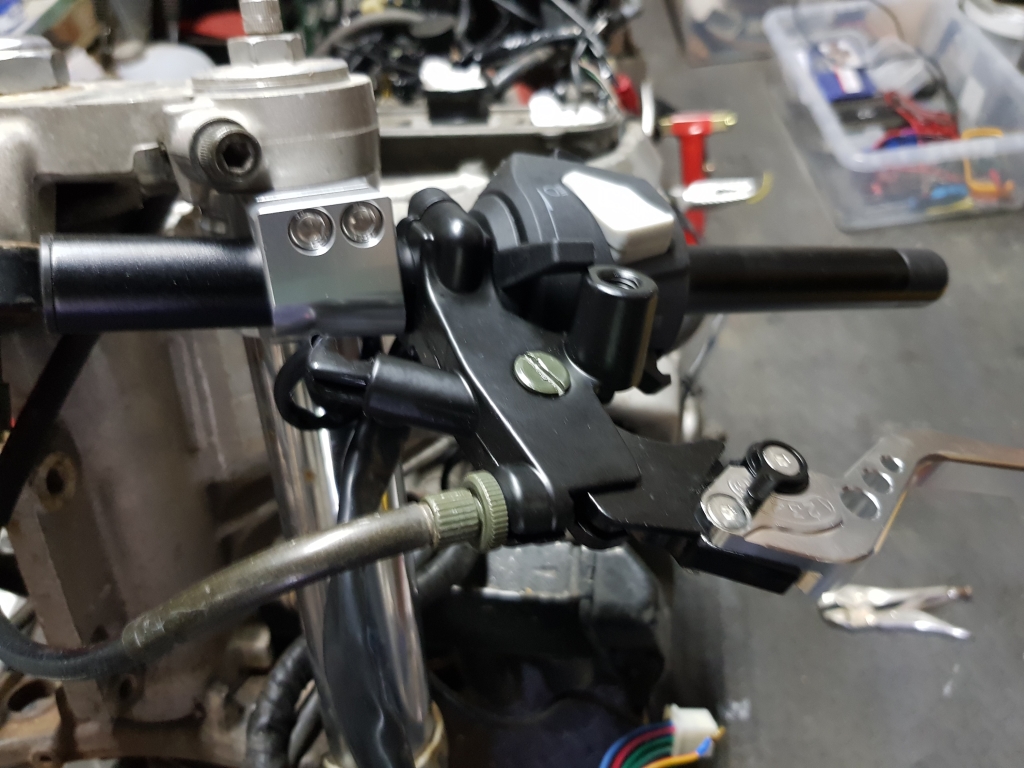
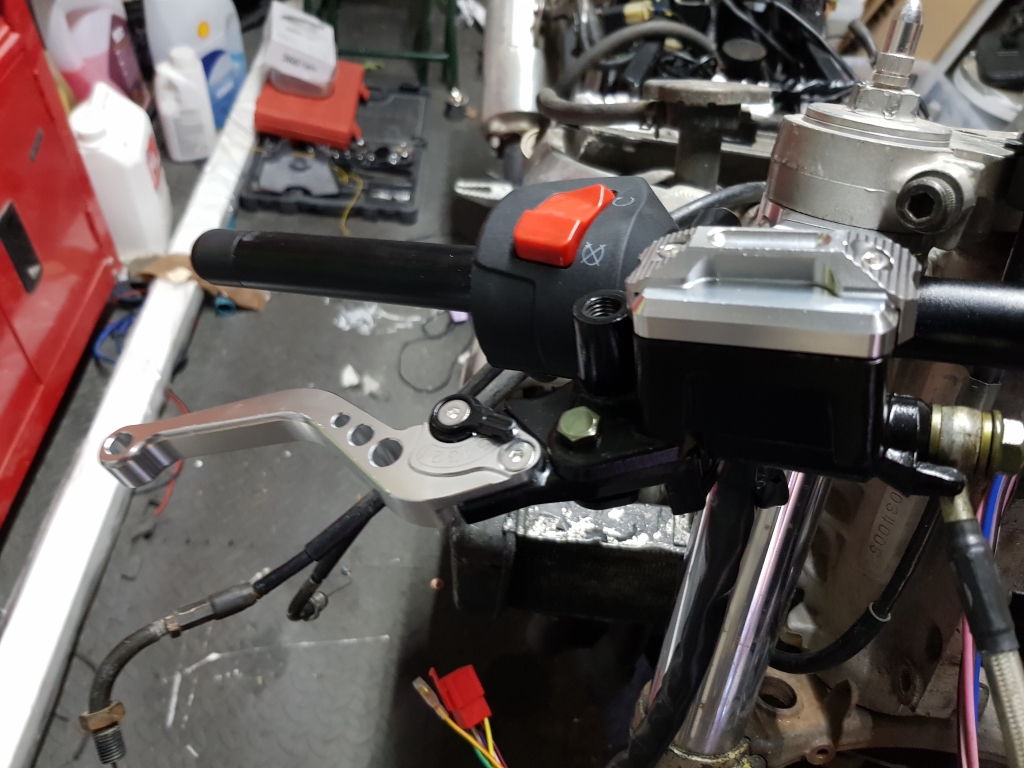
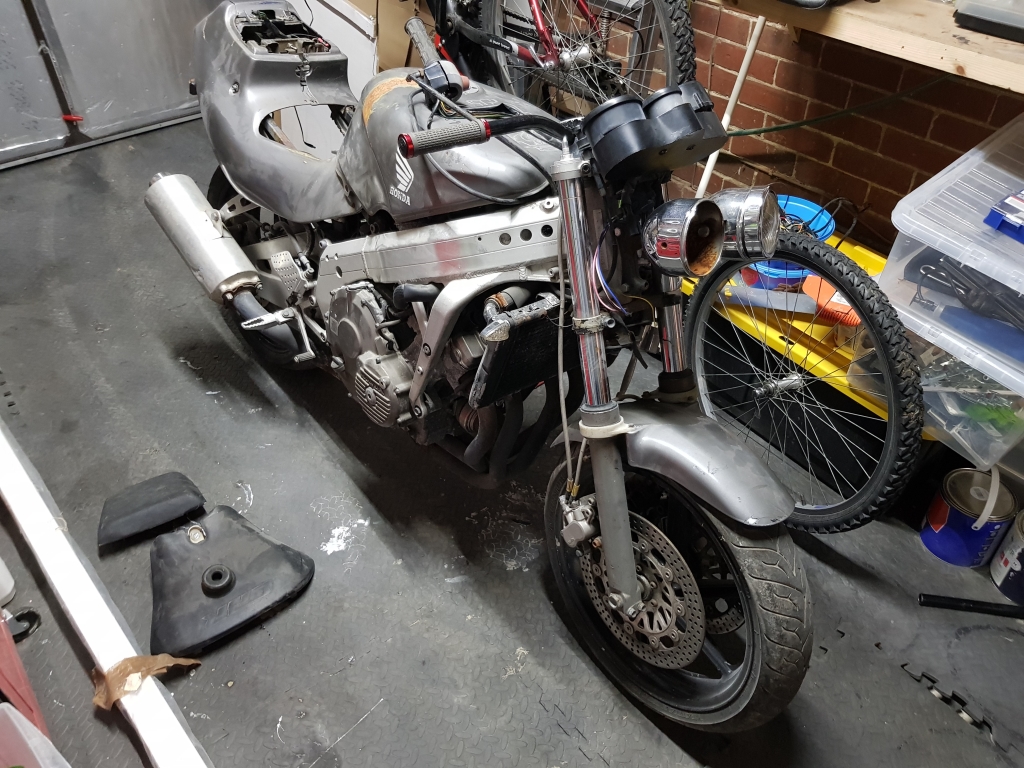
The bike is it stands right now:
CBR400rr037.jpg


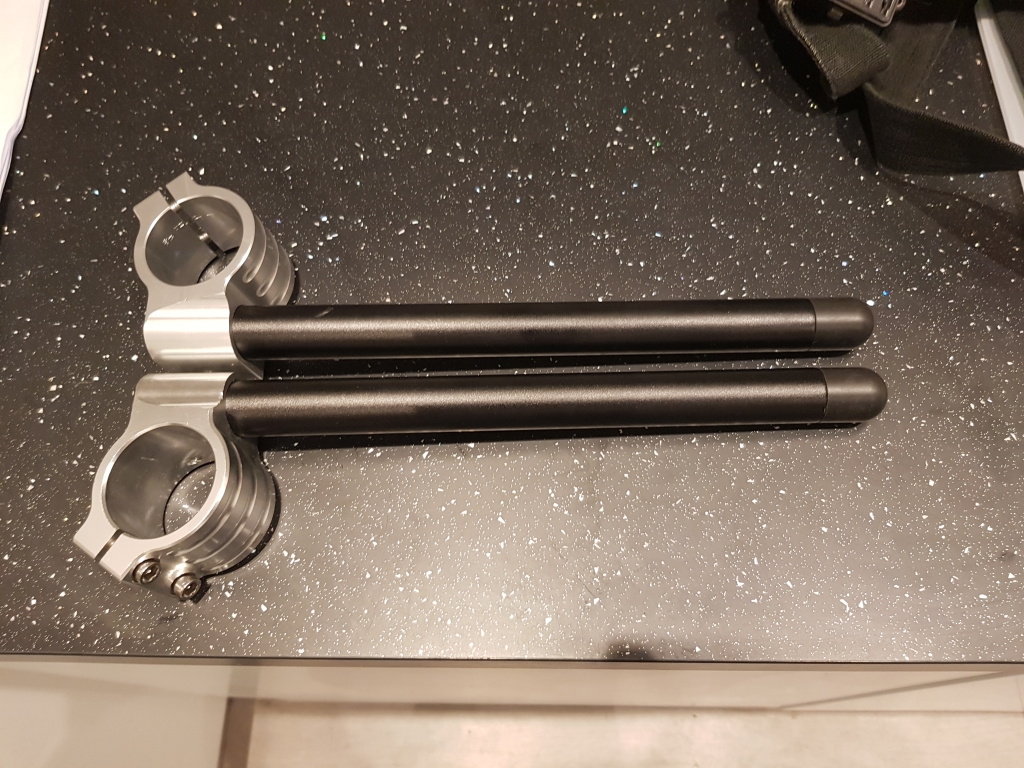
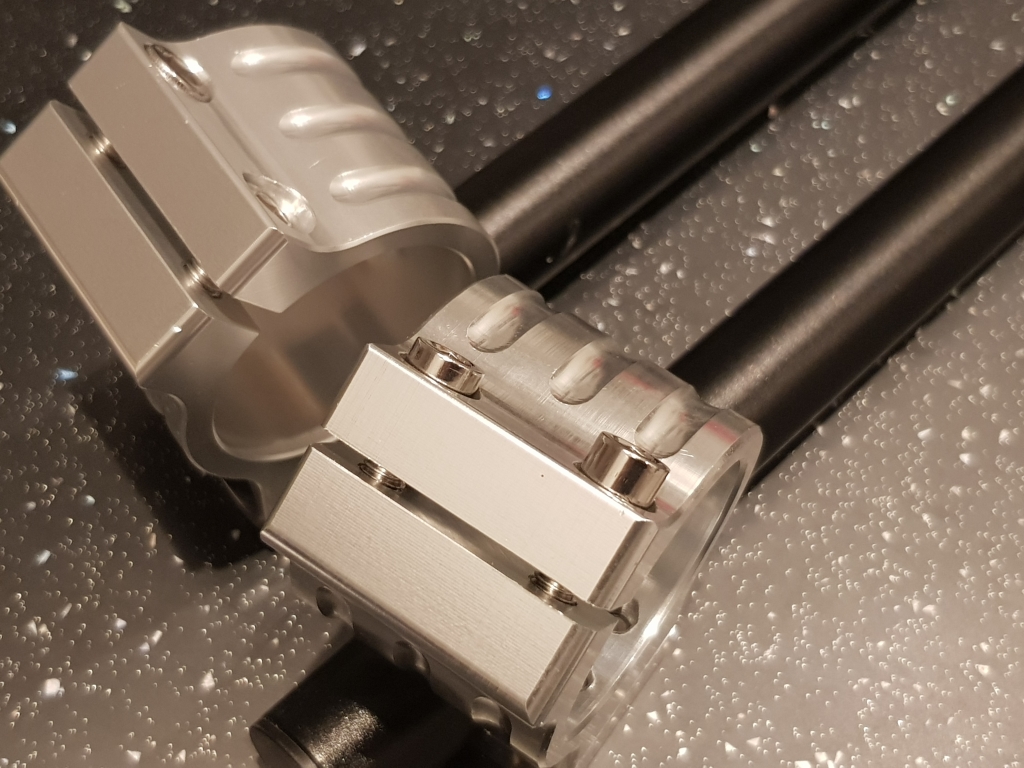
Need to see if I can get the front fairing frame and clock holder section asap. I lobbed the controls up onto the MTB bars just to keep them from flopping about. I now do not think these controls are original, so I MAY look to replace them if they do not fit well on the original style drop bars I have coming. Although now I know they are not original, it explains why I was scratching my head when trying to match up the correct colours to the loom connectors. So I will just use the loom diagram, and the existing connectors to match them up, so i can go back to standard if i do replace them.
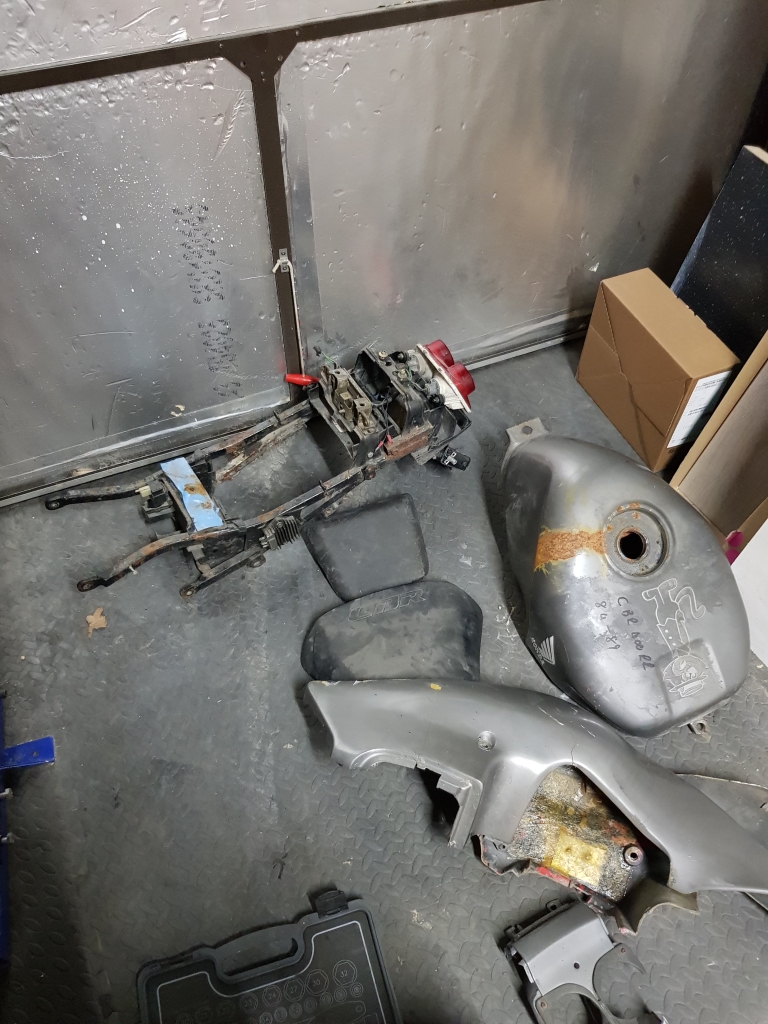
 
Last edited:
Transmission breaker
Don
OP
Joined
20 Oct 2002
Posts
16,814
Location
In a house
That sticker is for the cooling system, it says to replace coolant every 2 years and the rest is just warnings and advice like don't open the radiator cap when hot. Bit of a strange place to put such a sticker in my opinion.

Awesome, thanks :)

The exhaust was bothering me:

CBR400rr061.jpg


CBR400rr060.jpg


CBR400rr059.jpg


CBR400rr058.jpg


CBR400rr057.jpg


So, I decided to go at it with a wire brush, a drill wirebrush, then some rust neutraliser/remover stuff.

CBR400rr056.jpg


CBR400rr063jpg


CBR400rr055.jpg


Starting to look a little less horrible.

CBR400rr054.jpg


Plan is to VHT it, and cook it with the heat gun to seal it :)

Next I wire brushed the rear subframe, sanded it, and rust treated it.

Here it is hung up whilst being teated, after removing the worst of the corrosion with the brushes:

CBR400rr052.jpg
 
Transmission breaker
Don
OP
Joined
20 Oct 2002
Posts
16,814
Location
In a house
Yup, agreed, but I want to paint it now and get it done. The motor is a little way off running yet!

I will look at getting the wheels powdercoated, and maybe other parts later once I have had the bike up and running :)
 
Transmission breaker
Don
OP
Joined
20 Oct 2002
Posts
16,814
Location
In a house
Maybe I was a little premature with my motor not running comment...

The rear subframe was painted to an acceptable level, and you can see it drying here:
CBR400rr064.jpg


I got it back on the bike, as I wanted to start working out the loom routing I also whipped off the airbox, and filter so I could see a little better where the wires were going at the front...
CBR400rr065.jpg


Totally wrong routing in that pic, but you get the idea, it certainly looks a little more respectable that it was before! Bonus fact... It looks like the previous owner upgraded the rear shock to the NC30 Showa part. Might explain why I am struggling to work out where the remote gas part is supposed to live! I also noticed that the rear subframe had been modified at the back, so hopefully this will not affect factory fairing fitment!!

The previous owner of the loom (or the person who removed it) had done quite a bit of unwrapping:
CBR400rr066.jpg


This had to be corrected:
CBR400rr067.jpg


Looking a little neater. Amazing what a little electricians tape can do :D

Starting to work out the loom routing, and making sure almost everything is connected and sort of in the right place.

CBR400rr068.jpg


Now, a video... The first attempt at turning it over with the new loom, using the (very few) controls I have hooked up at this stage:
http://maltopia.co.uk/images/CBR400rr/CBR400rrVid01.mp4


All done for the night..
CBR400rr069.jpg
 
Last edited:
Transmission breaker
Don
OP
Joined
20 Oct 2002
Posts
16,814
Location
In a house
Little more time spent tonight, and really struggling with getting spark.
I can get 12v to the coils, but nothing to spark plugs.

I tried cleaning pickups, testing them for resistance, bypassing the fuel cutoff relay

This leaves me with three options - ECU, Pickups, or fuel cutoff relay (the live feed for the coils goes through this relay).

I will clean every connector before I purchase anything else at this stage, but got fed up this evening, so will come back another time refreshed. :D
 
Transmission breaker
Don
OP
Joined
20 Oct 2002
Posts
16,814
Location
In a house
Looking at the wiring diagram, the clutch switch is linked via a diode to the neutral switch, so it should not be needed when in neutral, which the bike is.
I dont think it will turn over if the neutral switch is not engaged?
I will have to try and see what it does when in gear!
 
Transmission breaker
Don
OP
Joined
20 Oct 2002
Posts
16,814
Location
In a house
Ok, in short...

I have spark.....

Do I dare try to start it with easy start at 1am with no exhaust? No chance. Wife would murder me..

In the end it was the flipping kill switch. It was testing ok, but was failing under any current. Not sure how that is even possible. Bypassed it, and now I have spark from both coils!

Took about 2 hours of fiddling and another person to bounce ideas off till we figured it out.
 
Transmission breaker
Don
OP
Joined
20 Oct 2002
Posts
16,814
Location
In a house
I persuaded the Mrs to hold my phone for me whilst I cranked it over this AM before I headed out for work. I offered up the manifold and half bolted it on, just to take the sting out of the noise :D
Did not have time to sort out the fuel supply, so I was using easy start to get an idea if it might actually start at all.


Quite happy with that, and the fuel pump is priming, and doing it's stuff as it should (at least it seems like it) Need to clean it out, and run some fuel through it. Then rig up a small fuel tank to let me see if I can actually run it. Debating doing a quick oil change before I do much else with starting it. The stuff in there looks clean, but who knows how old it is. The oil filter itself is pretty mashed up, so will likely just replace that in case its got any bits in it.
 
Last edited:
Transmission breaker
Don
OP
Joined
20 Oct 2002
Posts
16,814
Location
In a house
I got it to start!! Albeit briefly!

I figured the carbs may have been gunked up and a bit gooey, so I took off the fuel pump, and used a large syringe to push fuel into the carbs, managed to run the bike for about 10 seconds like this, and it seems to run fine, and even idled for a bit. Just a bit loud with the manifold only half offered up, and held in lightly on 1 and 4.

So, now i think I need to start looking at the rest of the wiring brakes and general cleaning/tarting up/maintenance.

Also, after the kill switch nonsense, I have ordered a set of new controls, and will add them to the new bars that arrived yesterday along with an original fuse box.

New bars:
CBR400rr071.jpg


They look pretty nice! Just got to remove the top yoke of the forks to get them on. Might have to hand the front of the bike from the rafters to do so!!

Close up
CBR400rr070.jpg


Fuse box:
CBR400rr073.jpg


Checked all the connectors, seems to be working fine :)
CBR400rr072.jpg


Fuse box is in, and all the other bits on the loom are starting to come to life.

I will try and get a short video of it running asap.
 
Transmission breaker
Don
OP
Joined
20 Oct 2002
Posts
16,814
Location
In a house
I think they should be fairly similar to standard :) Its a CBR, so will be a sporty riding position, they are now fitted :)

My new controls arrived (minus the pull/push throttle):
CBR400rr081.jpg


Here they are fitted:

CBR400rr080.jpg


CBR400rr079.jpg


Pulled all the connectors out, of the plugs, and worked out what was what using a multi-meter, and made new connectors to connect to the main loom:

CBR400rr076.jpg


Took a bit of figuring it out, but got them all sorted, and everything (other than the horn randomly) is working correctly :)
So I now have a fully working loom/indicators/lights/dials/switches.

Next I needed to do some work on the inside of the fuel tank. I looked into a load of possible treatments, but in the end I decided to buy some powder for making citric acid, so I can make up my own for future use. Much cheaper, and should mean I can make up many batches if needed.

Here was the tank with the first 100g of citric acid:
CBR400rr083.jpg


Water in:
CBR400rr082.jpg


You can see the line where it was cleaning up to:

CBR400rr078.jpg


Yup, its deffo getting better faster with the 300g concentration, I could even see it bubbling away gently and the water was getting filthy:

CBR400rr077.jpg


That was after a few hours, then with the next batch of 300grams and left overnight again:

CBR400rr075.jpg


Looking a bit better, just to dry it next:

CBR400rr074.jpg


Tank is now dry! The internal filter on the tap was knackered, so ordered a new one to replace asap.

As of now, we have a fully working loom, most of the controls, and other bits fitted. I even pumped up the tyres, and they hold air. As for the forks. I have a new lock set on order to replace the ignition/fuel tank lock and rear hatch lock.

Current to do list:

Clean, refit, and bleed the front and rear brakes
Purchase clock/fairing and light front frame
Purchase lights units, fit them!
Buy fairings
I may also need to replace the rear subframe.. its been altered quite a bit, and may not fit the original fairing mounts.
Fit throttle
Fit new lock set
Strip, prep and paint the tank
Fit new fuel tap/internal filter
Fit new in line fuel filter
Drill out 2 broken exhaust studs, and replace/re-tap if needed
Paint exhaust and refit
Check it all starts again
Fit new stator housing gasket (broke the old one when I cleaned the contacts for the ignition timing)
Oil and general service

Test ride it :D
 
Back
Top Bottom