Wow awsome build log cant wait for more updates.
Keep up the good work.
Cheers, On there way
")
Great build so far but I strongly disagree that the Sunbeam PSU mod kit is a waste of money. I've sleeved tons with it and it's been flawless. Doesn't anyone know how to use it without snapping it?
Thankyou
")
and well, i just found pins more effective, just wasn't worth the 16 euro i paid, but i must say the 4 pin fan remover is effective
Dude...I am impressed by your skills...this is an amazing project and as someone pointed out it could well be the next MDPC
I wish
and cheers mate greatly appreciated
Another mini update, today has been a busy day but not much to show for it
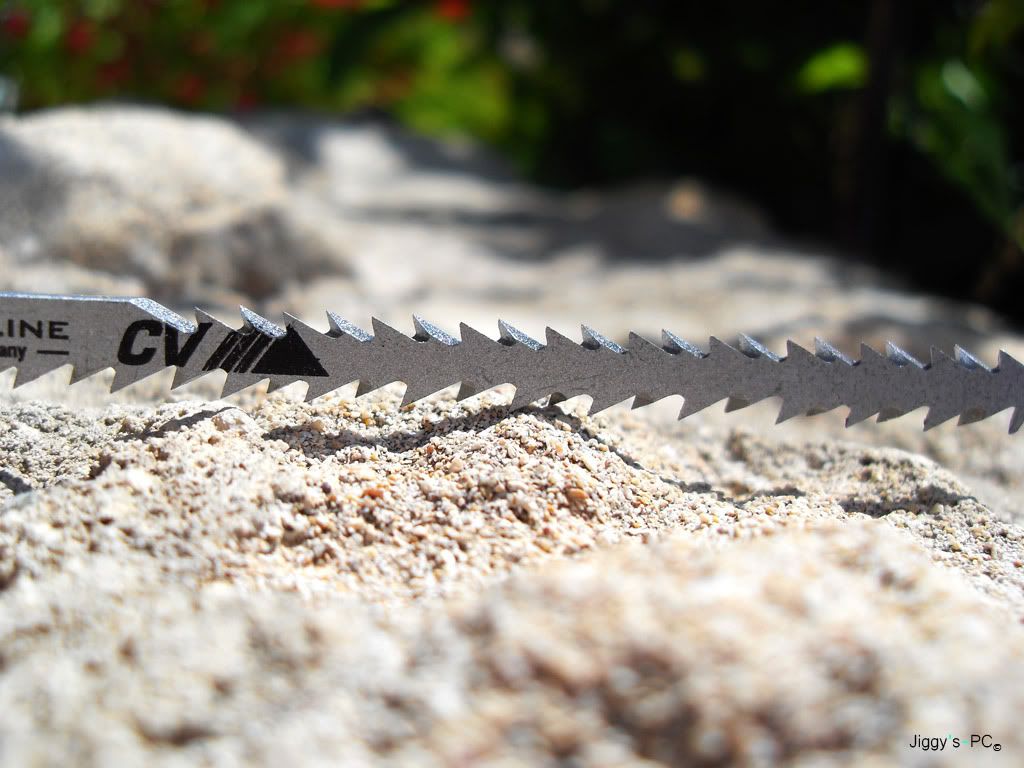
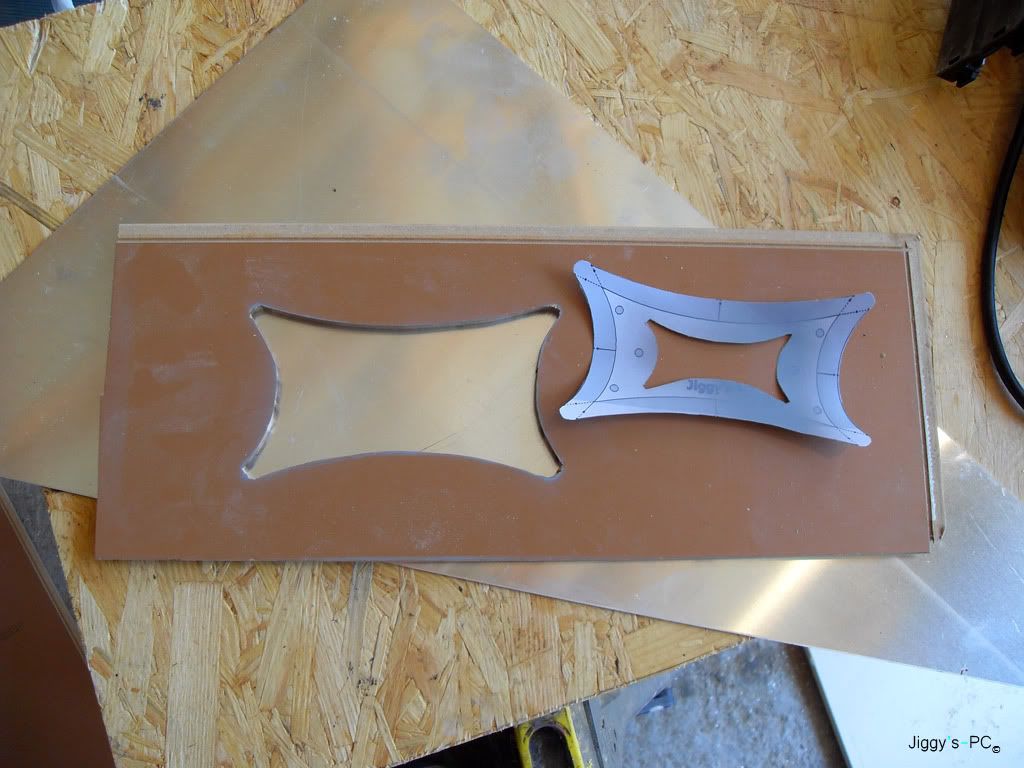
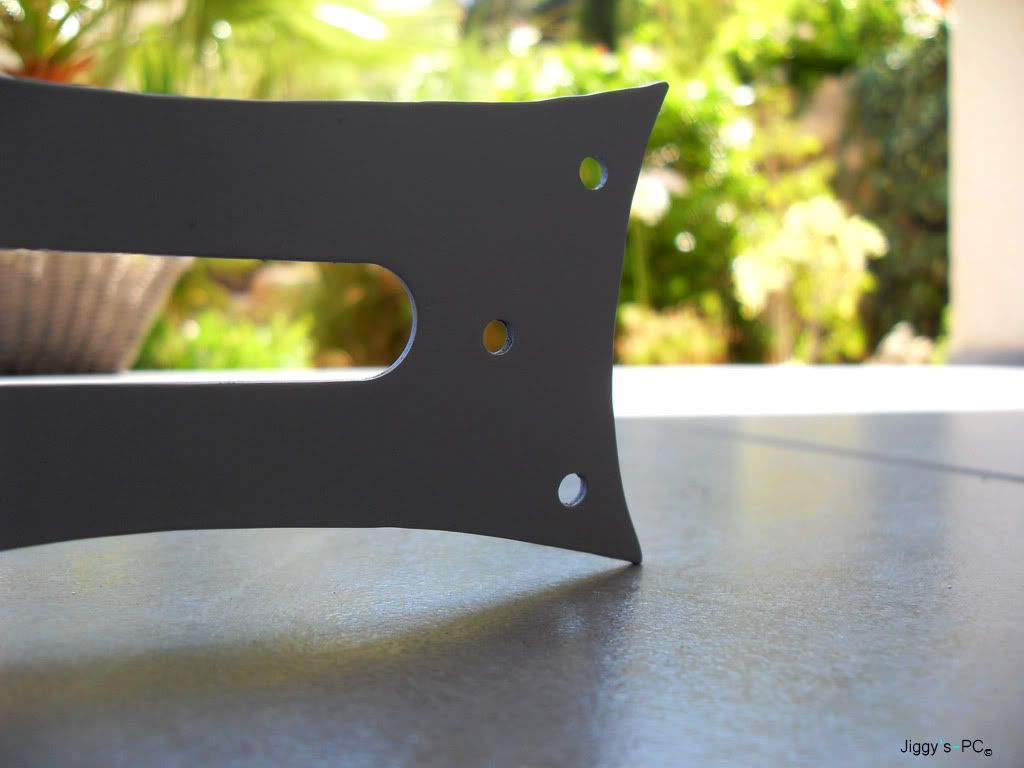
Started off by cutting a jig out of MDF for the router to run round, i got bored waiting for paint to dry so took a picture of the blade
once cut they needed sanding
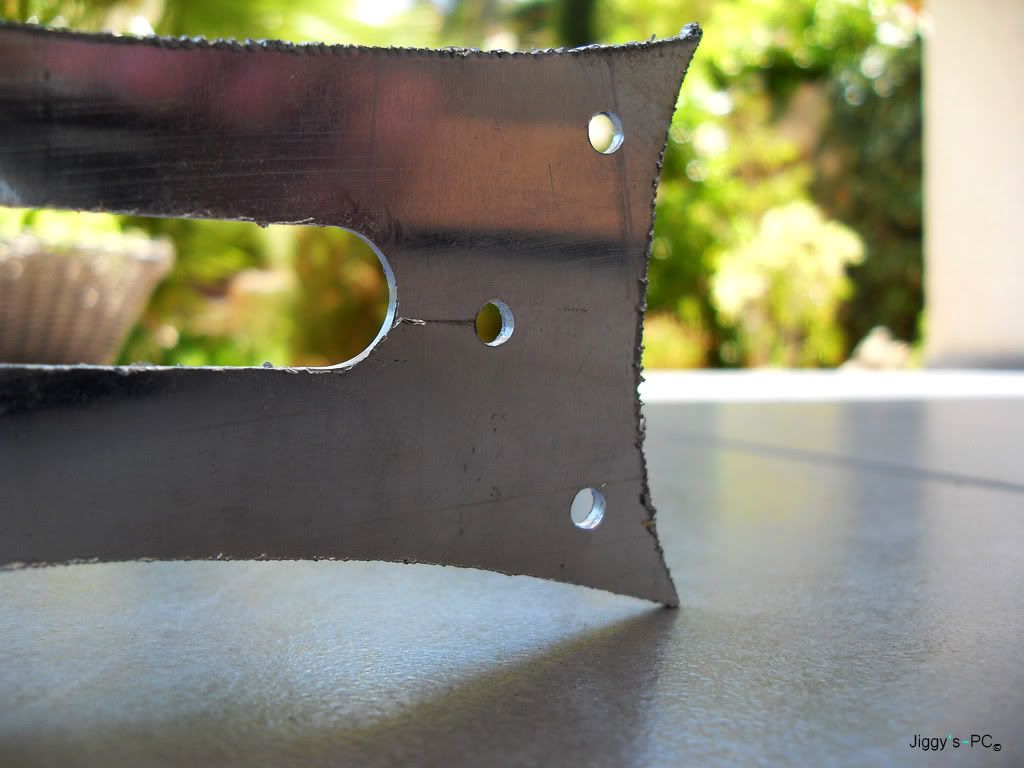
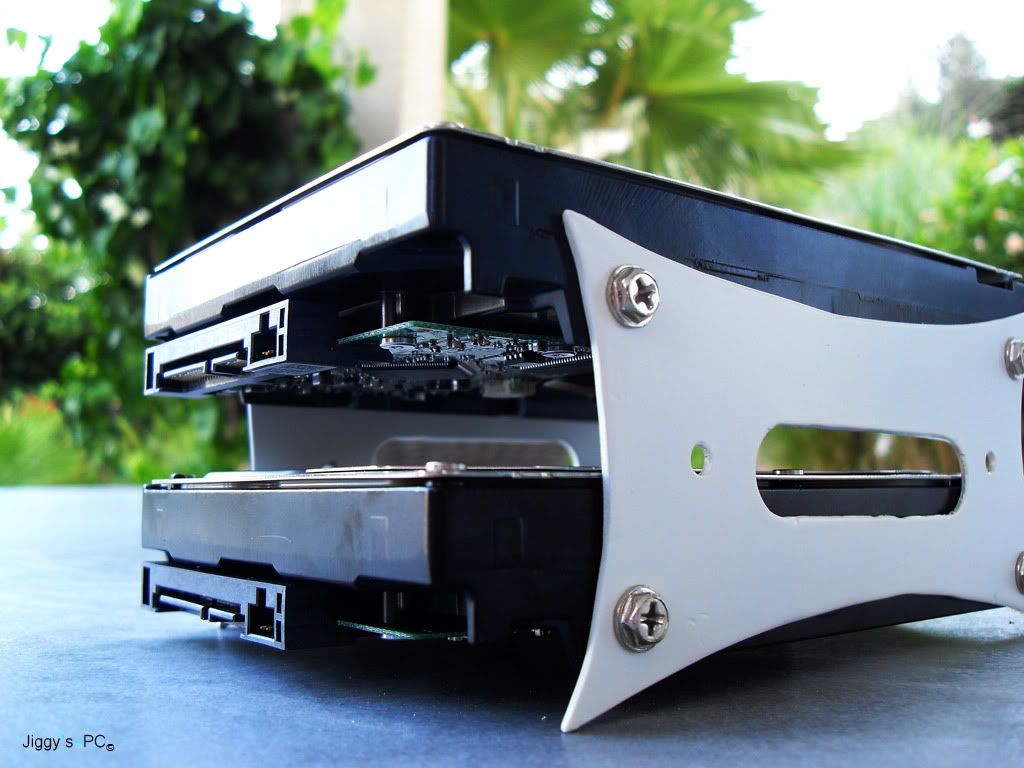
smooth HDD holder
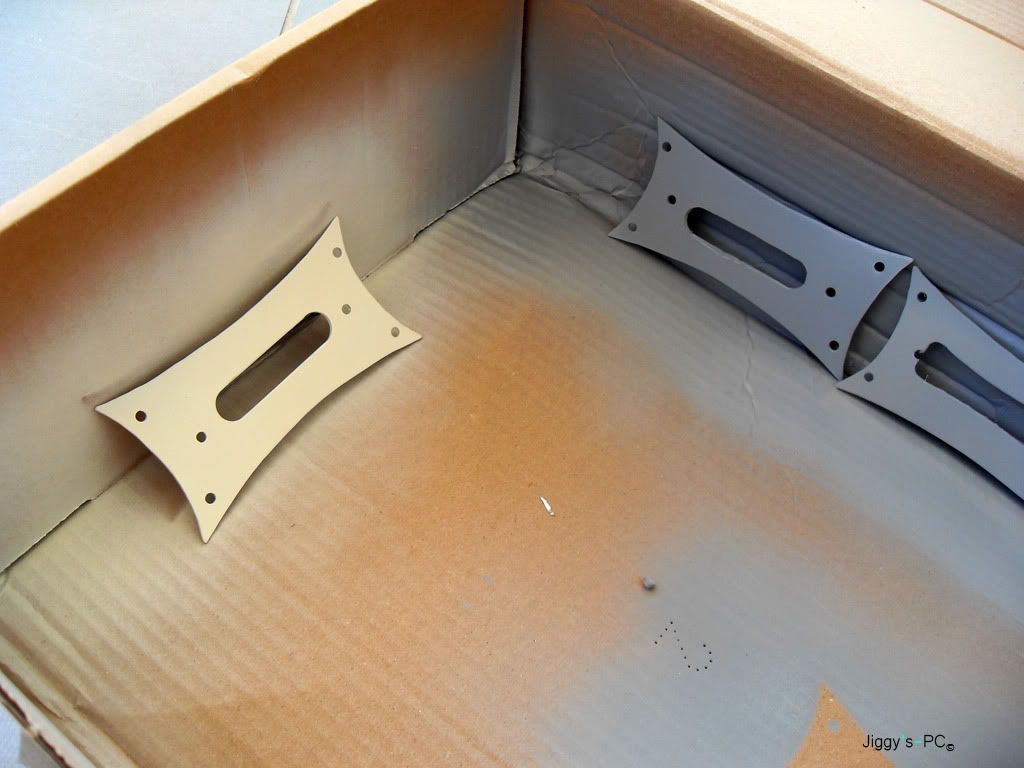
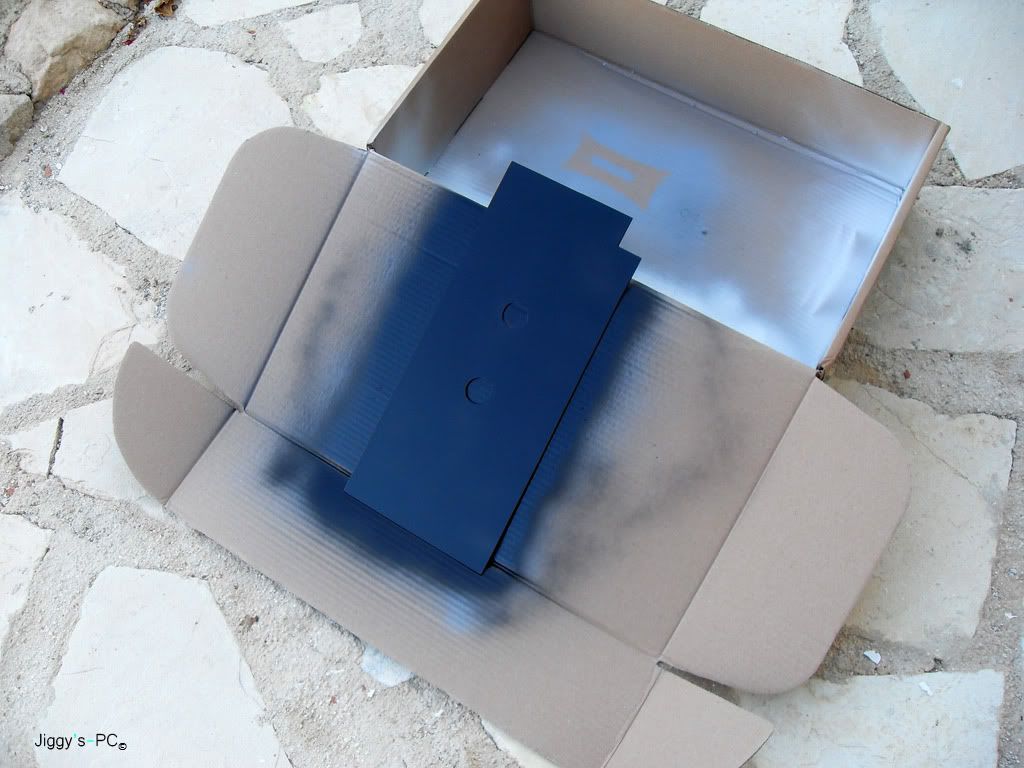
Painting
Primed HDD holder
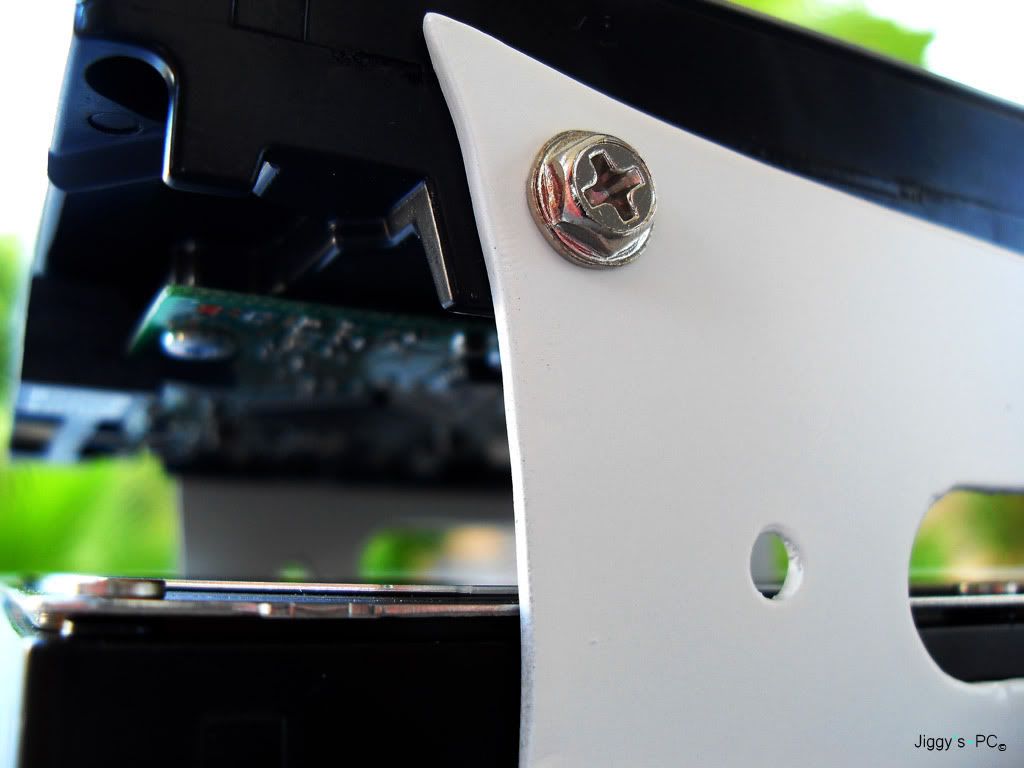
And here are the pics of it completed, not to bad i don't think, they are not going to be seen, but was fun making them

The compulsory close up
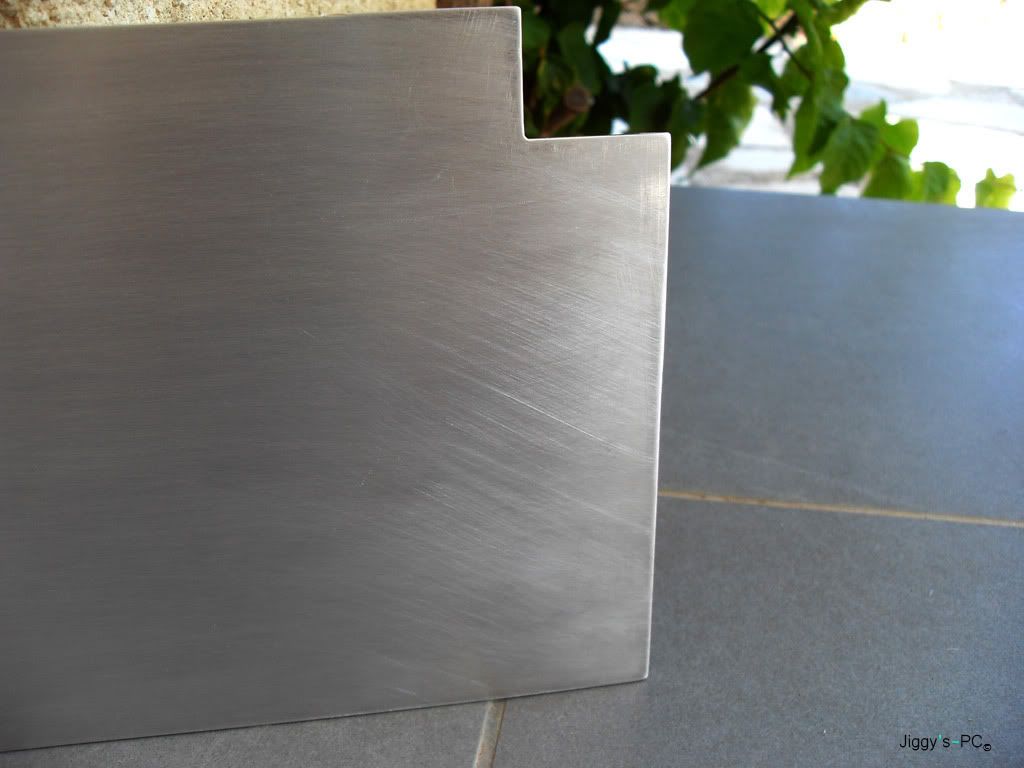
I re-made the mid plate and painted it black
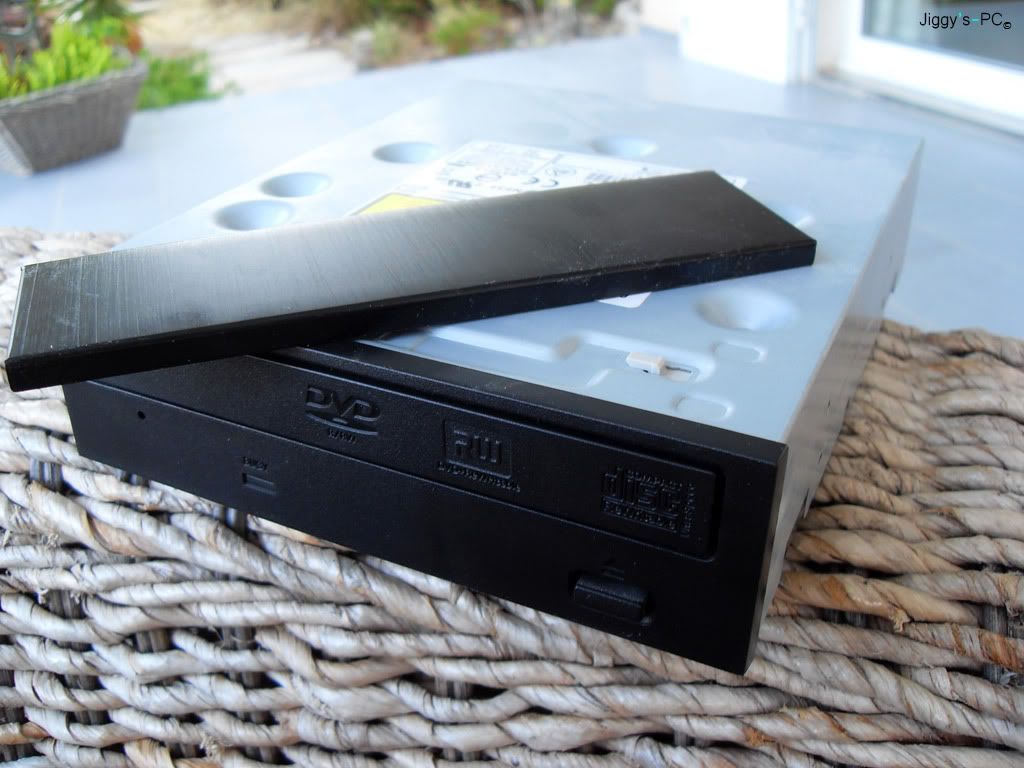
Then i went on to replace the front of my DVD drive, after 20 mins of trying to think of ways i can get it to eject with having a full cover on (was thinking of rewiring to switch and putting it on the top

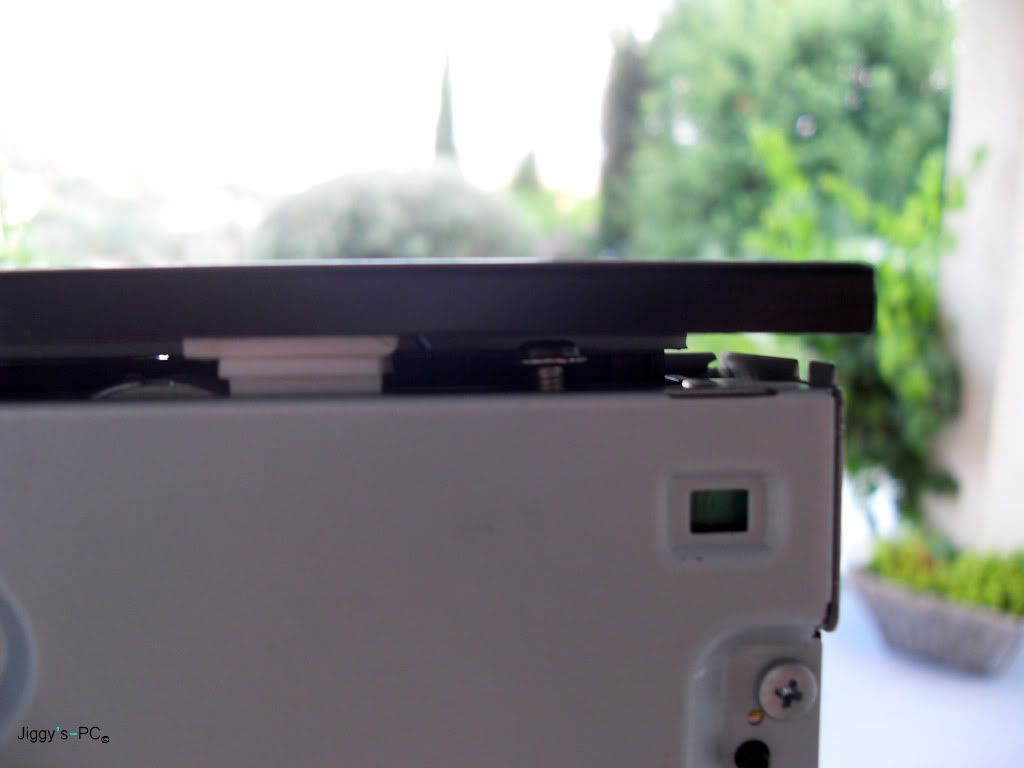
) my dad walked past and in 30 seconds said i should extend the little switch and because i will be using spongy double sided sticky tape, make it in to a simple push switch. And voila it worked, very happy with it, cant wait to see it installed.
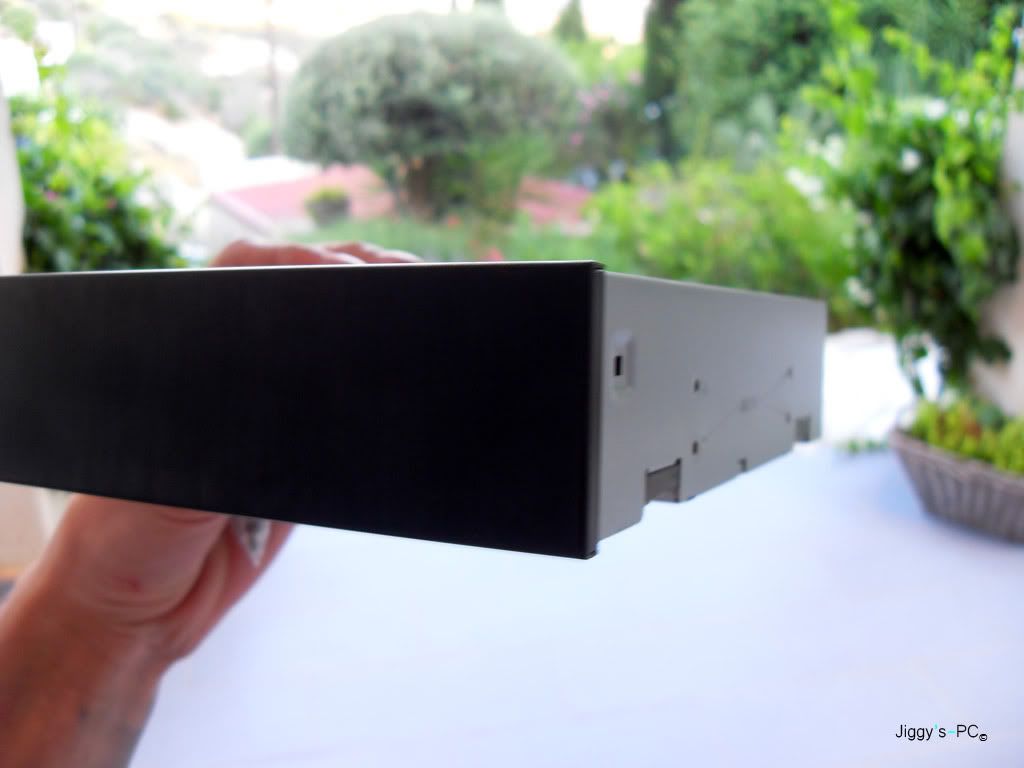
Drive + faceplate
Drive with faceplate on (bad pic)
The extra-super-complex push mechanism
Ok so everything is prepared, tomorrow is the big day, taking my old PC apart, cleaning everything, and putting it in the new case, should be done within two days as i still need to do sleeving tubing and other bits. So ye, lots of pics tomorrow and the house house will probably look like a bomb has hit as PC parts will be everywhere