Thought I'd make a thread on my current stair light project, it's my first time messing about with an arduino and coding for it. Not sure if this is the right part of the forum? It seemed most suitable!
My aim is to make digital LED Stair lights which are controlled from 2 PIR sensors and a lux meter. The led lights are a digital 5m strip which are individually addressable (you can turn each one on and change its colour separate from the rest) PIR Sensor at the bottom of the stairs and one at the top, depending on where you are and which sensor is triggered it lights up one by one in the way in which you are walking.
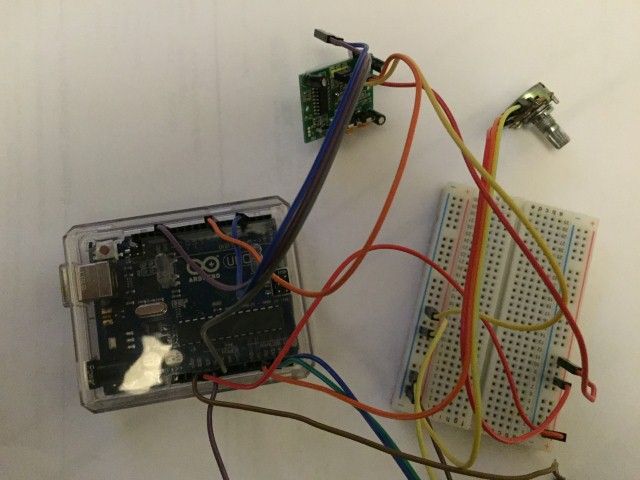
I started really simple and have kept adding more and more things, now it's going to have a potentiometer which can change the colour of the leds.
I've got all the bits together and been playing around with some code (pulling my hair out, re reading it multiple times) so I'll soon be building it up and trying it out properly.
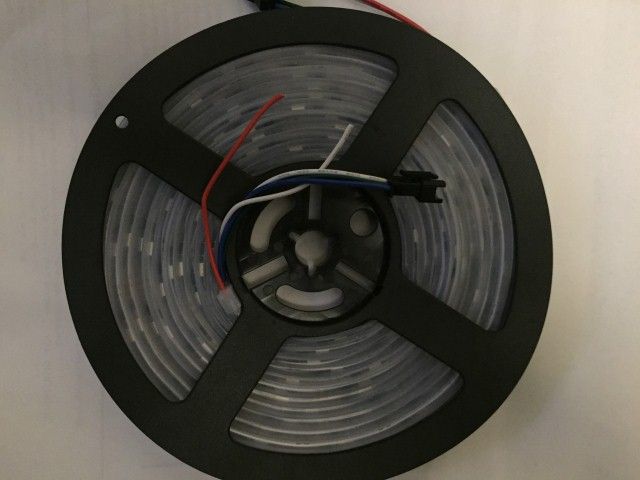
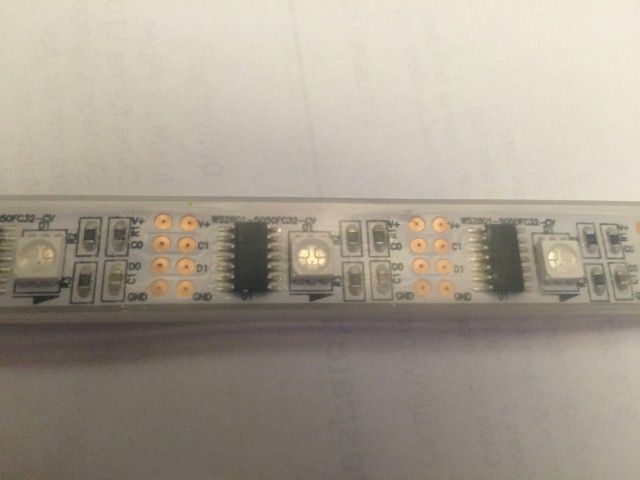
WS2801 5m Led Lights
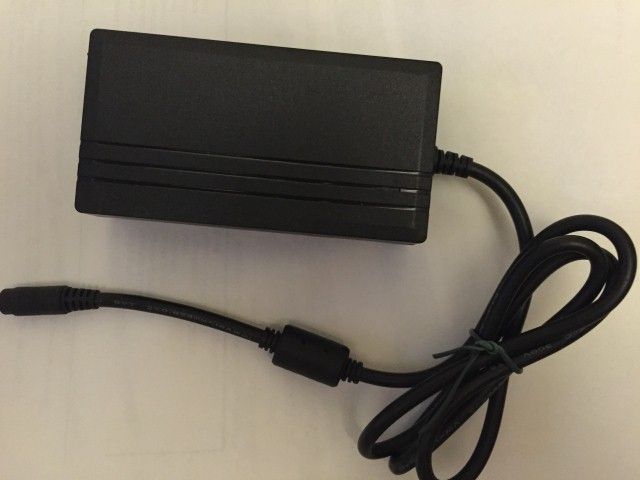
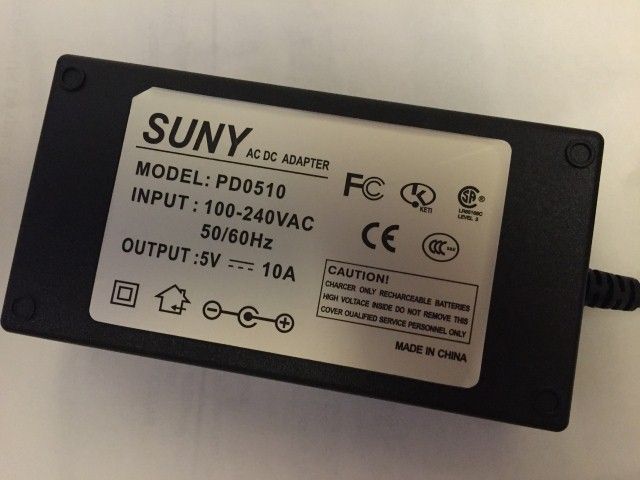
5v 10amp Power Supply
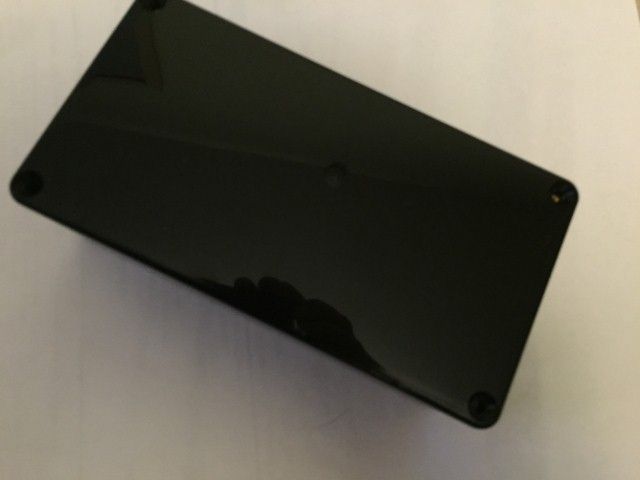
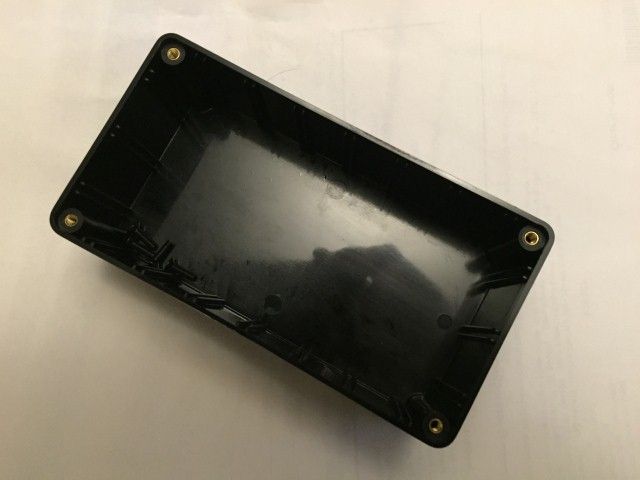
150mm x 76mm project box
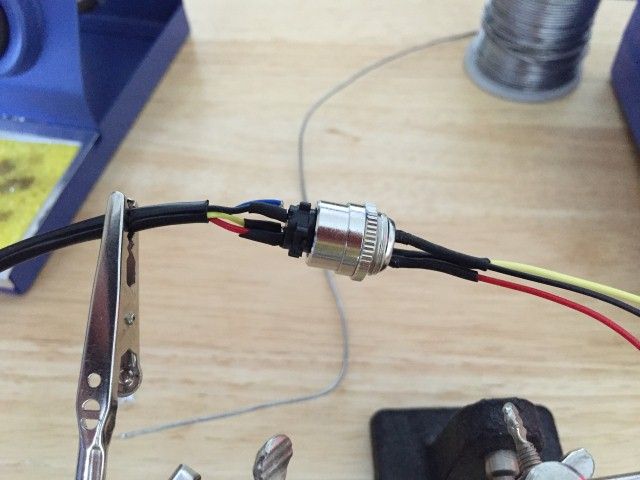
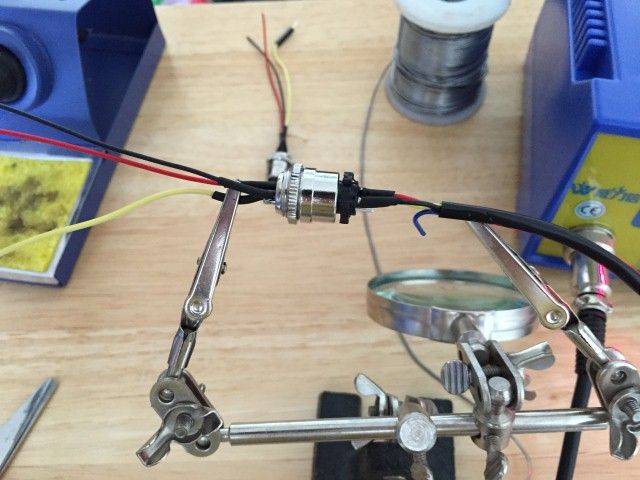
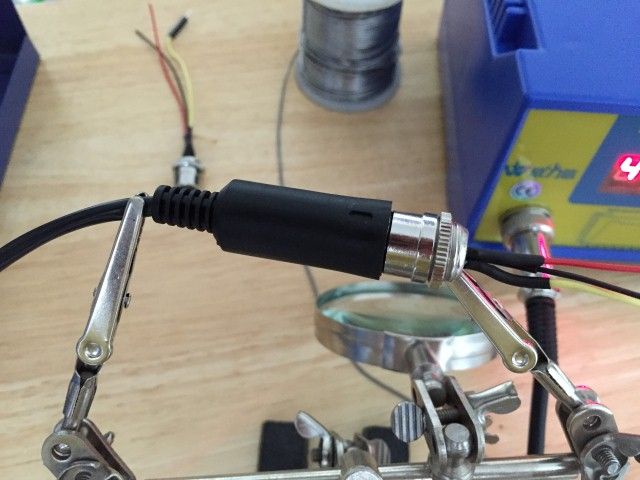
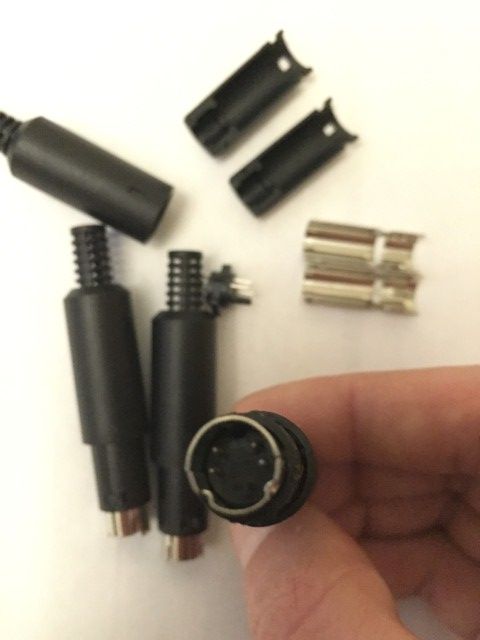
Female Mini DIN Connectors
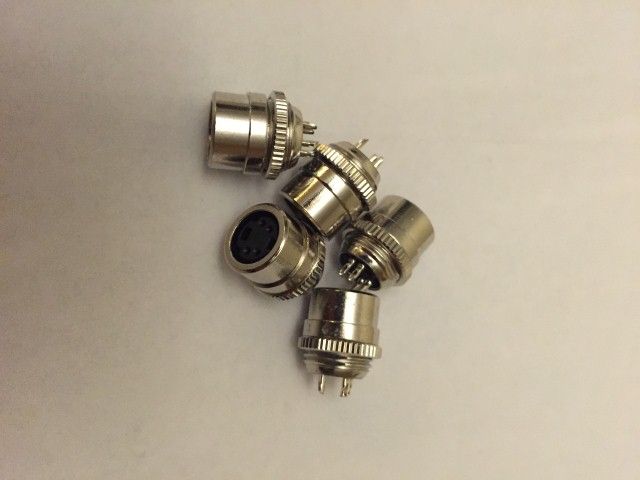
Male Mini DIN Connectors
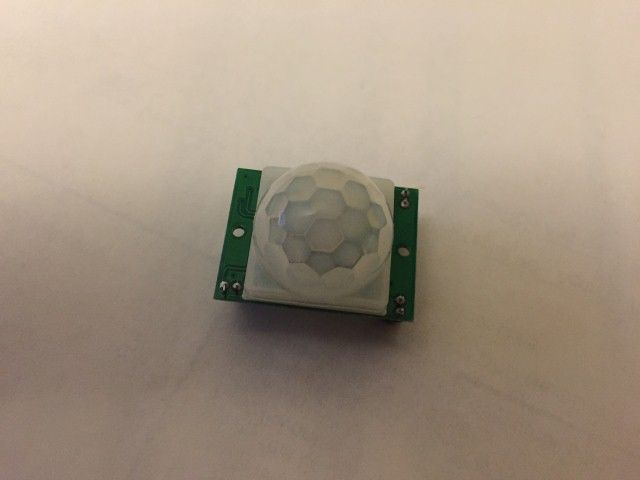
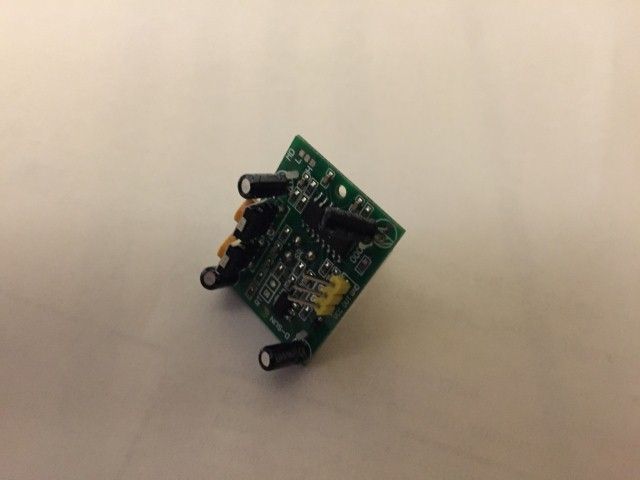
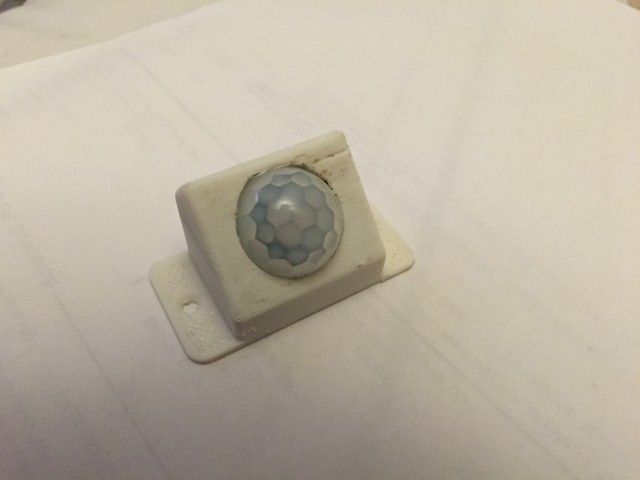
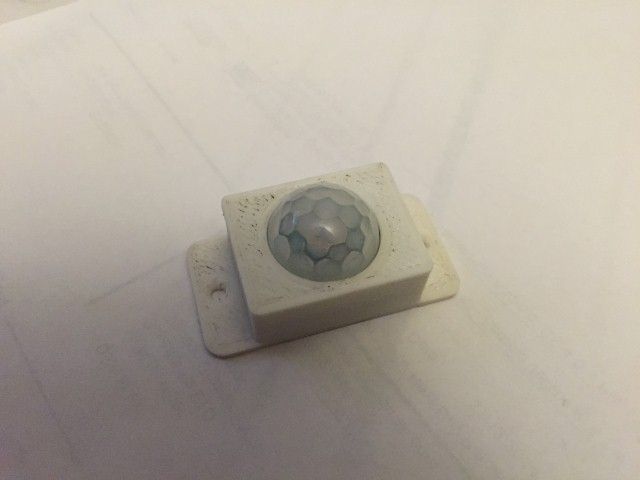
PIR Sensors
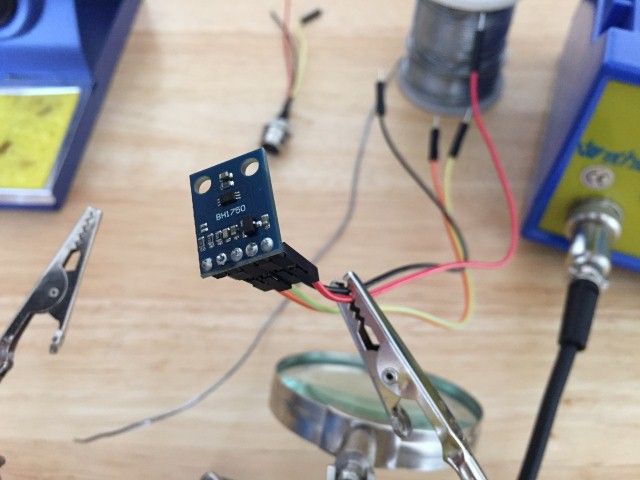
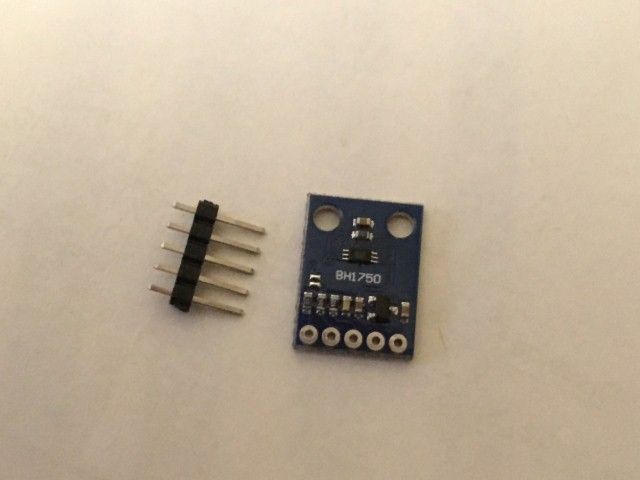
BH1750 Light Sensor
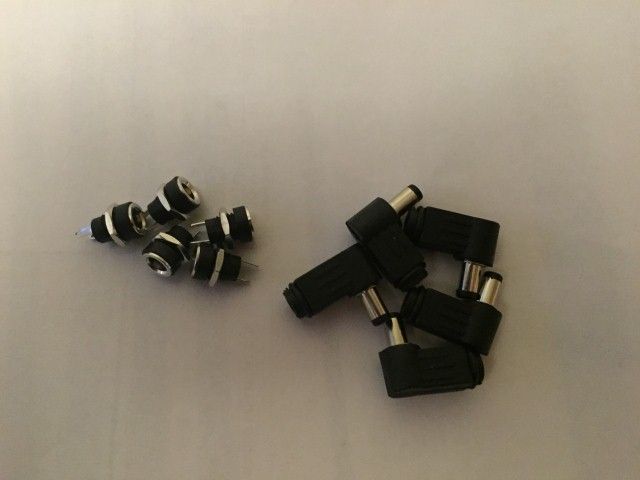
Male and Female DC Connectors
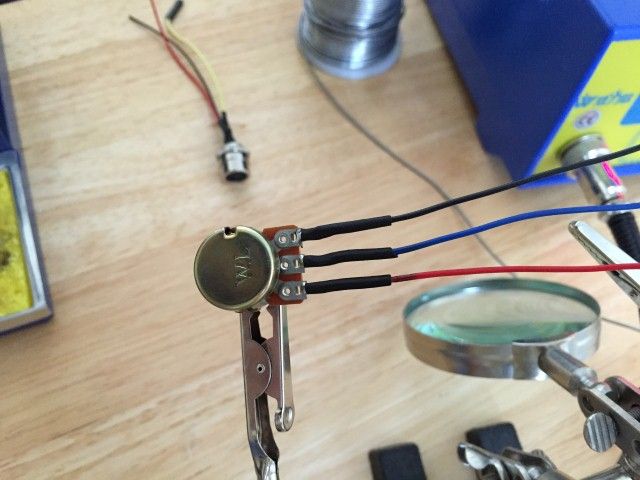
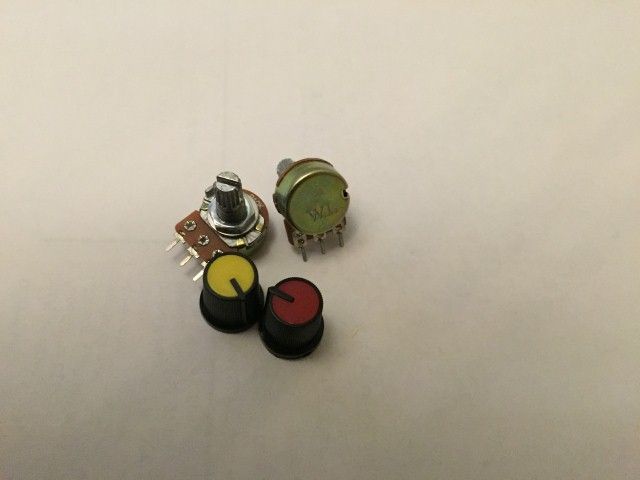
10K Potentiometers
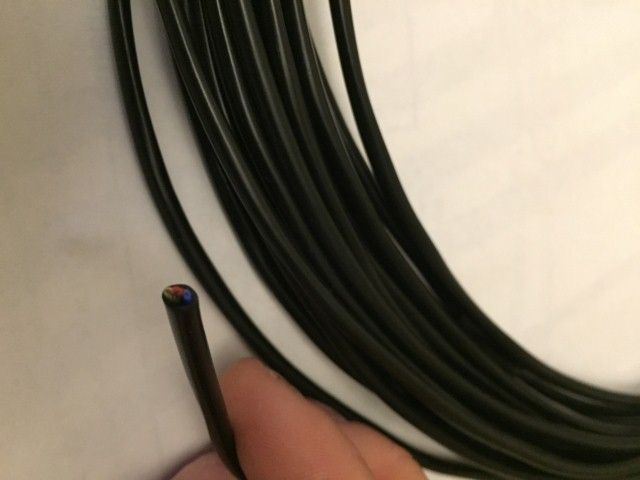
10m 4-Core Small Cable for the PIR Sensors
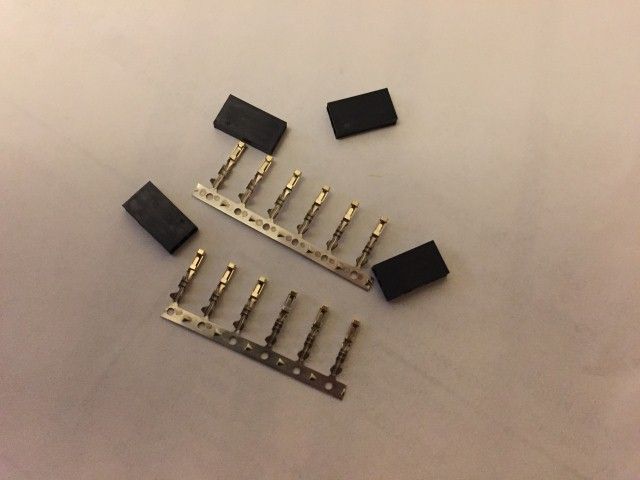
3 Pin Header Connectors
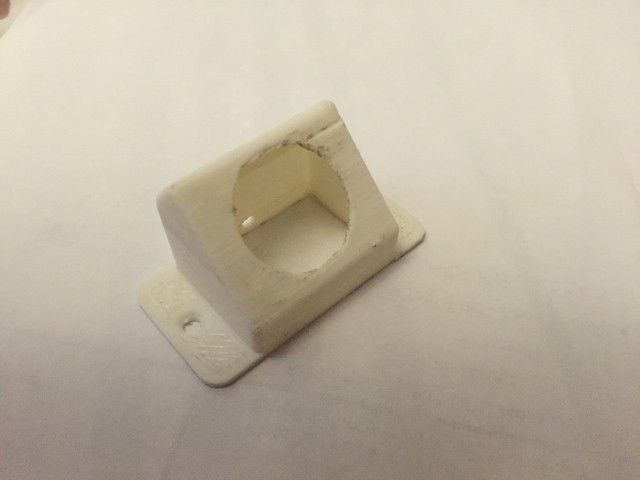
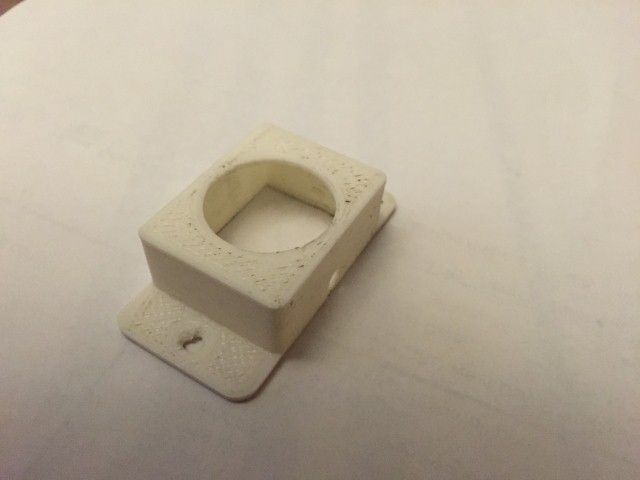
Prototype housings for the PIR Sensors, need to check and see which one suits better before re-printing them and acetone smoothing.
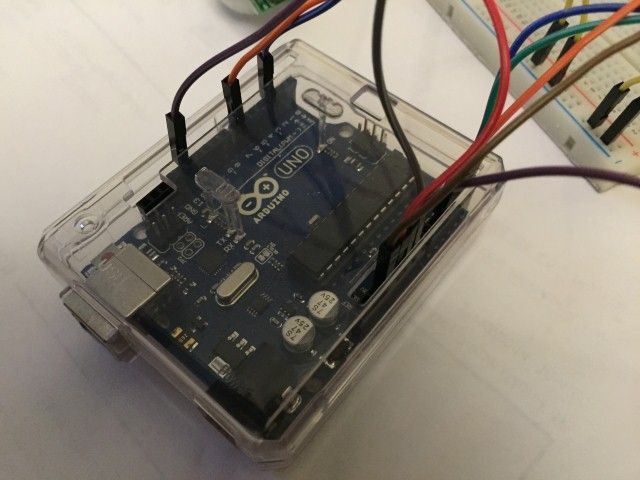
And finally the Arduino UNO
My aim is to make digital LED Stair lights which are controlled from 2 PIR sensors and a lux meter. The led lights are a digital 5m strip which are individually addressable (you can turn each one on and change its colour separate from the rest) PIR Sensor at the bottom of the stairs and one at the top, depending on where you are and which sensor is triggered it lights up one by one in the way in which you are walking.
I started really simple and have kept adding more and more things, now it's going to have a potentiometer which can change the colour of the leds.
I've got all the bits together and been playing around with some code (pulling my hair out, re reading it multiple times) so I'll soon be building it up and trying it out properly.
WS2801 5m Led Lights
5v 10amp Power Supply
150mm x 76mm project box
Female Mini DIN Connectors
Male Mini DIN Connectors
PIR Sensors
BH1750 Light Sensor
Male and Female DC Connectors
10K Potentiometers
10m 4-Core Small Cable for the PIR Sensors
3 Pin Header Connectors
Prototype housings for the PIR Sensors, need to check and see which one suits better before re-printing them and acetone smoothing.
And finally the Arduino UNO
")