Soldato
- Joined
- 13 Mar 2006
- Posts
- 6,712
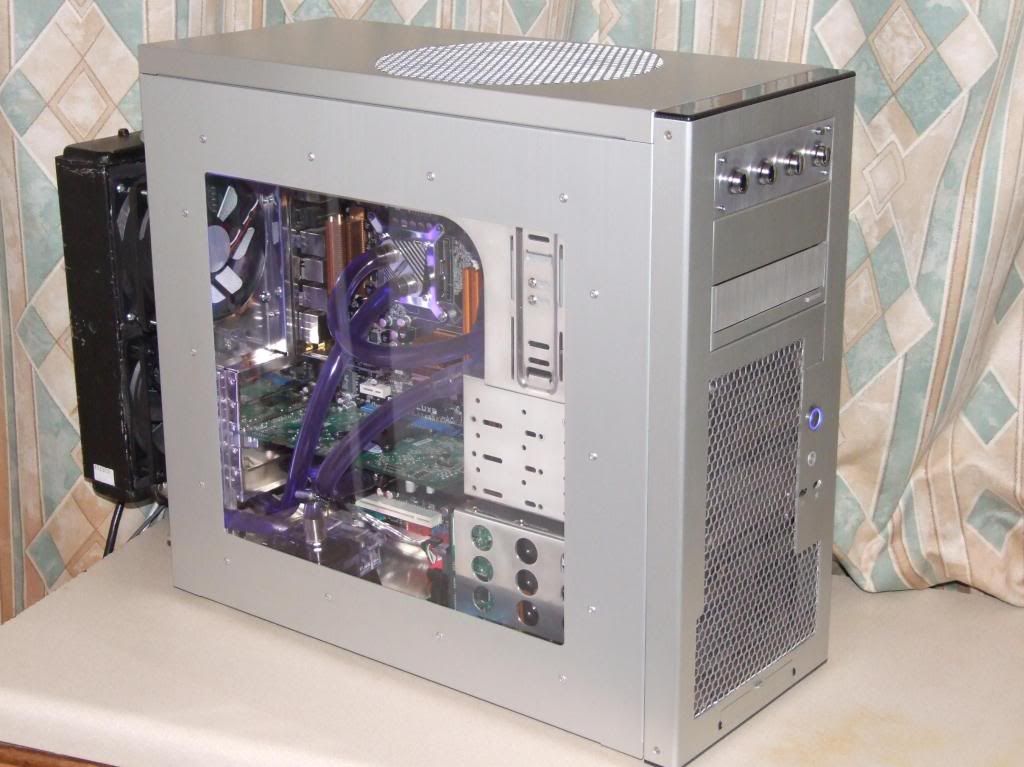
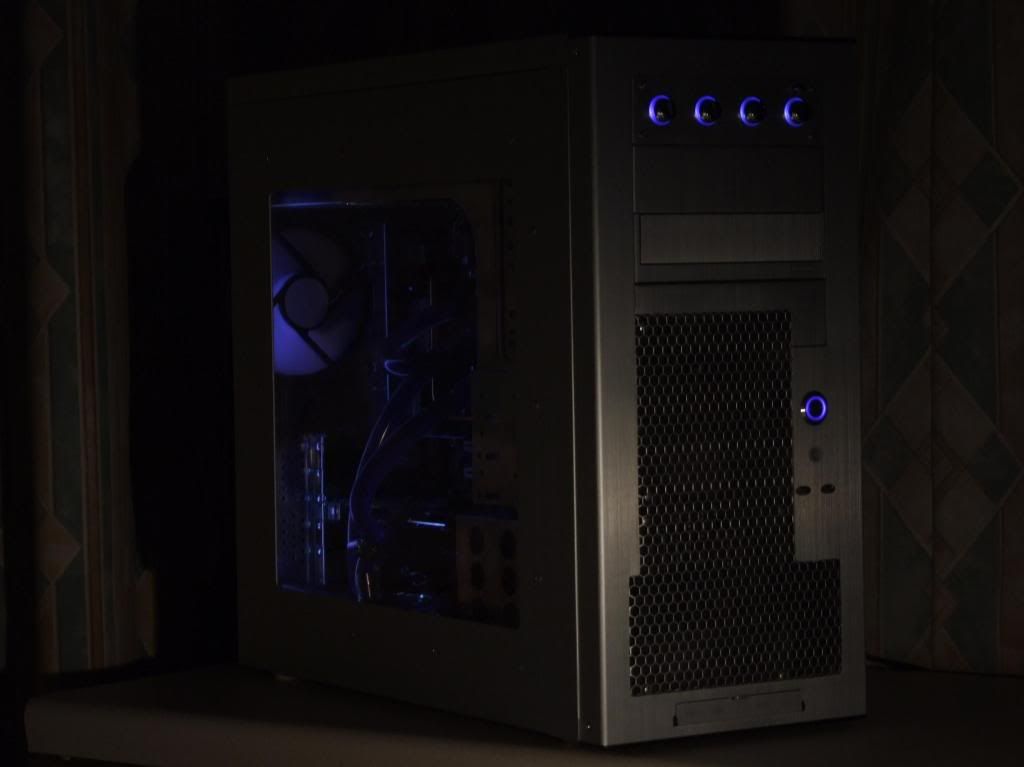
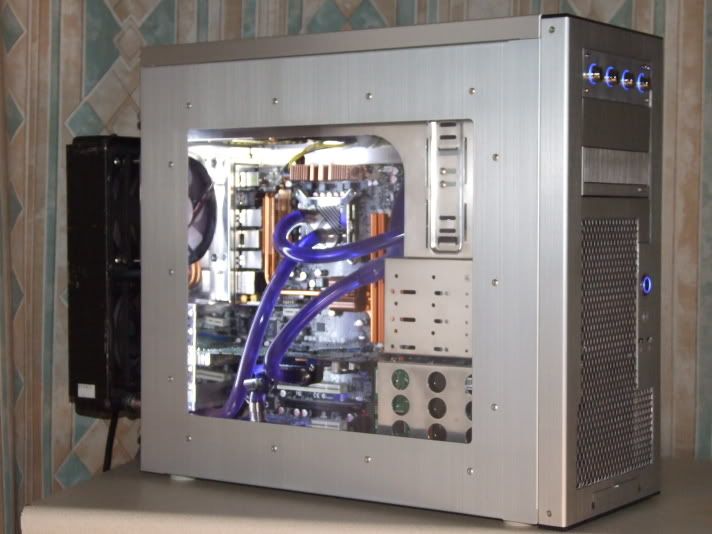
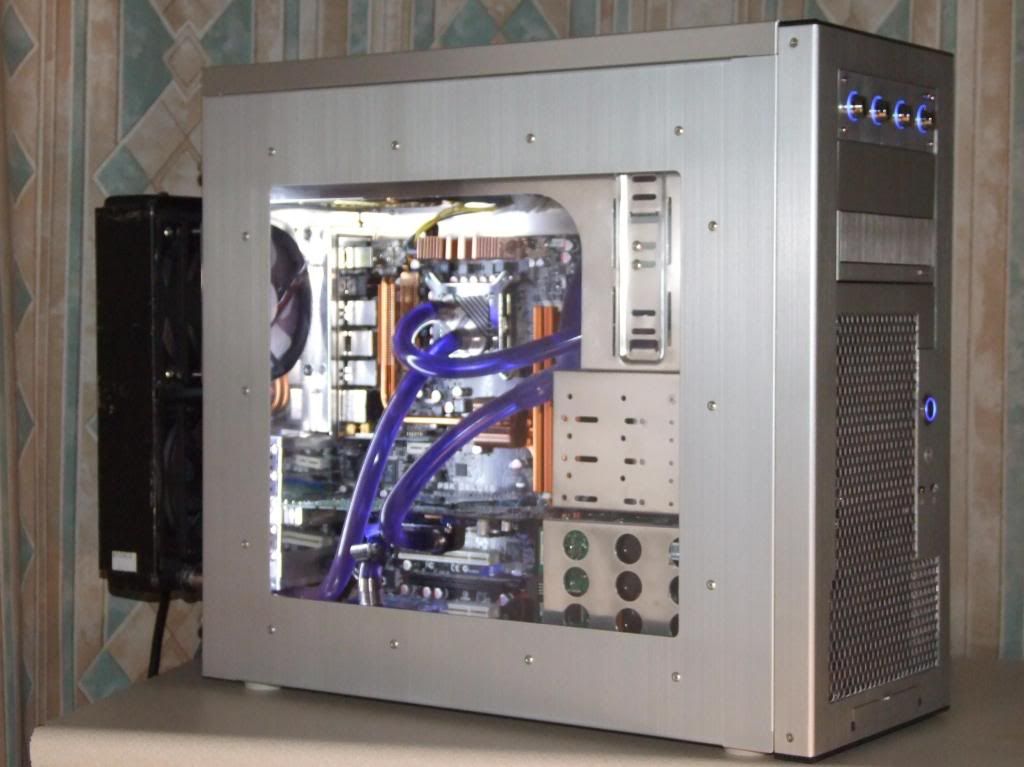
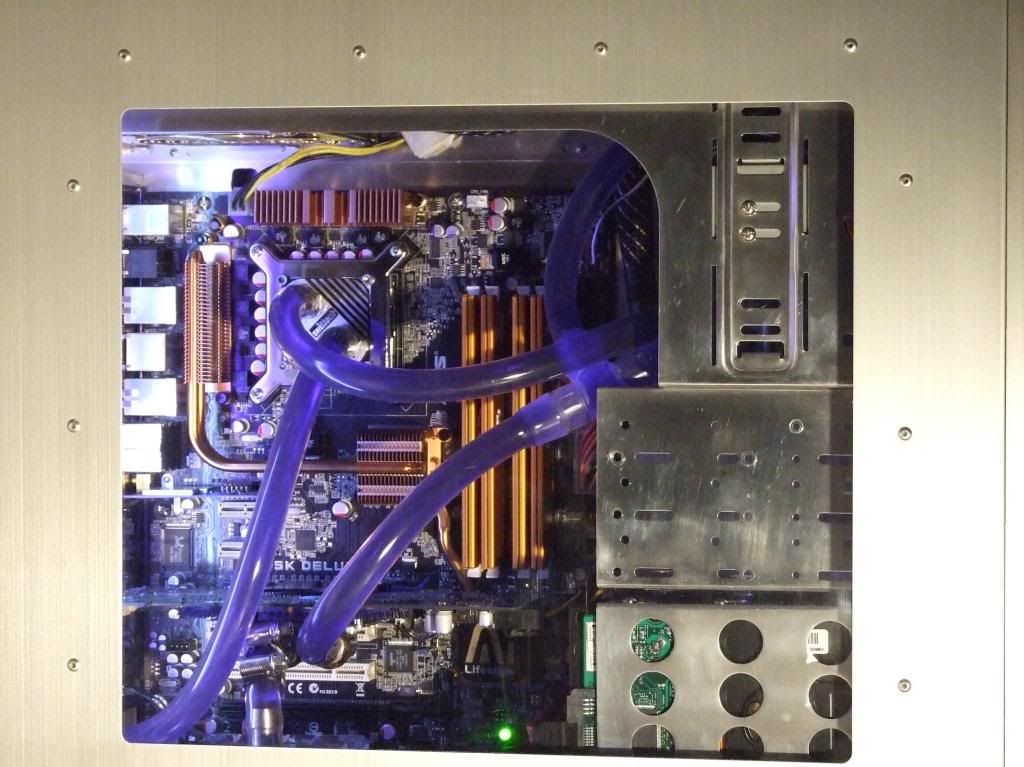
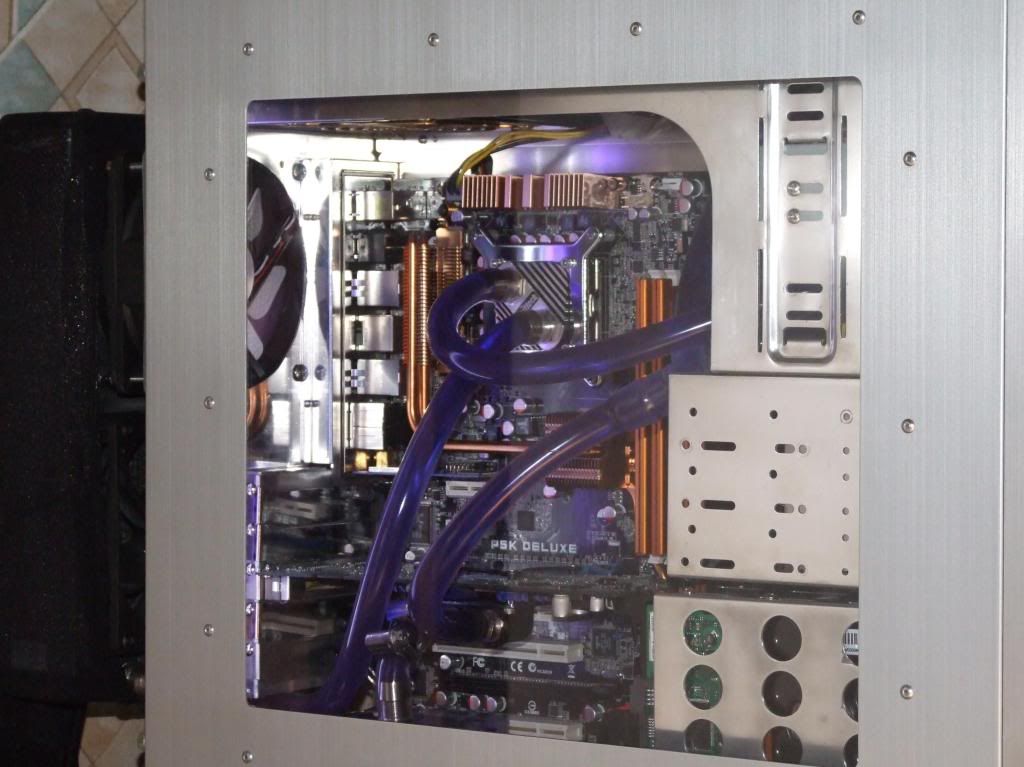
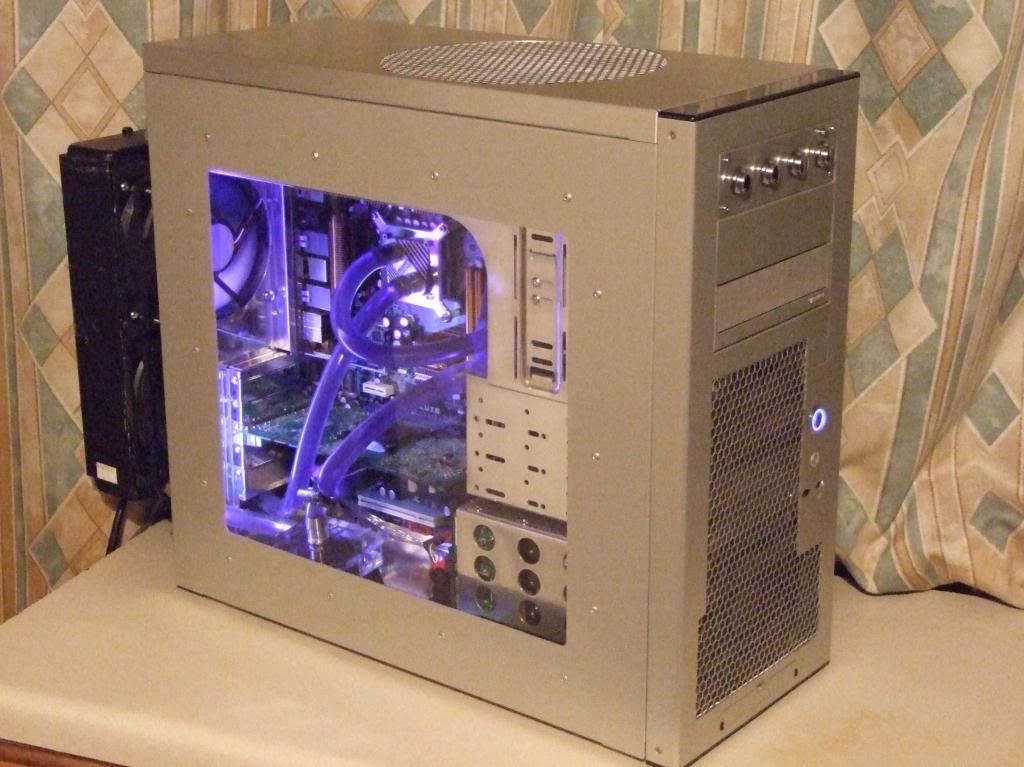
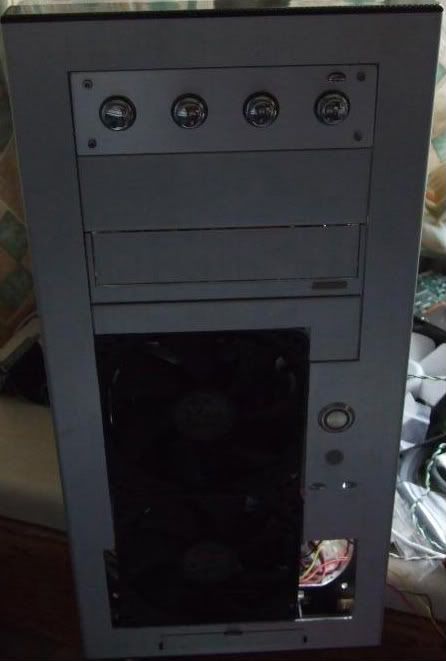
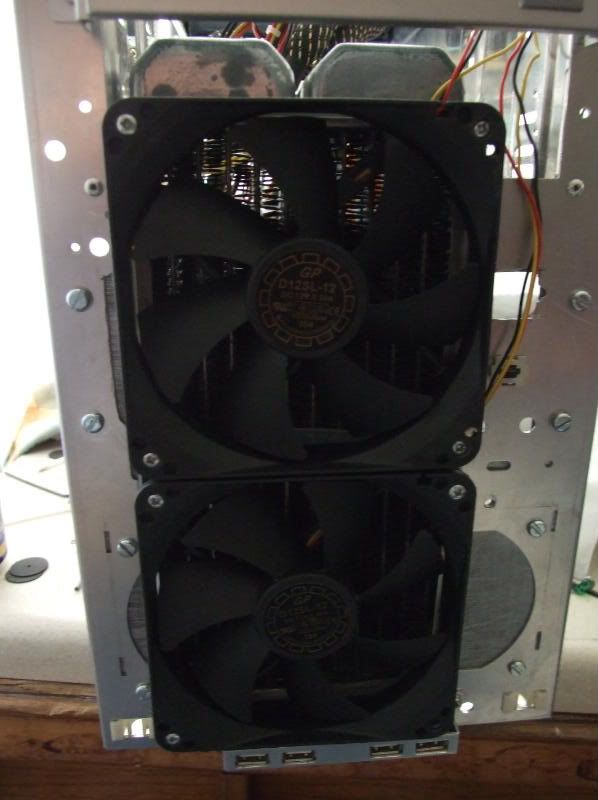
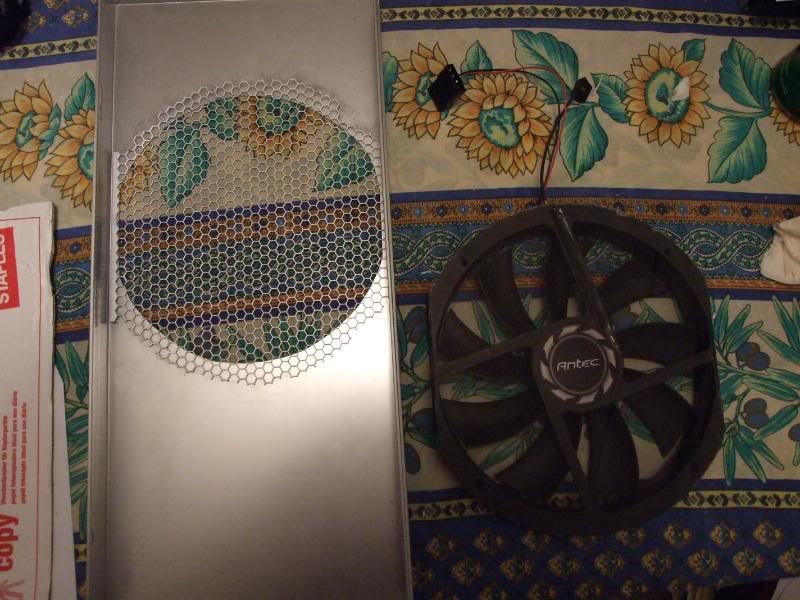
Right, well following on from the original modding on my PC-7 (http://forums.overclockers.co.uk/showthread.php?t=17781835) I switched to water cooling... I had already enlarged the exhaust 80mm fan to 120mm and put an antec bigboy 200mm fan in the roof, so I decided to put a pa120.2 off the back separated by a plastic shroud and 120mm x 38mm deep Panaflo medium fan held by bolts and the thermochill screws, and with a few holes cut for 7/16" tubing.
I'd been selling a load of water-cooling bits on the members' market I'd accumulated in job lots in the past, but quite a few bits weren't really getting any interest, so I figured I may as well put the 120.2 BIX2 radiator I had lying about to use and add it to the loop...
In my previous air-cooled mod I had toyed with the idea of cutting a full hole for a 120mm fan in the front, but decided to keep the ability to replace the 3 3.5" bays just in case. But seeing as I don't use them there doesn't seem to be a pressing need to keep them. Keeping the 3.5" bays for hard drives would be nice though.
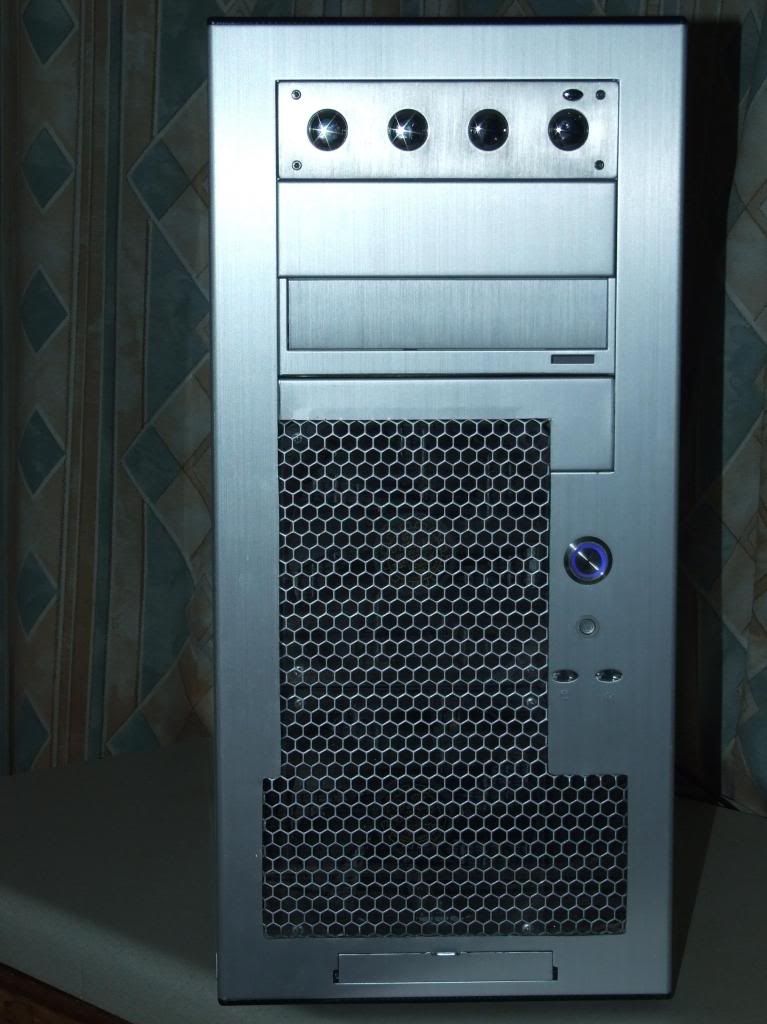
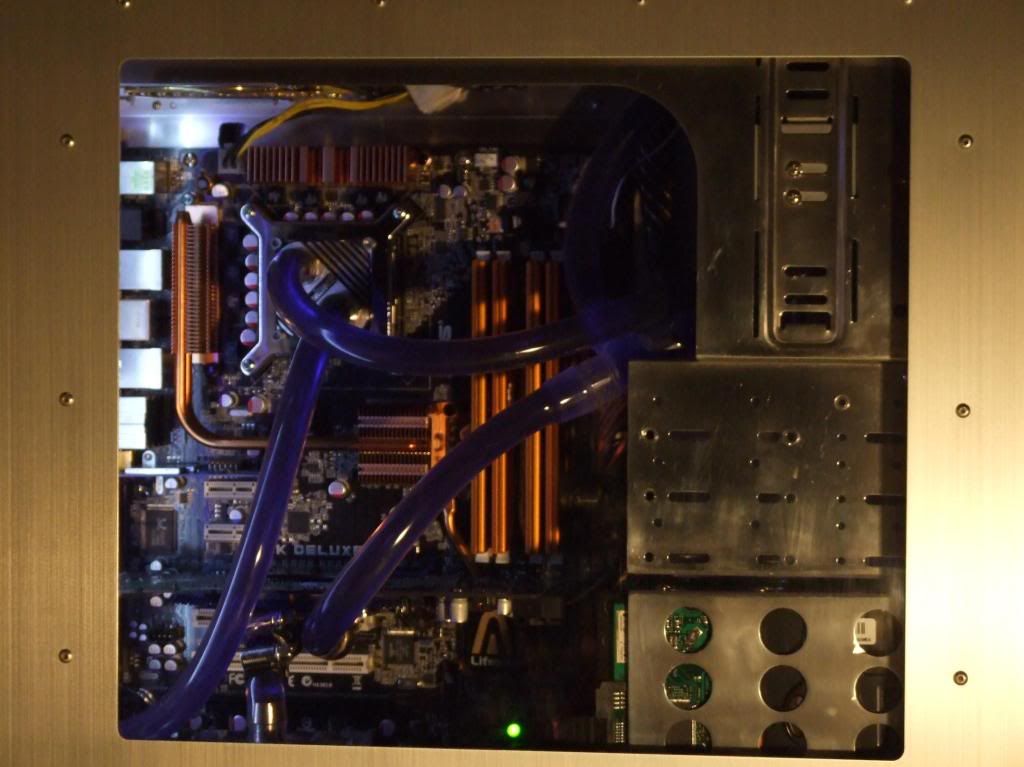
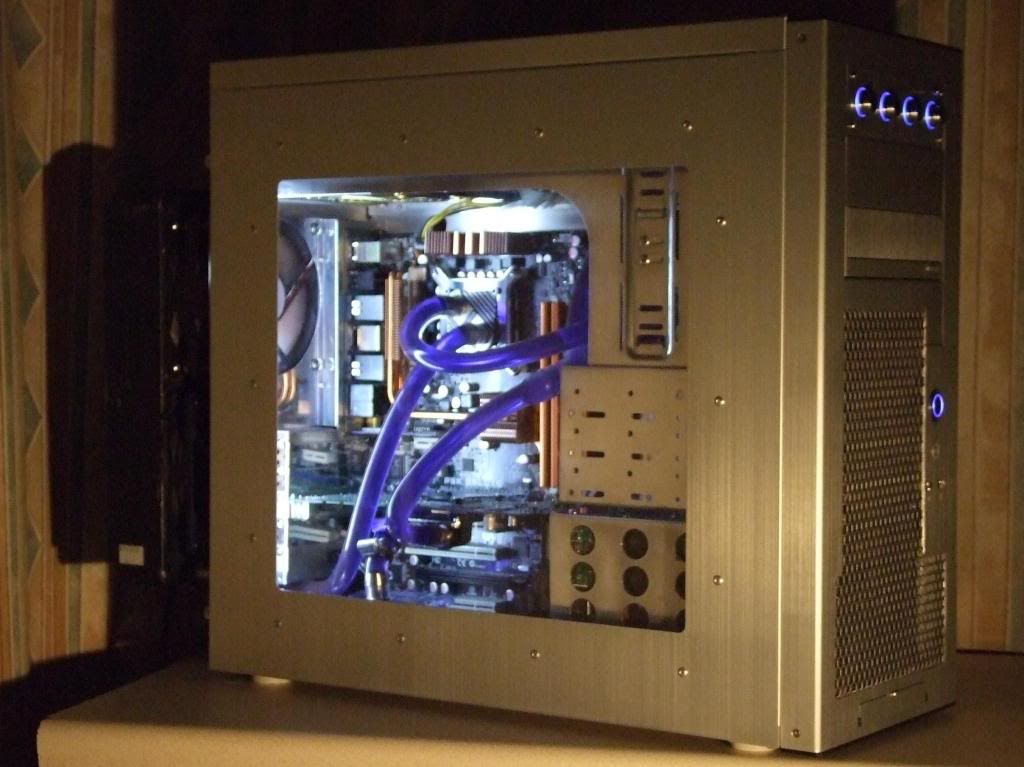
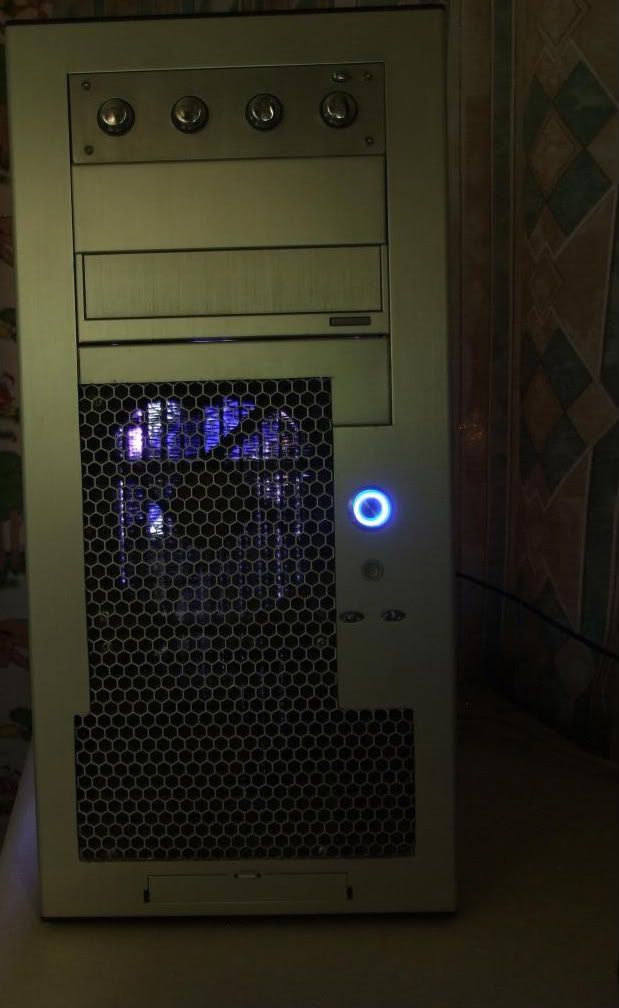
The most sensible place for the BIX2 seemed to be the front, what with everywhere else being taken. But there were a few mods that needed to be made to fit it in... there's not enough space between the front of the main case (not the clip-on front) and the hard-drive bay for the depth of the radiator by about 5mm, so the HDD box would need to be modded/moved. The fans would need to go in-between the main case chassis and the brushed aluminium clip-on front. The space inside the clip-on front is 25mm deep, but would make things very tight, and mean any mesh to cover them could not just be stuck on underneath the front as that would take up vital mm of depth. Finally, height-wise it would be a tight squeeze to fit with the USB ports below and lose only one 5.25” bay, and still allow an optical drive in the lower of the 3 remaining 5.25” bays.
From the previous mod I decided I didn't want to just cut the hexx mesh to exactly the right size to stay in place on the front - araldite isn't strong enough to glue the tiny edges pressing against the front adequately, so it kept coming out when the front was taken off and was a hassle to keep putting back in place. This would only happen more often with a 120.2 sized piece of mesh.
Anyhow, on with the pics...
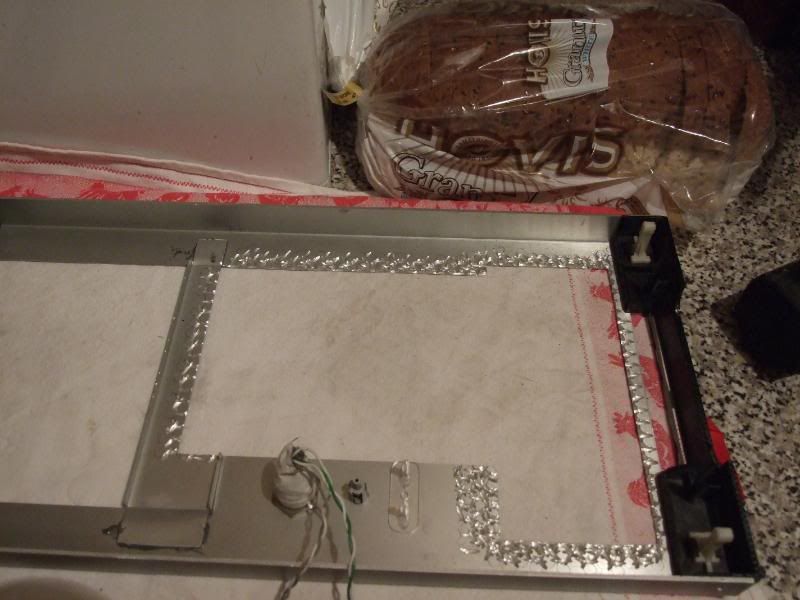
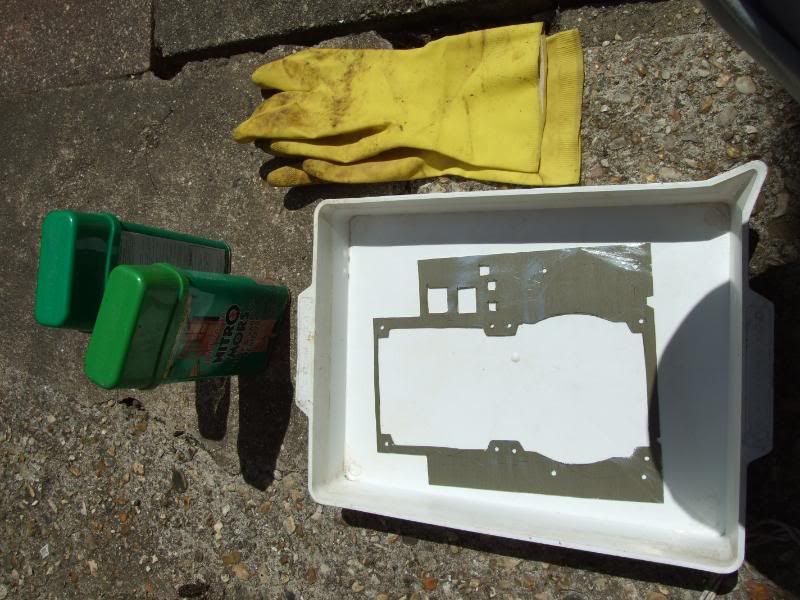
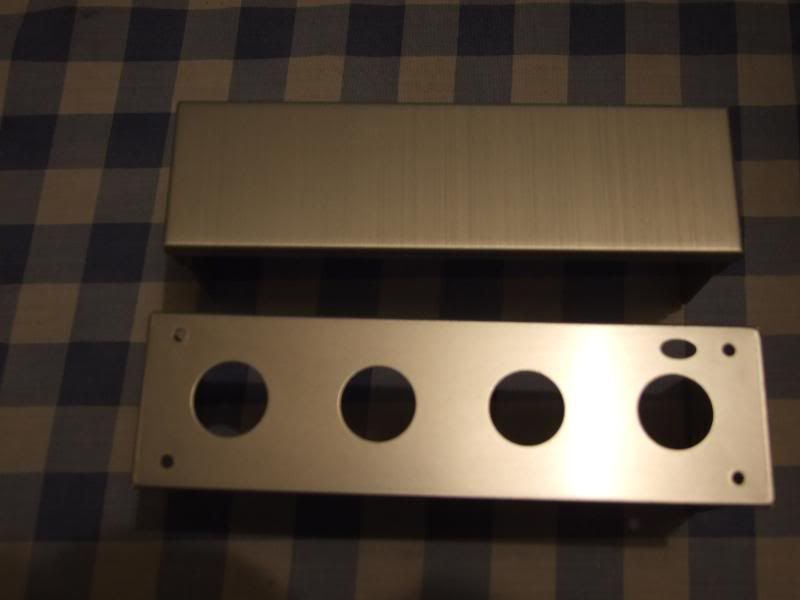
Here's the initial front clip on panel (well, already cut but you get the idea).
Before:
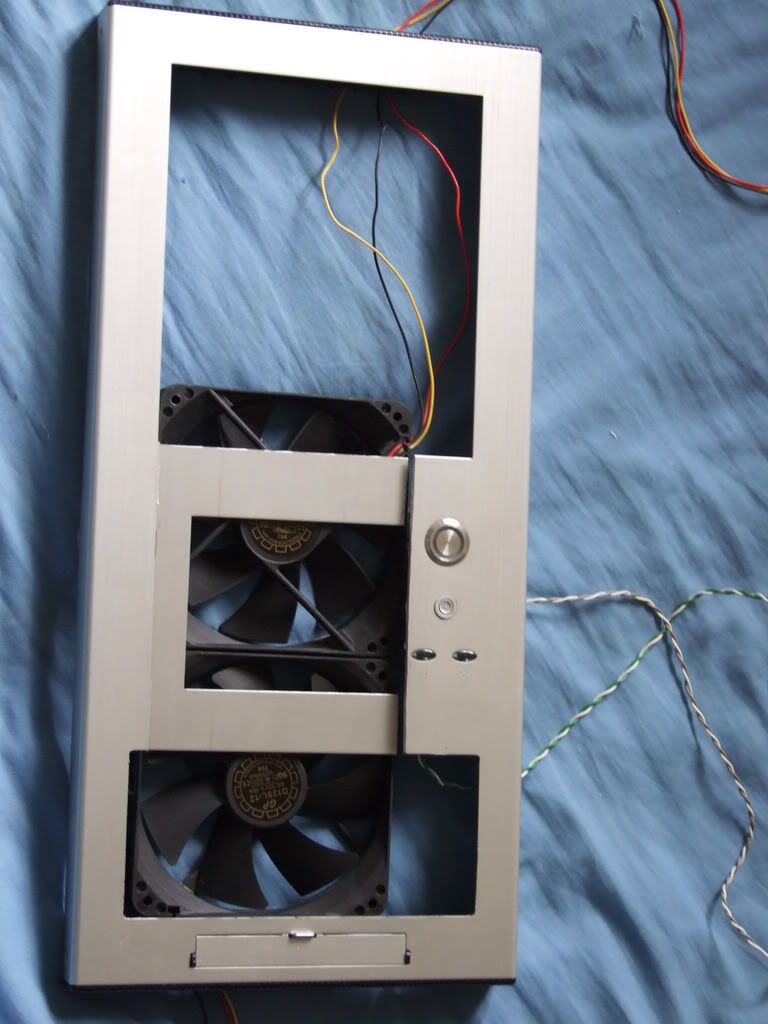
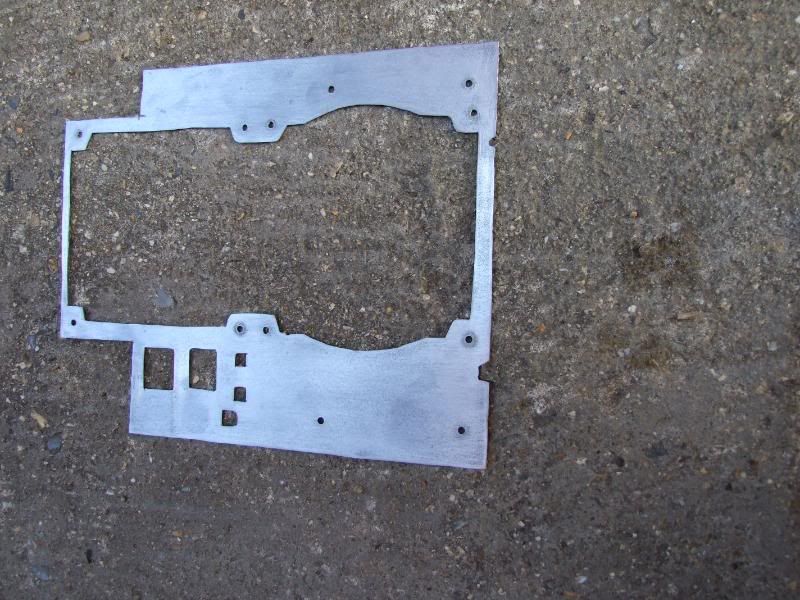
After (prior to tidying up the edges):

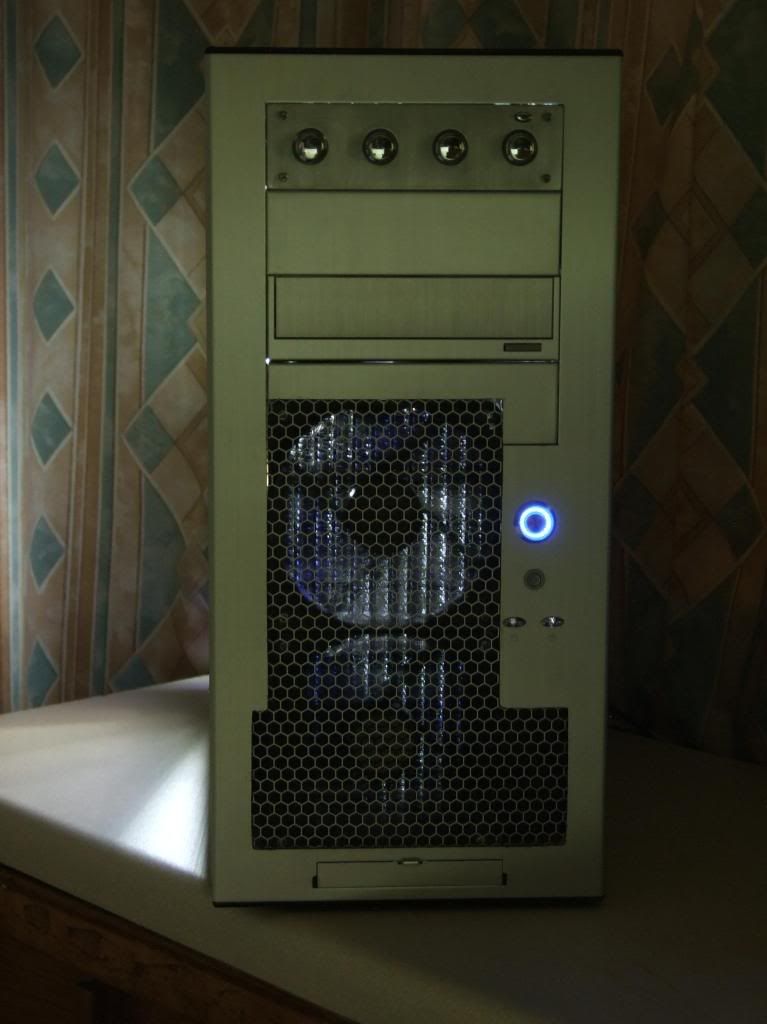
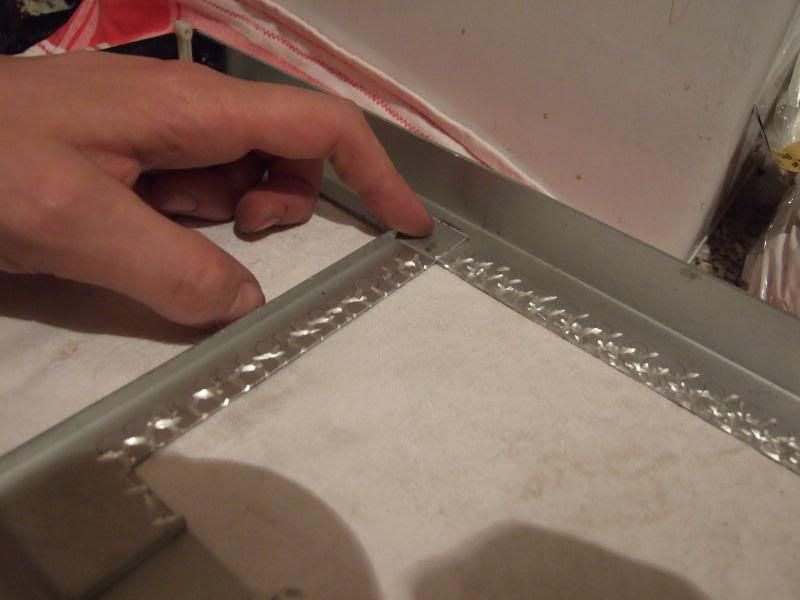
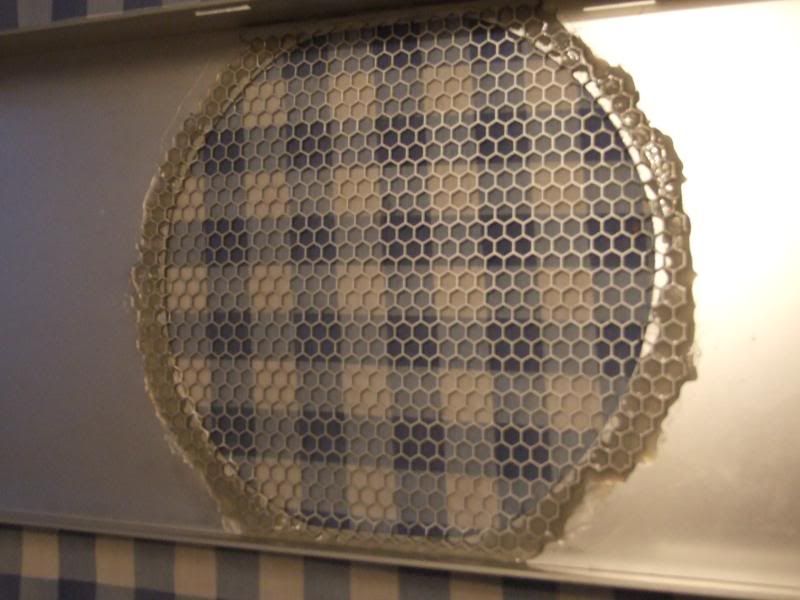
I then used the 5.25” bay plate/cover and modded it to accommodate the mesh so that there wouldn't be a mesh edge that could get fouled on the optical drive stealth cover above.
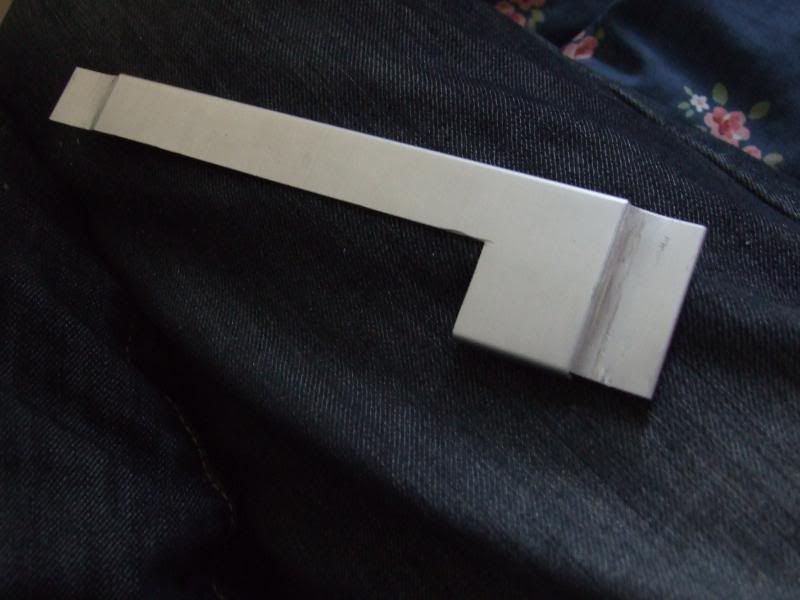
This was much easier than expected, with the sides easily bending, and the outermost parts with the 3 clip-in stamped holes snapping off on one 90-degree bend, which was a little disconcerting, so I decided to go easy on bending the bay plate flat and instead file into the back of the front clip-on cover to allow a flush fit with the front.
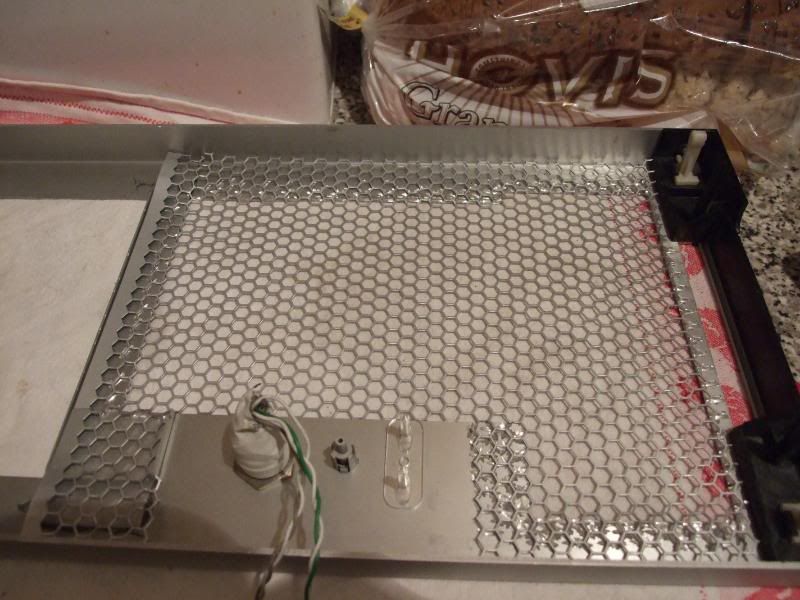
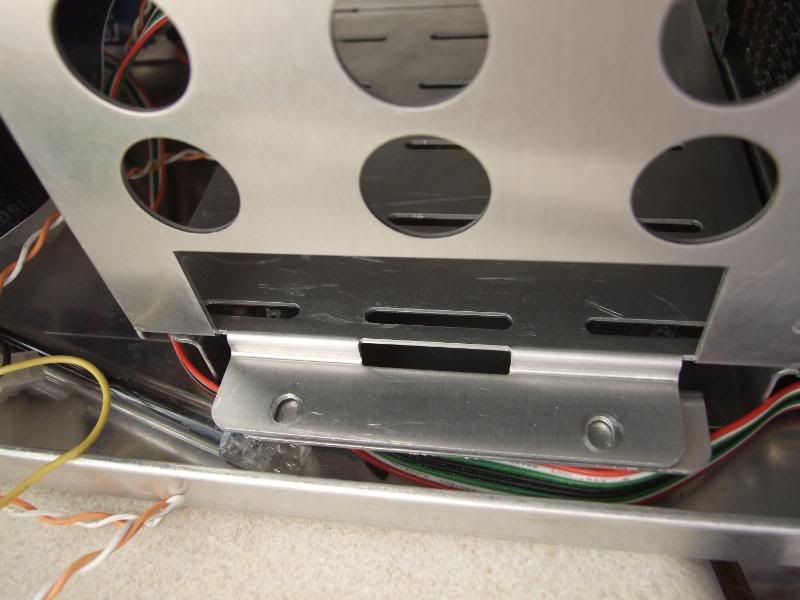
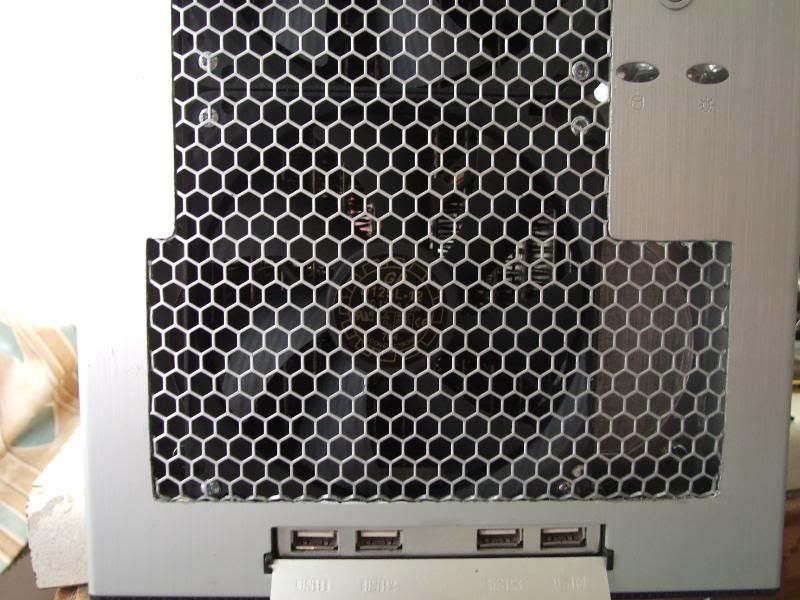
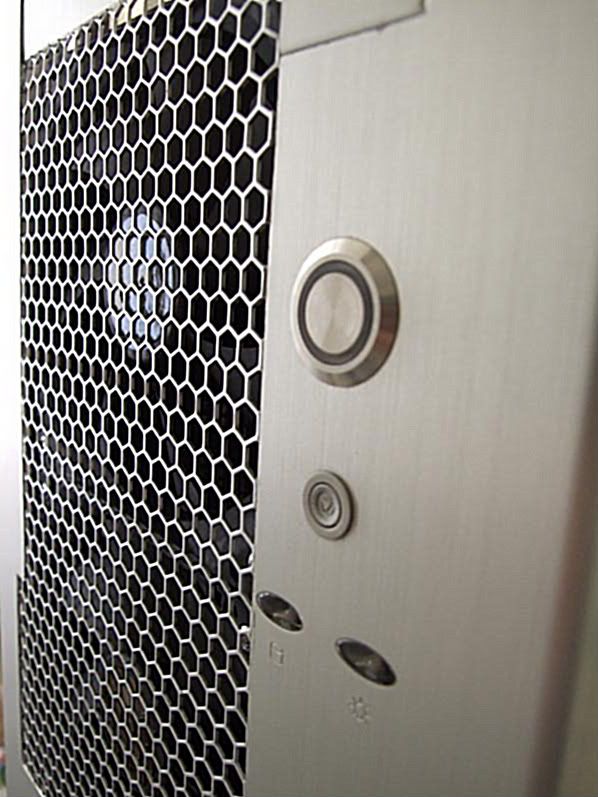
Front with modded 5.25" plate glued in place:

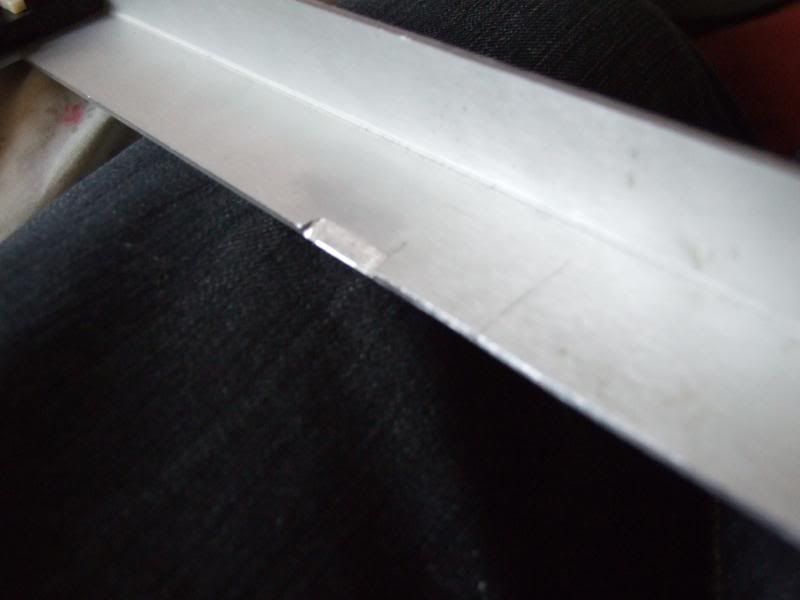
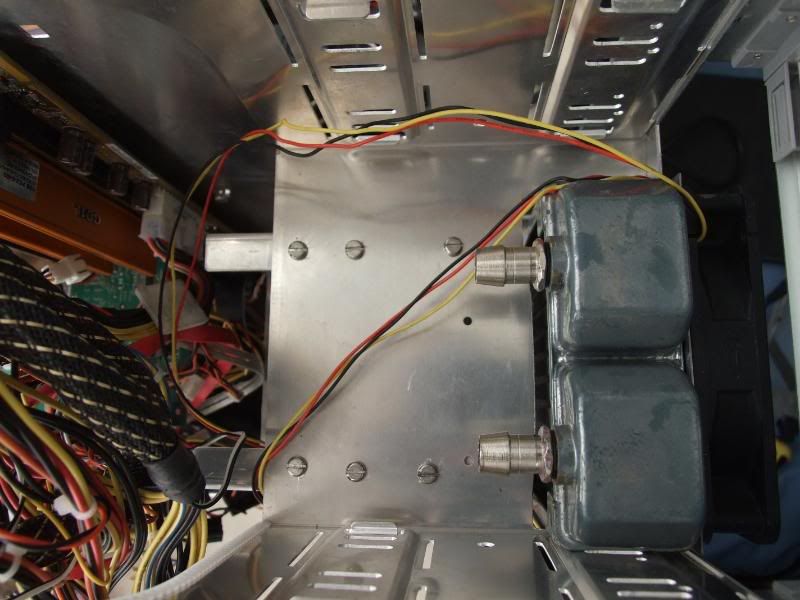
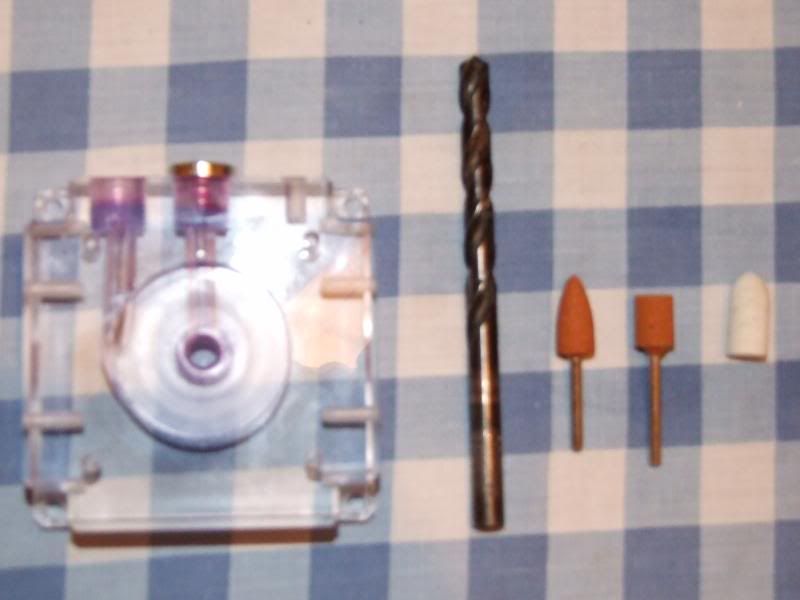
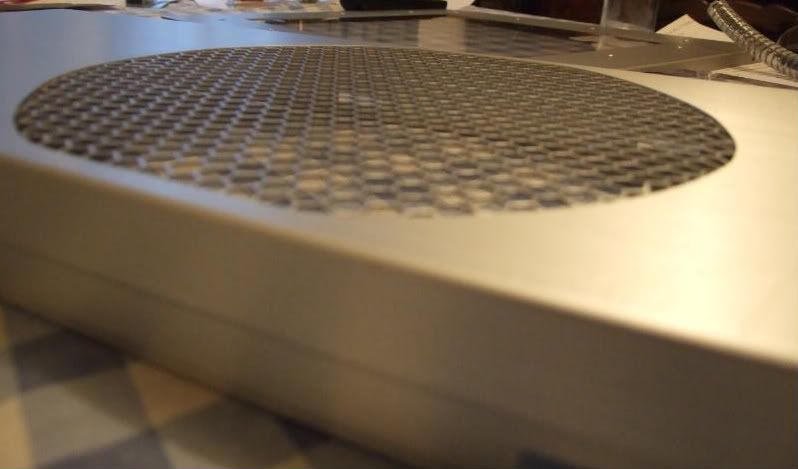
The area for mesh in the front was only a few mm over 12cm wide due to space constraints – I wanted the edge to continue from the 5.25” bays on the left and not interfere with the HDD/power light plastic bit on the right. This made getting a flush fit for the mesh with the aluminium front clip-on panel tricky, as I couldn't just create a sharp edge as the bends would take up too much width. So, having a free afternoon I decided to do several hours of careful dremel-ing to cut a relief for the hexx mesh. In retrospect this was madness, and there are probably far easier ways of doing it. But at least it's nice and flat with the front and securely attached with araldite.


I'd been selling a load of water-cooling bits on the members' market I'd accumulated in job lots in the past, but quite a few bits weren't really getting any interest, so I figured I may as well put the 120.2 BIX2 radiator I had lying about to use and add it to the loop...
In my previous air-cooled mod I had toyed with the idea of cutting a full hole for a 120mm fan in the front, but decided to keep the ability to replace the 3 3.5" bays just in case. But seeing as I don't use them there doesn't seem to be a pressing need to keep them. Keeping the 3.5" bays for hard drives would be nice though.
The most sensible place for the BIX2 seemed to be the front, what with everywhere else being taken. But there were a few mods that needed to be made to fit it in... there's not enough space between the front of the main case (not the clip-on front) and the hard-drive bay for the depth of the radiator by about 5mm, so the HDD box would need to be modded/moved. The fans would need to go in-between the main case chassis and the brushed aluminium clip-on front. The space inside the clip-on front is 25mm deep, but would make things very tight, and mean any mesh to cover them could not just be stuck on underneath the front as that would take up vital mm of depth. Finally, height-wise it would be a tight squeeze to fit with the USB ports below and lose only one 5.25” bay, and still allow an optical drive in the lower of the 3 remaining 5.25” bays.
From the previous mod I decided I didn't want to just cut the hexx mesh to exactly the right size to stay in place on the front - araldite isn't strong enough to glue the tiny edges pressing against the front adequately, so it kept coming out when the front was taken off and was a hassle to keep putting back in place. This would only happen more often with a 120.2 sized piece of mesh.
Anyhow, on with the pics...
Here's the initial front clip on panel (well, already cut but you get the idea).
Before:
After (prior to tidying up the edges):
I then used the 5.25” bay plate/cover and modded it to accommodate the mesh so that there wouldn't be a mesh edge that could get fouled on the optical drive stealth cover above.
This was much easier than expected, with the sides easily bending, and the outermost parts with the 3 clip-in stamped holes snapping off on one 90-degree bend, which was a little disconcerting, so I decided to go easy on bending the bay plate flat and instead file into the back of the front clip-on cover to allow a flush fit with the front.
Front with modded 5.25" plate glued in place:
The area for mesh in the front was only a few mm over 12cm wide due to space constraints – I wanted the edge to continue from the 5.25” bays on the left and not interfere with the HDD/power light plastic bit on the right. This made getting a flush fit for the mesh with the aluminium front clip-on panel tricky, as I couldn't just create a sharp edge as the bends would take up too much width. So, having a free afternoon I decided to do several hours of careful dremel-ing to cut a relief for the hexx mesh. In retrospect this was madness, and there are probably far easier ways of doing it. But at least it's nice and flat with the front and securely attached with araldite.
Last edited:


") . Here's some pics:
. Here's some pics: