MSI NIGHTBLADE project

Associate
Joined
27 Sep 2012
Posts
593
Location
Netherlands
Hey everyone, I wanted to create a log about this project.
MSI Europe asked me to modify one of their Nightblade systems for them. For show purposes. Not for a specific event perse, but just to take it with them when they felt like it :)

Of course I said yes. I was very afraid that the severe lack of space in the case would make it very hard to modify. But along the proces of creating the mod I kept getting more ideas and it became quite a "mod" in the end.

The mod is not about the kick-ass hardware in this specific Nightblade system. This is the previous gen B85 version with a gtx750ti in it. The project is really about the case itself and the complete system breathing the MSI Gaming theme, but then with a twist.

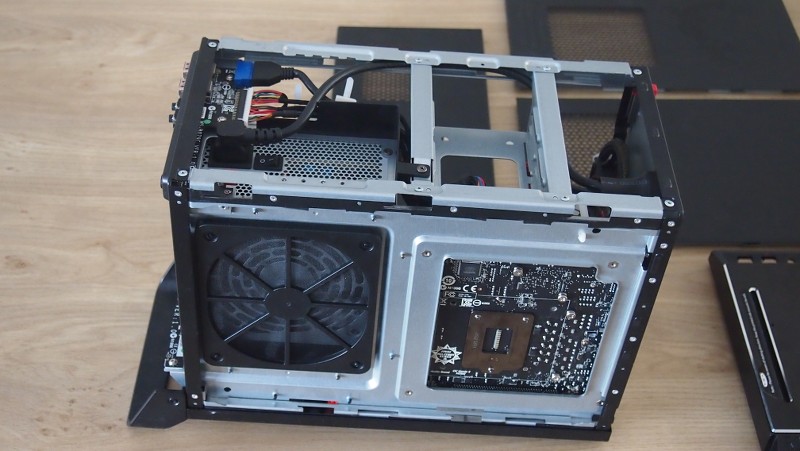
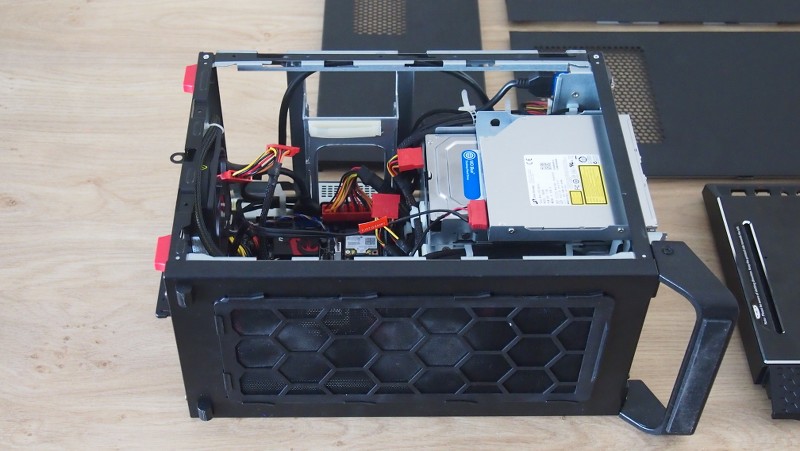
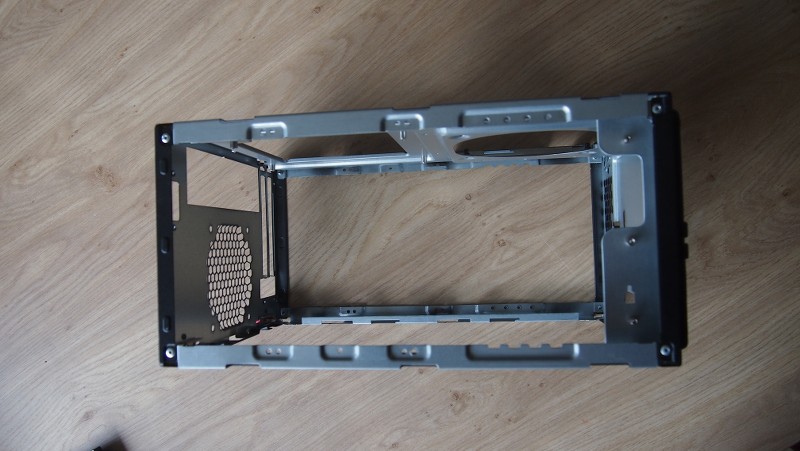
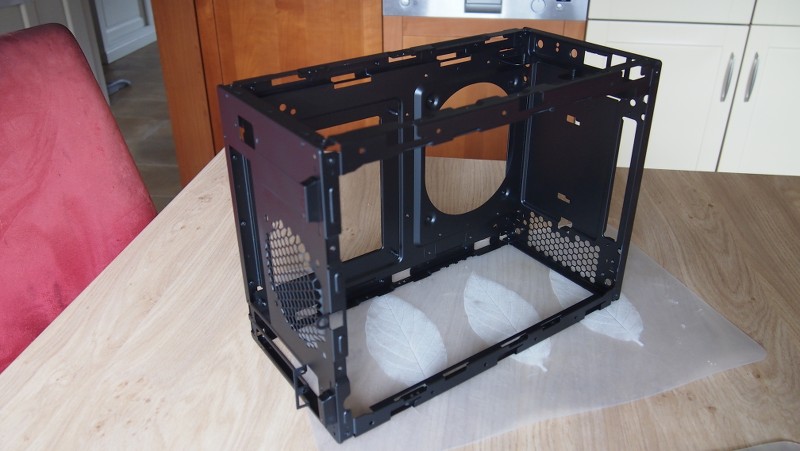
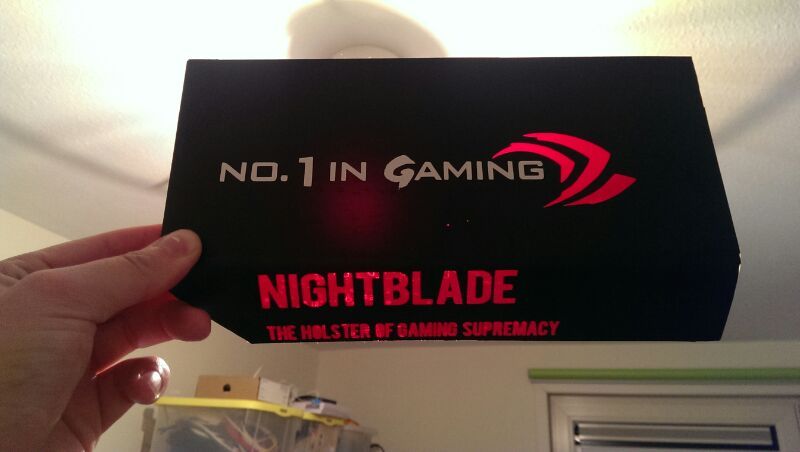
One warning beforehand; the first few photos will show the Nightblade system in untouched form. Not because I am not modding it. But I personally like to show the difference between the "stock" Nightblade and the end result of the project.
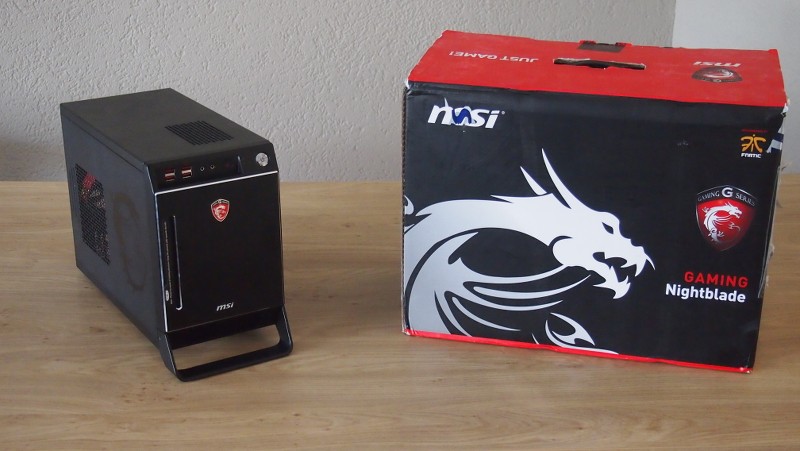
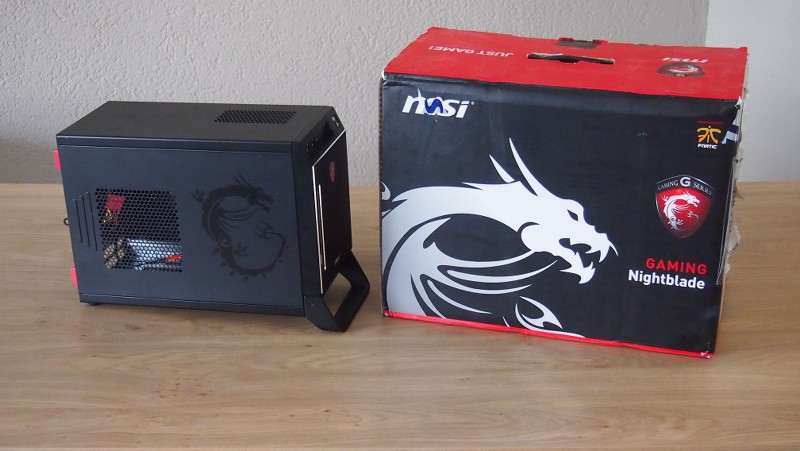
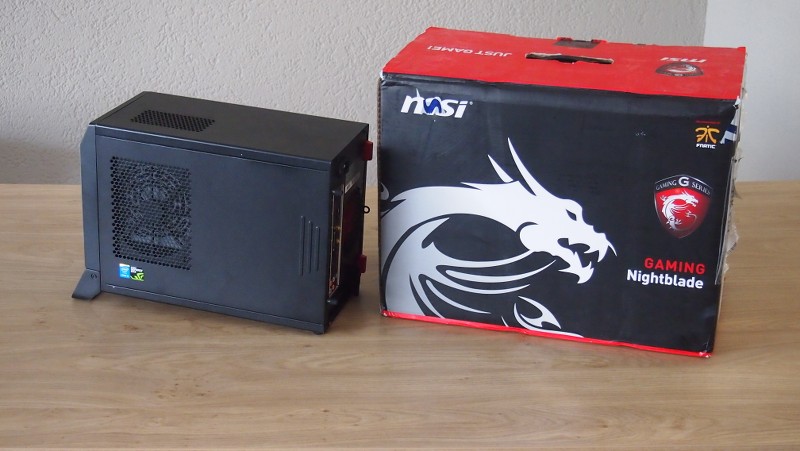
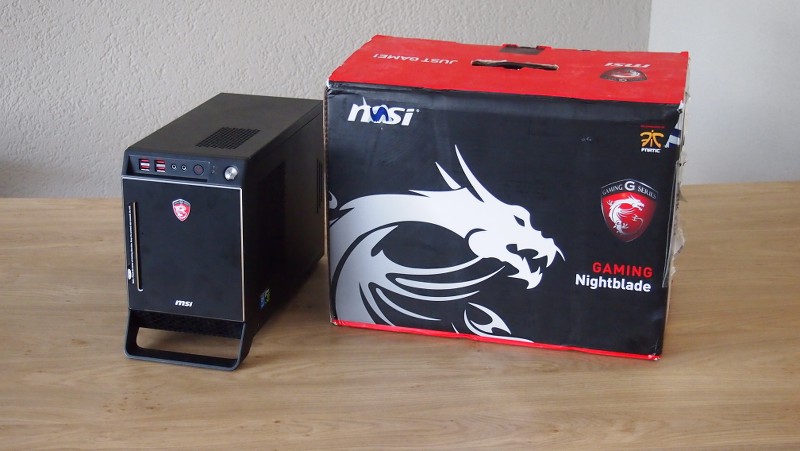
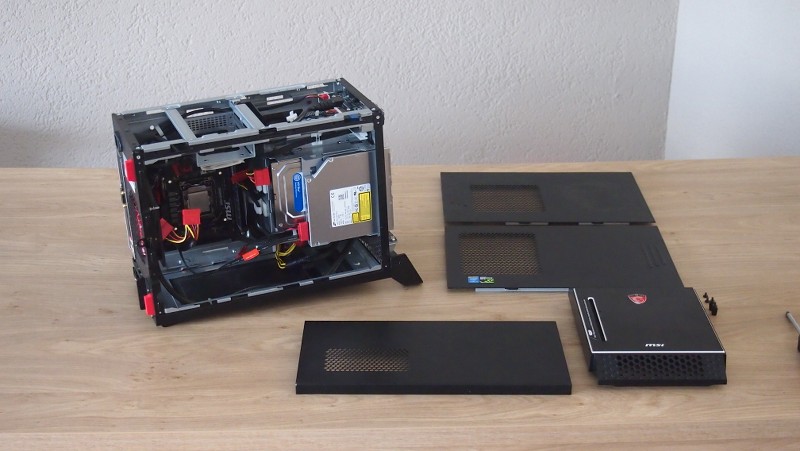
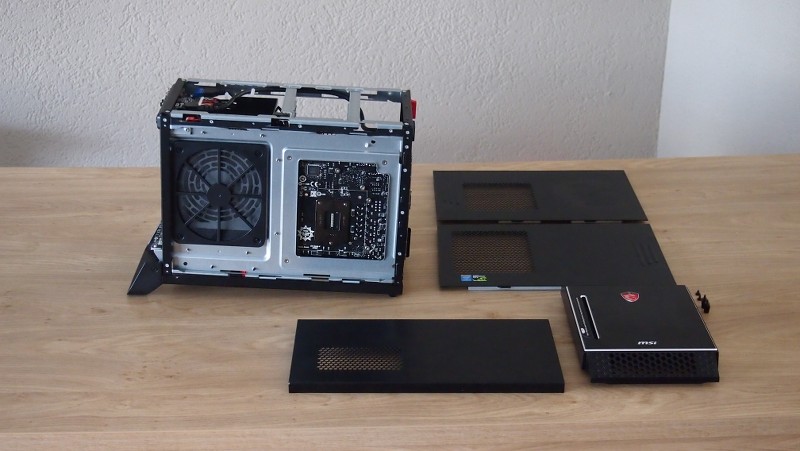


I want to thank MSI Europe for the opportunity. Thank you very much for the vote of confidence :clap:

 
I first took on the inside of the system and after this worked on the outside of the case.

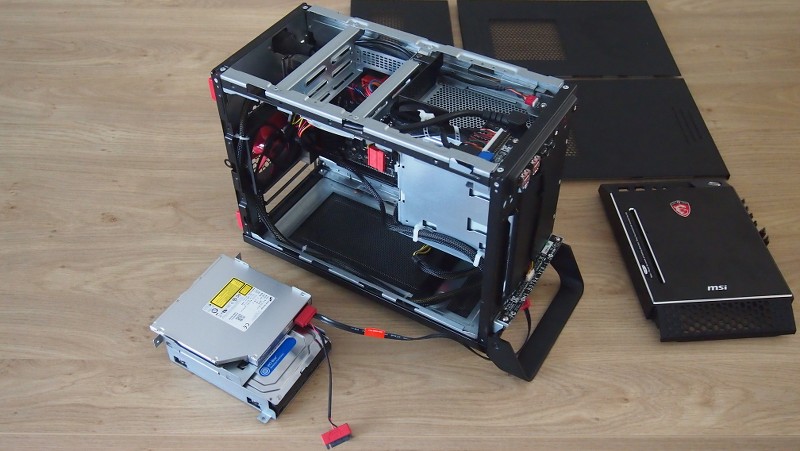
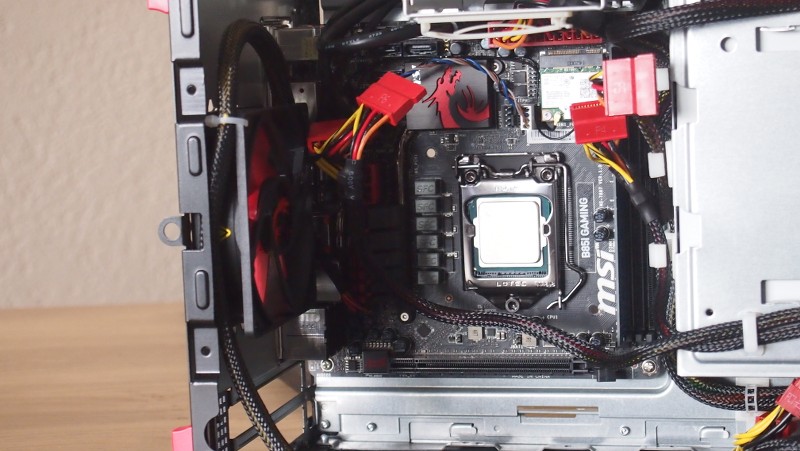
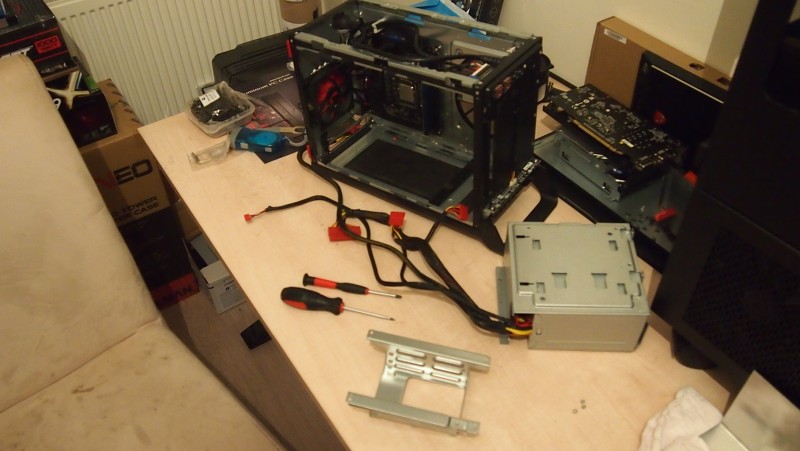
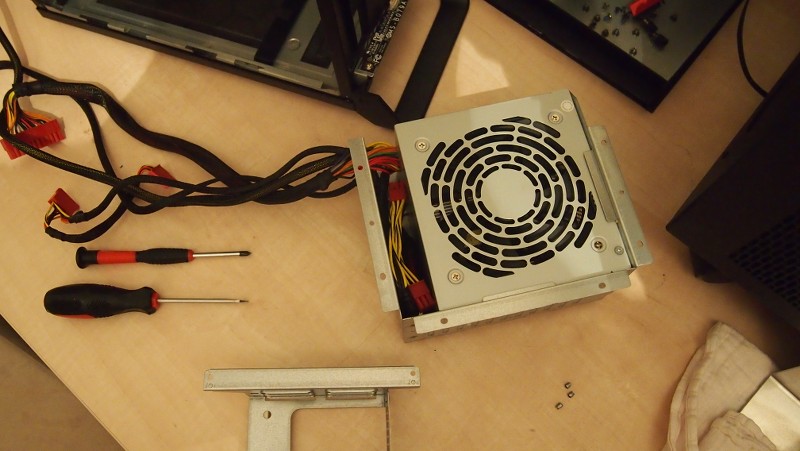
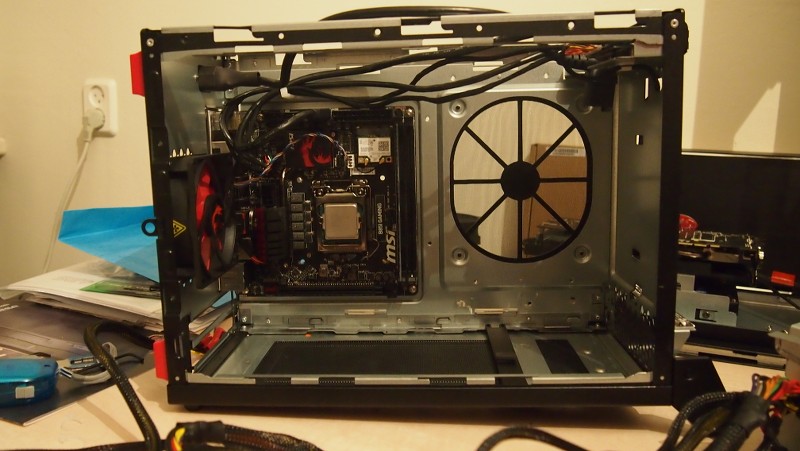
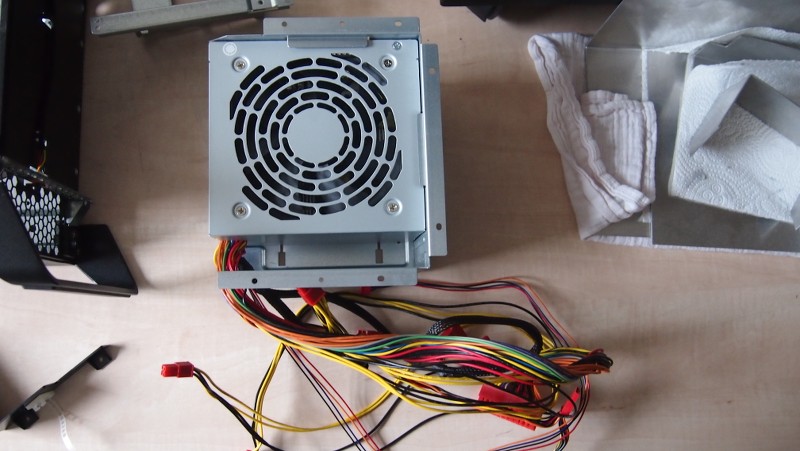
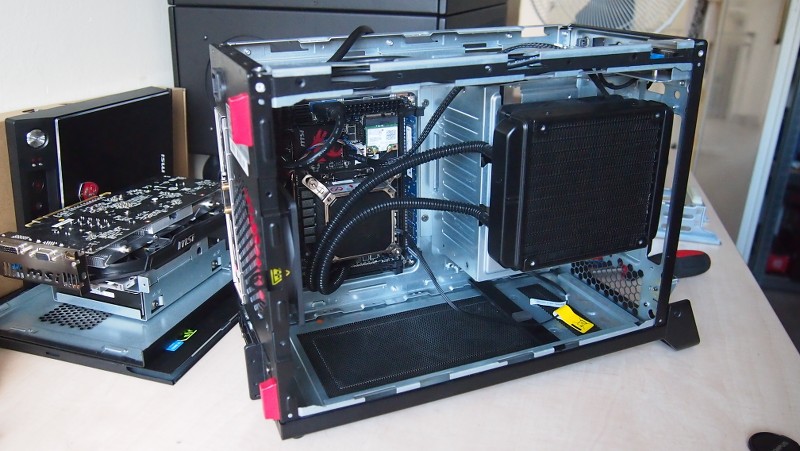
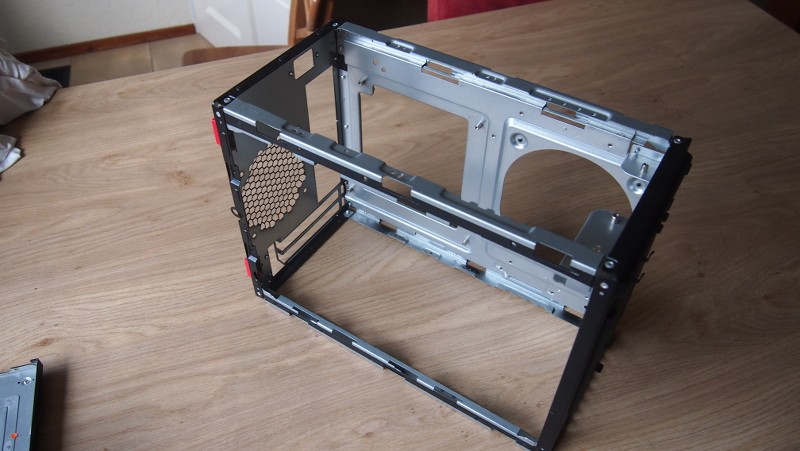
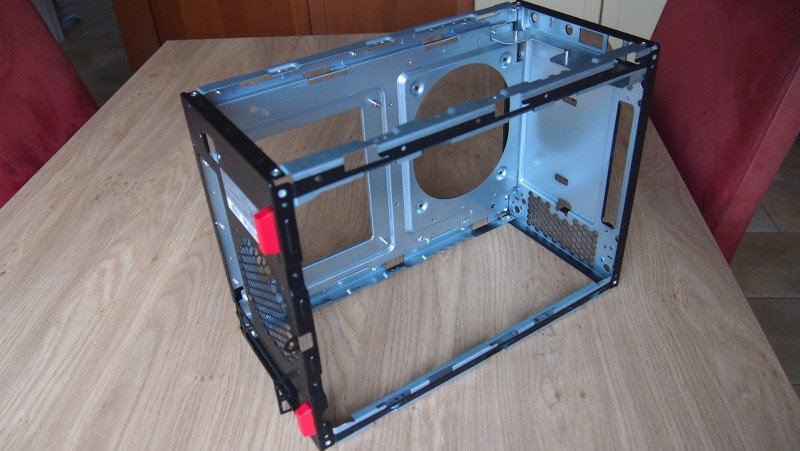
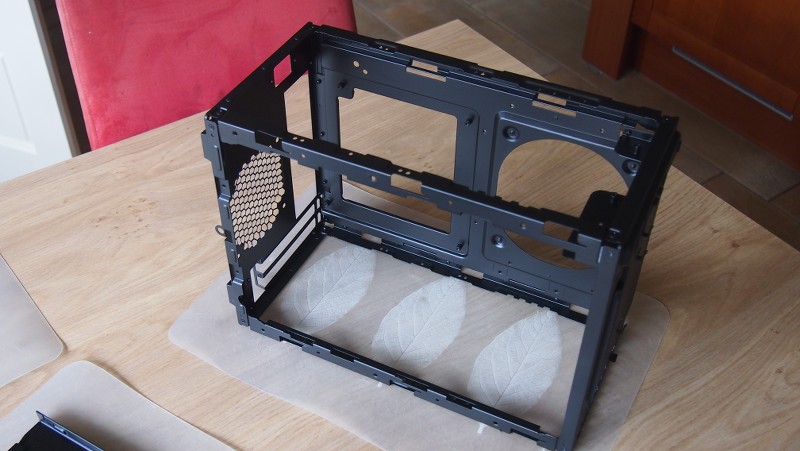
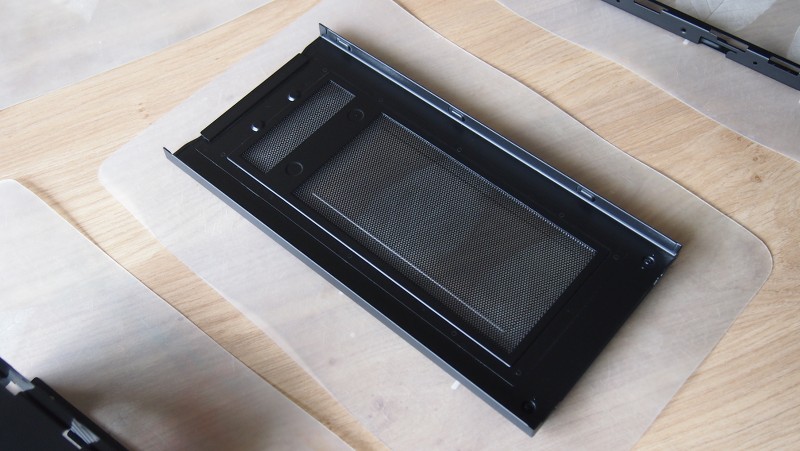
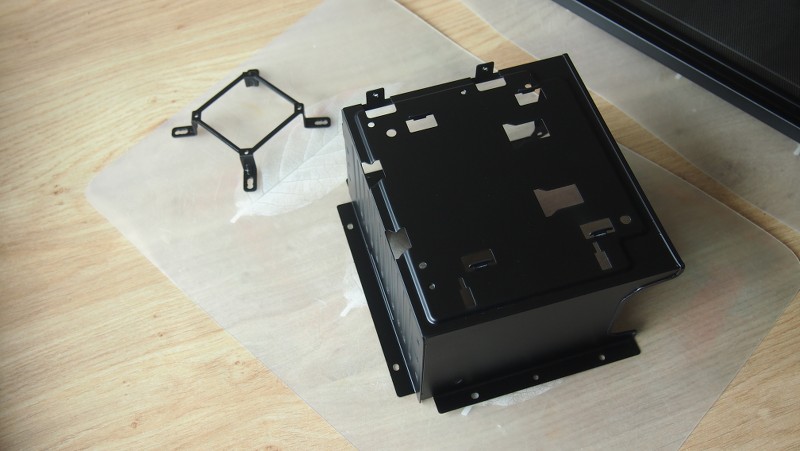
Like in many other mods I am first taking it apart. The main reason is I want to make it able to show off the inside of the system with a window. You can't see it in the photos but the original system has quite a large CPU cooler that blocks the entire motherboard. I wanted to clean this up by putting in a AIO watercooler. But then I needed room for the radiator. So I took out the top HDD/SSD mount/rack and the HDD/DVD rack as well with the DVD player and the 3,5 inch HDD. I needed space so everything not needed has to go! :dremel:
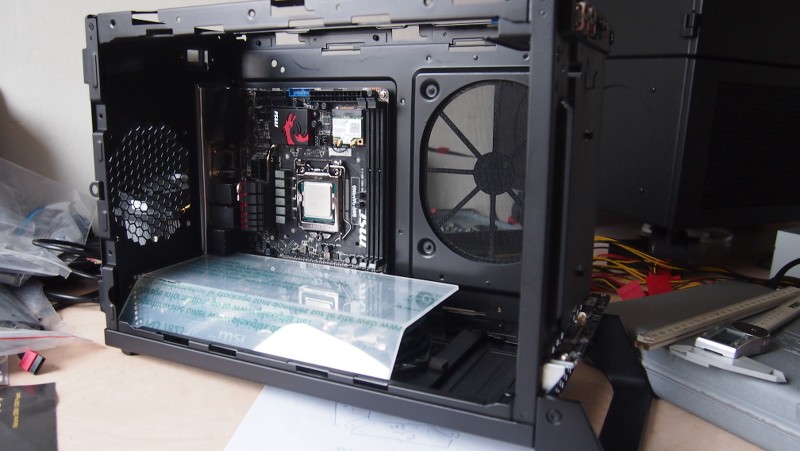
This way I could see what room I had then and what this meant for my plans.

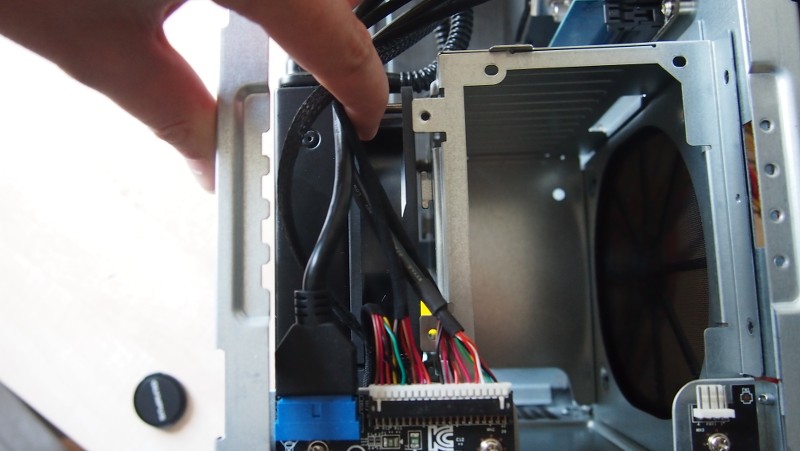
I also took out the PSU mount as I needed to sleeve the cables later on and also paint the inside from grey to black.


this is gonna be fun!

I hope so :)

Looks good

Thanks :)

It's nice to see a project in the Nightblade case as it is quite compact and different to the usual "everything ready" cases. I'm looking forward to seeing how this project turns out as I'm wondering if you will be painting the case to get rid of the grey colouring or if you're just focussing on the performance aspects? :)

Either way I'm sure the project will be excellent :D

Please stick around to see what I do with it ;)

Like Luggs pointed out I am going to paint the entire case black on the inside to keep the red and black contrast going on.

Tim that's a nice little mod. you make it look easy. looking forward to more updates.

ha it was far from easy. But it was fun to do nonetheless :)

first time ive ever seen one of those, its damn tiny!

It is a true builders case. Everything just fits and gives you a tad more room for adding extra HDDs.
And to think they now have a 10 litre MI version of this which is even more small :/

looking forward to seeing how this turns out.

Thank you :) Hope you stick around to see.

-----------------------------------------------------------------------------------------------------------------------

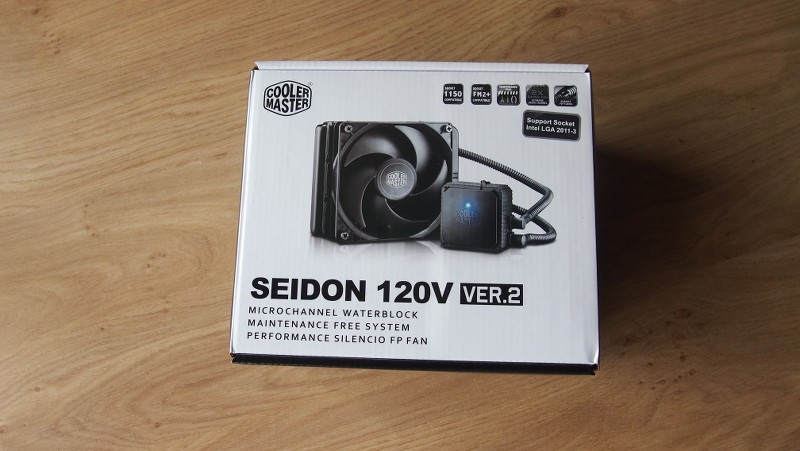
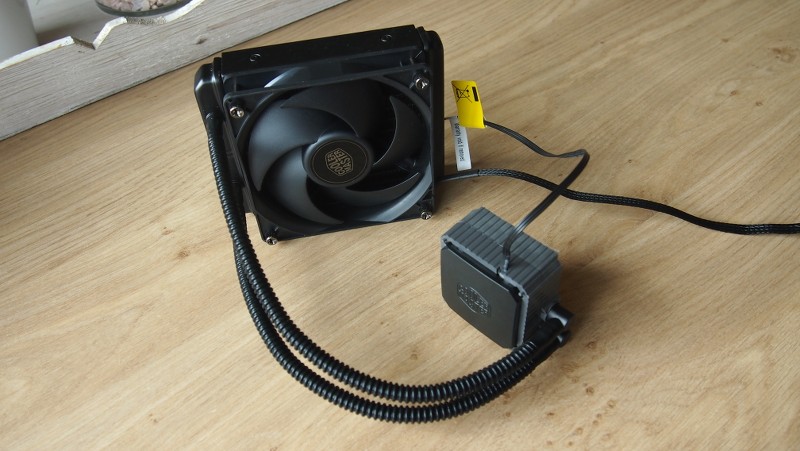
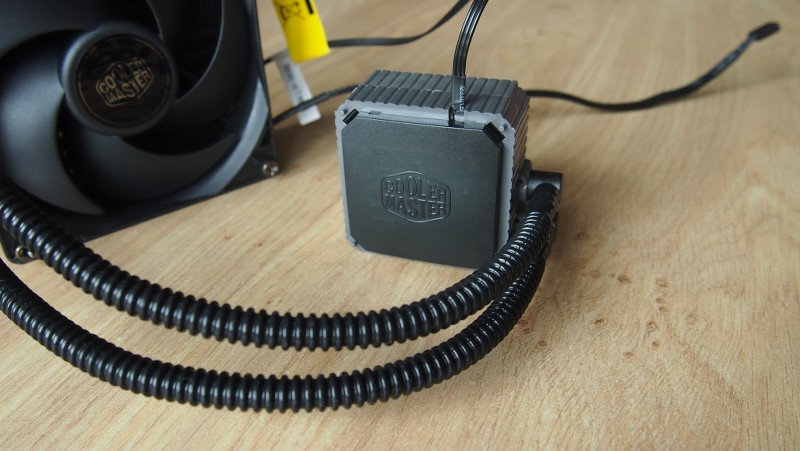
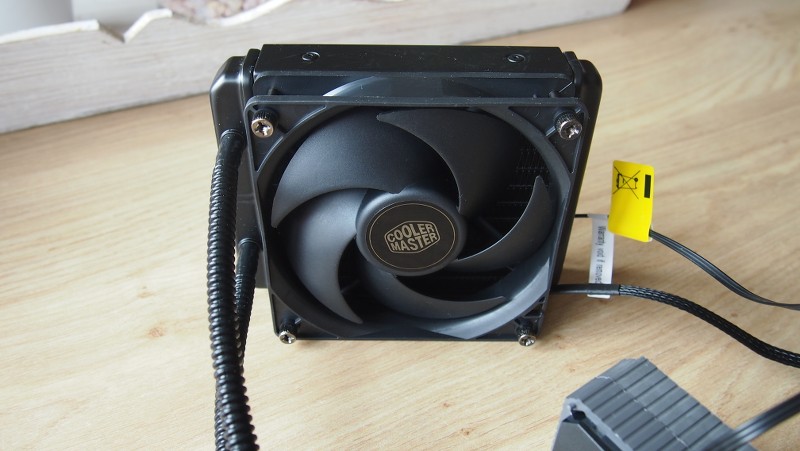
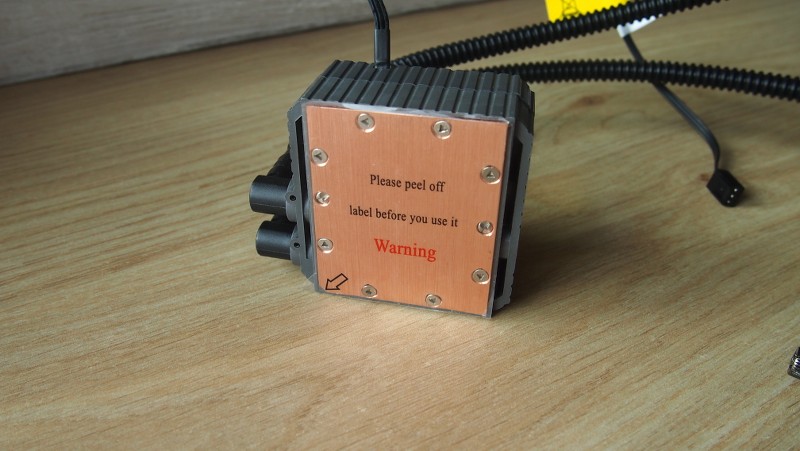
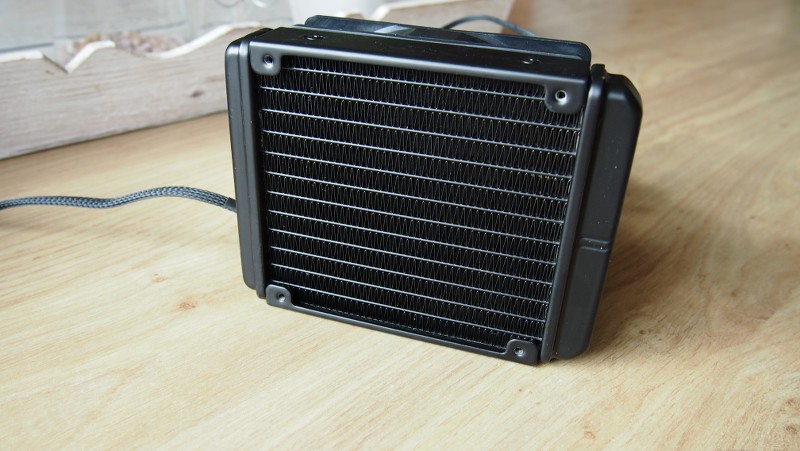
To open up the view into the case and it's hardware I asked Cooler Master their smallest AIO watercooler. The Seidon 120V Version 2. I was very happy to hear from them they would send it. Thank you very much Cooler Master for this and especially Jasper P. :thumb:


Always great to see a brand helping another brand out to make something cool happen :rock:

Here are some unpacking photos.


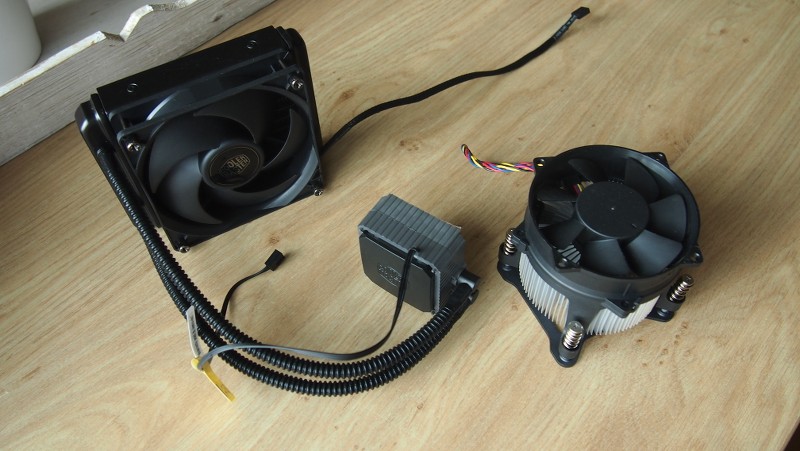
Here is the comparison between the stock CPU cooler and the AIO. On the motherboard will (of course) only be the waterblock and pump. So much more room around it.


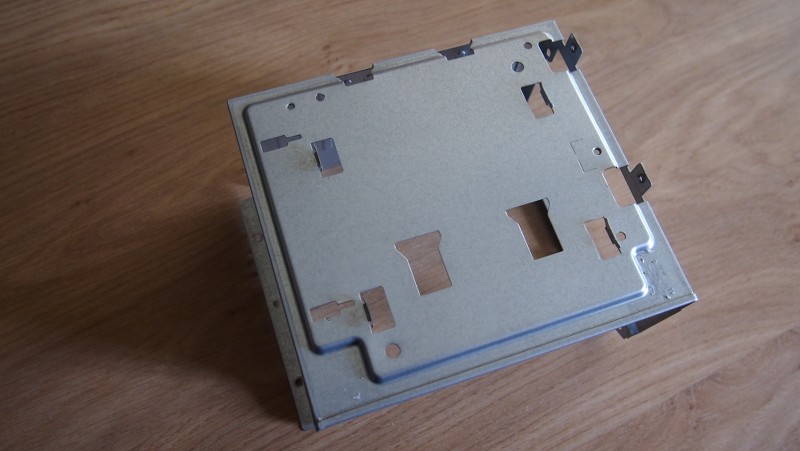
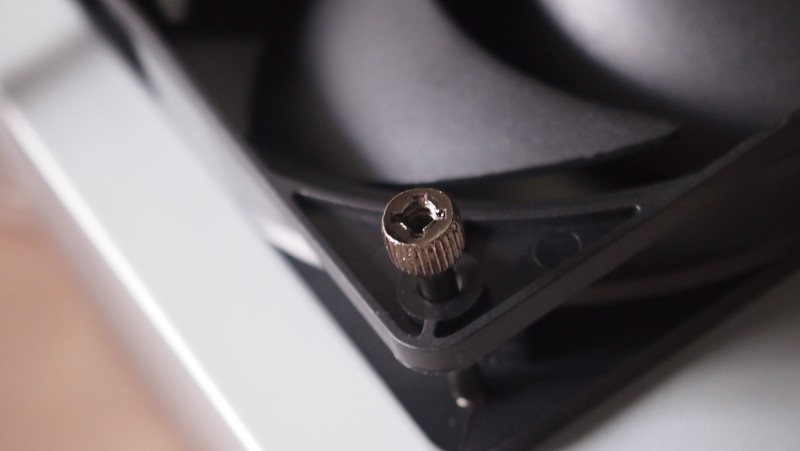
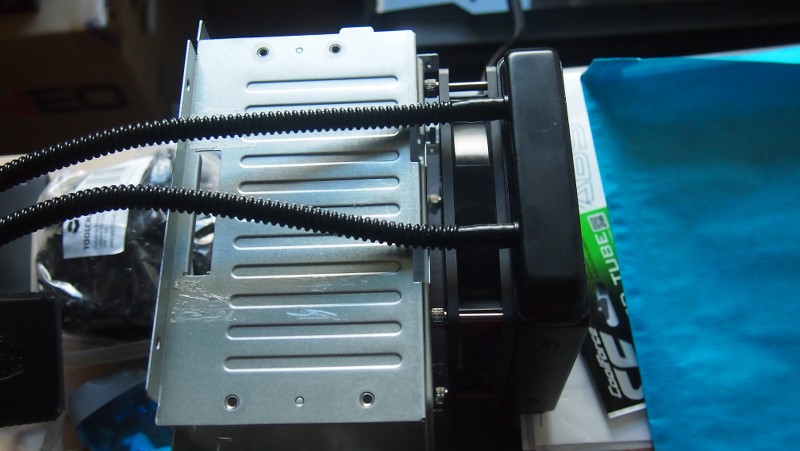
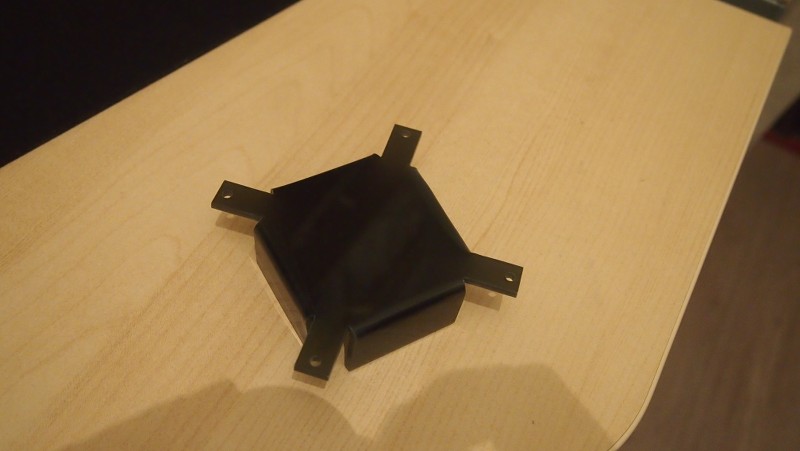
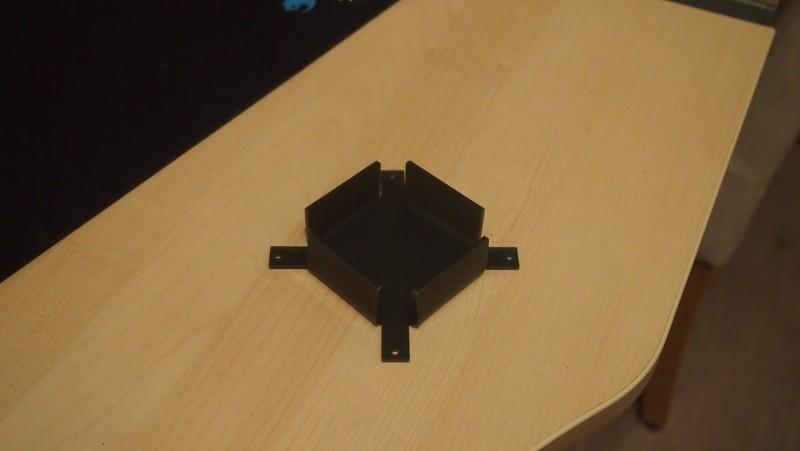
I took the PSU out of the PSU bracket and drilled 4 holes into it.


The thumbscrew long screws actually have 6/32 threads into the thumbscrew part. Which is super easy in this case! I can just screw together the fan and the radiator. Then screw the PSU bracket against the thumbscrews. Not only is this easier installation, it instantly give the fan room to push the air out of. win + win :)


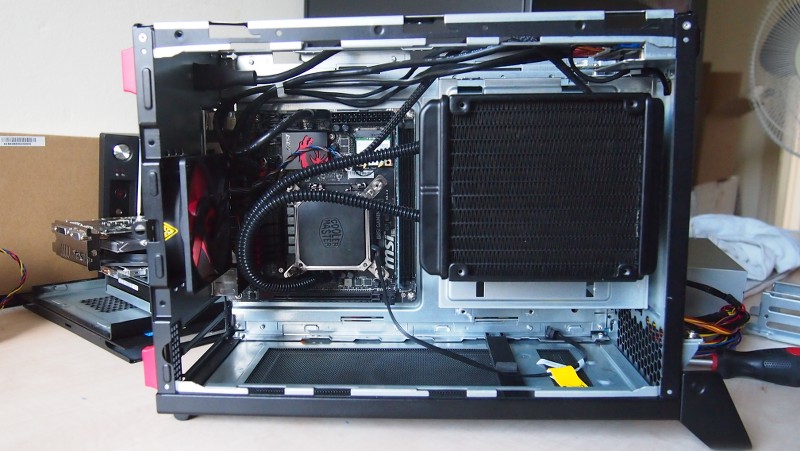
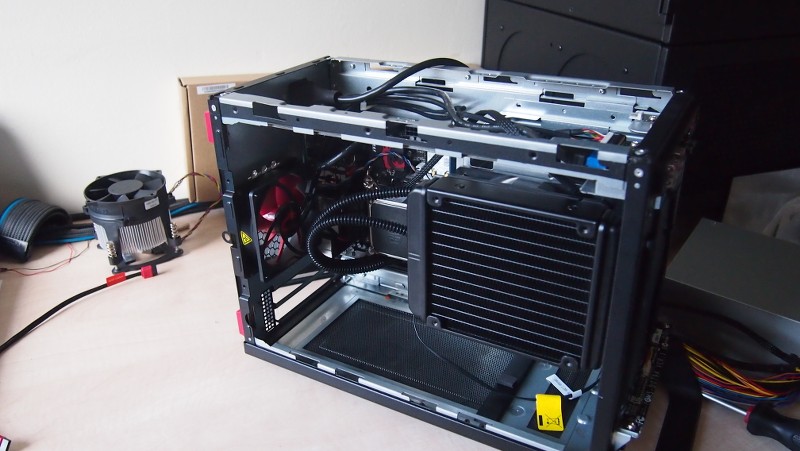
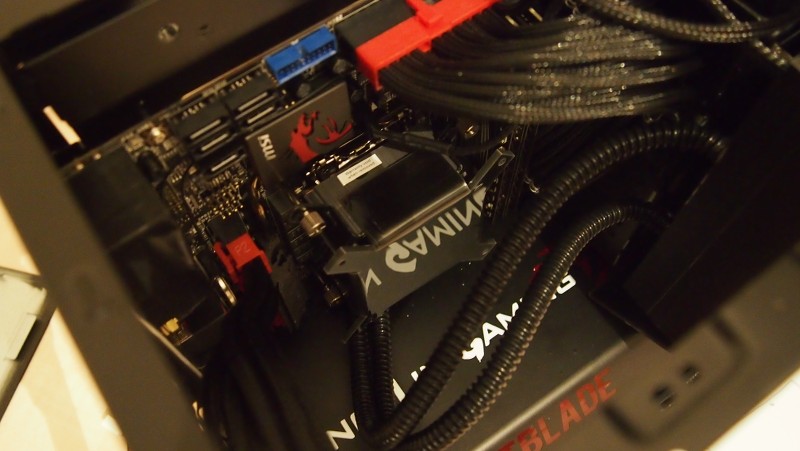
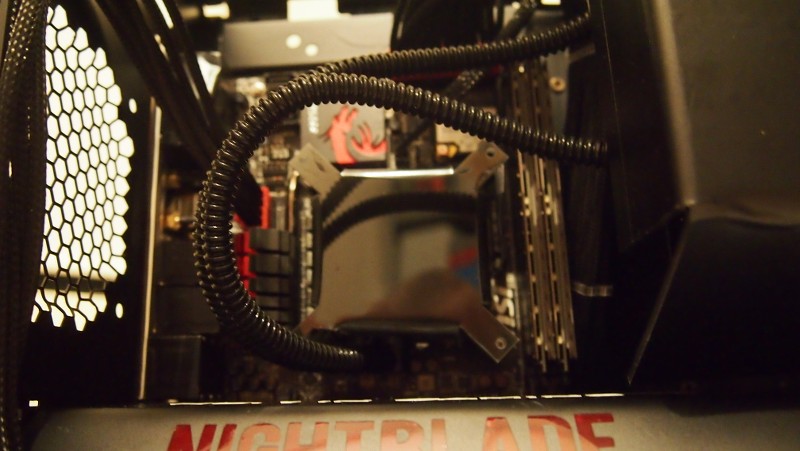
Testfitting the cpu cooler. Had to give the block a few tries to see where the tubing would go best without blocking the view too much whist not bending the tubing too hard.


Plenty of room for air to pass through me thinks.

 
Last edited:
As always, nice to follow your builds mate :D

Thank you Colin, always nice to see you :)

It's looking excellent, that looks like the perfect placement for the radiator as (like you say) it will not obstruct the view of the components. :)

Looking forward to the next update :D

Thank you very much.

You really have to get creative with these little cases! Looking good mate

I hope you will find I am creative in the end :)
 
Of course I needed to paint the interior completely black. To maximize contrast between black and red. So much grey will just distract and look messy.
It is not a high end paintjob. It just needs to make the panels blend in.

I also painted the bracked for the CPU block black to make it blend more in.


It's funny case manufacturers don't do this as standard nowadays, the difference it makes is amazing!

It has to do with certain regulations. Casemanufacturers do not have this because they sell a stand alone case (unless it is a workstation case). But if you sell a working system there are extra regulations towards conductivity and such. This is the reason a lot of full working systems are silver on the inside.

For workstations the regulations are even more strict. No black inside, and also only holes to fit fans and not the wide lines like Phanteks and Thermaltake cases have nowadays.
 
It looks like you've done a good job painting the case. It looks much better in black than before :)

Thanks :)

-----------------------------------------------------------

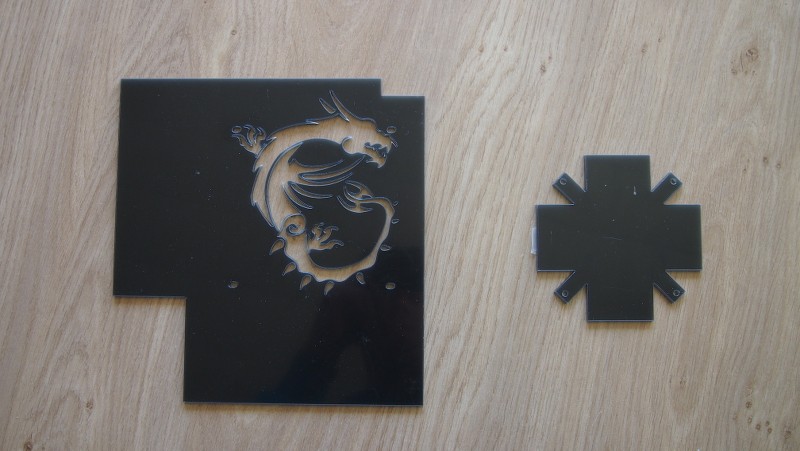
My good friend Django helped me out again with the drawing of the following 2 covers. One is a grill for over the radiator and one is a cover for over the CPU block and pump. This way I can also illuminate gfx there.

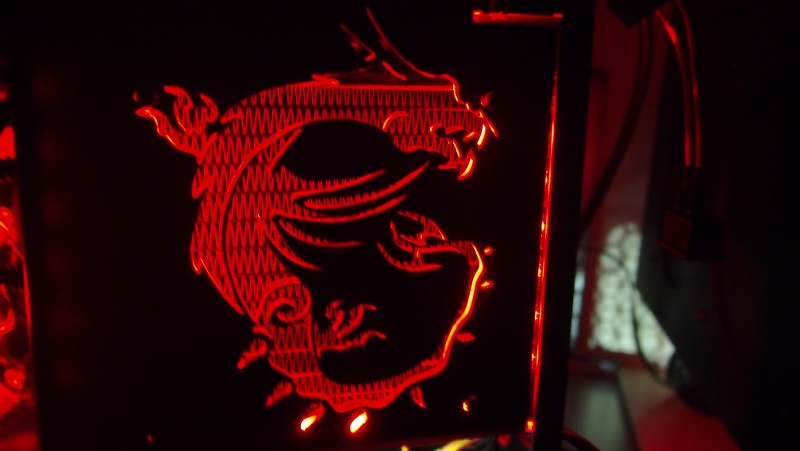
The plexiglas is special kind that changes colour with the light behind it. Put white LED behind it and the entire panel becomes a white glowing plate. I am hoping the dragon will have its outline highlighted with light when I add a few LEDs.

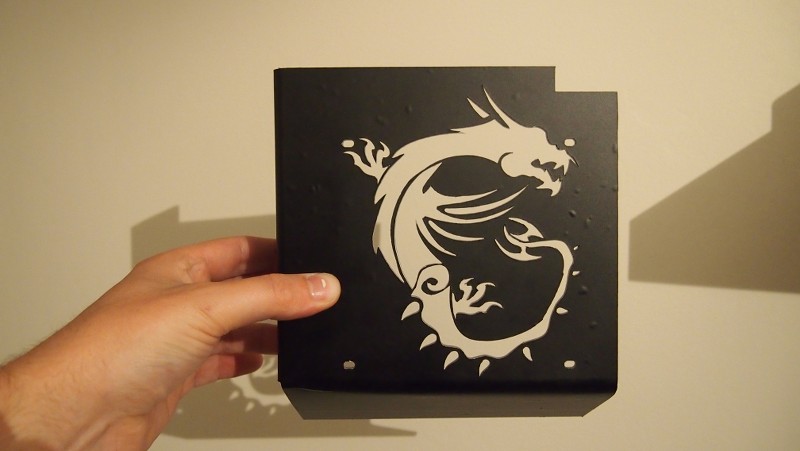
First I apply a layer of white vinyl, then a layer of black vinyl. This way hoping the light will be spread evenly and won't be visible through the vinyl itself.

I cut out the image with a super tiny knife out of both layers.

But fiurst off all I bended the edges to make sure the radiator and fan cannot be seen from any side.


This part I was making myself. I bought the Silhouette Cameo not too long ago and wanted to try something with it.

It is basically a backplate for the gfx card. But it also reaches out downwards so the gfx card becomes almost entirely invisible.

I gave it a base layer of transparent red and over this a black layer with gfx cut out of it.
Then I cut some white letters for on top of it. The Nightblade logo will be illumnated from below.

I cut the bottom left corner from it because the 8 pin EPS cable runs underneath it and on the left side up again towards the motherboard.

I hope you guys like it.


The backplate/shroud looks very nice, it looks professional and it's almost as if it came with the case. It should give the system a nice clean look and I can't wait to see it all fitted (I know theres a photo of it fitted but thats not with the design :D).

As always, smashing work :)

Thanks man :)

I show one thing at a time haha. Otherwise the log will be done in 15 miinutes ;)
 
yes I noticed that you give one dose at a time. keep your audience on their feet itching for more. haha

b/w its looking really nice

Thanks Faheem :)

------------------------------------------------------

I went ahead and bent the other plexiglass piece I had lasered.

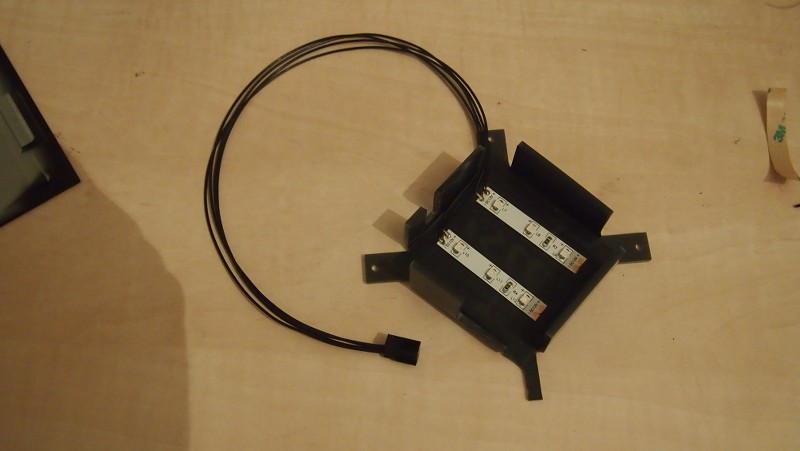
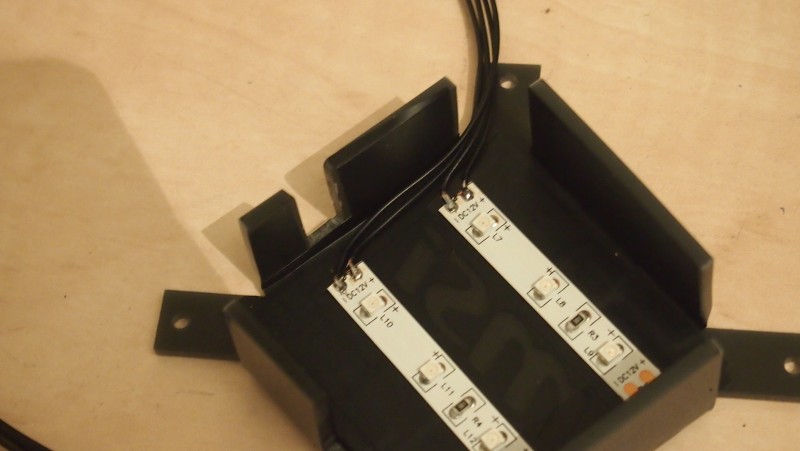
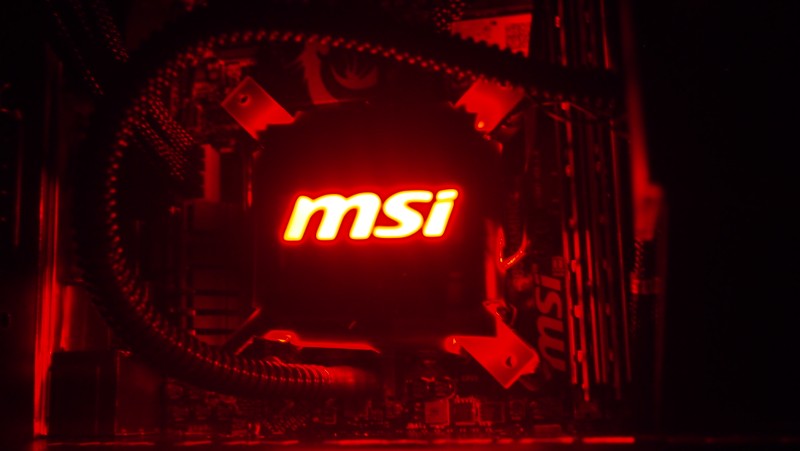
It is a cover for the CPU block so I can again add an illuminated logo to it.

I used the vinyl to create the logo and added 2 small LED strips to give indirect light to it.

The cover actually clamps to the CPU block/pump now after bending the acrylic.
I had to take a small bit from the bottom of the cover due to the coolant hoses and a small piece because of the power cable.

Next update I will show the items illuminated.


I can't wait to see the plexi glass CPU block cover lit up with the rest of the system powered on as it looks excellent. I wish I had the skill to design and make additions such as those as it adds a whole new level of quality to the build. :)

Stunning work and I can't wait for the next update :D

Thanks a lot :)

Hope it won't dissappoint.
 
that logo will be a real eye candy when illuminated.

I hope so :)

I see the master is at work ! how are you heating for the folds, wire or gun?

Up untill now with a heatgun on everything that I have done. I would like to have a decent tool for it to make the bends perfectly straight. But I can't buy and store everything I want in the world :D

But I do think a wire one day will be one of my tools.
 
I forgot to show this up untill now.

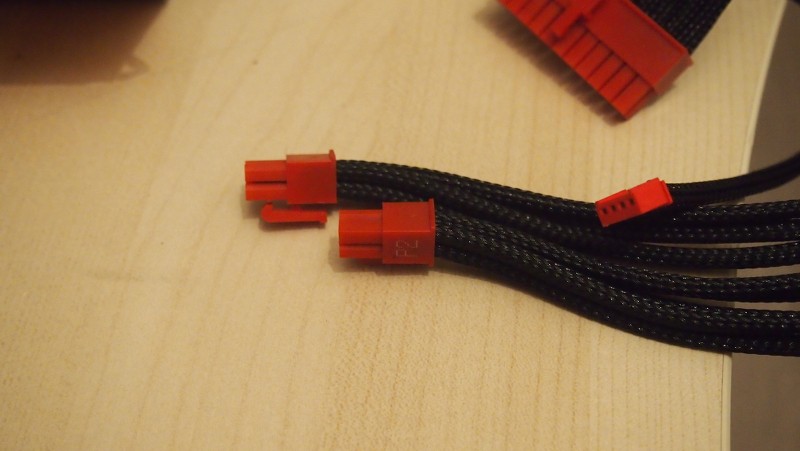
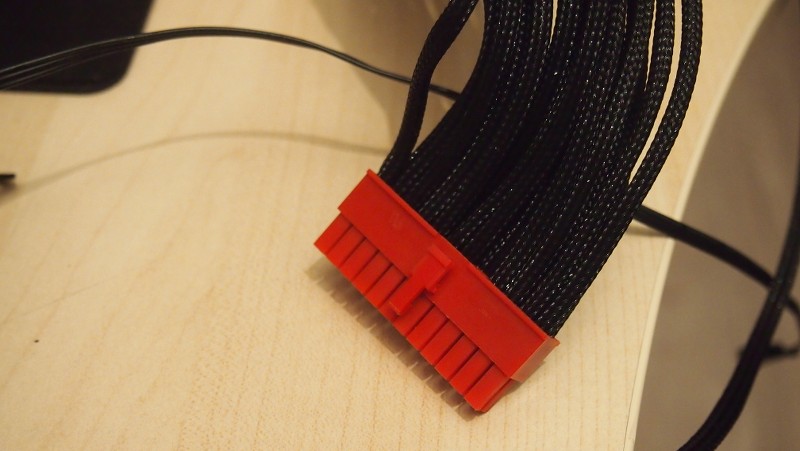
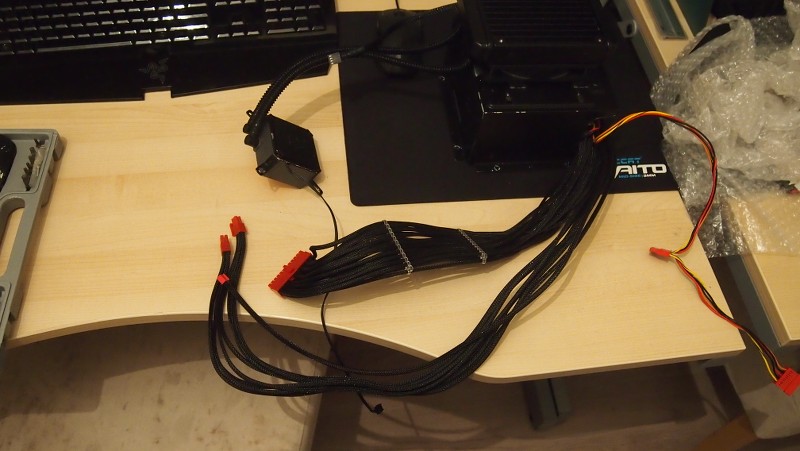
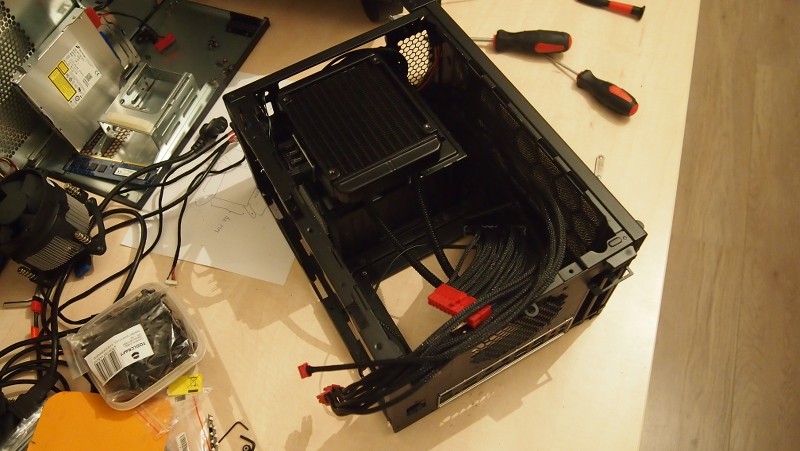
I decided to sleeve all visible wiring with black sleeving.
Usually I do a colour theme to the sleeving jobs.
But for this system and its many illuminated parts I decided to just go with all black and keep the original red connectors.
This because they will now just look clean and tidy. No original coloured wires. Make the entire build look a lot cleaner. Less busy. Which was for me the challenge doing this project. To open up the inside and make it look less crowded even though it is a small case with a lot going on inside.


Those cables look very suave. I especially like the red connections on the cables as it just adds a subtle hint of colour without being too garish. The black colour also adds a nice stealthy look to the system as it pairs well with the case interior being black. :)

Thank you TechMiner :)

Interested to see the finished product here, being such a small case you even thought the same yourself that it will be difficult being so small. Looking at it so far I like it.

Thanks Craig :)

-------------------------------------------

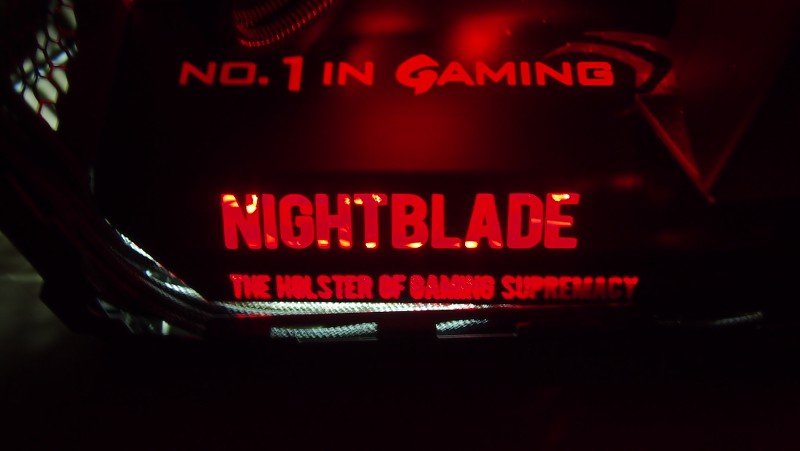
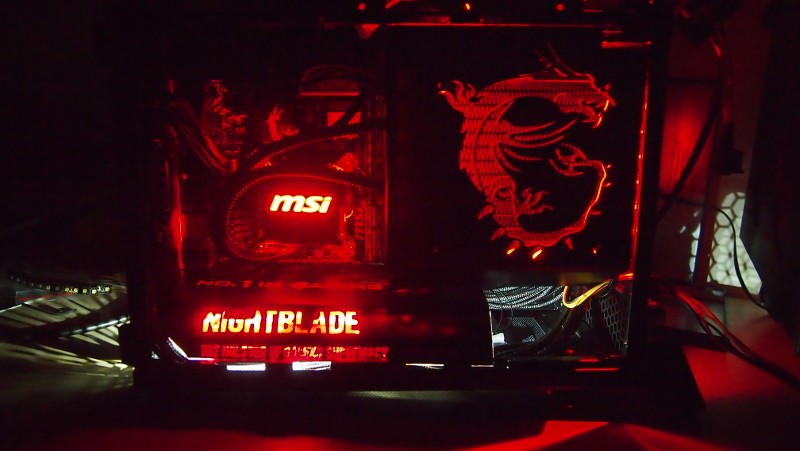
I promissed these photos earlier on. Here are the photos showing the current parts together and illuminated.


Wow, that's some serious illuminated 'bling' :)

Very tastefully done Hukkel

Thanks a lot Luggs :)
Very nice to see you following it.

The LEDs light up the system nicely. I love the overall look of the system as the black colour scheme with red accents really does give it an agressive but stylish look. Can't wait for more updates :)

Great work :D

Thanks TechMiner, I hope the balance will stay in the end as well.

very very nice and quite inspiring

Thank your GSXR :)

Nice custom touches, love the build!

Thank you n14hta
 
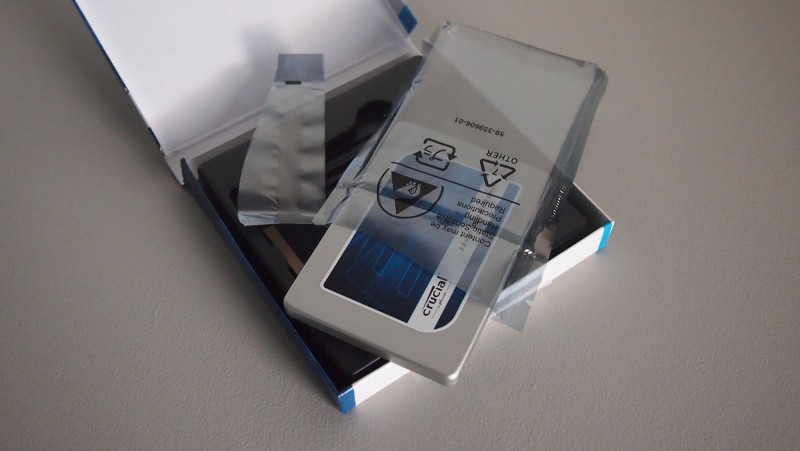
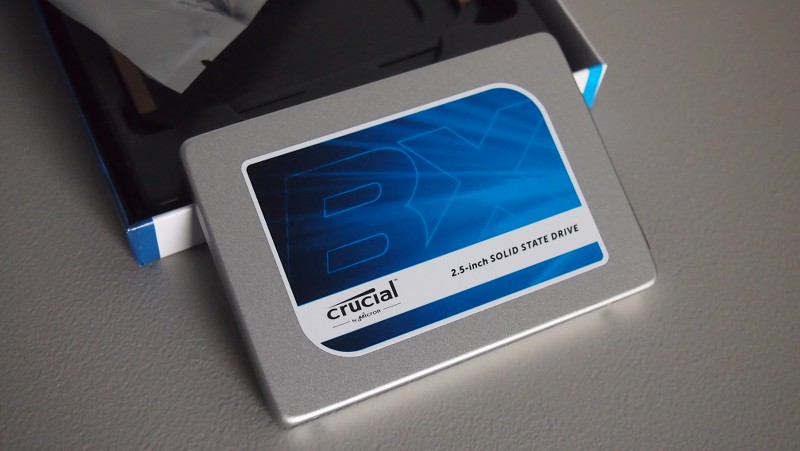
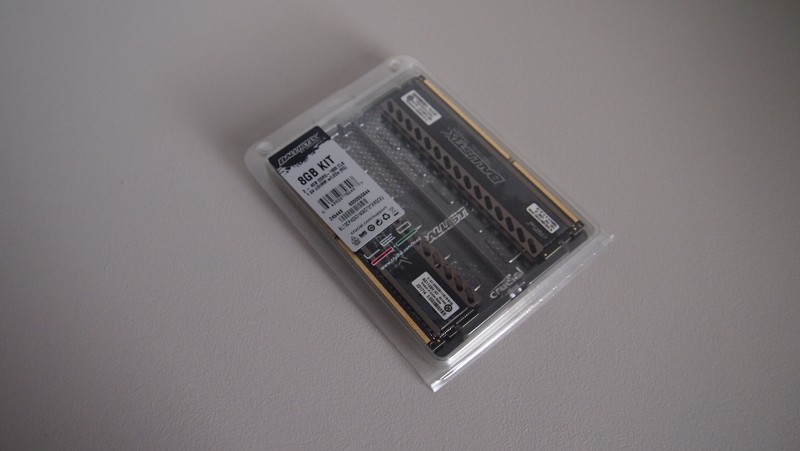
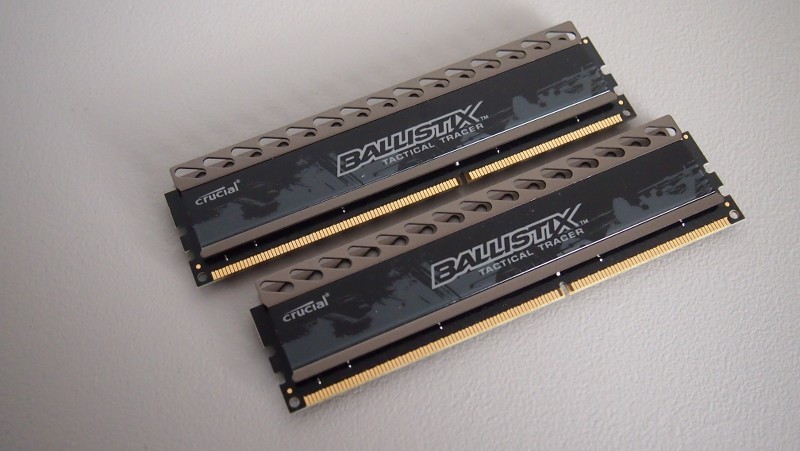
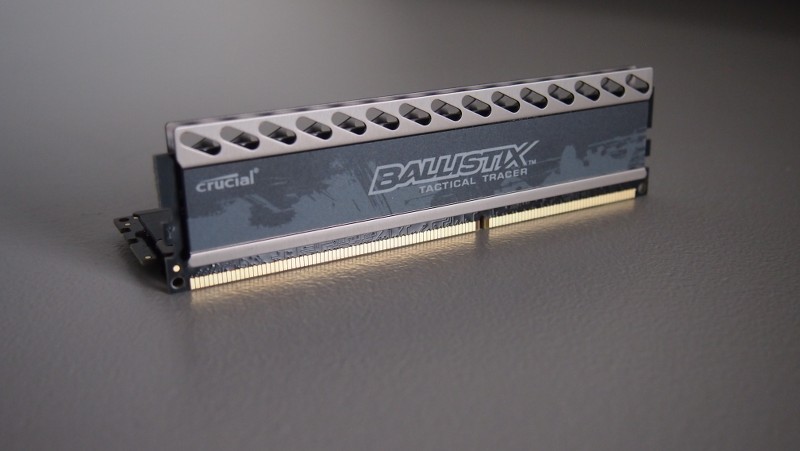
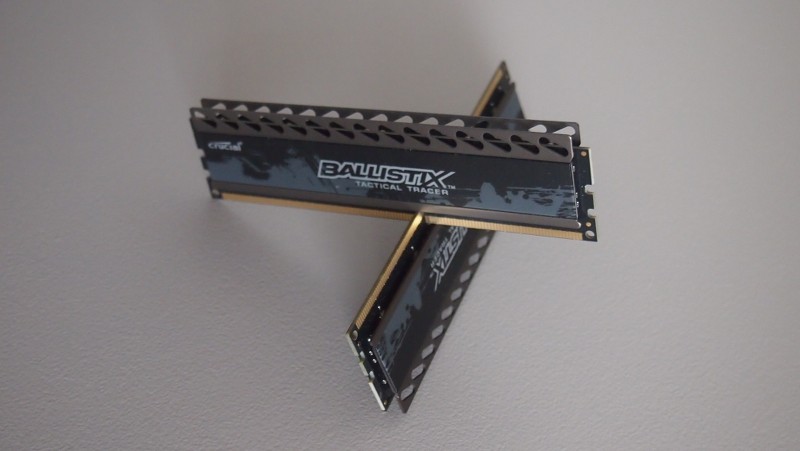
The Nightblade came with the original 3,5 inch 1TB HDD and a single stick of bare (non black PCB) memory. As you can see due to the radiator mounting there is no more room for an HDD. And the memory stick would look terrible in the Nightblade.
So I contacted MSI about this and they gave Micron a call. A company that works with them more often. Which houses the Crucial brand we all know from their... memory and SSDs.
The agreed to help out with the project.

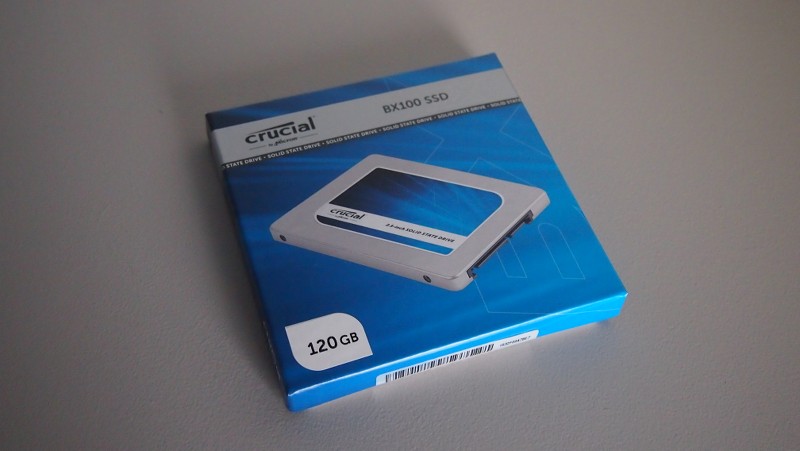
Now I do not get to keep the hardware after the project. It will belong to MSI 100%, but I still want to thank them for helping out as it helps the project a lot. Here are the photos of the black Crucial Ballistix Tracer set and the BX100 SSD.

Now the memory fits in perfectly, but the SSD....I will have to adjust a little. Which I will show in the next update.


Thanks for the help Crucial!

 
That RAM looks very nice, I'm normally not a fan of the Crucial RAM as I find their designs a bit garish but this set does look quite subtle and stealthy so it should fit in well with your build (Certainly better than the default stick) :D

Will you be doing anything regarding the branding/colour scheme of the SSD though as although I'm sure it has decent performance the blue may look a bit out of place in the build.

Can't wait to see what ideas you have in stock for the hardware :)

Thank you. I hope this post answers your question :)

Looks really good so far, going to keep a close eye on this :)

Thank you Alex.

Looks incredible!

Thanks Jamdude.

Do like the tiny case

I was asked to also give input about the case. I actually think the way they designed the inside is pretty good. A lot can fit into such a very small case.

Design wise it will not be everyones cup of tea. But that is with every case design. I do think you can make a full hardcore gaming system in this. I would leave out heavy overclocking though. But maybe there is even something for that :D

------------------------------------------------------

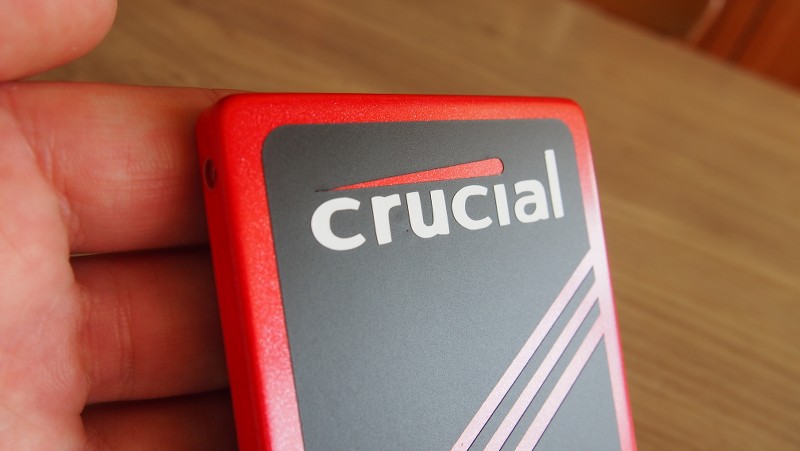
Time to get to work on the SSD.
Sadly I didn't make any photos of the proces of making it like this.
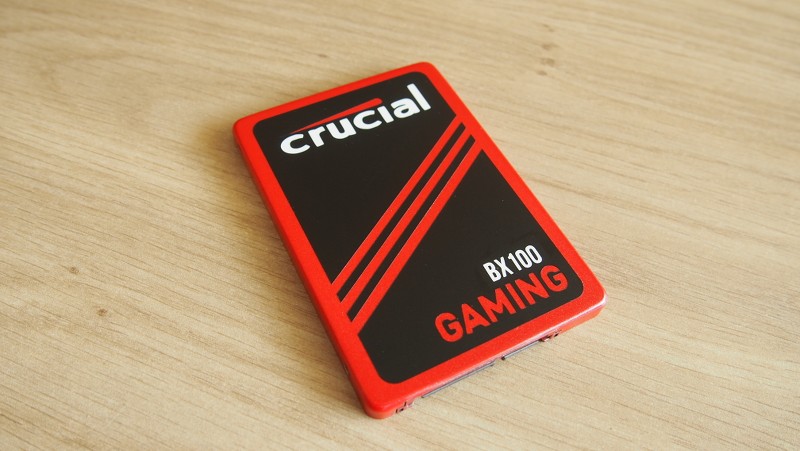
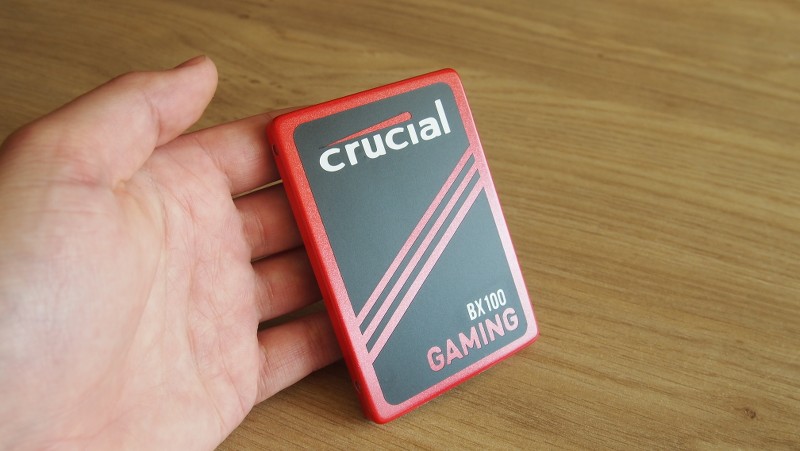
After removing the stickers I found that the casing has a metallic silver finish.
So I sanded, cleaned and primed the casing first (after taping the connections).
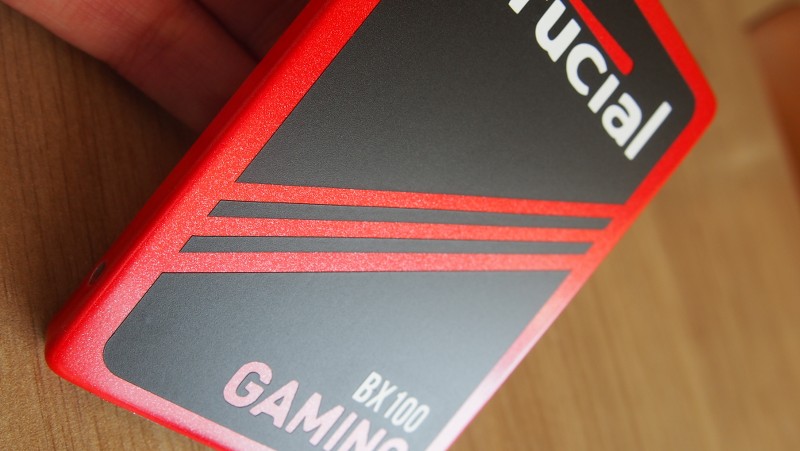
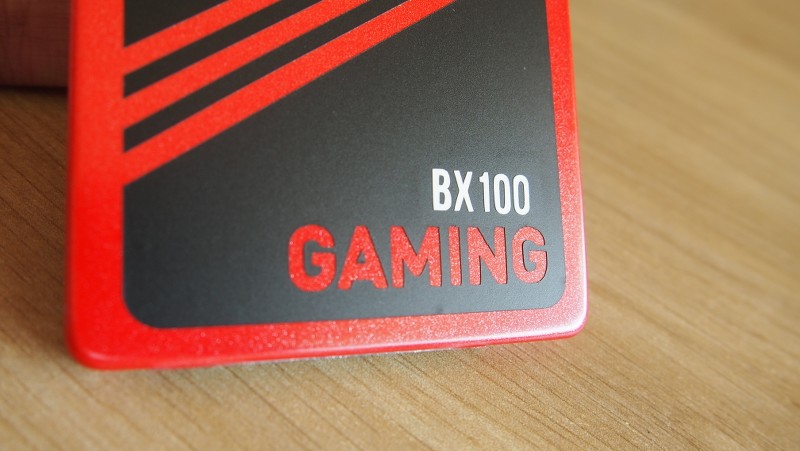
I then gave the casing multiple layers of metallic red paint.
After this the casing received multiple layers of matt transparent.

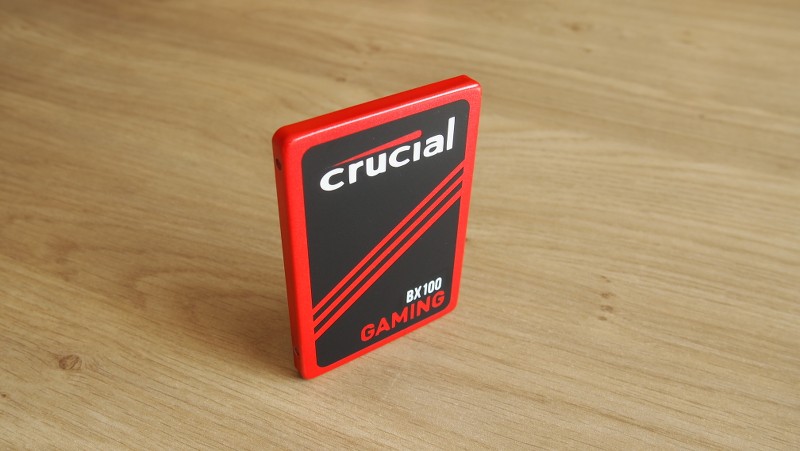
I then thought about a design for the SSD.

I wanted it to be recognisable as a Crucial product and breathe the MSI gaming theme.
Basically as if Crucial was selling MSI Gaming themed SSD in limited edition.

The design was cut and made using a Sihouette Cameo vinyl plotter.
The software that comes with it works great for such designs (with not many layers).

Here is how it turned out. I hope you like it.


Back
Top Bottom