Associate
Now Named! Project VORTEX!
[Edit]
Thought id add a rough list of things left to do!
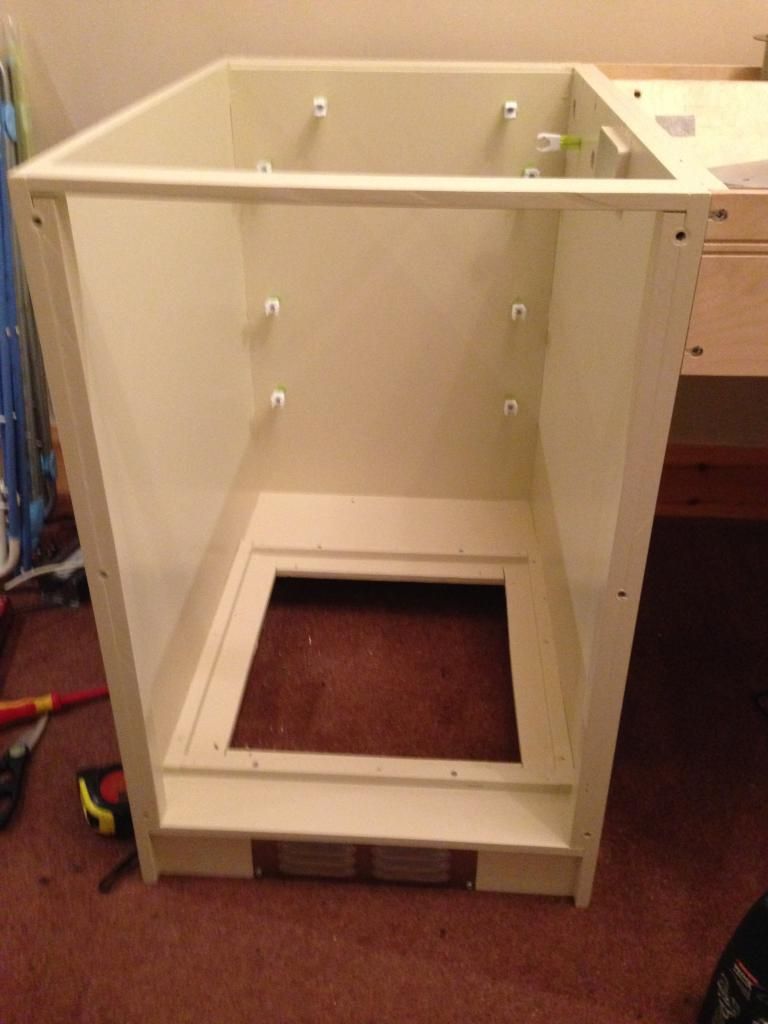
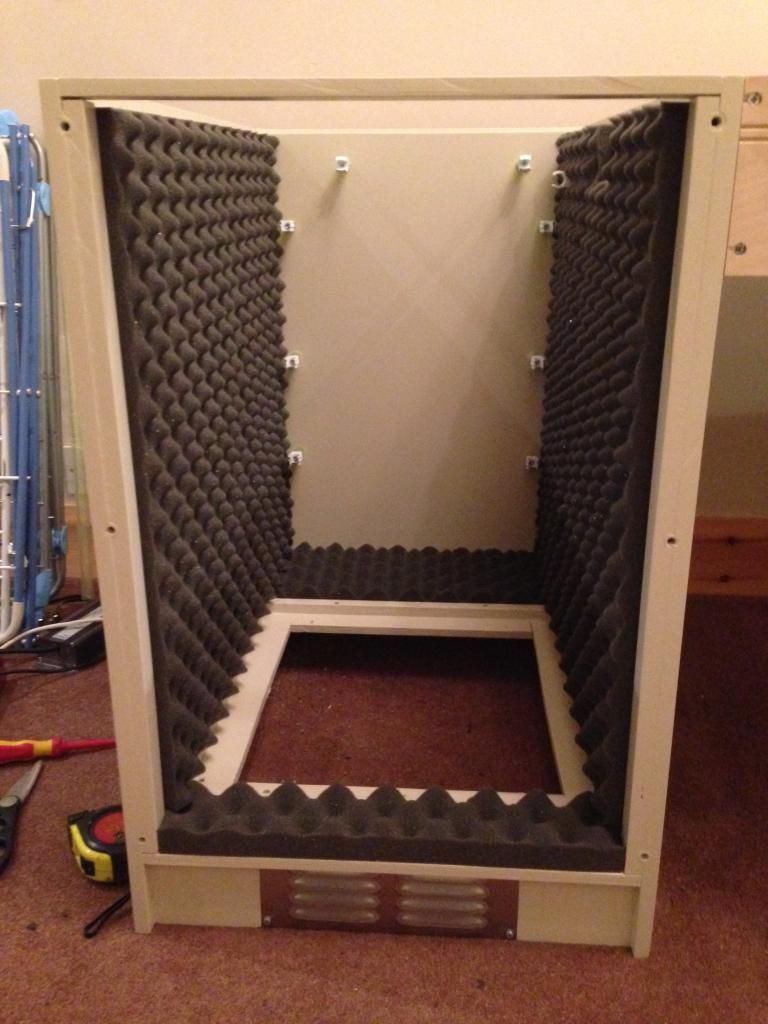
Radiator side of desk
Fill and sand ready for paint
Paint
Route fan cable neatly to rear center compartment
Route Uv cold cathode cables to rear center section
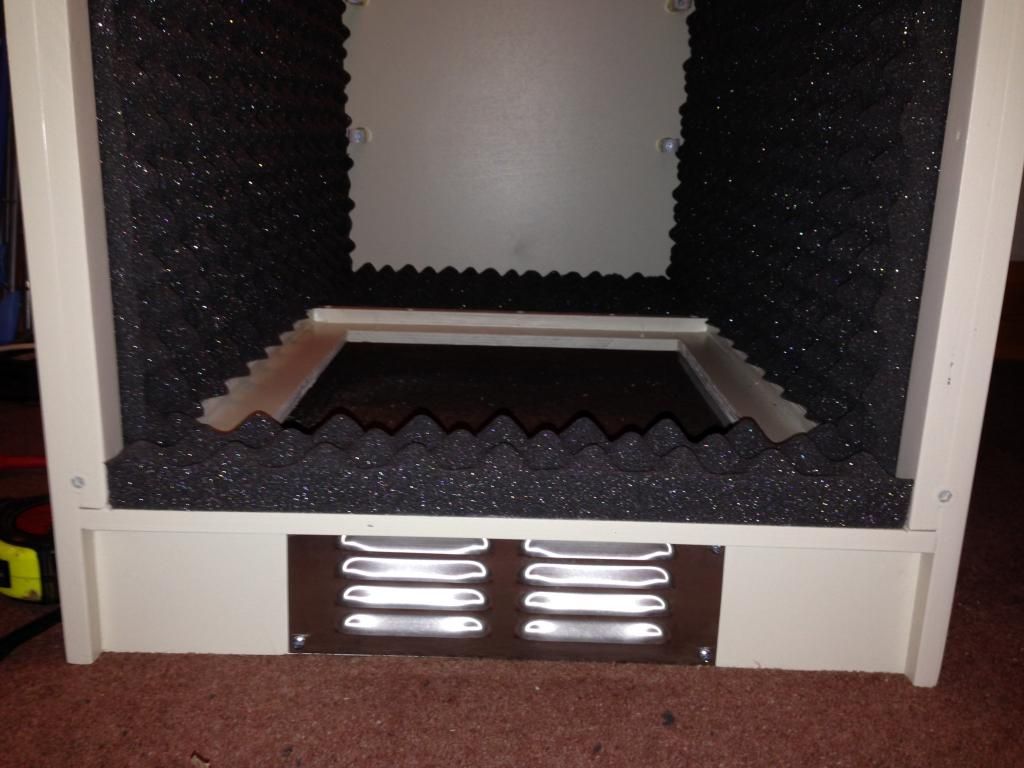
Install sound proofing
Install gasket for door
Install gasket for top
Install Uv cold cathodes
Install white led directional lights
Install hinges for top
Install Actuator for top(unconfirmed)
Power/Filter side of desk
Design and build a filter panel
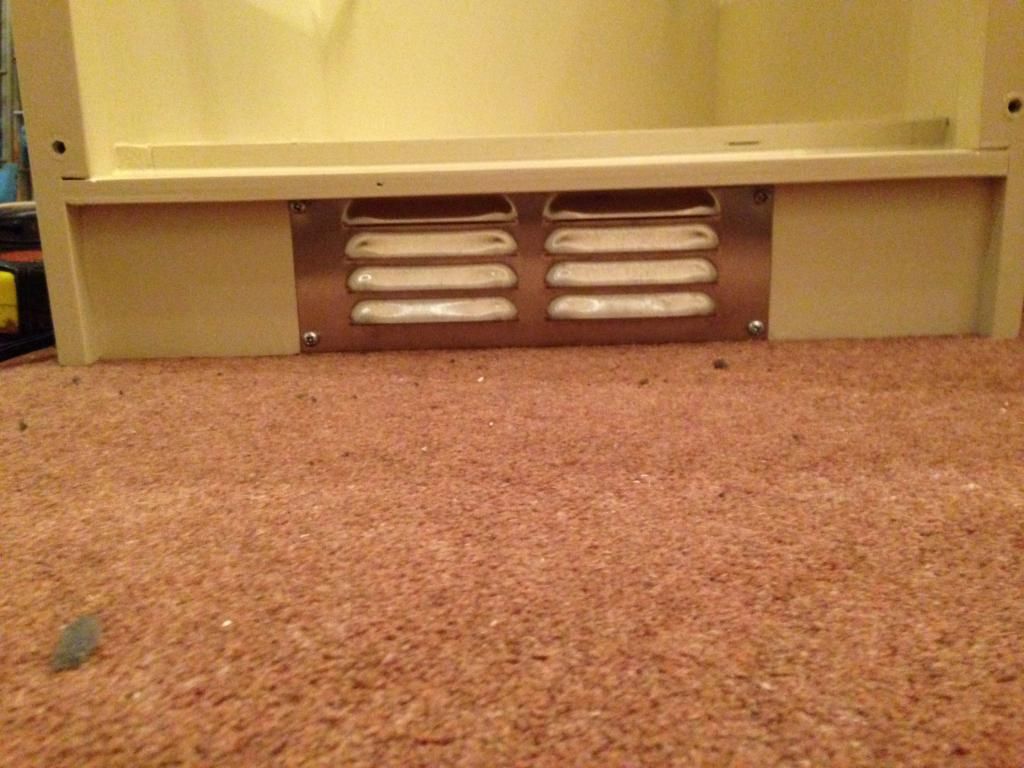
Install ducting for intake
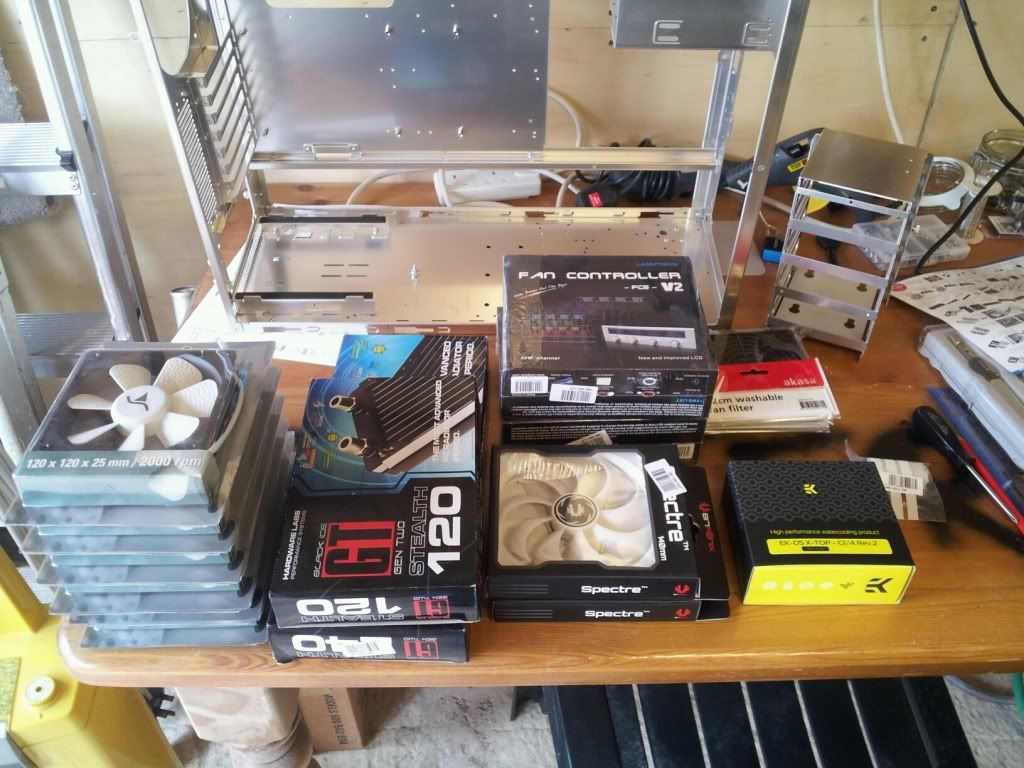
Make a tray to house all the control gear for the fan and various electronics
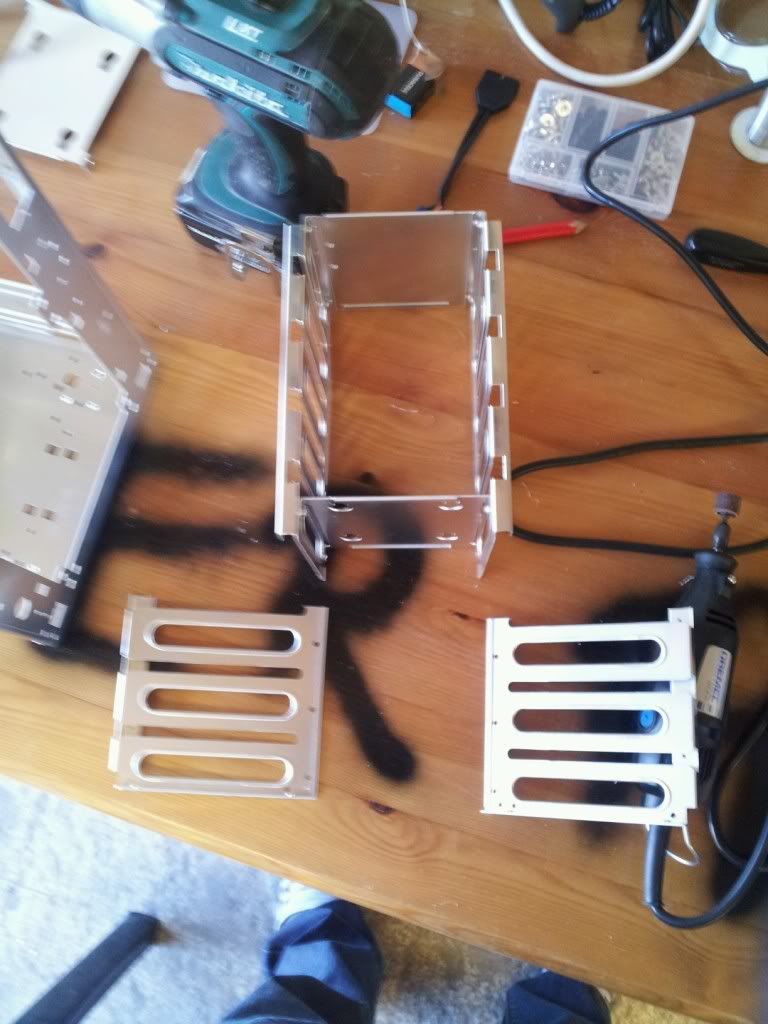
Make Hdd tray
Wiring
Wiring
Wiring lol
Finnish making the door
Fill and sand
Paint
Gasket for top
Install actuator for top(unconfirmed)
Install hinge for top
Pump/Resi Section
Route and the cabling through
Mount the pumps
Cut appatures for PSU
Install PSU
Finnish plumbing up pumps and resi's
Install leak detection
Soundproof(based on db levels)
Gasket for top
Component section
Decide on components
Work out cable routing holes
Cut said holes
Make GPU mounting bracket
Make SSD mounting brackets
Resleeve miles of cables
Install Uv lighting
Install back lighting
Finnish plumbing
Decide on finnish for aluminium panels
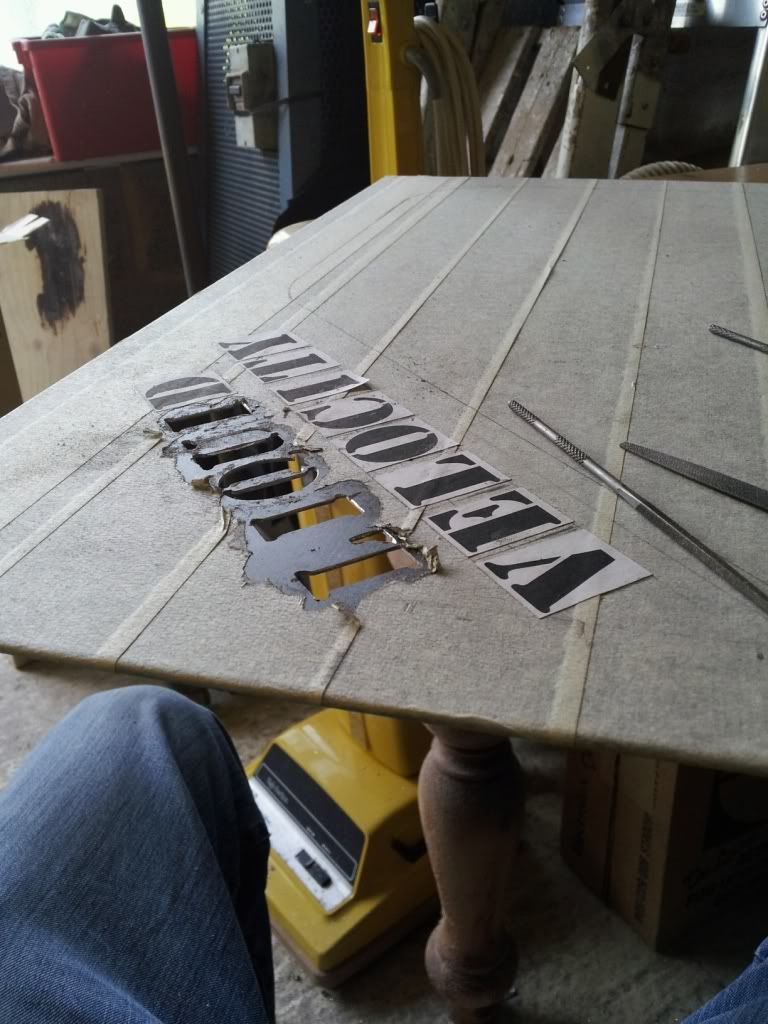
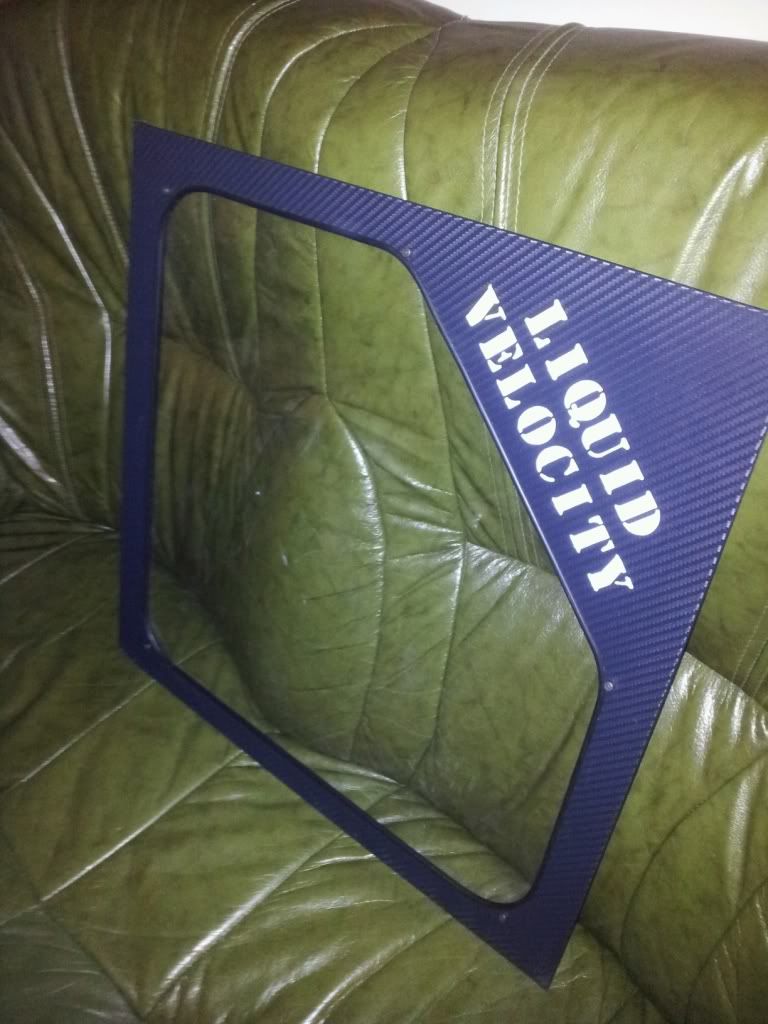
Finnish backlit logo
Gasket for top
Paint
Desk top
Cut Oak top to size
Cut window appature for component section
Cut appature for instrument panel
Cut window appature for radiator(unconfirmed)
Sand with like 10000grit sand paper to get super smooth
Finnish in protective coating
So first off let me say a little about me, im 28 from leicestershire, im an electrician by trade but ive been tinkering with computers since i was young.
Ive been using OcUk for my last maybe 4 builds so approx 10 years but only really thought recently to share this project with the forum!
I feel i need to give you a bit of background on how my pc building/modding has progressed over the years to get me to this point so here goes....
Leading up to me starting work at 16 we just had your run of the mill family pc's like many out there, and after starting work and having money coming in i decided i wanted a pc of my own that would be better at running the games i was playing at the time.
My first custom built pc was around 2004 it was pretty basic, ordered all the parts from OcUk and even back then their customer services were impecable! The parts came a day or two later and away i went putting it together, from memory it had a core2duo, 8gig ram, a maximus formula board and 2x 8800gtx's all ran in a nice black case(which i cant remember the make) on air cooling.
The next build i got a bit more adventurous, this was around 2007 from memory, i decided to try watercooling! i picked a nice case and modified the top to take a 360 rad, painted the inside matt black and the outside in a cool chamo scheme. This build had i think a q6600 cpu, cant remember the board or ram but i sandwiched a 4870x2 in there(huge card for the case id chosen!) I enjoyed this pc for a few years but the construction and modding were a bit amateur lol
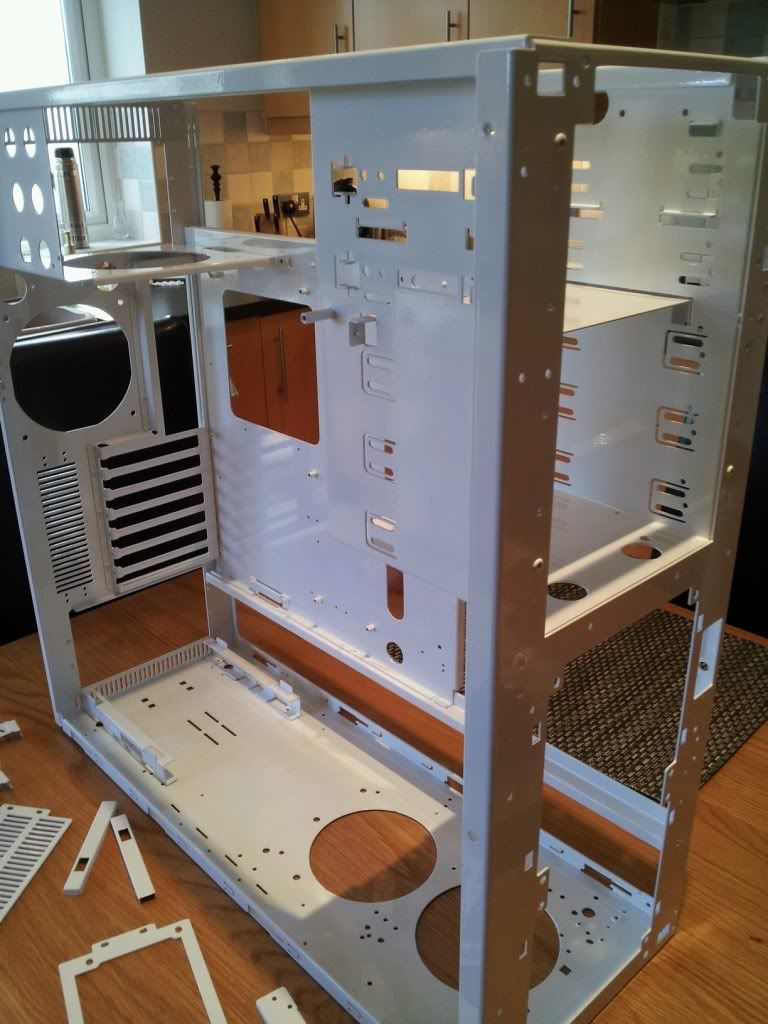
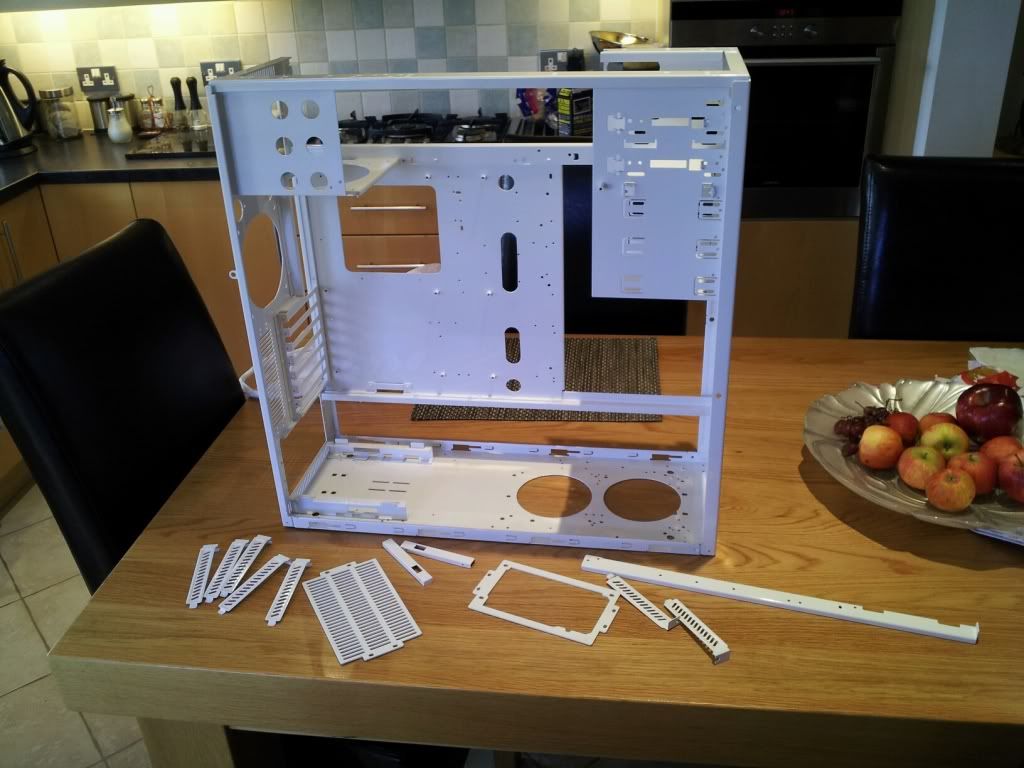
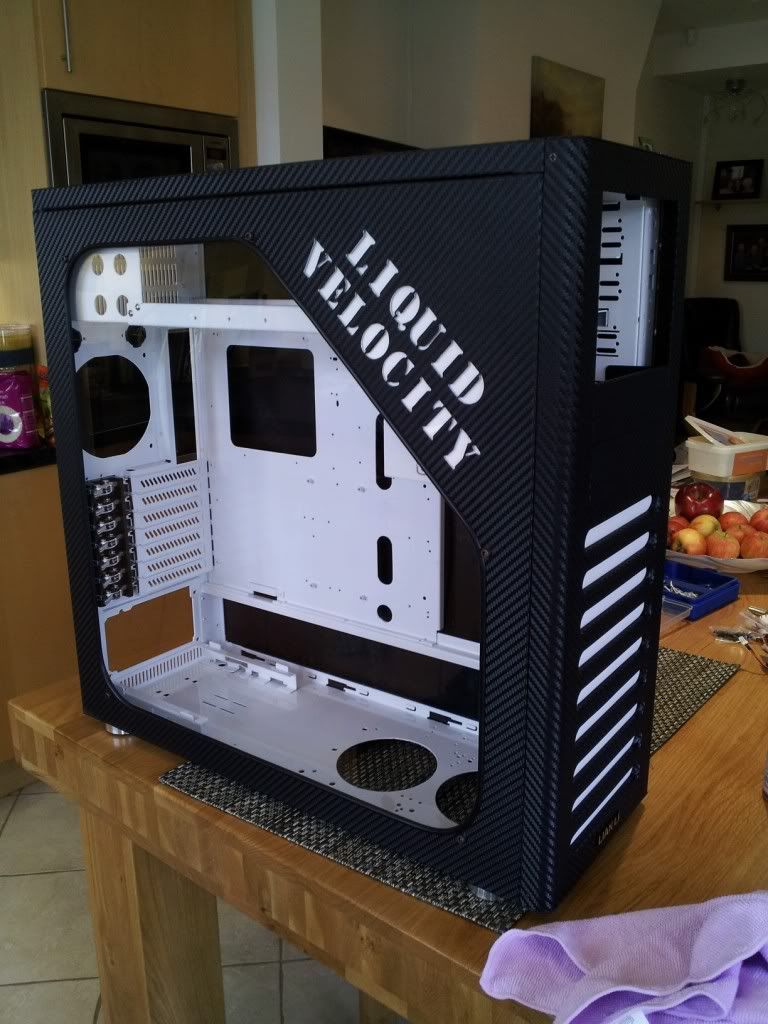
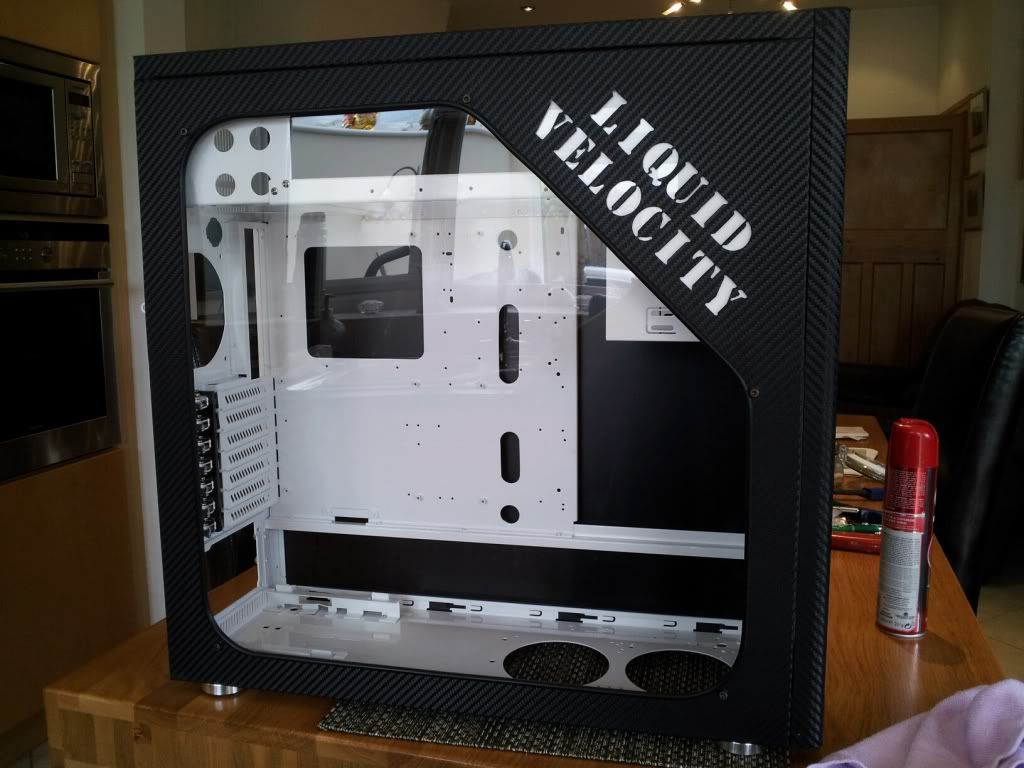
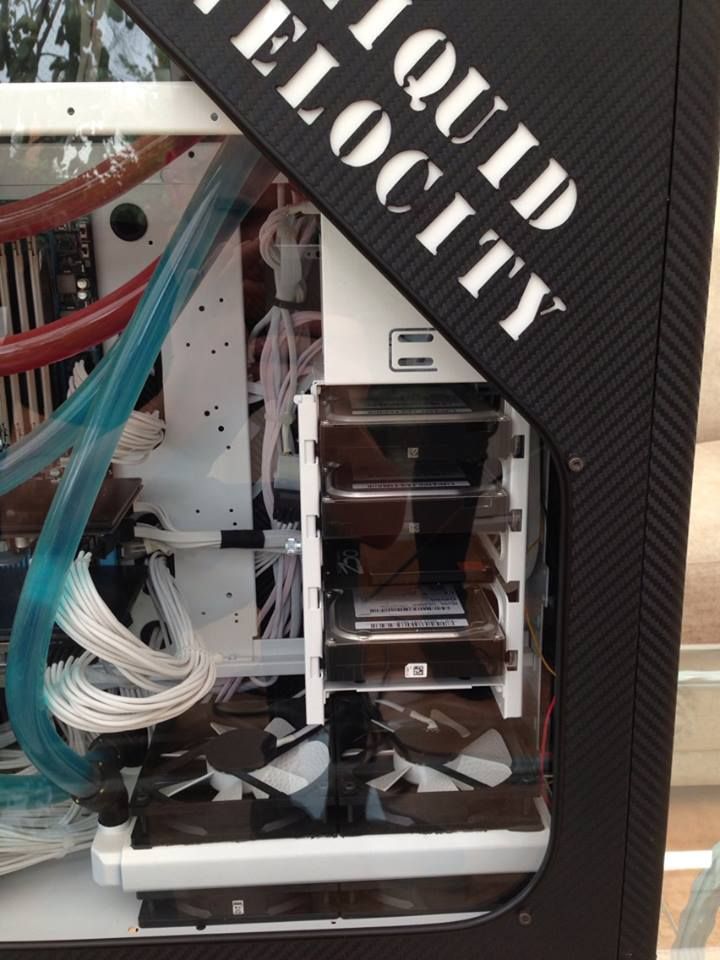
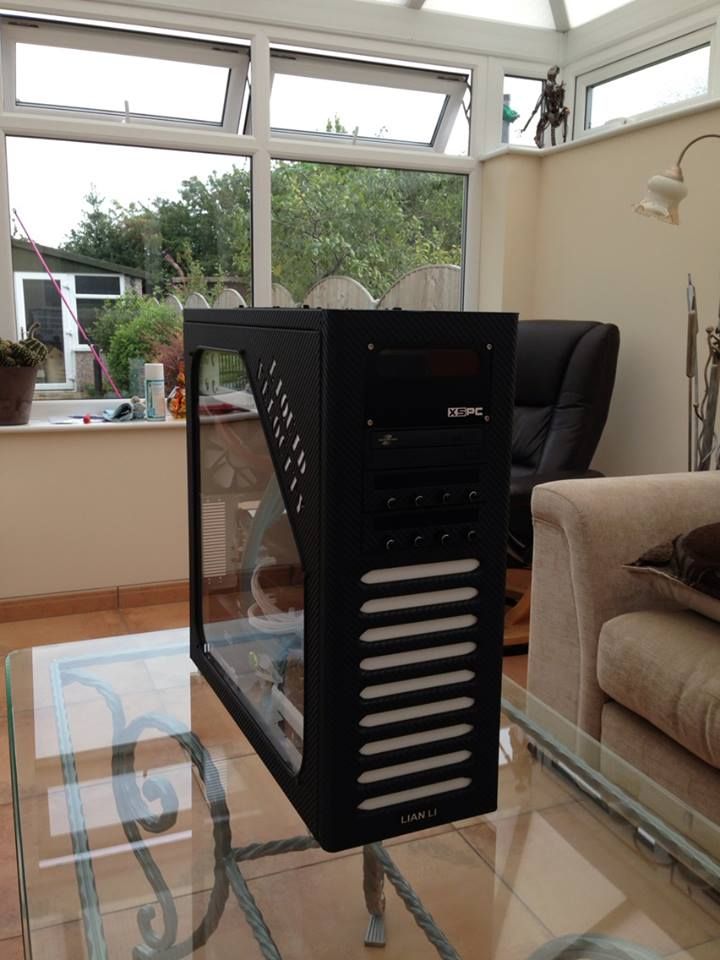
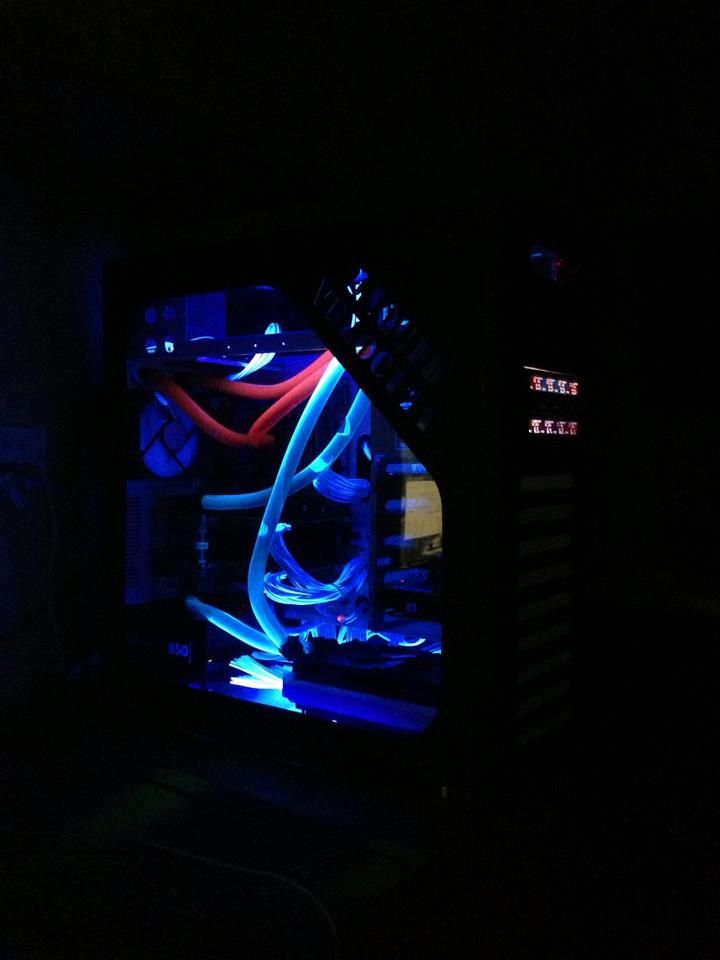
The next build and my current one i went the next step, i decided on twin cooling loops and a hell of a lot more modding! This one ive actually got a few pics I wont explain much about this build as the threads designed for the next build
  but ill let the pics speak for themselves!
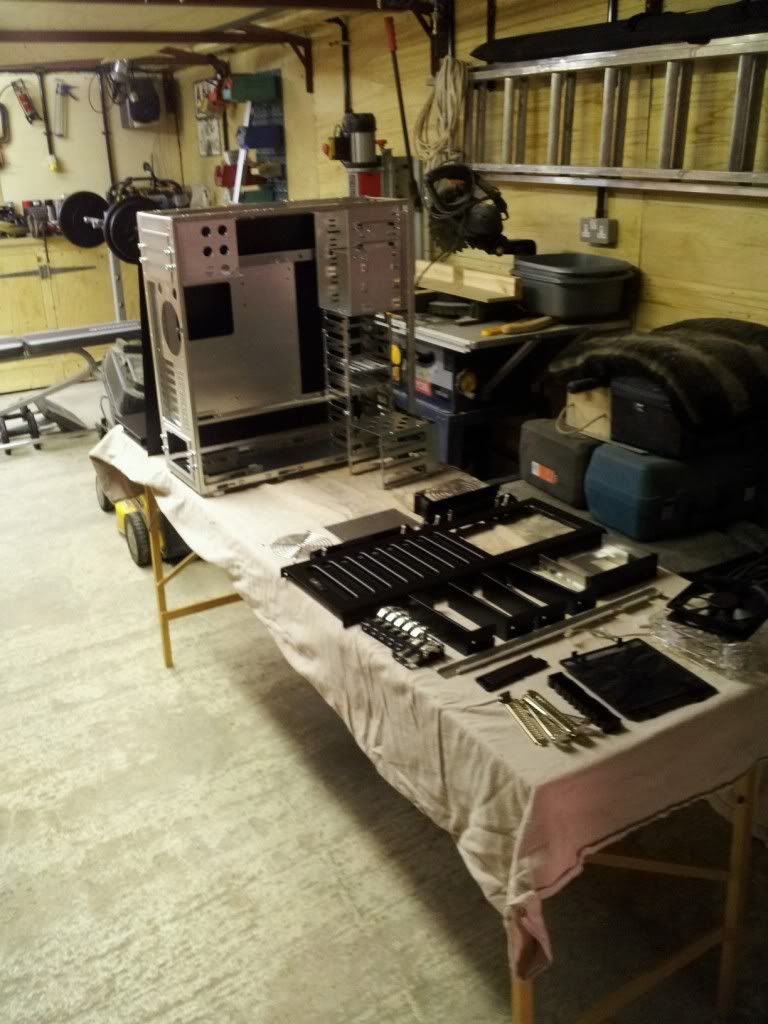
I started with a huge Lian-li A70FB case and went to town!
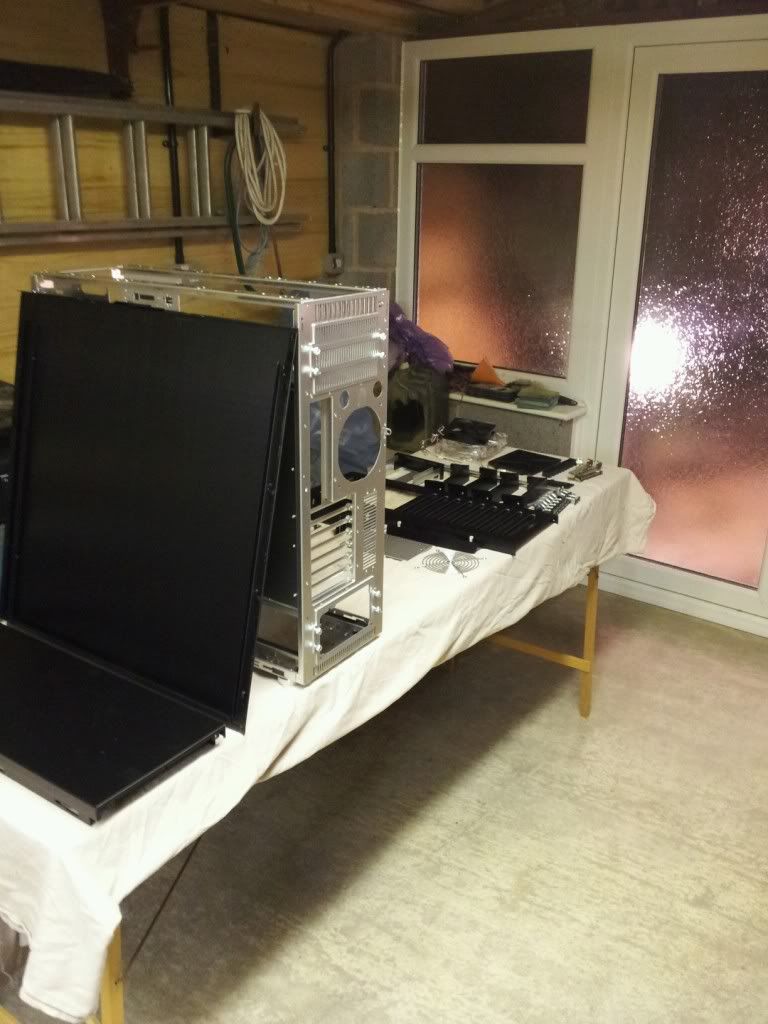
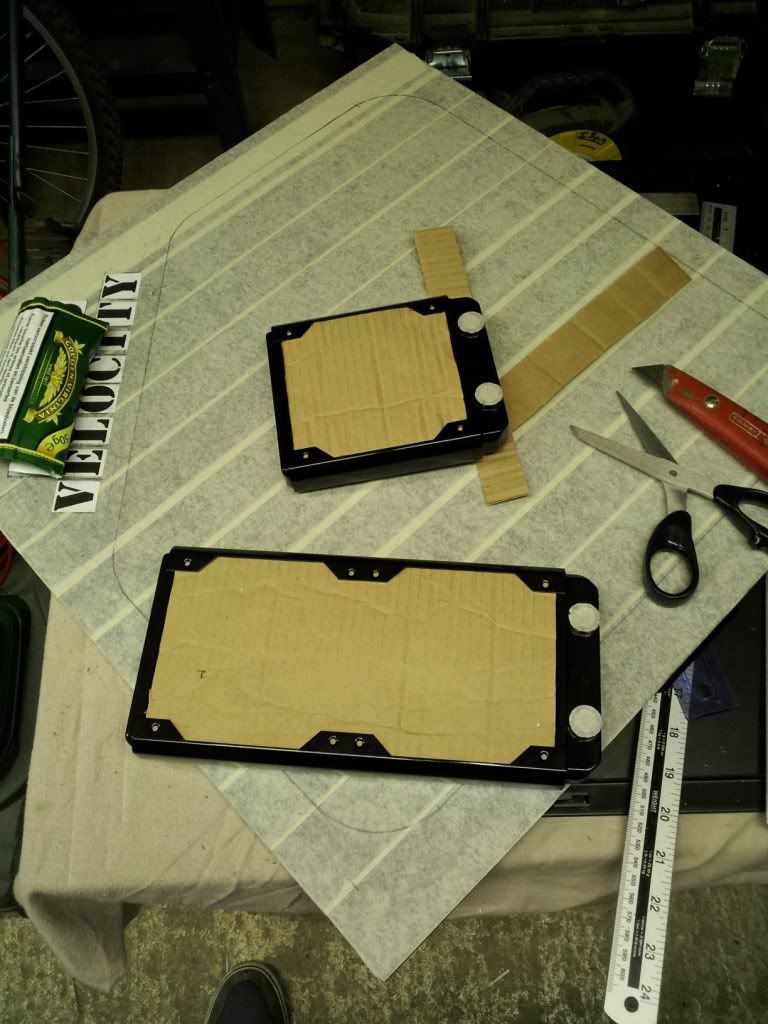
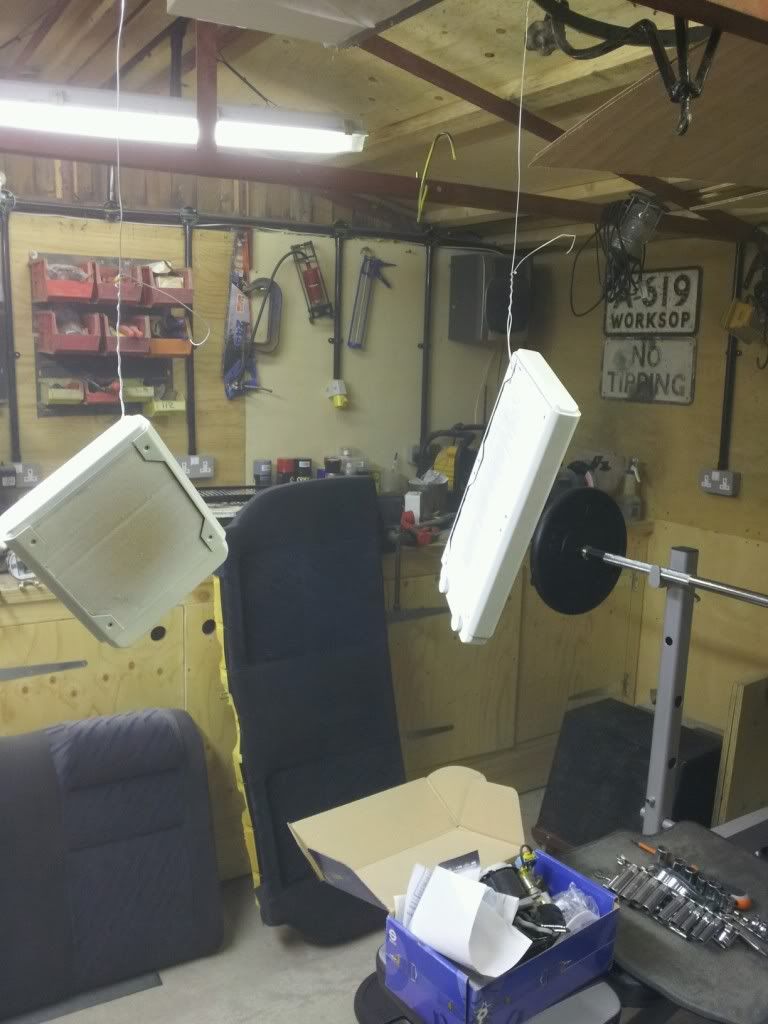
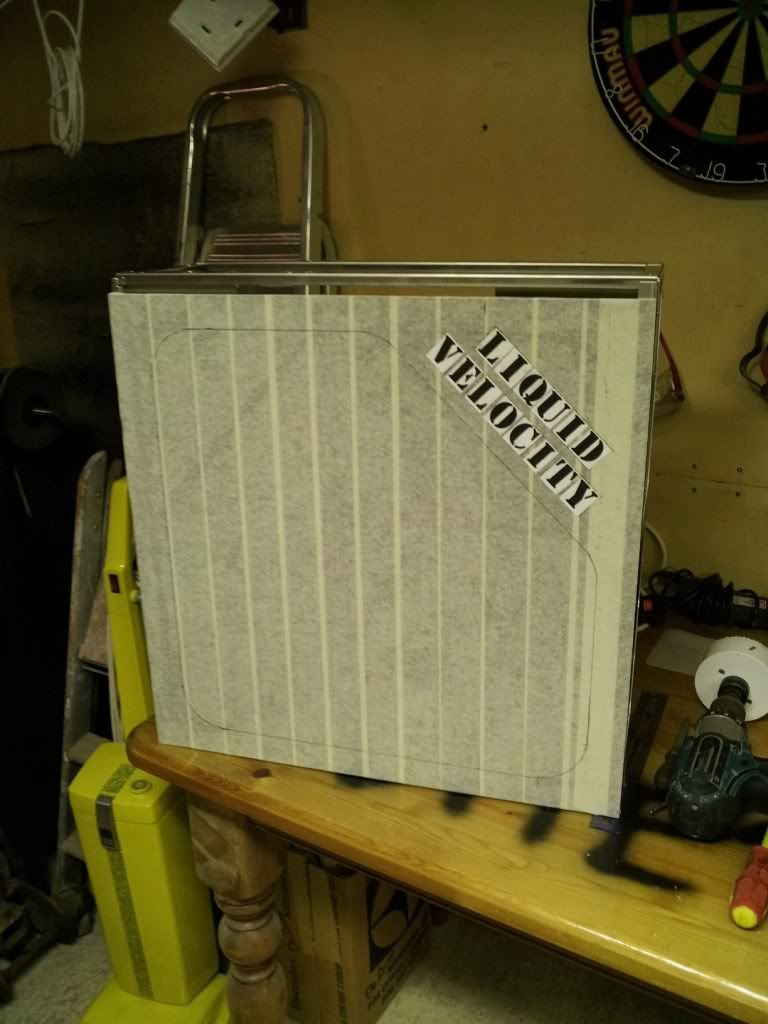
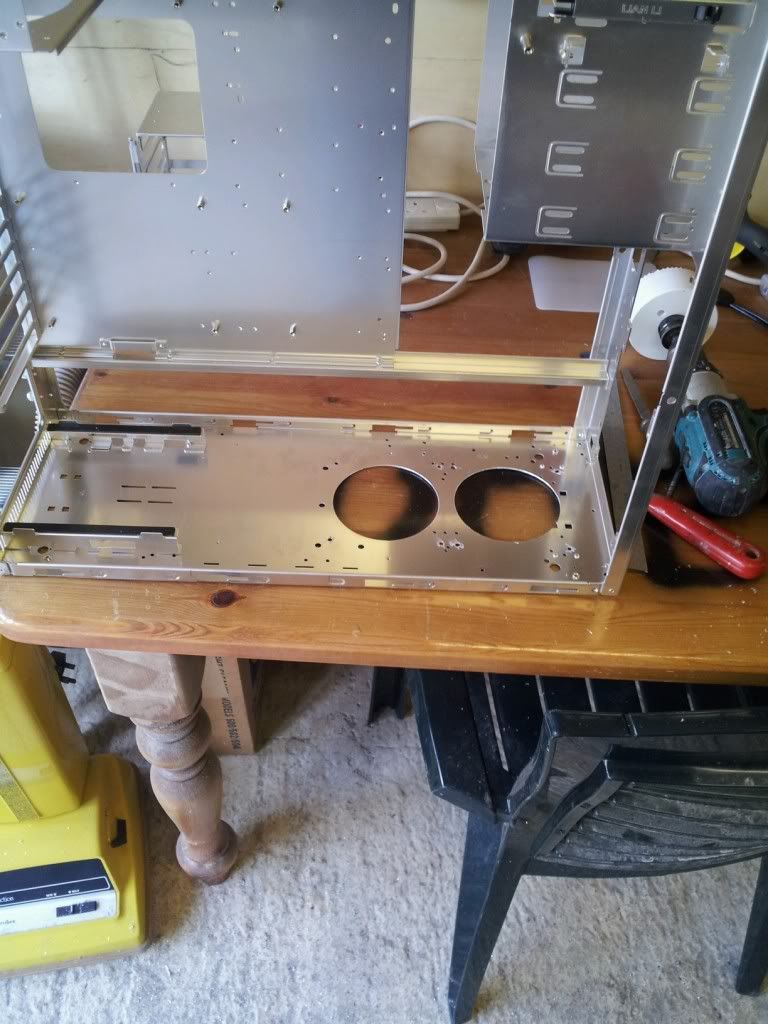
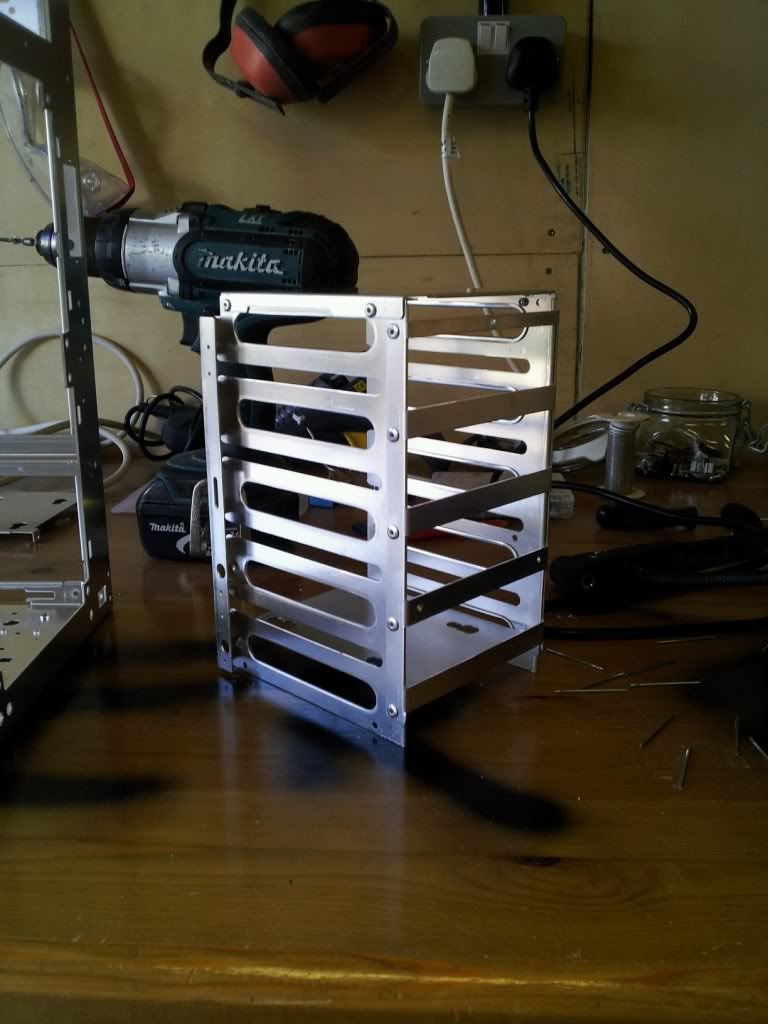
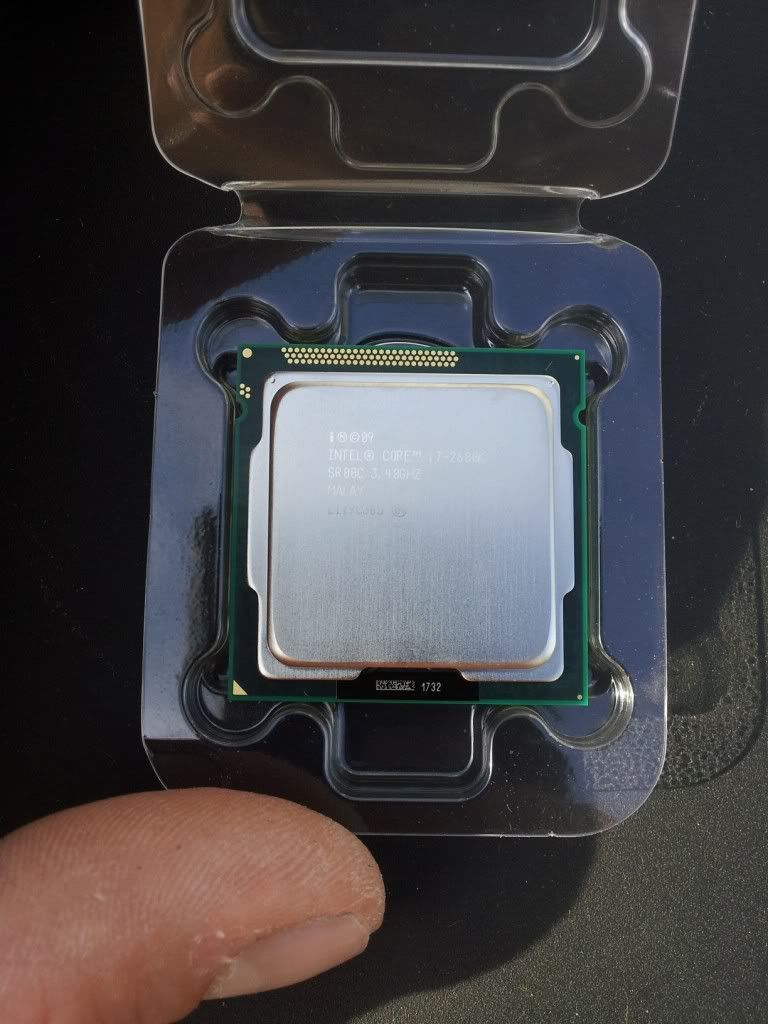

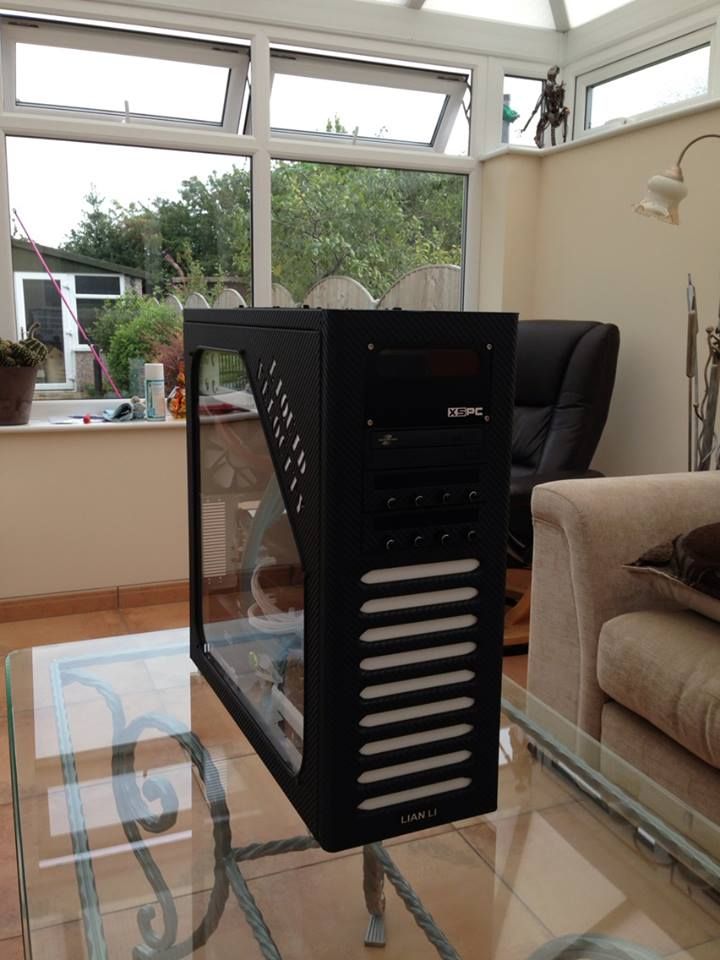
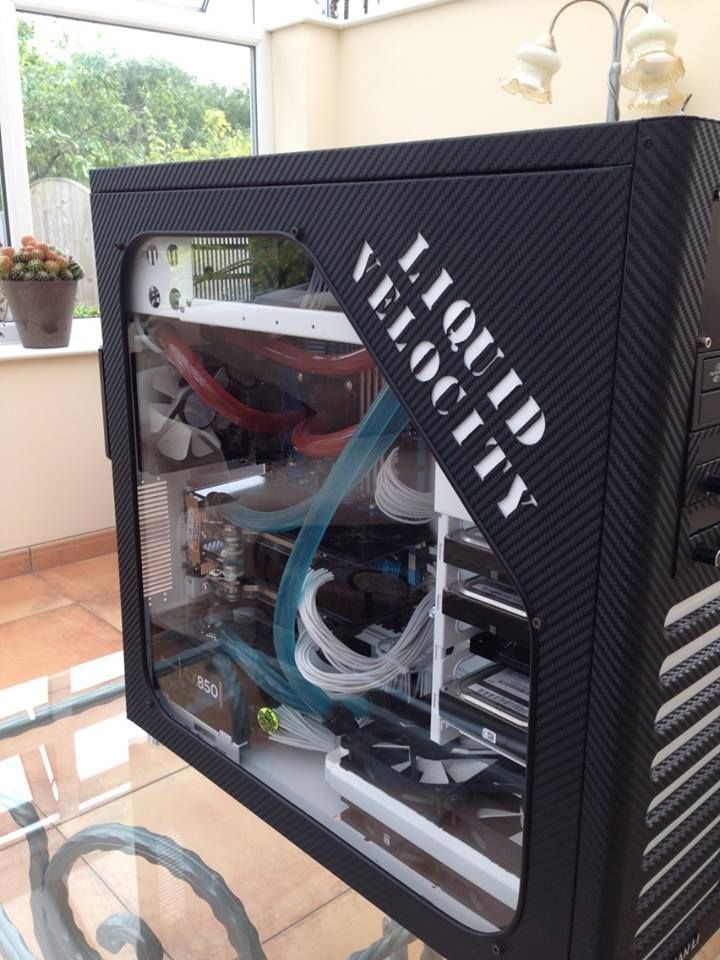
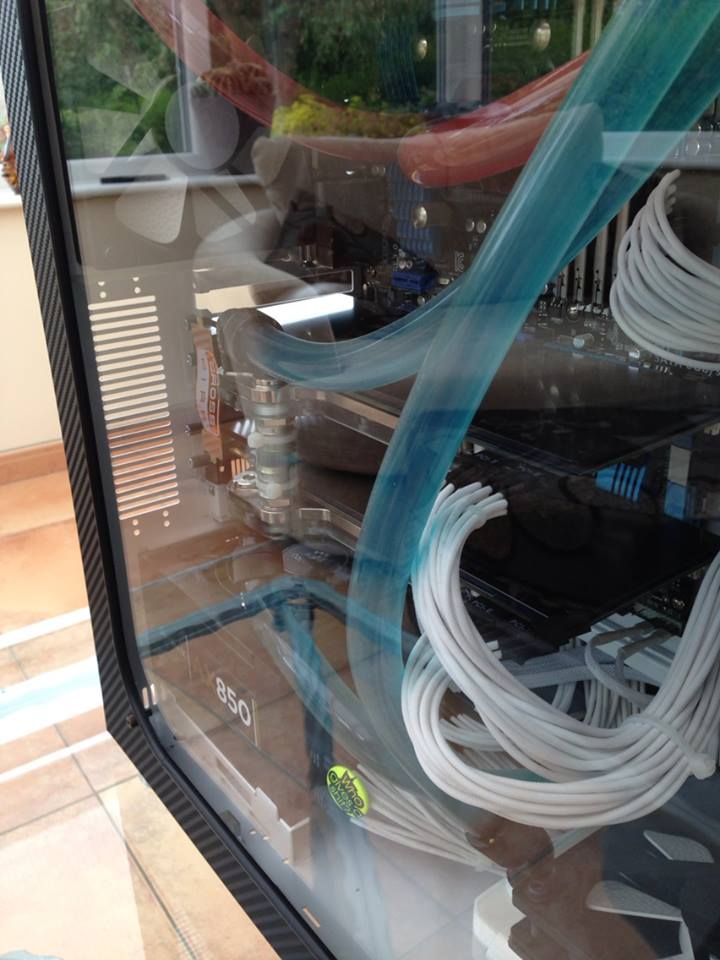

The specs...
I7 2600k
Asus p8Z68 v Pro mobo
16gb kingston Hyper X grey ram
2x His 6970 IceQ Turbos
So now coming up to the new build! My current pc is getting a bit tired and ive recently bought my first house so i was in need to two things!
1. A new Pc desk as unfortunately i cant take the one i was using to the new place
2. Pc upgrade!
So that got me to thinking, why not combine the two and make the whole desk the pc!
Great! so i had the idea and me being me if i redo ANYTHING the next version has to be bigger and better than the old one! I needed to work a few things out, so i got to scribbling a few ideas down and worked a few dimension issues out and i had some basic ideas,No google sketchups here just random scribbles on what ever's at hand!
I wanted the desk to look like a nice piece of furniture as well as a kick ass pc so convieniently it helps my brother builds high end kitchens at work! So after securing some nice beech plywood i started knocking something together!
Also at this point id like to point out i dont have access to any woodworking or engineering equipment so all the work has mainly carried out with basic power tools and by hand, oh and lots of fettling (buzz word for this build lol)
So some pics so far...

Making the sides to the side cabinets


One done! I then made a duplicate for the other side and realised the sides looked rather plain, to i grabbed a trimmer thingy off my brother with a tapered cutter and cut some grooves to make the sides look like tounge and groove paneling!


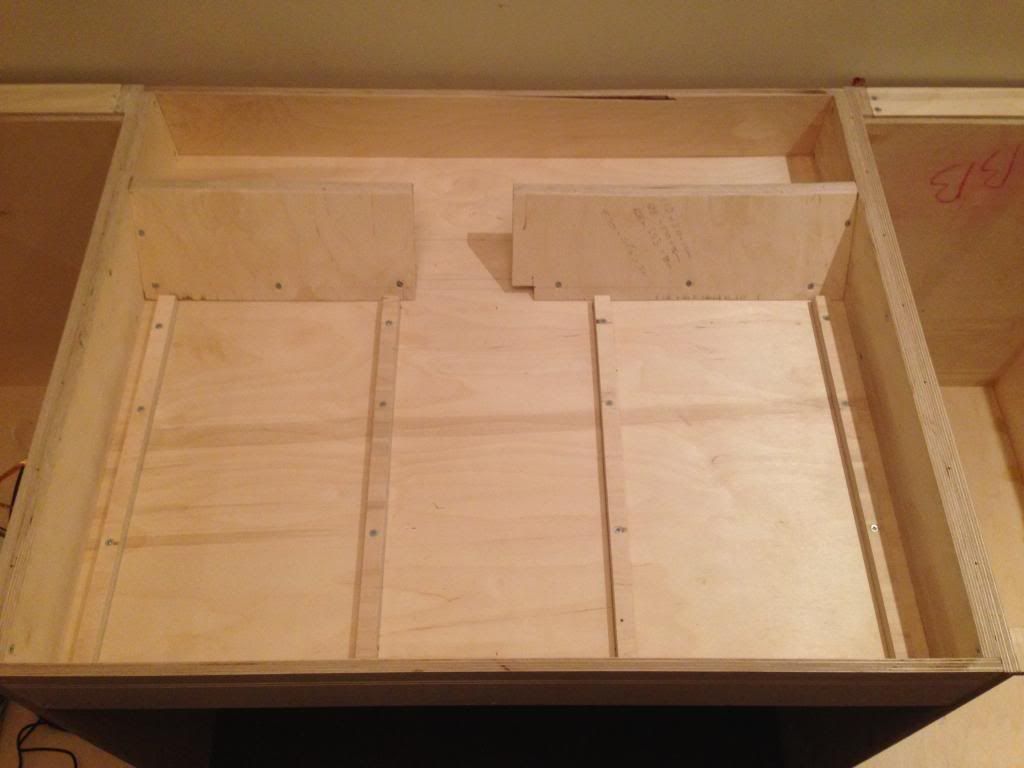
I think that came out quite nice I then made the centre section that will house the components!

Chair in there to check i fit under the thing! lol


Thanks for viewing!
FaNaTiiCz
[Edit]
Thought id add a rough list of things left to do!
Radiator side of desk
Fill and sand ready for paint
Paint
Route fan cable neatly to rear center compartment
Route Uv cold cathode cables to rear center section
Install sound proofing
Install gasket for door
Install gasket for top
Install Uv cold cathodes
Install white led directional lights
Install hinges for top
Install Actuator for top(unconfirmed)
Power/Filter side of desk
Design and build a filter panel
Install ducting for intake
Make a tray to house all the control gear for the fan and various electronics
Make Hdd tray
Wiring
Wiring
Wiring lol
Finnish making the door
Fill and sand
Paint
Gasket for top
Install actuator for top(unconfirmed)
Install hinge for top
Pump/Resi Section
Route and the cabling through
Mount the pumps
Cut appatures for PSU
Install PSU
Finnish plumbing up pumps and resi's
Install leak detection
Soundproof(based on db levels)
Gasket for top
Component section
Decide on components
Work out cable routing holes
Cut said holes
Make GPU mounting bracket
Make SSD mounting brackets
Resleeve miles of cables
Install Uv lighting
Install back lighting
Finnish plumbing
Decide on finnish for aluminium panels
Finnish backlit logo
Gasket for top
Paint
Desk top
Cut Oak top to size
Cut window appature for component section
Cut appature for instrument panel
Cut window appature for radiator(unconfirmed)
Sand with like 10000grit sand paper to get super smooth

Finnish in protective coating
So first off let me say a little about me, im 28 from leicestershire, im an electrician by trade but ive been tinkering with computers since i was young.
Ive been using OcUk for my last maybe 4 builds so approx 10 years but only really thought recently to share this project with the forum!
I feel i need to give you a bit of background on how my pc building/modding has progressed over the years to get me to this point so here goes....
Leading up to me starting work at 16 we just had your run of the mill family pc's like many out there, and after starting work and having money coming in i decided i wanted a pc of my own that would be better at running the games i was playing at the time.
My first custom built pc was around 2004 it was pretty basic, ordered all the parts from OcUk and even back then their customer services were impecable!
 The parts came a day or two later and away i went putting it together, from memory it had a core2duo, 8gig ram, a maximus formula board and 2x 8800gtx's all ran in a nice black case(which i cant remember the make) on air cooling.
The next build i got a bit more adventurous, this was around 2007 from memory, i decided to try watercooling! i picked a nice case and modified the top to take a 360 rad, painted the inside matt black and the outside in a cool chamo scheme. This build had i think a q6600 cpu, cant remember the board or ram but i sandwiched a 4870x2 in there(huge card for the case id chosen!) I enjoyed this pc for a few years but the construction and modding were a bit amateur lol
The next build and my current one i went the next step, i decided on twin cooling loops and a hell of a lot more modding! This one ive actually got a few pics
 I wont explain much about this build as the threads designed for the next build
  but ill let the pics speak for themselves!
I started with a huge Lian-li A70FB case and went to town!


The specs...
I7 2600k
Asus p8Z68 v Pro mobo
16gb kingston Hyper X grey ram
2x His 6970 IceQ Turbos
So now coming up to the new build! My current pc is getting a bit tired and ive recently bought my first house so i was in need to two things!
1. A new Pc desk as unfortunately i cant take the one i was using to the new place
2. Pc upgrade!

So that got me to thinking, why not combine the two and make the whole desk the pc!
Great! so i had the idea and me being me if i redo ANYTHING the next version has to be bigger and better than the old one!
 I needed to work a few things out, so i got to scribbling a few ideas down and worked a few dimension issues out and i had some basic ideas,No google sketchups here just random scribbles on what ever's at hand!
I wanted the desk to look like a nice piece of furniture as well as a kick ass pc so convieniently it helps my brother builds high end kitchens at work! So after securing some nice beech plywood i started knocking something together!
Also at this point id like to point out i dont have access to any woodworking or engineering equipment so all the work has mainly carried out with basic power tools and by hand, oh and lots of fettling (buzz word for this build lol)
So some pics so far...

Making the sides to the side cabinets


One done! I then made a duplicate for the other side and realised the sides looked rather plain, to i grabbed a trimmer thingy off my brother with a tapered cutter and cut some grooves to make the sides look like tounge and groove paneling!


I think that came out quite nice
 I then made the centre section that will house the components!
Chair in there to check i fit under the thing! lol


Thanks for viewing!

FaNaTiiCz
Last edited:


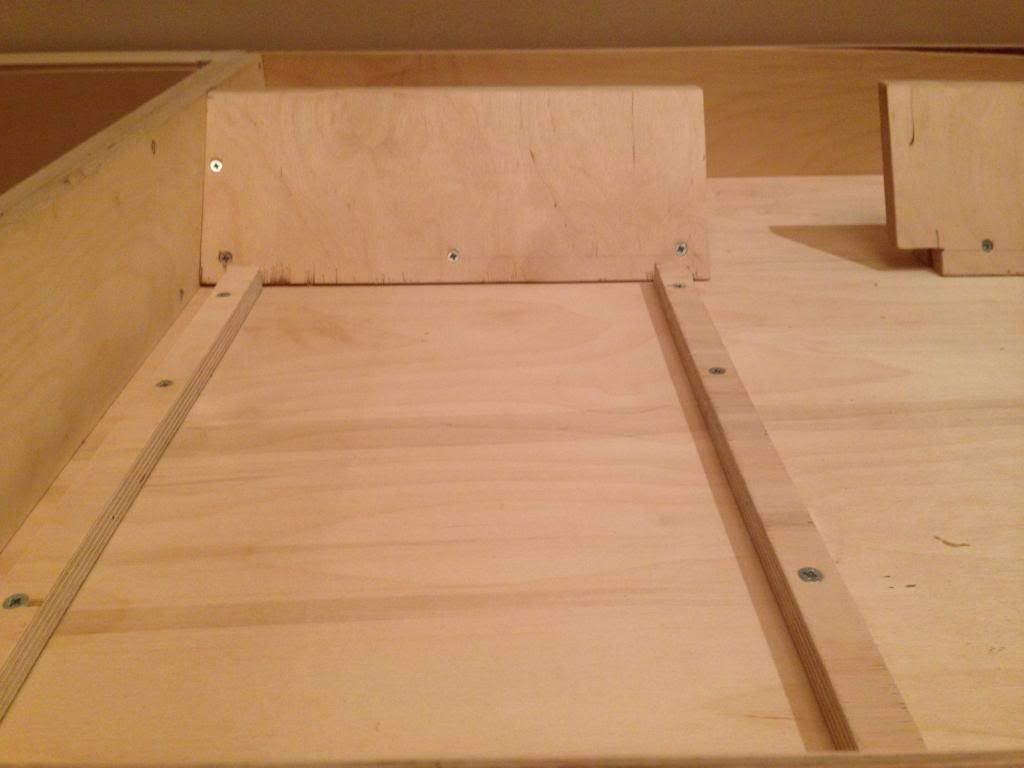


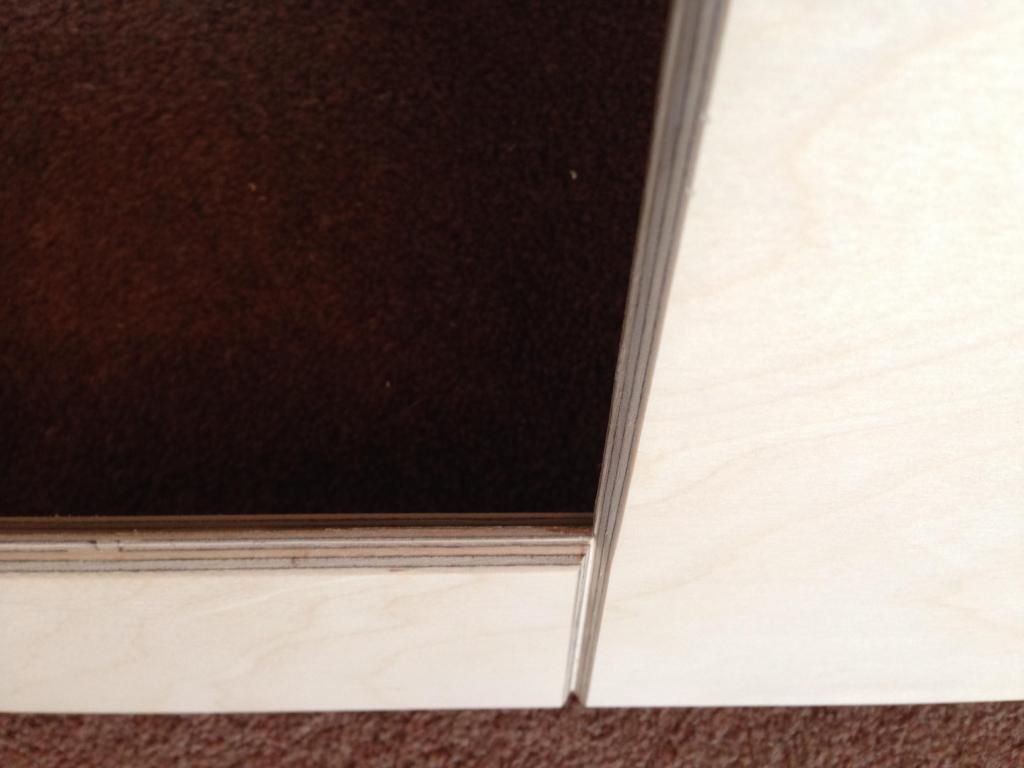

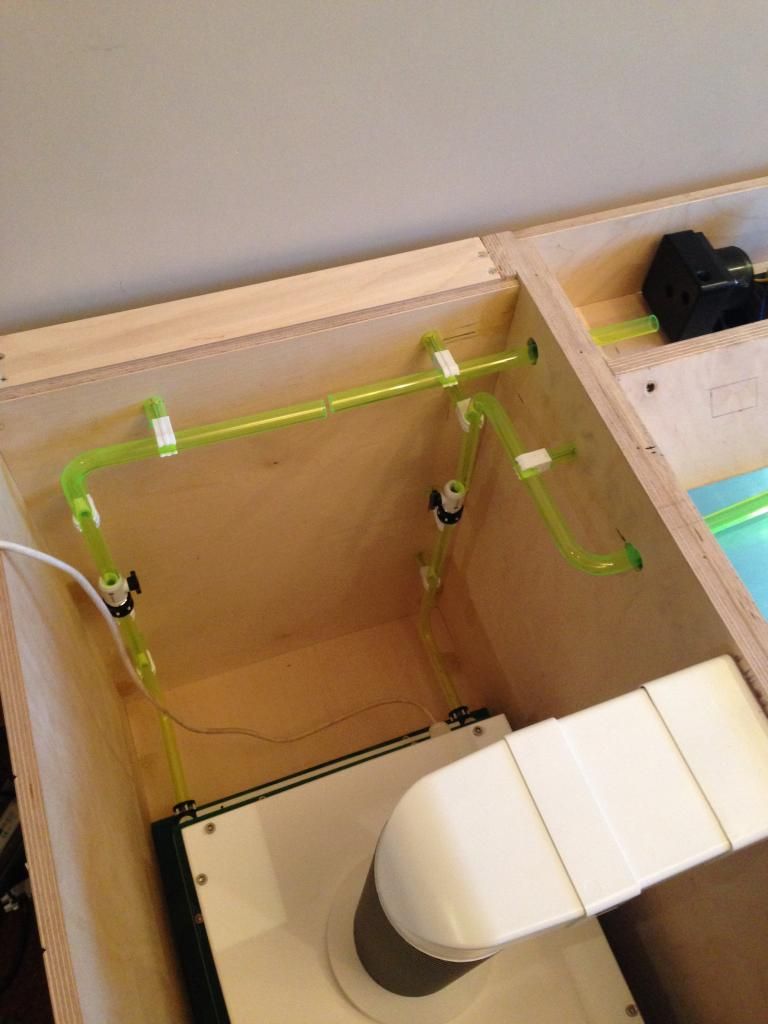
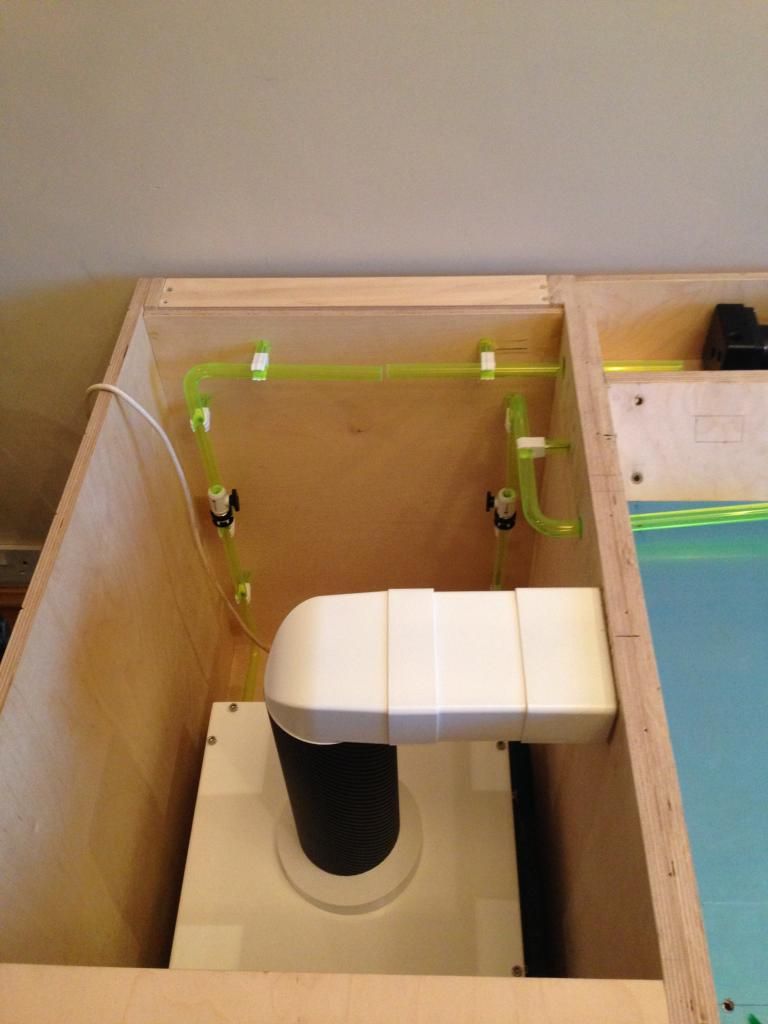




 ill try again in the morning!