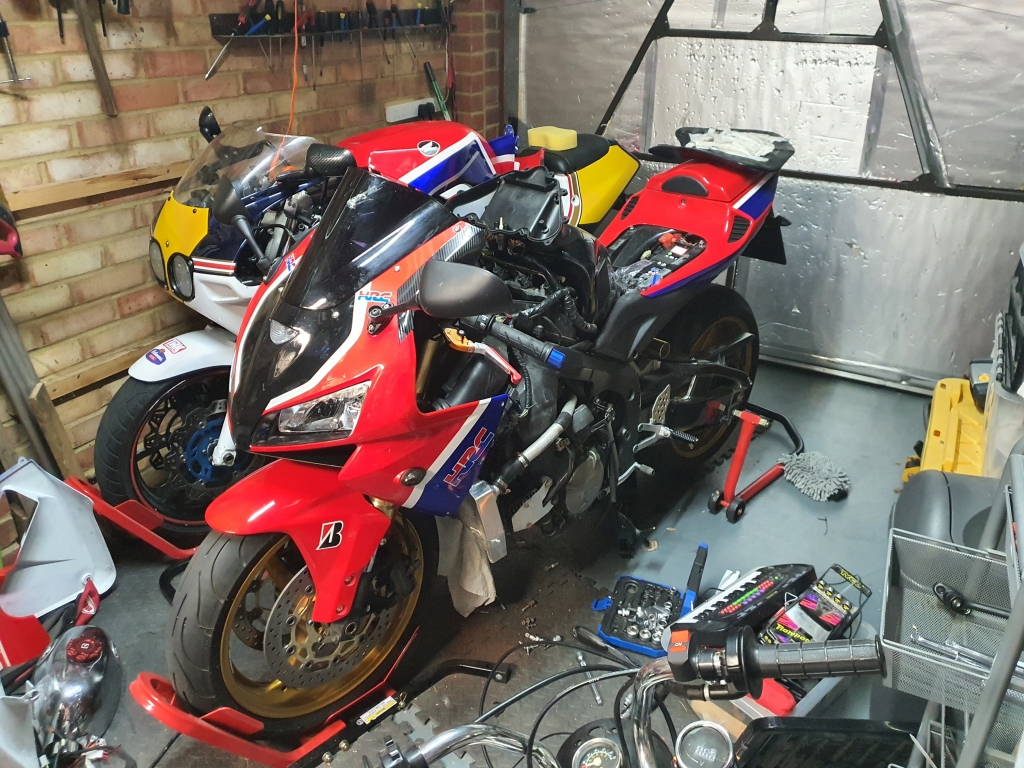
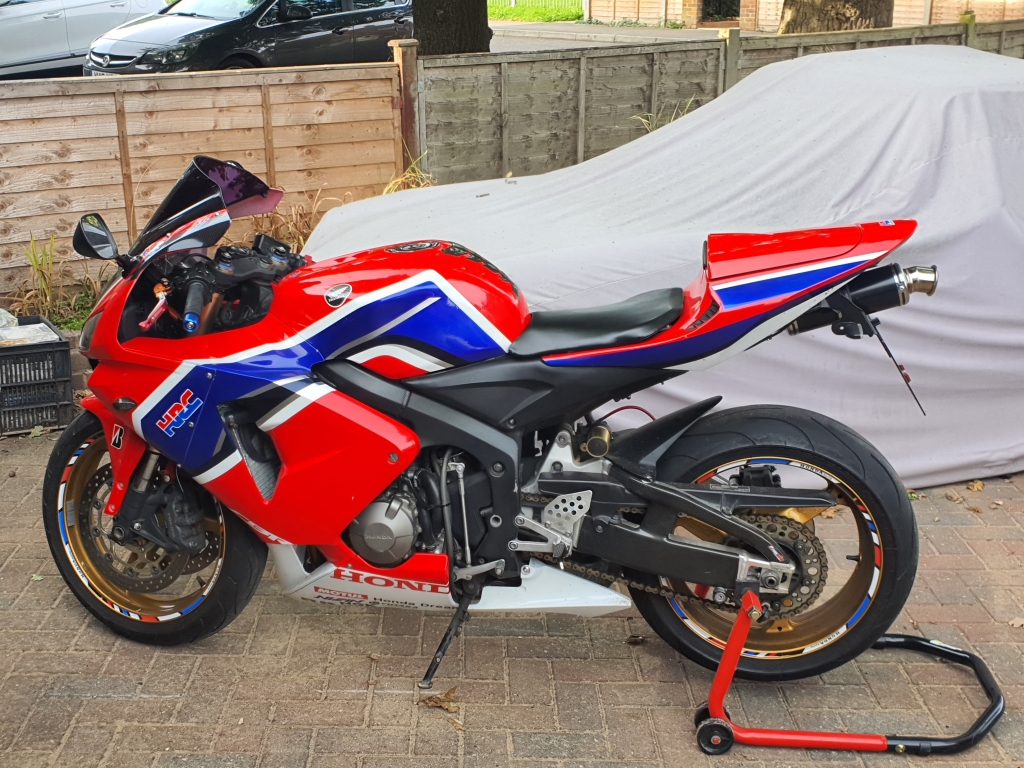
Don
After selling a couple of bikes:
My original Hornet: https://forums.overclockers.co.uk/threads/now-i-bought-a-japanese-600.18855452/#post-32759480
and my CBR600F2: https://forums.overclockers.co.uk/threads/cbr600f2-another-project.18927745/
I decided to go bike hunting - but I had some things I wanted to do differently this time.
I wanted something Post 2000, under £3000, that was fully road-worthy this time, so no wrecks (still working on my basket case Ninja). I wanted something fuel injected, as I had only ever owned a 125 with this before. It should be more reliable, ULEZ compliant (or capable of being so) for occasional trips to my work offices in the big smoke. It had to be a Honda (naturally), with more than 100BHP.
I toyed with looking at a couple of Fireblades that were local, but quickly decided that although appealing, I am not really experienced enough to start chucking a litre bike around, so decided on a 600cc, and as Fireblades were out, I started looking at CBR600F from 2010+ but struggled to find many in budget, but then I stumbled across a CBR600RR from 2005. It ticked all the boxes, and was up at £3000 about an hour away in Salisbury.
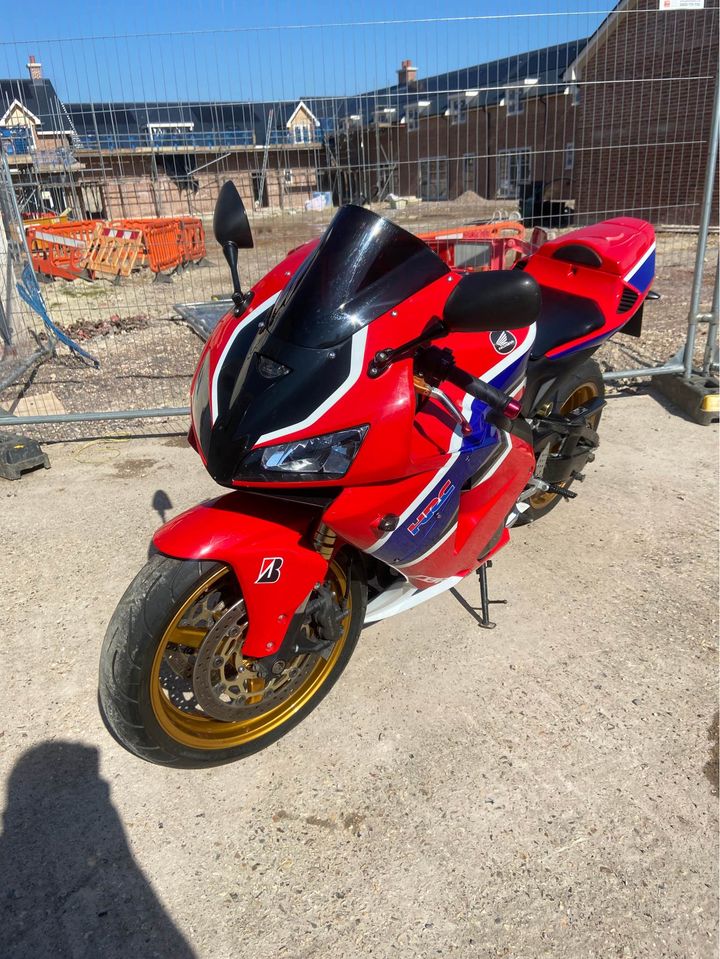
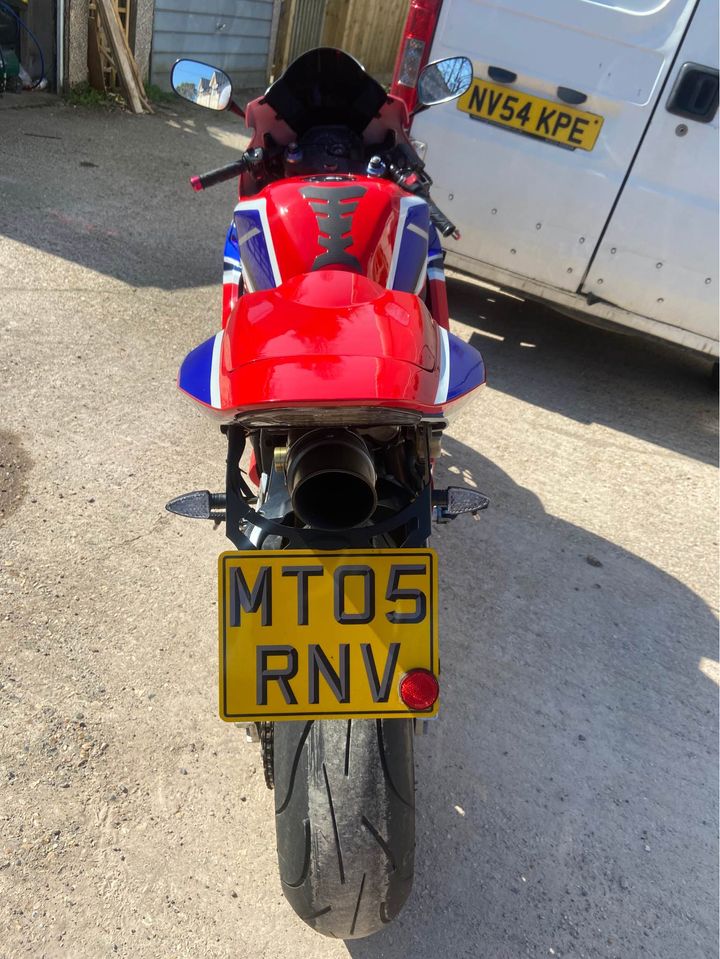
I posed a few questions to some bike mates, and no one mentioned any serious issues to think about with this rather short-lived model, so I grabbed the van, and went to go have a look.
Had a nosey around, lots of missing fairing bolts, some scrappy wiring, terrible Chinese copy exhaust, and a faulty rear indicator(+hyperflashing!). So I did an HPI check, came up fine, and then had a little ride around for about 15 minutes, and was quite happy it would do the business.
Stuck it in the van, no pics of this as I had a strap break on me during the drive home!! The damn thing tipped over in the back. Smashing a mirror, and cracking the fairing around the mirror mount... VERY annoying, so I doubled up on straps in a random layby. Lesson learnt here for sure. I have transferred many bikes this way by now, so I guess I was a little complacent about the skinny little straps I was using
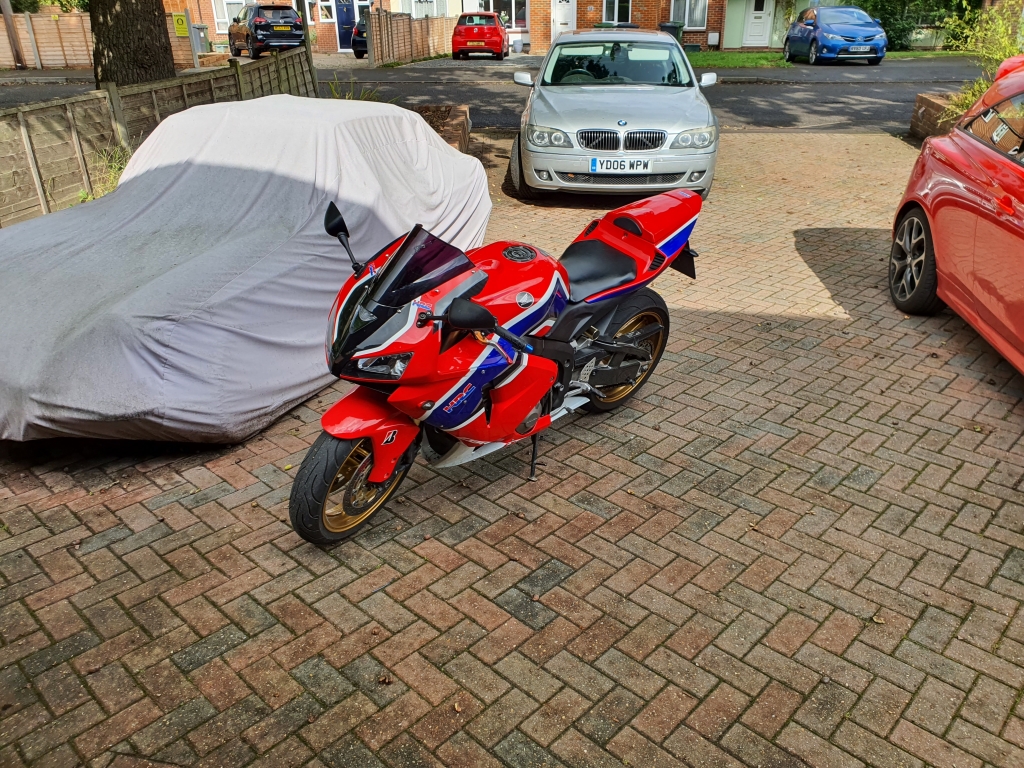
So, she was home, just a little bruised!
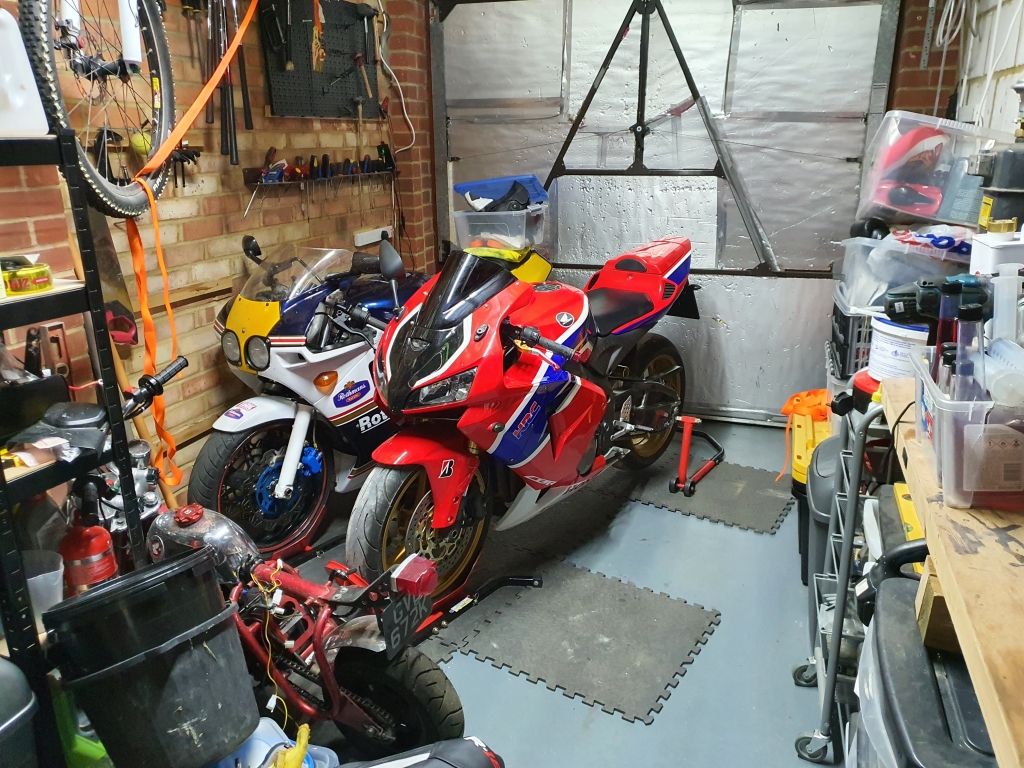
I whipped off the broken mirror, ordered in replacements, and had a little mooch about in the more familiar setting.
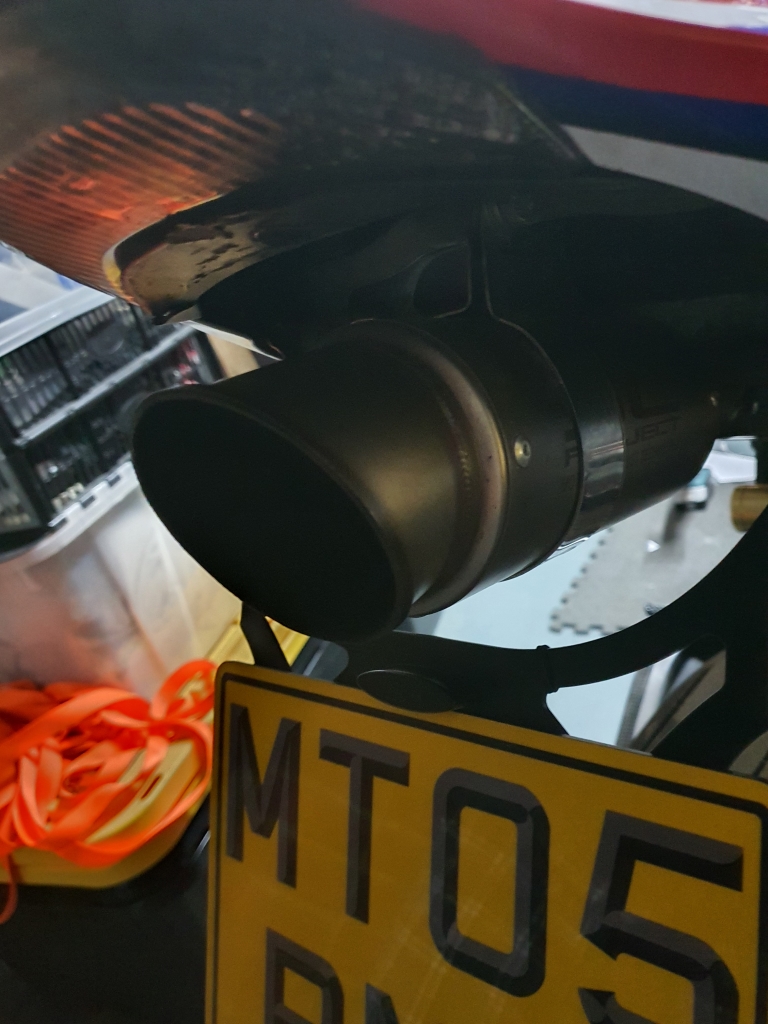
This will not do:
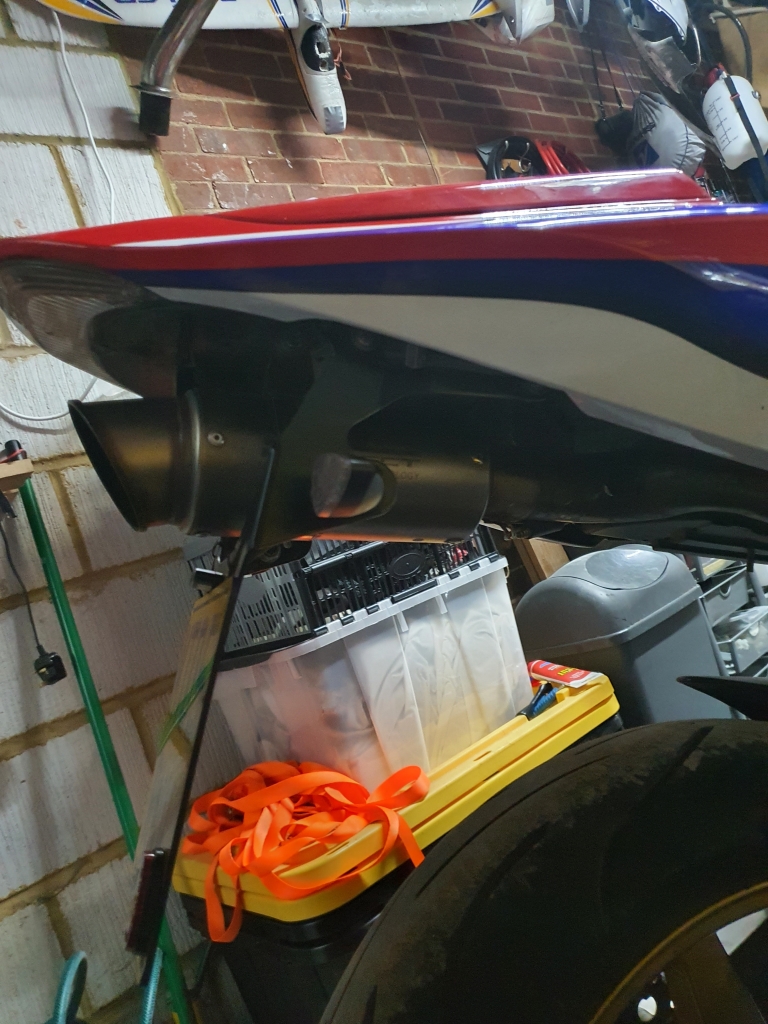
Yeah, too loud, too stubby, and looks wrong for me. Off it comes!
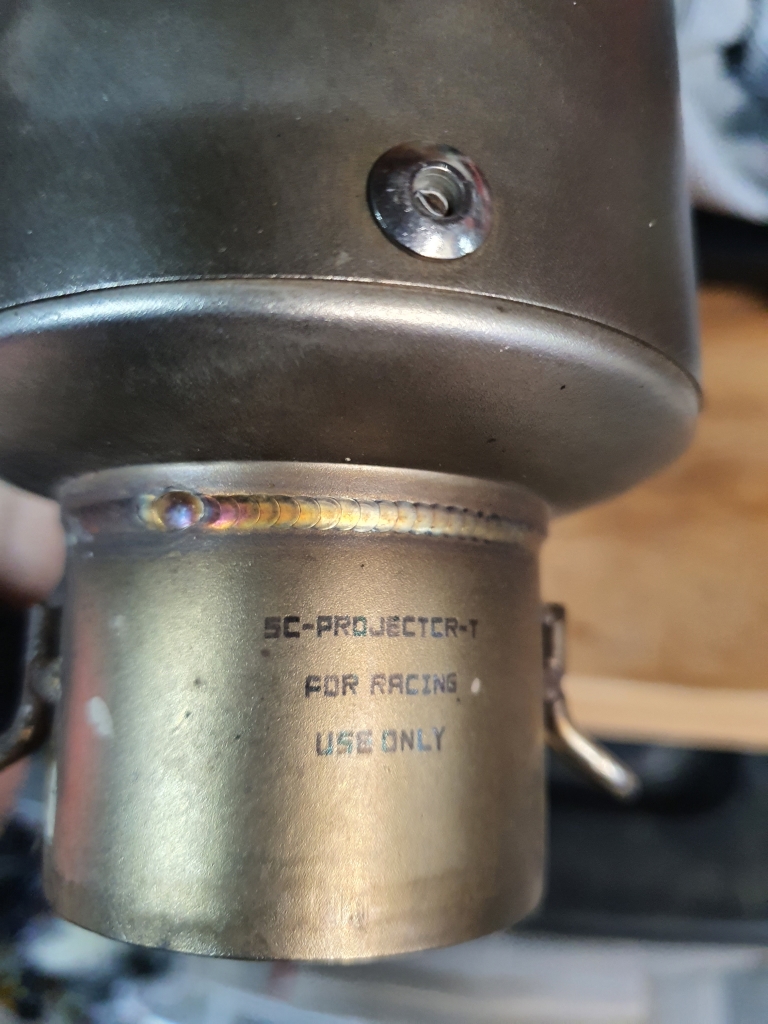
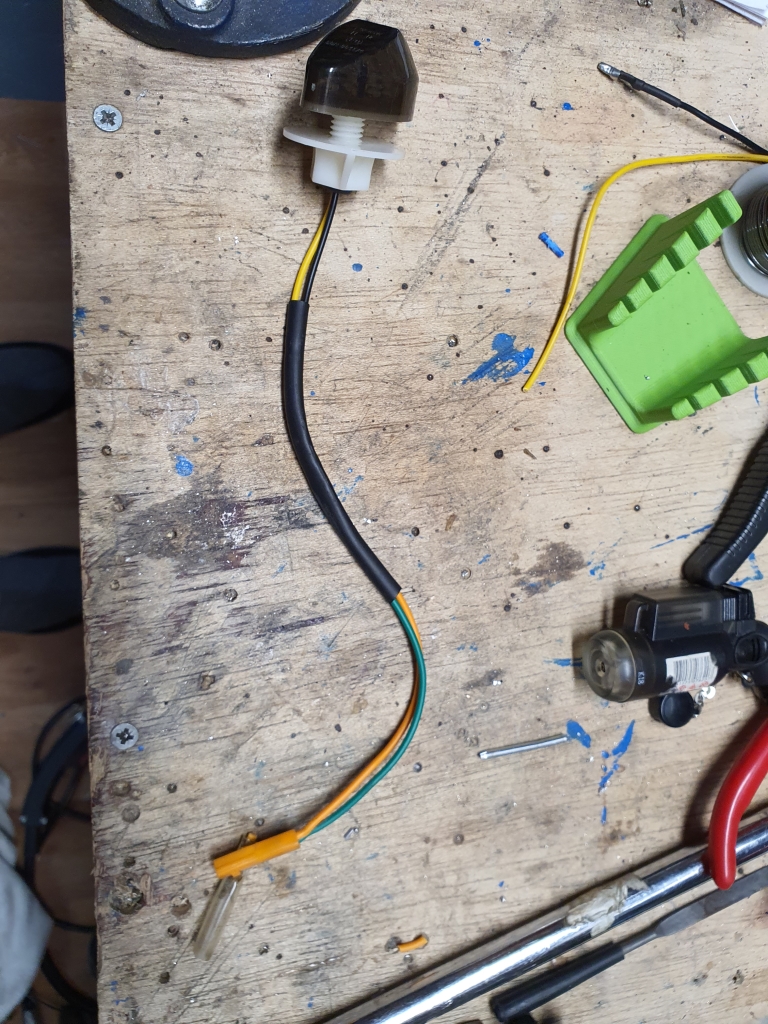
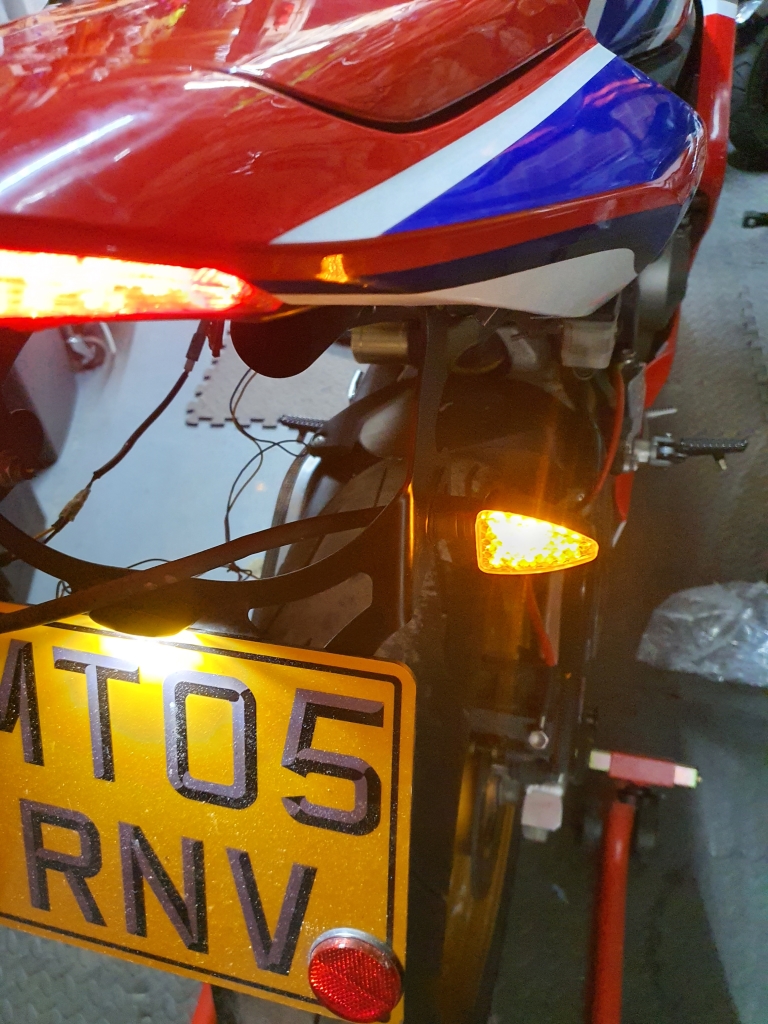
Quickly had a look at the dodgy indicator. Swapped it over to the working rear, and it still was dead, so I whipped it open, and found the positive lead was loose and rattling about, so a quick solder job:
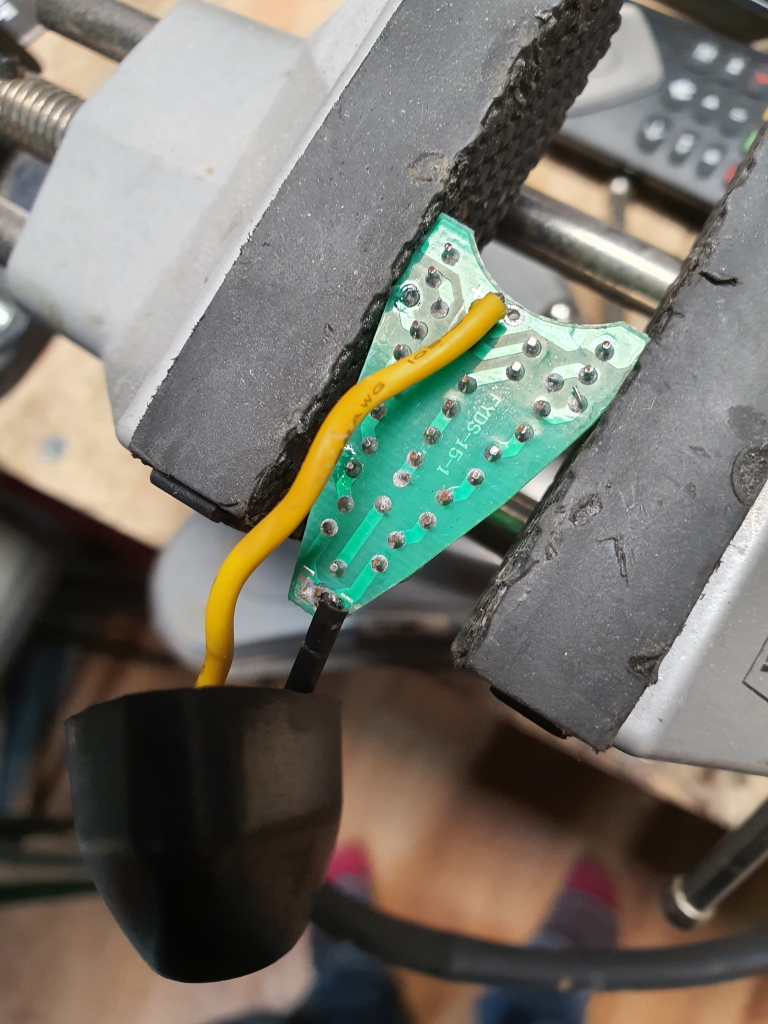
Bang on!
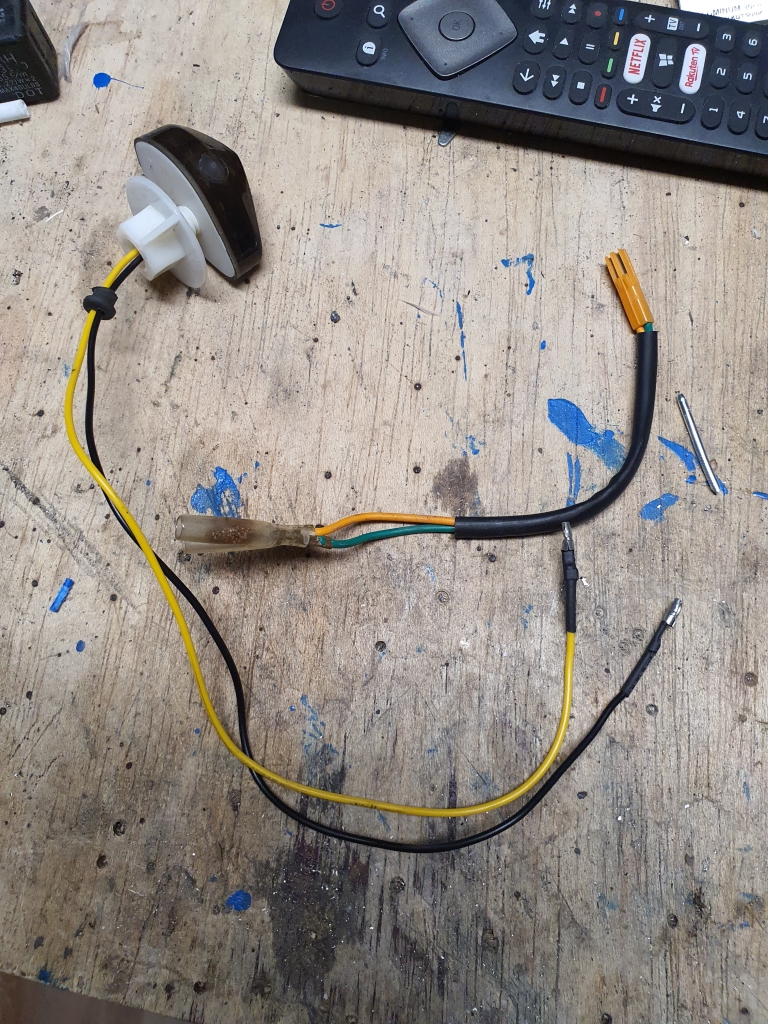
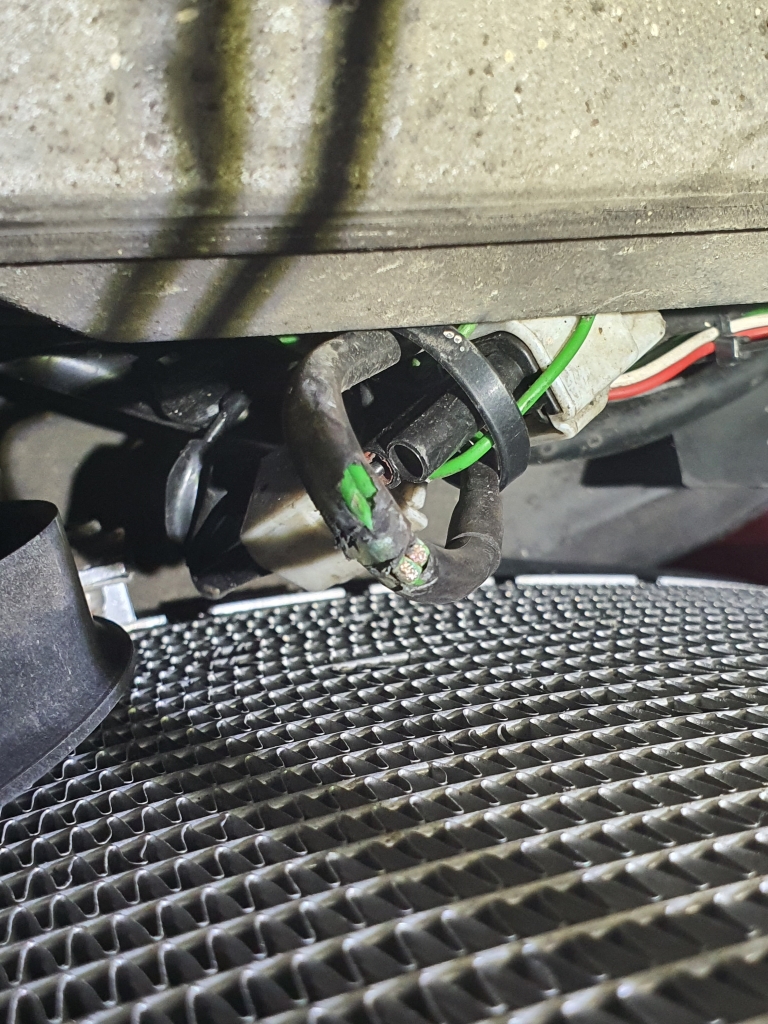
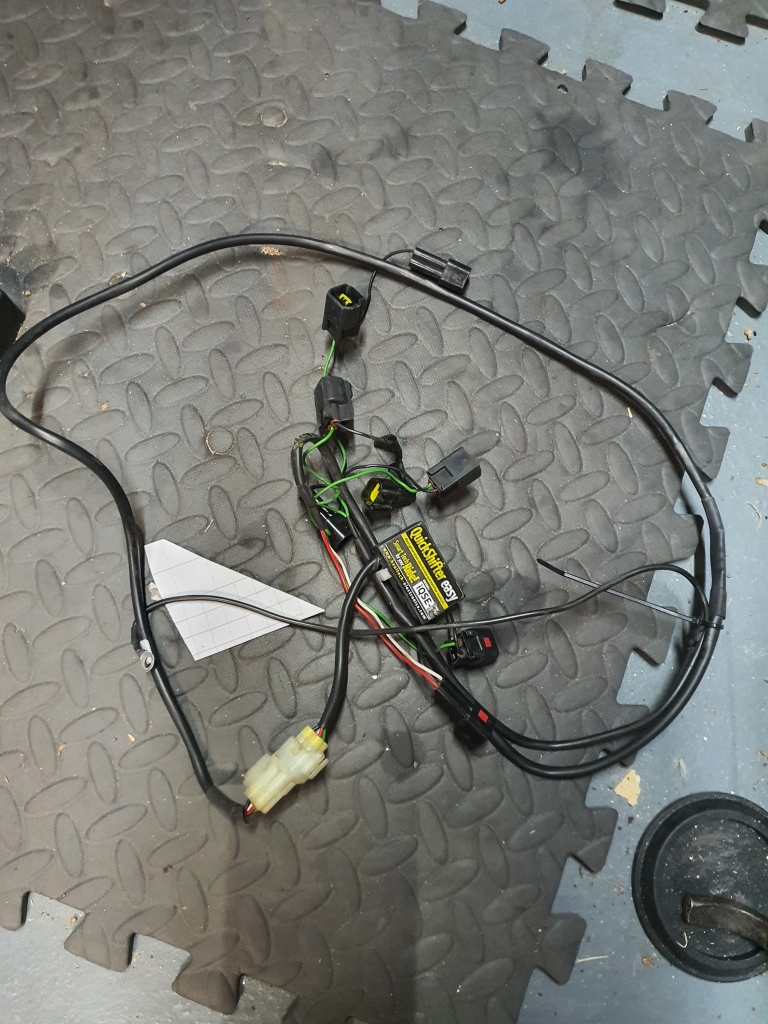
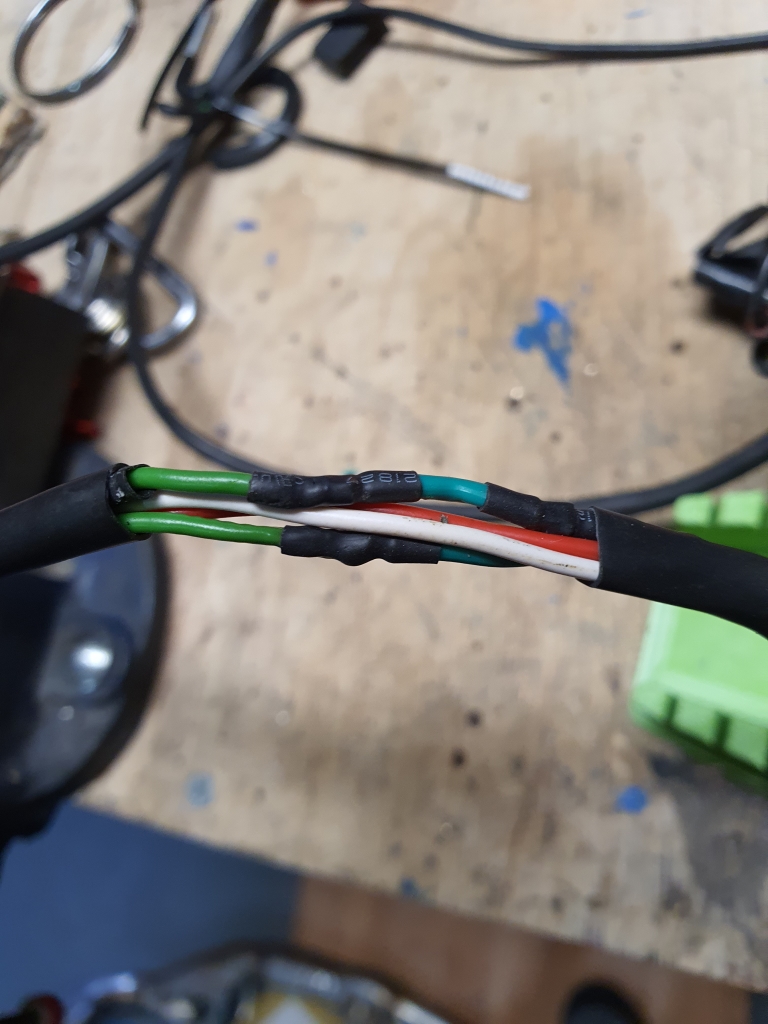
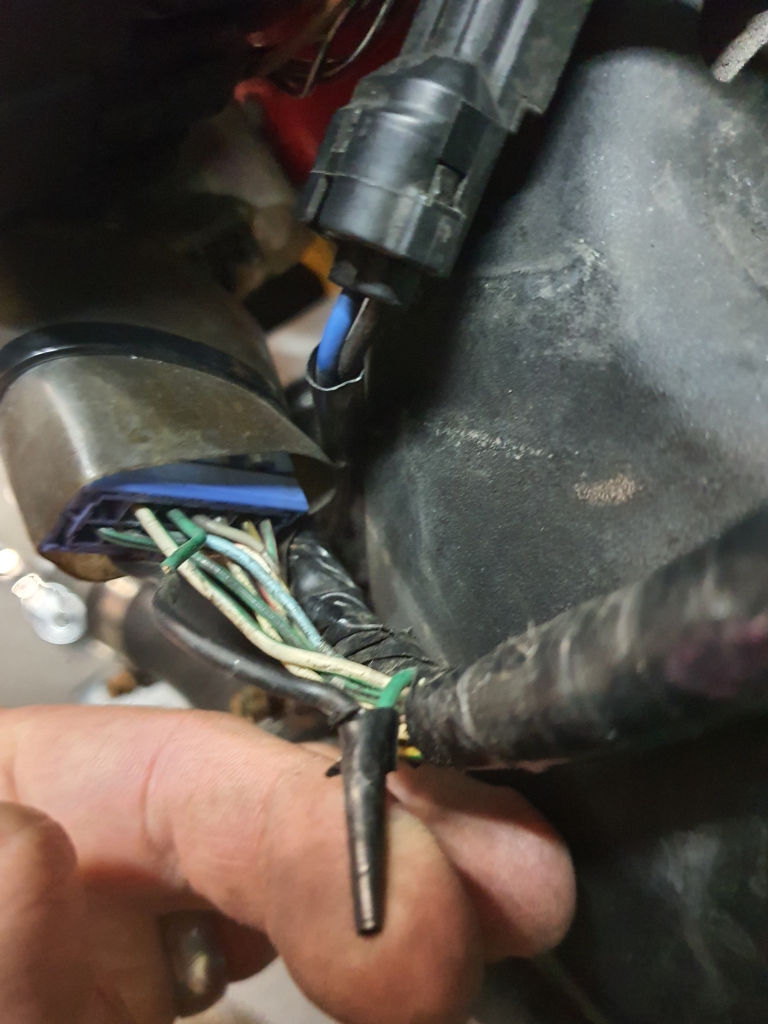
Whilst I was down here, found a few other little bodges, stuff like this:
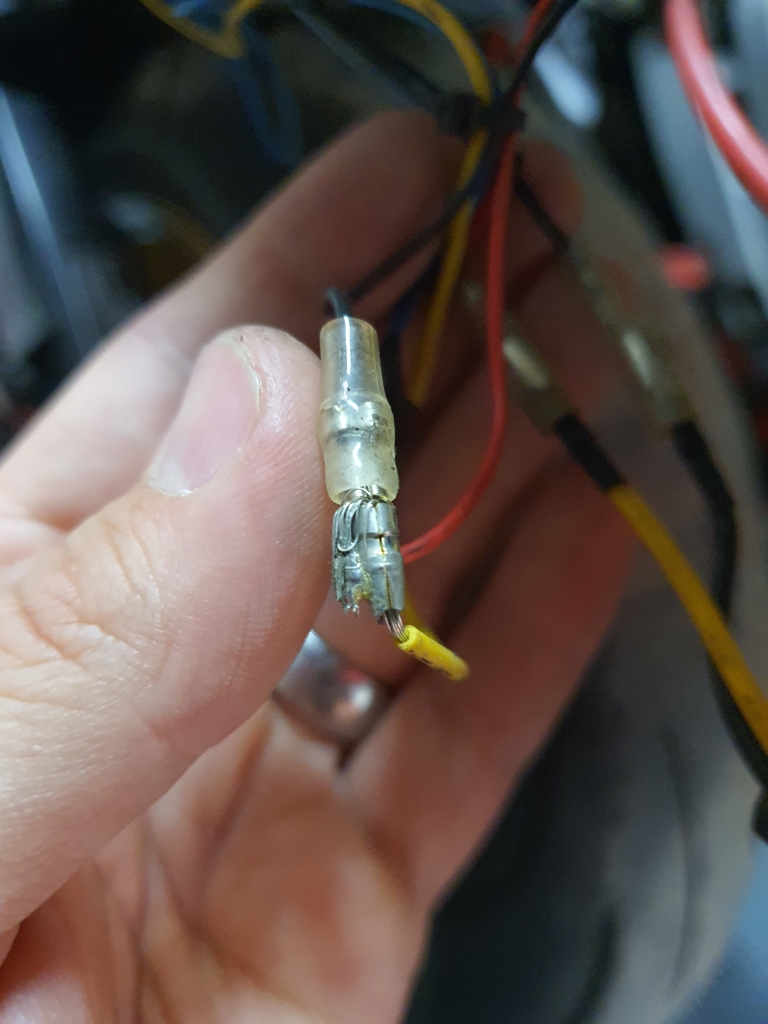
Just generally a bit poorly executed, but nothing disastrous really.
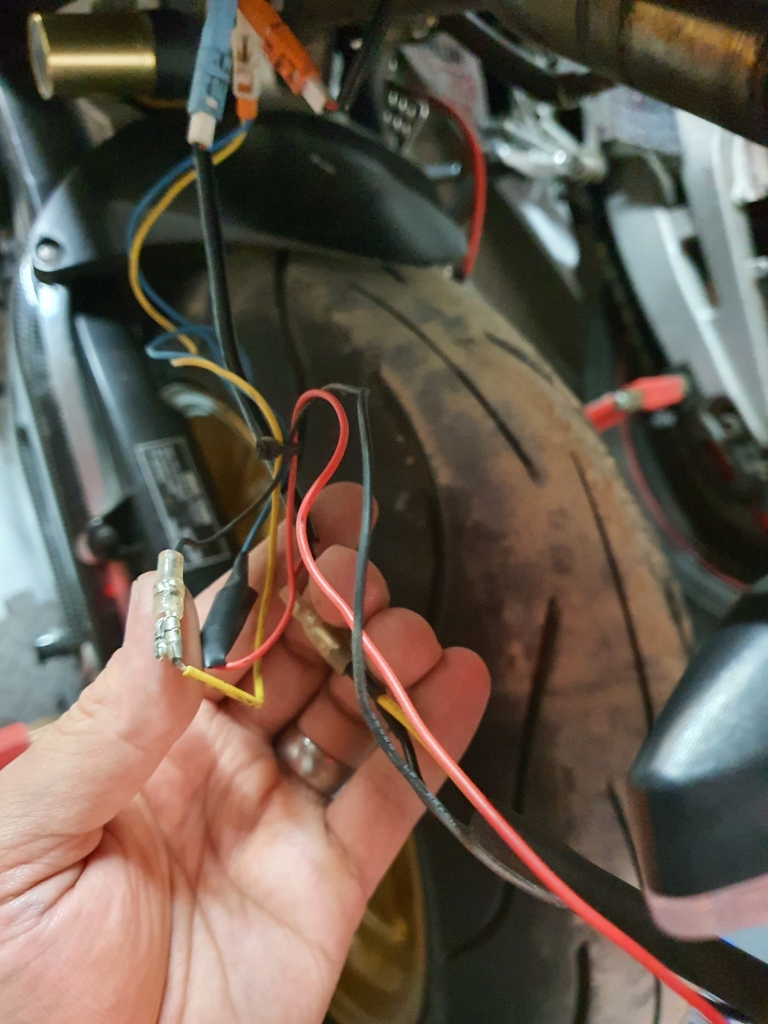
This will not do though. Its on the list of things to finesse. I insulated and wrapped it all up neatly for now, and tucked it up out of sight with some zip ties to keep it secure.
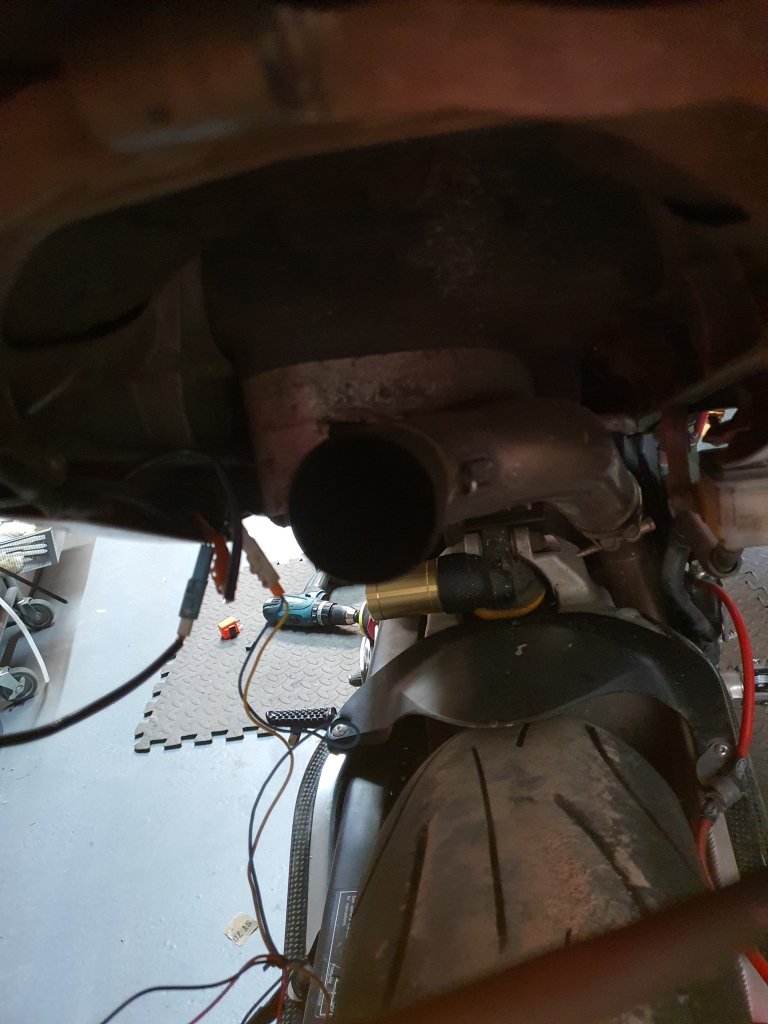
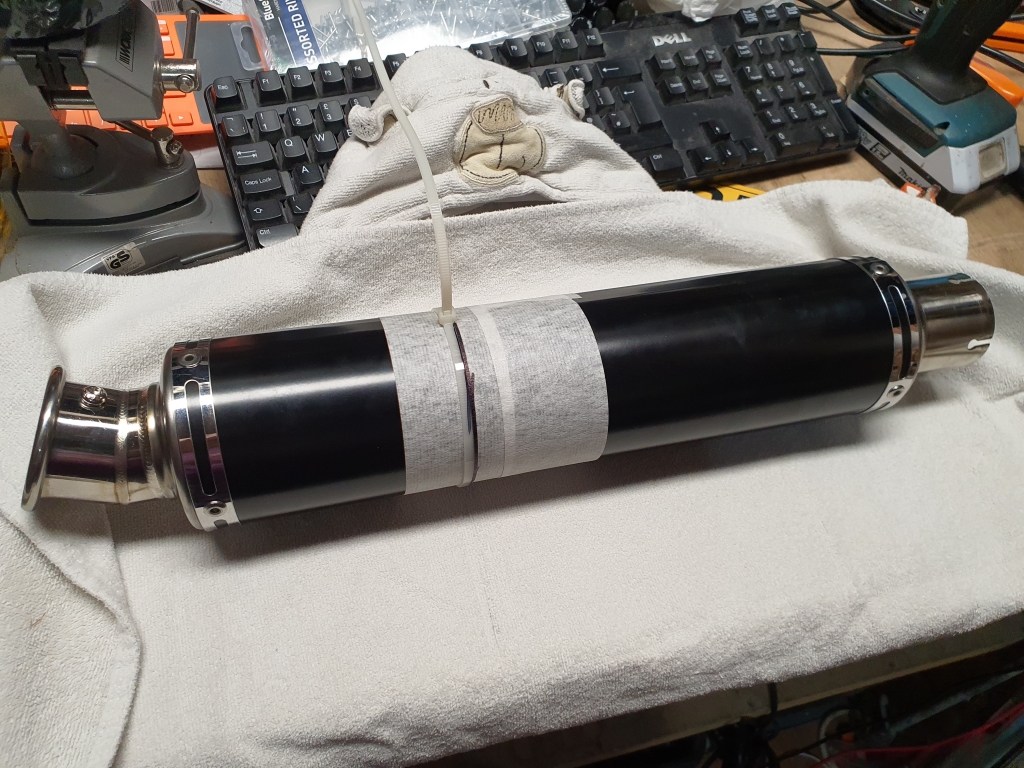
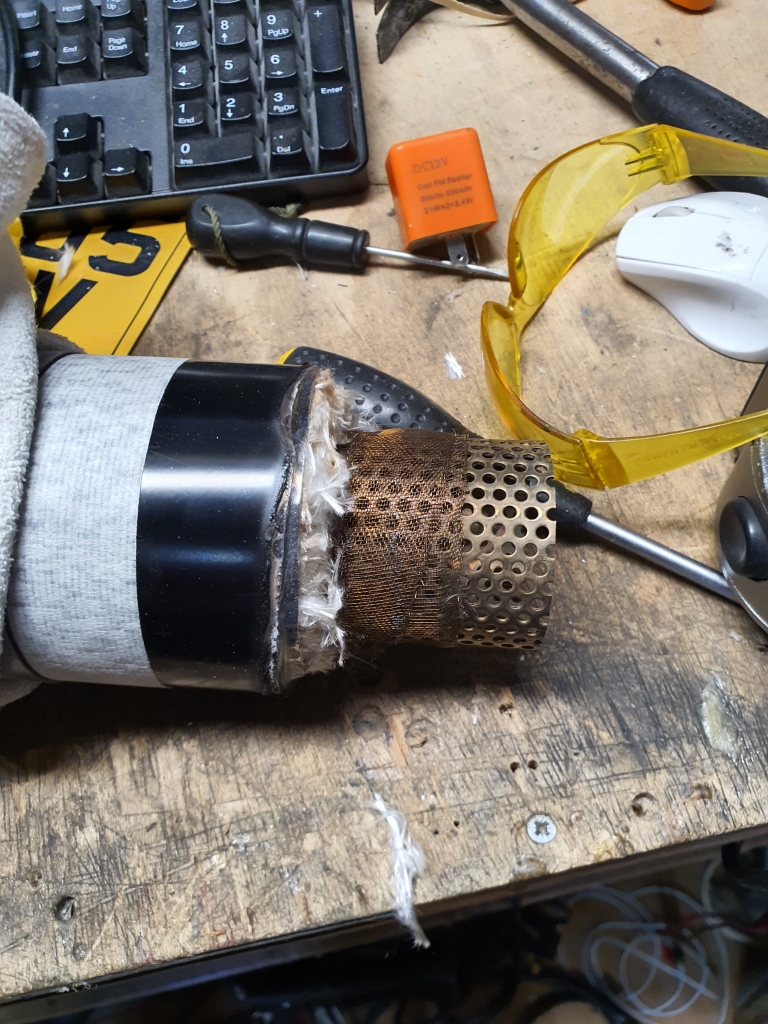
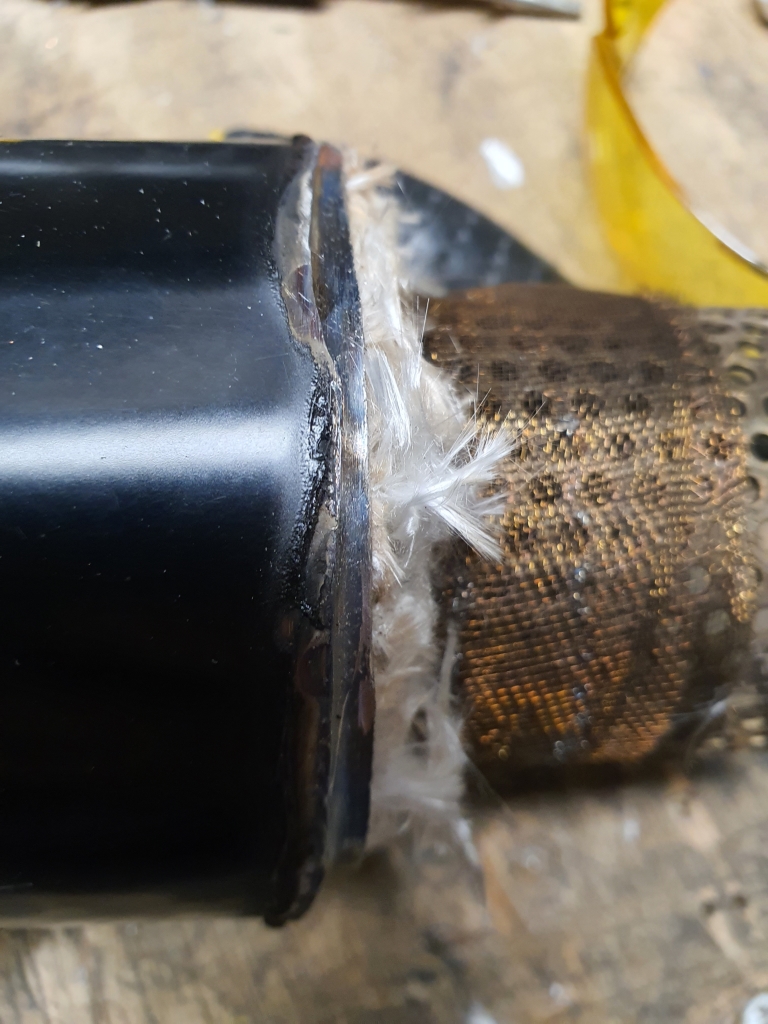
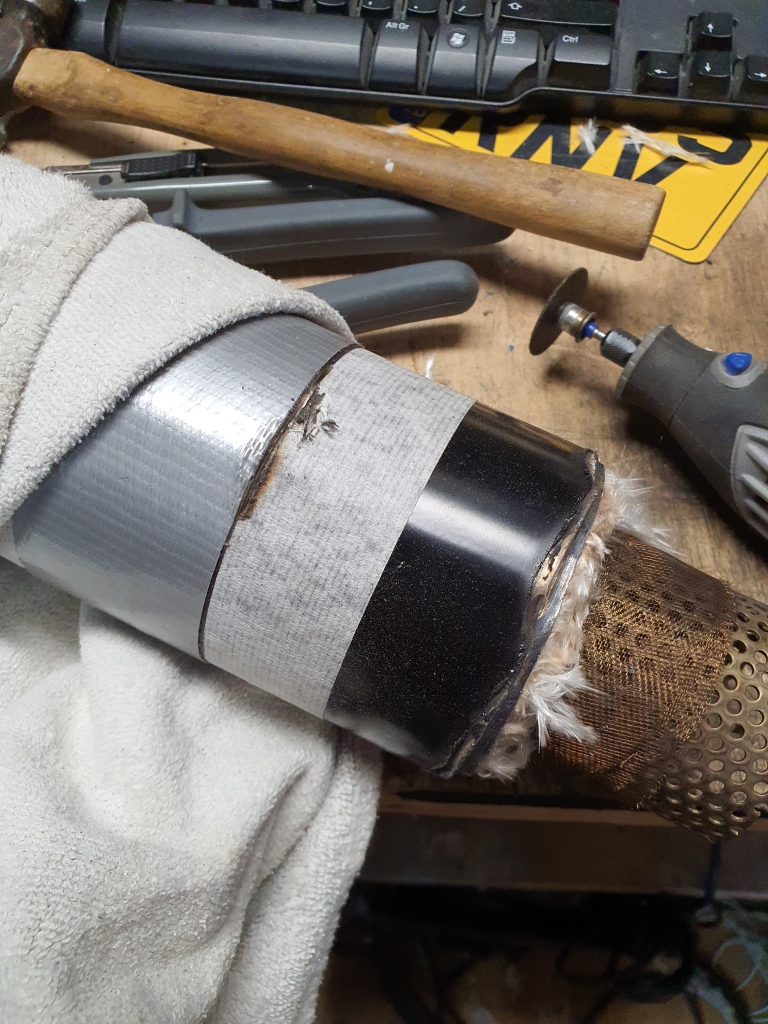
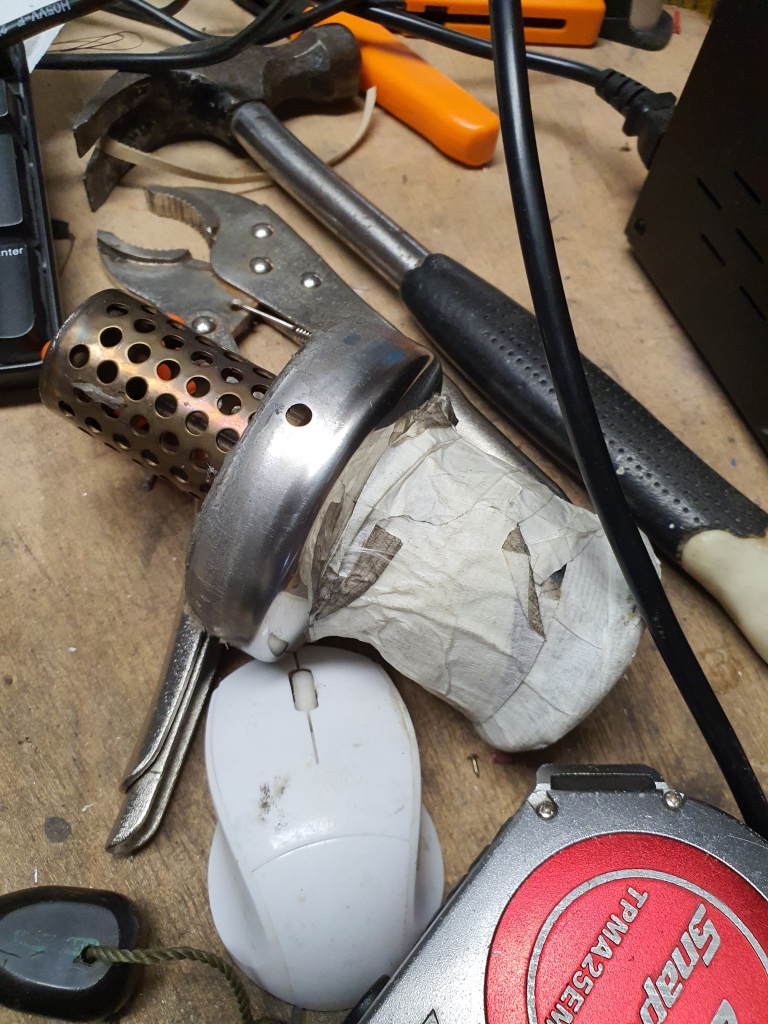
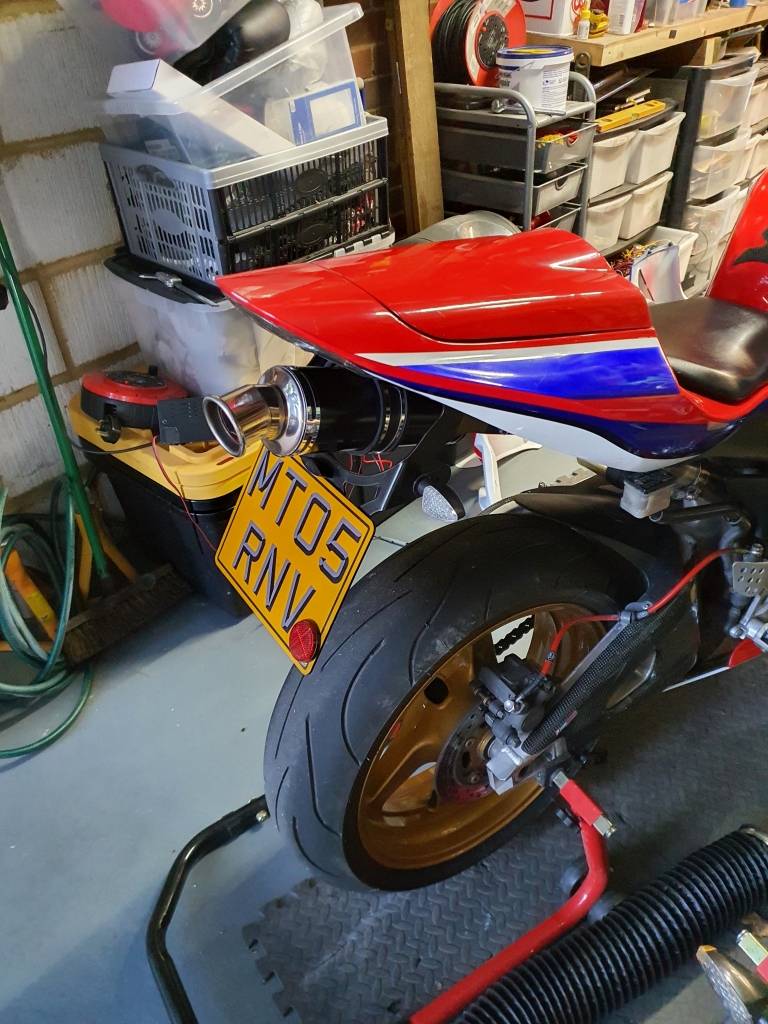
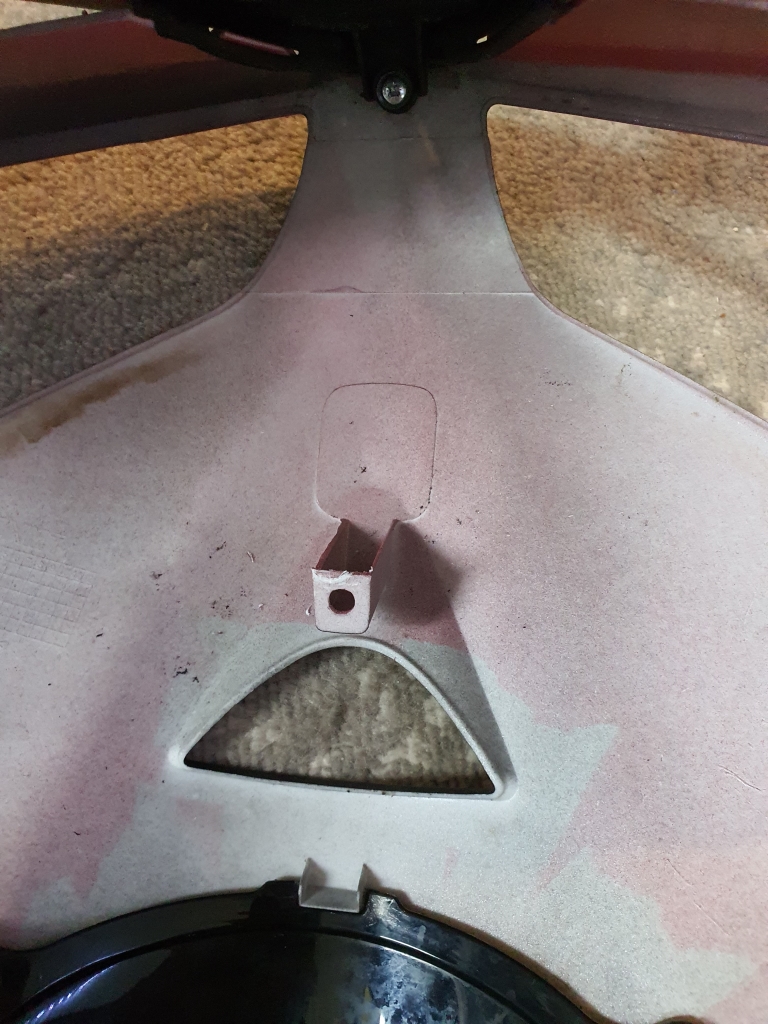
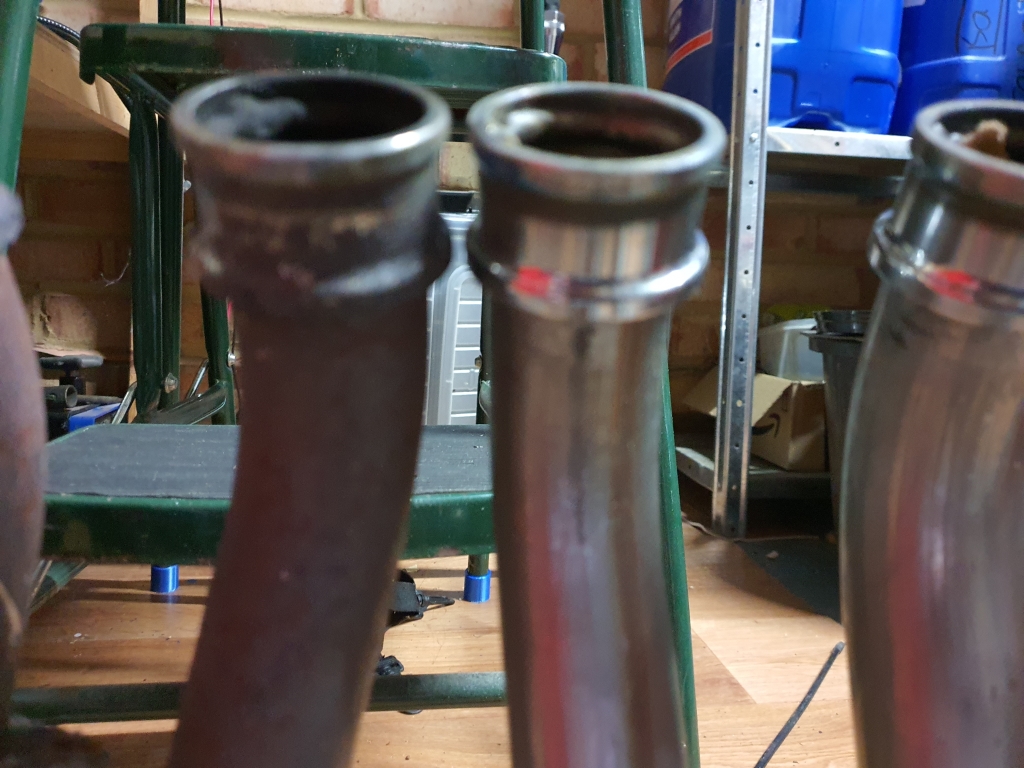
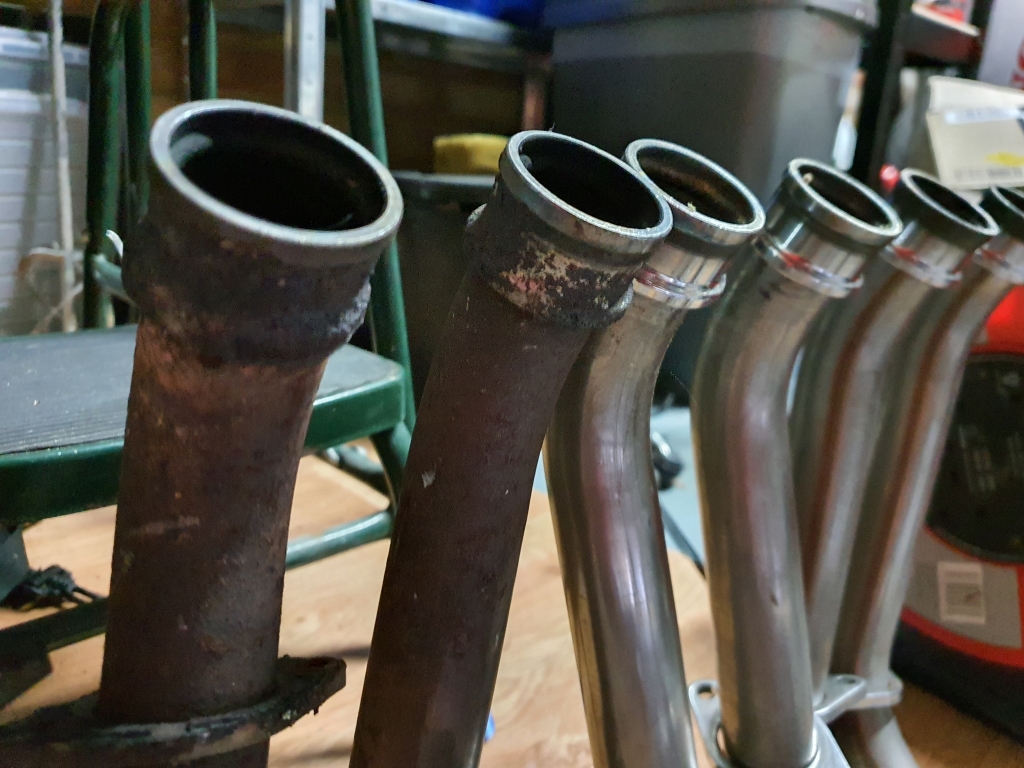
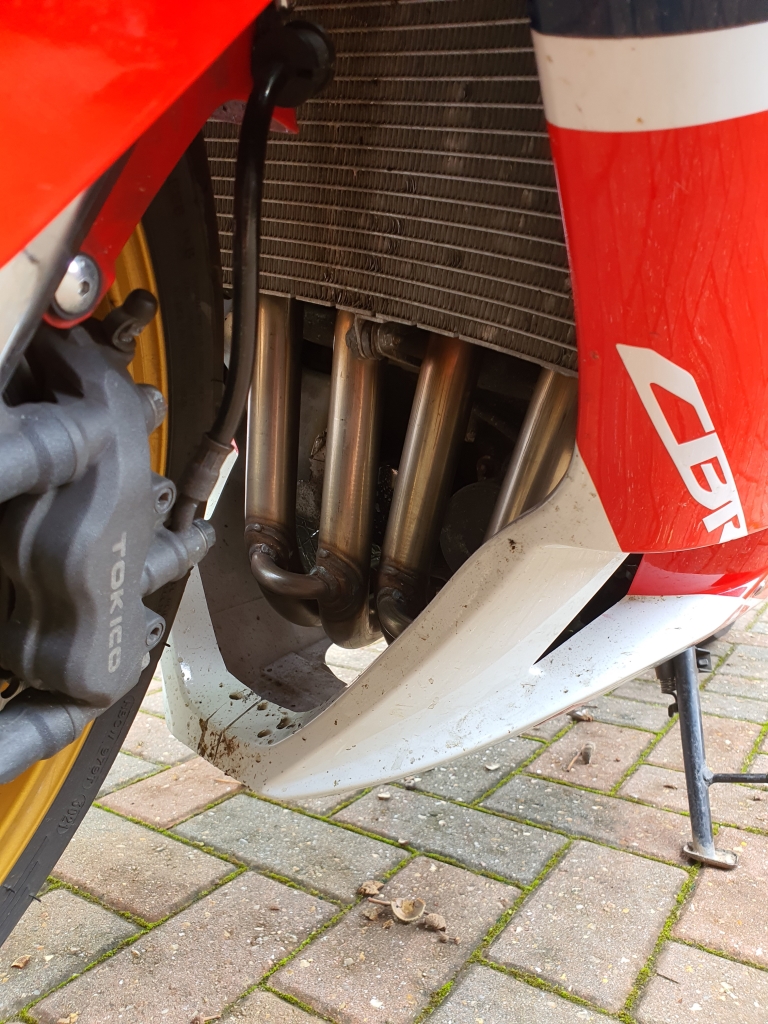
This hole will need filling, don't want something too short, so will get a longer pipe, and cut it back to a custom length I reckon!
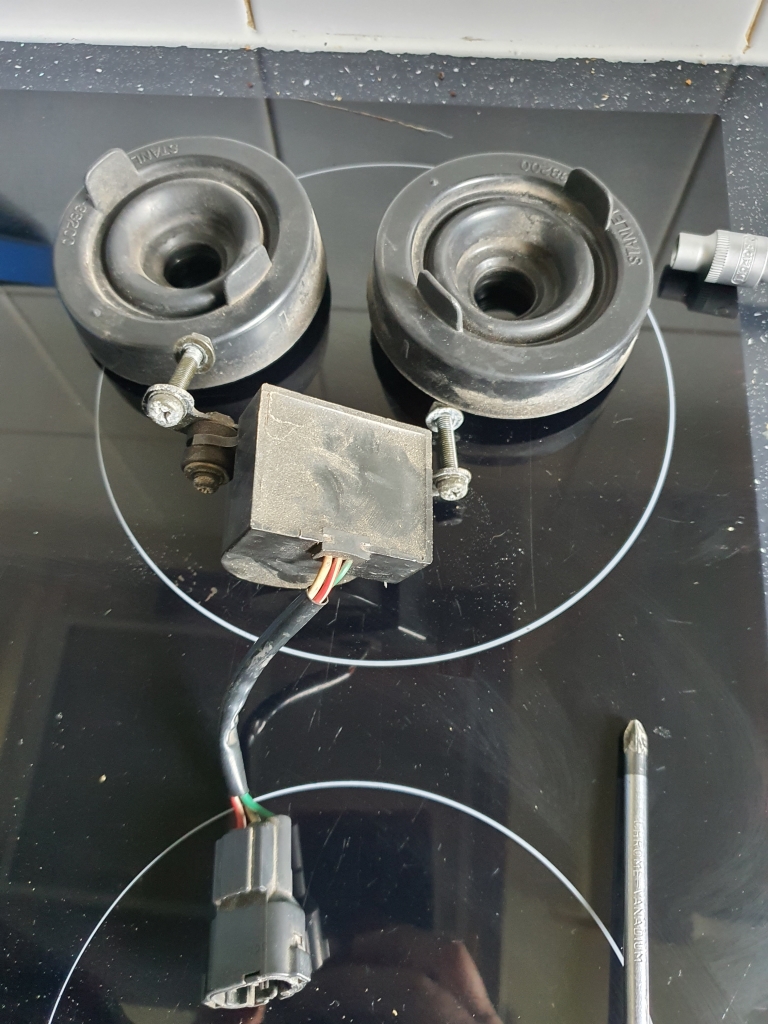
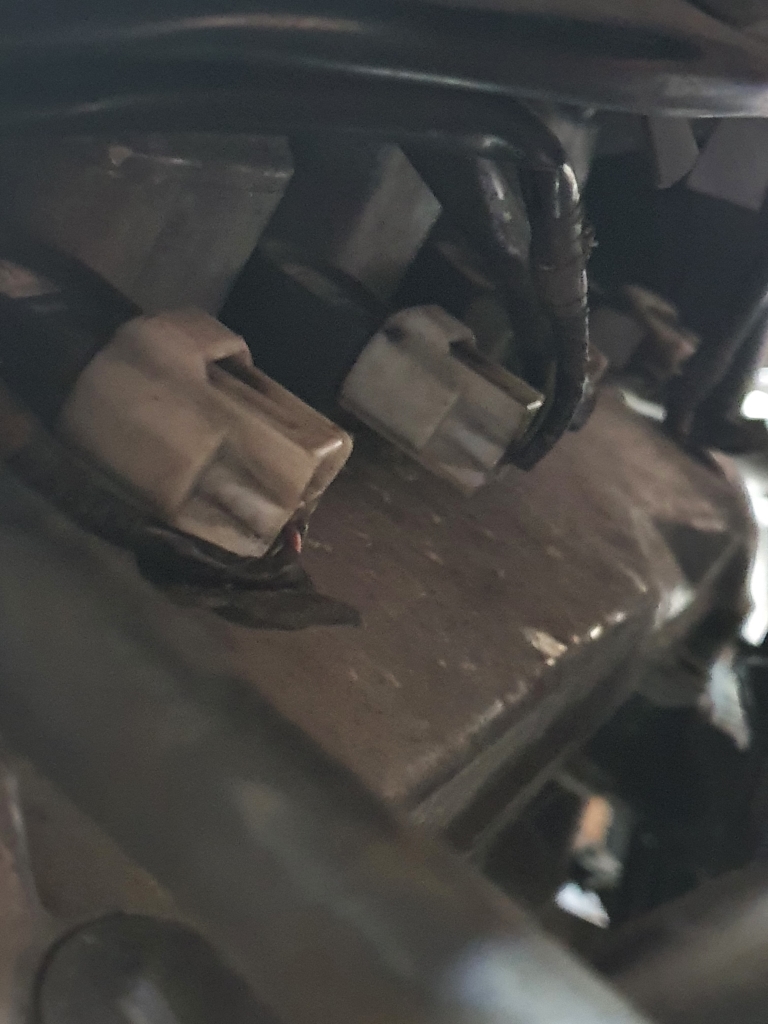
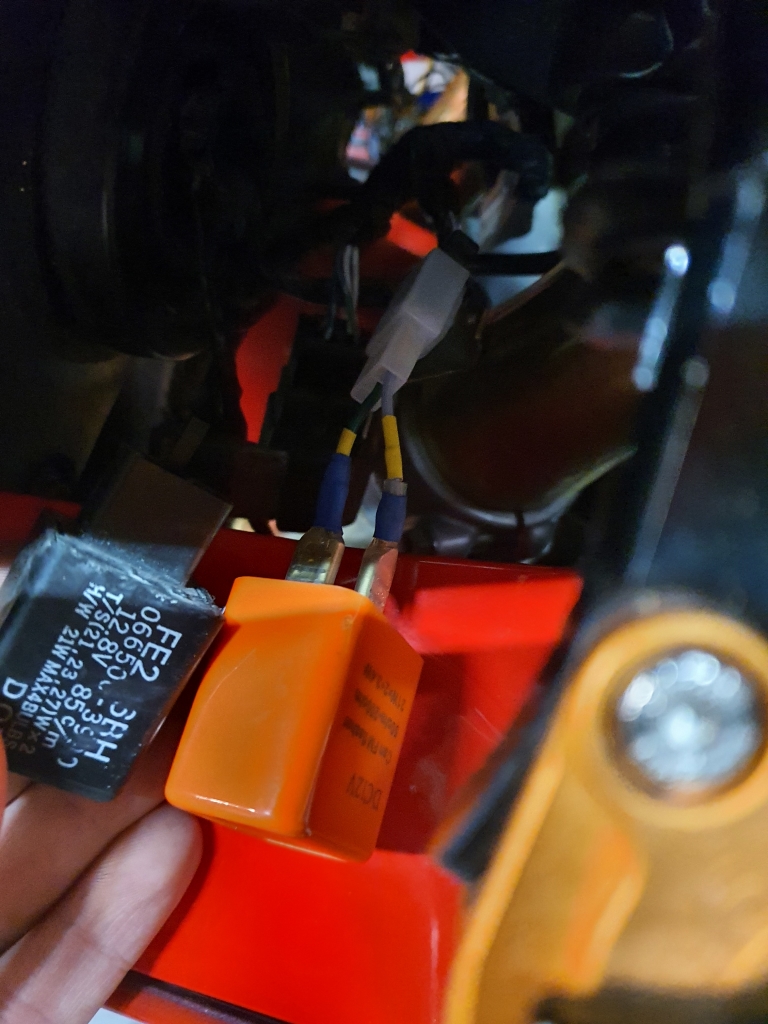
Replaced the flasher unit to sort hyper-flashing indicators
These keys are not going to cut it (hah!):
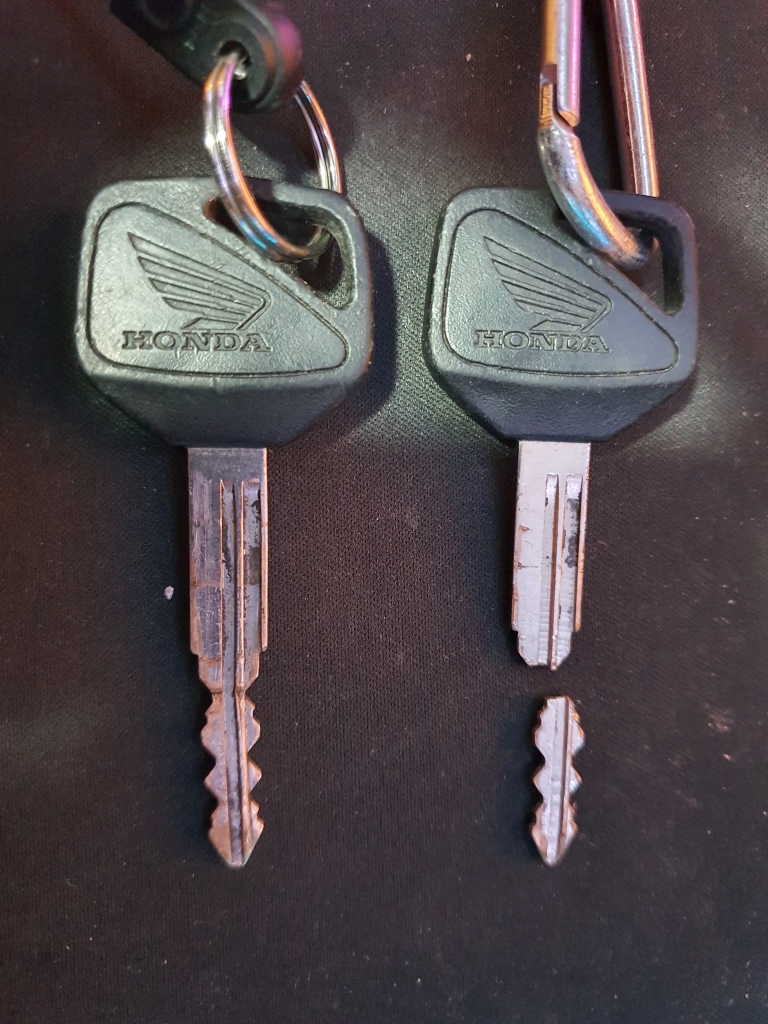
So I have ordered a couple of new un-cut keys. This bike has HISS, so I will need to swap over the chips to get them working once cut, but I am not confident this original working key would be worth relying on.
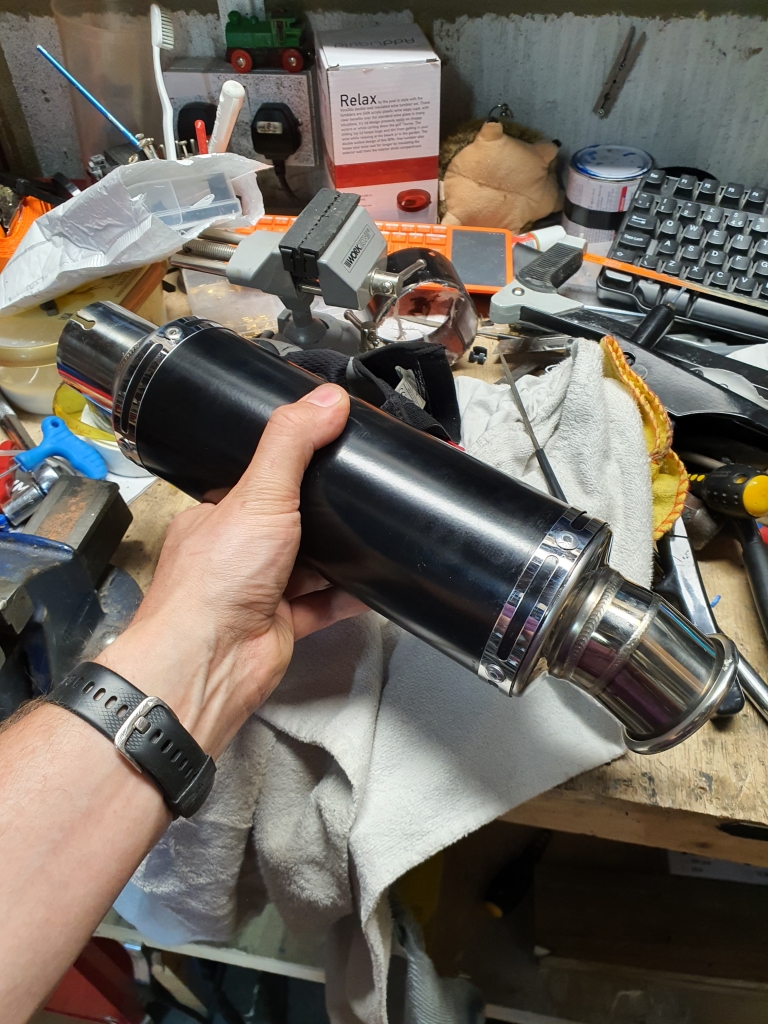
Yeah, so this arrived, and was clearly too long. Not a problem, its much quieter!
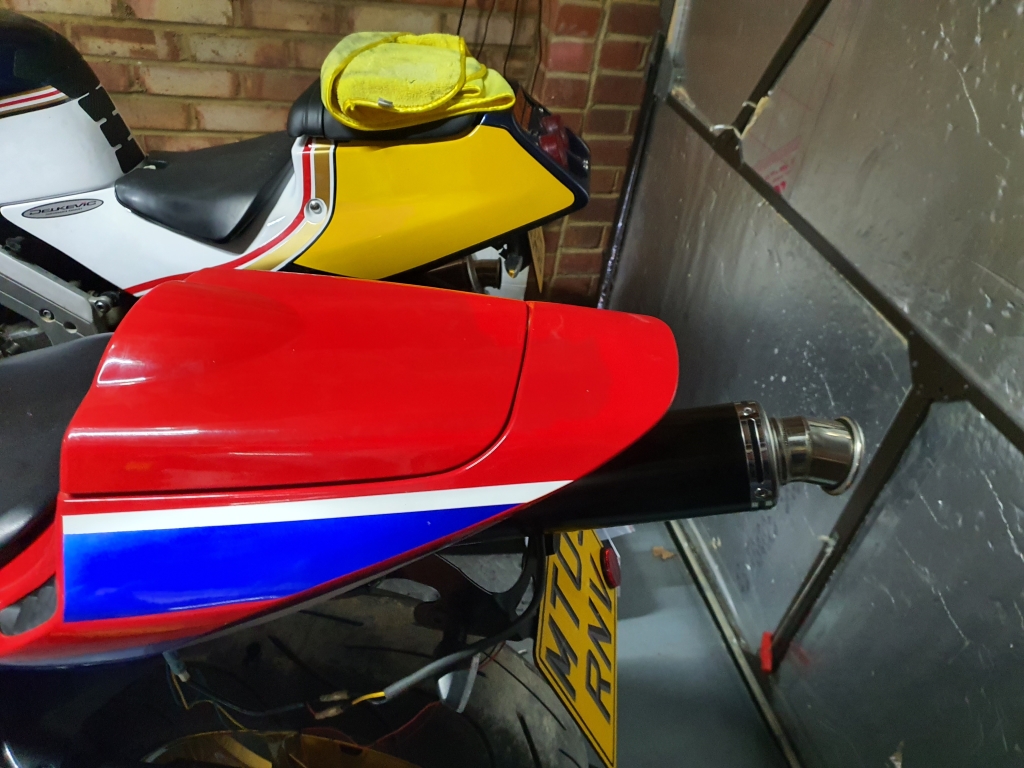
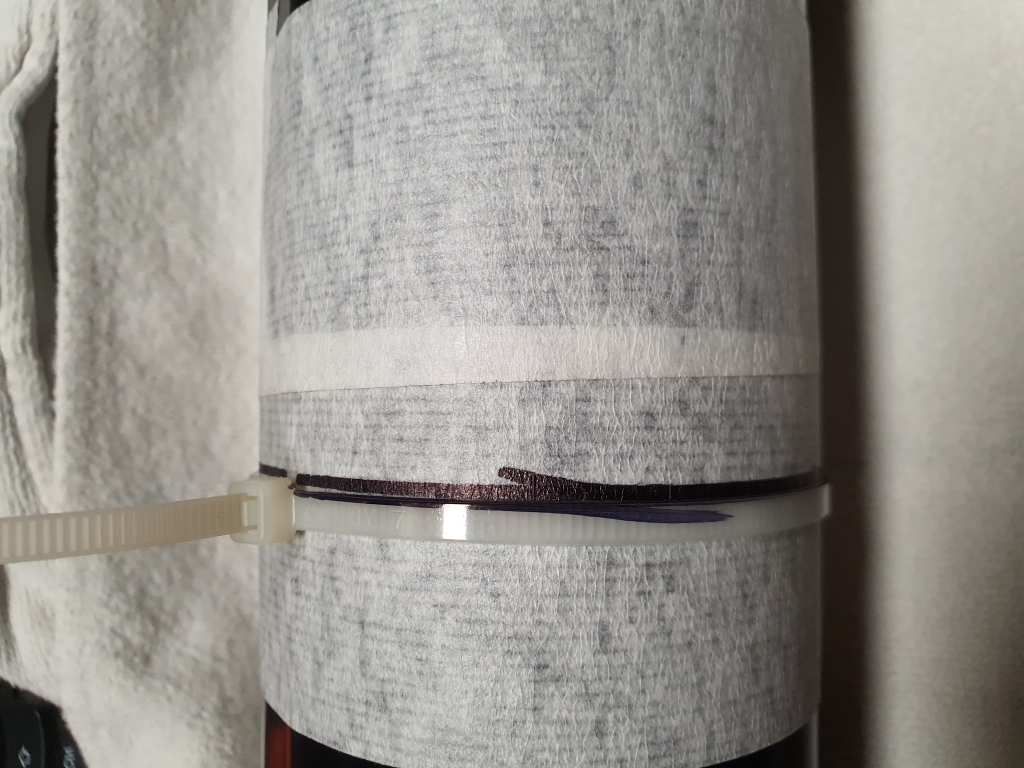
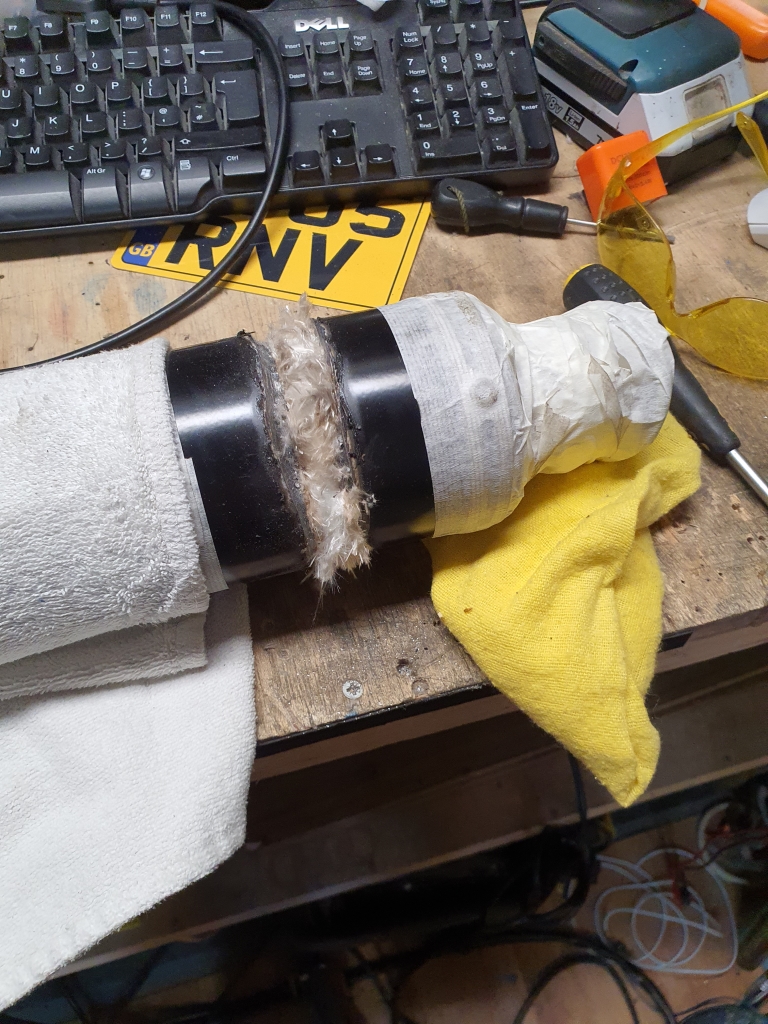
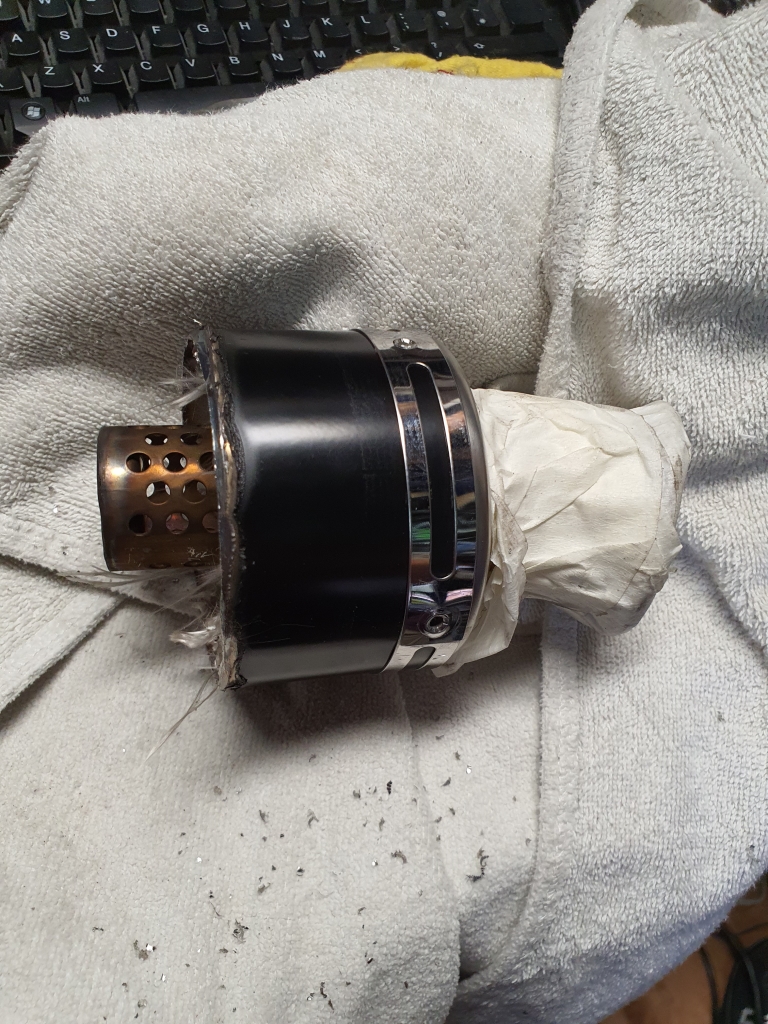
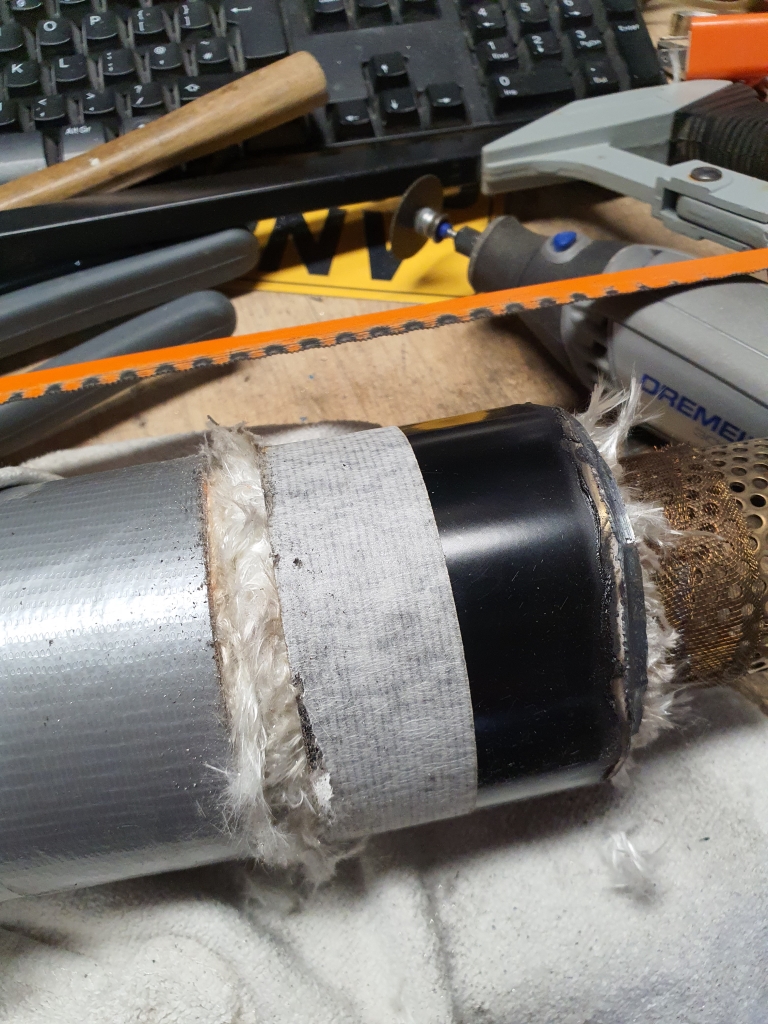
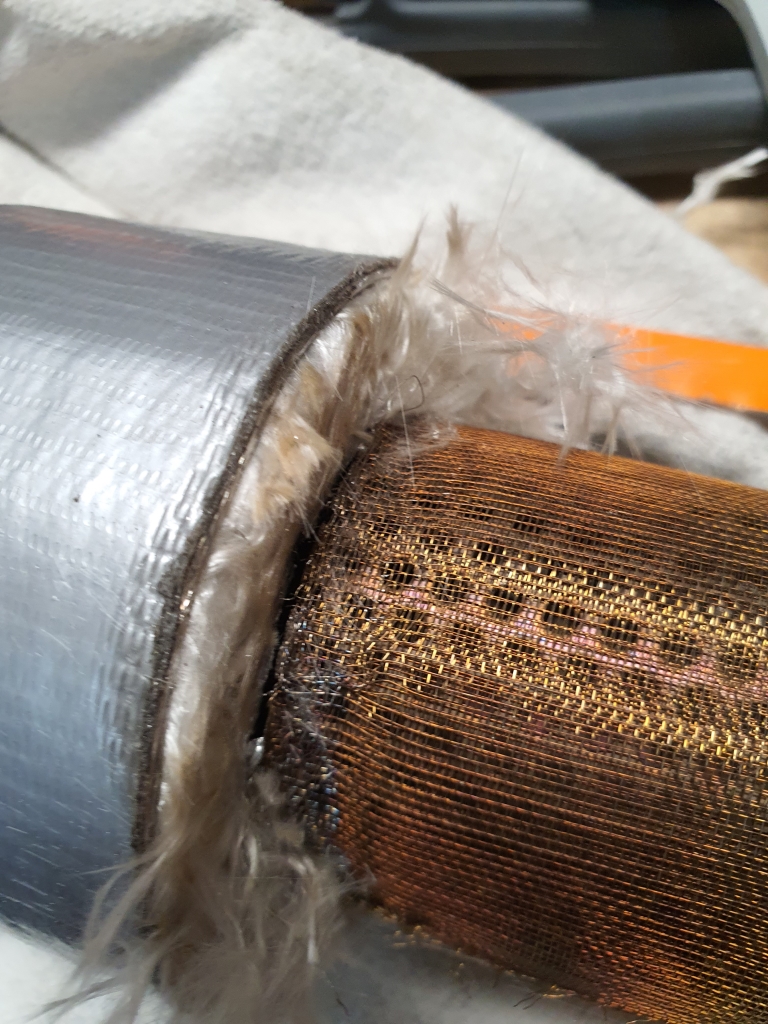
I will use it for now, and I plan to cut off about 10/15 centimetres depending on how far out I want it to sit.
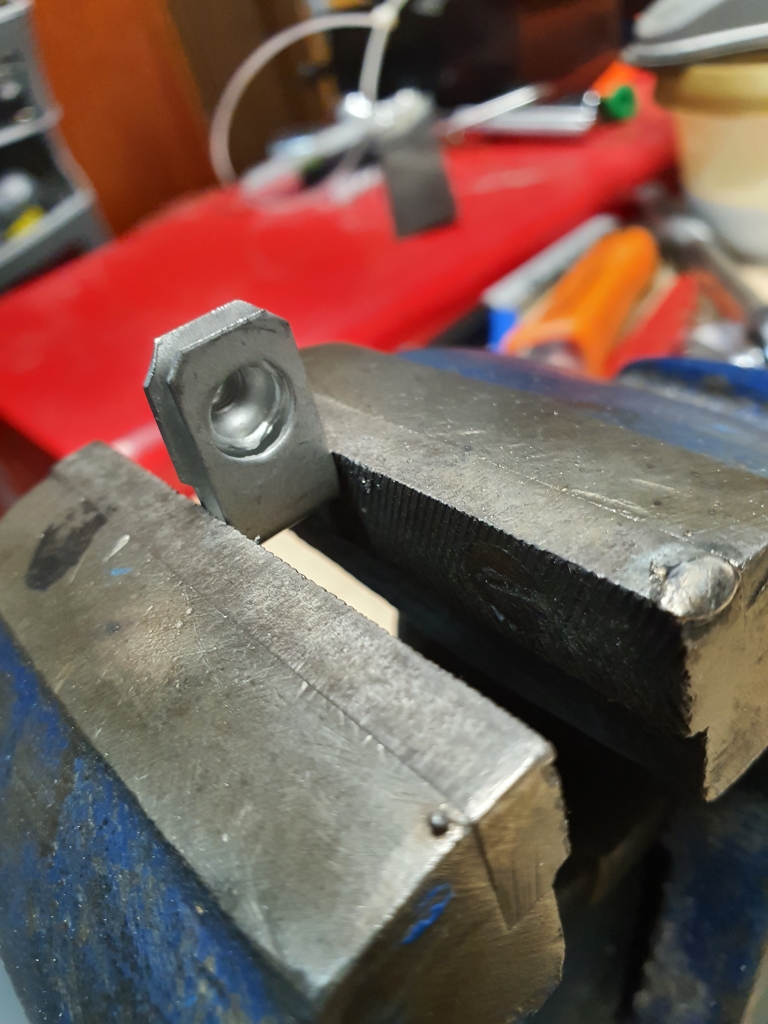
The new mirrors arrived - Damn! I rounded off one of the bolts, and no matter what I did, I would not budge. I used heat, extractors, mole grips, dremelled a slot, etc... Nothing would shift it..
I was reluctant to strip all the fairings off to weld a nut on, as it was getting late. So I got a couple of drying towels, got them damp, and made a hole in one. Wrapped up the front of the bike, stuck another bolt into the other side of the mount, to give me a decent and close earthing point (last thing I wanted to do was blow something up in the bike)
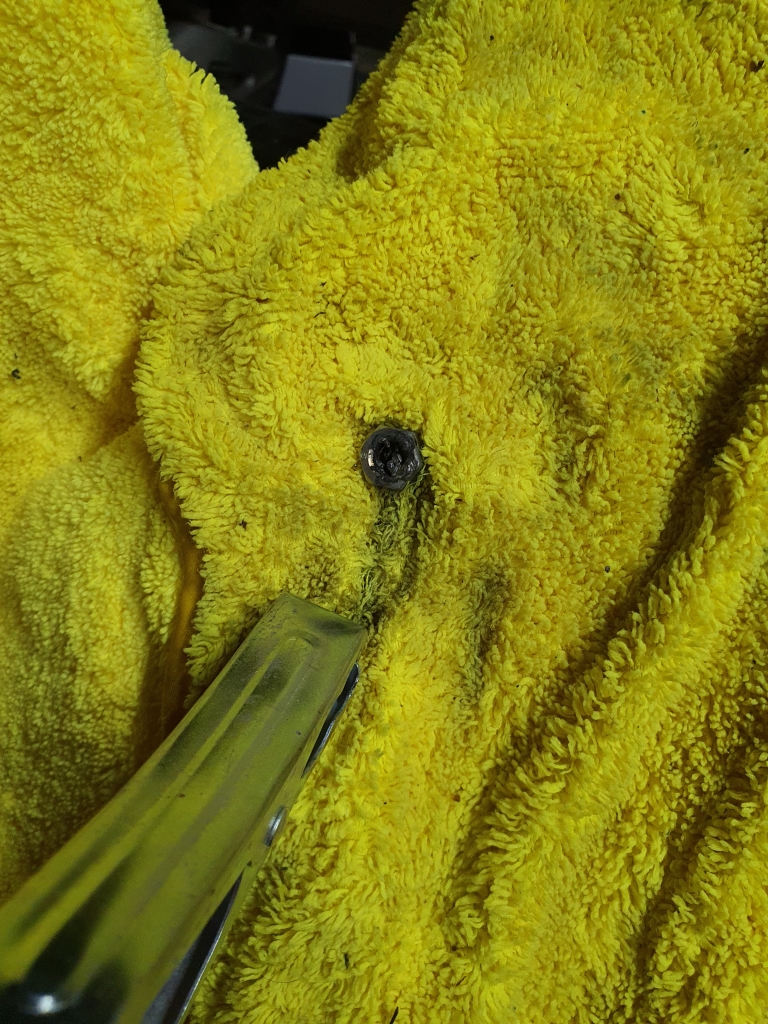
Mid Welding
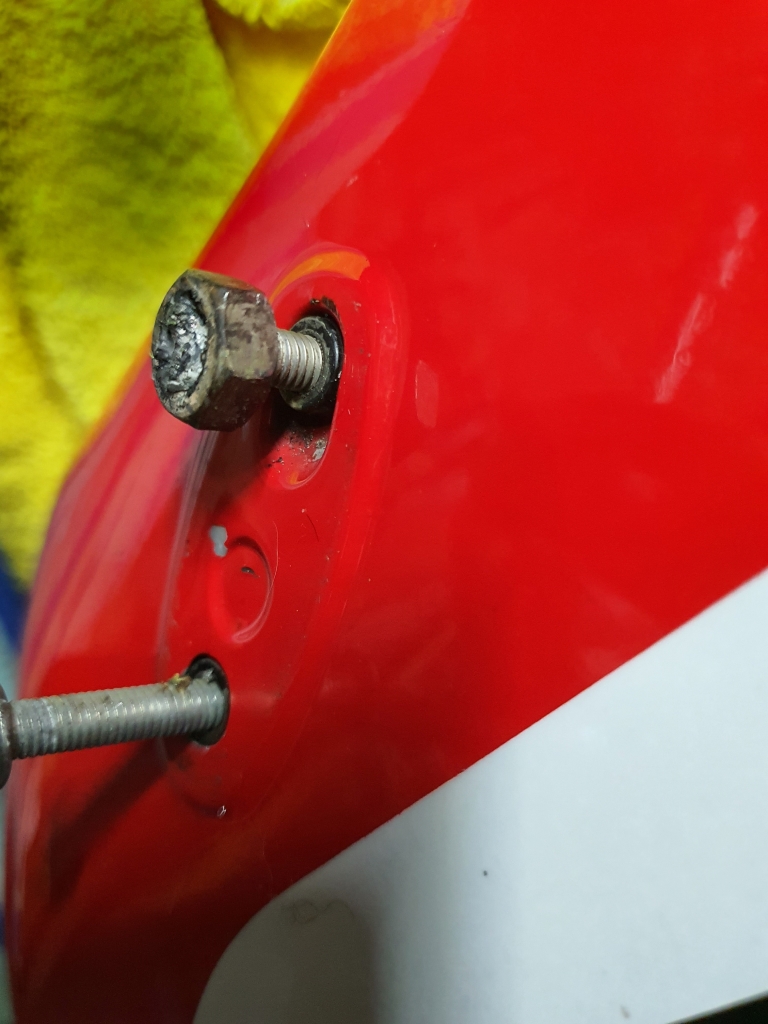
She's ugly, but she worked!
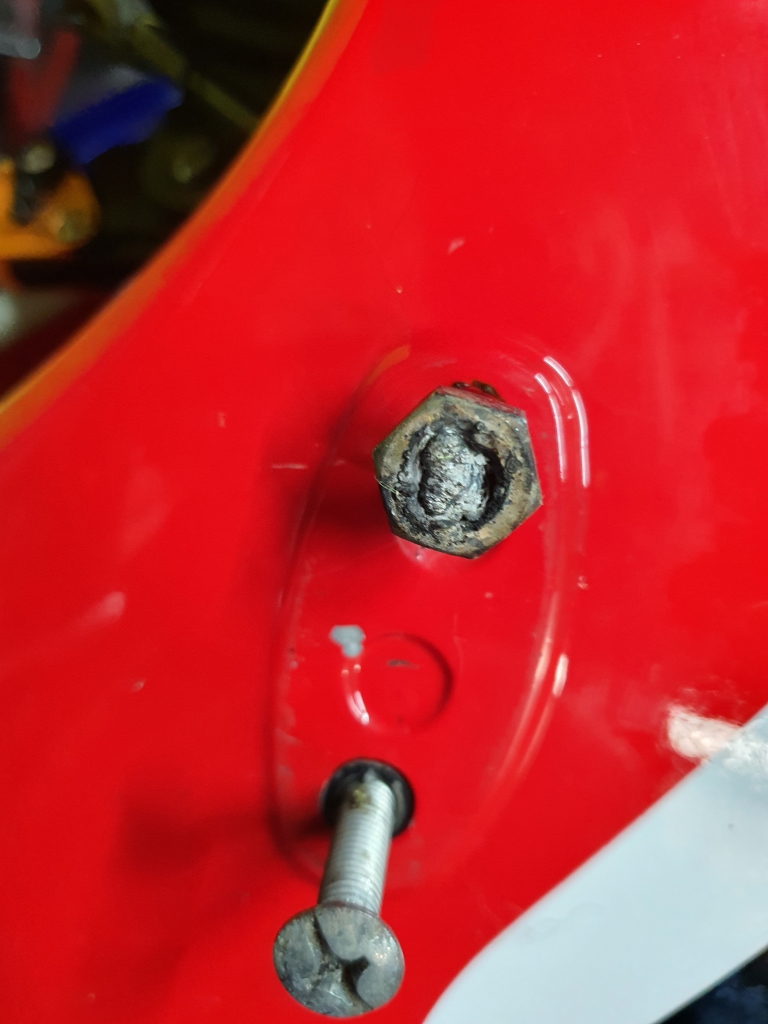
Out!
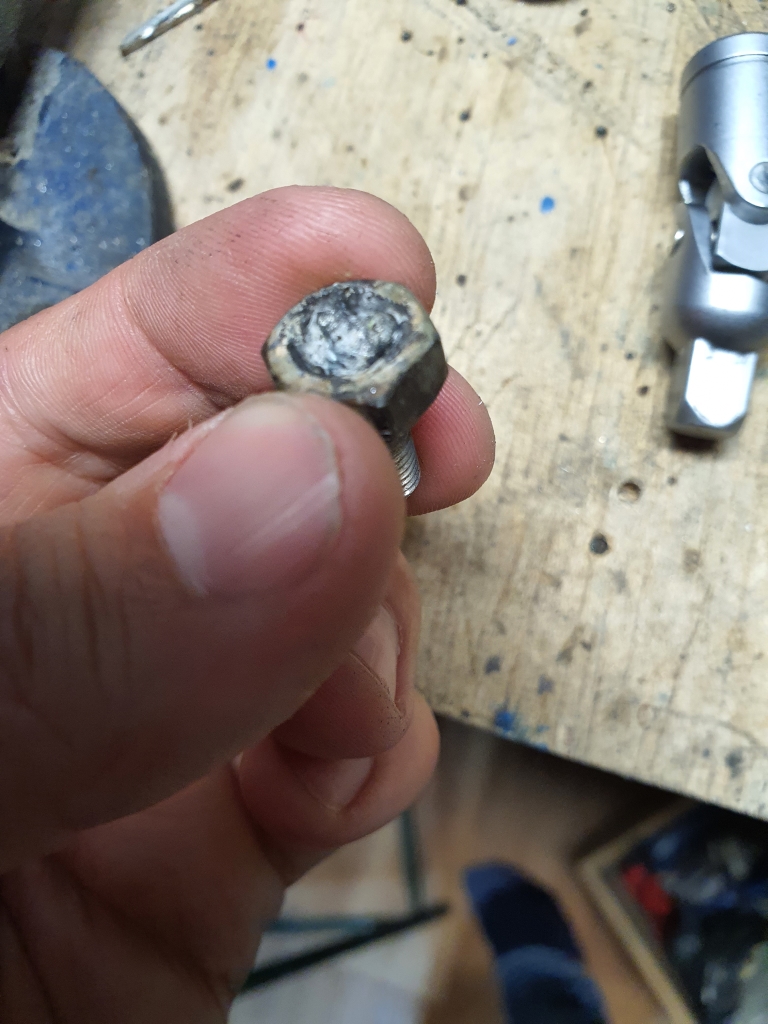
New mirrors on - No harm done!
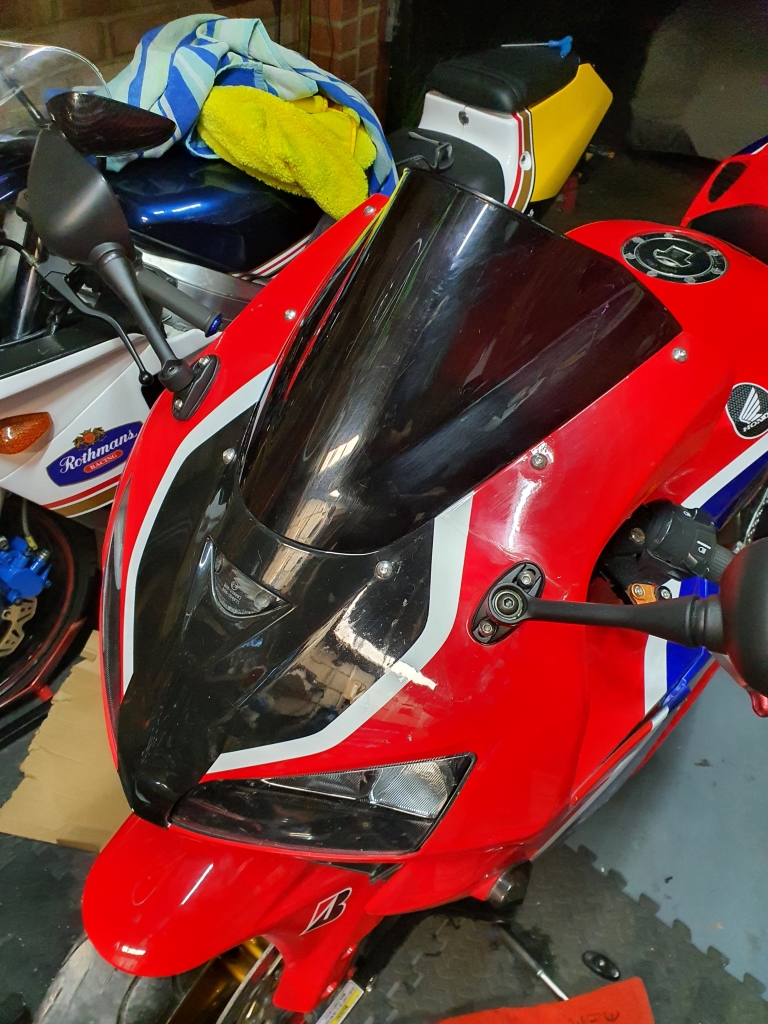
No one will ever know!
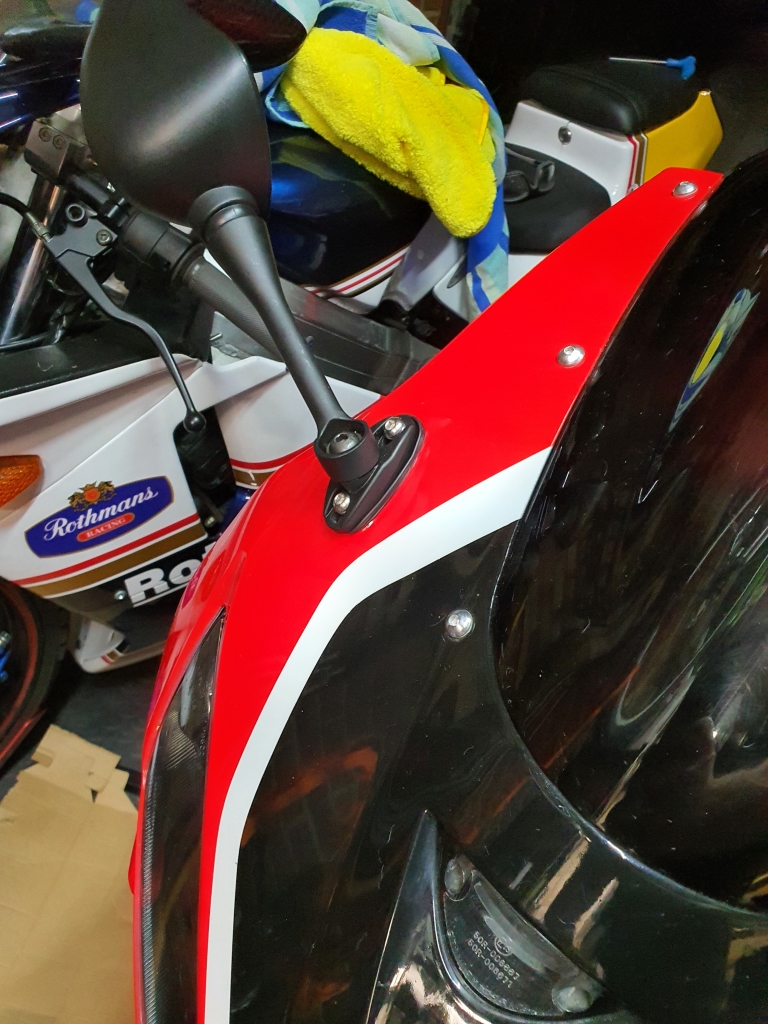
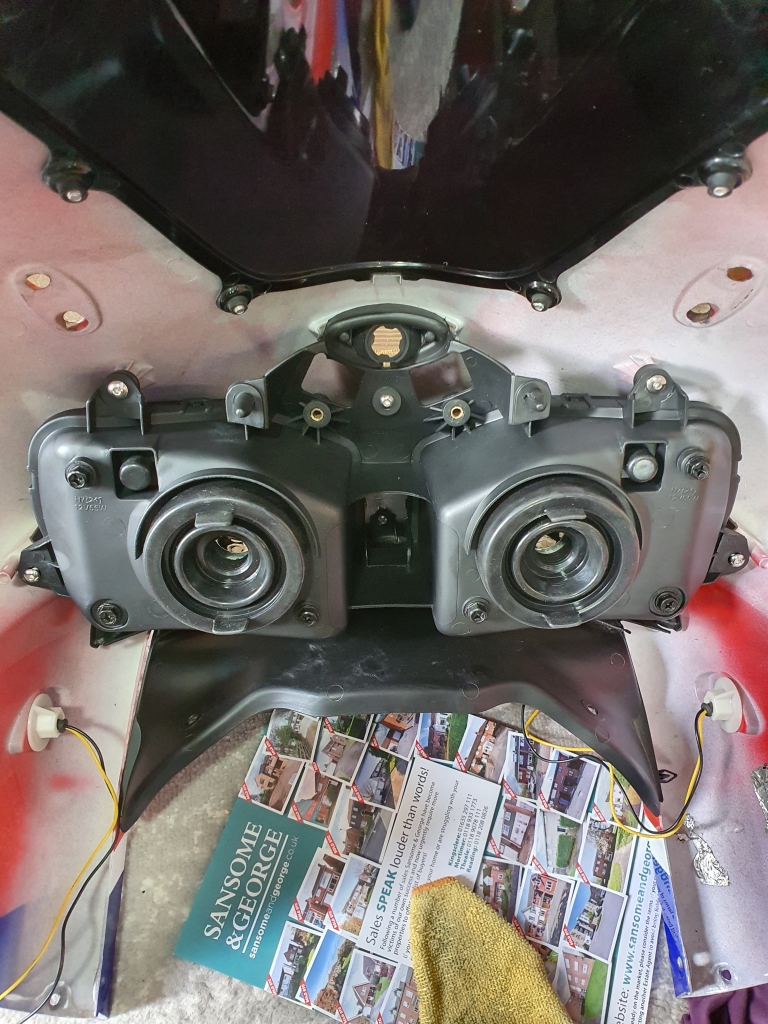
Did some boring replacement/correction of the fairing fixings:
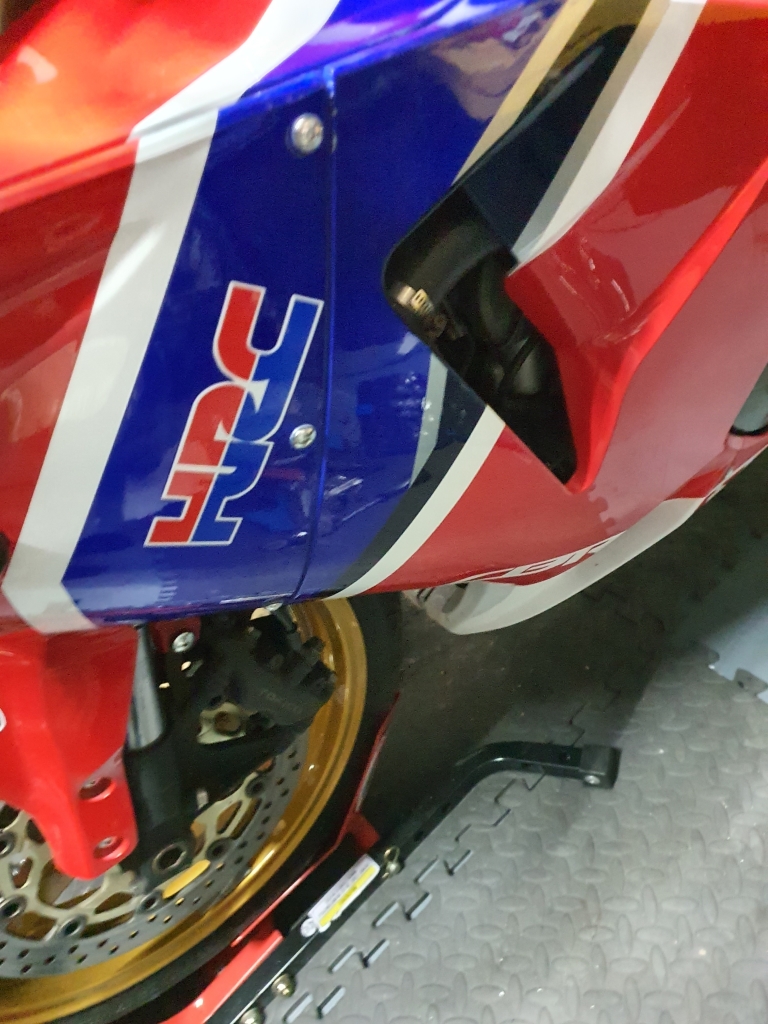
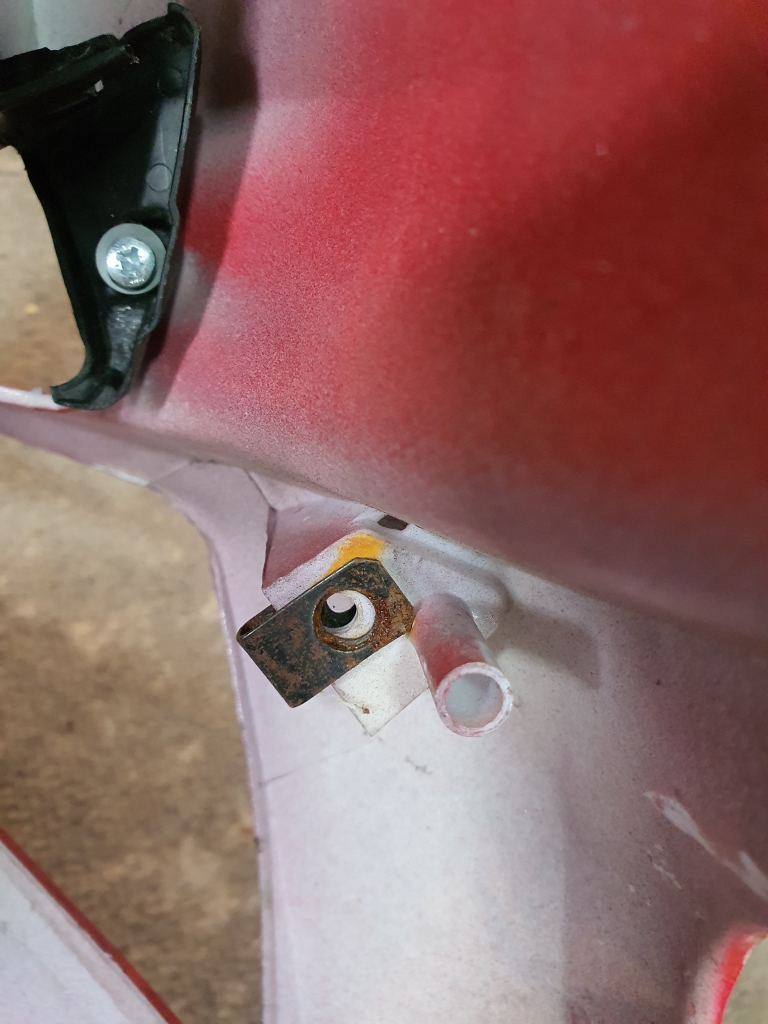
Lots of these little bits were missing or using the wrong bolts/screws:
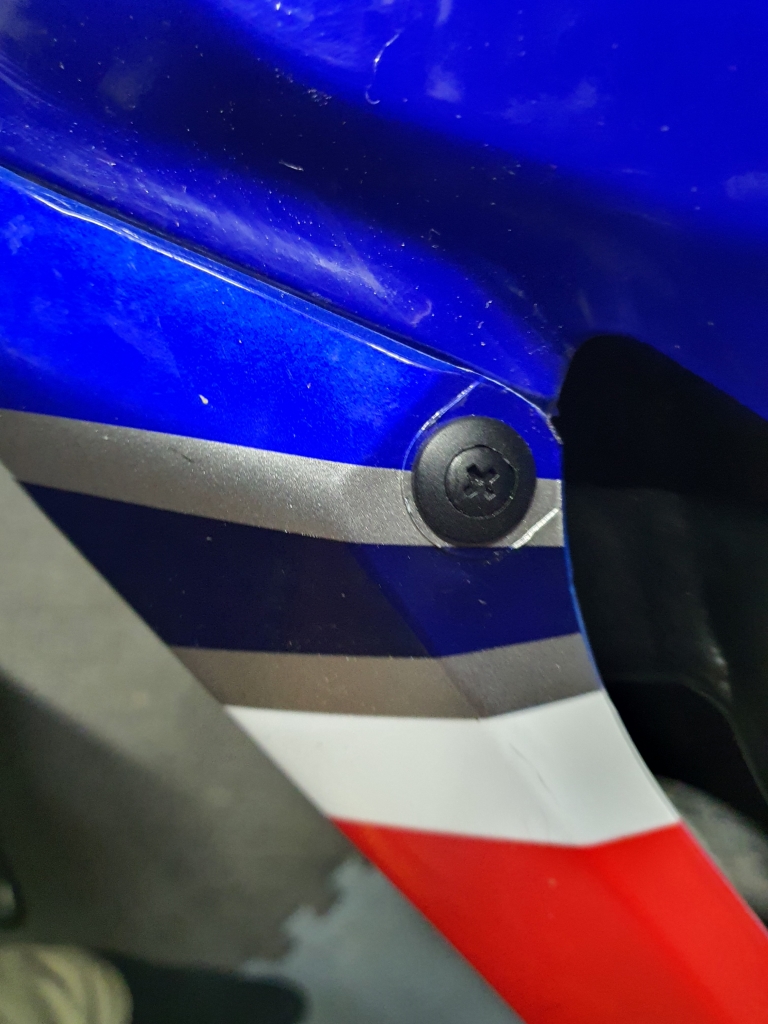
So I just worked my way around, and put in the correct bits all over:
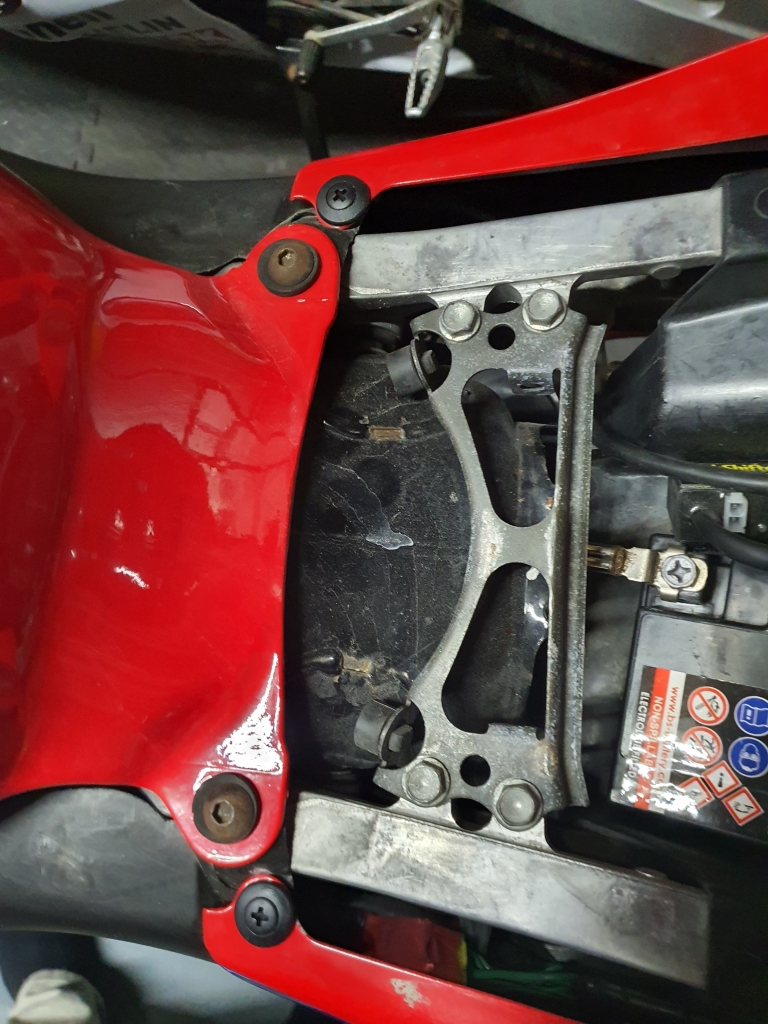
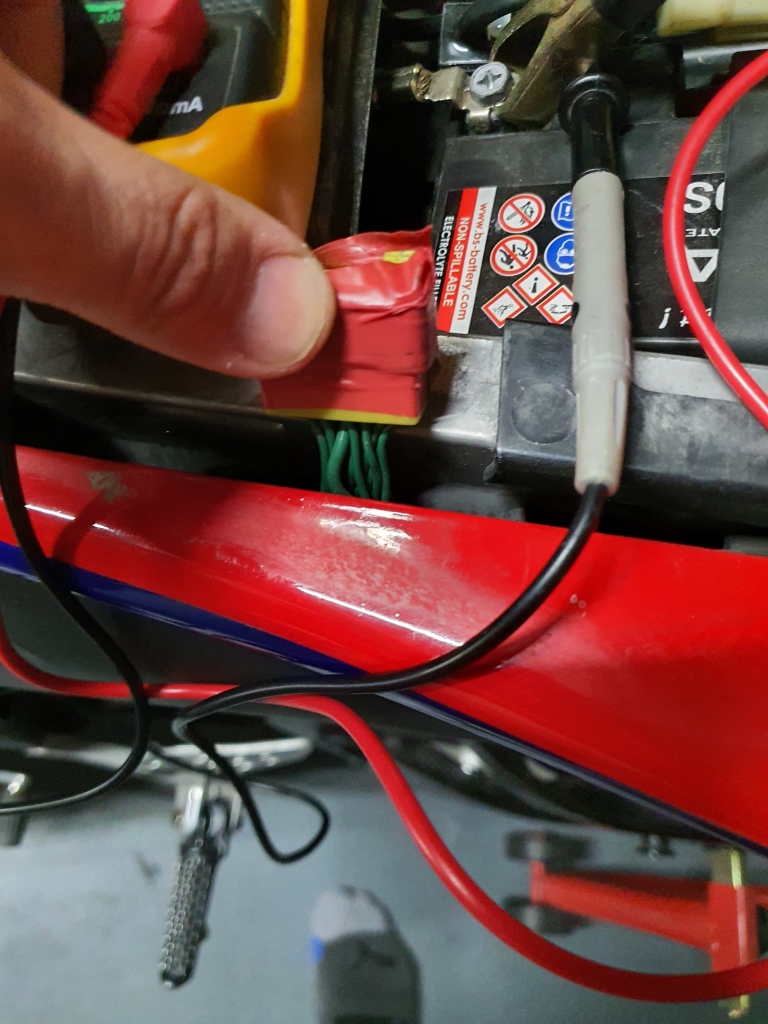
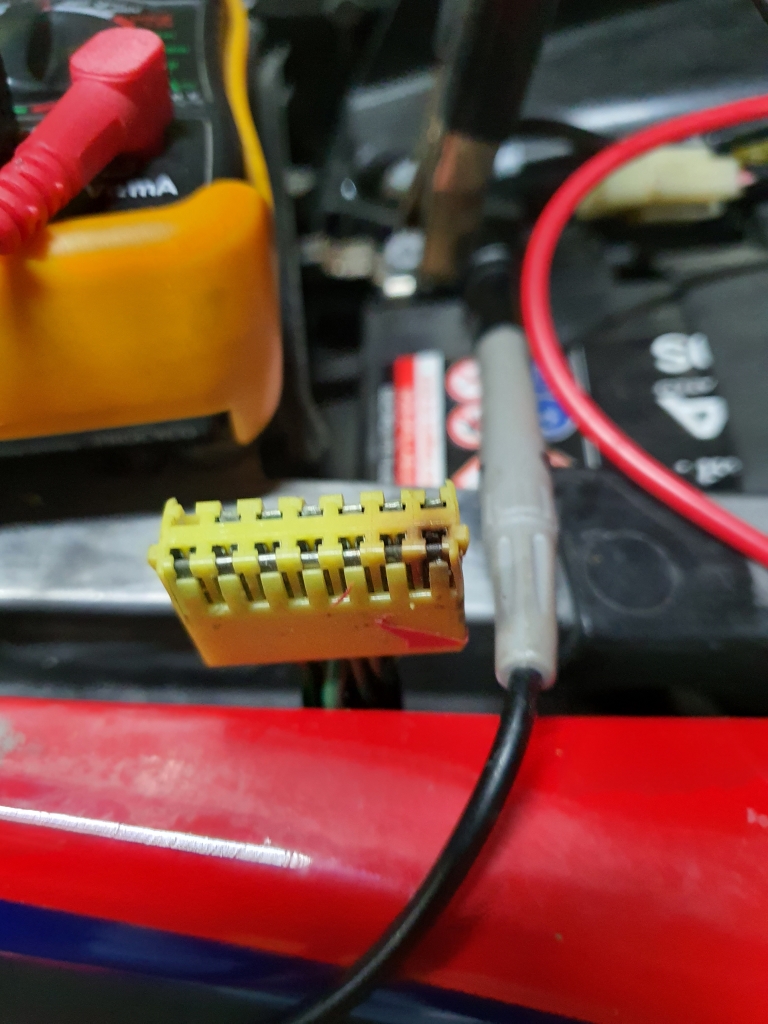
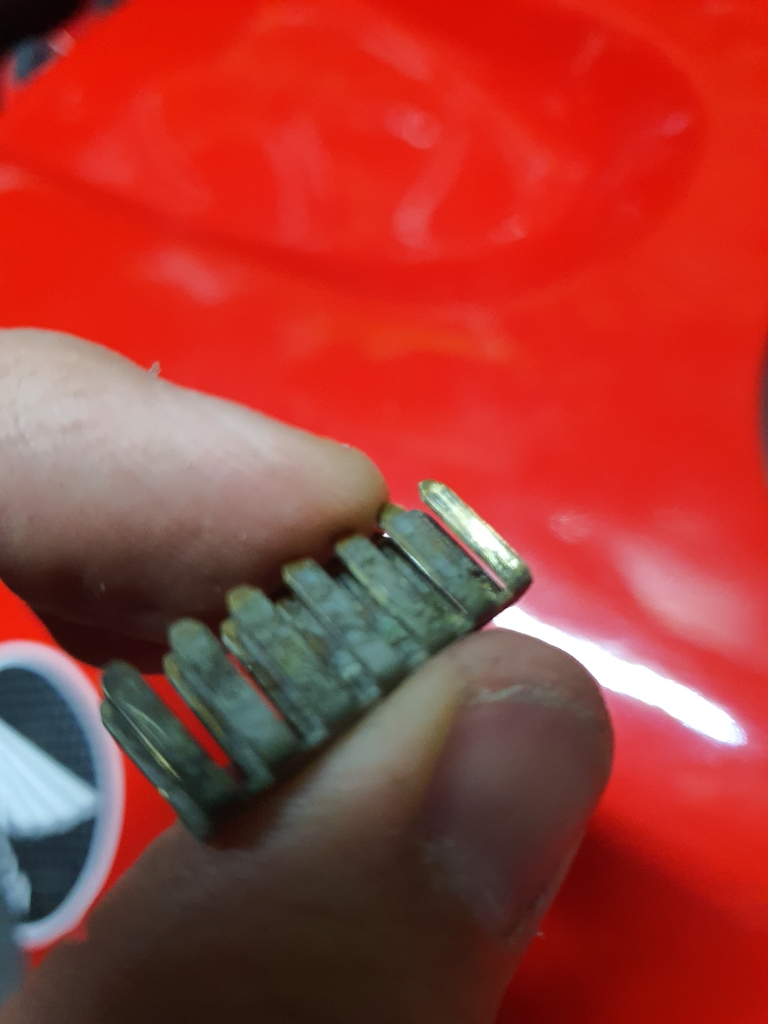
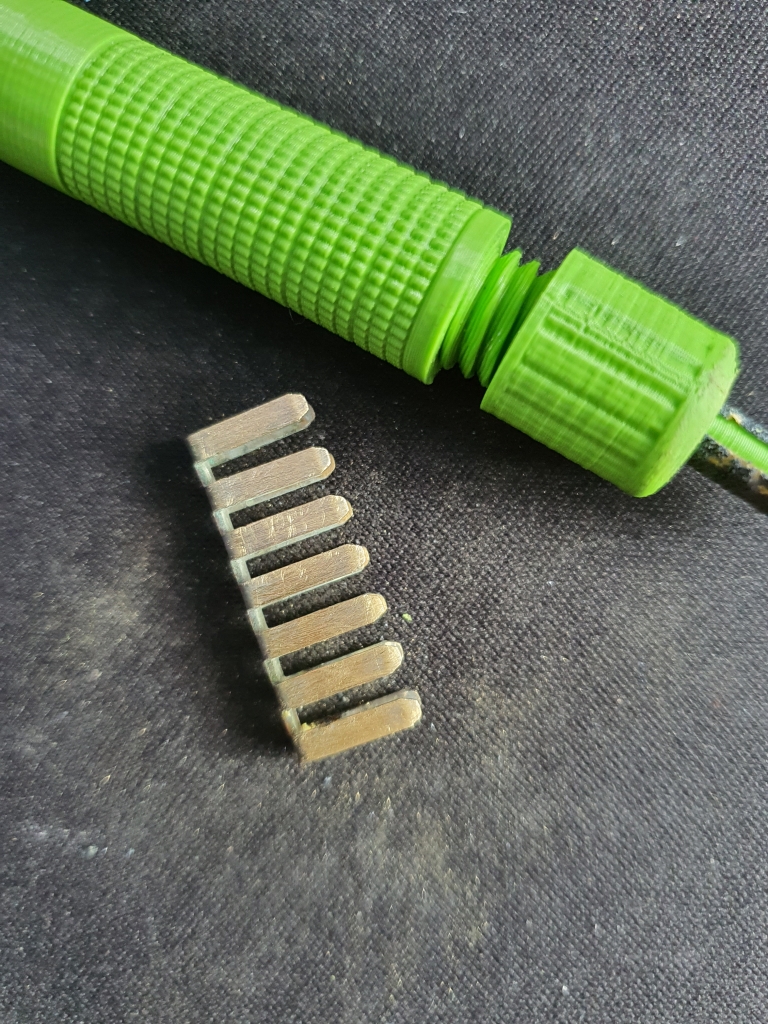
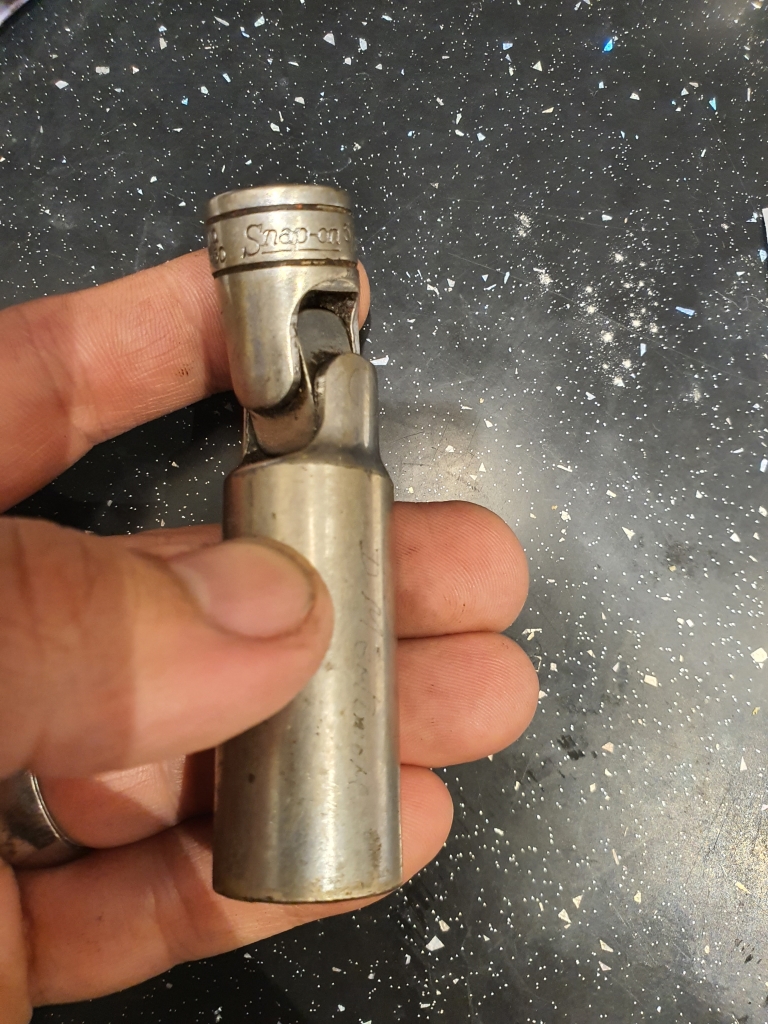
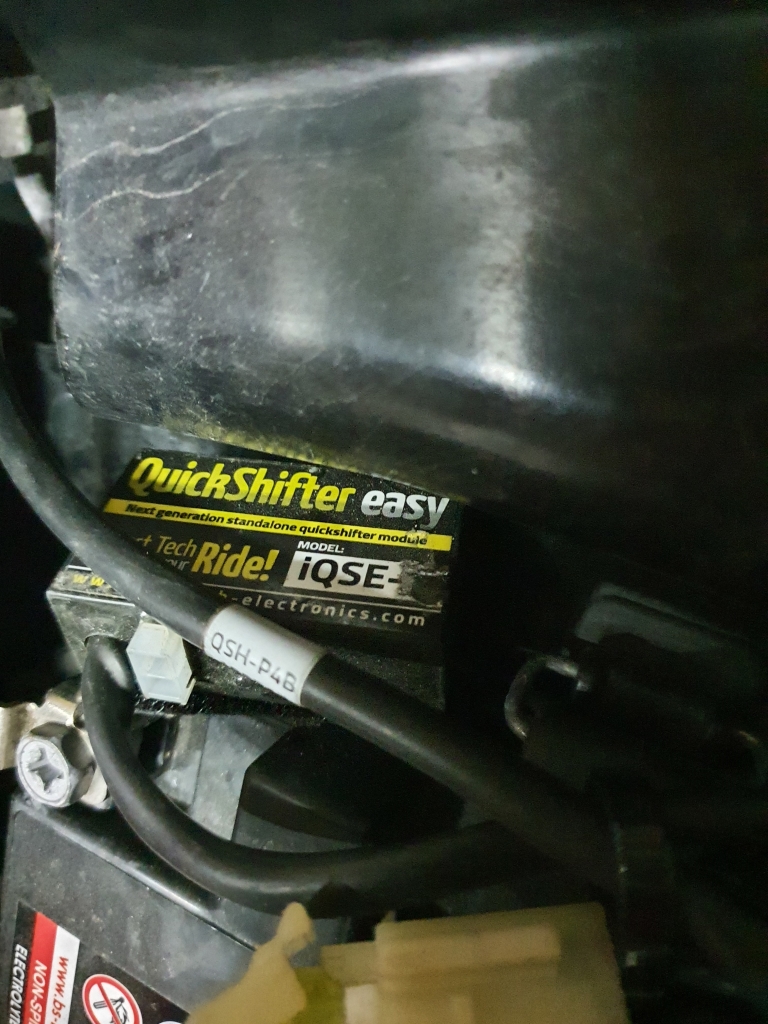
Found this under the seat:
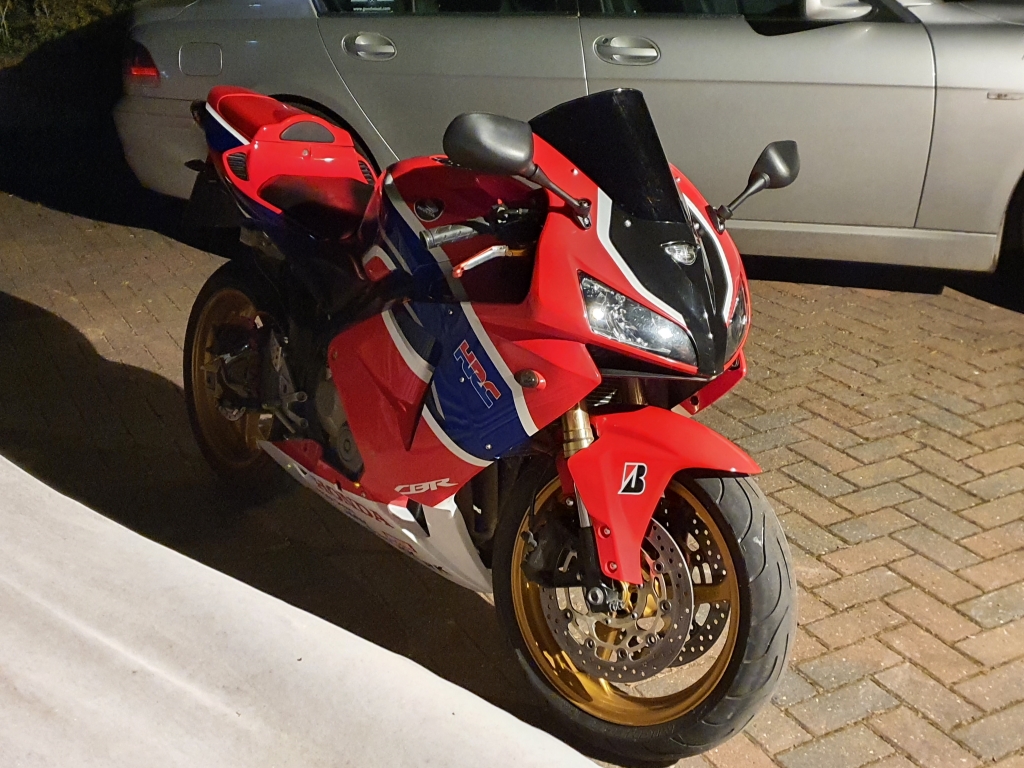
Rewarded myself with a late night shakedown
My original Hornet: https://forums.overclockers.co.uk/threads/now-i-bought-a-japanese-600.18855452/#post-32759480
and my CBR600F2: https://forums.overclockers.co.uk/threads/cbr600f2-another-project.18927745/
I decided to go bike hunting - but I had some things I wanted to do differently this time.
I wanted something Post 2000, under £3000, that was fully road-worthy this time, so no wrecks (still working on my basket case Ninja). I wanted something fuel injected, as I had only ever owned a 125 with this before. It should be more reliable, ULEZ compliant (or capable of being so) for occasional trips to my work offices in the big smoke. It had to be a Honda (naturally), with more than 100BHP.
I toyed with looking at a couple of Fireblades that were local, but quickly decided that although appealing, I am not really experienced enough to start chucking a litre bike around, so decided on a 600cc, and as Fireblades were out, I started looking at CBR600F from 2010+ but struggled to find many in budget, but then I stumbled across a CBR600RR from 2005. It ticked all the boxes, and was up at £3000 about an hour away in Salisbury.


I posed a few questions to some bike mates, and no one mentioned any serious issues to think about with this rather short-lived model, so I grabbed the van, and went to go have a look.
Had a nosey around, lots of missing fairing bolts, some scrappy wiring, terrible Chinese copy exhaust, and a faulty rear indicator(+hyperflashing!). So I did an HPI check, came up fine, and then had a little ride around for about 15 minutes, and was quite happy it would do the business.
Stuck it in the van, no pics of this as I had a strap break on me during the drive home!! The damn thing tipped over in the back. Smashing a mirror, and cracking the fairing around the mirror mount... VERY annoying, so I doubled up on straps in a random layby. Lesson learnt here for sure. I have transferred many bikes this way by now, so I guess I was a little complacent about the skinny little straps I was using

So, she was home, just a little bruised!

I whipped off the broken mirror, ordered in replacements, and had a little mooch about in the more familiar setting.

This will not do:

Yeah, too loud, too stubby, and looks wrong for me. Off it comes!

Quickly had a look at the dodgy indicator. Swapped it over to the working rear, and it still was dead, so I whipped it open, and found the positive lead was loose and rattling about, so a quick solder job:

Bang on!

Whilst I was down here, found a few other little bodges, stuff like this:

Just generally a bit poorly executed, but nothing disastrous really.

This will not do though. Its on the list of things to finesse. I insulated and wrapped it all up neatly for now, and tucked it up out of sight with some zip ties to keep it secure.

This hole will need filling, don't want something too short, so will get a longer pipe, and cut it back to a custom length I reckon!
Replaced the flasher unit to sort hyper-flashing indicators

These keys are not going to cut it (hah!):

So I have ordered a couple of new un-cut keys. This bike has HISS, so I will need to swap over the chips to get them working once cut, but I am not confident this original working key would be worth relying on.
Yeah, so this arrived, and was clearly too long. Not a problem, its much quieter!

I will use it for now, and I plan to cut off about 10/15 centimetres depending on how far out I want it to sit.
The new mirrors arrived - Damn! I rounded off one of the bolts, and no matter what I did, I would not budge. I used heat, extractors, mole grips, dremelled a slot, etc... Nothing would shift it..
I was reluctant to strip all the fairings off to weld a nut on, as it was getting late. So I got a couple of drying towels, got them damp, and made a hole in one. Wrapped up the front of the bike, stuck another bolt into the other side of the mount, to give me a decent and close earthing point (last thing I wanted to do was blow something up in the bike)

Mid Welding

She's ugly, but she worked!

Out!

New mirrors on - No harm done!

No one will ever know!

Did some boring replacement/correction of the fairing fixings:

Lots of these little bits were missing or using the wrong bolts/screws:

So I just worked my way around, and put in the correct bits all over:

Found this under the seat:

Rewarded myself with a late night shakedown


Last edited:


 Maybe it will spark something!