Night Sky Photograpthy

Associate
Joined
22 Jun 2012
Posts
1,071
So I am going away next week in Tenby where we are glamping and there is no light pollution around so I want to try out some Star photography (hopefully)

I have Nikon D5300 and the Kit lens and also 35mm prime.

Would I be better trying the kit lens to get more of the sky? Or stick to the prime?

Also any tips and tricks? Or apps to get the right direction etc.

I have a tripod also and a wireless shutter release.
 
First, follow this rule if you don't want to get star trails.

http://petapixel.com/2015/01/06/avoid-star-trails-following-500-rule/

Ignore it, or use it to your advantage if you do.

Second, have a ground subject in the frame to ground the photo, else you wouldn't know which way is up.

Third, get some astrology apps to get your bearings and find the milky way/northern star etc.
 
So I am going away next week in Tenby where we are glamping and there is no light pollution around so I want to try out some Star photography (hopefully)

I have Nikon D5300 and the Kit lens and also 35mm prime.

Would I be better trying the kit lens to get more of the sky? Or stick to the prime?

Also any tips and tricks? Or apps to get the right direction etc.

I have a tripod also and a wireless shutter release.

Take a look at

http://www.darkskydiscovery.org.uk/

Manorbier Castle is near Tenby - lovely place, it does have an information pin on the map on that site, definitely would look good in a night shot.

If you have an Android phone, Stellarium is a pretty neat app, not only does it enable you to pinpoint planets and stars, but it also allows you to 'see' where the Milky way is as well. Not sure if this App is available on the iPhone.

Another good App is "The Photographers Ephemeris" (available on Android and iPhone). It will allow you to work out where Sun and Moonrise is at any point in the world, along with giving times for twilight etc. Good if you're trying to work out where to go for a sunrise/moonrise behind a specific building or location etc,

Perhaps a bit late to order for your trip, but there is a really good book called

Night Photography and Light Painting: Finding Your Way in the Dark by Lance Keimig. He definitely knows what he is talking about and the book is full of good information about low light and night photography.
 
Recently did this in Orkney with similar equipment (D5200 and a 18-35 f1.8). The calculator for exposure times were a bit off for me but easy to tweak, I actually found it hard to get star trails :p. Take both if you can but from my brief experience, it seemed to like f1.8 (is your prime the Nikon 35 f1.8?). I used Stellarium on the desktop to plan where the core of the Milky Way would be but it can be used for other aspects of stellar photograph - their are mobile versions but the desktop version is free and easy to use. Good luck and post your results on here :)
 
Will have to head back out with a friend to do some astro again soon - I've spent a night out near Christmas Common in Oxfordshire and seen quite a bit!

Seeing Andromeda coming up over the horizon - a very faint smudge to the eye but more than defined through some big binos was amazing!

I attended a forum that was themed around dark skies last week and it got me interested to go out again!

The South Downs NP now being a DSR is great - was funny hearing from their dark skies warden about the process for designation (much dogging had to be put up with out collecting light measurements haha).
 
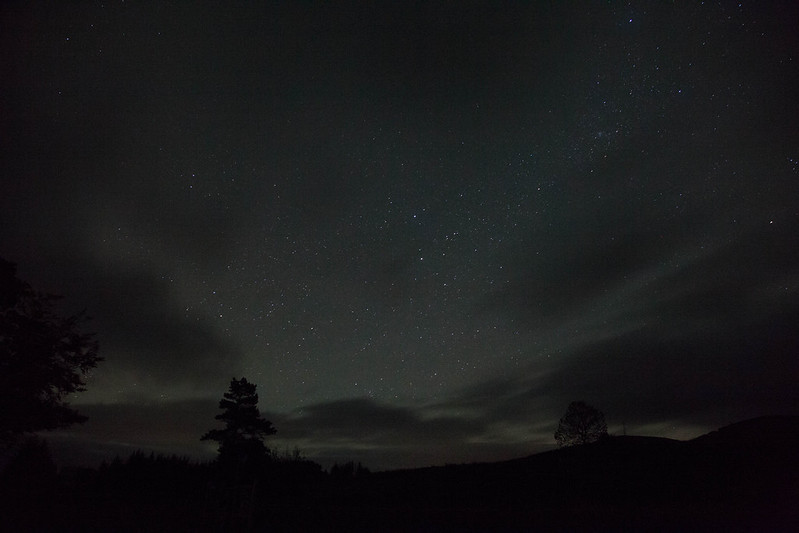
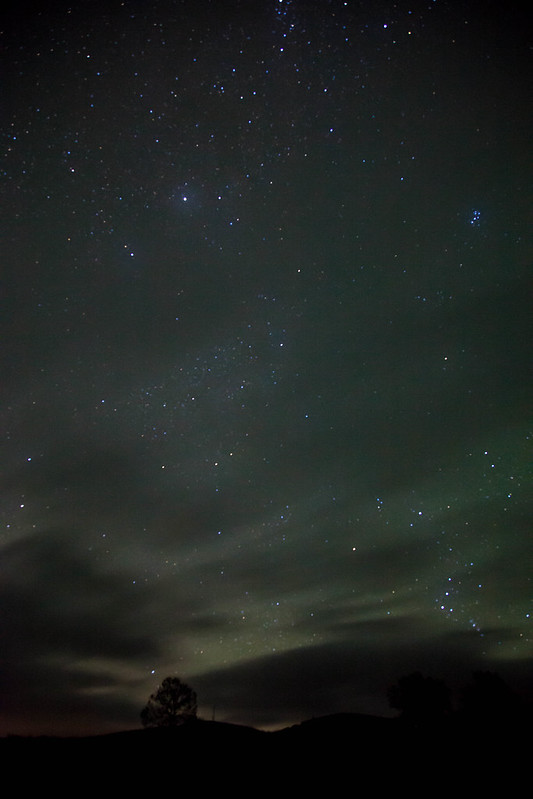
Just got back from an impromptu trip to the New Galloway Forest. Very dark skies and thankfully had the occasional clear spell.
Can't wait for the new 14mm to arrive as the results with the 24-105 weren't brilliant.

IMG_4046

IMG_4035
 
There is a website somewhere I will find again where the rate pretty much every lens for star photography.

Some really good, expensive ones dont fair well like my expensive 12-40 f2.8 pro. The samsyang 12mm knocks spots off it
 
I'm using a Samyang 24mm f1.4 for night sky stuff though not had much of a chance to get out with it yet.
 
Thanks for all the above, Sadly I had gone by time most had gave me information.

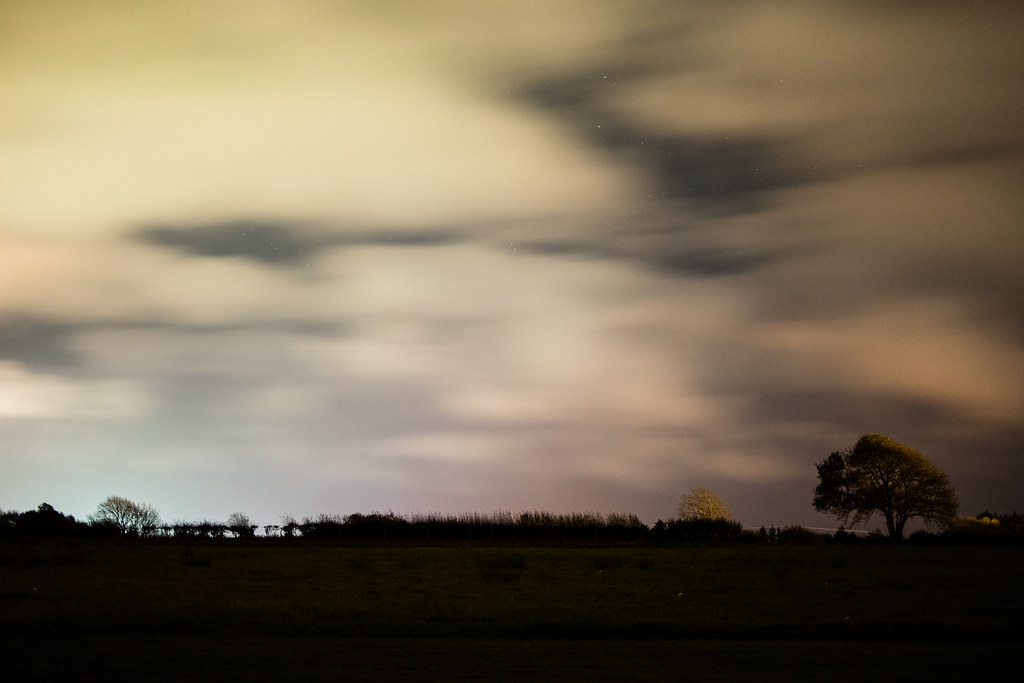
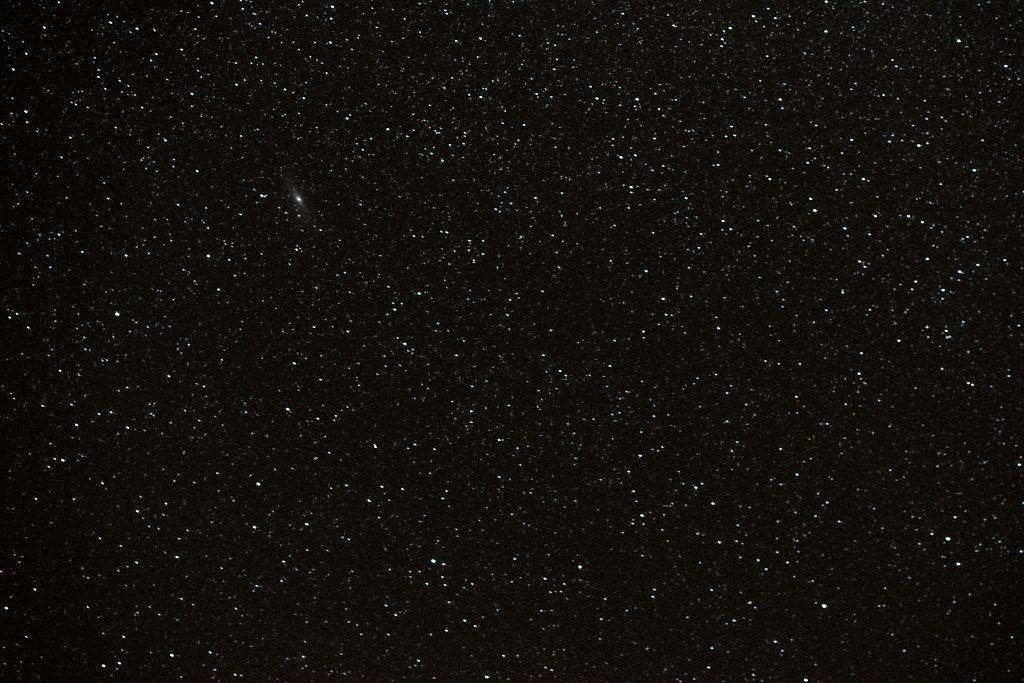
Most the time it was cloudy and was more trial and error and just getting used to it but here is a couple of shots, The star one I believe I failed the infinity focus :(

30507204142_7fb4c8bd5b_b.jpg
Night Clouds

30507205492_33d167d2df_b.jpg
Night Sky Stars
 
Infinity focus is annoyingly hard to get right. My first time out star shots took me an hour to find infinity focus on my lens. It was slightly past infinity on my 12-40 pro. But once you fine it, you can just go straight to it next time.
 
This area of photography has always fascinated me, and I know nothing about it ! So thanks for the info in the thread. I've seen some nice shots with the samyang 8mm which I have, but I'm thinking of picking up the 12mm as that seems a solid choice.
 
There are a few really important factors for night sky photography.

1. Regardless of lens, you NEED a tripod, preferably a really sturdy one that allows you to weigh it down if there is any wind at all, even a light breeze.

2. Remote shutter release and mirror lockup, close viewfinder. The tiniest movements from you pressing a button can introduce blur in your photos, even the slap of the shutter will cause micro vibrations that will effect longer exposures. Use mirror up/lock mode, either connect a cabled shutter release or if your camera has a remote iphone/android app for remote shutter release use that, worst case scenario use mirrorup mode and a 5 second self-timer thats built into most cameras. Lastly close your viewfinder eyepiece "curtain", light can leak onto the sensor this way and create ugly hues.

3. When picking a lens consider the following:

- Aperture is #1, the larger the aperture (lower the f number) the more light the camera can receive through the lens as the aperture is like your iris. 2.8 is good, 1.8 is better, 1.4 is best. The larger aperture lenses allow you to lower your ISO for less noisey images, or increase your shutter speed for less trailing from the stars in the sky giving a sharper looking image.

- Focal length is #2, wider angle lenses in the 10-24mm range not only allows you to get more night sky, or a mixture of sky and landscape, into your image, but the wider you shoot the less the effects of stars trailing will show in your photos, this in turn will allow you to use a longer shutter speed and as such will allow you to lower your ISO making your images less noisey. For example, on my 14-24 2.8 @ 14mm I can keep trailing unnoticeable with a 30sec exposure, but at 24mm its slightly visible.

4. Settings:

Its a real balancing act, between controlling movement/star trailing with shutter-speed, noise from ISO, relative to the aperture available on your camera. I always set F-stop to the lowest it will go to give me the largest aperture (2.8 in my case) and then I will set what I believe to be my cameras maximum acceptable ISO (I hate going above 1600 on my D800), I will then do test shots ~15-30 secs (30 is my upper limit to avoid star trailing) to check exposure and adjust my ISO down if possible. (In a pitch black environment with a D800 and a 14-24 f2.8 I generally find myself somewhere around 800-1600 ISO @ f2.8 with 20-30sec shutter-speed)

5. Dark frames, light frames, bias frames, star stacking. This is advanced stuff, but it can really remove a lot of camera noise and give you very clean detailed photos, I wont explain it here but if you are really into your astro-photography google "Deepskystacker" and read the long detailed FAQ.

So after all that blah blah, what lenses?

Nikon (expensive): 14-24mm 2.8 / 35mm 1.4 / 24mm 1.4
Samyang aka Rokinon (Bang for buck): 14mm 2.8 / 24mm 1.4
Canon/Sony: Ive no idea about these brands, though low F number, and wide angle is hard to go wrong.

Sorry for the wall of text.

Edit: Focusing can be a pain in the ass for sure, what looks fine on the rear of the camera can quickly turn to disappointment at your desktop, I generally focus using live view and manual focusing, taking test shot and zooming right into the image on the LCD to see if ive got the star sharp, your focus will usually be around infinity on your focus ring, half a millimetre adjustment can make all the difference so spend a good bit of time at the beginning of the session to make sure you are certain you've got focus sharp.
 
Last edited:
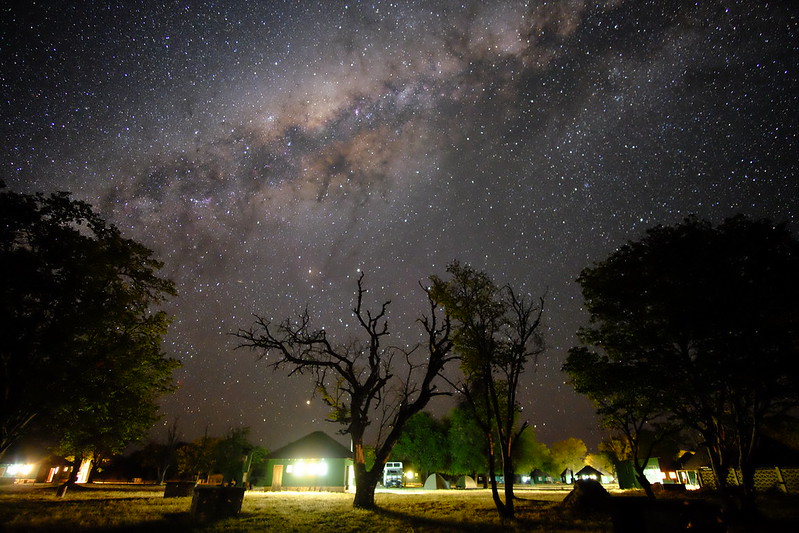
Spot on with the focus. I almost two hours to get the get focus right before that milky way shot above and even then Im not 100% sure it couldnt be better.............

And you are right about it might look great on the rear screen of of camera but its not. I am lucky in that i can link my camera to my ipad and review and zoom in on each shot taken (plus the added advantage i can control the camera from the ipad or phone so dont need a remote release)
 
Nice first attempts, I use stellarium app on android to find where the milky way is in the sky. It changes depending on your position on earth and the time of year, the best time to see it is early summer if i recall correctly, but if you are in the northern hemisphere like myself you are only getting the tail visible. Its one of the main reasons all the major observatories are in the southern hemisphere.

That being said if you find a dark enough spot you can get a good amount of the milky way even in the depths of winter.

rossdavidsonphotography.co.uk%281%29.jpg


I took that on the north coast of Ireland last winter, its far from perfect (quite noisy) but I caught some of the perseid meteor shower so I was happy enough.
 
This was my first proper attempt very drunk at 1:24 in the morning, using Samyang 12mm and not really that sure what I was doing, could have done with a cable release too, as 30sec was slight bit too long. Straight out of camera no PP.

DSCF0737 by Ryan McMaster, on Flickr
 
There are a few really important factors for night sky photography.

1. Regardless of lens, you NEED a tripod, preferably a really sturdy one that allows you to weigh it down if there is any wind at all, even a light breeze.

2. Remote shutter release and mirror lockup, close viewfinder. The tiniest movements from you pressing a button can introduce blur in your photos, even the slap of the shutter will cause micro vibrations that will effect longer exposures. Use mirror up/lock mode, either connect a cabled shutter release or if your camera has a remote iphone/android app for remote shutter release use that, worst case scenario use mirrorup mode and a 5 second self-timer thats built into most cameras. Lastly close your viewfinder eyepiece "curtain", light can leak onto the sensor this way and create ugly hues.

3. When picking a lens consider the following:

- Aperture is #1, the larger the aperture (lower the f number) the more light the camera can receive through the lens as the aperture is like your iris. 2.8 is good, 1.8 is better, 1.4 is best. The larger aperture lenses allow you to lower your ISO for less noisey images, or increase your shutter speed for less trailing from the stars in the sky giving a sharper looking image.

- Focal length is #2, wider angle lenses in the 10-24mm range not only allows you to get more night sky, or a mixture of sky and landscape, into your image, but the wider you shoot the less the effects of stars trailing will show in your photos, this in turn will allow you to use a longer shutter speed and as such will allow you to lower your ISO making your images less noisey. For example, on my 14-24 2.8 @ 14mm I can keep trailing unnoticeable with a 30sec exposure, but at 24mm its slightly visible.

4. Settings:

Its a real balancing act, between controlling movement/star trailing with shutter-speed, noise from ISO, relative to the aperture available on your camera. I always set F-stop to the lowest it will go to give me the largest aperture (2.8 in my case) and then I will set what I believe to be my cameras maximum acceptable ISO (I hate going above 1600 on my D800), I will then do test shots ~15-30 secs (30 is my upper limit to avoid star trailing) to check exposure and adjust my ISO down if possible. (In a pitch black environment with a D800 and a 14-24 f2.8 I generally find myself somewhere around 800-1600 ISO @ f2.8 with 20-30sec shutter-speed)

5. Dark frames, light frames, bias frames, star stacking. This is advanced stuff, but it can really remove a lot of camera noise and give you very clean detailed photos, I wont explain it here but if you are really into your astro-photography google "Deepskystacker" and read the long detailed FAQ.

So after all that blah blah, what lenses?

Nikon (expensive): 14-24mm 2.8 / 35mm 1.4 / 24mm 1.4
Samyang aka Rokinon (Bang for buck): 14mm 2.8 / 24mm 1.4
Canon/Sony: Ive no idea about these brands, though low F number, and wide angle is hard to go wrong.

Sorry for the wall of text.

Edit: Focusing can be a pain in the ass for sure, what looks fine on the rear of the camera can quickly turn to disappointment at your desktop, I generally focus using live view and manual focusing, taking test shot and zooming right into the image on the LCD to see if ive got the star sharp, your focus will usually be around infinity on your focus ring, half a millimetre adjustment can make all the difference so spend a good bit of time at the beginning of the session to make sure you are certain you've got focus sharp.

Thank you so much for all that write up very insightful!

Also great seeing peoples attempts in here :) I wish I could walk to somewhere with no light pollution, Means at least a drive and a clear night :D
 
Back
Top Bottom