[OcUK Staff Builds] Project Defiant

OcUK Staff
Joined
8 Oct 2009
Posts
913
Location
OcUK HQ
Hi All

Looks Like I am the last to start my build Log I hope it provides a much entertainment as the others that have been done by Fellow OcUK forum members and staff.

The main idea for the project is a fully watercooled system that is without compromise and with the use of the best components that are on the market that are within my budget.

Below is the list of components that I plan to use:

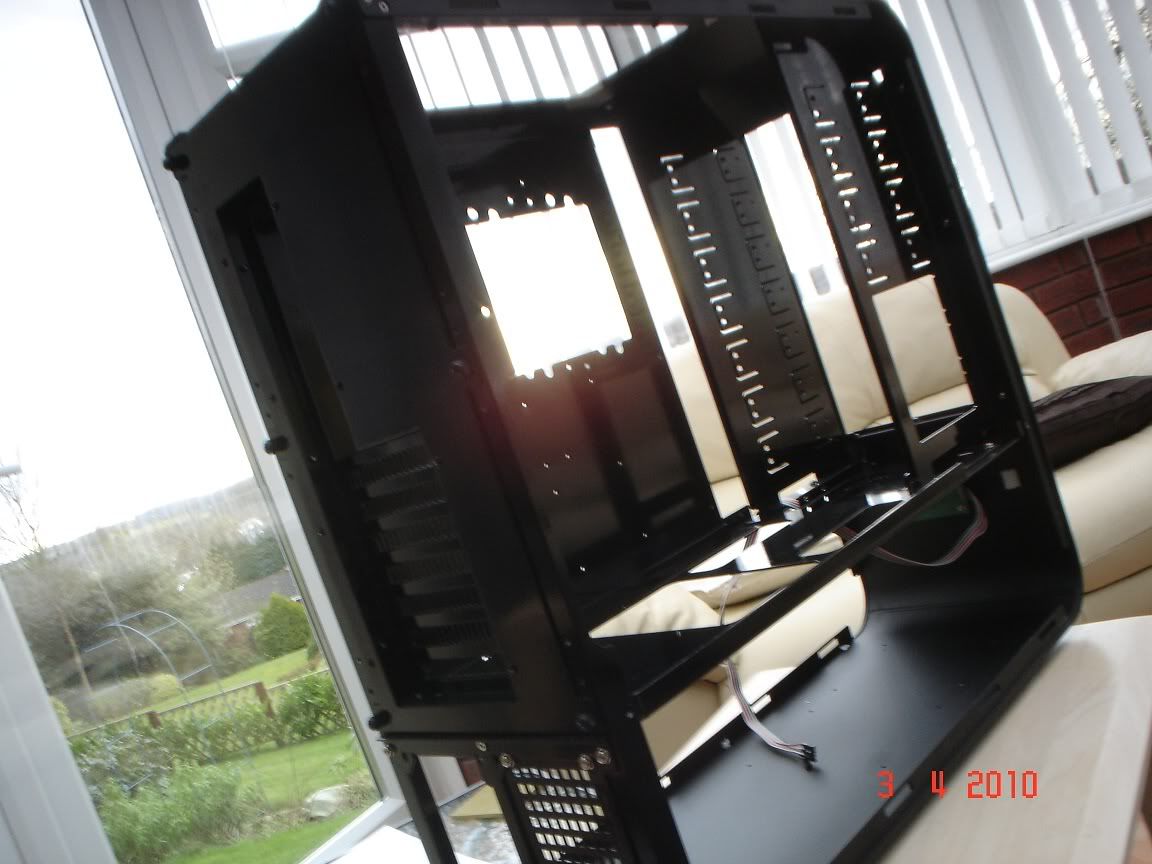
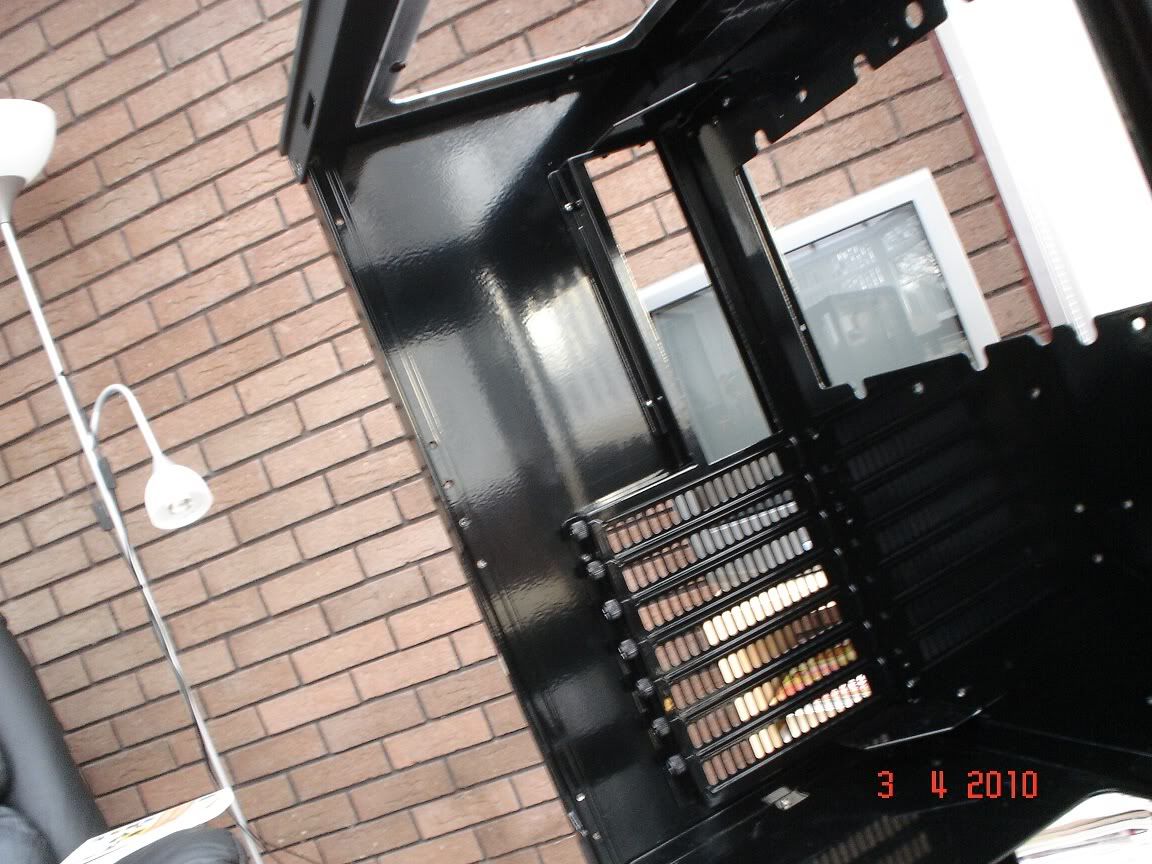
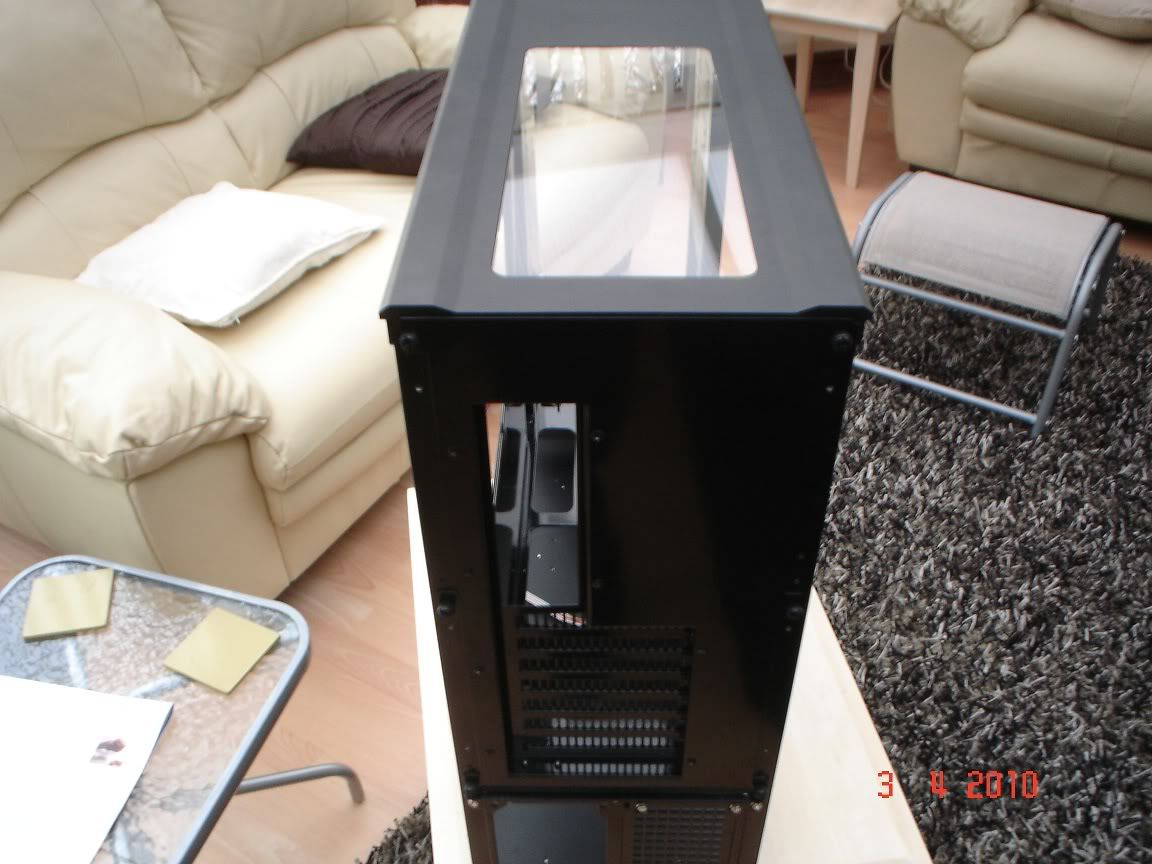
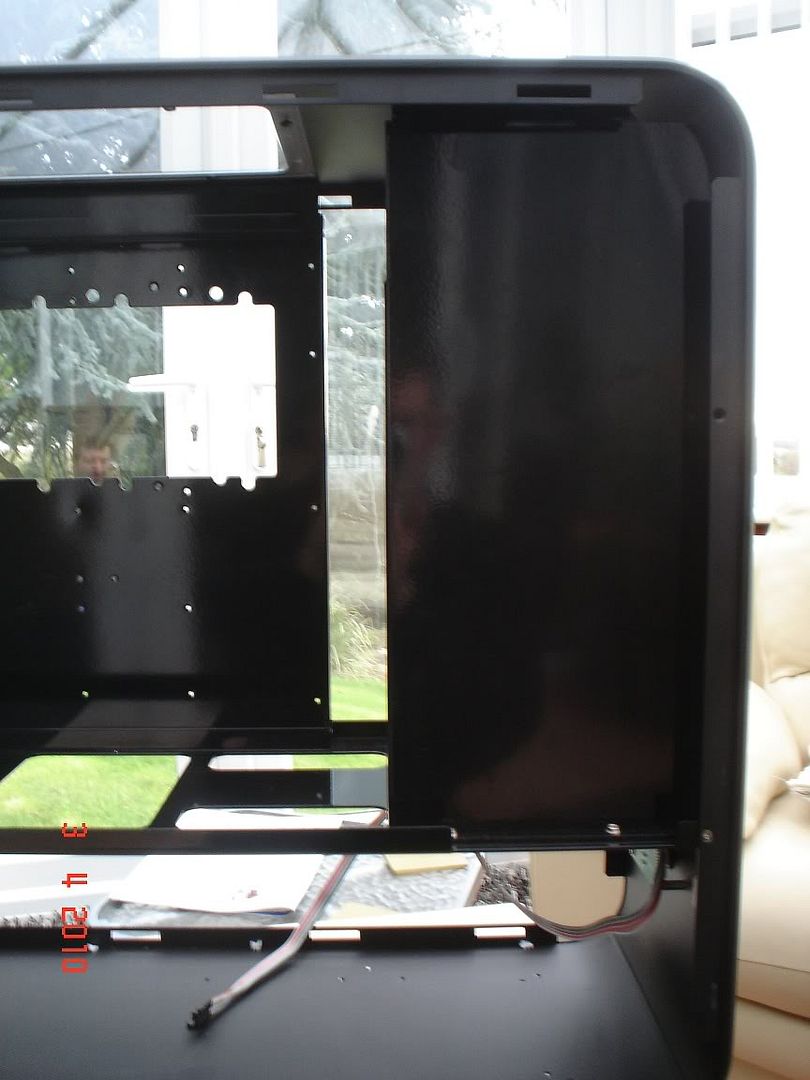
Case - Silverstone TJ07
Motherboard - Asus Rampage II Extreme
CPU - Intel 920 DO
Ram - Corsair Dominator GT 1866 6Gig Kit
PSU - Corsair HX 850 Modular
GFX - Crossfire 5870's
HDD - 2x WD 640GB Blacks - Crucial 128GB C300 SSD
Watercooling Components :

Thermochill 120.4 rad
Thermochill 120.2 rad
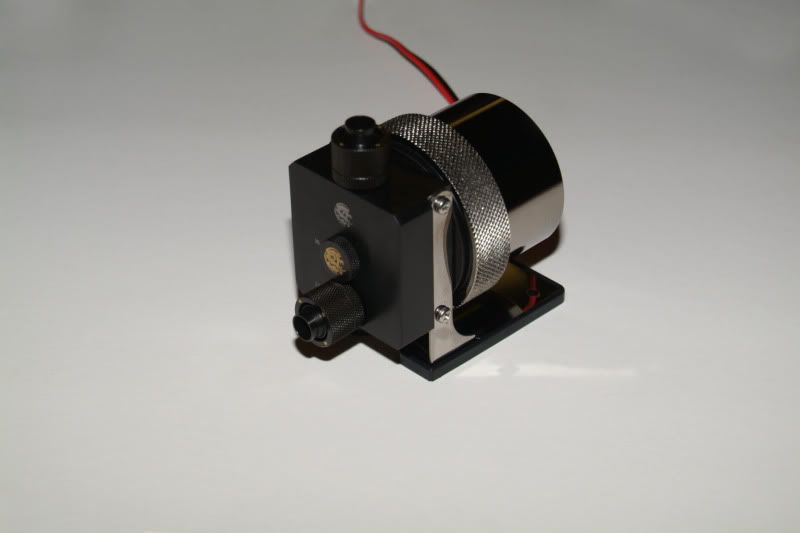
Swiftec D5 Vario - Bitspower D5 mod kit and top
Ek multi-option 250ml Res
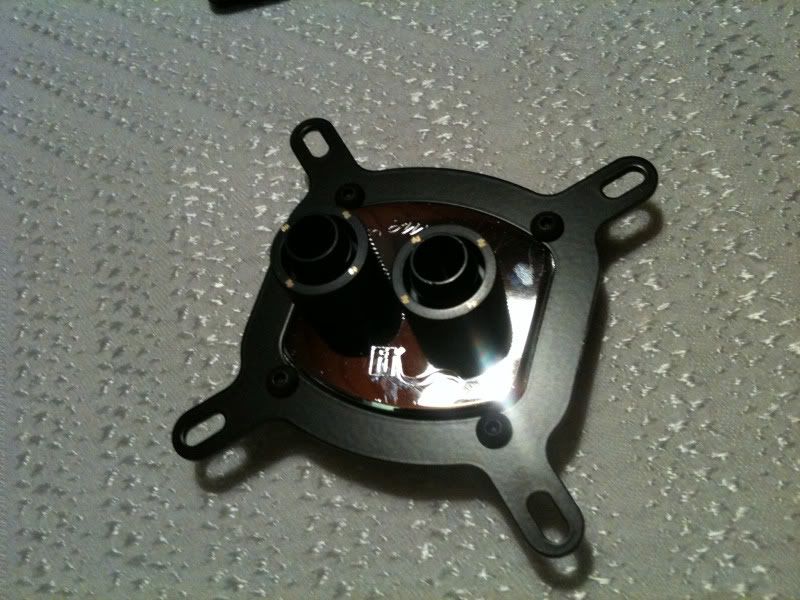
Ek Supreme with Nickel plated Copper top and black mount plate
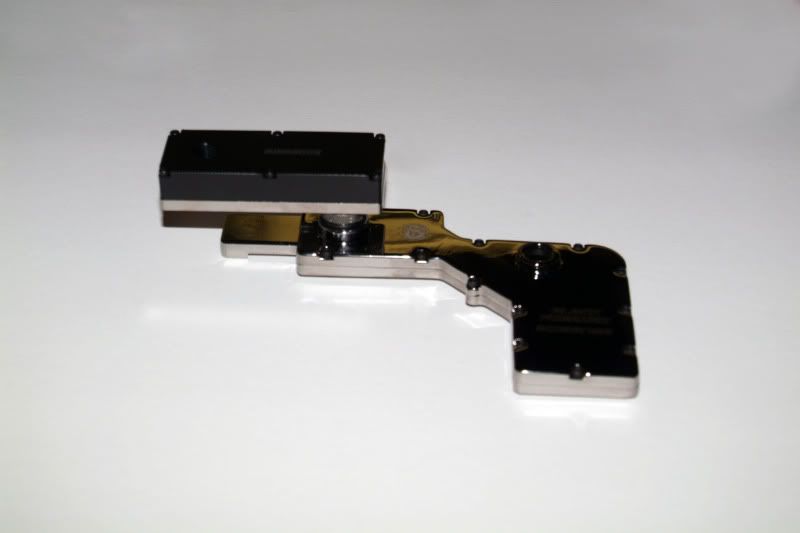
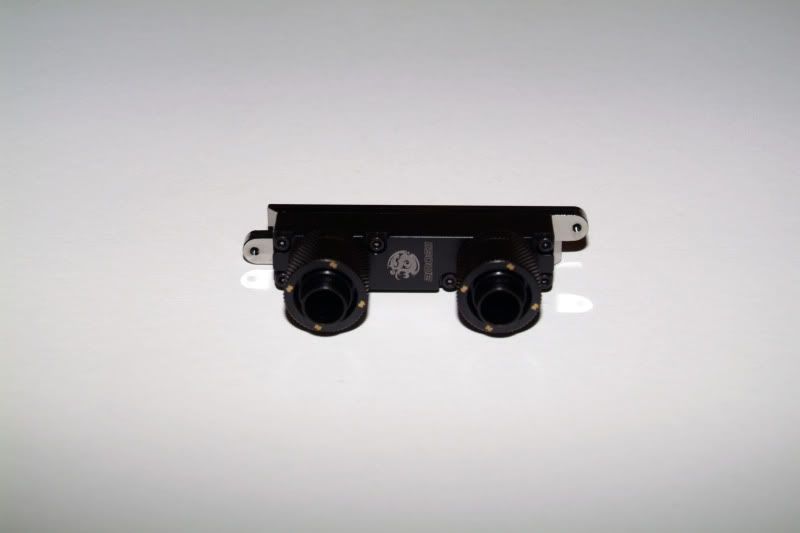
Bitspower Black Freezer - Asus Mosfet Blocks
Bitspower Black Freezer - Rampage II Extreme full cover block
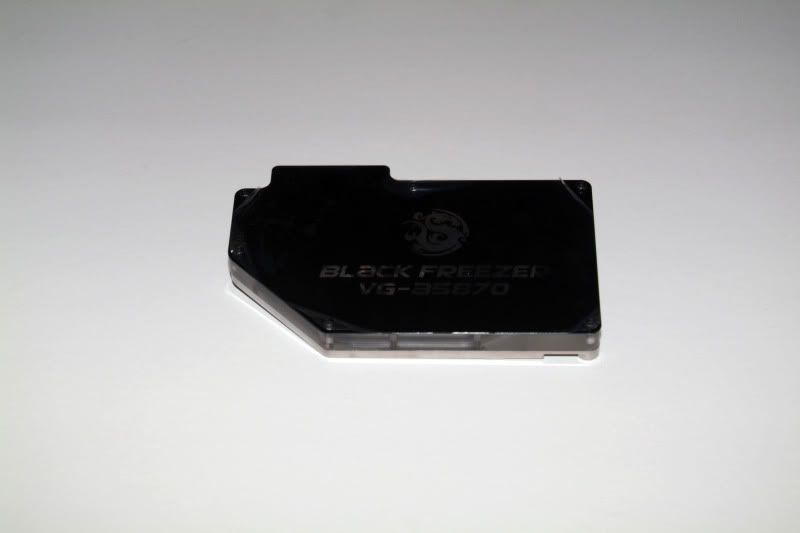
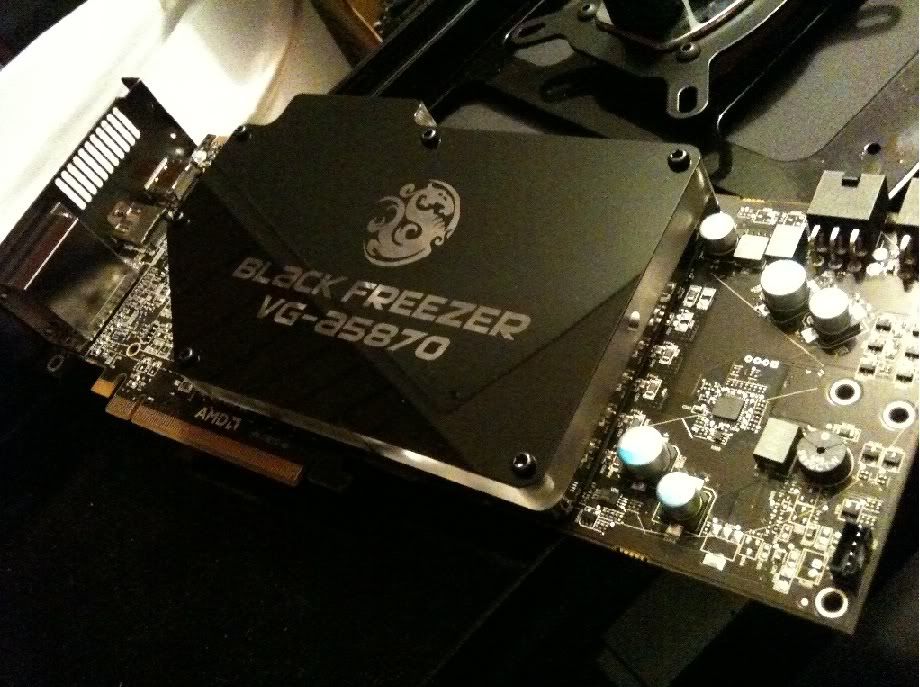
Bitspower Black Freezer - ATI 5870 Blocks
Mips Corsair Dominator Block
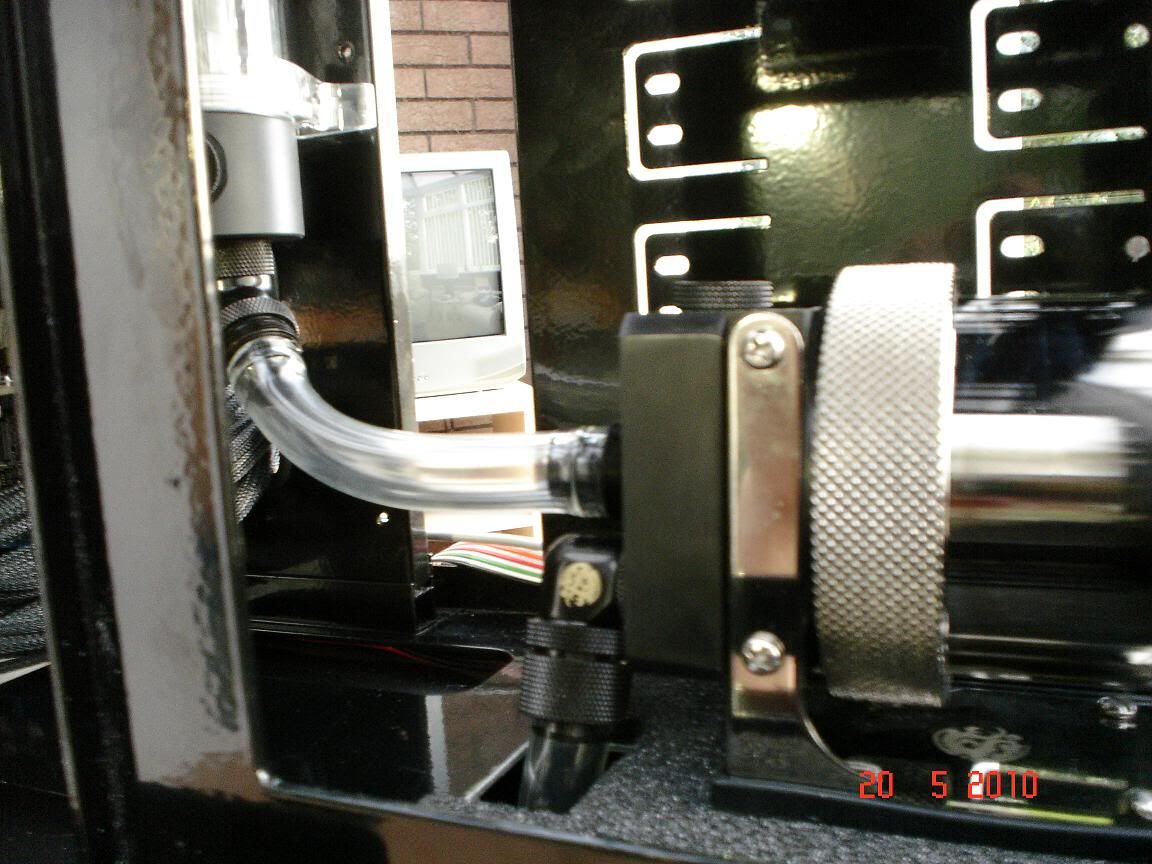
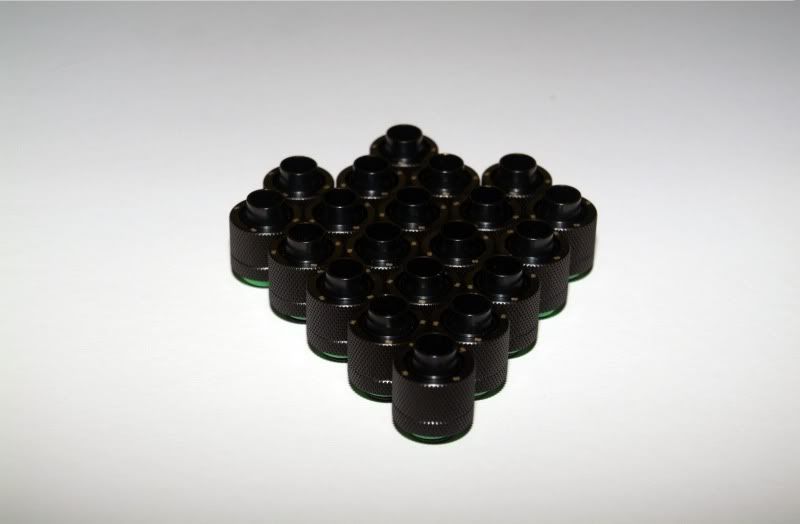
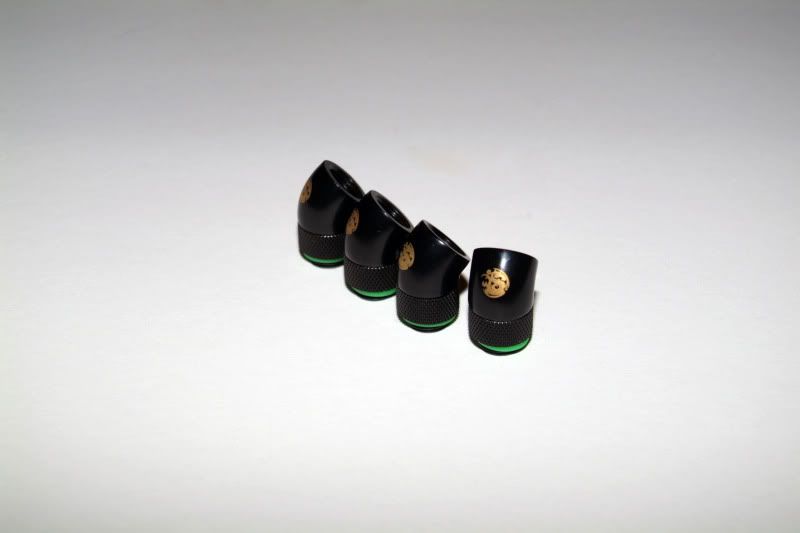
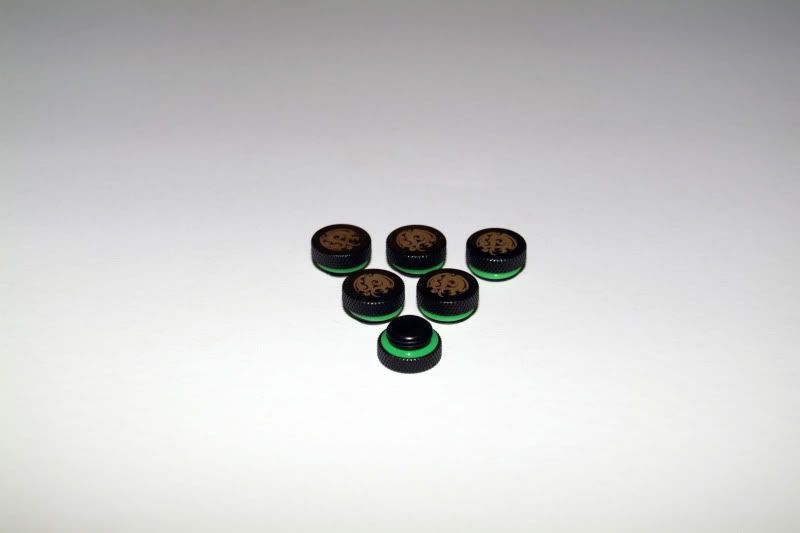
Bitspower Matt Black 7/16th's compression fittings with Matt black angled fittings
Masterclear 7/16th's Tubing
Fluid XP Blood Red Fluid.

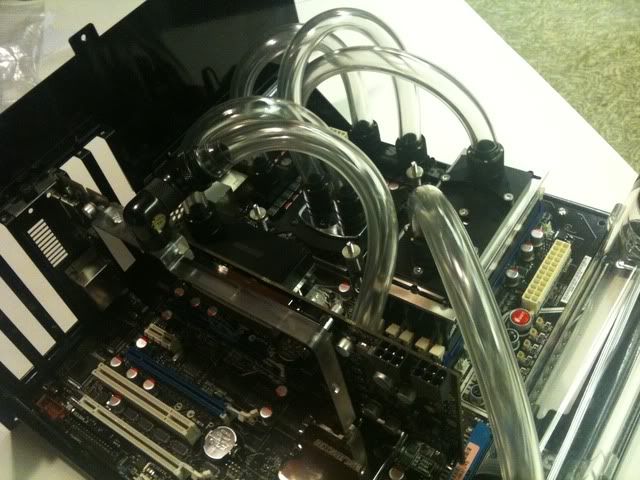
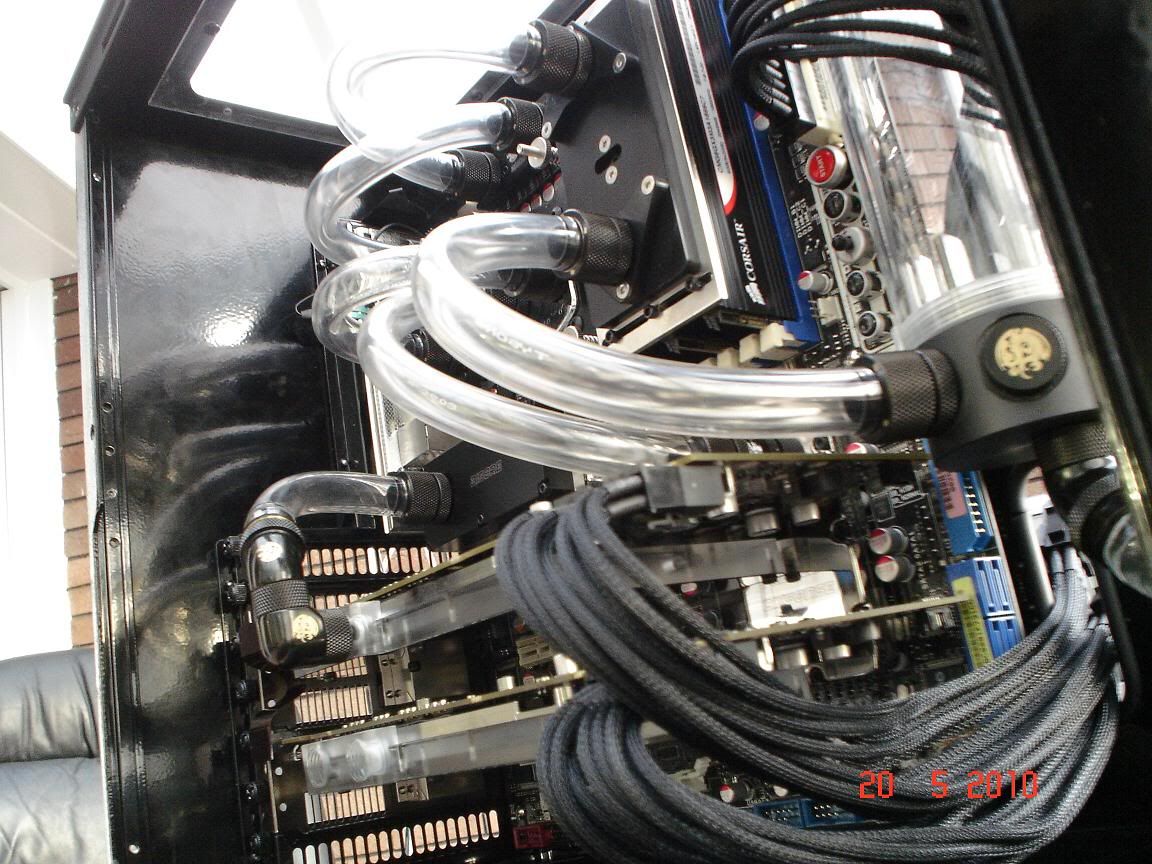
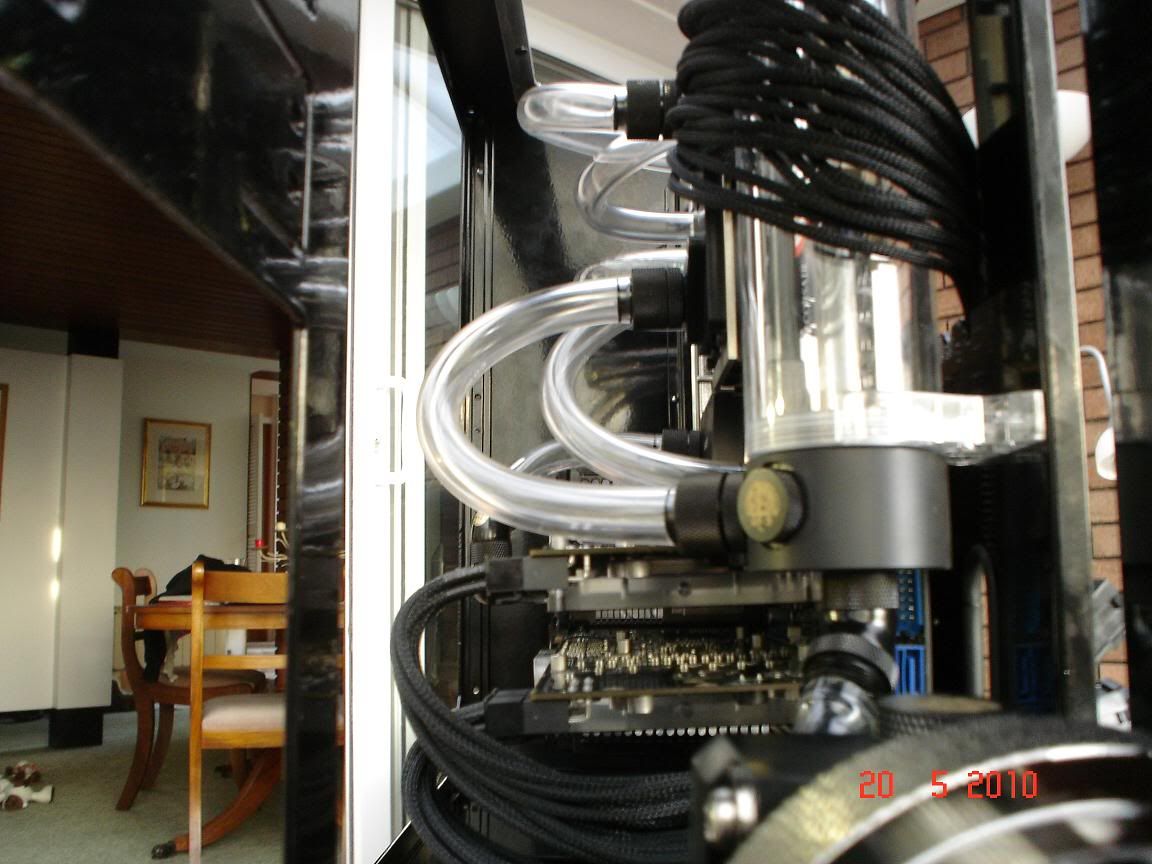
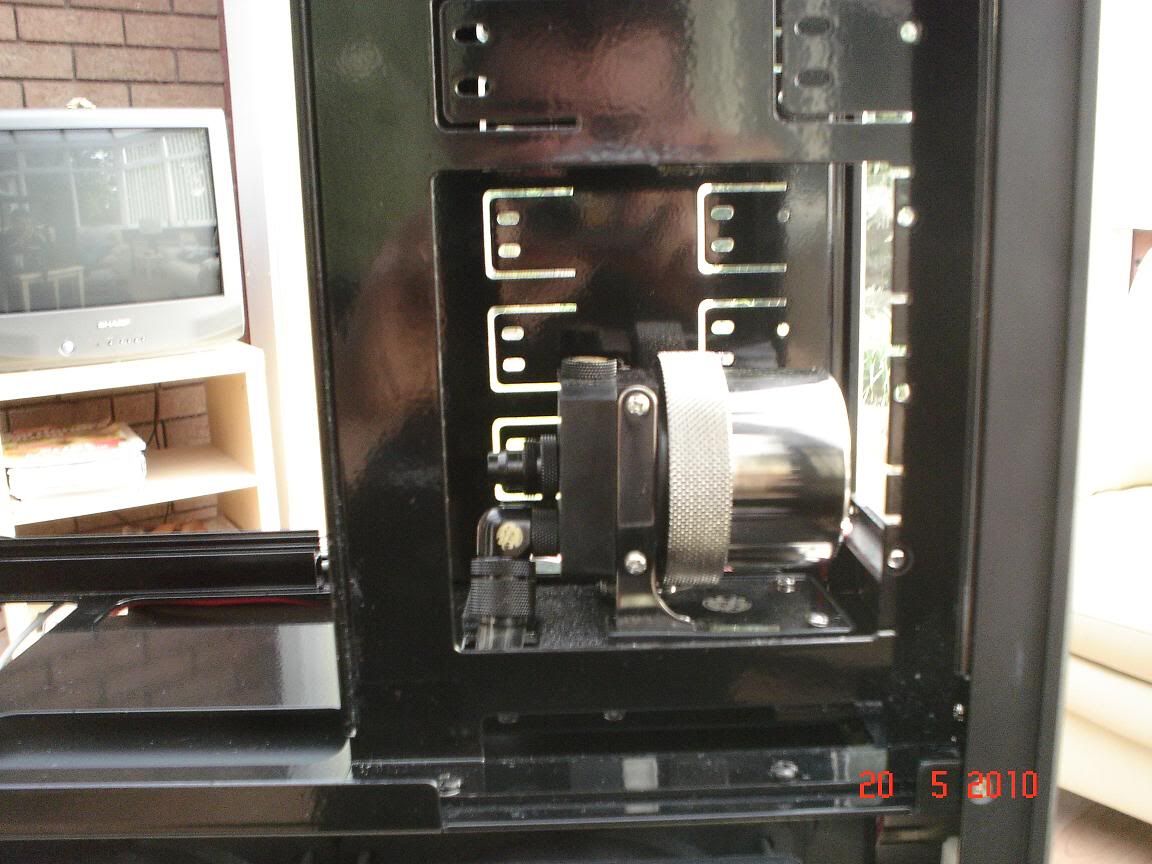
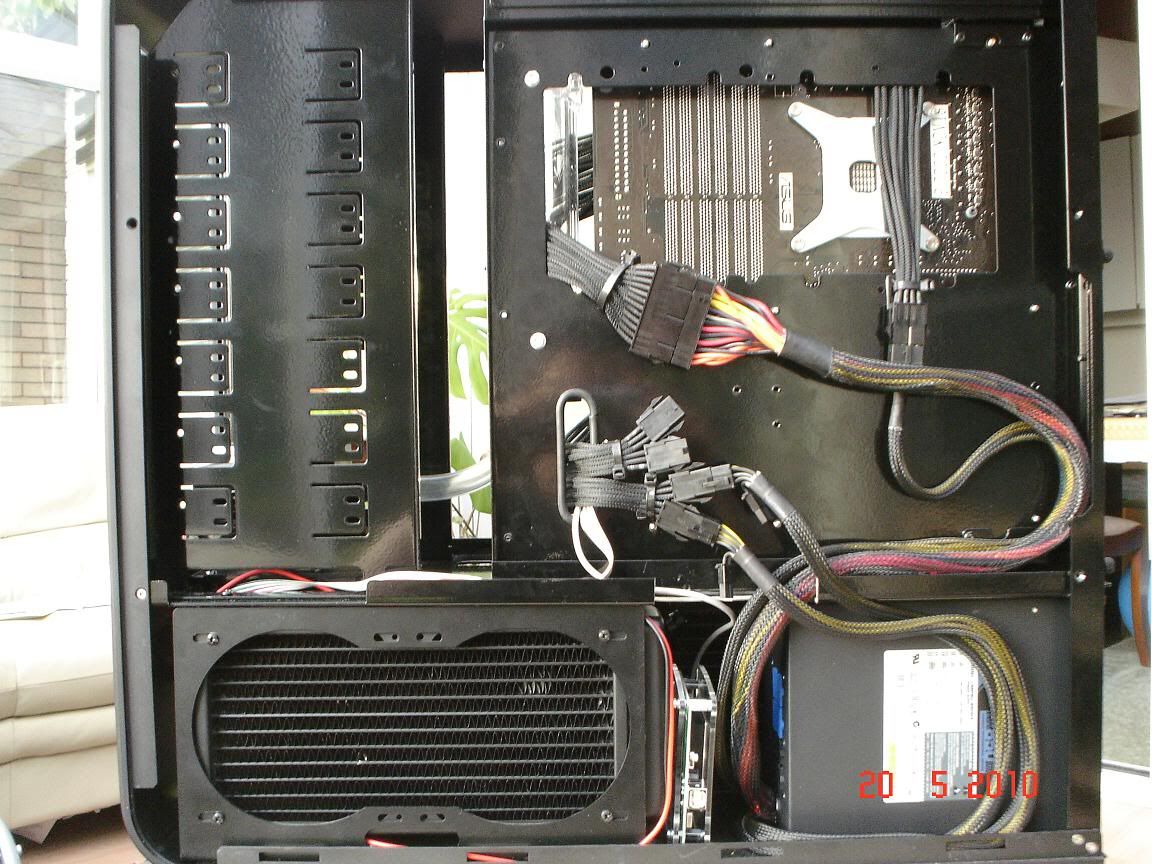
First things first here is an image of my current set up
IMG_0025.jpg


I will be adding some more pictures later of my case check back for updates soon.
 
Last edited:
Case Pics as promiced.

DSC01055.jpg


Ok so here is a run down of what I have had done to the case so far and what is left to be done.

First of all the rear pannel has been removed as I do not require the case to have amazing airflow due to watercooling so I have chosen to ditch the two rear case fans as they will just add to noise levels.

DSC01052.jpg


as you can see eveything has been stripped out of the case and then sent to be professionally powder coated, now a word to the wise I have painted the inside of cases before but I have to say the quality of finish is a country mile away from powder coating for the money it is well worth the investment.

Next a hole has been cut out of the side of the 5.25" drive bays this will all become apparant later on as to why I have chosen to do this but I can't reveal all just yet!

I have Also removed the fans that are in the top of the case for a window

DSC01054.jpg


Lastly I have had a plate made which will stealth the drives that I am going to put in the 5.25" bays, Although a slight oversight on my part forgot to cut the window in the side of this also so I will have to get the Dremel out to finish the job off then just a little touching up with a paint pen will be required to cover up the edges of the opening.

DSC01058.jpg
 
Last edited:
Indeed RJK

I had to copy you lol!

Hmm now lets see if I can make mine look and perform as good as yours! :P
 
Looks like Enermax Magma fans on there, they have unusual double scooped blades which results in a circle pattern where the scoops meet halfway down the blades while the fan is spinning.

Also I know they have silvery/transparent cables ^_^

Yes well observed they are magma's forgot to mention what fans I am going to use DOH!
 
Yes, Sorry!

I have been busy this week (covering your holiday RJK!! :P). Finally got my mips block through in the post. I ordered the Acetal and nickel one and it's really good quality. I will post some pictures later.

I have got my Rads now mounted in the bottom of the case, and currently I am cutting holes in the midplate to feed the pipe work through it and I have mounted the pump and res so that I can get an idea of the route that the pipe work will need to take. Again I will post some pictures as soon as I have taken them.
 
Last edited:
I have got some pictures of some nice Waterblocks. I have had these for a while but as yet have not had chance to fit them.

So first of all here is my EK Supreme. I have got a copper top for the block and black mounting hardware, I then I had the copper top Nickel plated to finish it off

IMG_0050.jpg


And here is my collection of lovely Bitspower Fittings In Matt Black

Compression-1.jpg


angleconnectors.jpg


stopfittings.jpg


Then Here we have the Bitspower blocks that I am using in the build

mbblock2.jpg


gfxblock.jpg


mosfet4.jpg


And then here we have a picture of my Bitspower modded D5 Vario


pump2.jpg


I should hopefully have some more images soon of things actually put together in the case, check back soon for updates.
 
Last edited:
I will be posting a full set of benchmarks with temps once it's complete, I will be posting some more info later this week! :D
 
Granted the tubing is cheap, however for the price it is excellent tubing, no gash writing on it like other brands and it bends well without kinking, if you look at the project stealth that one of my colleagues built this is using the same tubing and fluid and it gives excellent results! :D
 
Just out of interest, how long did it take you to plan what you intened to do with the build and then source the various components?

Well for me it has taken ages due to the fact I constantly change my mind this project has been about 12months in the making but this is due to the fact I have changed my mind on what case to use 3 times, which blocks I am going to use, I was originally going to have quad sli with 295's but got rid of that And got Crossfire 5870's ETC ETC ETC. :D
 
Ok as promised here is an image of the MOBO with blocks and pipework, sorry for the low quality image I will post some better quality ones shortly

3cfb55342.jpg


Enjoy :D
 
Tubing runs don't look right for some reason, couldn't you have made the loops between each block shorter?

Well the picture you that i posted is the second incarnation of the piping layout. I have gone for an unusual loop as I dont want the conventional set up.

The loop runs

PUMP (D5 ON MAX) > QUAD RAD > DBL RAD > GPU2 > GPU1 > NB > CPU > MOS2 > MOS1 > RAM > RES > BACK TO PUMP.

I have done the layout this way to minimise the amount of tubing so that there isnt any tubing going up and down the case it is just one continuos loop. The way that I have set the rads in the loop I am hoping will not effect the thermal dynamics of the loop as they are first thing in the loop but as the D5 is so powerfull it shouldnt make to much of a difference (I hope) then i have gone to the top mosfet after the CPU rather than the normal one beside the CPU this gives all the tubing the same direction going from left to right rather than the flow going left to right, then right to left. So compared to conventional loops it does indeed look strange.
 
UPDATES!!!!! HA HAAAAAAAAAAAA

Ok I said a few weeks back that I had mounted the rads in the case and mounted the pump. Well here is what it looks like with the rads in and the pump mounted.

DSC01060.jpg
 
*****Fixed Image*****

Next I have bought a T Balancer for fan speed control so I have mounted this in the bottom of the case next to the double rad and PSU

DSC01063.jpg


I have also been trying every different method of tubing that I can think of thanks to Nick at work I have finally found a loop that looks like I want it to so here are a few pictures of how it looks now, plus mounted the board in the case now as well.

DSC01067.jpg


DSC01069.jpg


I have also now dry plumbed up the pump so now I can see where the hole will have to go in the stealth panel that I have to cover the back of the drive bays. I plan to put some plexi in the gap to create a window so that the pump can be viewed when the side panel is removed from the case.

DSC01062.jpg


DSC01068.jpg


And last but not least I have the cable braided extensions now so I have roughly laid out the cables so you can get an idea of the cable management routes that I am going to use

DSC01070.jpg


I have a couple of fittings that I still need to connect the graphics cards together I am hoping that I will have these by Monday at the latest so I can get it finished off and start using IT more to come soon
 
Last edited:
Can you not get the 24 pin extension inside the res rather than going over the top?

Is a lovely looking build so far but I always think even braided wires over a res spoils the asthetics. (but then i am a control freak lol)

Yeah It could go that way but when the res is full of blood red fluid it will look equally good, thanks for the praises
 
Back
Top Bottom