You are using an out of date browser. It may not display this or other websites correctly.
You should upgrade or use an alternative browser.
You should upgrade or use an alternative browser.
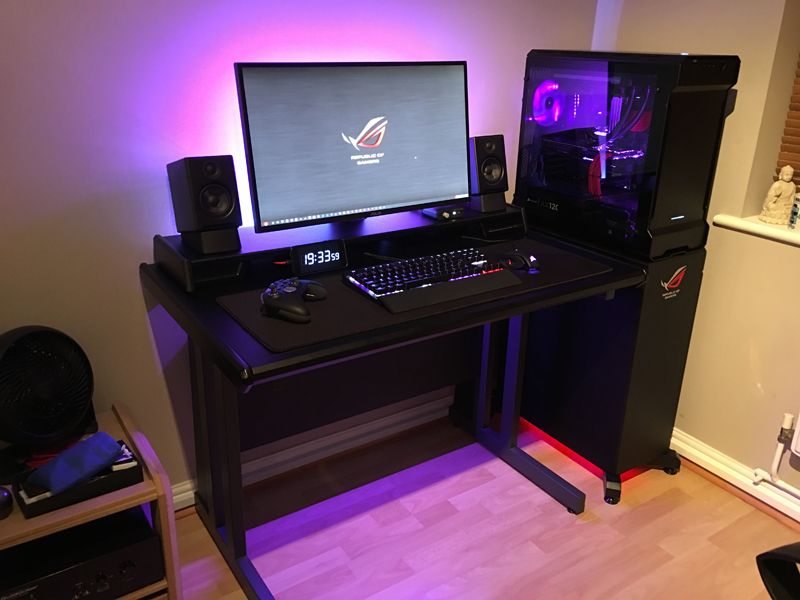
PC display stand
- Thread starter ThereIs0nly0ne
- Start date
More options
Thread starter's posts- Joined
- 31 Jul 2012
- Posts
- 1,017
- Location
- Cheshire
Nice craftsmanship. With your skills i would have made a new top for your desk to incorporate the tower unit.
Thanks. I promised my wife this would be a quick project (unlike many I've completed) as the house can ghet into a state of chaos pretty quickly. I'm saving all my other ideas for the next desk which will be built totally from scratch.
why am I so enamoured with a black box? It looks stunning, seriously.
Want to make one of my own now purely to put my In Win on, and that's not even started properly yet!
Thank you. Yes, the simplicity of a black box - I was going to leave it as just a 2001 style monolith at one point but accessorising got the better of me!
That looks great, have you thought about putting something in that thing so its not just empty space?
With your skills you could make that into a mean little water cooler or something, if i had a big hollow box below my PC i dont think i could resist filling it up with rads and using quick disconnects to hook it up to a custom loop in the PC when i wanted to go silent . Maybe a future project for you.
With your skills you could make that into a mean little water cooler or something, if i had a big hollow box below my PC i dont think i could resist filling it up with rads and using quick disconnects to hook it up to a custom loop in the PC when i wanted to go silent
 . Maybe a future project for you.
- Joined
- 31 Jul 2012
- Posts
- 1,017
- Location
- Cheshire
the feet make it, and the ROG logo is actually quite understated even though it's metallic.
The glass panel on your Enthoo is pure sex though
Thank you - I was really pleased to be able to source the ROG sticker - it is fairly large but somehow understated!
I have some USB powered LED strips coming today. I'm planning un putting one directly underneath the PC.
That looks great, have you thought about putting something in that thing so its not just empty space?
With your skills you could make that into a mean little water cooler or something, if i had a big hollow box below my PC i dont think i could resist filling it up with rads and using quick disconnects to hook it up to a custom loop in the PC when i wanted to go silent. Maybe a future project for you.
Thanks. The stand does have a cavity at the back which is used to store the powerstrip, various cables and a router - an opportunity to hide the unsightly stuff. I would like to build a custom loop at some point and agree that the internal space would be ideal for that

- Joined
- 31 Jul 2012
- Posts
- 1,017
- Location
- Cheshire
Associate
- Joined
- 10 Aug 2016
- Posts
- 189
- Location
- Saltburn By The Sea
What an great project this is, damn thanks for sharing 

Looks fantastic man. I see you're from Sutton too ! I used to work at Angel Hill (that small shop bit) and my nana used to live in Rose Hill just up the road (Glastonbury Ave).
I had a couple of questions for you, one of which I am ashamed to ask because I used to make speaker cabinets..
1. How are you doing up the screws from the inside? I don't see any counter sunk holes. Obs you are using batons but what's bending my brain is that you wouldn't be able to get your hands in there to do the screws up, or would you?!?!
2. What are you doing to the MDF to allow the vinyl to stick? or is it stronger vinyl with no adhesive and you are doing that yourself?
I have three Alienware Area 51s (a '06 '08 and '14) and I want to make a triple stand for them out of MDF.
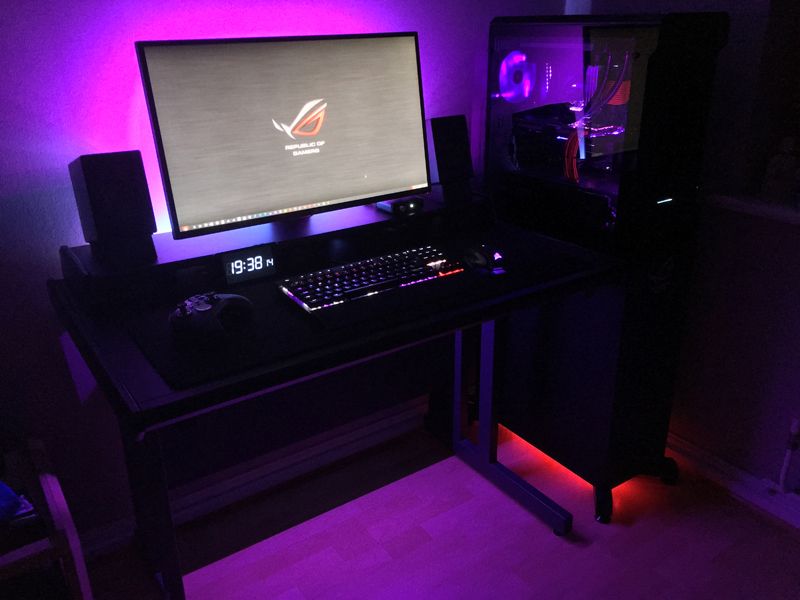
Damn man that looks amazing. Although only a single monitor setup would personally make me cryNow with added lighting. The colour's not to everyone's taste I'm sure
-snip-

- Joined
- 31 Jul 2012
- Posts
- 1,017
- Location
- Cheshire
What an great project this is, damn thanks for sharing
No problem and glad is was useful.
Looks fantastic man. I see you're from Sutton too ! I used to work at Angel Hill (that small shop bit) and my nana used to live in Rose Hill just up the road (Glastonbury Ave).
I had a couple of questions for you, one of which I am ashamed to ask because I used to make speaker cabinets..
1. How are you doing up the screws from the inside? I don't see any counter sunk holes. Obs you are using batons but what's bending my brain is that you wouldn't be able to get your hands in there to do the screws up, or would you?!?!
2. What are you doing to the MDF to allow the vinyl to stick? or is it stronger vinyl with no adhesive and you are doing that yourself?
I have three Alienware Area 51s (a '06 '08 and '14) and I want to make a triple stand for them out of MDF.
Some of the panels are screwed from the outside - I filled them in with car body filler and sanded them smooth.
I spent some time selecting the vinyl and after getting a few samples, settled for the blackboard variety; it's thicker than the normal stuff and has a great texture to it:
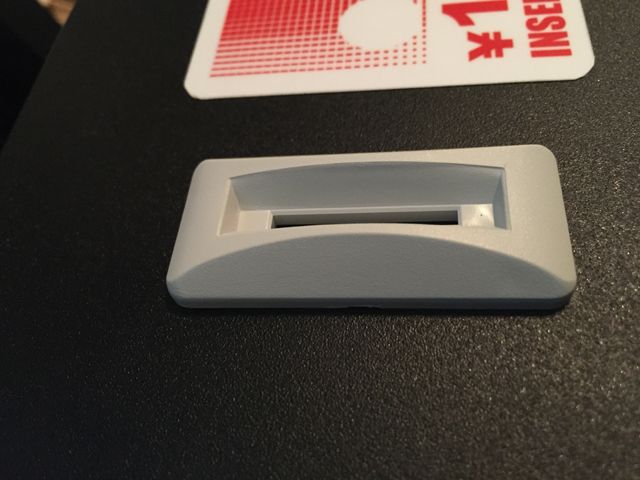
The adhesive is nice an strong and applies very easily. Surface preparation is obviously key to getting a good finish without any lumps and bumps.
Damn man that looks amazing. Although only a single monitor setup would personally make me cry
Thank you. I compensate for a single screen on the desk by using the PC to drive these though

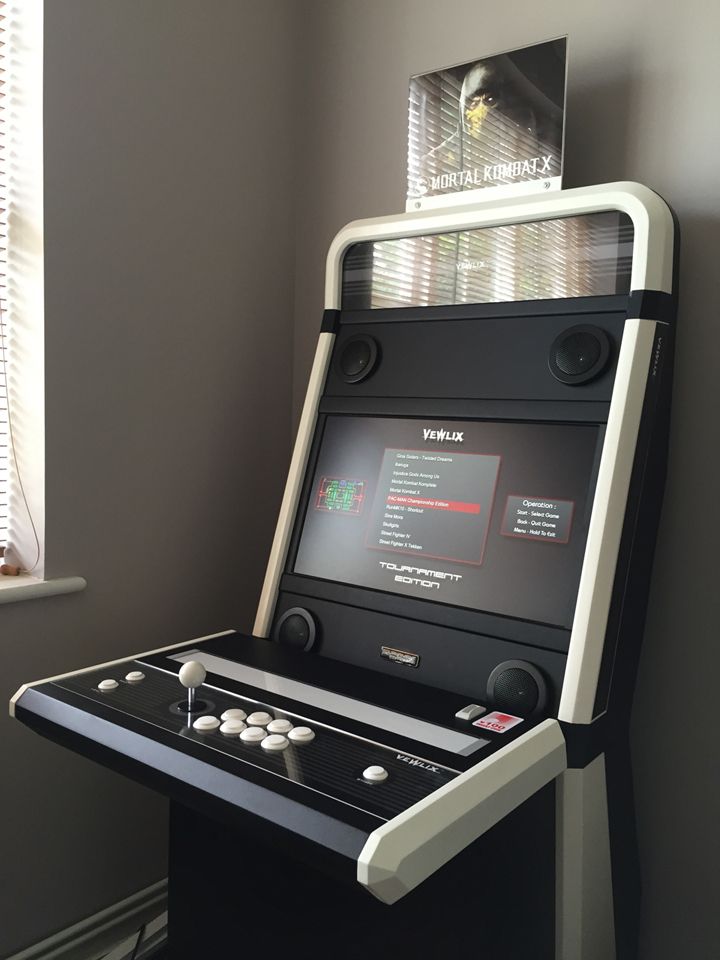
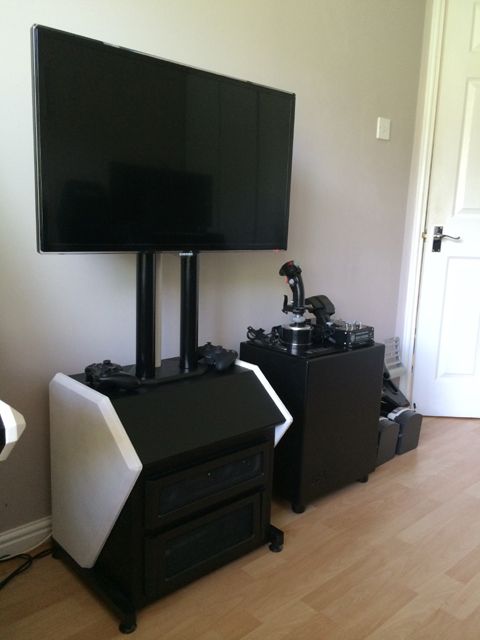
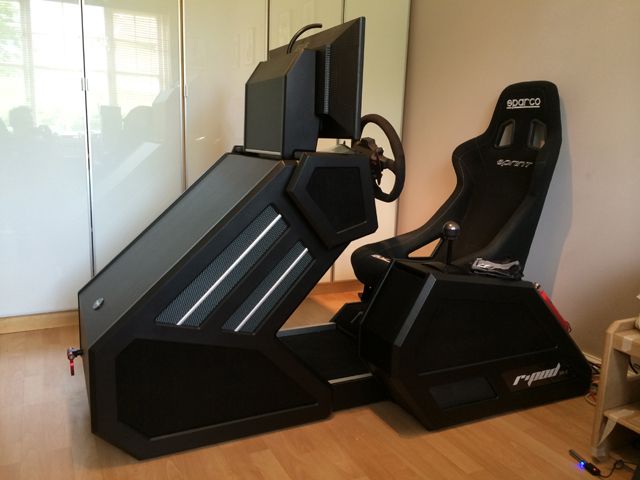
... so 4 screens in all

Aye no doubting your skills with MDF man. Some truly sublime creations there !
So the vinyl sticks straight down onto raw MDF? or do you need to prime it first?
What I am building needs to hold three PCs, so it's going to be really big lol.
So the vinyl sticks straight down onto raw MDF? or do you need to prime it first?
What I am building needs to hold three PCs, so it's going to be really big lol.
- Joined
- 31 Jul 2012
- Posts
- 1,017
- Location
- Cheshire
Aye no doubting your skills with MDF man. Some truly sublime creations there !
So the vinyl sticks straight down onto raw MDF? or do you need to prime it first?
What I am building needs to hold three PCs, so it's going to be really big lol.
Cheers. Yes, the vinyl sticks really well to the MDF surface - no issues there at all provided it's completely free of dust and debris. If it's wrapping around a cut edge, I apply car body filler and sand smooth as it doesn't stick properly to the cut surface unless I do that. I also add a bevel or round the edges very slightly with a light sanding to avoid bubbling and inconsistencies.
I order the vinyl from here:
http://www.mdpsupplies.co.uk/blackboard.asp
Good luck with the project!
Awesome thank you ! I've bookmarked it.
What I would normally have done (and what I used to do, if I didn't fancy carpet) was sand it back, fill the edges and screw holes and then hit it with white matt a few times (letting it soak in and dry) and then using a gloss roller to paint with. Problem is a gloss roller leaves quite bad orange peel and you can't sand back gloss because it's pretty sticky and doesn't go rock hard.
That stuff looks awesome though, once I build this towering monstrosity (it will be about 7ft high lol) I will get some of that


