Project: BitFenix's LanGirl

Associate
Joined
14 Apr 2010
Posts
430
Location
Milton Keynes
Hi Guys!


Yes this is another BitFenix Prodigy build! I just love the case and it has so much potential for such a little case!


Background:
I am a big fan of Multiplay's Iseries event and so attend almost everyone of this Lan Events. My Current Rig is in a 800D that I full intend to Watercool again making is a massive pain to take to lan events 3 times a year(esp considering I am only a 5foot girl and the thing is all kinds of heavy!). So Enter the BitFenix Prodigy!

So my Intentions
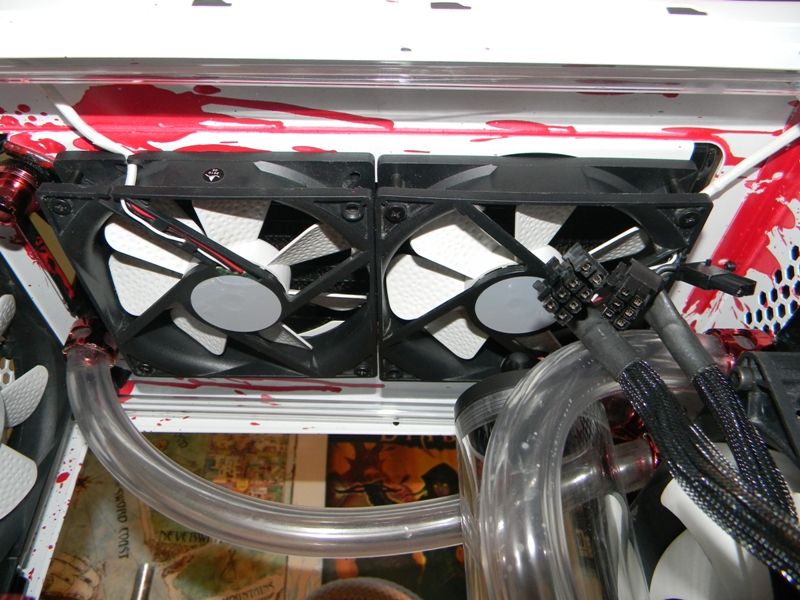
Fully watercooled (CPU and Gfx) with a 240 and 140 Rads.


This is going to be a slow build as I dont have anything close to all the components I need and I am open to suggestions!


Bits I Have

Components:
Case: BitFenix Prodigy
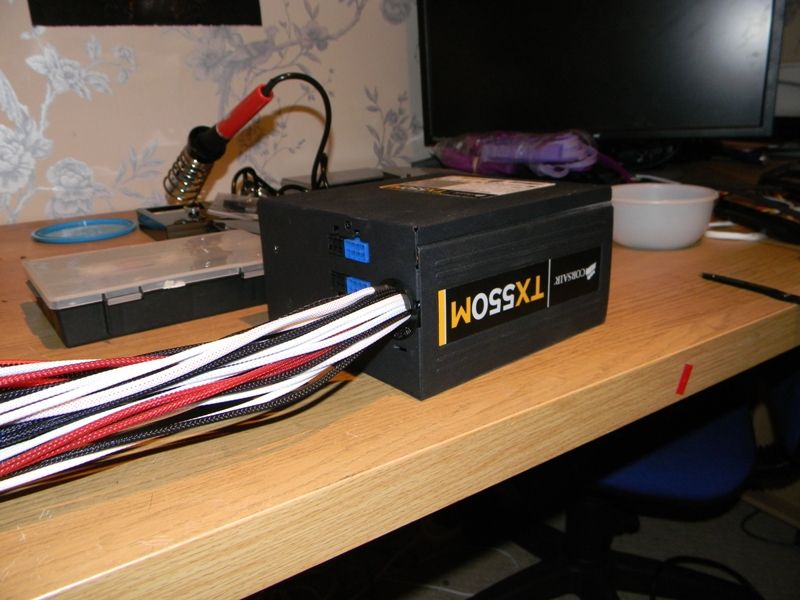
PSU: Corsair TX550M
Ram: G-Skill 8Gig
HDD: 2.5 750Gig
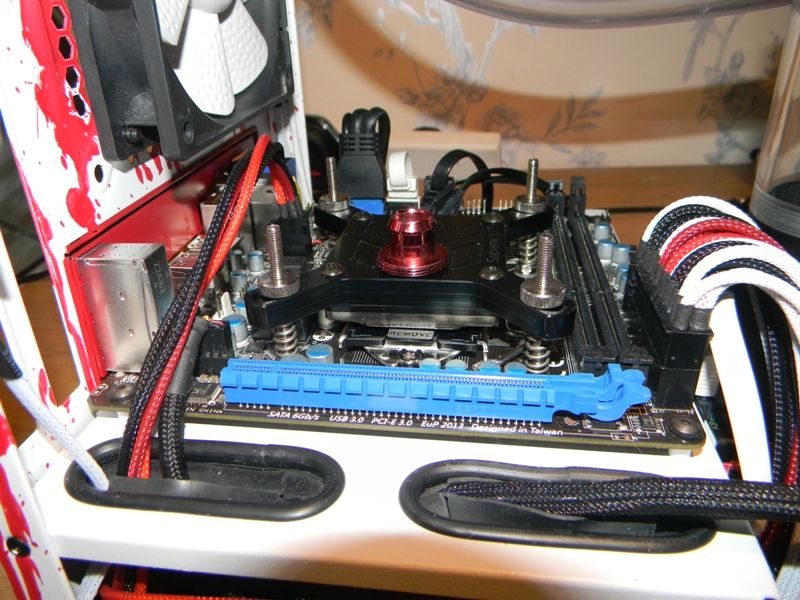
Mobo: MSI B75IA-E33
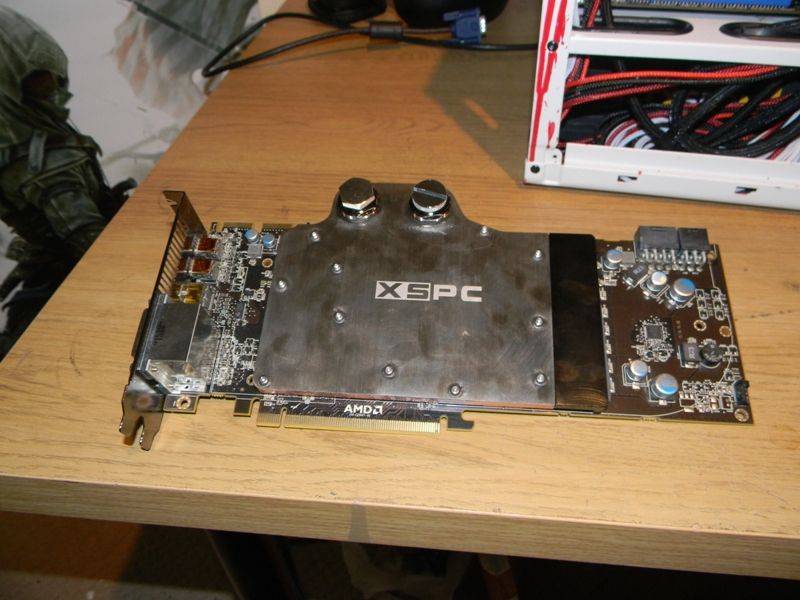
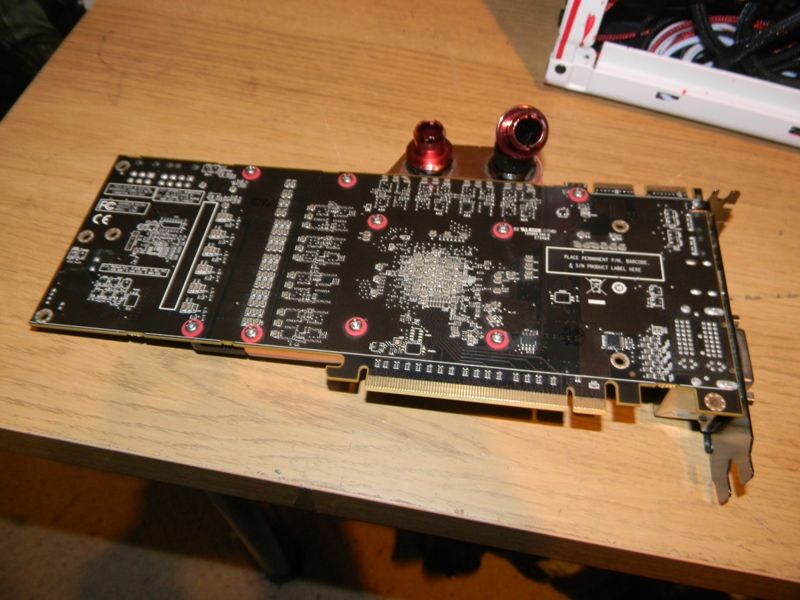
GPU: HIS 6970 2GB

Air:
Lamptron FC2 5.25" Fan Controller
4x Sharkoon 120mm
2x Arctic F14 (140mm Fans)
2x 60cm White Fan Extension
2x 30cm Red Fan Extension

Water:
D5 Pump
EK DX Res 140
Black 240mm Rad
Black Ice Stealth 140mm Rad
EK Supreme LT CPU Block (LG1155)
XSPC Razor 6970 WaterBlock
Fittings:
12x Red Monsoon Compressions 1/2 - 3/4
2x EK-PSC Adapter Rotary 45° G1/4 Black
3x EK-PSC Adapter Rotary 90° G1/4 Black
2meters Primochill PrimoFlex Tubing 1/2 - 3/4
Universal Fillport Black Delri​

Mods:
Various Red / Clear / Black Perspex Sheets
Red Black White Carbon Braid
5meters 1.5mm Trim (for Cutting edges)
30cm Red Cathodes
10cm Red Cathodes


Bits I Need


CPU: LGA1155 Sometimg??
SSD: 60gig

Koolance 120x2 Fan Shroud (might not want as i built something myself.
Coolant, Probably Mayhems Red something


Design / Planning / Layout


I pretty much have this all done in my head and I think everything should just fit! I am a bit concerned about he Length of the GFX and the 240 rad is going to have to be outside the case, so I am still working on those aspects!
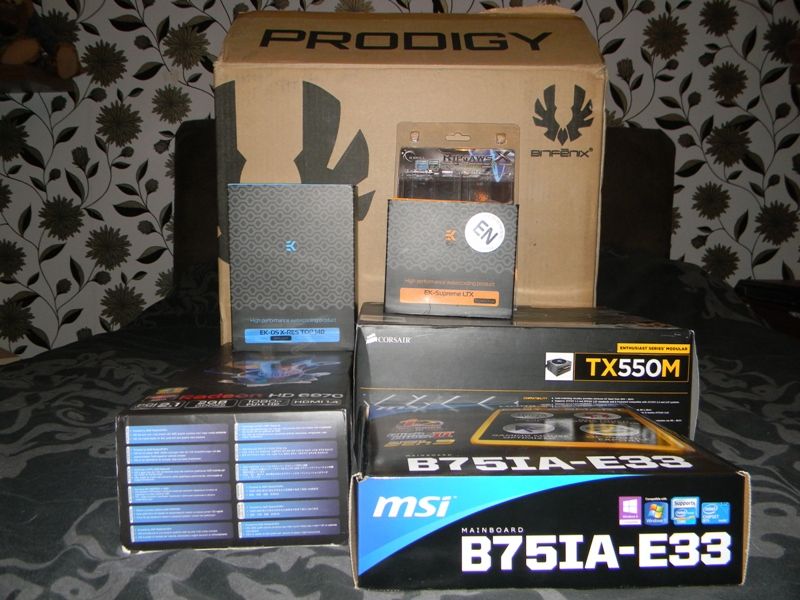
DSCN2749.jpg
 
Last edited:
Wow such great responses already thanks guys. I will try and stick some picture up to night of what I have got so far and what I am planing to do!

@iB CoMpL3XiTy & JimboTheGiant
Thanks for the idea and the card seems awesome but is alittle out of my price range and to be honest my 680GTX 2Gig handles my two 1440p monitors without any problem =) So I think I will be fine with a 1.5gig older card, just won't be able to play games with max settings is all:P

@Hyburnate
Thanks:) Hope to get some initail pictures up tonight!
@Bones
That is my hope, esp with the iseries desk being changed the flimsy small things they have been, no way I am putting an 800D on one of those or under one for that mater!

@isonomicjedi
Yes I have read all three books and seen the movie, she was not 5ft in the movie:P and is totally harda$$ in the books! I have just finished the Passage and the Twelve, another awesome trilogy!

@Diagro
I have to say, I have seen your build and it was my inspiration to start one of these:) it look pretty cool how much you mangaged to fit into this tiny case!
 
Hi Butonz, Your braid looks very professional where did you get the braid from?

Personally I prefer Cathodes and I am, I know, the minority here, but I dont like the lots of tiny individual lights you get from LEDs. (I use LEDS in my 800D which is a unfinished project at the moment :P or a ReDo just waiting to happen!)
At the moment my theme is Red White and Black I haven't at all decided on which of the four colours I will be using in the PSU braiding I just ordered 20 meters of each and will use what looks best together, but I completely agree that using all four will not look right :)

I have some Forsted / Solid and Fluorescent Red Prespex sheets that I will be using for a lot of the modifications I will be making to the case.

Are you using LEDs in your Case? The LEDS (white) in my 800D dont look like one fuild light but like a llot of scatterd lights which is why I went down the road of Cathodes, any tips?

Thanks for Looking!
 
I just use some high quality paracord to sleeve with, much prefer the look of it compared to your standard plastic stuff or MDPC.

I use some 12v LED strips which I have wired myself into my fan controller. I find these actually distribute the light very evenly as long as they are more than an inch away from the surface facing them. Previous experience has shown its almost impossible to get red cathlodes which are actually red. I've tried plenty of different brands over the years and they have either been very pink or have an orange tint. LED's have been the only way I've got a good red glow :)

Braiding should look fantastic, are you doing extensions or actually doing the whole PSU? I recommend heading over to the overclock.net forums and having a look at the sleeving section, plenty of good info there.


ahhh Paracord seems like an interesting way to go. I think I'll look into that for my next big project! Your braiding does look really good, I have attempted it once but got really cheap low density black stuff and it just looked rubbish!

I will be braiding the PSU not extensions, there is not allot of space in the case so I want to have as little wires as possible really!

The Cathodes I got aren't a strong solid red like LEDs but this is just a small project to test some ideas on before I start my dual loop 800D :)

i been to i45/46/47 i am sc2 player and i normaly rent pc or use my bro's laptop but i was thinking of making one of these lan box's so should be good to look at. my only worry was it getting stolen etc hehe so at mo renting pc is easyer but not cheaper :(

Hi my fellow iSerieser! I got talked into going ot one of them with a work make (i36) met Wizzo and Crew and haven't missed one since! I have never had anything stolen and havent heard of anyone losing a PC to theifs. There are some really good Kingston locks you can buy that locks PC monitor and most peripherals to the desk. Anything wireless you will need to keep on you though =)
 
So some Progress today! Got my holesaw and Trim!

So the first thing I needed to do is have the Fan Controler on the bottom due to the 240mm Rad at the the top.

This is easy enough, just pop a few rivets and rotate the front panel :)

DSCN2077.jpg


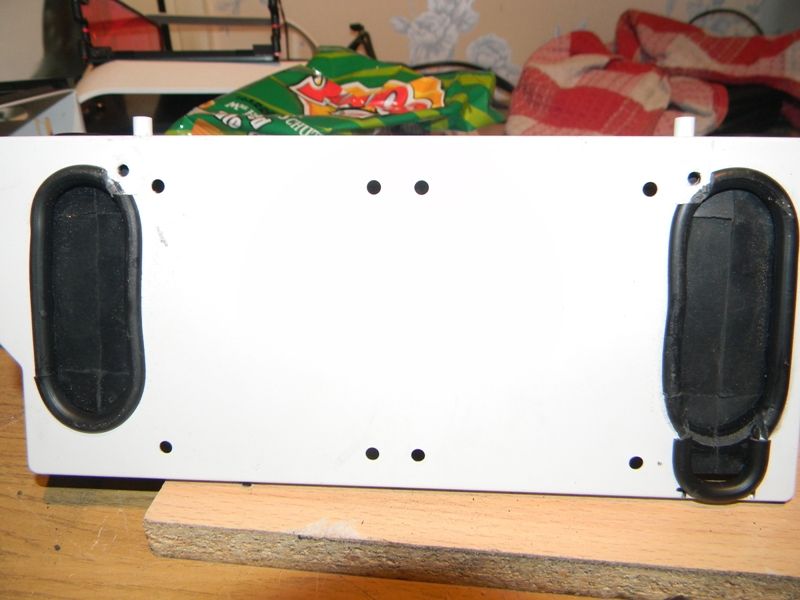
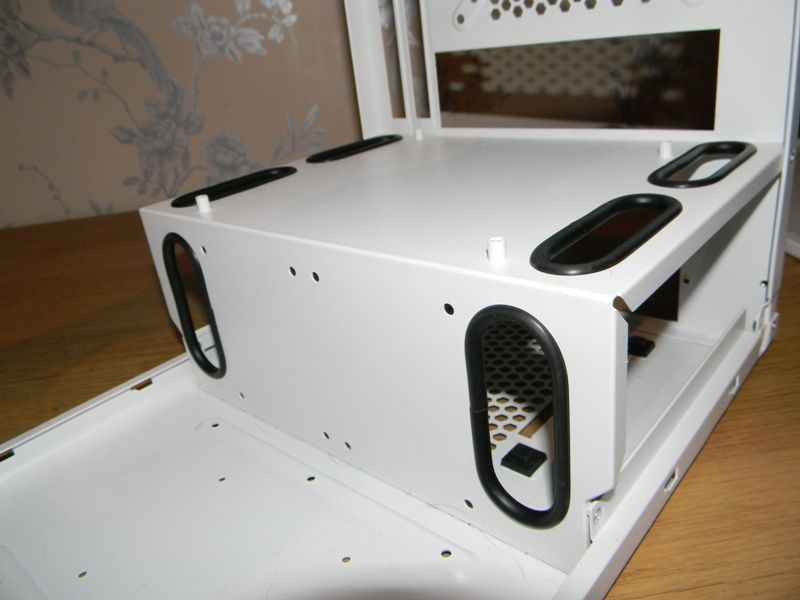
Also Added Trim to all blow holes for the PSU wires (may still cover some of this up.

DSCN2080.jpg


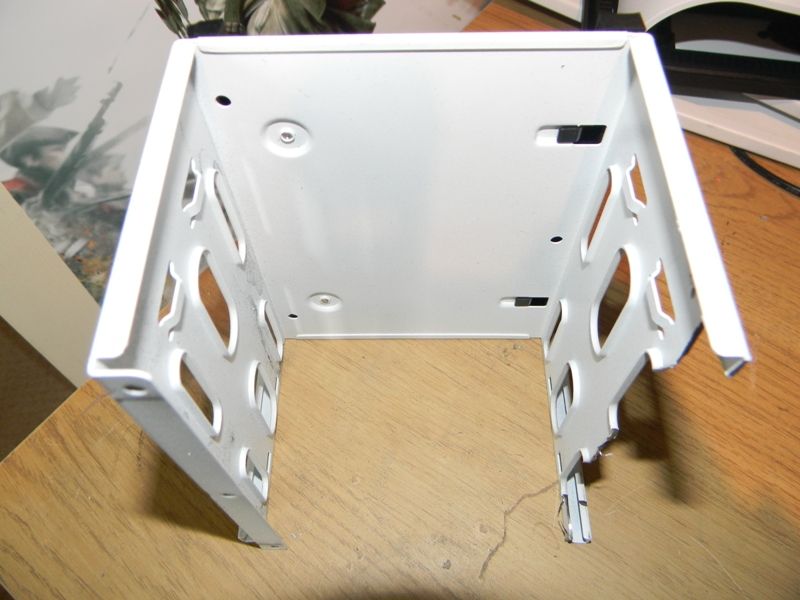
I have Moved the 5.25 Bay Holder to the bottom of the case, this will be used to hide some of the wiring (Pump Cathodes Fans) and also hold the Fan controller.

DSCN2097.jpg


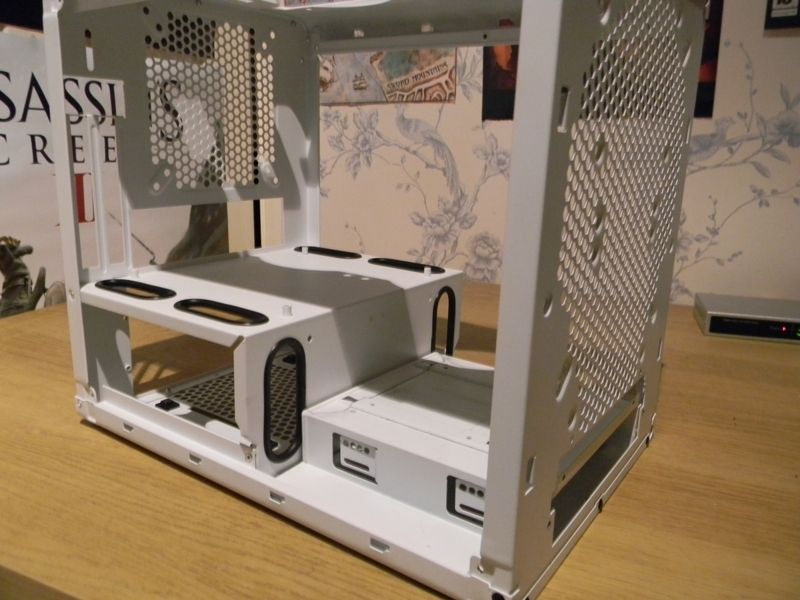
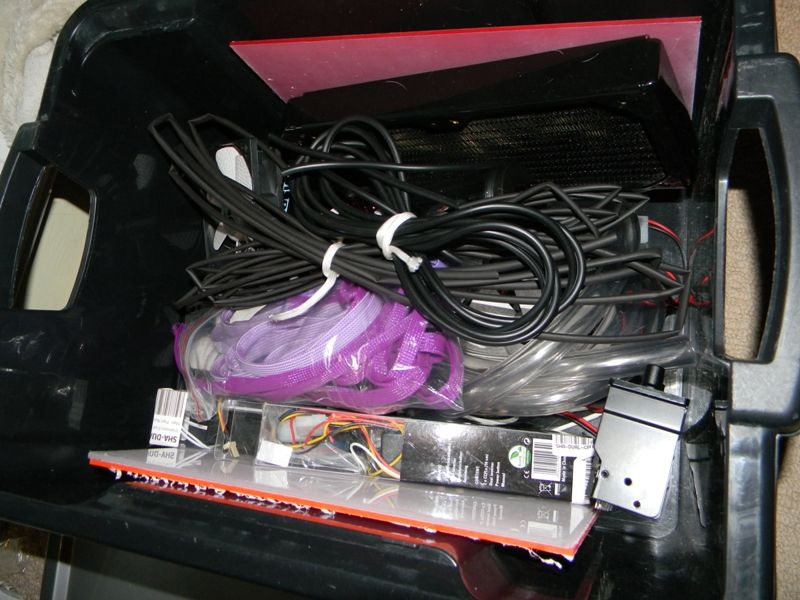
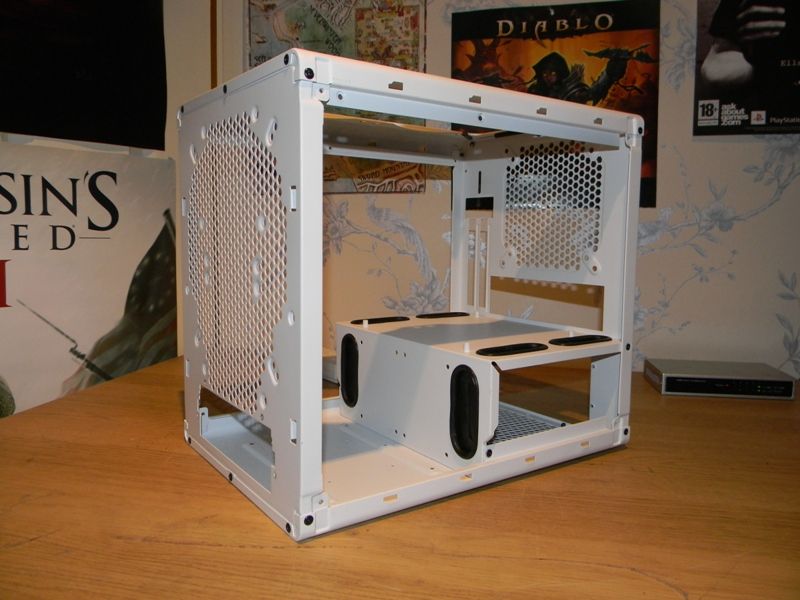
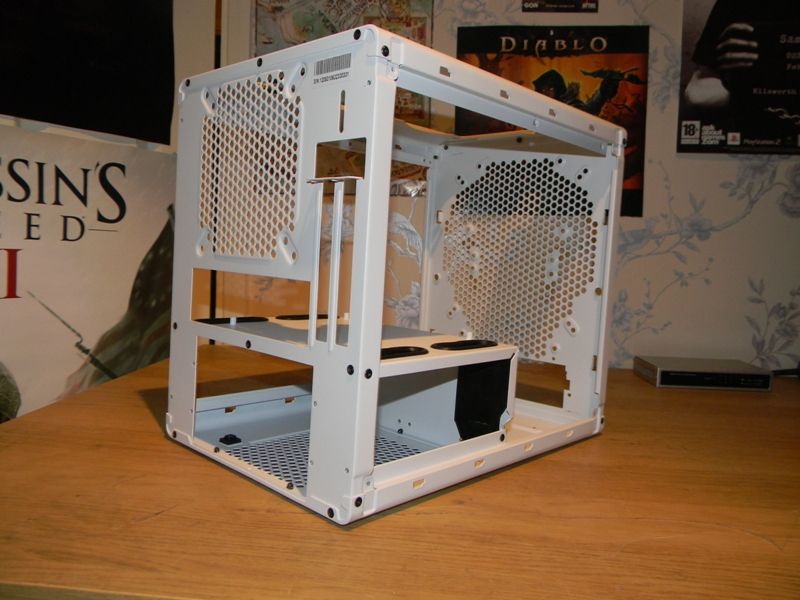
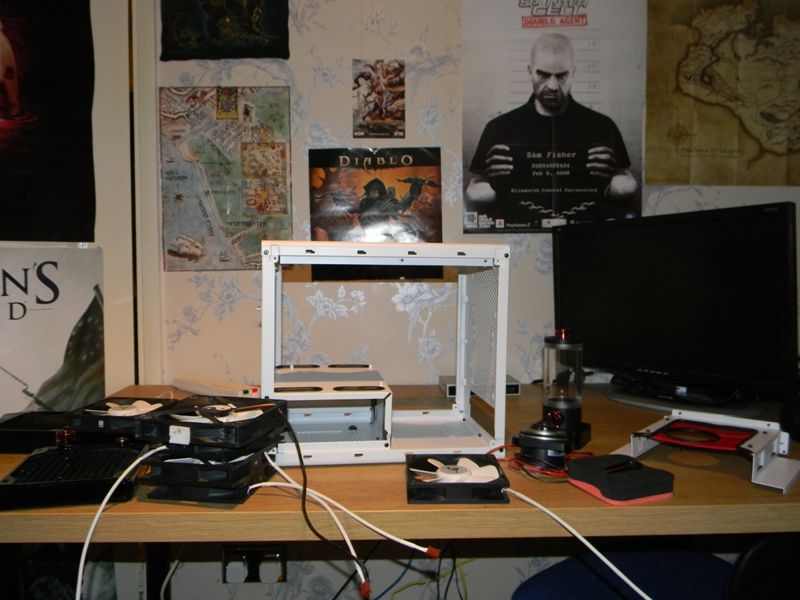
Thought I would take some pictures of the bits I have collected so far and also the exploded Prodigy remains!

DSCN2098.jpg

DSCN2107.jpg


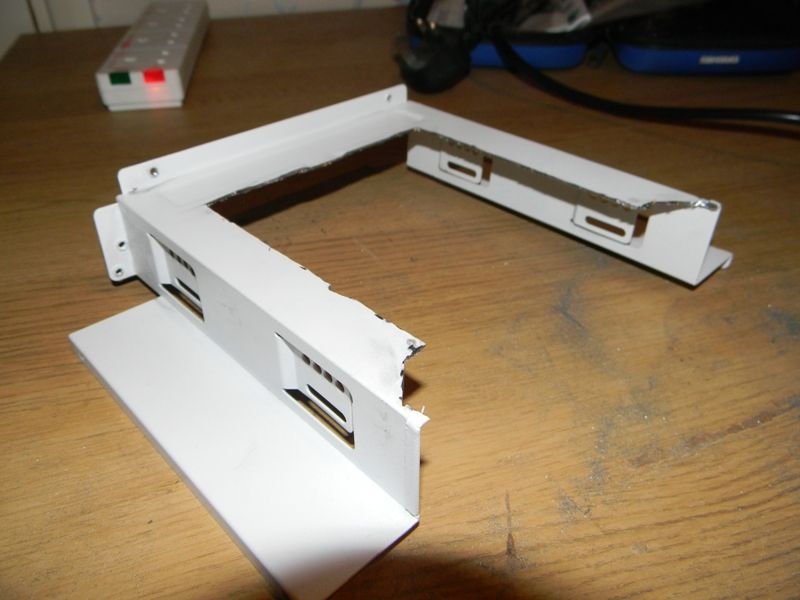
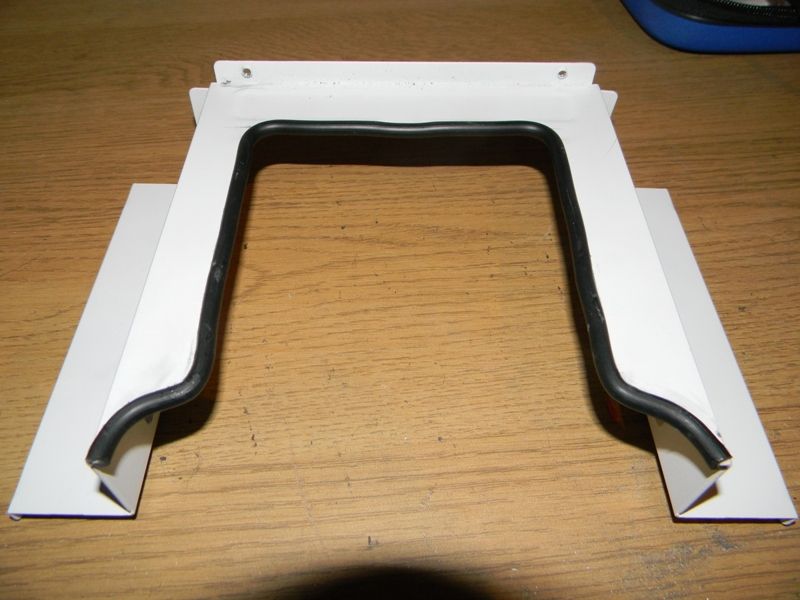
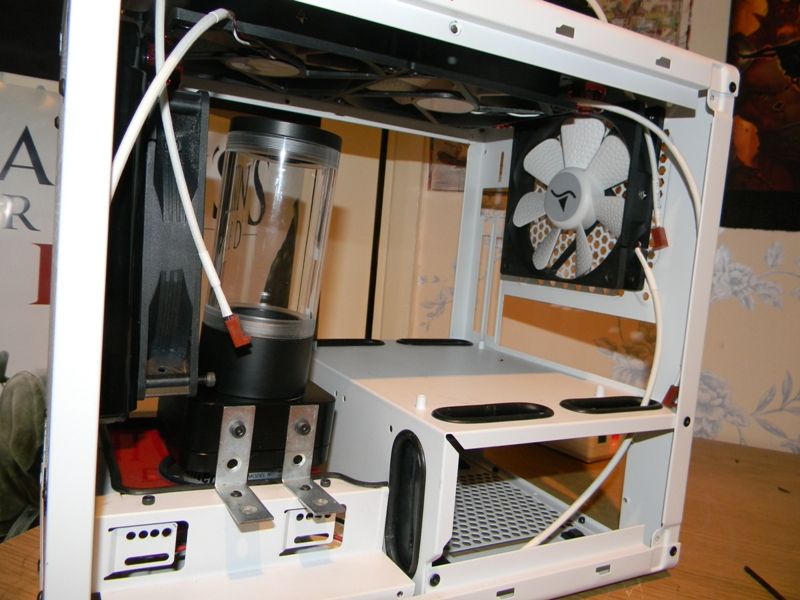
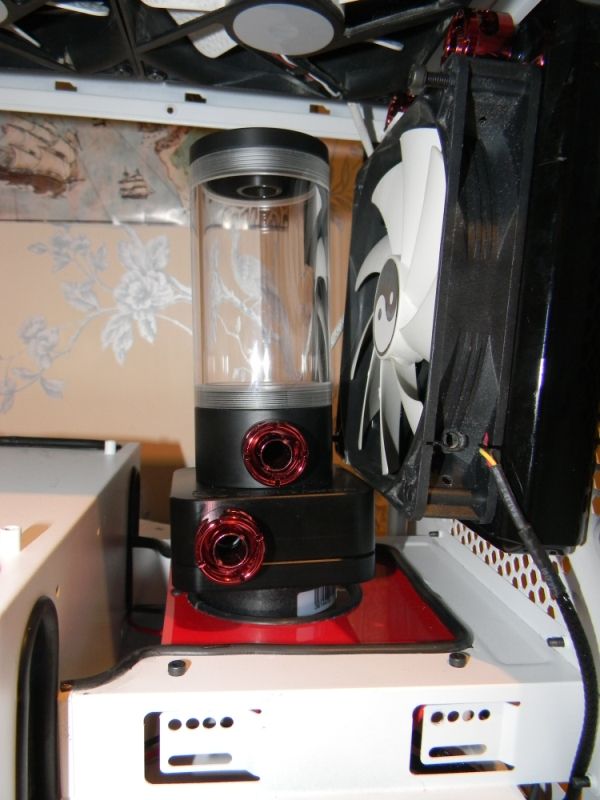
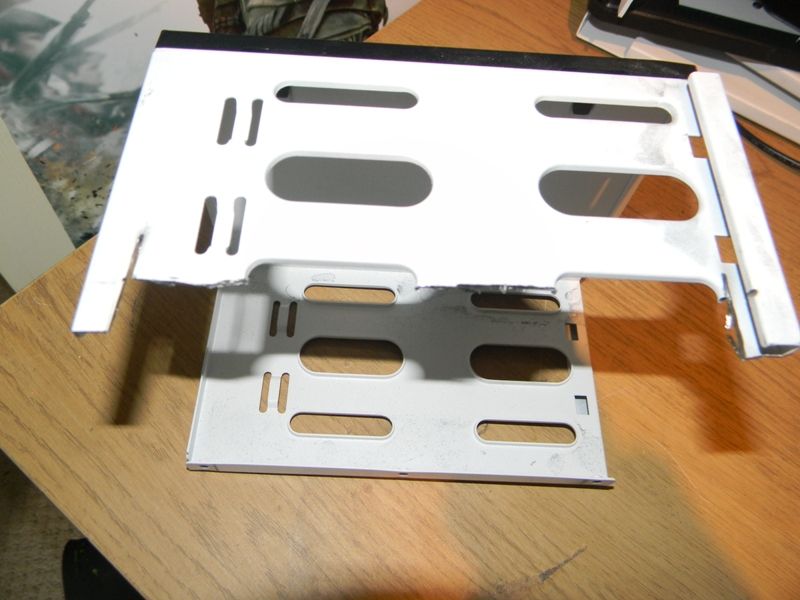
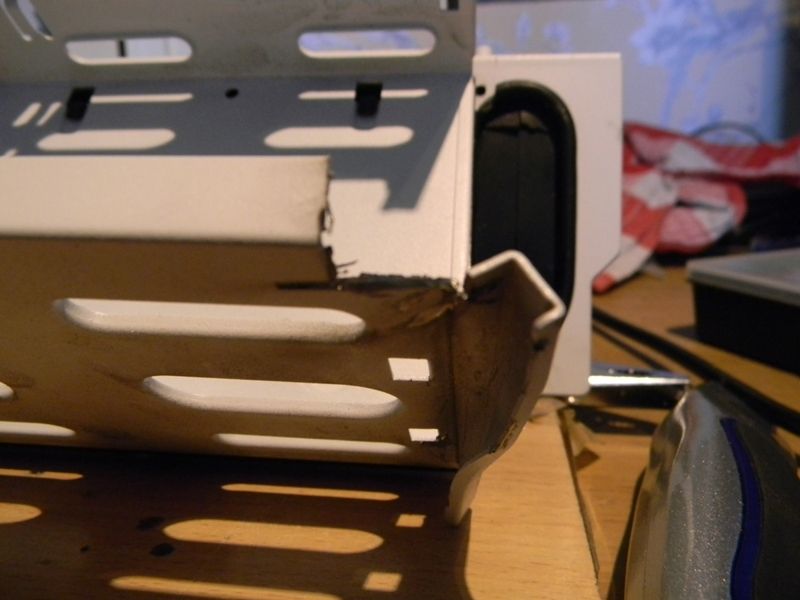
Because my Res is the 140mm and I want push and pull fans on the 240 Rad I needed to dorp the D5 pump into the 5.25 Bay holder. I also need to shorten is to be able to mount the 2.5 HDD and SDD to the PSU cover. This meant some butchering of the 5.25 Bay Holder!!

DSCN2108.jpg


As you can see above my skills with the Dremel leave a lot ot be desired! Lucky I have lots of trim!

DSCN2126.jpg


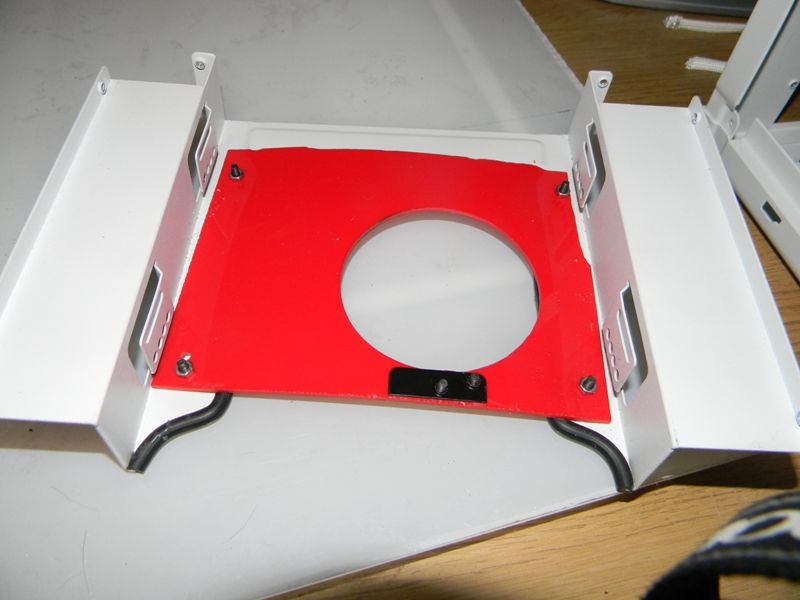
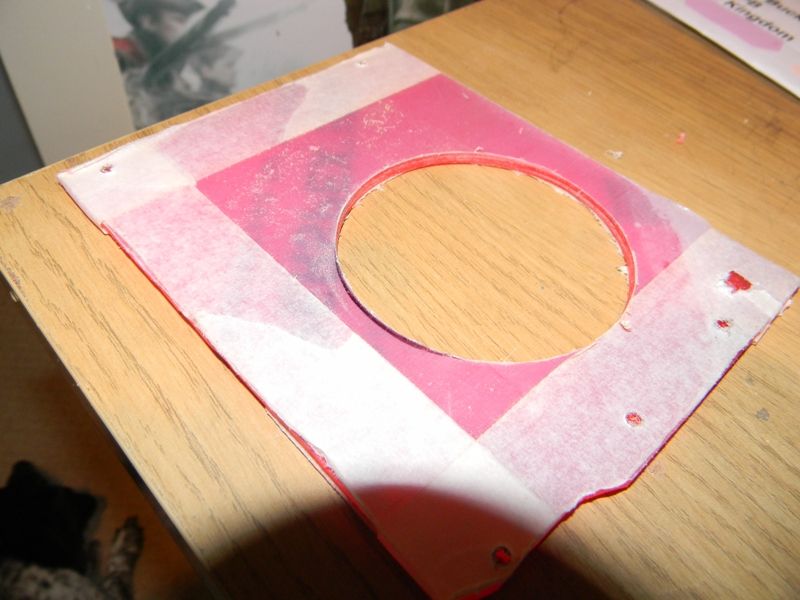
I then need to cut some Perspex to cover the gap and put a hole in it for the D5 to sit in.

DSCN2147.jpg


Unfortunately while putting the hole in theperspex it snapped! lucky I found a plate in the components with the Bitfenix that allowed me to fix the facture as well as strengthen it!

DSCN2140.jpg


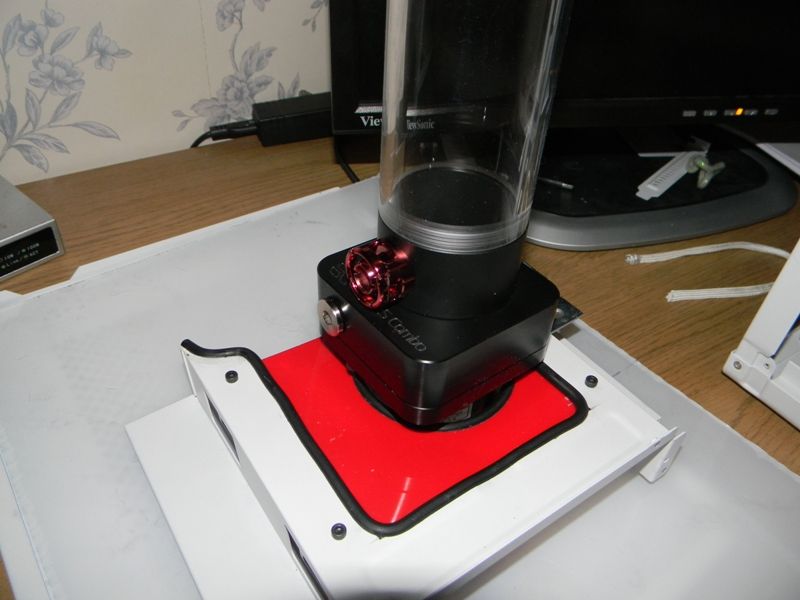
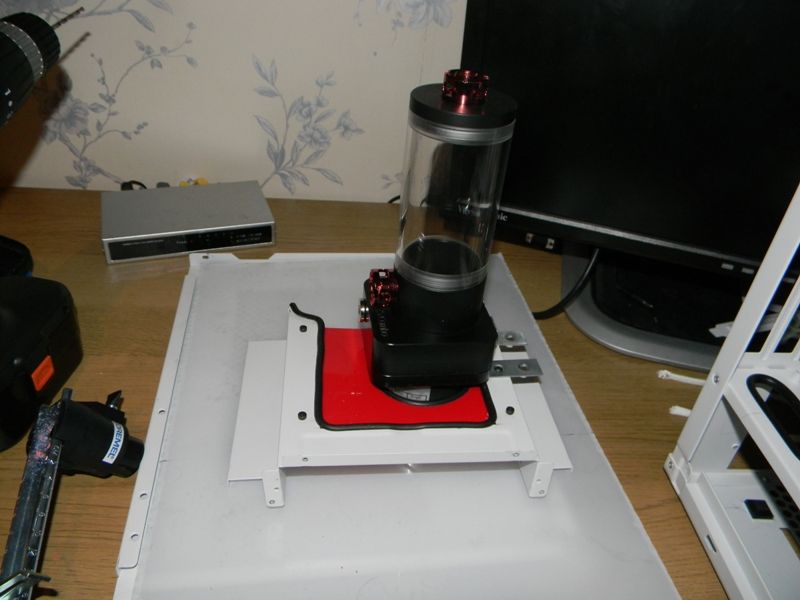
Just some Pictures of the Pump installed:

DSCN2157.jpg

DSCN2153.jpg
 
Wow, im very impressed with the build so far.

Im slapping myself about the front, I makes perfect sense to to that!

if i can source some 2.5" Silent 1TB drives to replace my fat ones would you mind if i stole that idea of flipping the front?

Haha It took me ages messing with it before I thought about just flipping it!

Absolutely use it if you like, thats the whole point of sharing:) Just need to stress that if you are putting hdds/sdds up against the psu cage that you will need to shorted the 5.25 cage first, but not by much:)
 
Progress Update!

So over the weekend I have gotten a few more things done!


First I add rubber sheet backing to all the PSU blowholes. unforunately I stupidly deleted all my pictures of this! but it can be seen in other progress pictures.

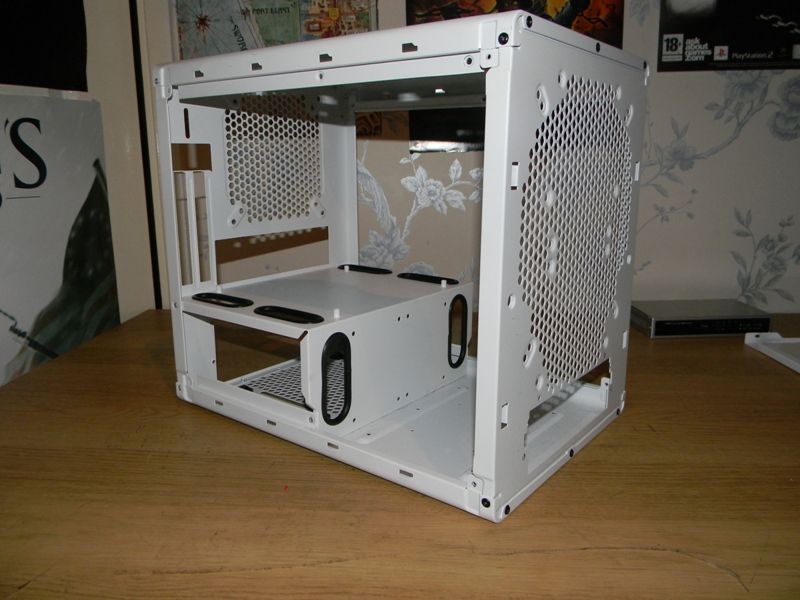
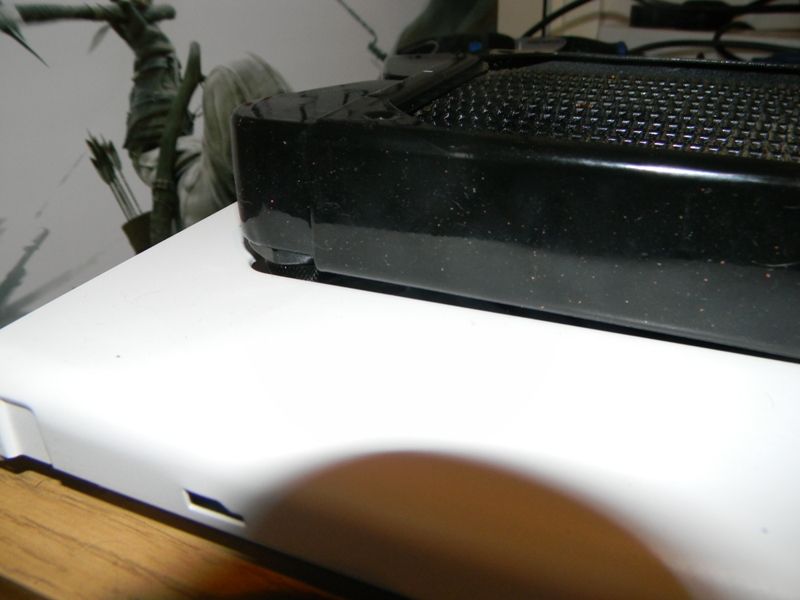
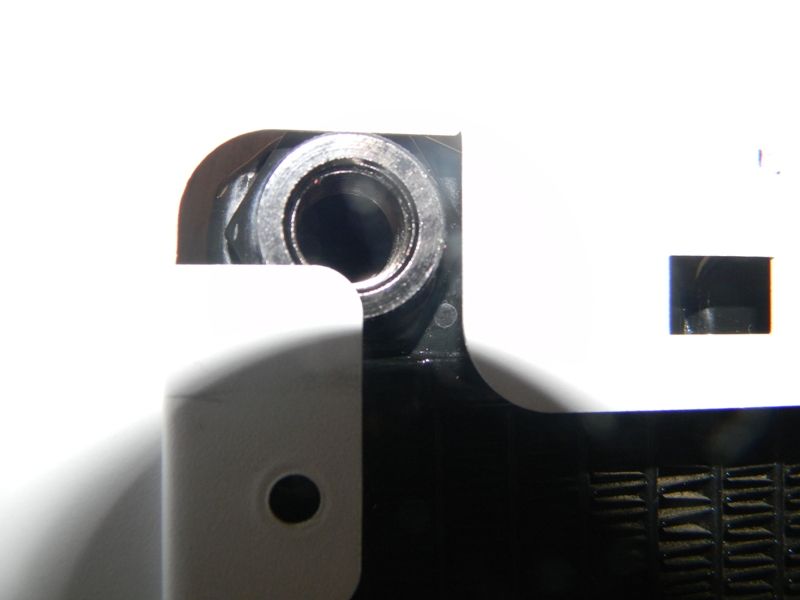
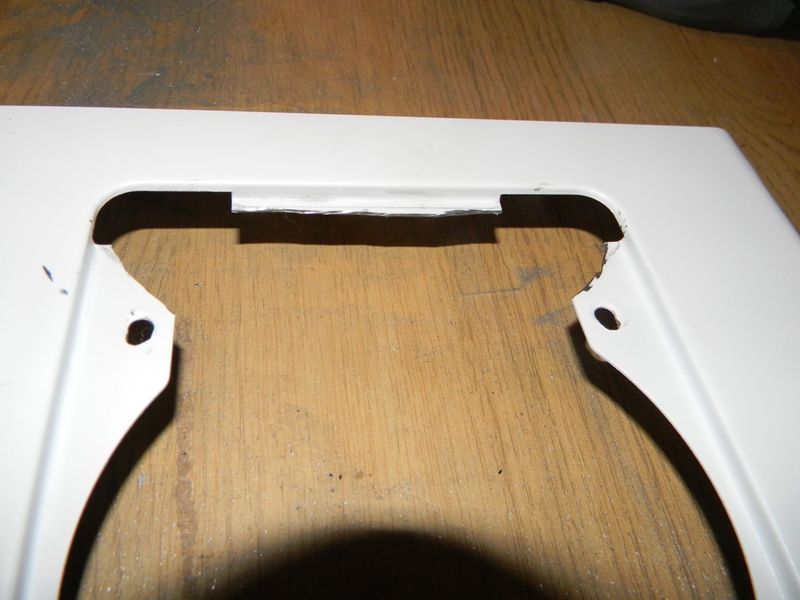
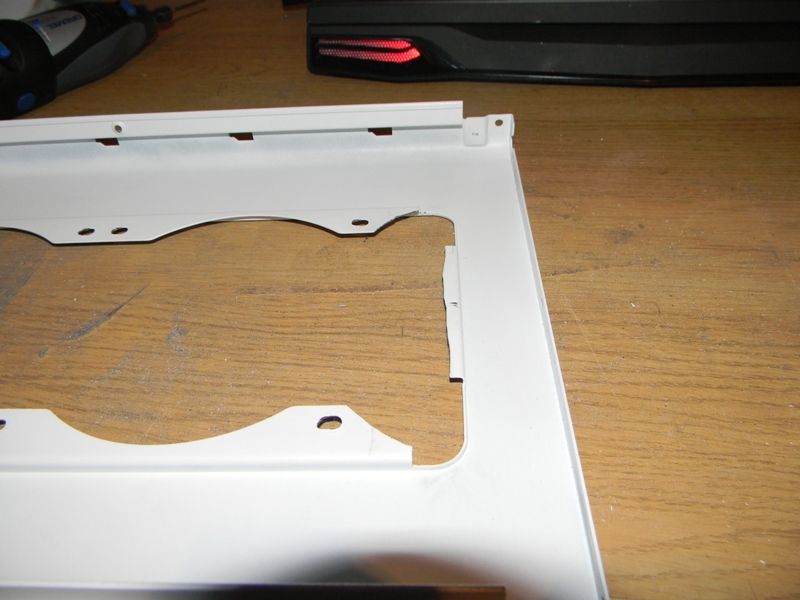
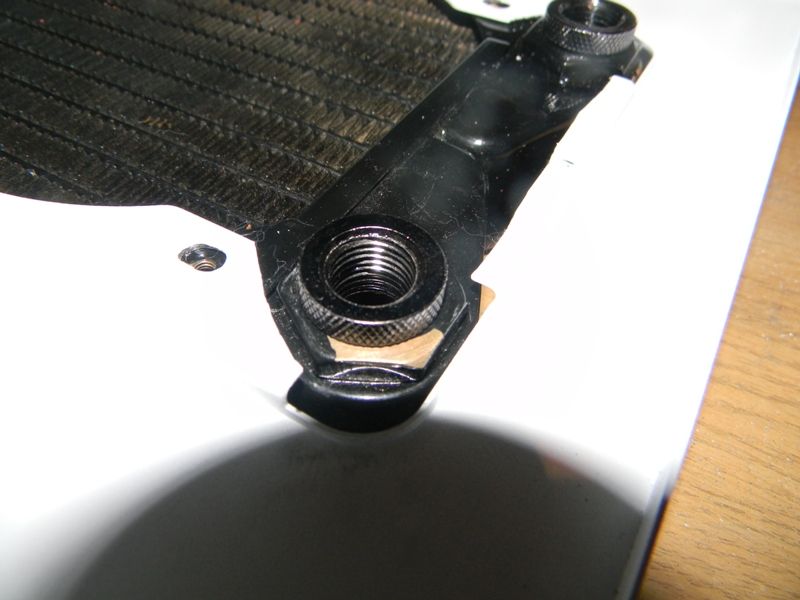
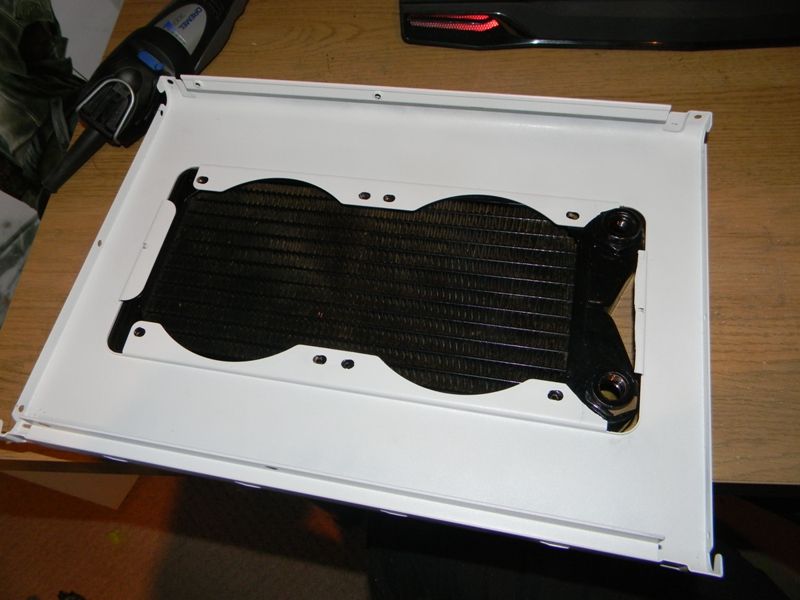
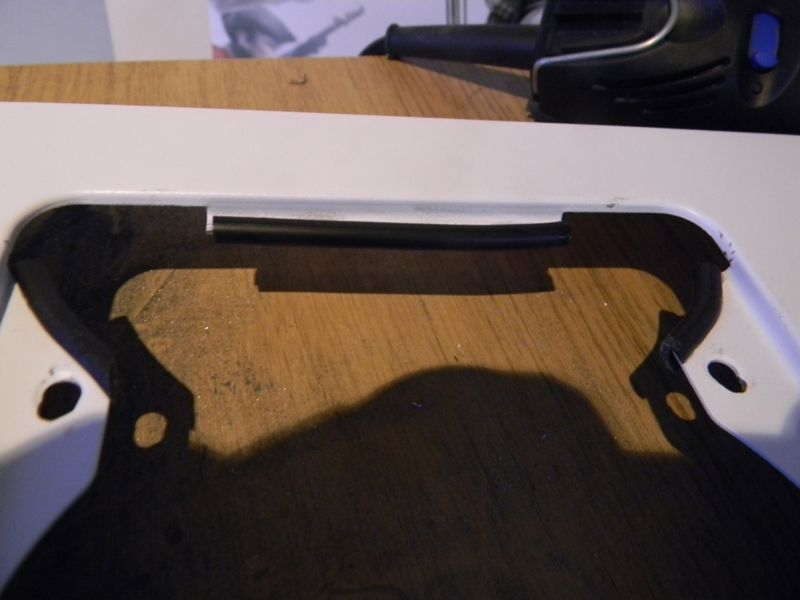
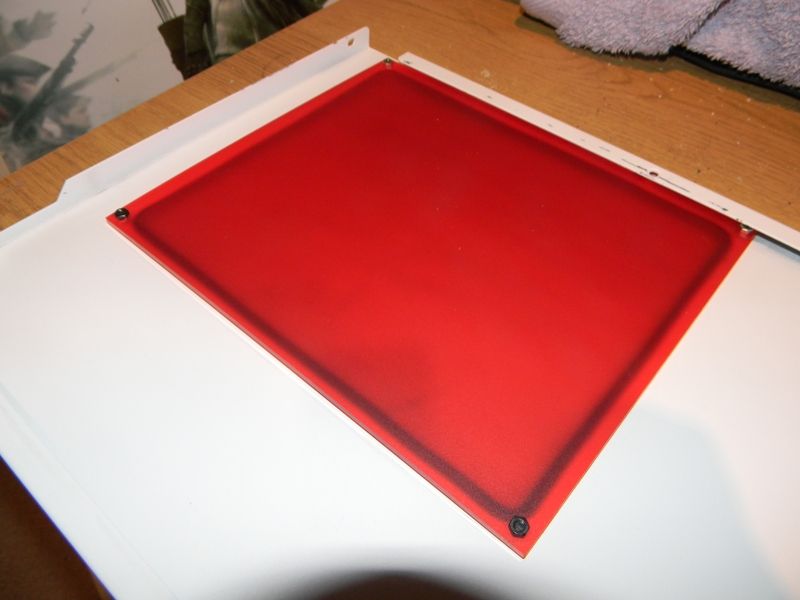
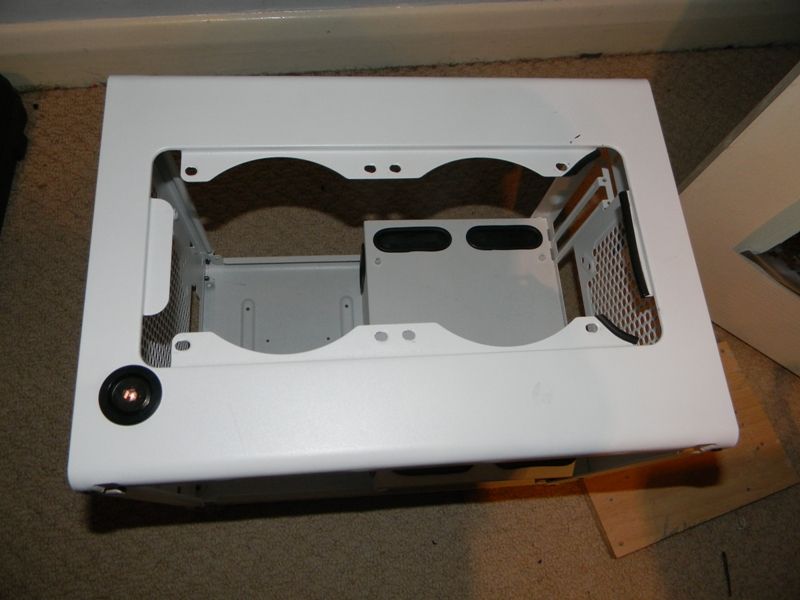
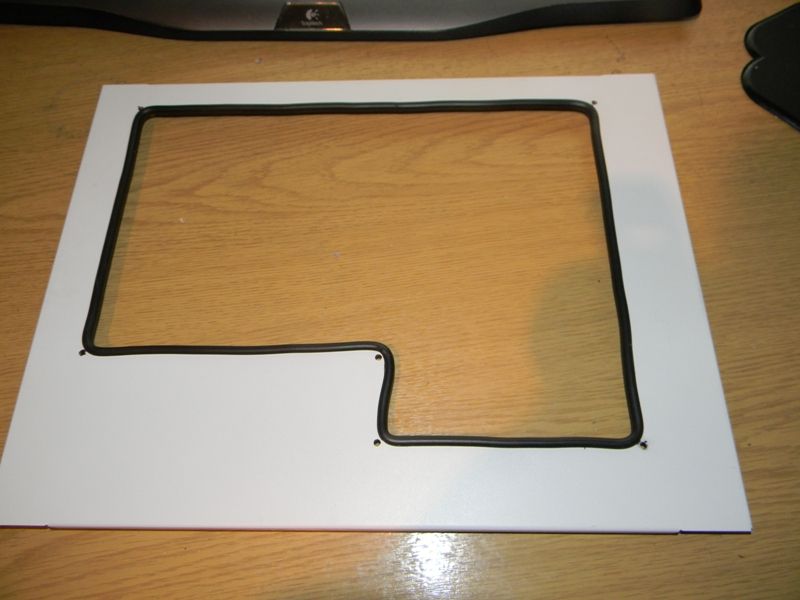
The next thing I did was remove all rivets to completely dissemble the case! This allowed me to make a few slight modifications to the top panel as my radiator wouldn't sit flush externally!

DSCN2189.jpg

DSCN2195.jpg


So after alittle work!
DSCN2197.jpg

DSCN2204.jpg

DSCN2210.jpg

DSCN2214.jpg


And Ofcause I needed to add some Trim because anything I cut seems to come off looking like crap!
DSCN2221.jpg


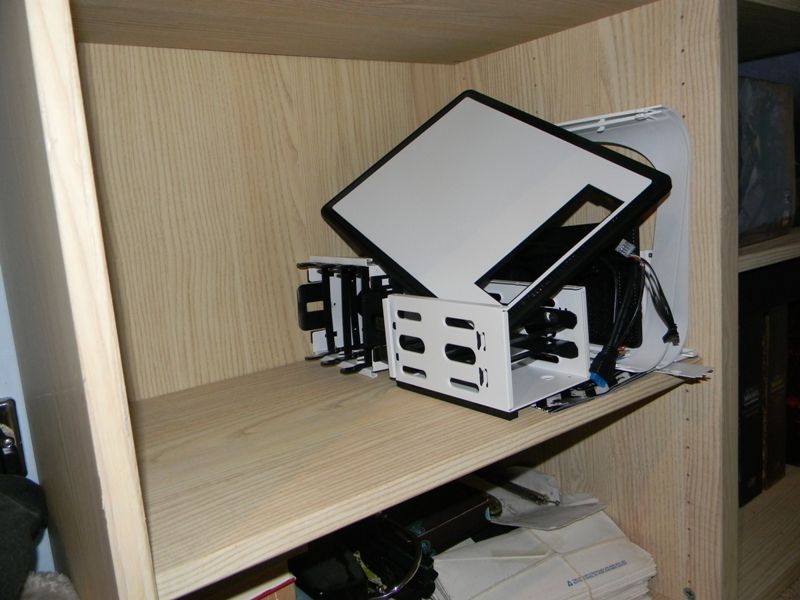
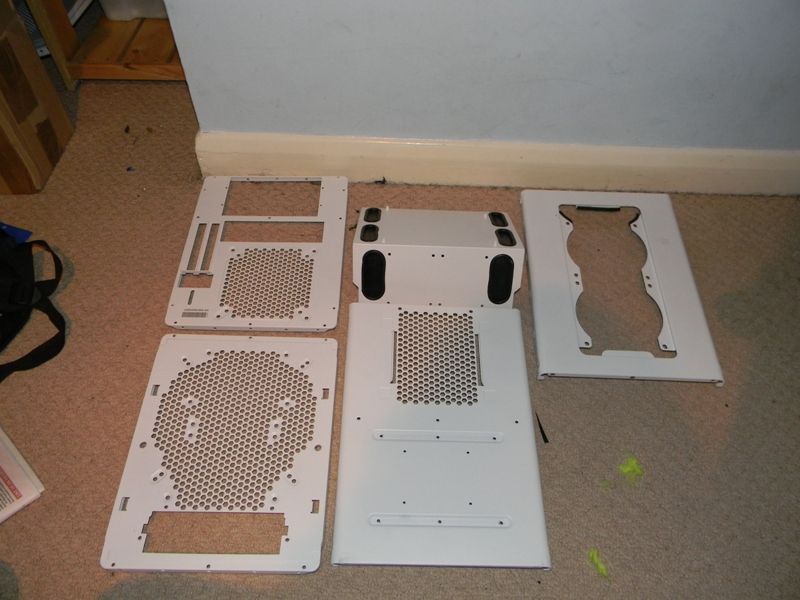
Got some shots of the exploded case which also lets you see the rubber sheets I used.
DSCN2225.jpg


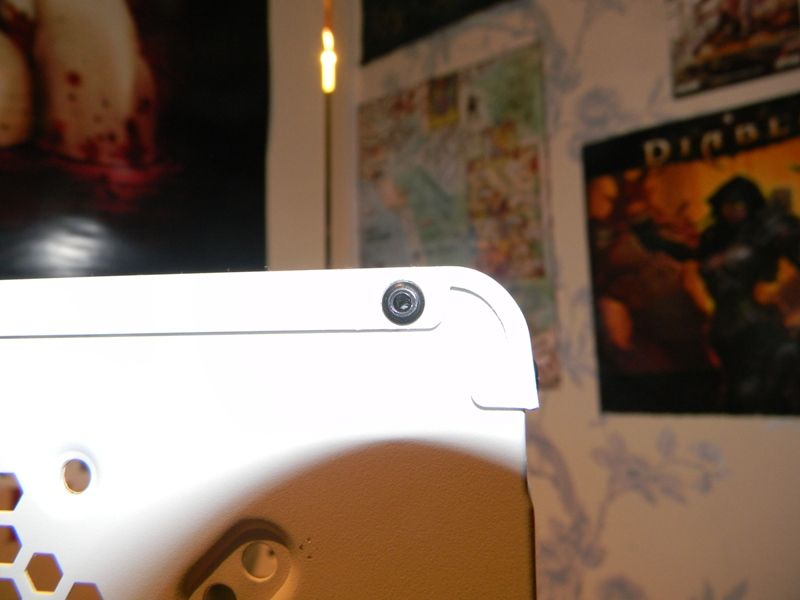
Put it all back together using Black Rivets which makes tghe thing look miles better than with the original silver ones!
DSCN2228.jpg

DSCN2238.jpg

DSCN2230.jpg


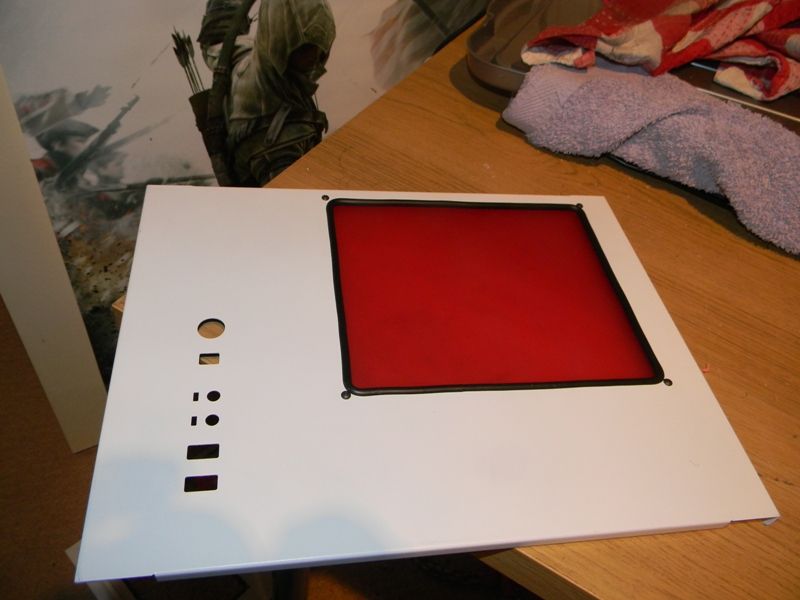
Did a little mock build to see how it would all fit together. I am not happy with the Red perspex and may recut that with some Frosted Red, but so it gets closer to the HDDs/SSDs
DSCN2248.jpg

DSCN2261.jpg

DSCN2256.jpg

DSCN2255.jpg

DSCN2252.jpg


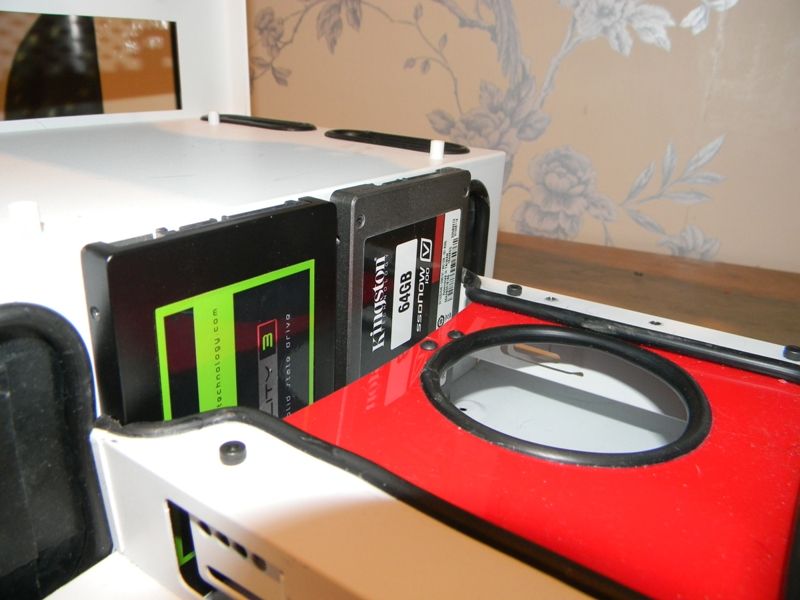
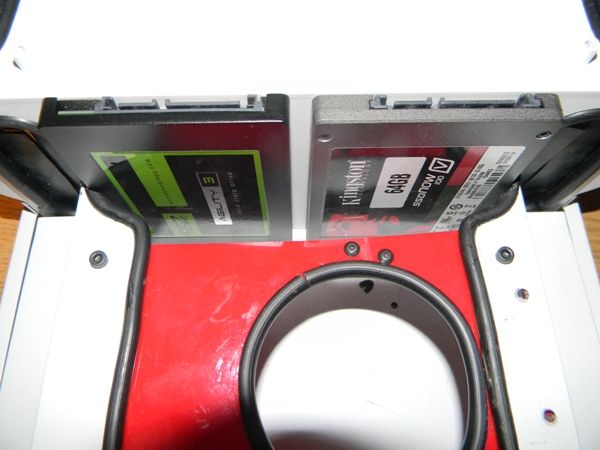
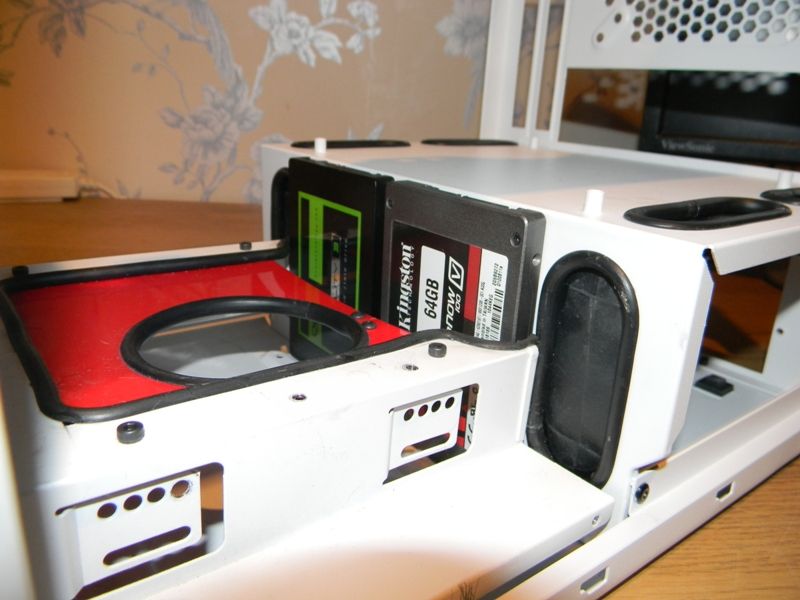
HDDs/SSDs Fitted.
DSCN2309.jpg

DSCN2305.jpg

DSCN2299.jpg


And I got some braiding done. did some wiring for the two sets of cathodes as well so they now both work off one switch and that's all braided but not photo'ed yet.
DSCN2297.jpg

DSCN2270.jpg

DSCN2276.jpg

DSCN2284.jpg
 
Another Progress update.

I havent really kept up enough with the pictures! Sorry Guys!


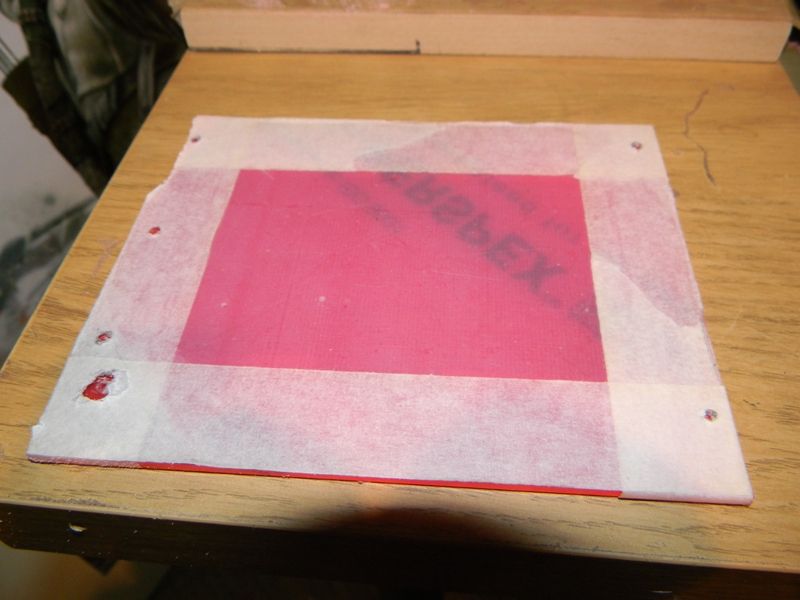
Firstly I have redone the bottom 5.25 case where the pump sits. I have replaced it with nicer looking frosted Red Perspex that isn't snapped!

At the moment i only have a picture of the perspex, will update with the finished product as soon as I can.

DSCN2319.jpg

DSCN2314.jpg


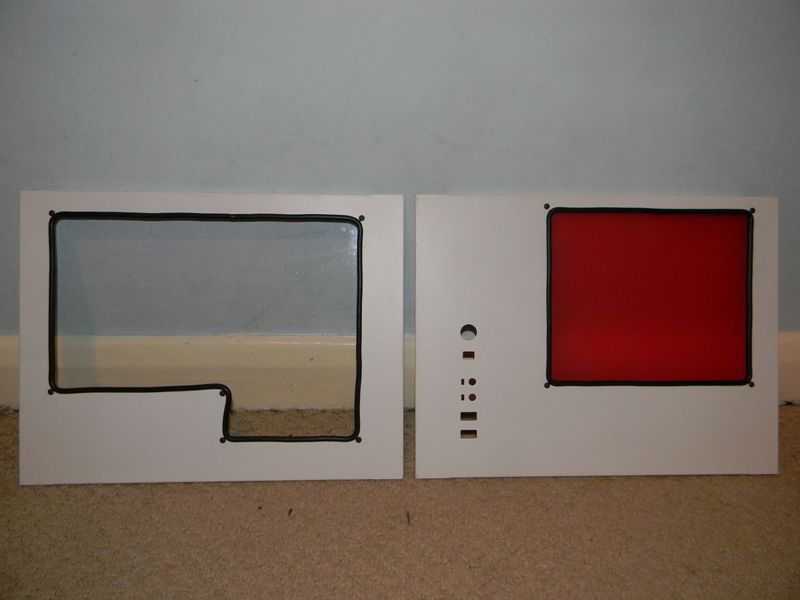
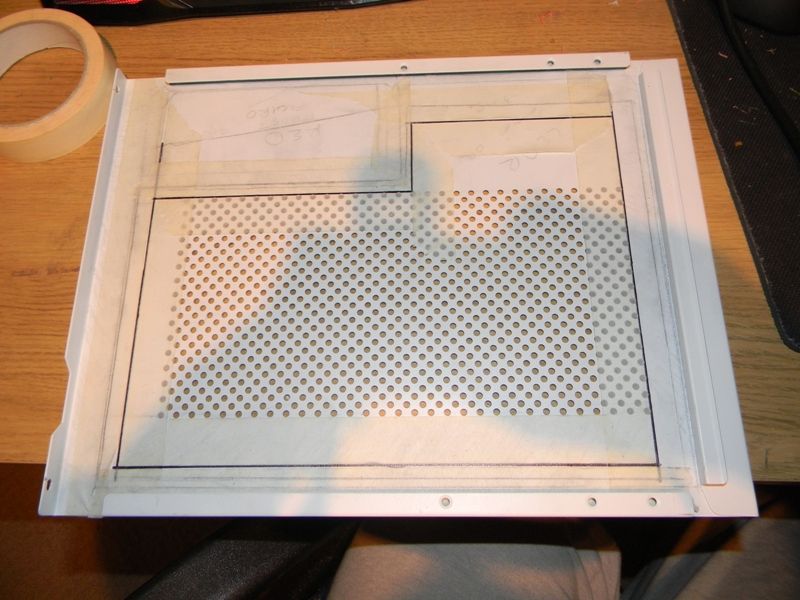
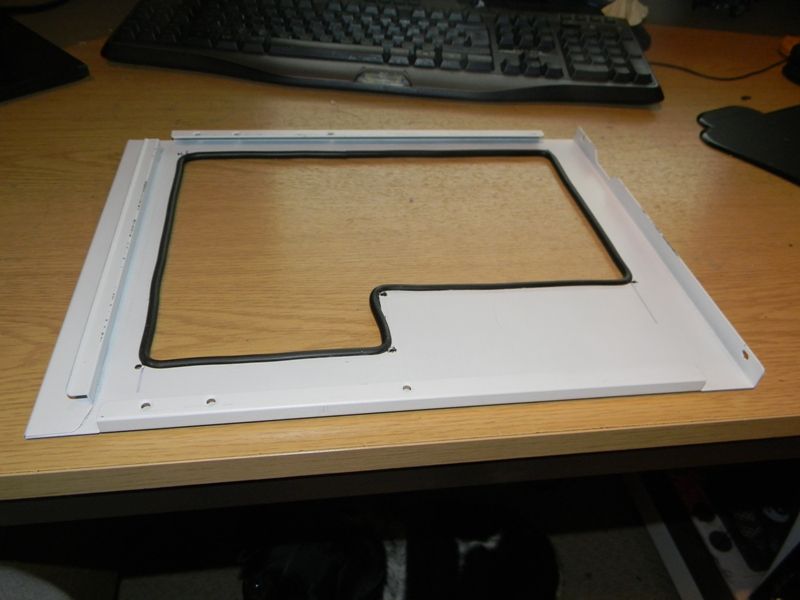
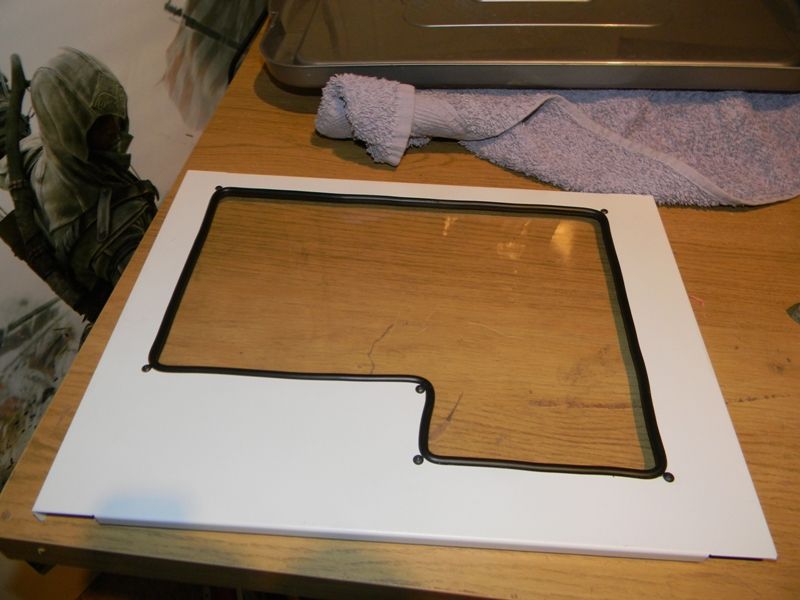
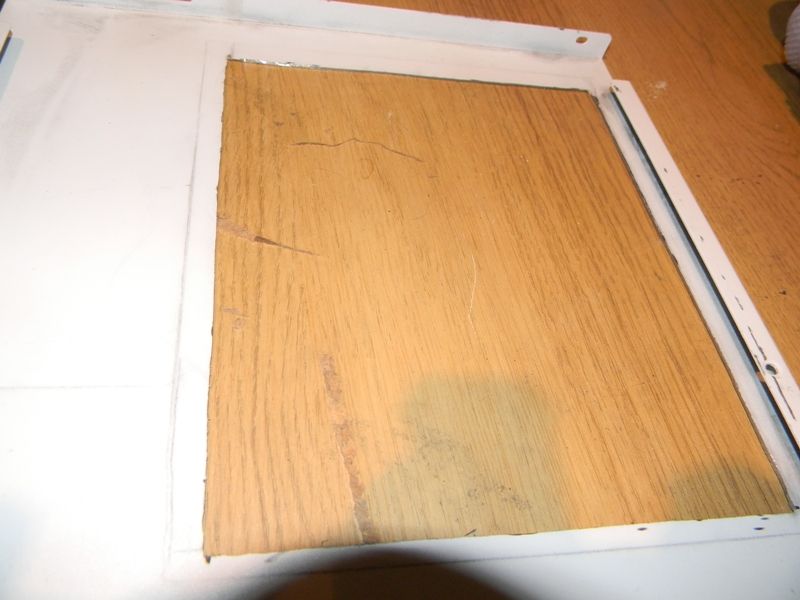
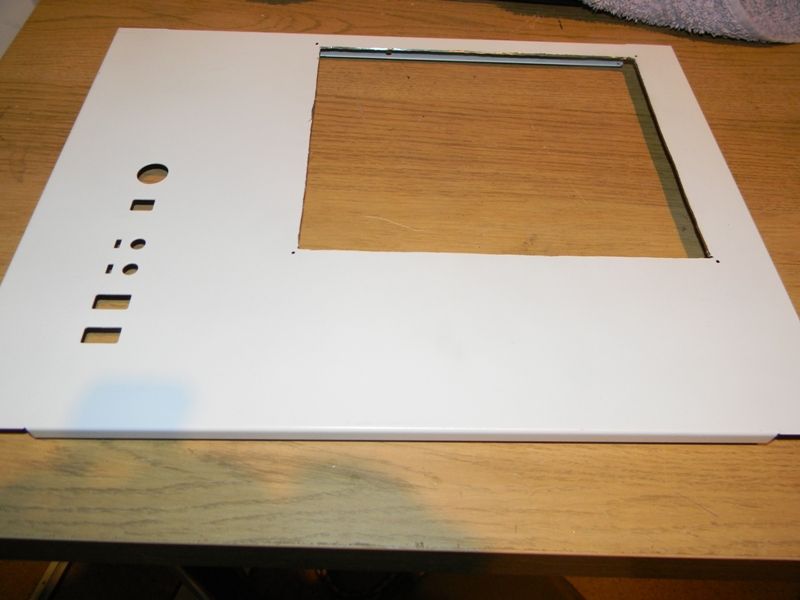
I have also completed the cutting for the side Panels. I think... I have no plans to cut more but this may change!

Left Panel

DSCN2334.jpg

DSCN2336.jpg

DSCN2339.jpg

DSCN2377.jpg


Right Panel

DSCN2342.jpg

DSCN2344.jpg

DSCN2349.jpg

DSCN2358.jpg

DSCN2359.jpg

DSCN2365.jpg

DSCN2367.jpg

DSCN2372.jpg
4

Both Panels:
DSCN2383.jpg


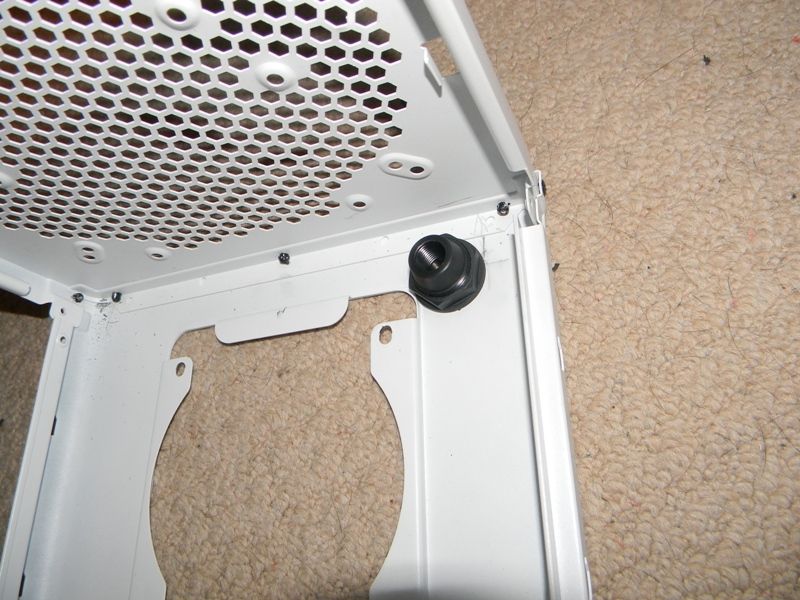
I finally recieved the Holesaw from China! (stupid to order the thing over the Chinese new year I have been told!) So I can put my fillport in.

DSCN2384.jpg

DSCN2386.jpg

DSCN2391.jpg


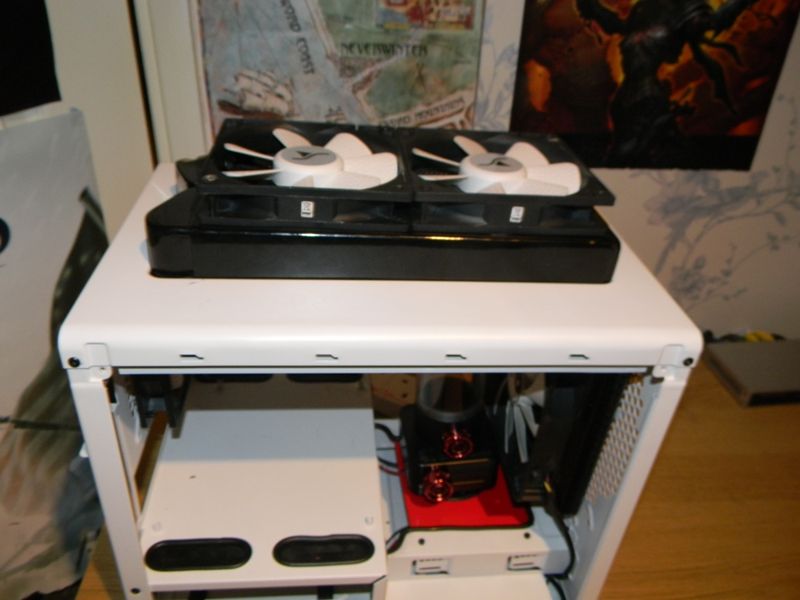
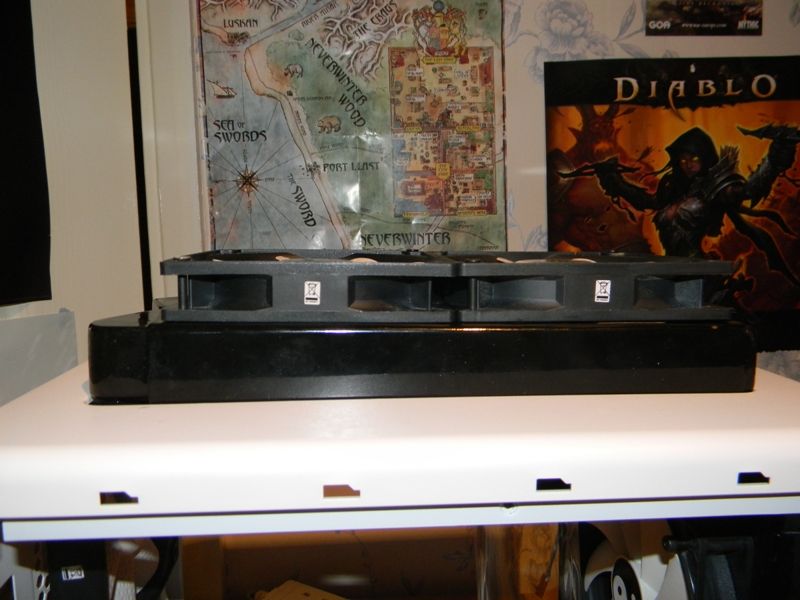
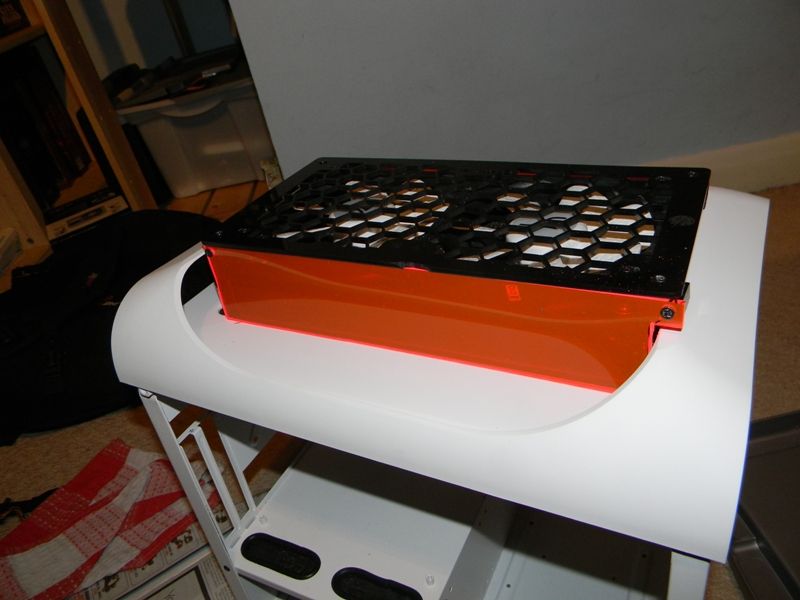
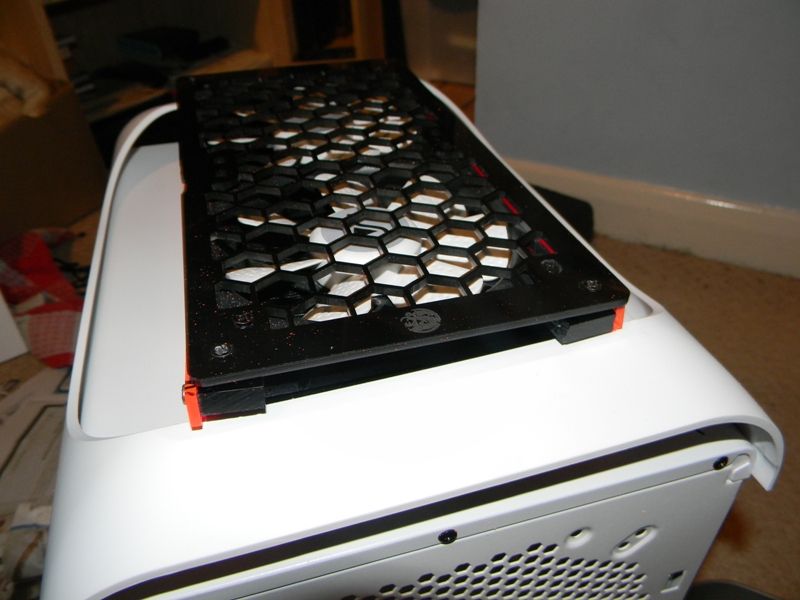
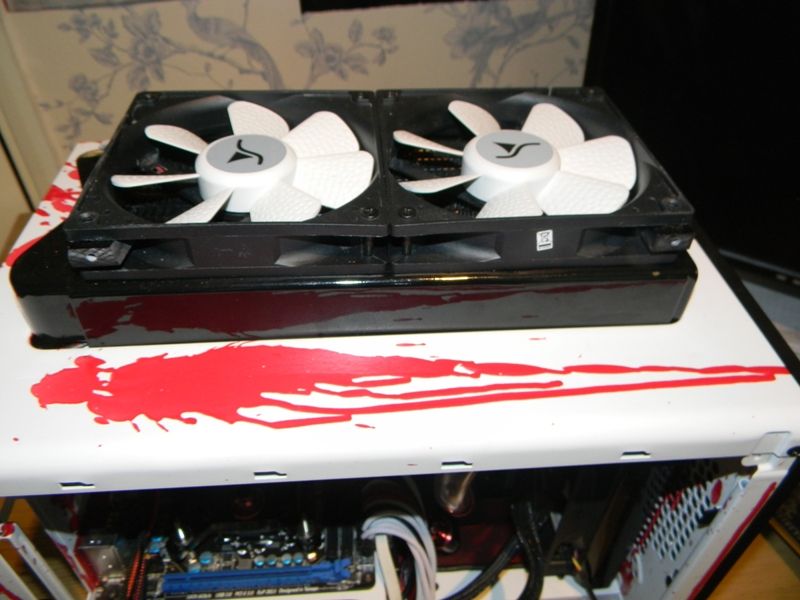
Over the past few days I have been working on what to do with the radiator sticking out of the top of the case without having to spend anymore money!!

So Version 1 I have created a casing using a grill I had lying around and some left over perspex

DSCN2393.jpg

DSCN2395.jpg


I have changed this around abit. I have added trim to all the Edges as my cutting straight skills are seriously lacking! I have also found a way to incorporate the existing Prodigy's top dust filter into it! I will get some pictures up soon with this. As these will be my only two fans sucking air into the case, I think it will work out very nicely indeed.!
 
Hi Everyone!


So I have managed to make some more progress!!


HDD HotSwap MOD
Firstly, noticed that it would be a mssive pain in the A$$ getting to the two HDDs considering they are screwed in behind the PSU! As this will be a LAN machine the HDDs may be used for other things while not using this PC!
I had a few different ideas on how to construct some from of hotswap bay for these HDDS and decided on the below solution as the best possible appoarch.
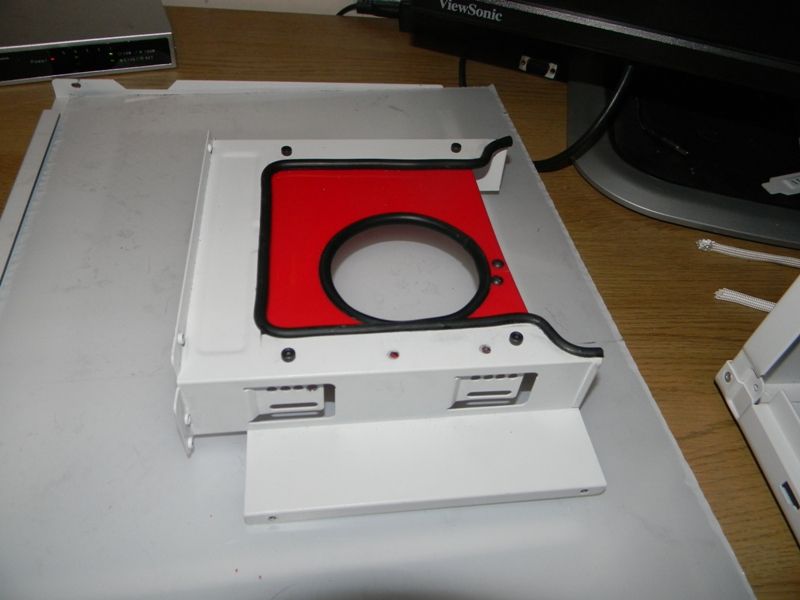
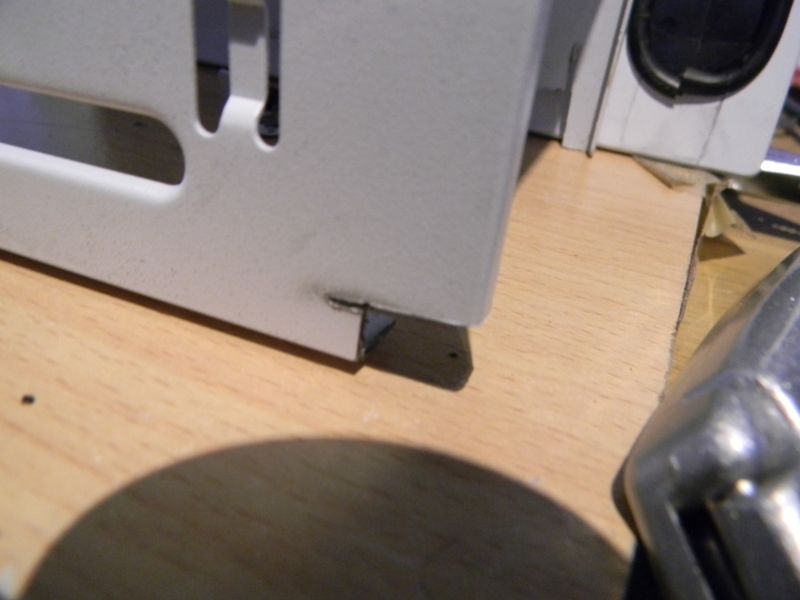
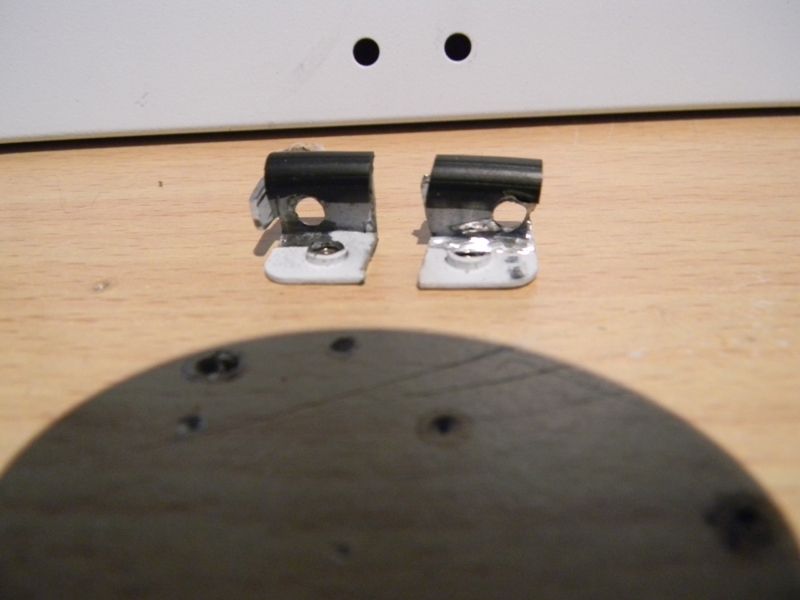
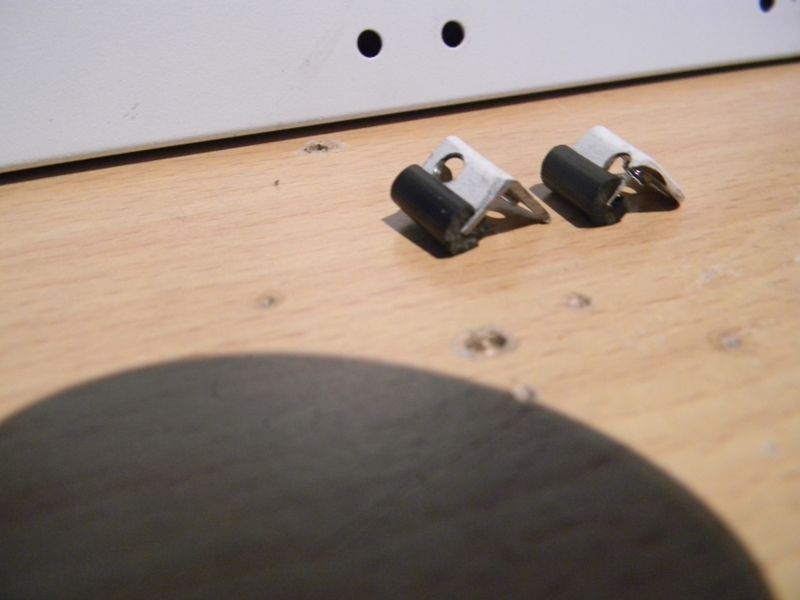
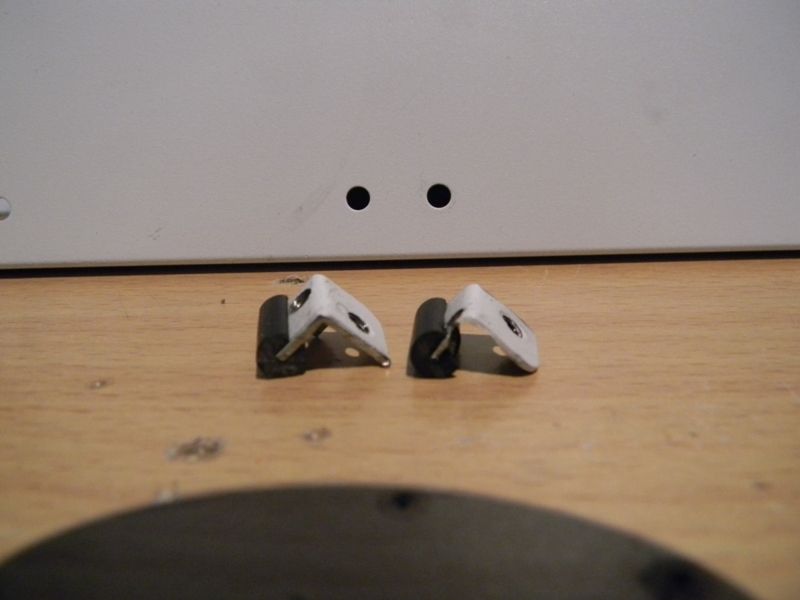
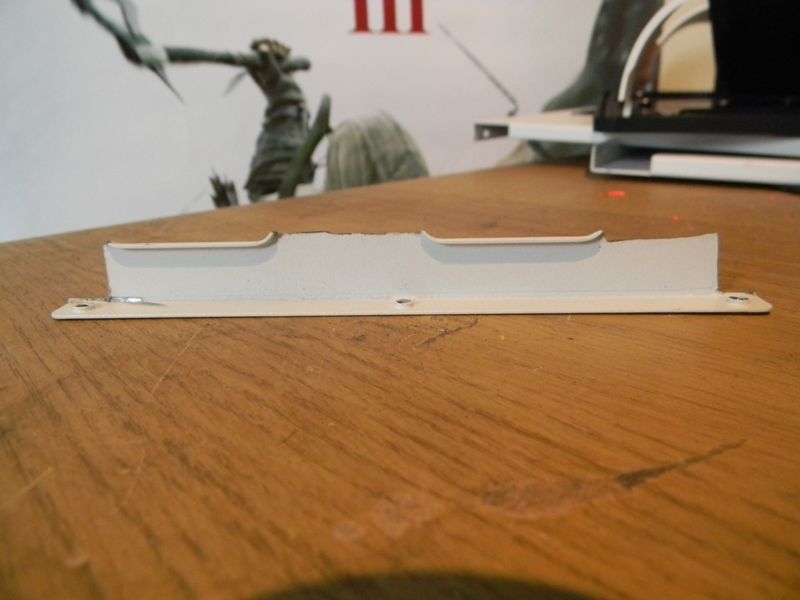
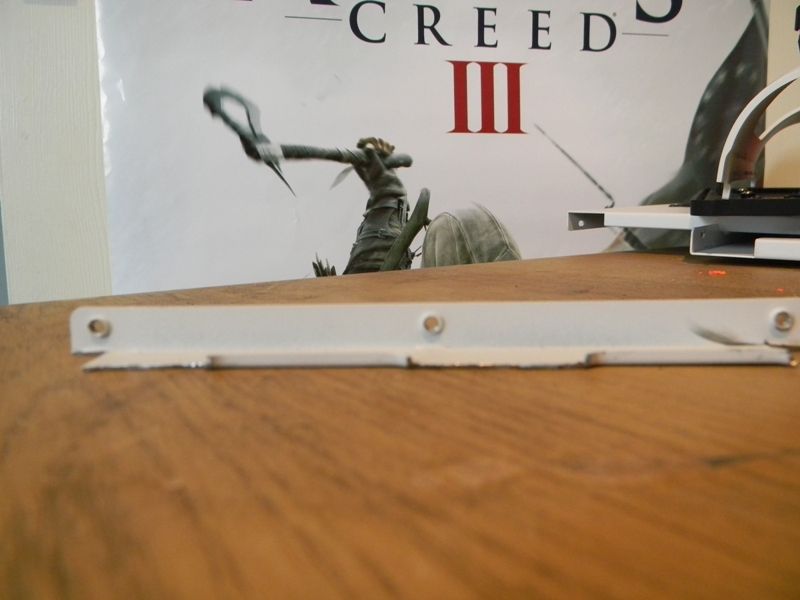
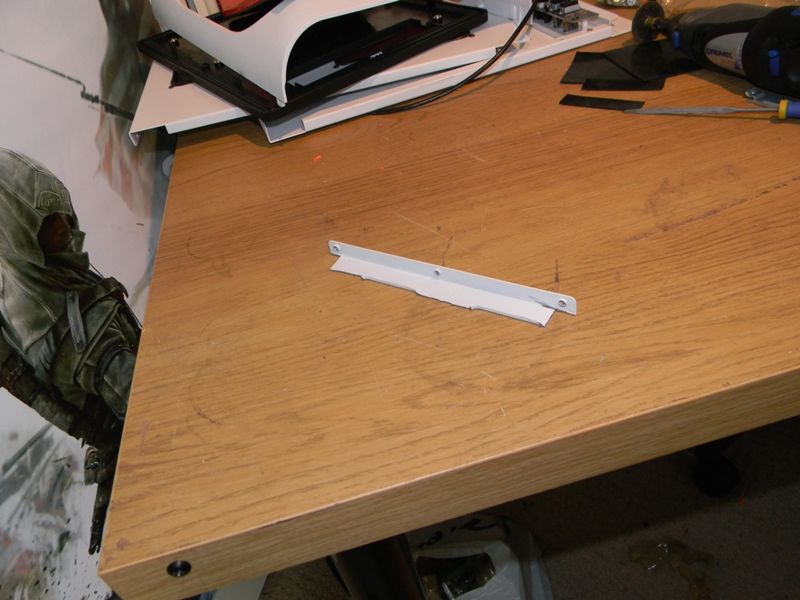
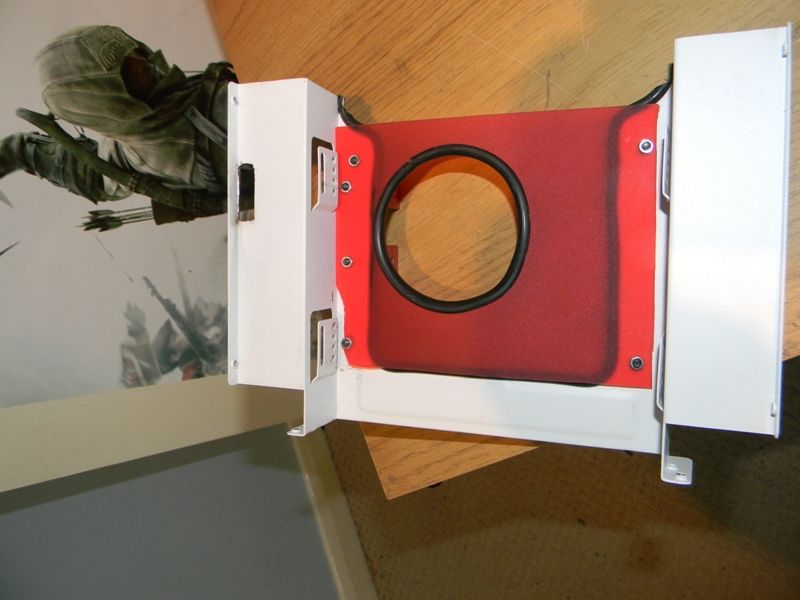
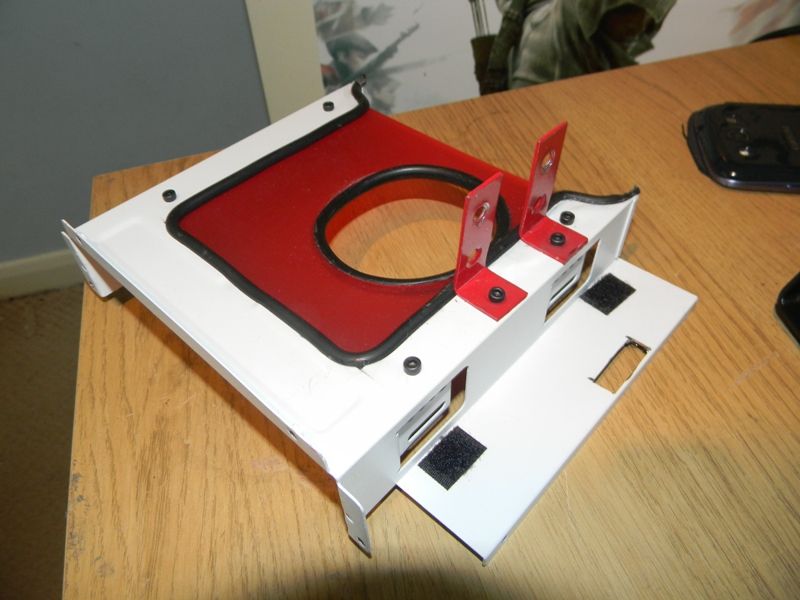
Taking one of the Removable HDDs cages that are supplied with the case I constructed two Angle Brackets and a plate that would act as a place holder.

The HDD Cage I used for parts :)
DSCN2400.jpg

DSCN2397.jpg

DSCN2435.jpg

DSCN2438.jpg


Angel Brackets that will hlold the HDDs in place (using top outside corner holes of the HDD)
DSCN2432.jpg

DSCN2429.jpg

DSCN2428.jpg


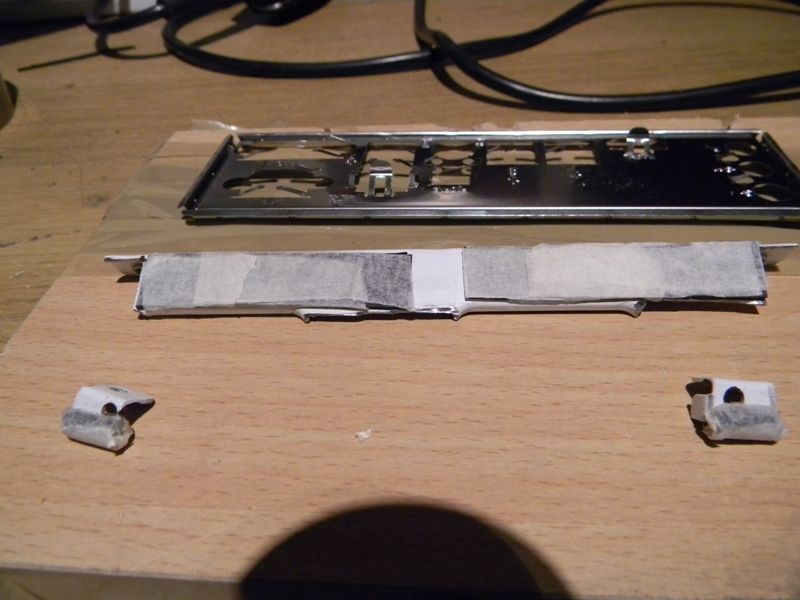
Bottom bracket that will hold the hdds in place firmly without need for screws. To get the snug fit I fitted the rubber sheet to the plate.
DSCN2403.jpg

DSCN2407.jpg

DSCN2412.jpg


To Go with the colour scheme I am using I prepped these to be sprayed Red. (Forgot to get pictures of them after spraying!)
DSCN2470.jpg


PSU Cage
I put two holes in the PSU cage at the top to hold the two new Angle brakcets. I also modded the right blowhole to accomodate more wires as it would be my main through port to the PSU and mobo.
DSCN2449.jpg


Cathode Switch
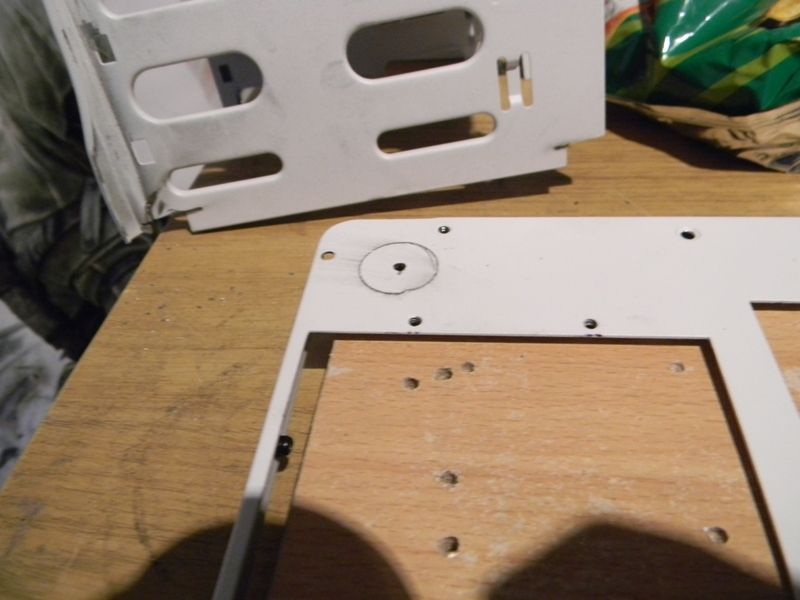
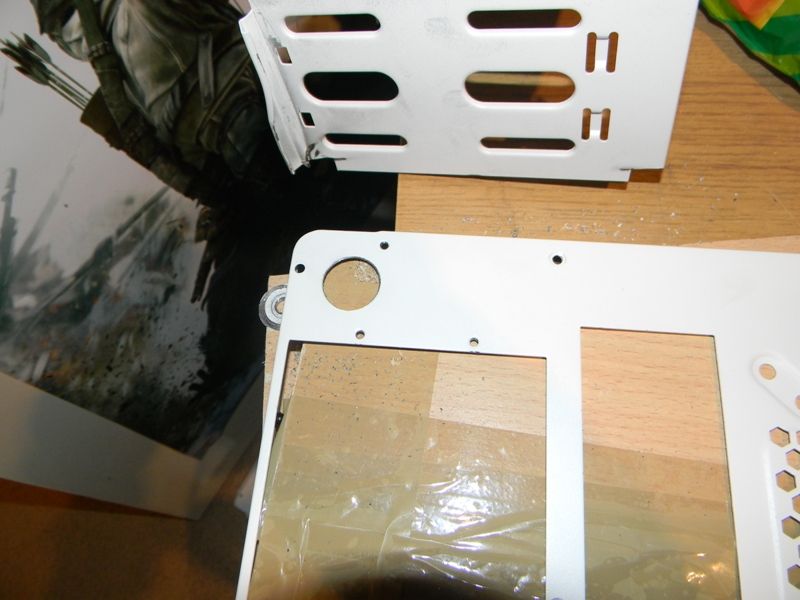
Got another HoleSaw for the Cathode light switch (20mm). This will be at the back of the pc next to the PSU.
DSCN2457.jpg

DSCN2462.jpg


Fan (5.25) Cage
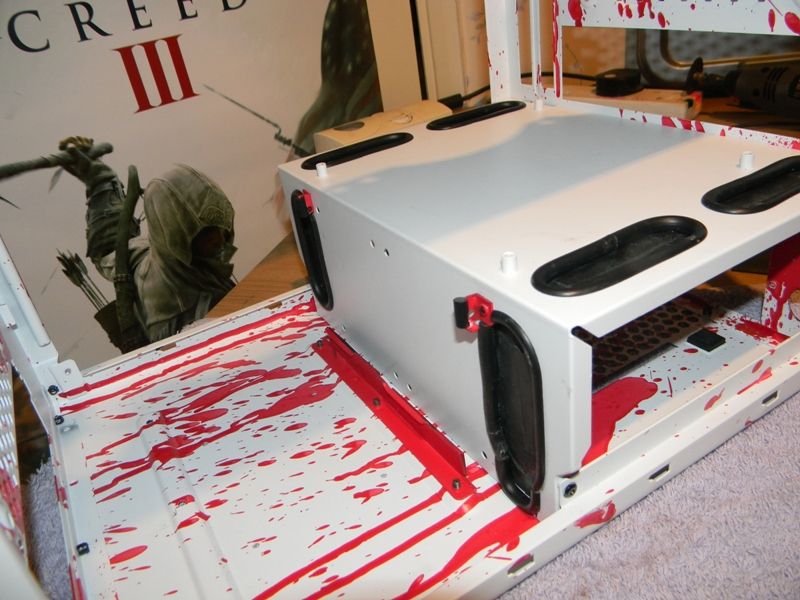
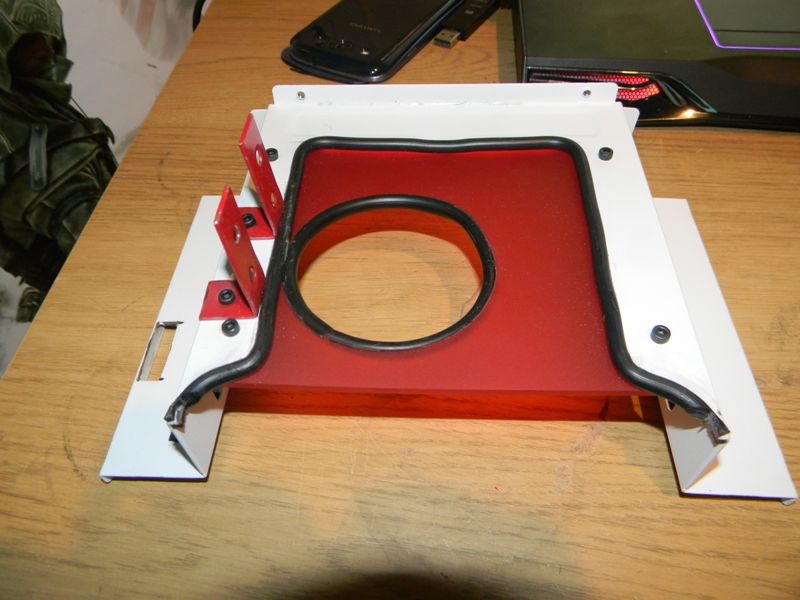
As promised I have some pictures of the 5.25 Cage with the new perspex. I think it looks a lot tidier and I much preffer the Frosted look! The two Angle Brackets that hold the pump are also attached.
DSCN2578.jpg

DSCN2576.jpg

DSCN2572.jpg
 
Blood Splatter

Blood Splatter


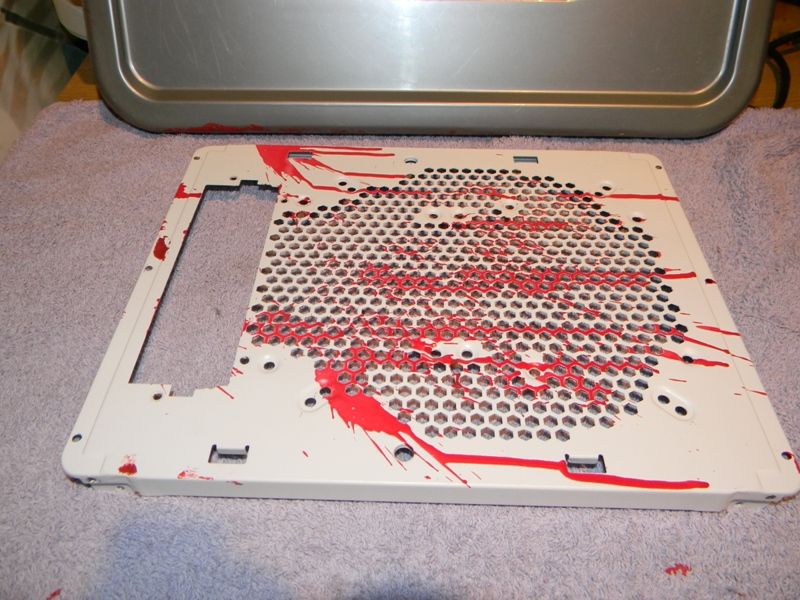
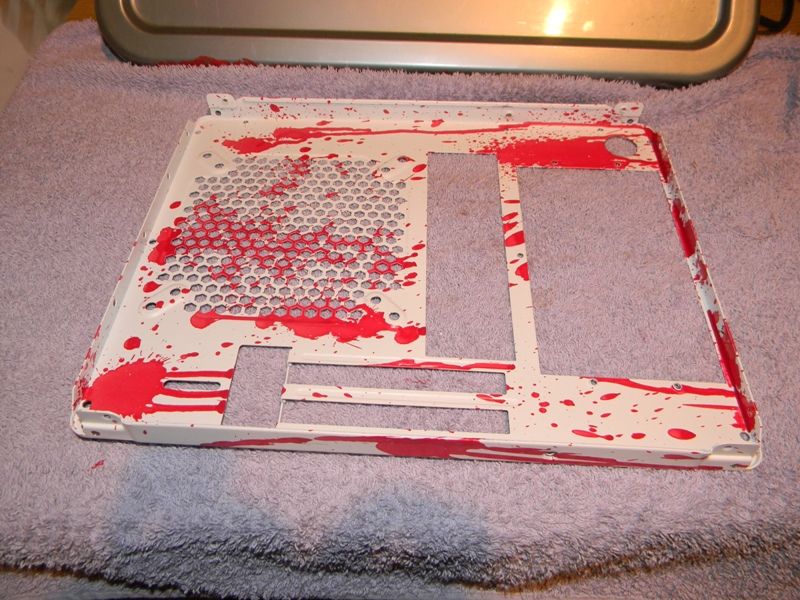
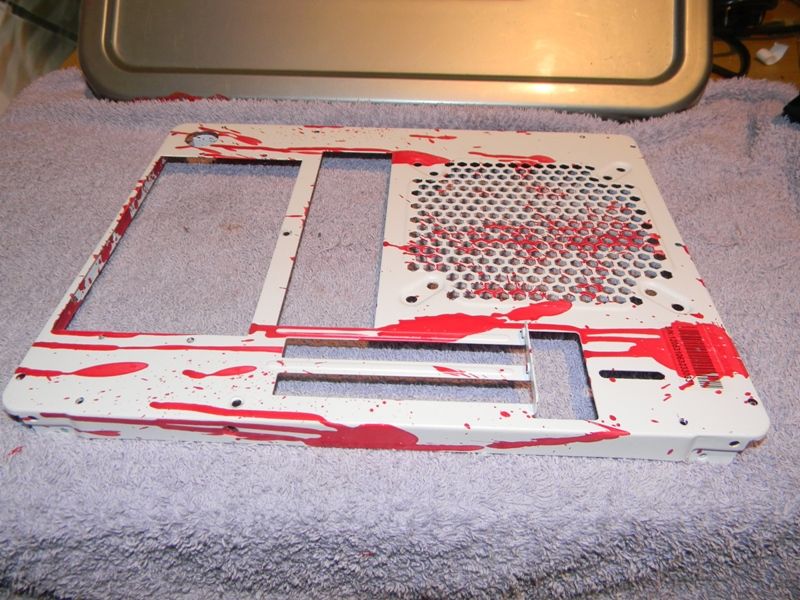
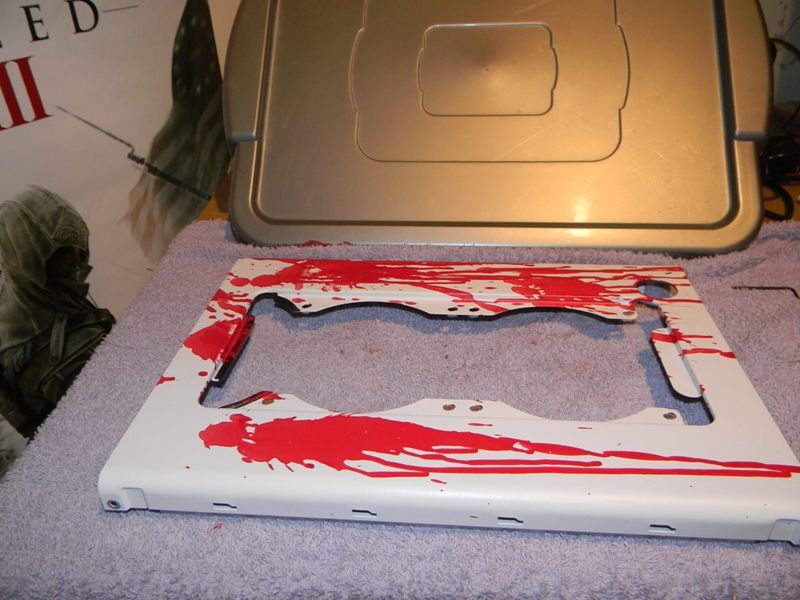
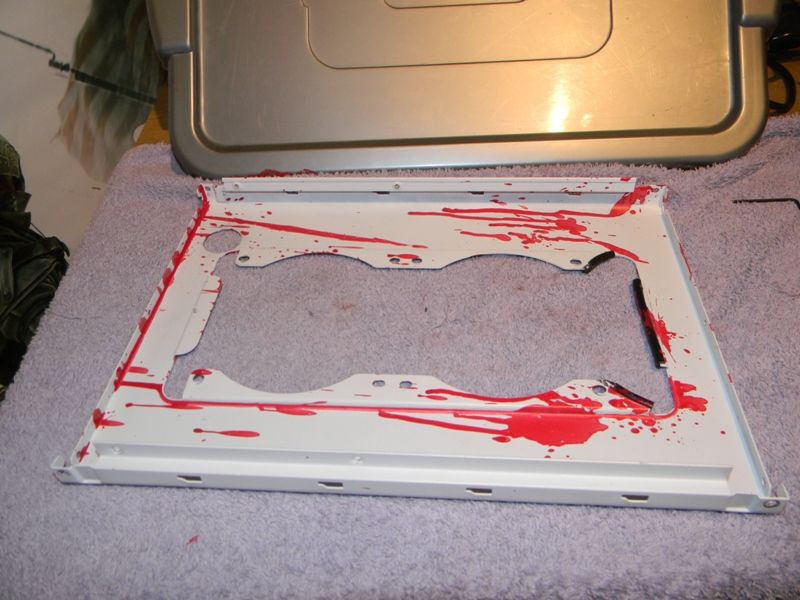
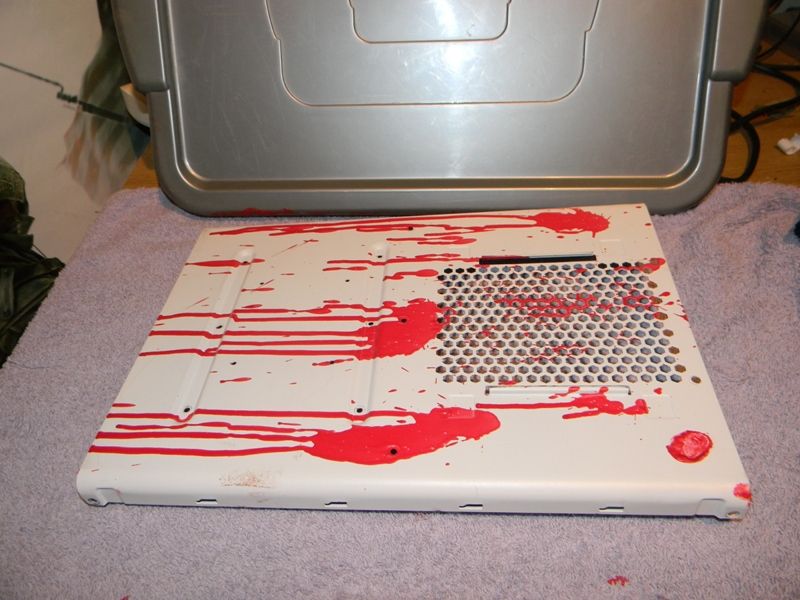
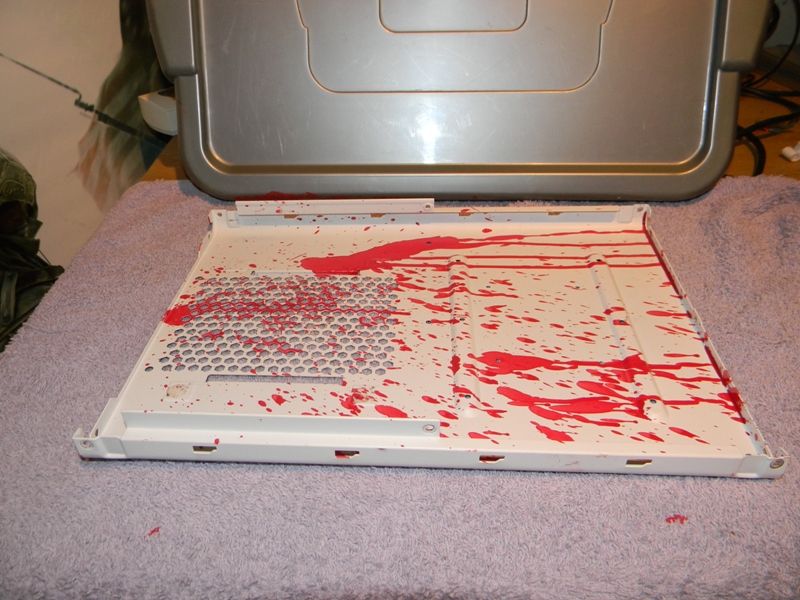
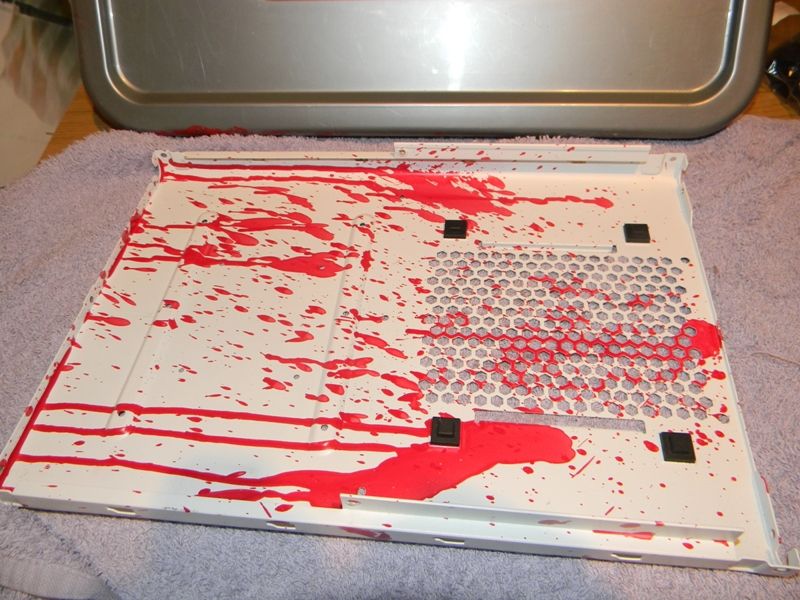
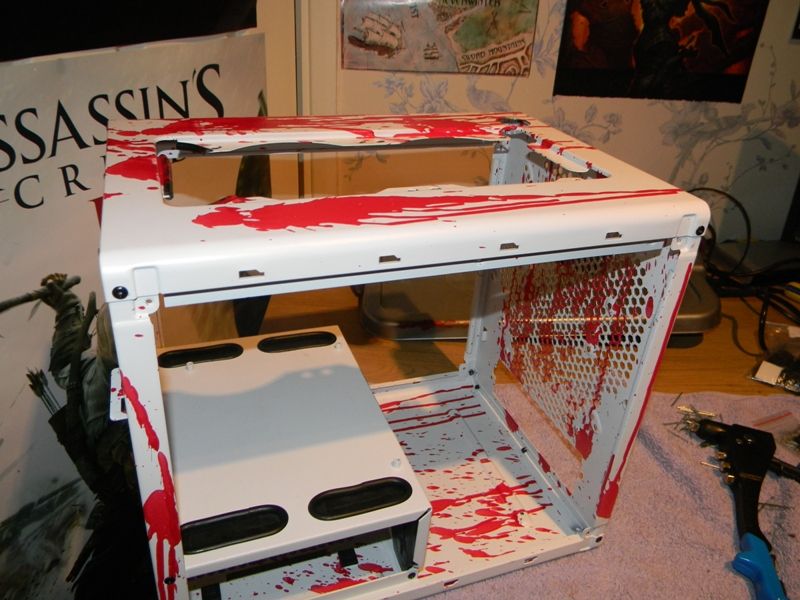
Over the weekend, I got some of the painting done!!
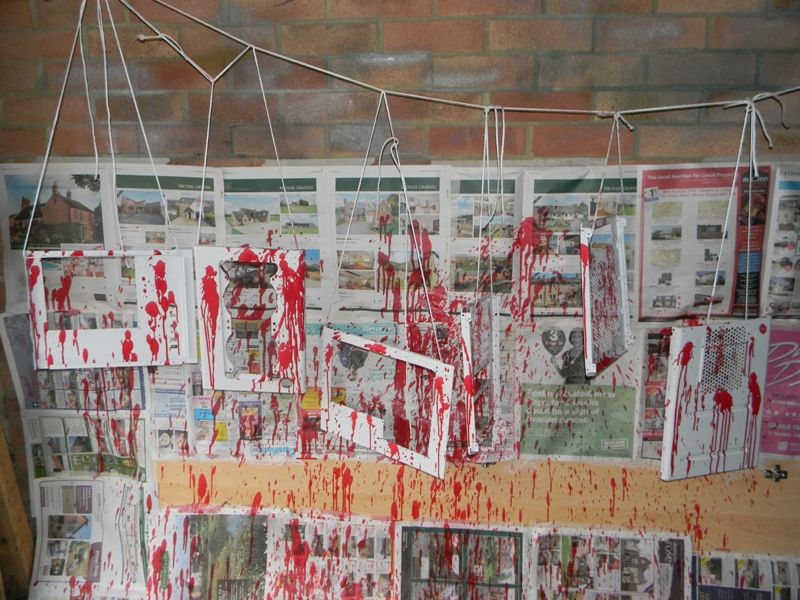
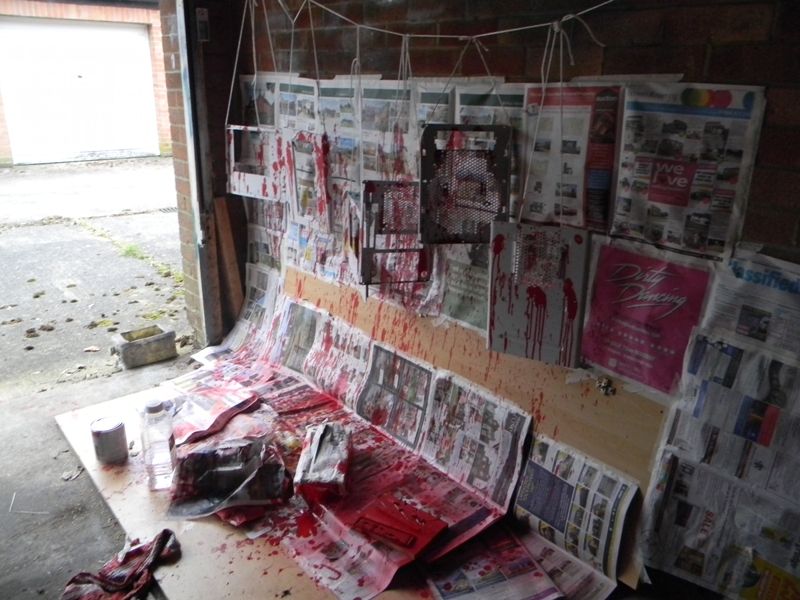
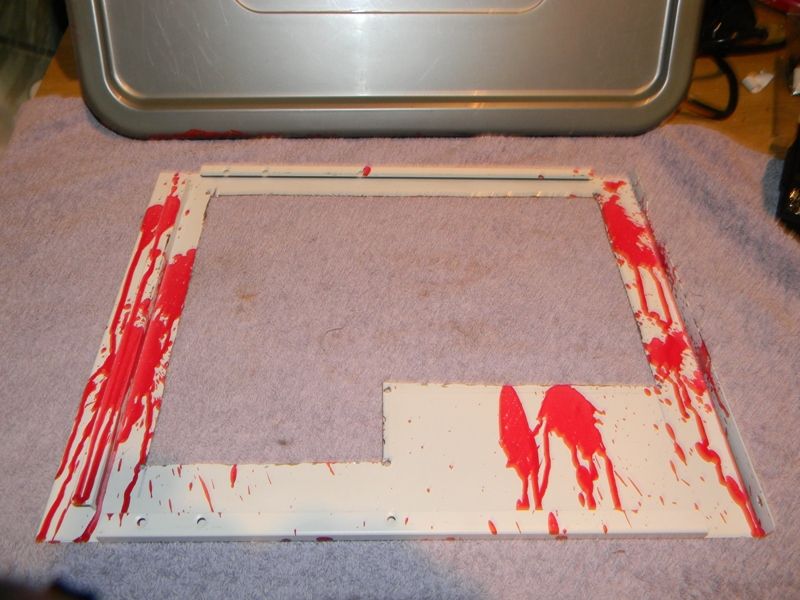
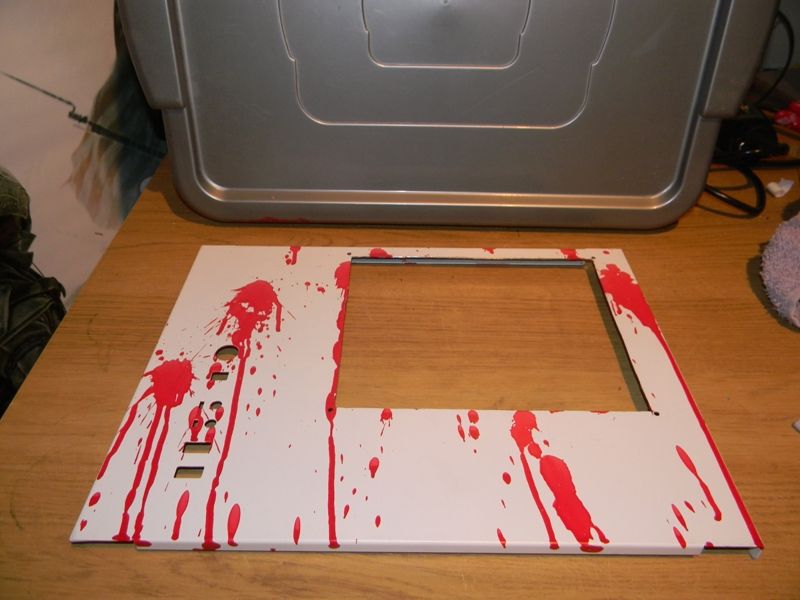
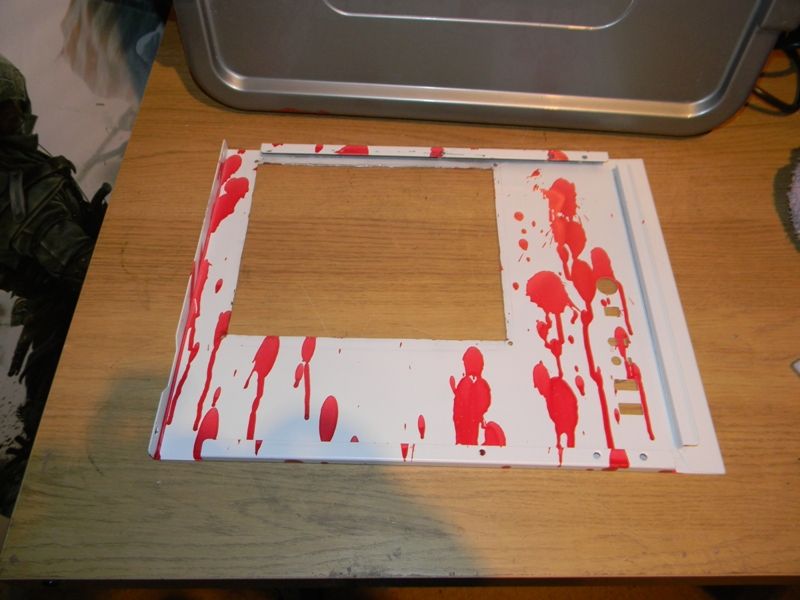
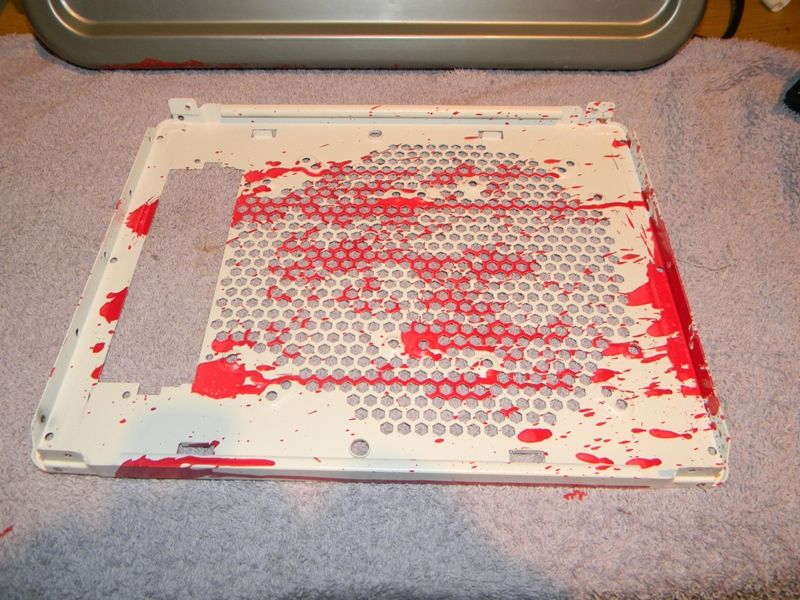
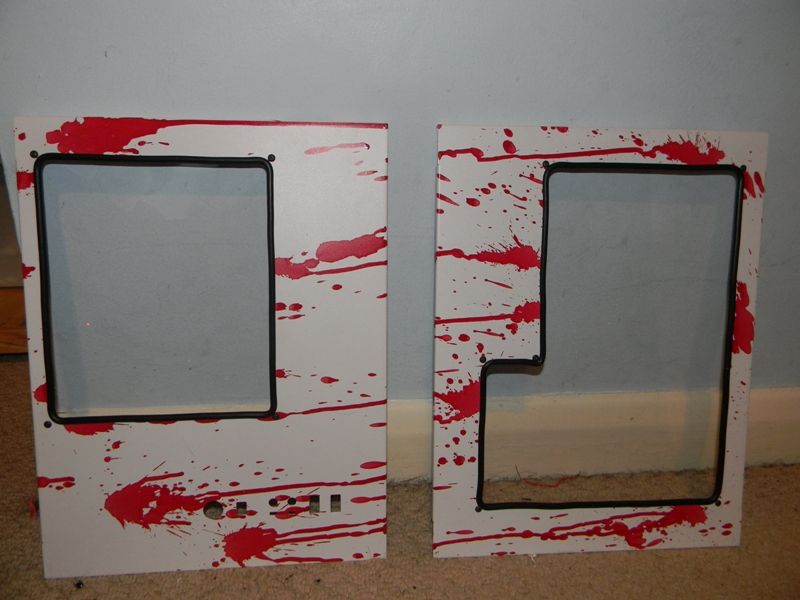
The theme colours are Red White and Black. I decided midway through the project to go for a blood splatter effect. I saw some ideas on ways to do this on YouTube but didnt seem to give the effect I wanted. Someone on here suggested to use a syringe which got me thinking!

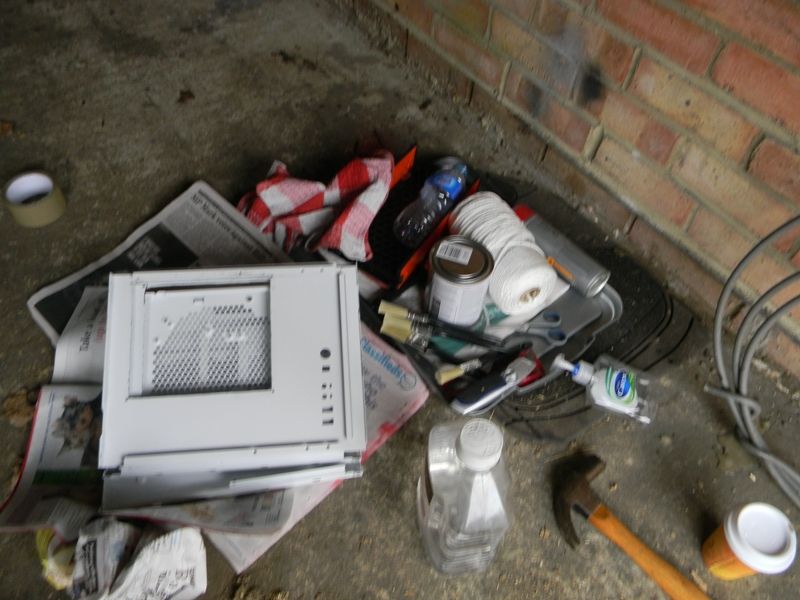
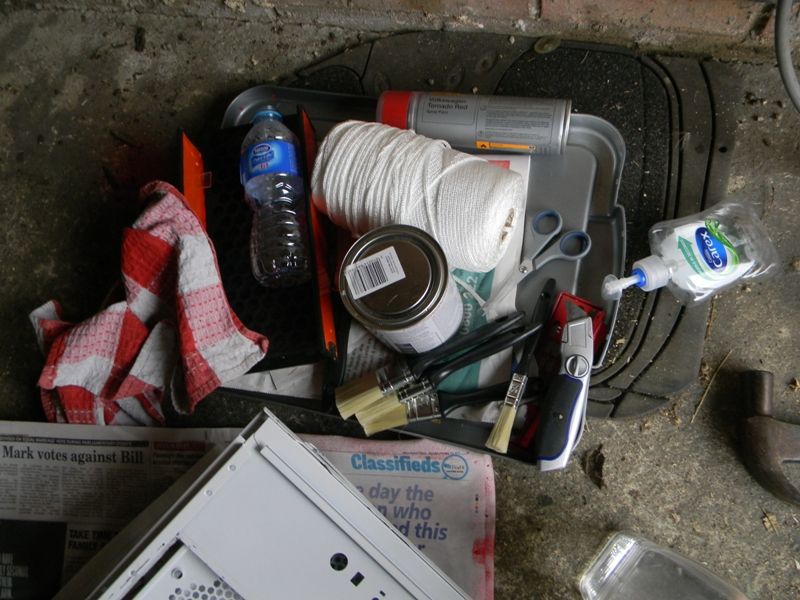
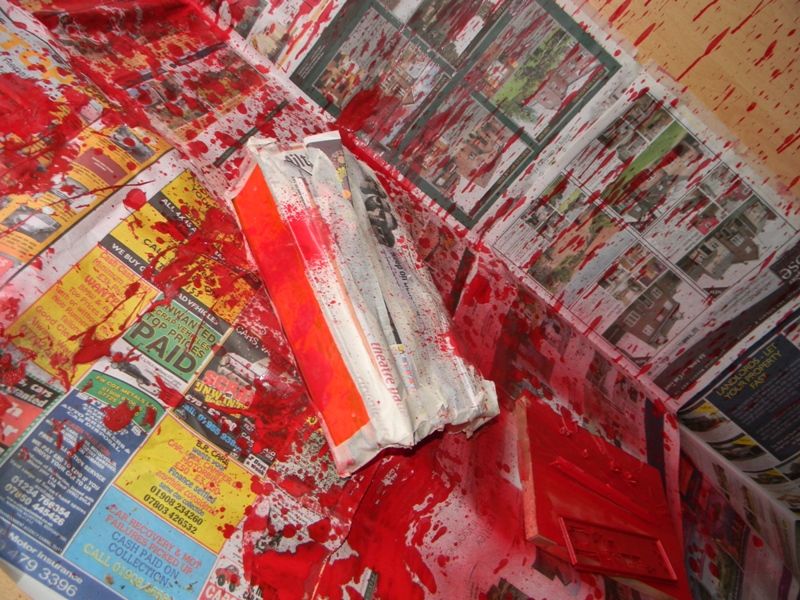
So the paint I ended up using was spray paint into a soap dispenser! worked out ok actaully! Could have been a lot better if I had taken some more time with it and thought out alittle more about the gravity of the blood spill


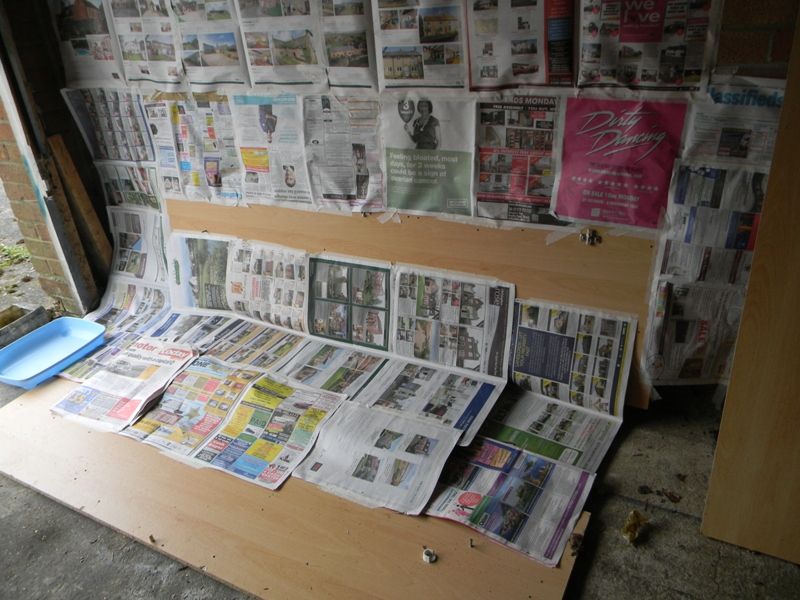
First I needed a space to work, soooo I newspapered off 40% of my garage!
DSCN2472.jpg


My tools I used, including my trusty handwash soap dispenser!
DSCN2478.jpg

DSCN2479.jpg


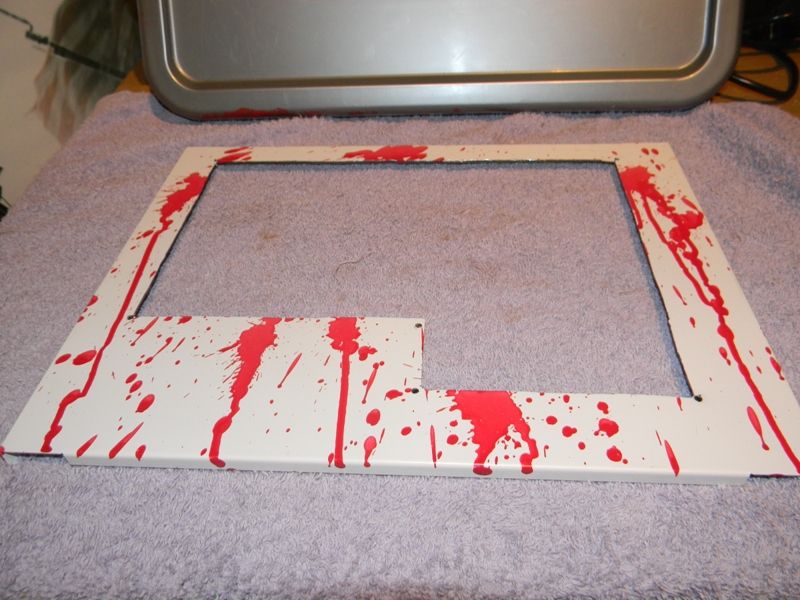
Panels blood splattered and left to dry
DSCN2481.jpg

DSCN2488.jpg

DSCN2492.jpg

DSCN2492.jpg


A few hours later (should have left it a bit longer but luckily I didn't smudge anything.

Left side Panel
DSCN2503.jpg

DSCN2507.jpg


Right Side Panel
DSCN2500.jpg

DSCN2502.jpg


Front Panel
DSCN2526.jpg

DSCN2529.jpg


Rear Panel
DSCN2522.jpg

DSCN2519.jpg


Top Panel
DSCN2515.jpg

DSCN2517.jpg


Bottom Panel
DSCN2535.jpg

DSCN2532.jpg


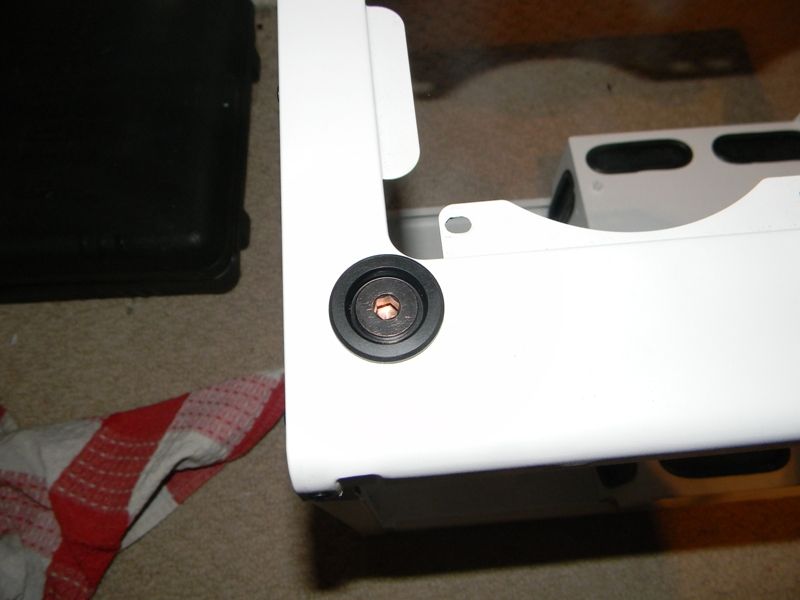
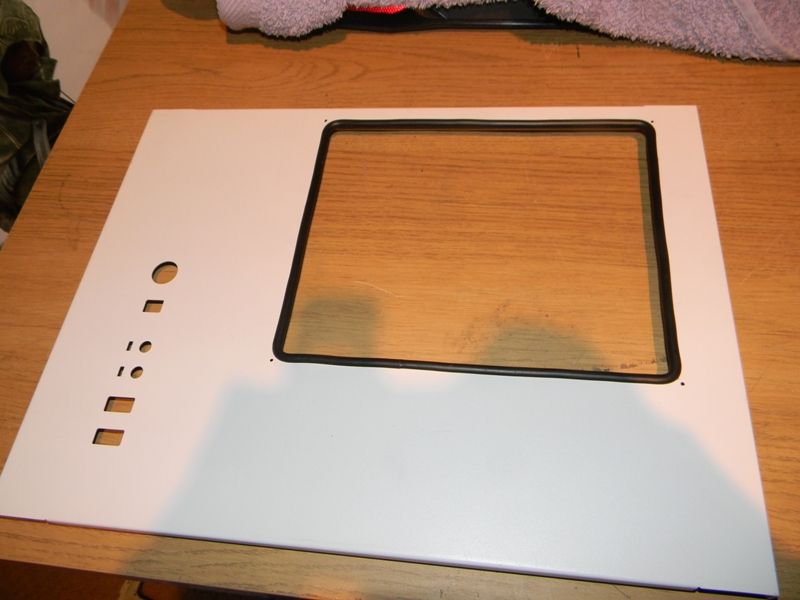
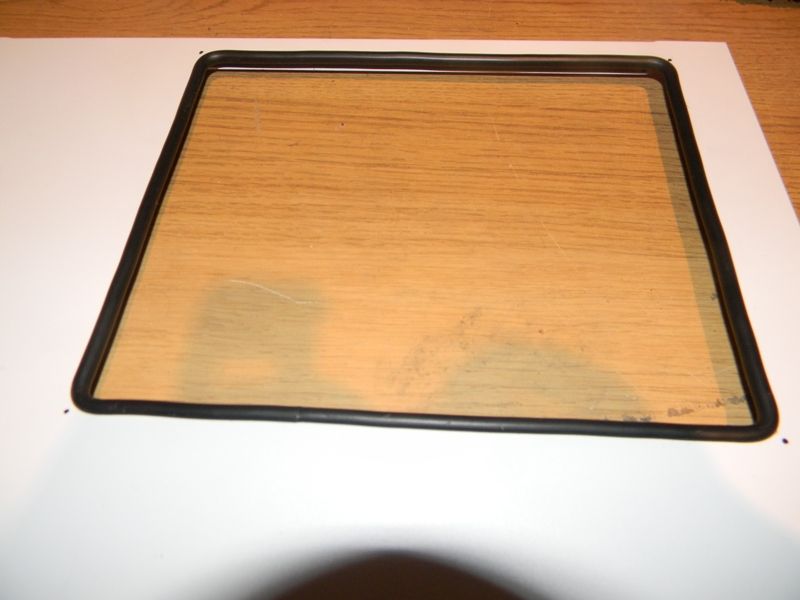
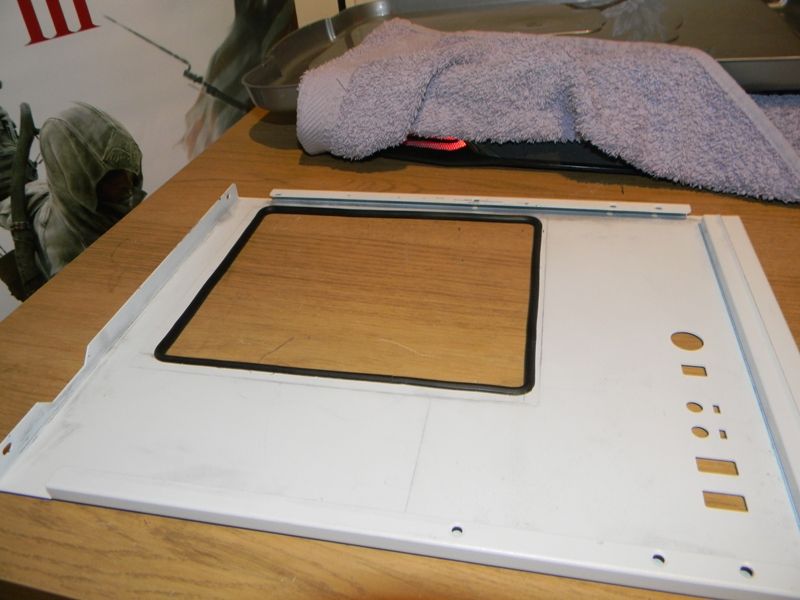
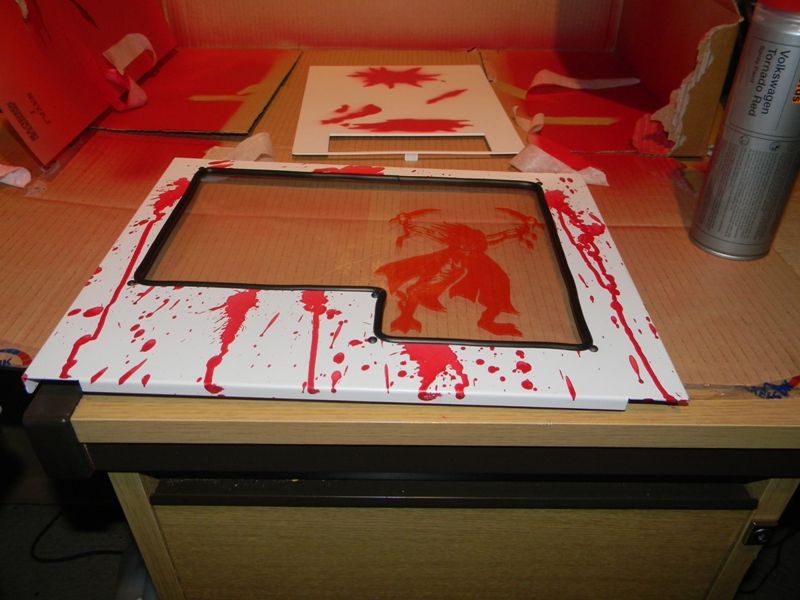
I needed to put the PSU feet onto the bottom panel and the trim and windows back on the Side Panels. I also cut a clear panel for the right side panel after realizing that the left side panel will mostly be blocked by the Graphics card!

DSCN2540.jpg

DSCN2510.jpg


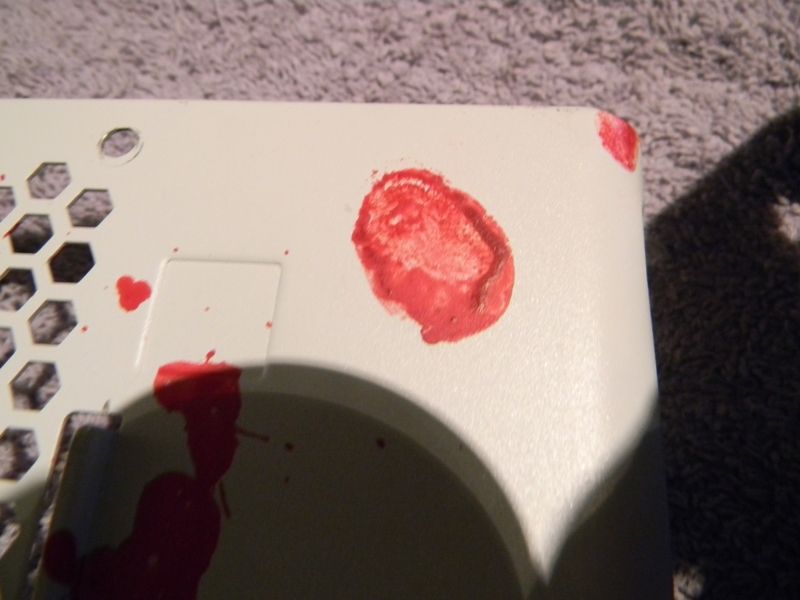
I put my thumb Print on the bottom of the case. Might as well while my hands were covered in Red Spray paint!!!
DSCN2538.jpg


Put the case back together for the third time now!
DSCN2549-Copy.jpg


Attached the HDD Mounts
DSCN2556.jpg


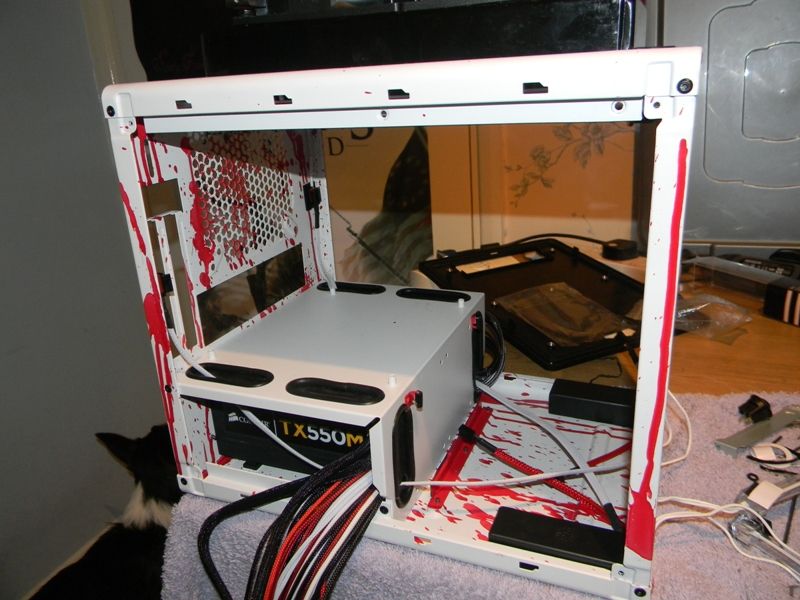
Started the Build!

PSU In
DSCN2558.jpg


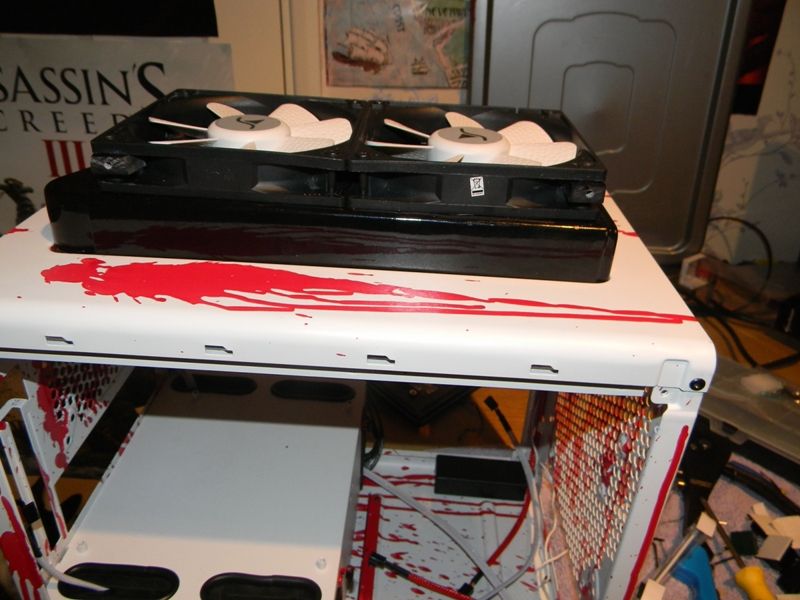
Top Raidator On
DSCN2560.jpg


Fan wiring nicely tucked along the edges!
DSCN2561.jpg

DSCN2566.jpg


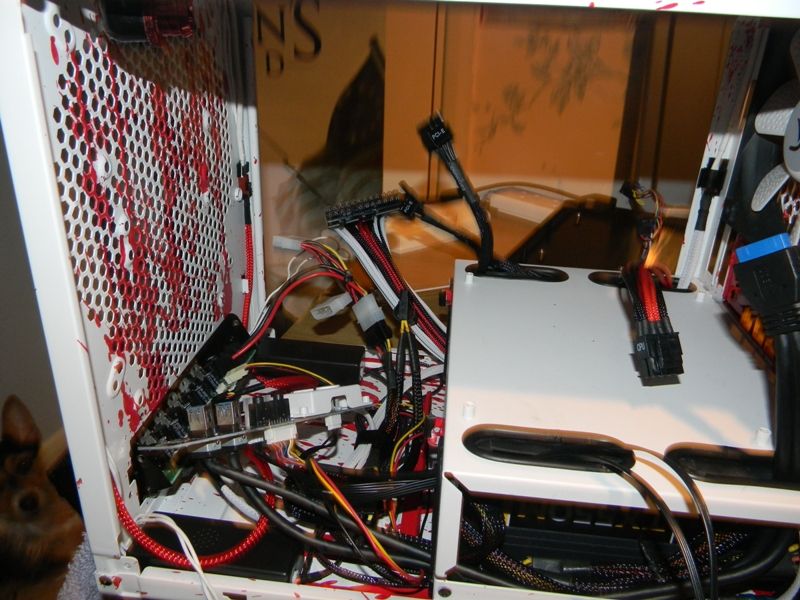
Wiring Mess!!!
DSCN2568.jpg
 
Last edited:
Things I still want to do.....


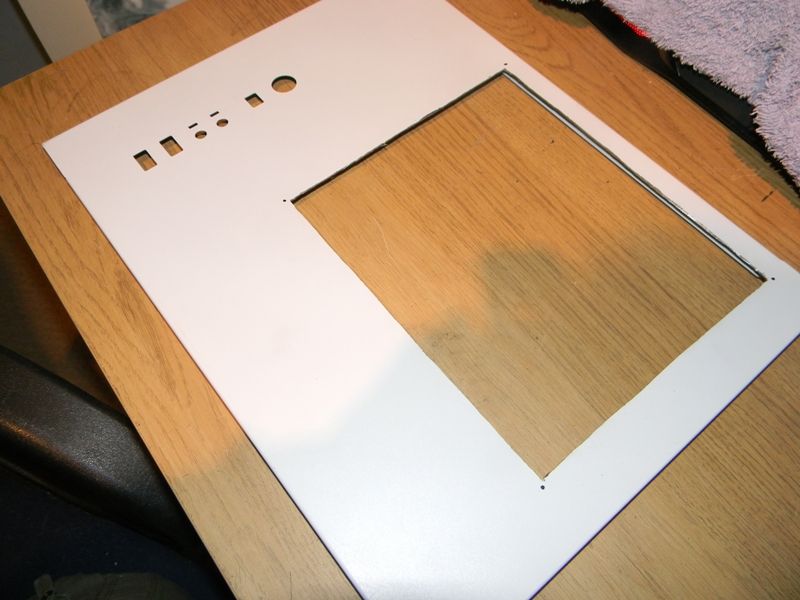
Move the Panel connectors (currently on the right side panel) to the top panel of the case just Right of the Radiator.
This would entail cutting the removable metal panel holding the IO controls to be shorter and likely more narrow. I would need to increase the size of the window on the Right Panel so the cutout for the I/O controls are removed. I would also use this as the face for the controls on the top of the case. Reason being, I would never be able to cut anything nearly as nice and tidy as the already cut power/reset/usb holes already cut.
This would be take some time to get the dimensions perfect really and might be something I do in V2.

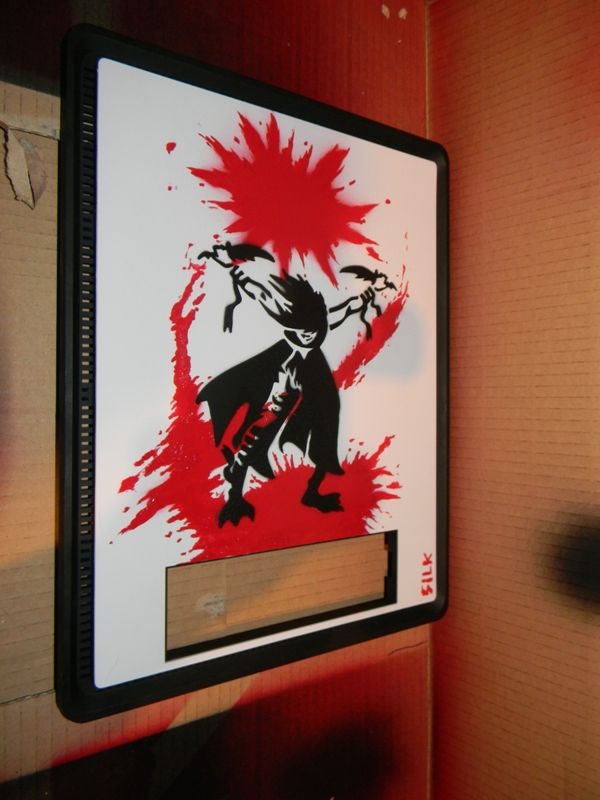
Front Plastic Cover. Currently it is a plain white. I am going to get something drawn/painted on here. My Artistic skills are massively lacking so I will have to wait until I can get someone talented to do this. I am torn between a girl with pigtails and daggers with some sort of mutilated monster at her feet or just a monster of some kind. Although this is mostly up to the artist that does the drawing

Stability!!
The BitFenix Prodigy comes with some nice looking white plastic stands and legs. I do like these and absolutely intend to keep them on the case. However the bottom plastic cover will not support the weight of this completed watercooled project. Or at least I do not think so!!! anyone?
So I am either going to attach some kind of legs to this so the weight will be on the legs/feet instead of on the stock bottom plastic cover. Anyone have any suggestions?

Another Problem I am having

I have Monsoon 1/2 - 3/4 Compression fittings. I am using the best tubing I could find which is,
Primochill PrimoFlex Pro LRT 1/2" ID - 3/4" OD (13-19mm) Tubing : Clear
And it just seems impossible to use these two together, they just don't fit!!!!!

anyone have any advice suggestions????
 
Apparently the stands are really strong so you may be fine, I kinda hope you are as i am building into a prodigy with a couple of rads.

The fittings, i'd check the ID/OD of the barb part of each fitting in case the supplier has messed up, have read on another forum about an issue with them not fitting, in the end the supplier had supplied 4 out of ten fittings in the wrong size.

Thanks, So turns out the fittings just don't usually work well with Primochil tubing. I might thin the outter layer a bit just where the compression goes on. The Inner barb of the fittings seems to be snug enough that the outter cover is just a formality. Of cause I will leak test the hell out of everything first!!! :)


As for the bottom cover, I think you are right. It seems these are holding up all kinds of other watercooling projects with the same weight or even more weight than I would have so I am not too concerned about this anymore!! :)
 
Last edited:
solemn looking great!
your dremel skills are...interesting...:D

a tip for you re: the red cathodes (LED strip from 3M is fairly diffuse btw)

If you have a model shop nearby, they should have a supply of transparent heat-shrink film used to cover the balsa models, usually sold by the meter so probs looking at £5-6.

I used to have a thread on another forum, can't find it now, where I wrapped the length of the cathode tube in two or so layers and taped it together, it made the cathode actually emit red light!
Or maybe buy a white cathode and wrap it


Haha yes my skills with the Dremel are lacking! But with the Trim it isn't sooo bad, but still not spot on either :(

As for the cathodes.. you were right on. Looks very very Pink :( So I have ordered some Crimson vinyl that would go on car headlights hopefully it will help with it.

I have built the system and had a few leaks which I have fixed. It's looking pretty good. Still have a few bits I need to add, like the cathodes made RED! And also with the bottom stand it seems to wobble allot under the weight. so am thinking about some solutions for this.
 
Practice makes perfect, so they say.
I think you have been very courageous with this build.

I had gotten slow better with it as I went on but that didn't help much for the panels I already cut jagged!

It was all going so well until you decided on the blood spatter... :(
Awww, I really like it, think it came out quite a bit better than I thought it would actaully :P

you case reminds me of certain scenes from Dexter!

I did initially have Dexter in mind when i thought about the blood splatter effect! Ta!
 
It makes me think of Kill Bill. ;) :)

Awesome Movie, will take that as a big complement!
Looks very good i wana see it finished! Them dremel skills tho :/ Cant say im much better mind you
Haha, yes yes the Dremel skills are lacking! :P The trim helps with it esp if you are looking at it from a Great Distance :P

aww I feel bad, we're all being really mean about the dremel-ing

props to you for having the balls (ovaries!) to cut up your case and paint it, its looking good keep going

Thanks. It was my first time using a Dremel so I still have allot to learn but it was more of a practice project anyway so I dont mind that its not perfect. Ta for the encouragement :)
 
Another Big Update
DSCN2749.jpg


So I have built the system and completed allot of the things that needed doing.
First I will go through the few extra mods I have had to do.


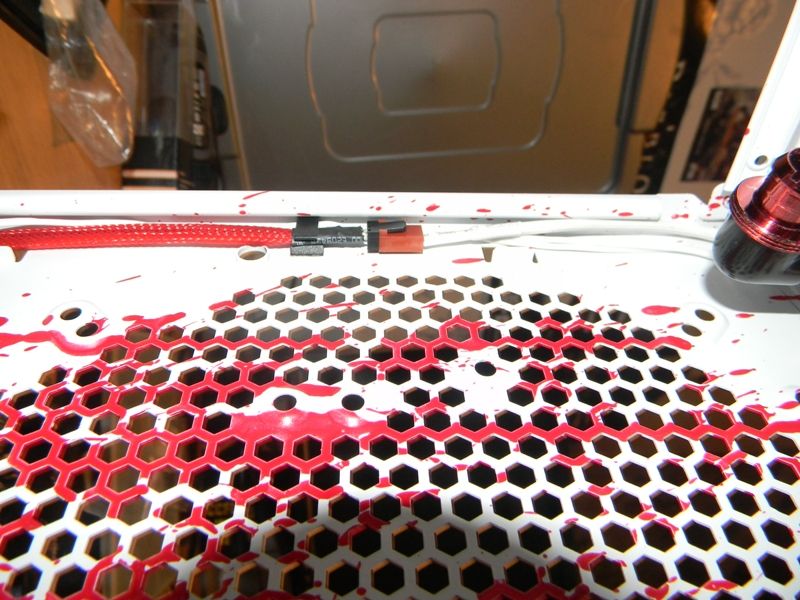
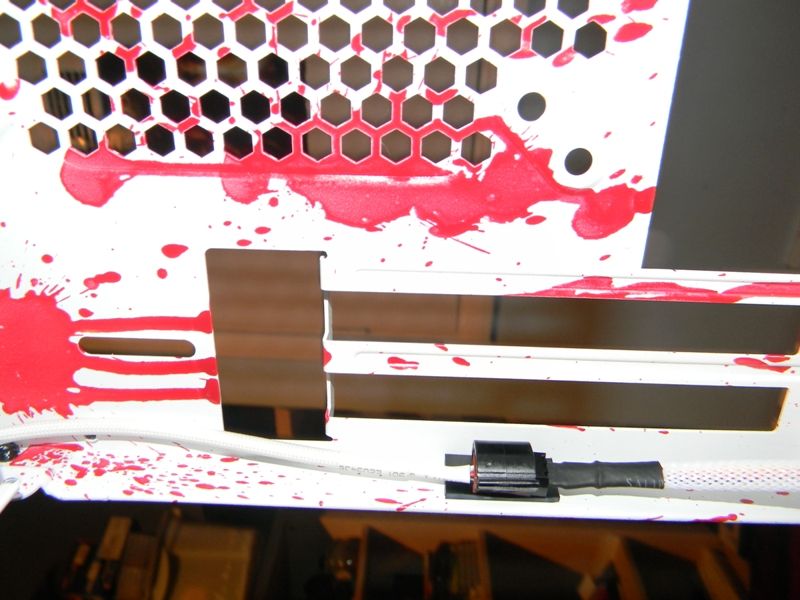
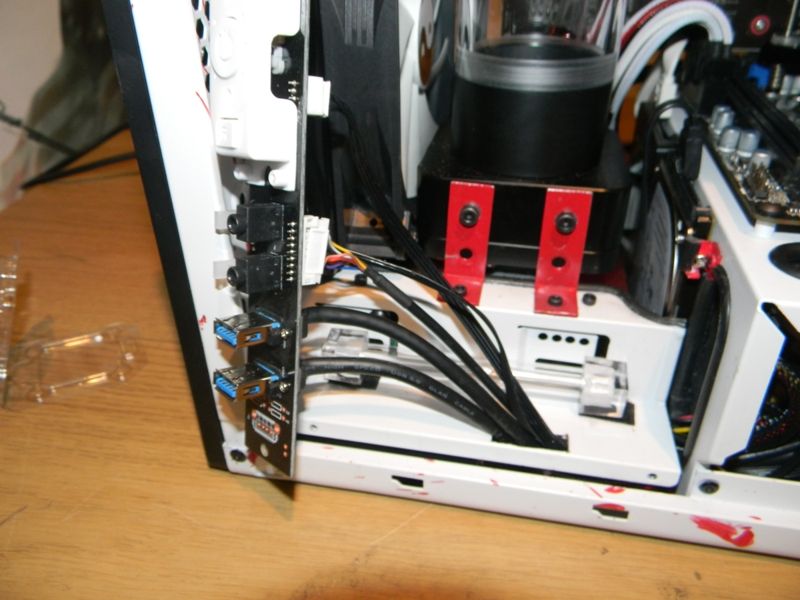
Side Panel I/O
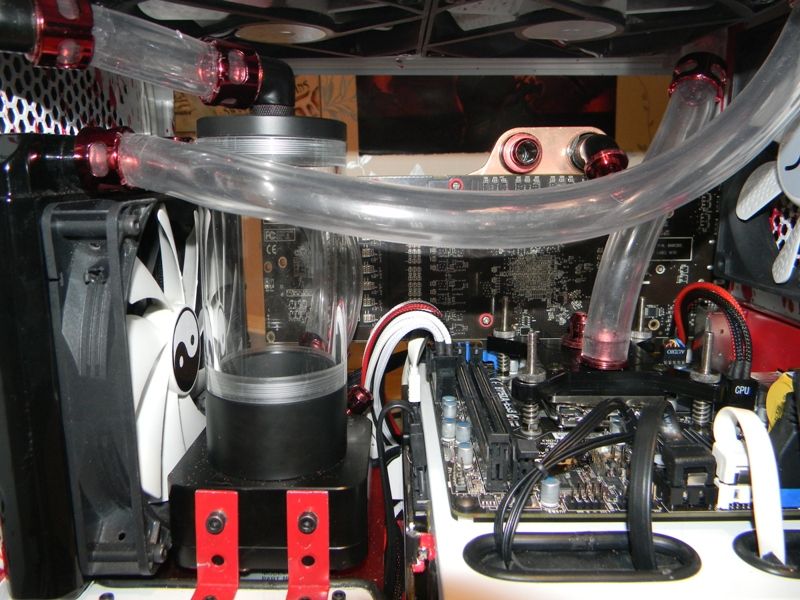
To Allow the IO cables to remain mostly hidden I needed dremel(lol) a small hole in the Fan Cage.

DSCN2617.jpg


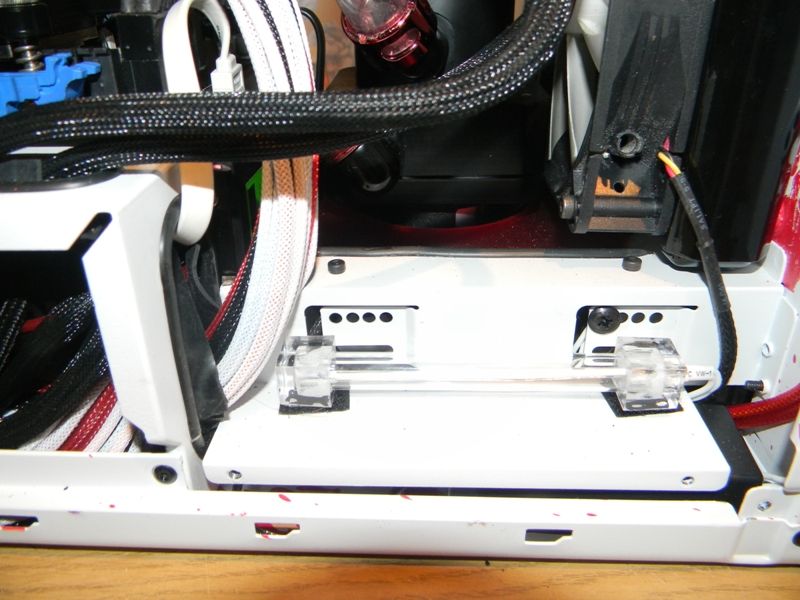
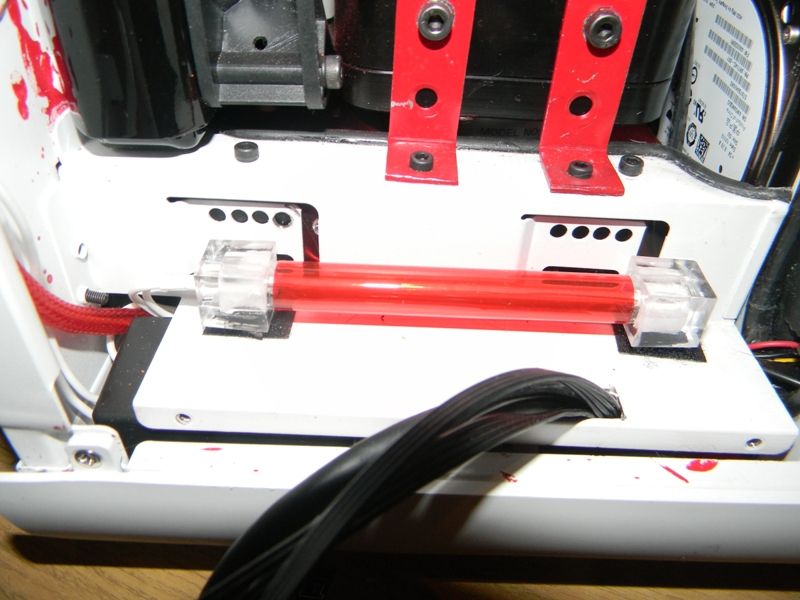
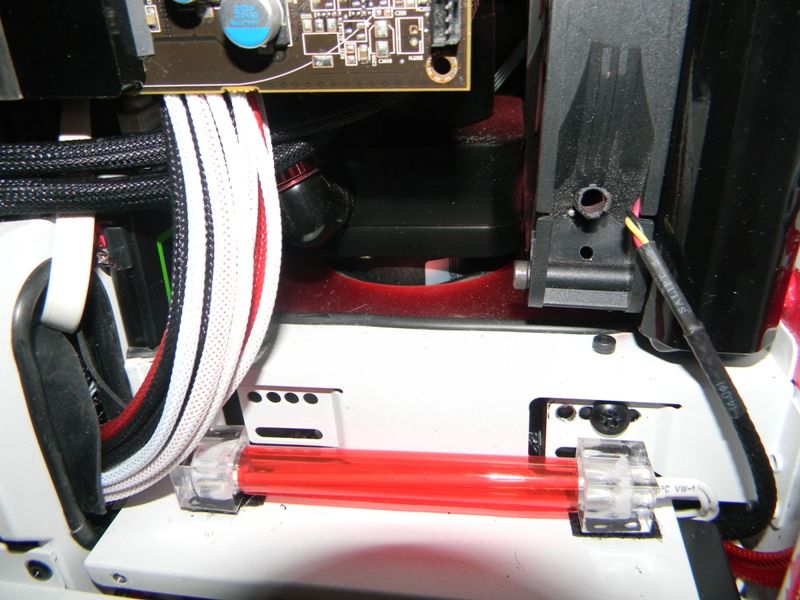
Cathodes.
As previously mentioned there was a chance the cathodes might not be true red. After building the system I was mortified to discover not only were the cathodes not Red but they were an awful pink! I found some Vinyl used to give car headlights a colour look and decided to give this a try. It have massively helped but I will be putting another layer on before there will be pictures of the final colour!

DSCN2605.jpg

DSCN2675.jpg


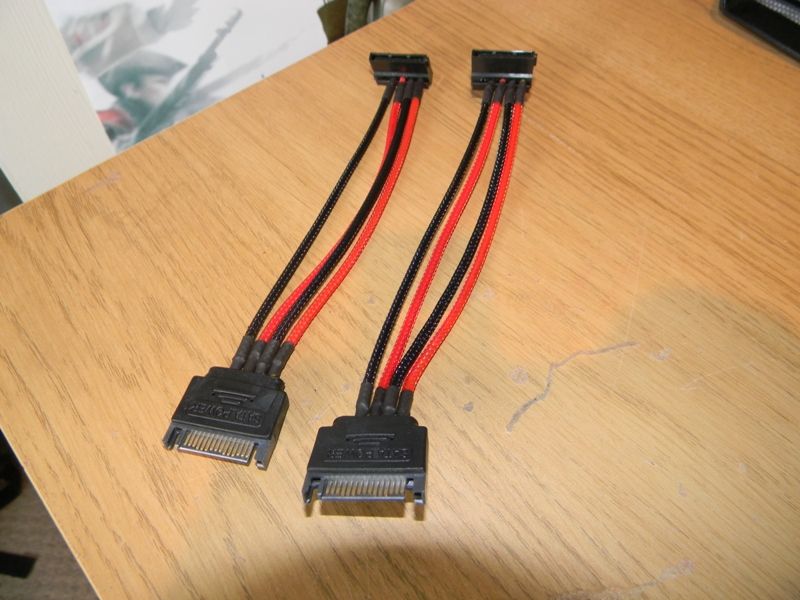
HDD Power.
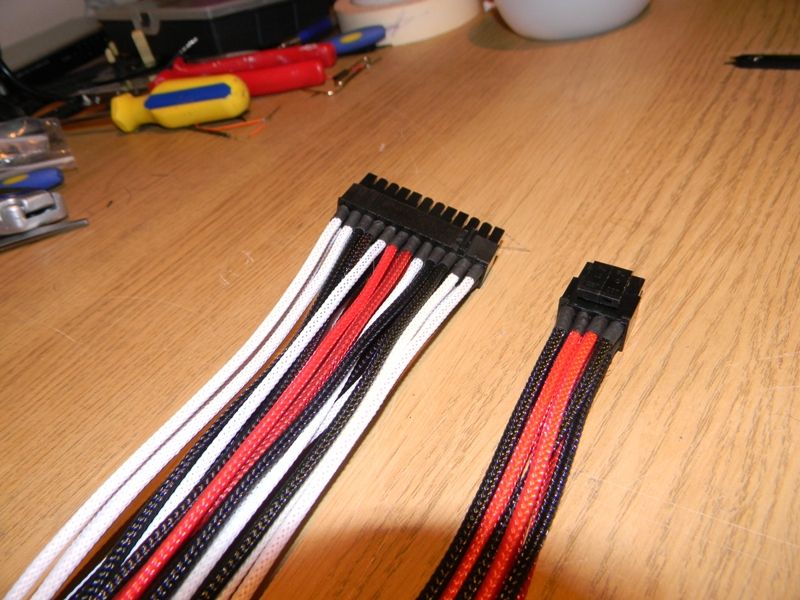
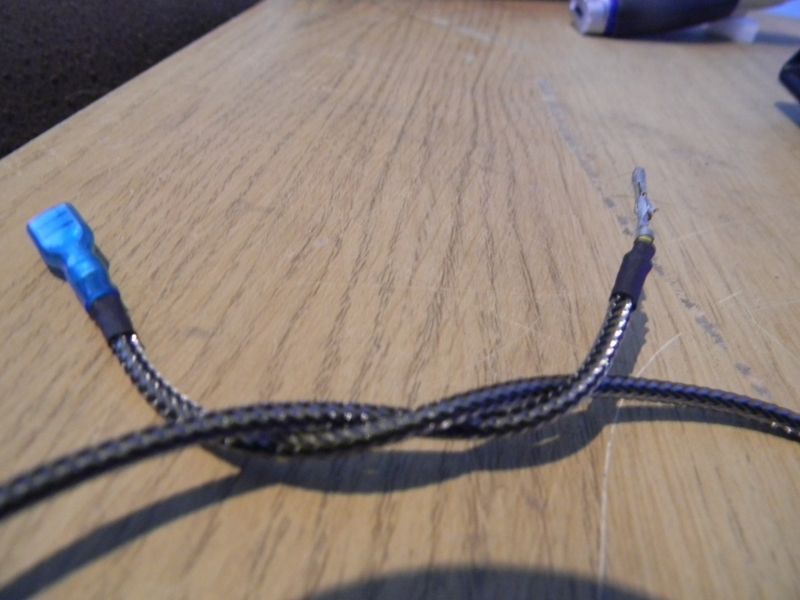
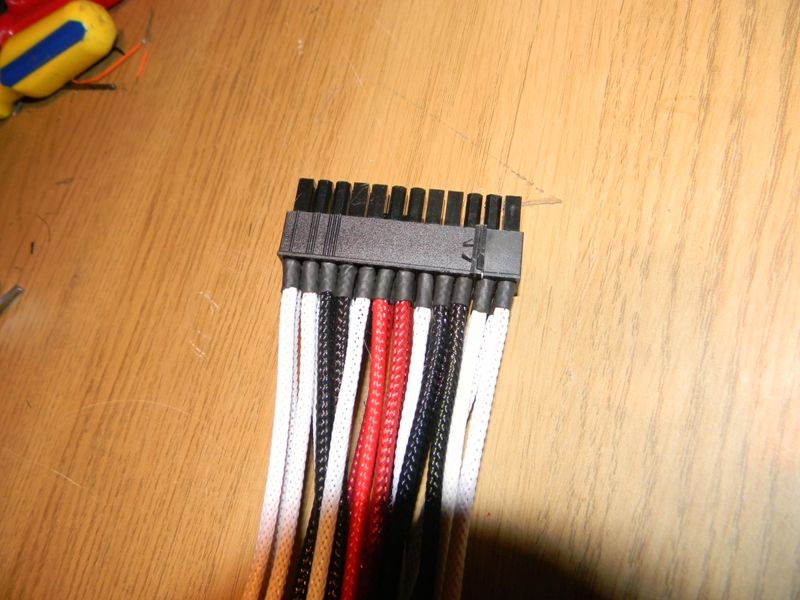
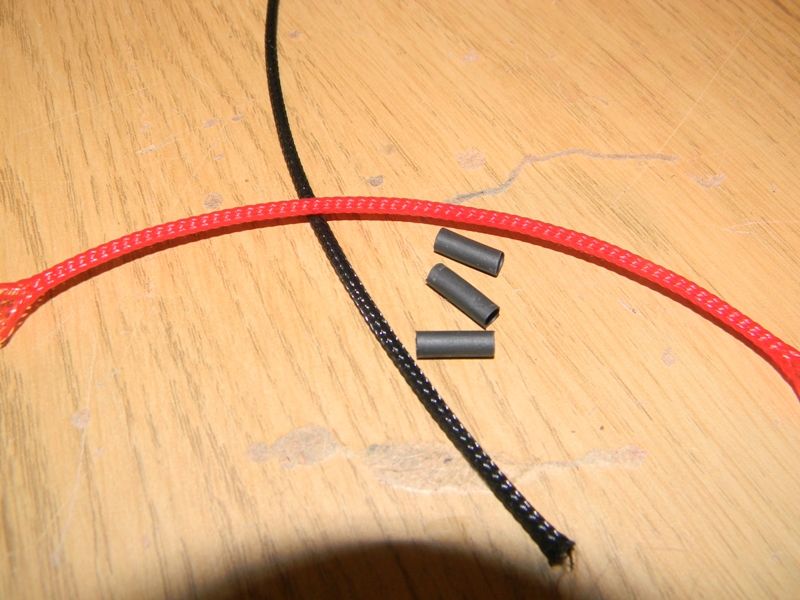
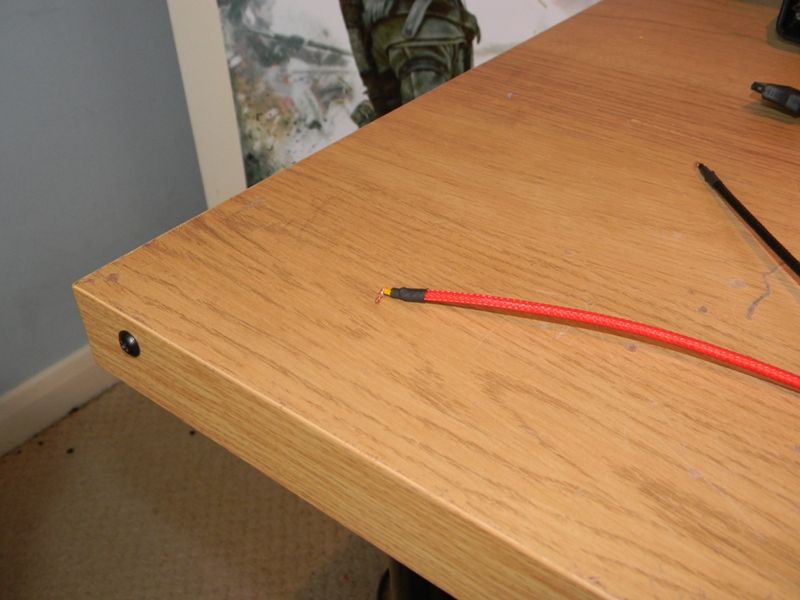
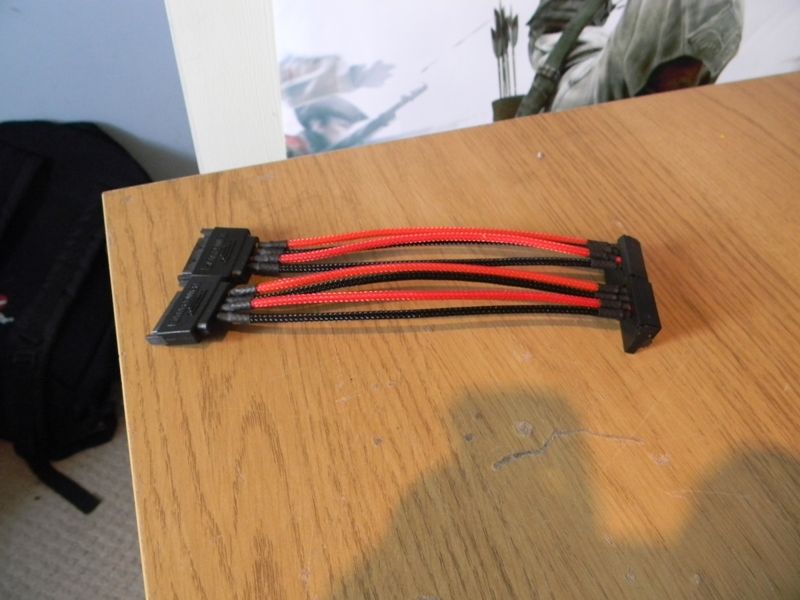
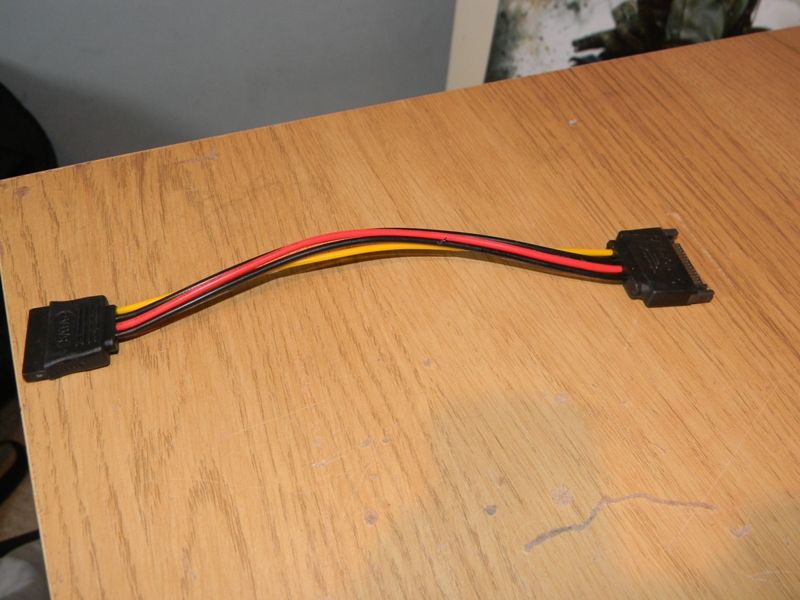
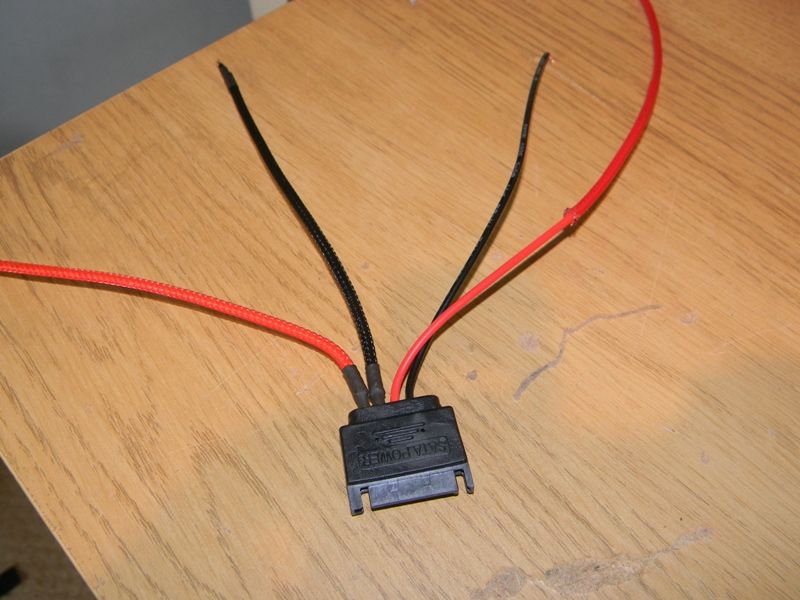
I needed to get some extensions for the Sata power for the two HDDs. Order some of the cabling from China (by mistake! again..) and so had been waiting a while before I got them. After the finally arrived I did a bit of braiding and so now they don't look so bad :)

DSCN2622.jpg

DSCN2620.jpg

DSCN2628.jpg

DSCN2632.jpg

DSCN2635.jpg

DSCN2641.jpg


Front Cover
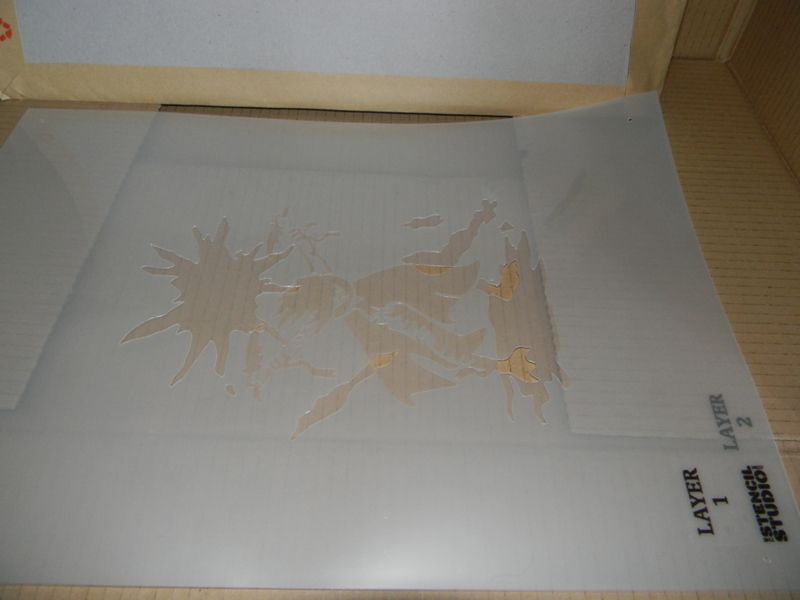
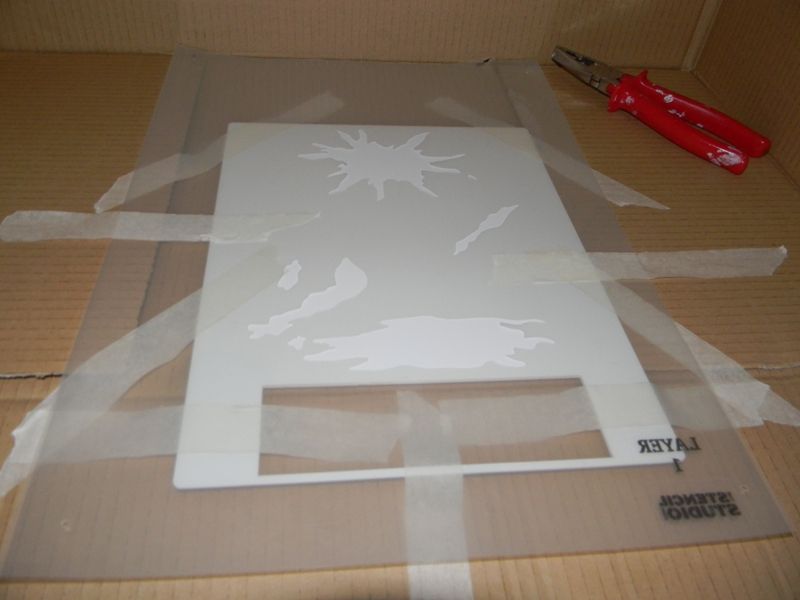
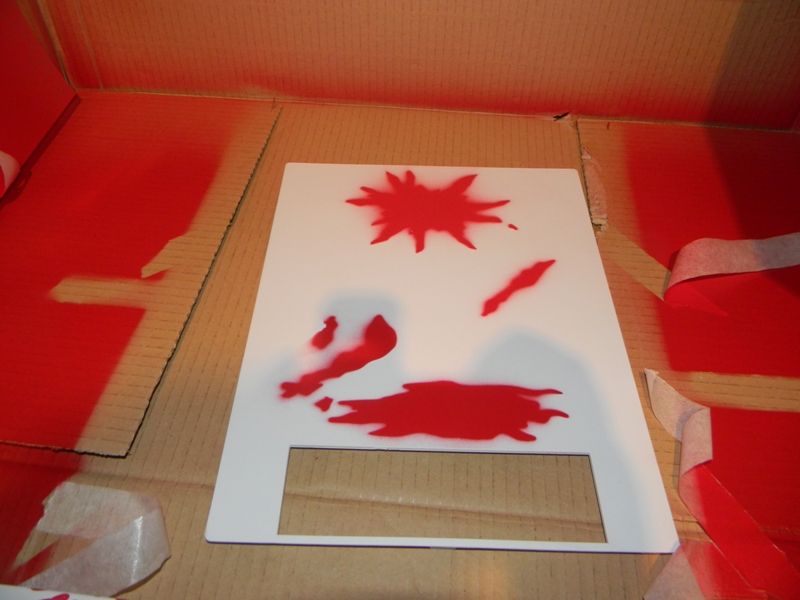
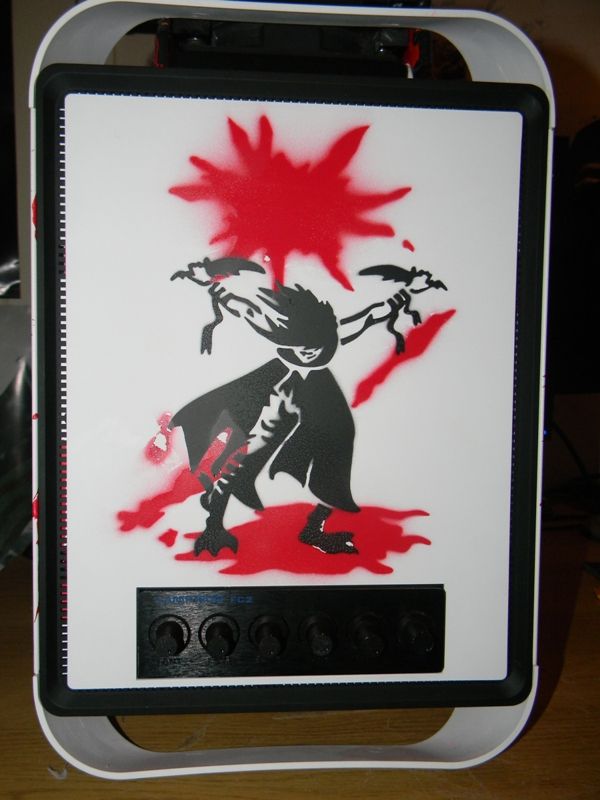
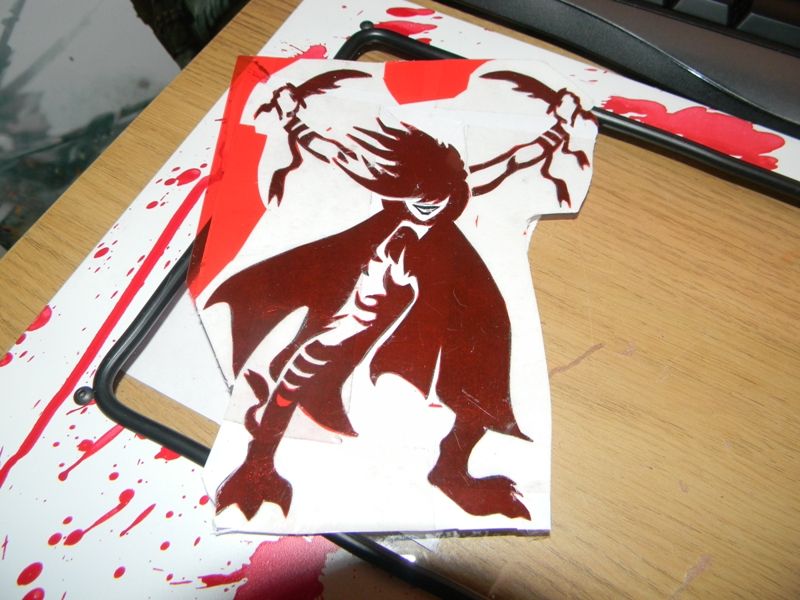
Got the other half to digitally draw me something to put on the front of the cage. Ended up being a kick a$$ warrior woman with two dagger! Got some Stencils designed with this to spray on the front of the case. Unfortunately The Spraying didn't turn out as well as I would have liked. Mostly because I didn't do enough research on how to spray this correctly. So I may order another front panel and have an attempt number two in the future but for now, the Other half touched it up a bit for me so looking not half bad!

DSCN2644.jpg

DSCN2647.jpg

DSCN2649.jpg

DSCN2654.jpg

DSCN2661.jpg

DSCN2693.jpg


After some touch ups!
DSCN2785.jpg


Window Left Side Panel
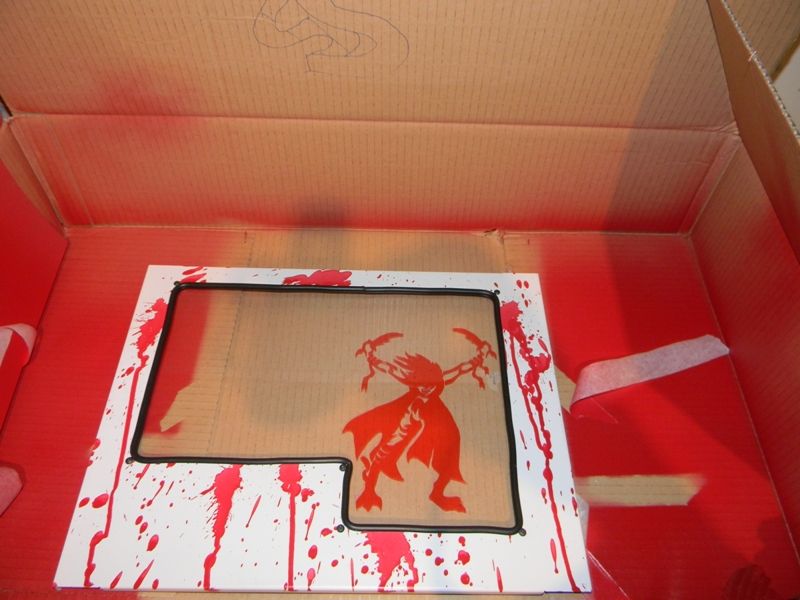
Using the same red vinyl I decided to cut out the same woman warrior and put it onto the side panel window. I was very happy with cutting out the shape, think it turned out very well considering how bad my dremel Skills are!!! hehe.

DSCN2658.jpg

DSCN2666.jpg

DSCN2659.jpg


The Build.... In Progress
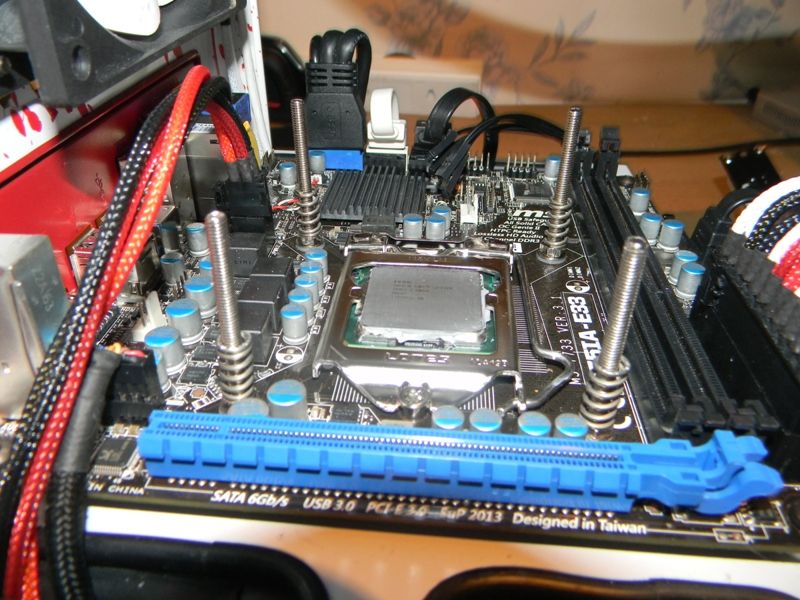
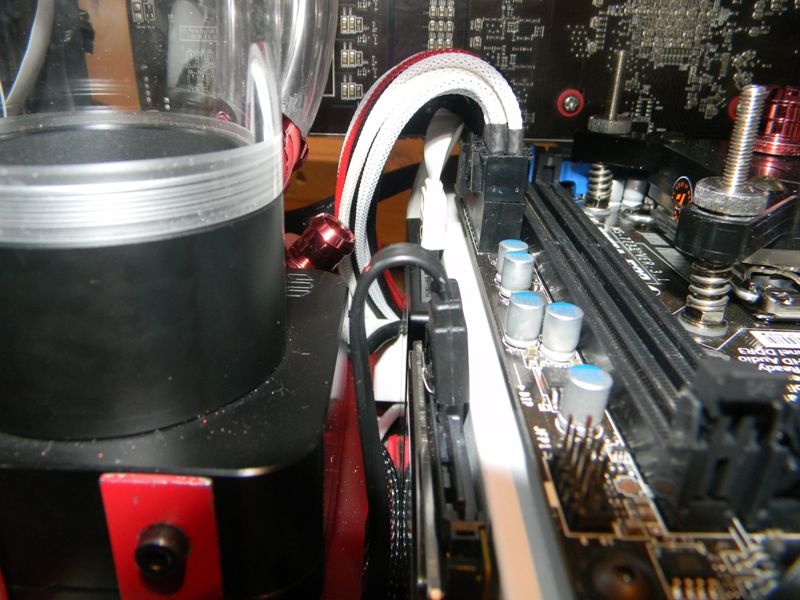
Putting the system together before adding any water. Afterwards I used just some Di-ionized water from Halfords. Found I had some leaks and in one case needed to use a double rubber seal to fix it!

DSCN2588.jpg

DSCN2591.jpg

DSCN2593.jpg


DSCN2595.jpg

DSCN2599.jpg

DSCN2601.jpg

DSCN2602.jpg

DSCN2603.jpg

DSCN2608.jpg

DSCN2611.jpg

DSCN2612.jpg

DSCN2619.jpg


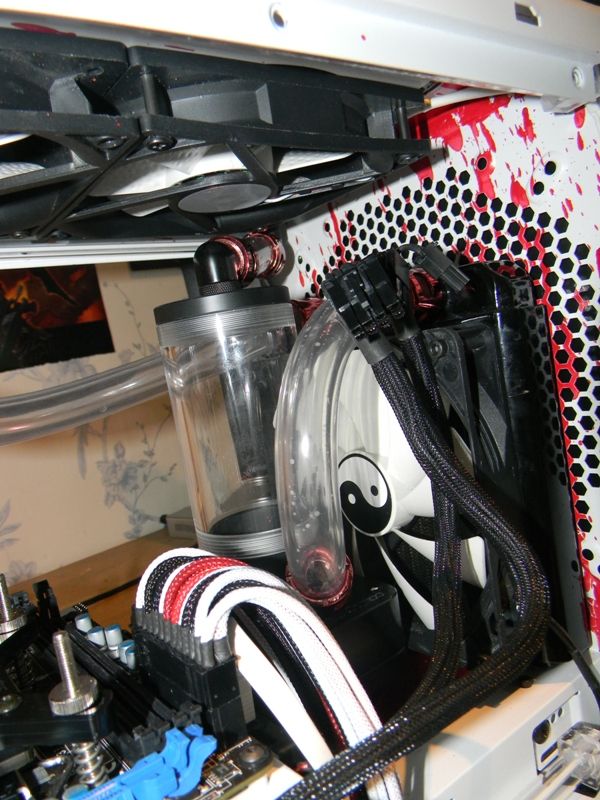
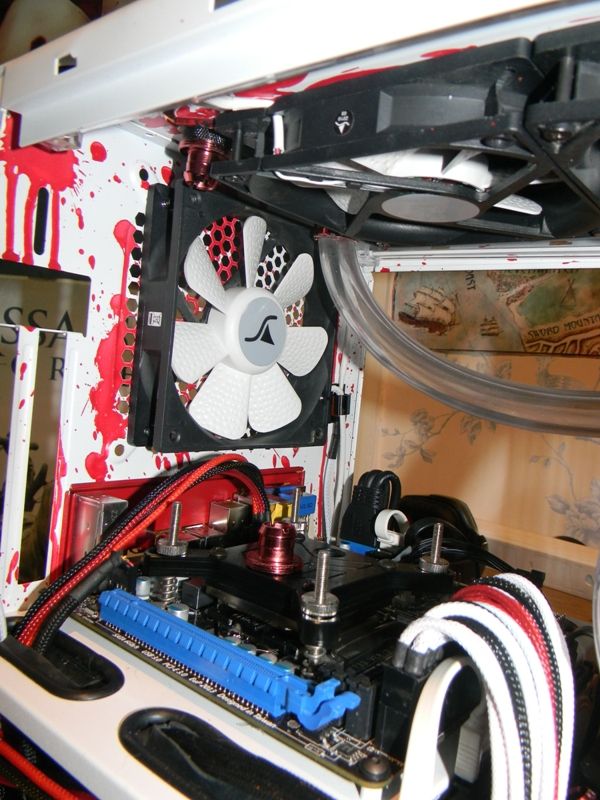
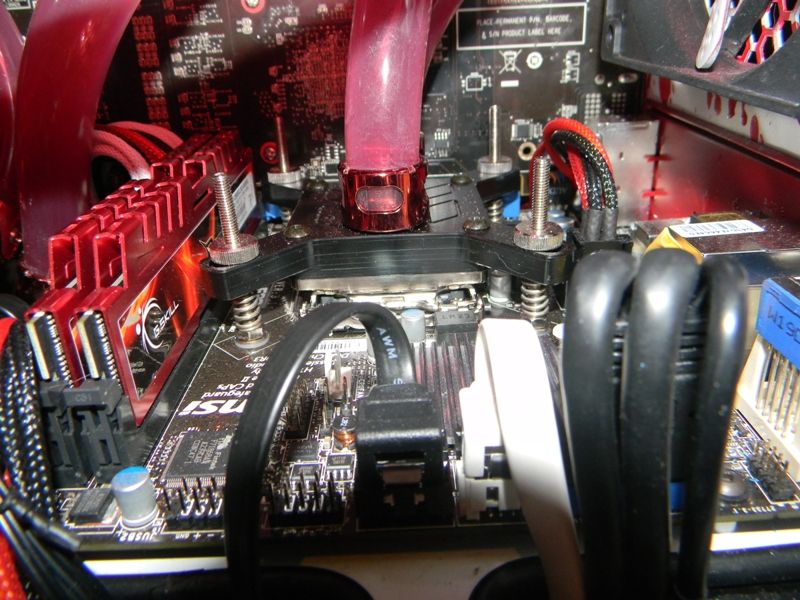
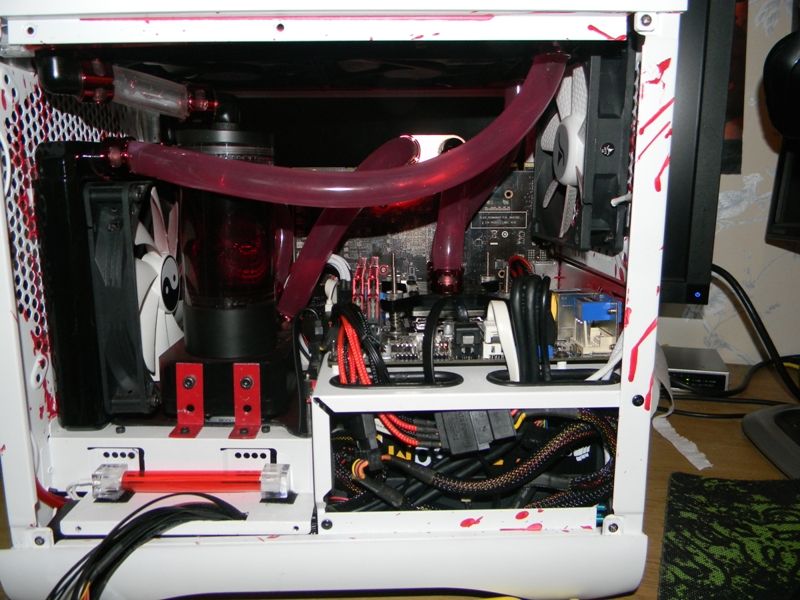
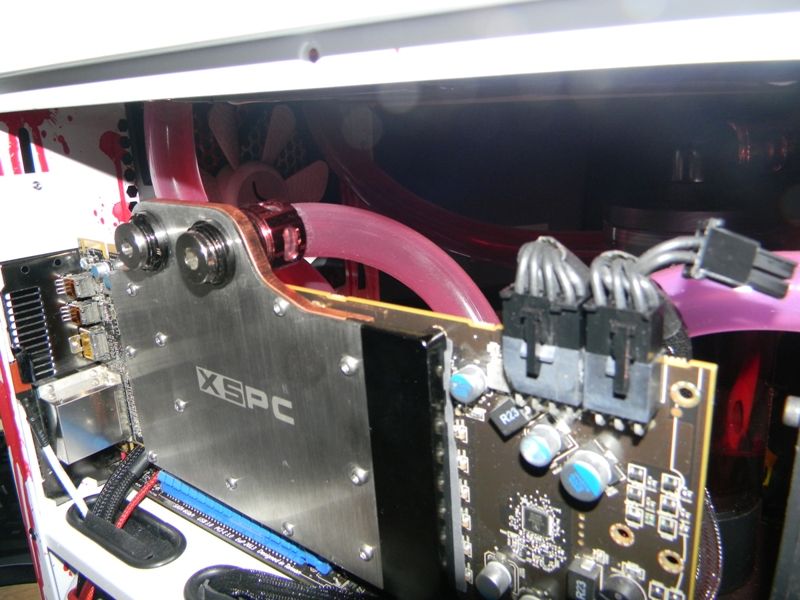
The Build.... Complete
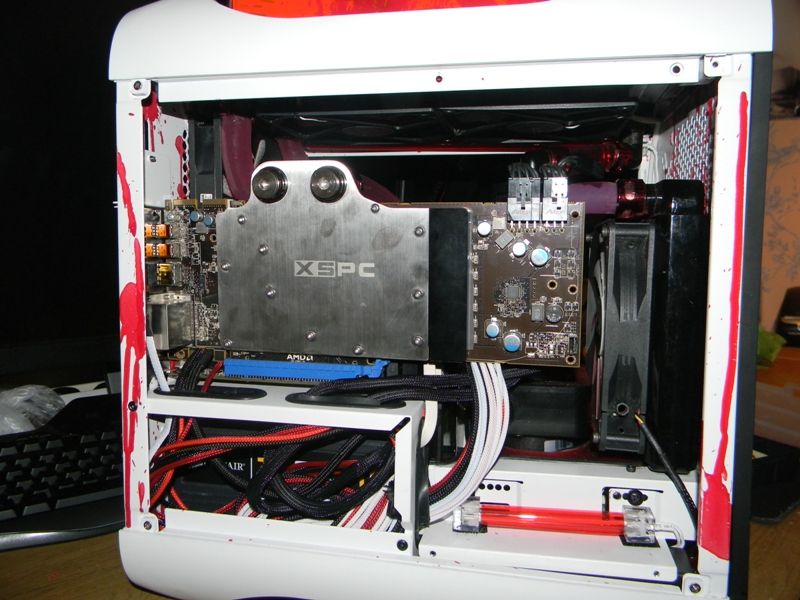
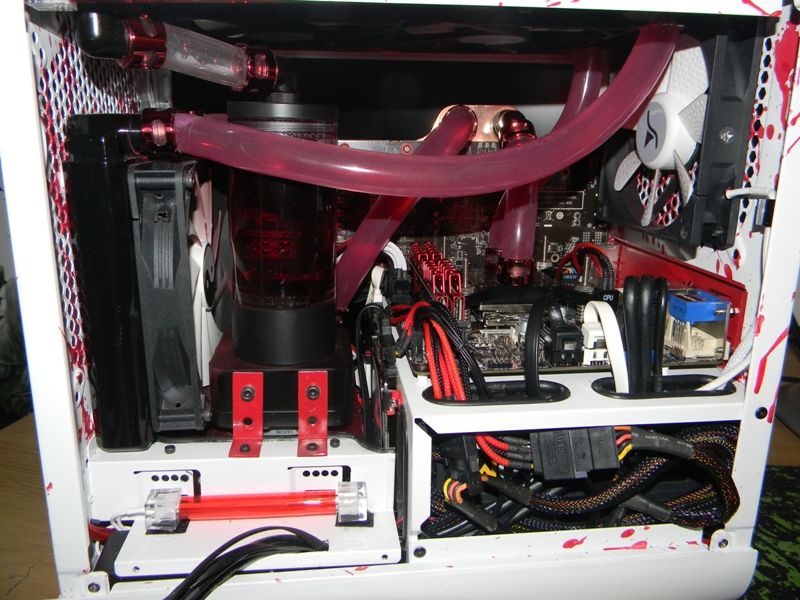
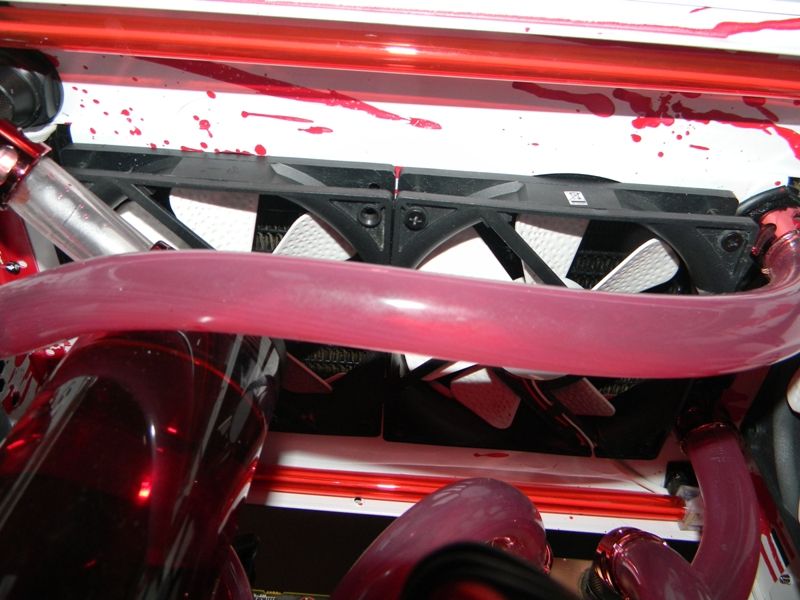
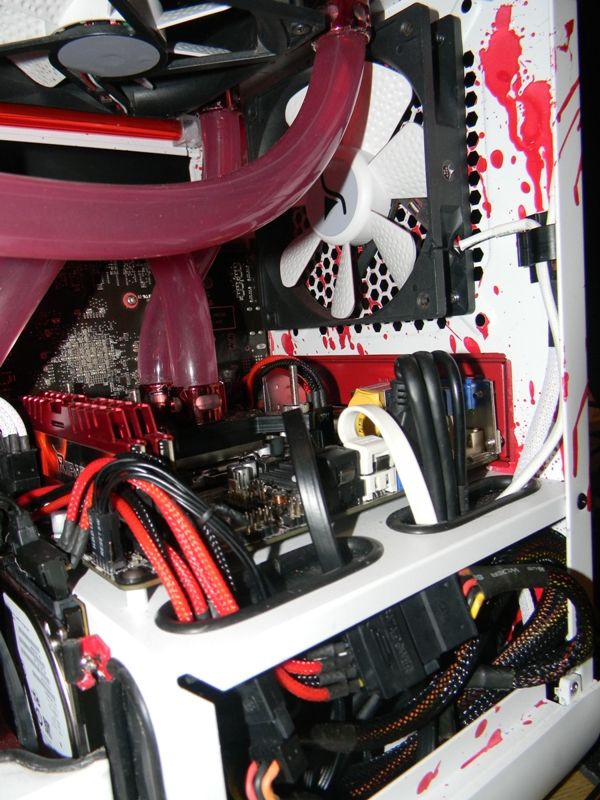
Added some Blood Red Coolant! and looking quite good.

DSCN2667.jpg

DSCN2672.jpg

DSCN2678.jpg

DSCN2680.jpg

DSCN2684.jpg

DSCN2686.jpg

DSCN2687.jpg

DSCN2689.jpg


Things to come!
I will get some pictures up with the side panels on hopefully tonight or tomorrow. As well as with the new and improved front panel. I will also double up on the vinyl on the cathodes to get an even redder glow and get some pictures of the lights. Unfortunately the Fan controller has blue LEDs and I am not sure how to successfully change these. So for now I have covered the leds with my Red Vinyl and am hoping that it will at very least give a purple glow instead of blue, I haven't tested this yet but will get some pictures up tonight hopefully!


Thanks for looking.
 
Last edited:
Back
Top Bottom