Finished pics here: http://forums.overclockers.co.uk/showpost.php?p=27185895&postcount=155
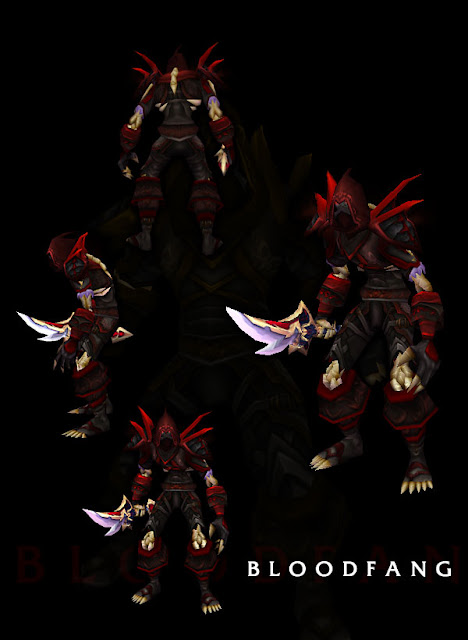
Anyway, now its time for a new build, so, as you WoW players will recall, rogue tier 2 armor, black and dark red, sexy! I know the whole, red black thing is a bit cliche nowdays with ROG, but its something I wanted to do for a looong time... so that is the basis of this build, dark red and black.

Unfortunately, helper rabbit is no longer with us, so this will be the first extreme build without her i've done, since i'm now going to have to collect screwdrivers on my own, decided to give her a mention .
.

Without further adue, onto the build!
Case Assembly
An extreme build needs an extreme case. Unfortunately, theres only one company who produce such cases, Case Labs. A few weeks back I took delivery of a rather... huge box...

So lets put it together!
Central divide with top and bottom chamber seperators

Add the back plate on

The top and bottom frames


Time to add the front...


Lets add some drive cages, and an IO panel

Slot the motherboard tray and adjust the runners to make it nice and firm...

Add the back panel.

Time for some sides

Sexy....

Add some top and bottom chamber covers

And finally the front cover...

All done! For now...


Anyway, now its time for a new build, so, as you WoW players will recall, rogue tier 2 armor, black and dark red, sexy! I know the whole, red black thing is a bit cliche nowdays with ROG, but its something I wanted to do for a looong time... so that is the basis of this build, dark red and black.

Unfortunately, helper rabbit is no longer with us, so this will be the first extreme build without her i've done, since i'm now going to have to collect screwdrivers on my own, decided to give her a mention
 .
.Without further adue, onto the build!
Case Assembly
An extreme build needs an extreme case. Unfortunately, theres only one company who produce such cases, Case Labs. A few weeks back I took delivery of a rather... huge box...

So lets put it together!
Central divide with top and bottom chamber seperators
Add the back plate on
The top and bottom frames
Time to add the front...
Lets add some drive cages, and an IO panel
Slot the motherboard tray and adjust the runners to make it nice and firm...
Add the back panel.
Time for some sides
Sexy....
Add some top and bottom chamber covers
And finally the front cover...
All done! For now...
Last edited:


 My missus would shoot me if I brought one of those home!

