Project/build log - Bankrupt Me

Well it all appears to have gone well(touch wood) system back up and running, damn its so quiet now, the build wasnt without problems but got there in the end.
time for a cuppa and some Dexter, will do a write up on this phase of the build tomorrow, along with plenty photos, just dont have the energy or focus just now.
 
Ok so, yesterday was quite an experience... nothing ever goes easy.
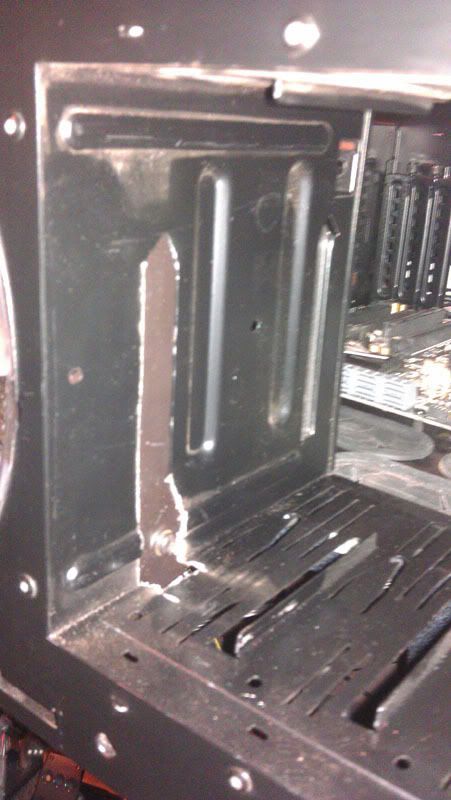
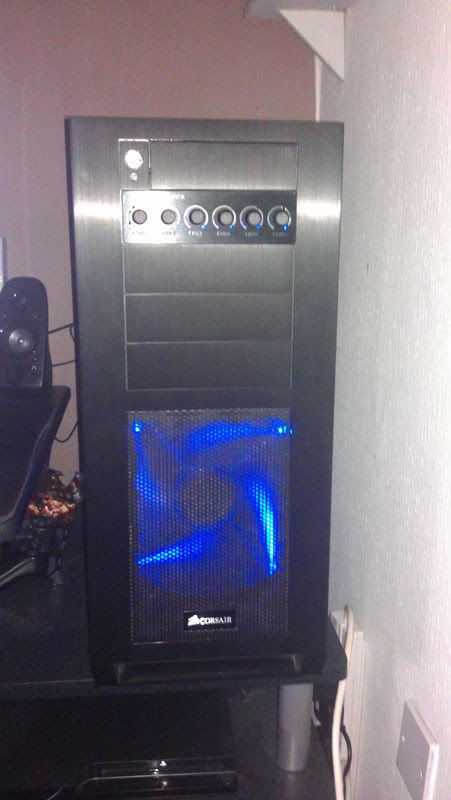
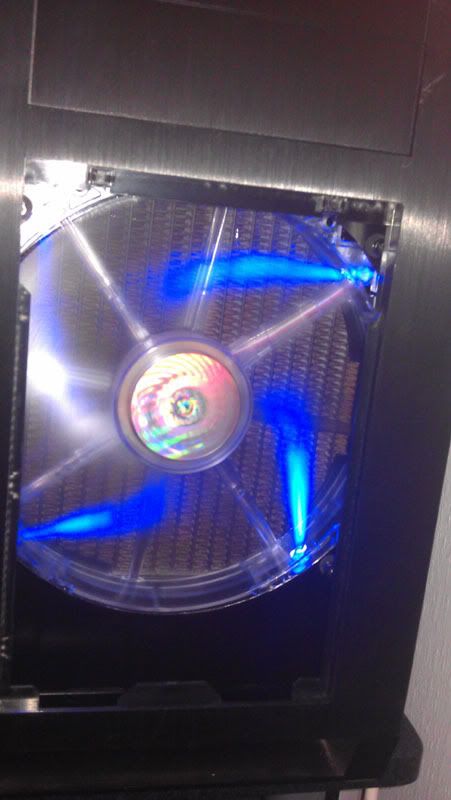
so i started by stripping out the case, out came everything, i then began to prepare the case for the 200mm rad up front, taking note of the bother stueng had fitting this particular rad i made the necessary cuts to allow for clearance, with this done, i went to go fetch the drill to make the holes on the mounting plate only to find the drill gone... sister borrowed it for her place along with all of the drill bits
buildmod2.jpg

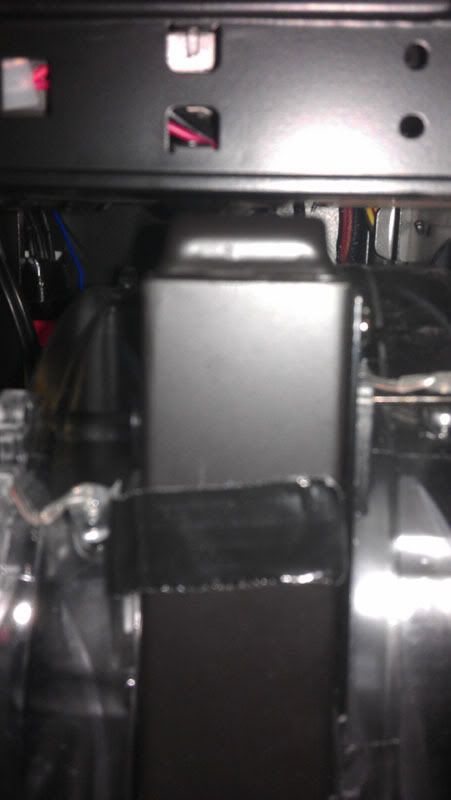
oh well about an hour of faffing around trying to find something suitable to make holes with and i decided to just try mount it best i could with the existing holes, i managed to get 2 nuts all the way through but the rad is pretty secure, at this point i had spent almost 2 hours on this one part, i thought enough is enough, its secure for now i'll just revisit this at a later date.
buildmod1.jpg

so with all the modification work done(so i thought), i started to put the basic parts back into the case and out of harms way.

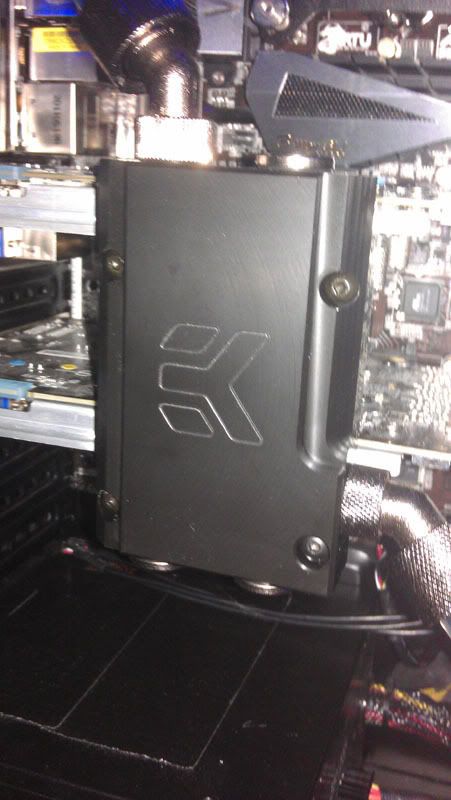
with this done it was time to fit the blocks to the GPU's, this was never going to be as simple as it should have been.
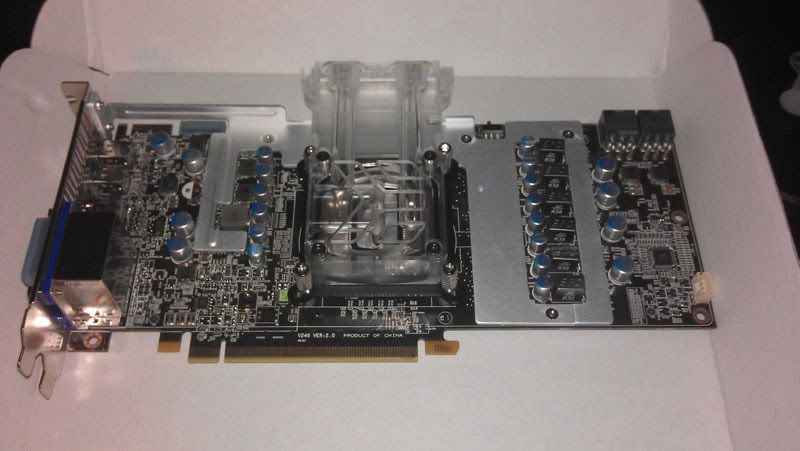
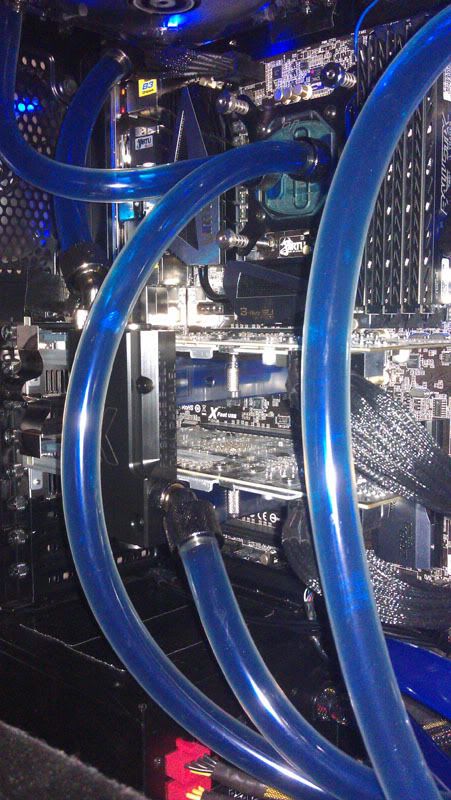
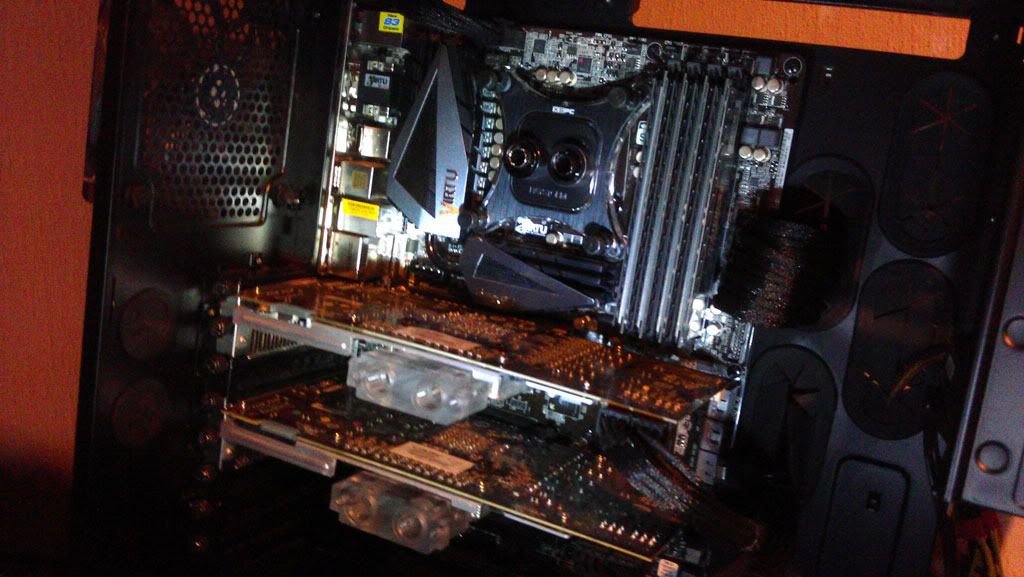
took the TF3 cooler off cleaned up the gpu core, fitted the mounting bolts/standoffs only to find the lip of the ram heatsink fouls the block causing it to not sit flush on the core, so off with the heatsink out with the dremel again, cut just enough clearance for the block to sit comfortably, mounted the heatsink again mounted the block
i then repeated this procedure for the 2nd card.
buildgfx1.jpg

buildgfx2.jpg

buildgfx3.jpg


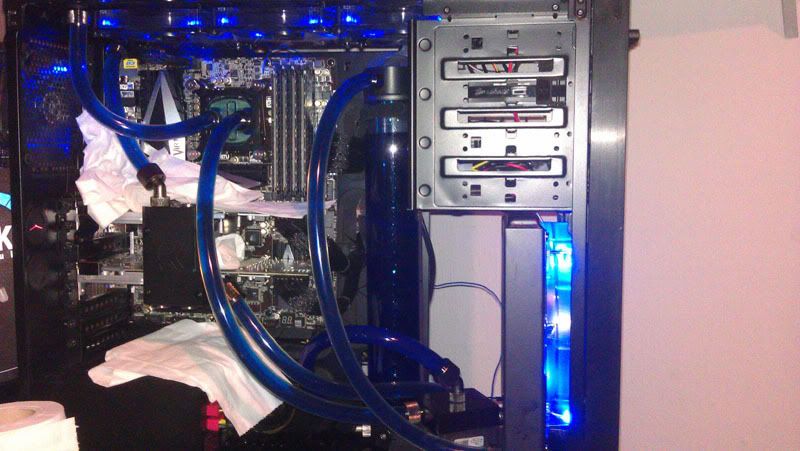
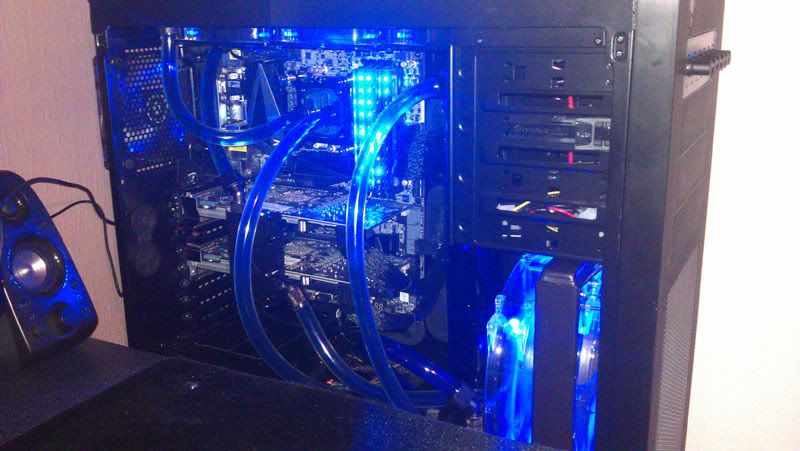
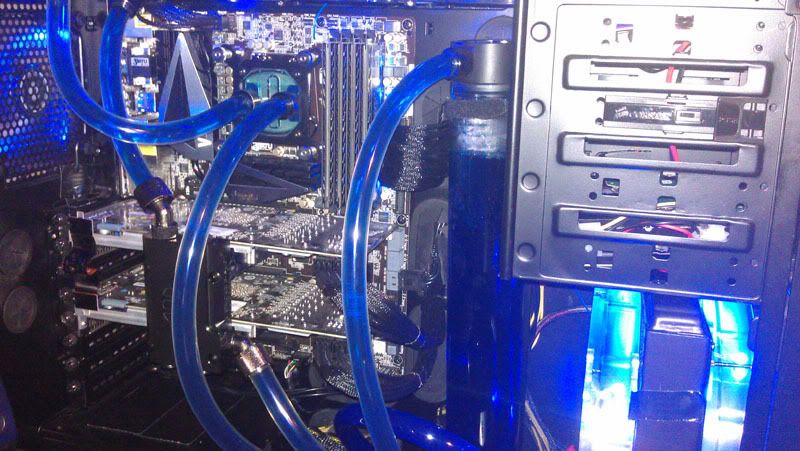
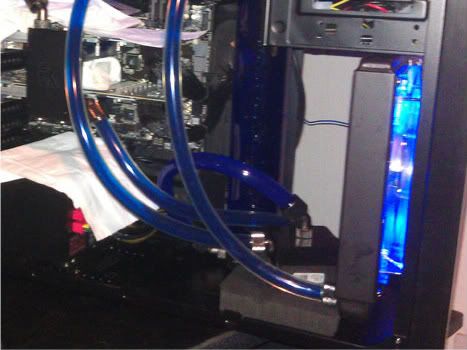
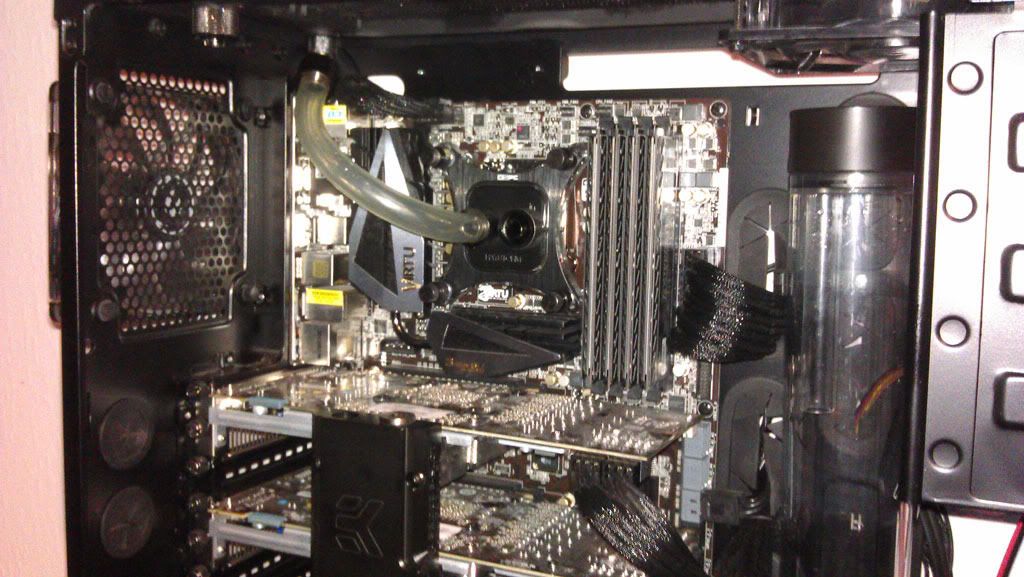
now i mounted the cards and the CPU block, so that all the parts are now in the case, i can now measure up tubing and cut to length. i didnt go to much effort to keep things tidy as hopefully soon i will be getting a different reservoir and will have to change the position of the pump etc, so will tidy things up a bit and remove excess tubing. Leak testing time, so i proceeded to fill the loop, which took around a bottle and a quarter to fill, mainly due to the MASSIVE reservoir. but all is well, ran all evening without issue, but will keep a very close eye for the next few days and wont leave running unsupervised
buildleaktest.jpg


after some cable managment tidying as much as i can, done for the night!
buildcomplete1.jpg

buildcomplete2.jpg

buildcomplete3.jpg

buildcomplete4.jpg

buildcomplete5.jpg

buildcomplete6.jpg


Temps have been impressive, especially the GPU's i was shocked to see the difference fromt he stock air cooler, especially on load, not stress tested yet but a good couple of hours in battlefield 3.
CPU - min 21 - max 47
GPU - card 1 - min 30 - max 36
card 2 - min 32 - max 37
thats about 5-6 degrees off idle, but almost 20 degrees off load temps.
once i've done a proper stress test i'll get the results up.

on top of that the system is just so quiet now, without the stock coolers on.

build wasnt without issues but all has gone well in the end, i'm very happy.
still work to be done though in the up coming weeks/months.


  • Niether pump or res are mounted properly, the res will be swapped out in the near future so i seen no need to permanantly fix it, and i plan on suspending the pump from the new res, so this is just a temporary setup.
    buildtemporary11.jpg
    buildtemporary12.jpg


  • the 200mm res up front need to be mounted correctly, this will be corrected next time the loop is drained.


  • the pull fan on the 200mm rad is not mounted properly, the mounting plates supplyed with the res only allowed for 1 200mm fan to be fitted, will have to purchase a 2nd plate to fit to the other side, so for the mean time that fan is bodged.


  • intend to change the fluid to mayhems pastel blueberry blue, and possibly add blue dye to make it darker, but we will see how it looks first then experiment if i'm not entirely happy. May even contemplate changing colour scheme altogether i've found orange has been growing on me a lot recently, it would only requite a change of fluid and fans, hmmm something to think about.

all in all i'm extremely happy with the build now, once the niggly little issues have been worked out i think it will be left alone for a while, let my bank balance recover.


if there are any specific details anyone wants to know feel free to ask:)
 
Hey mate i'm going to be watercooling my rig next month and wondering how the Twin frozr's are doing under water as i have the same G-cards, i was worried about doing them with no fans blowing over the aluminium ram sinks or mosfet thingys
 
cards seem fine to be honest, there is a fair bit of air being blown towards the cards from the front 200mm fans, the heatsink does get warmish but not enough to be concerned about.
it seems to be doing the trick.
 
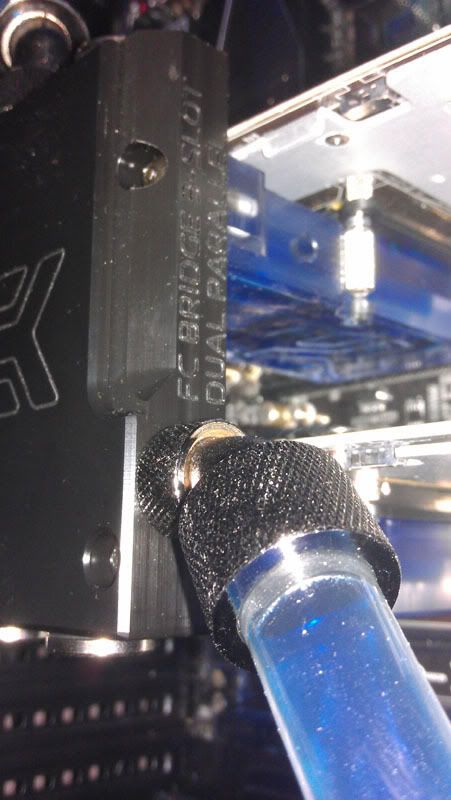
yep thats the ones, EK-VGA Supreme HF Bridge Edition - EN (Nickel).
As far as i'm aware OCUK dont stock them however i do recall rjkoneill said somewhere on the forums that for EK products if you can get the part number he would order them in.
so if you are not in a massive rush give them a ring.
i believe this is the correct product number - EAN: 3831109805084
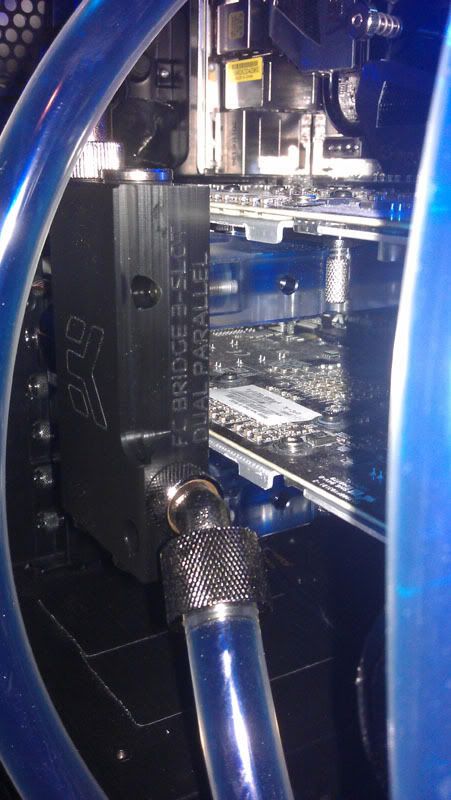
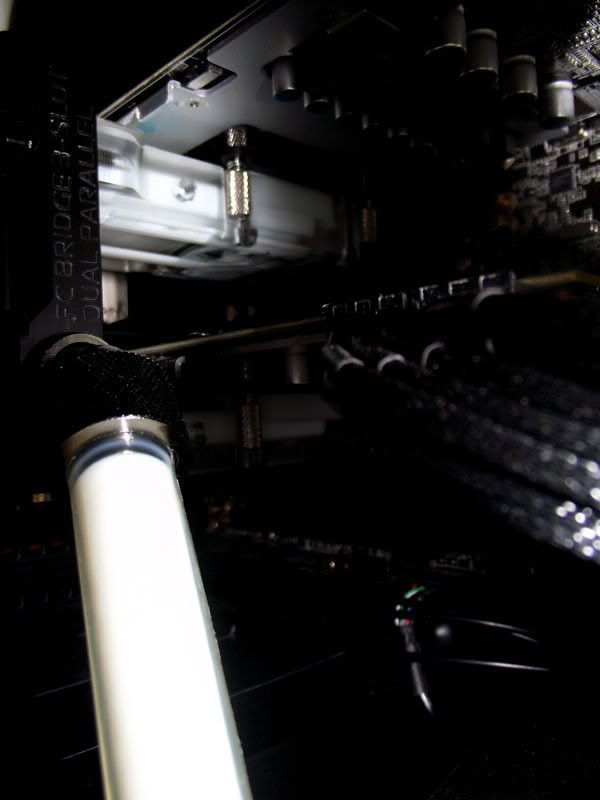
you will need the EK-FC Bridge DUAL Parallel or EK-FC Bridge DUAL Parallel 3 Slot depending on motherboard/which slots you have your cards in.
 
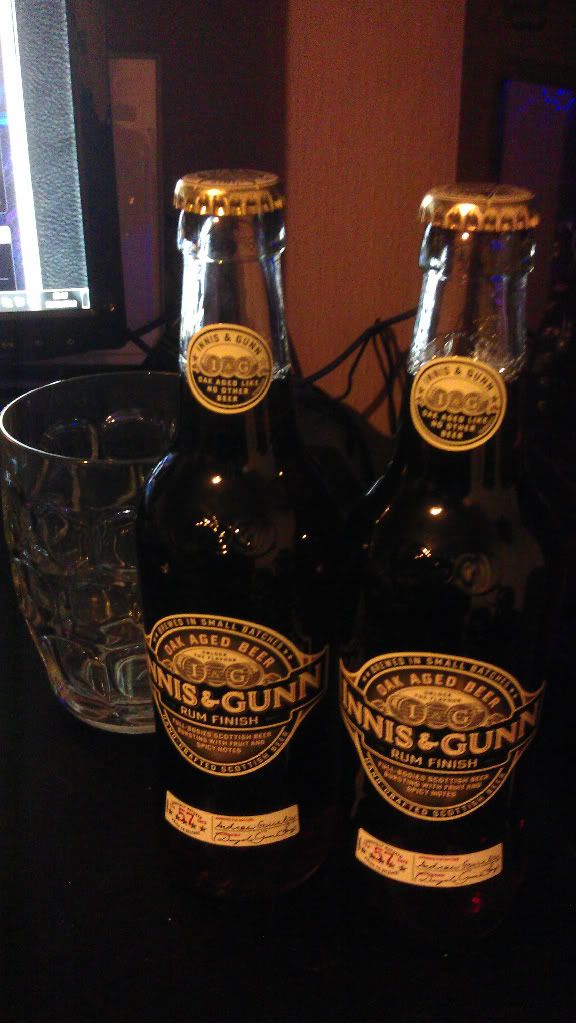
Yeah decent keyboard for the money, but the cat killed it when he jump up onto desk and knocked over my beer, now got a Filco majestouch 2 mech keyboard, and nothing can really compete with a decent mechanical if you can afford one.
 
Well it hasnt taken long for me to get the itch again, got some new stuff on route...

trying to eliminate as much blue from the system as i can definitely time for a change, all parts are in line with my new black/white colour theme

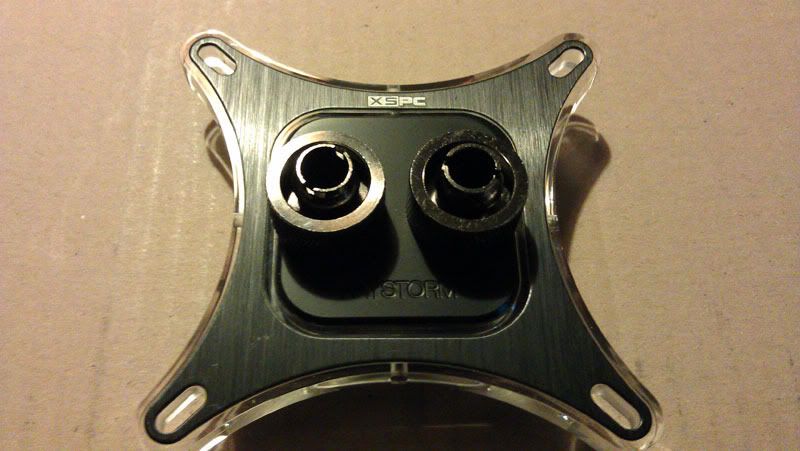
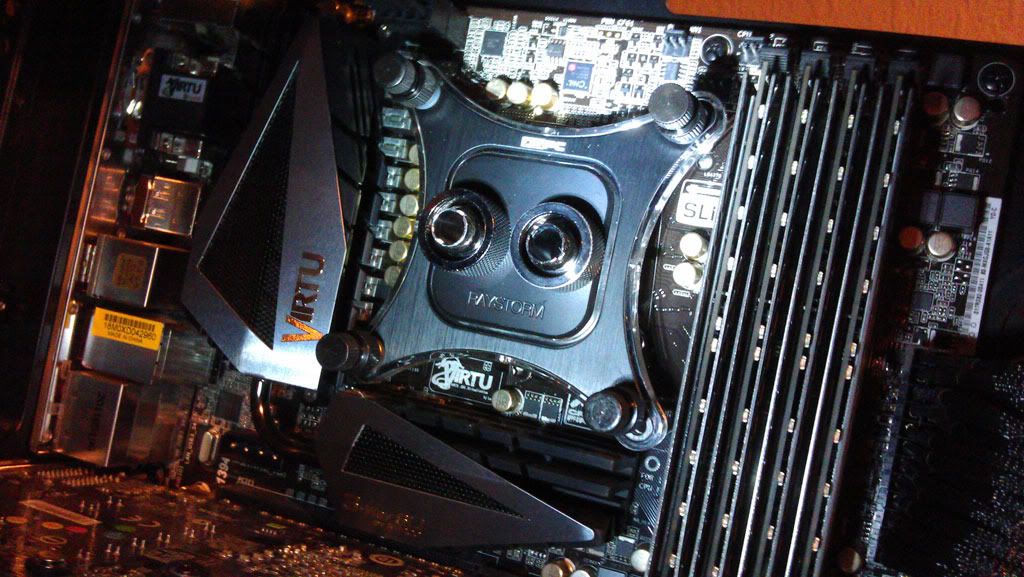
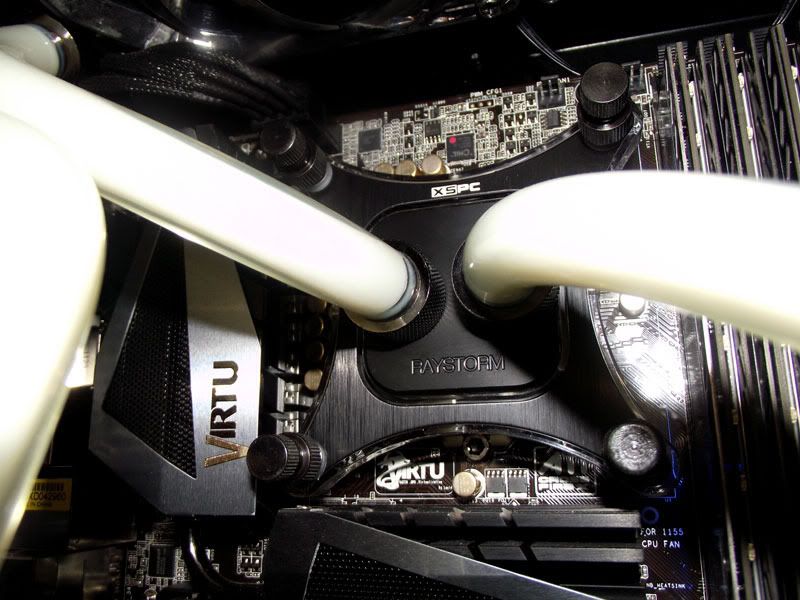
XSPC RayStorm CPU WaterBlock (Intel)
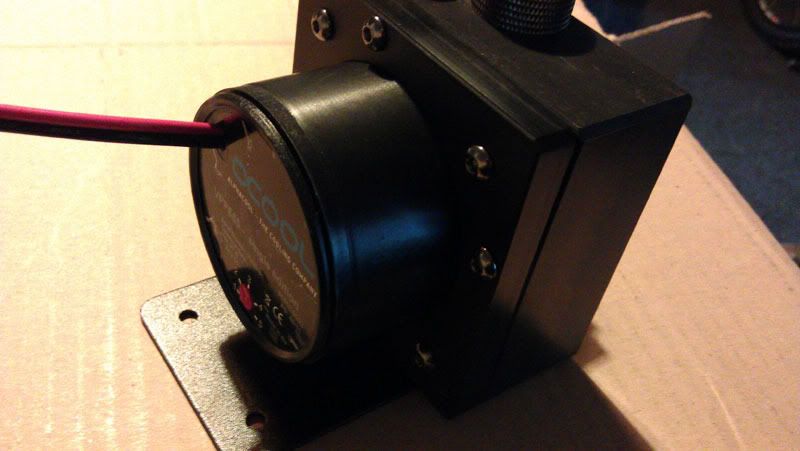
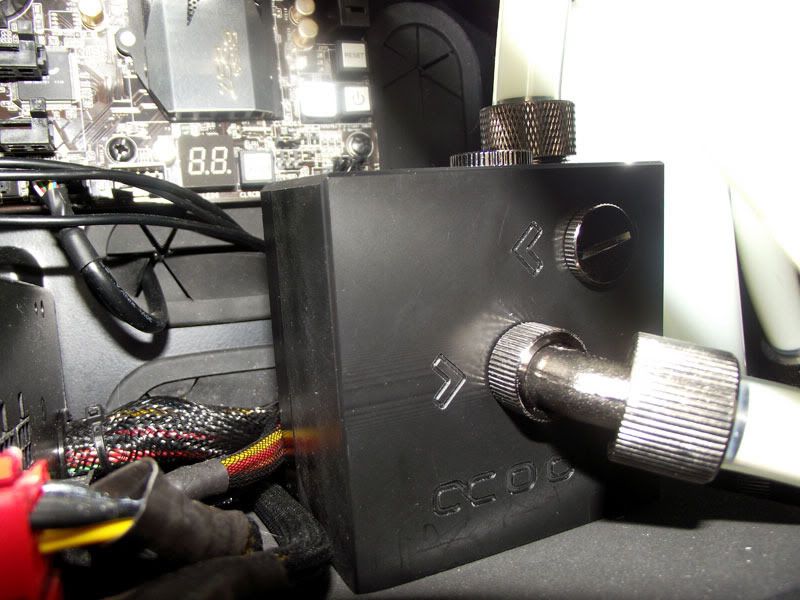
Alphacool VPP655 / Laing D5 Single Edition Pump
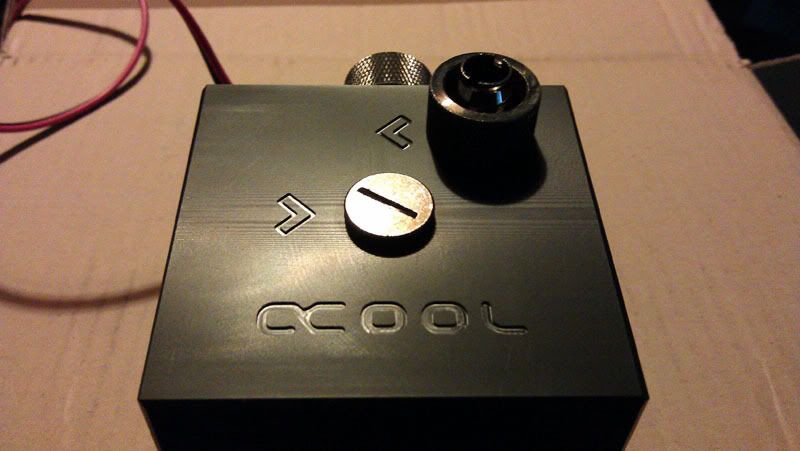
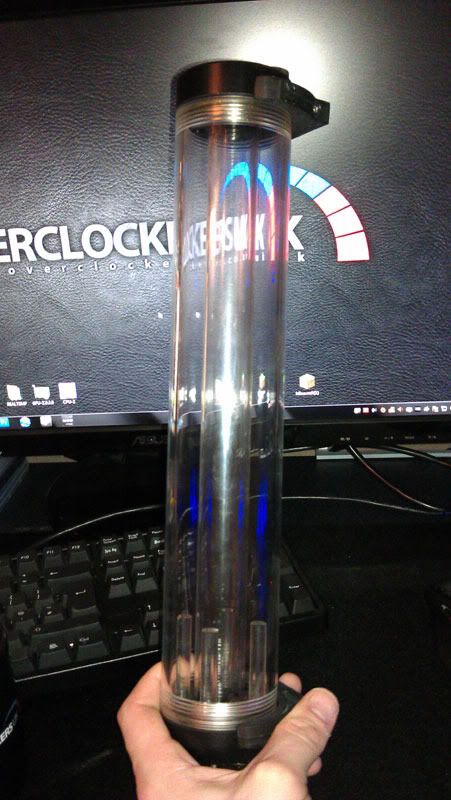
Alphacool HF D5 TOP - Black Acetal G1/4
Alphacool Cape Fuzion Core 30 - Acetal - Black (already have sitting waiting)
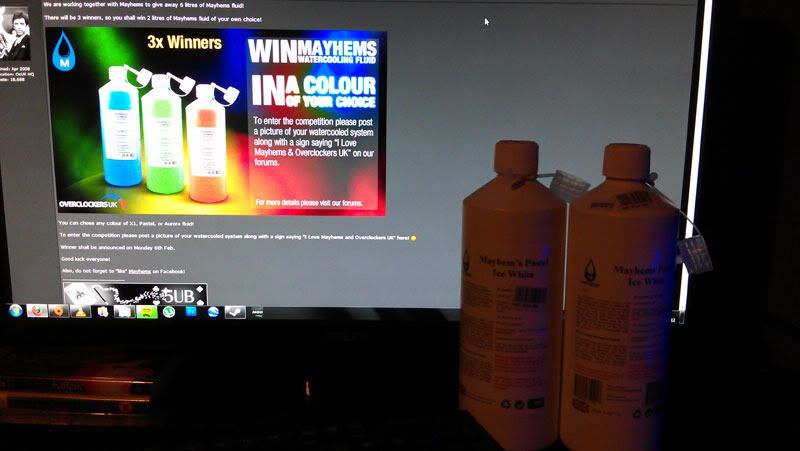
Mayhems Pastel Ice White 2l (Courtesy of Mayhems and OCUK, thanks guys!:D)
2m of Masterkleer Tubing PVC 16/10mm (3/8ID) Clear
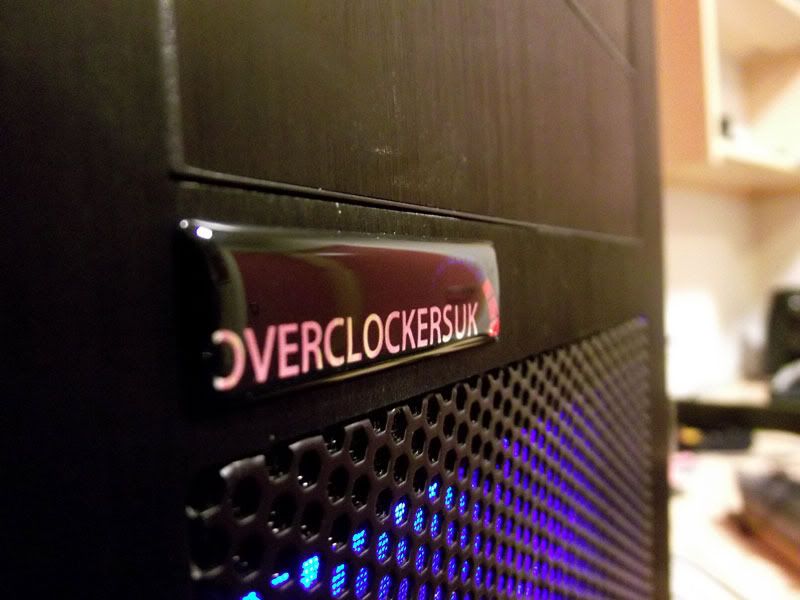
OcUK Logo Rectangle Gel Case Badge - Black (couldnt resist;))
Twin 3mm Ultra Bright White LED Kit (to fit on the CPU block)
Phobya Molex Extractor Kit and Sleeving Tool : PMTK
Black and White braid & heatshrink of allsorted sizes for PSU and other random system cables(not looking forward to this:o)
3x Xigmatek Crystal 120x120x25mm White LED Case Fan, not sure on these but getting these from a friend so will try them out first before splashing out on something more expensive.

all the parts above that i dont already have should be delivered within the next day or 2, unfortunately i'm stuck at camp till later this month so build and photos will have to wait till i have some time off.
cant wait to get my hands on the kit though:D

keep an eye out for updates later this month!
 
Last edited:
Well got an unexpected long weekend, so its time to start work, still not got all the parts... but i have everything i need to push forward with the WC loop rebuild thanks to OCUK for the last minute order of the new pump yesterday afternoon, which i received about an hour ago, the rest can be sorted later when they arrive.

so lets begin with some photos of the kit going in.

IMAG0379.jpg

XSPC Raystorm CPU block.
IMAG0380.jpg

Alphacool acetel D5 pumptop
IMAG0384.jpg

Alphacool Laing D5 Vario Pump 655
IMAG0391.jpg

Alphacool Cape Fuzion Core 30 - Acetal - Black
IMAG0388.jpg

Mayhems Pastel Ice White:D

IMAG0389.jpg

First of many!!! its gonna be a long afternoon-evening:rolleyes:

will try to get as much done today as possible, will update when i call it a night, the less distractions the better, already got two sneaky ninja cats to contend with, that like nothing better than to stand on my back/shoulders and watch while i work...:p

here goes:)
 
:D
IMAG0410.jpg


Well its done, had to keep going till i finished:p
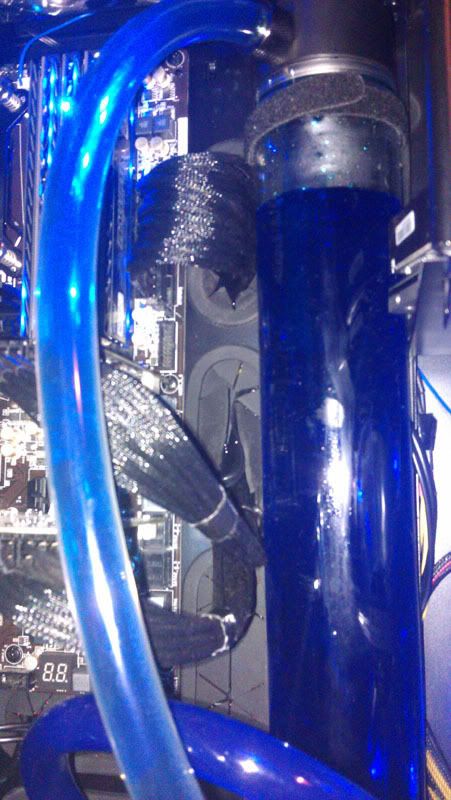
hit a bit of a snag half way through, i miscalculated the space i had in the case so the new res wont fit, i didnt take into account the bigger EK multioption 400 has fitting holes in the sides of the end caps where the alphacool one does not, even though smaller the extra space taken up by the fitting and hose at either end means it takes up more space.
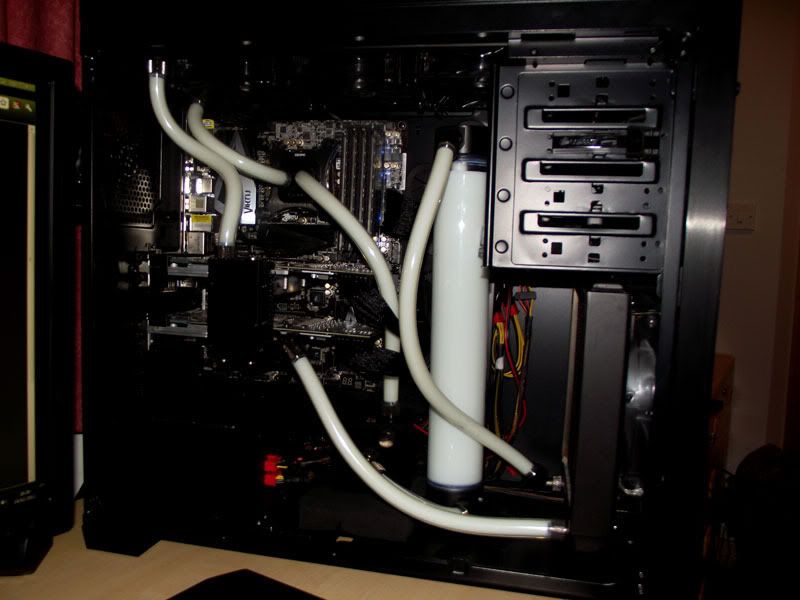
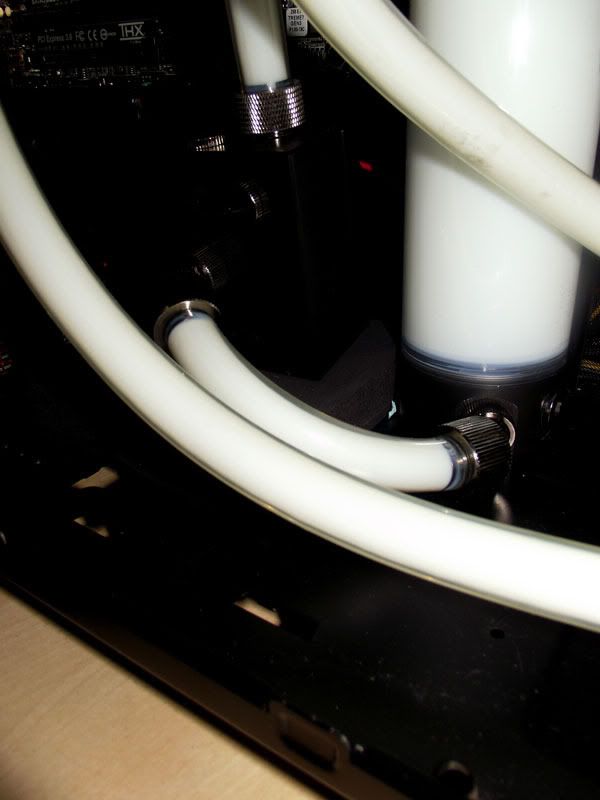
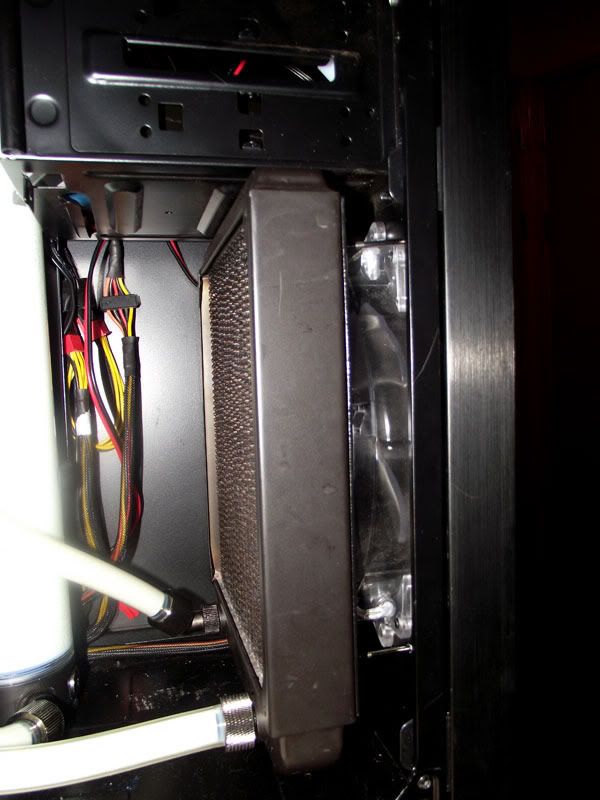
So still using the 400, however the hose routing is tidyer than before, the 200mm Radiator at the front is now properly mounted, and the reservoir is also now properly mounted.
already noticed a 2-3 degree drop in CPU temp.
Also noticed even on full speed the D5 pump is noticably quieter than the DDC pump it replaced, which i am impressed with.

Very happy with the Mayhems Ice White Pastel, i think it looks brilliant in there, when i get the new fans and white LED's it should set off the whole interior, really looking forward to that, not so much the sleeving though, that i'm not looking forward to doing:eek:


IMAG0396.jpg

IMAG0397.jpg

IMAG0398.jpg


ok now that is finished time for this!:D

IMAG0420.jpg
 
Last edited:
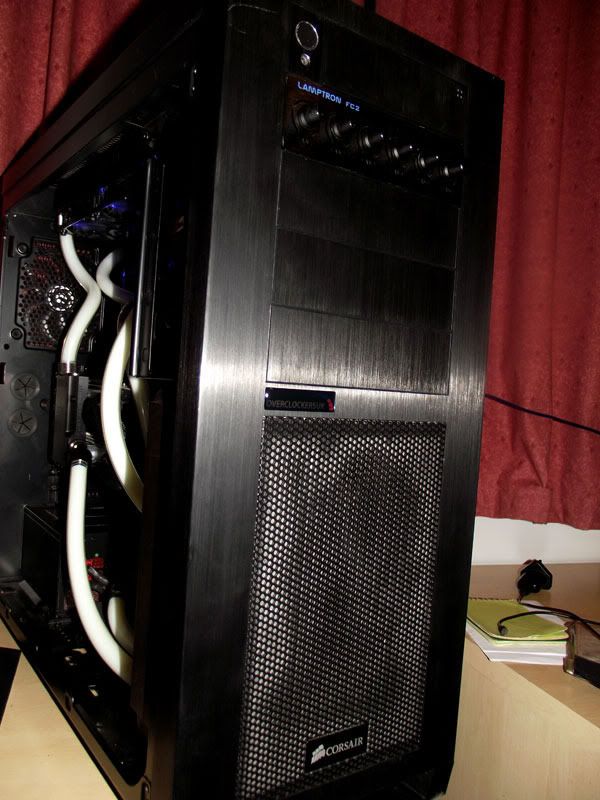
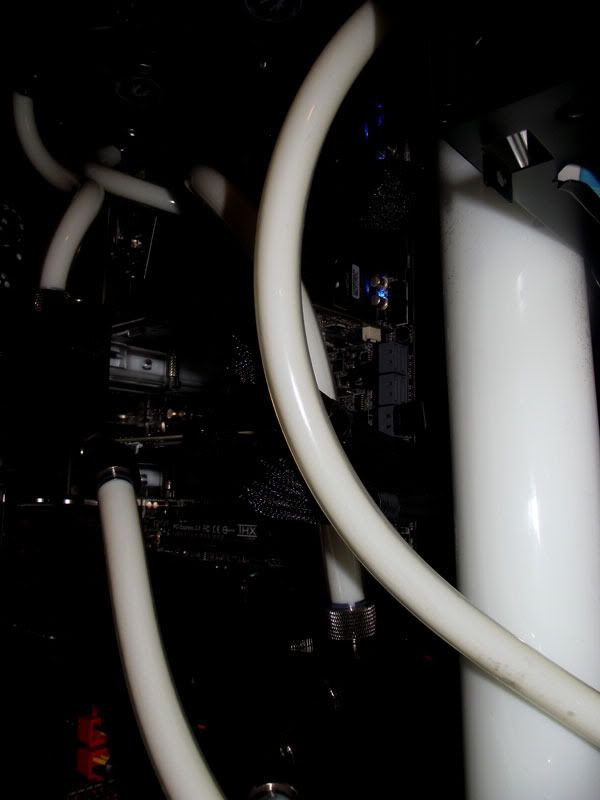
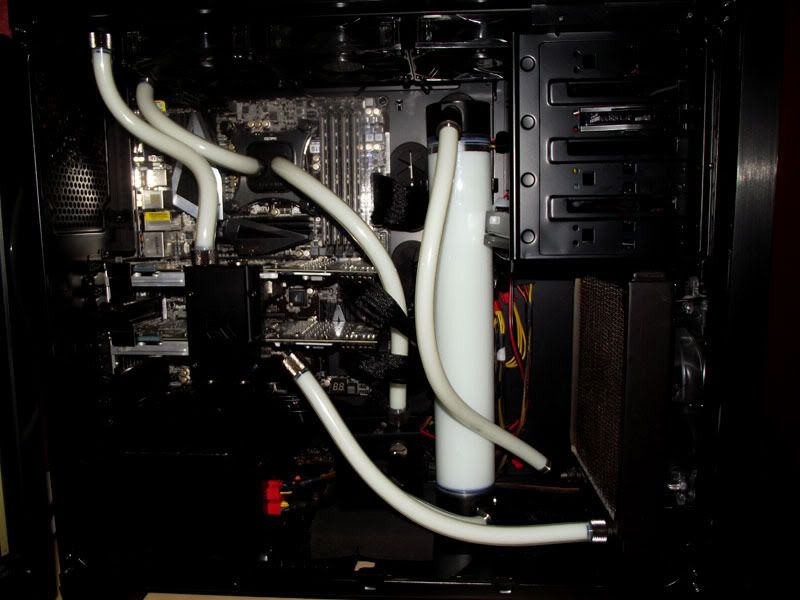
Right got some better photos of the machine in its current state.
DSCF1024.jpg

DSCF1023.jpg

DSCF1020.jpg

DSCF1017.jpg

DSCF1019.jpg

DSCF1018.jpg

DSCF1016.jpg

DSCF1014.jpg

DSCF1013.jpg

DSCF1011.jpg


the next update will be mid March when i am off on leave where i will be "attempting" to do some sleeving, it will be my first attempt so it could go horrificly wrong:eek:
will also be replacing fans then too:)

Also just encountered a problem, after the build was complete, CCC has been reporting that the cards are no longer working in crossfire, telling me that the CF bridge adaptor is not connected, hopefully its just a simple matter that the link adaptor is damaged, but will have to wait till leave to get home and dig through my spares and find another one:(
performance is still more than adequate in BF3 for now so nothing urgent, just a little irriating is all...:(
 
Back
Top Bottom