You are using an out of date browser. It may not display this or other websites correctly.
You should upgrade or use an alternative browser.
You should upgrade or use an alternative browser.
Project : eye-tx
- Thread starter bugeyewrx
- Start date
More options
Thread starter's postsWould AND metal? Hmm.. not sure it will work, but give it a go.
I'd fine a decent carbon weave for the top section (nothing awful looking though, would have to be good quality), and then dark brushed metail for the panel.
Love your work on this btw
I'm not sure either
 I did have an idea of some sort of cool looking retro hi-fi finish to it . Something a bit 70's but I've realised that it doesn't really work how I though it was going to .
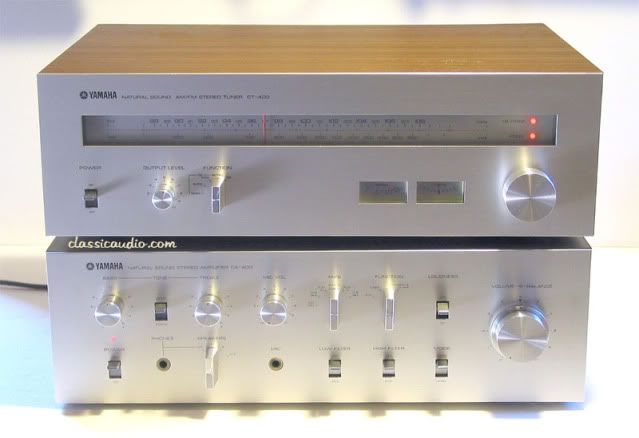
It's sort of a bit naff really
 and even given a sort of modern look it sort of lacks something . I gave a lot of though to trying to get a bit of detailing into the design but couldn't really come up with anything that was going to solve the basic problem .
So I've decided to do some mock ups and I've got a couple of ideas that I think will lead somewhere

I did start of thinking about carbon fibre but it's getting a bit done to death right now and I wanted something a bit 'more' ..... we'll see

This is a fantastic build. Cant wait to see how this progresses.
Loving the work going into this!
Thanks guys

Powder coated top and front?
I think that's the problem with this build .... I can do anything I want with the outside as it's not part of the structure it's just stuck on .....
That's some very nice work right there.
Watching with interest.
Totally didn't expect this after the first couple of pictures, awesome job. It will certainly be unique :>
Thanks guys

Well after a bit of head scratching and a lot of navel gazing I think I've got a direction for this to go in .
First step is some samples ..... so a bit of veneering to start with .
Burr maple veneer
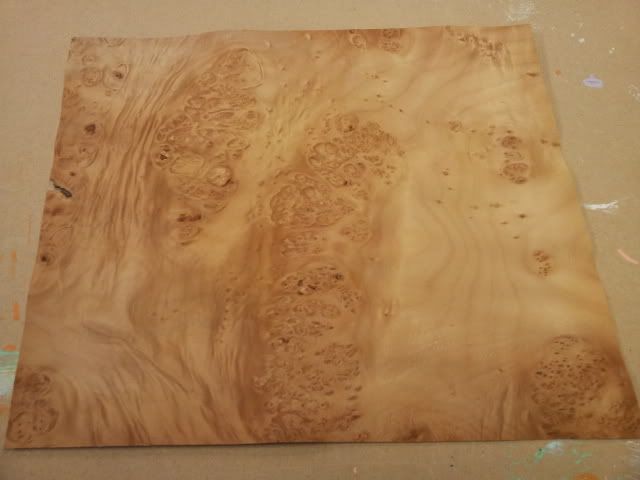
I've got one of these at work
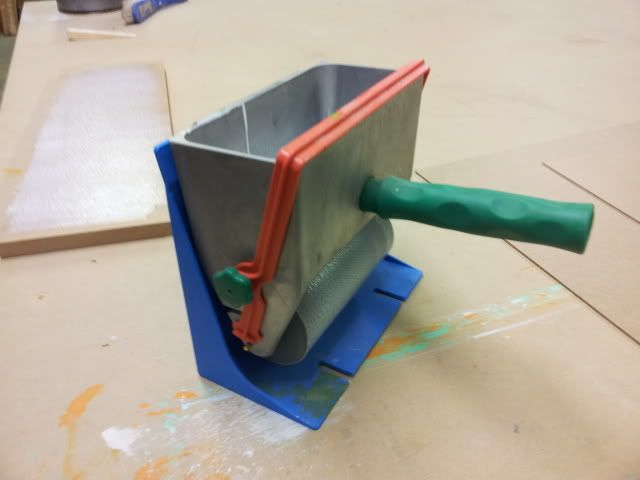
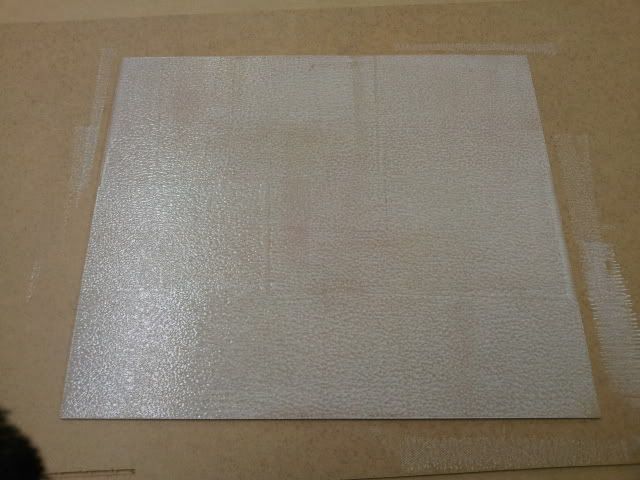
So getting a nice even coat of pva is easy

The veneer is rather wobbly and I've not used a burr veneer before ....
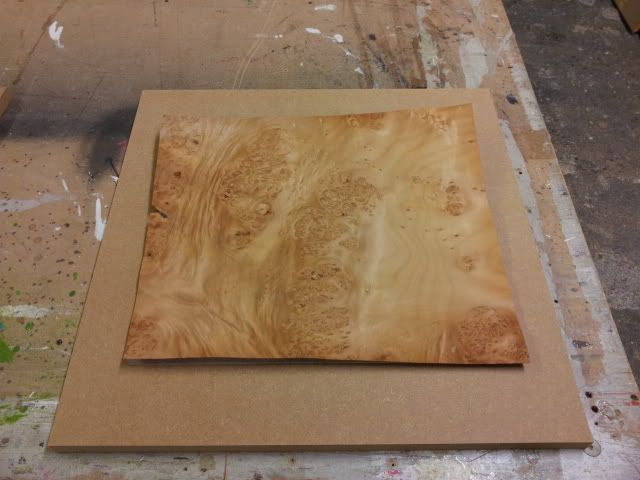
But I'm hoping 250kg will keep it flat .... I'll find out tomorrow :worried:
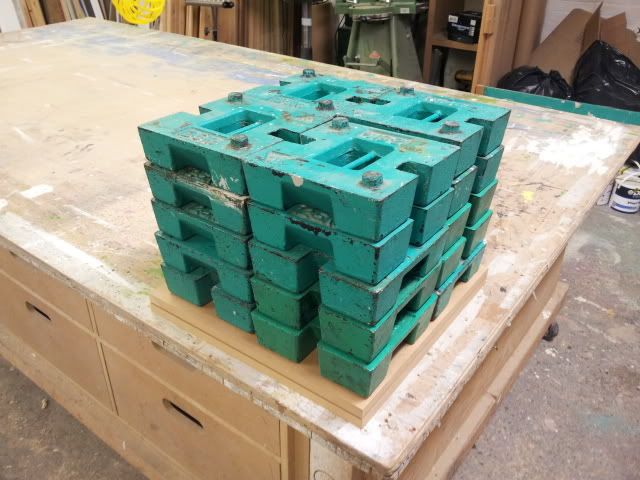
When I started this build I didn't really know what the exterior was going to be . I'm fairly set on using brushed ali for the front and rear panels , anodised I don't know what colour . To start with I was thinking about using carbon fibre for the curved top and bottom covers but I've gone off that idea. Even though I think the combo is a great one I don't think ( for now  ) that it's right for this .
I then started thinking about old hifi etc but it just looks a bit wrong . I think it looks wrong because of the contrast between the wood and the metal .... it's too much . I think it's the colour of the wood , it's to warm against the ali .
So I thought I'd give this a go ......
I've stained the maple with some variations of black stain and black plus a bit of oak to take the blue out of it . Here's a picture of them all with the anodised samples I've got , rather strangely the samples are on checker plate rather than smooth or brushed but you get an idea of the colours .
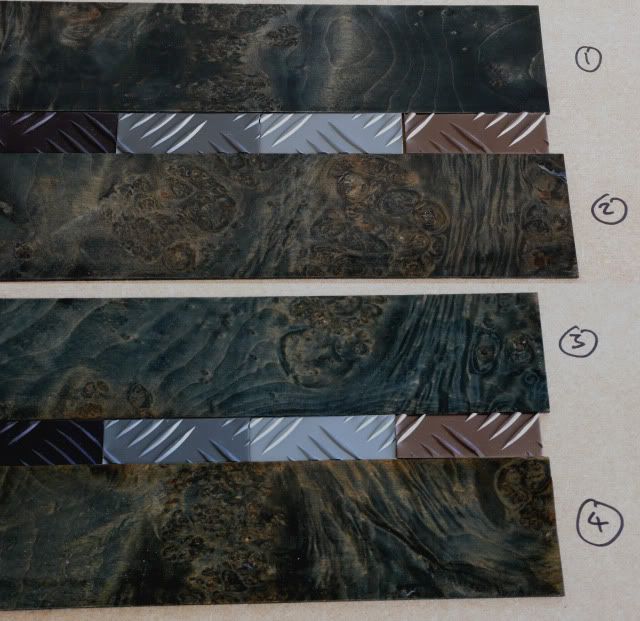
My favorite out oif the lot is number 4 with the black anodised , although I'd prefer something not so black ...
That said I think it still a bit much ... I think it needs to be darker and with less contrast in the grain ..... quick photoshop .

Or maybe even darker so you can just make out the grain ......
So tell me what you think .... even if you hate them all and you think I'm barking up completely the wrong tree .
If you like them .... telling me why would be helpful
 ) that it's right for this .
I then started thinking about old hifi etc but it just looks a bit wrong . I think it looks wrong because of the contrast between the wood and the metal .... it's too much . I think it's the colour of the wood , it's to warm against the ali .
So I thought I'd give this a go ......
I've stained the maple with some variations of black stain and black plus a bit of oak to take the blue out of it . Here's a picture of them all with the anodised samples I've got , rather strangely the samples are on checker plate
 rather than smooth or brushed but you get an idea of the colours .
My favorite out oif the lot is number 4 with the black anodised , although I'd prefer something not so black ...
That said I think it still a bit much ... I think it needs to be darker and with less contrast in the grain ..... quick photoshop .

Or maybe even darker so you can just make out the grain ......
So tell me what you think .... even if you hate them all and you think I'm barking up completely the wrong tree .
If you like them .... telling me why would be helpful

So I think this might be getting a bit boring , reading ramblings about strange combinations of materials for this build but it's been a bit of a head scratcher 
My problem has been that although I like the materials I've been looking at there was always something in the back of my mind saying ... noooooooo :worried: none of them seemd to quite work and as I tried to make them work by adding more detail and different materials the worse it got :sigh:
Part of the problem was that the whole idea for the case came from the shape and I hadn't really thought about the surface finish much beyond dark brushed ali for the front and back plates plus a colour on the curved part .
Then it hit me ... that's it ..... the whole thing about the case design is the SHAPE and anything I do with the finish that takes away from that is going to be a problem :duh:
So back to basics ..... Brushed aluminium , anodised a dark colour and I'm going to paint the the curved parts a complimentary colour , probably try a metallic
So .... after a couple of weeks of samples and strange combinations I'm back where I started

My problem has been that although I like the materials I've been looking at there was always something in the back of my mind saying ... noooooooo :worried: none of them seemd to quite work and as I tried to make them work by adding more detail and different materials the worse it got :sigh:
Part of the problem was that the whole idea for the case came from the shape and I hadn't really thought about the surface finish much beyond dark brushed ali for the front and back plates plus a colour on the curved part .
Then it hit me ... that's it ..... the whole thing about the case design is the SHAPE and anything I do with the finish that takes away from that is going to be a problem :duh:
So back to basics ..... Brushed aluminium , anodised a dark colour and I'm going to paint the the curved parts a complimentary colour , probably try a metallic

So .... after a couple of weeks of samples and strange combinations I'm back where I started

It's been a couple of weeks and I'm still happy with the direction I'm going in so time to get on with some stuff 
First job was to square up the radiused corners left by routing the formers and to smooth out any high points from the cross pieces .
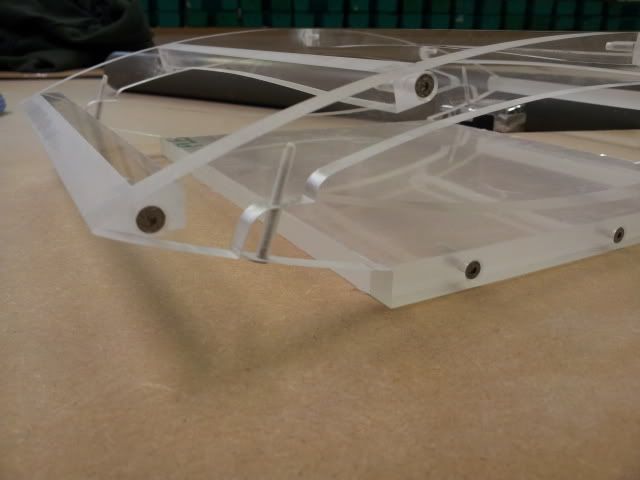
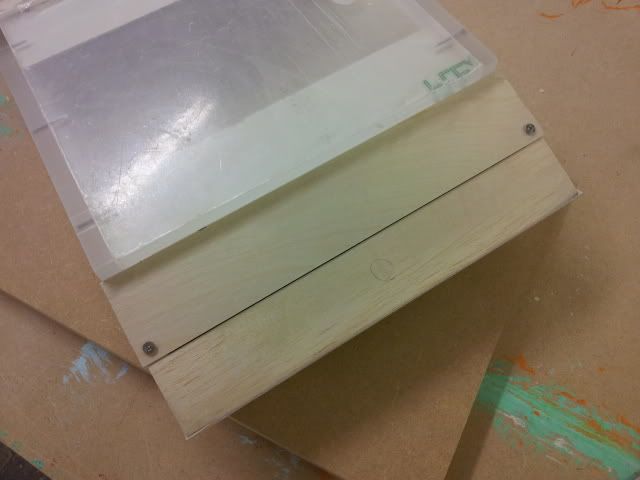
Rather than trying to bend one thick piece of material for the curved part I'm going to laminate a couple of bits together .... that way I land up with a bit that is about 1.5mm thick but without having to force the bend .
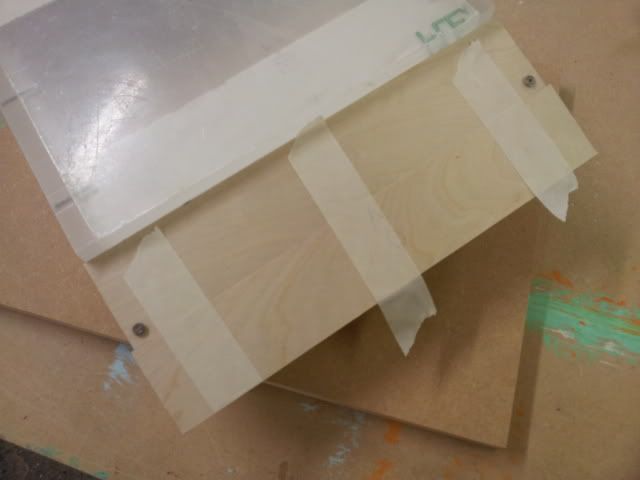
First step was to laminate a bit of .8mm birch ply with some 1mm balsa , the reason for the balsa in a moment

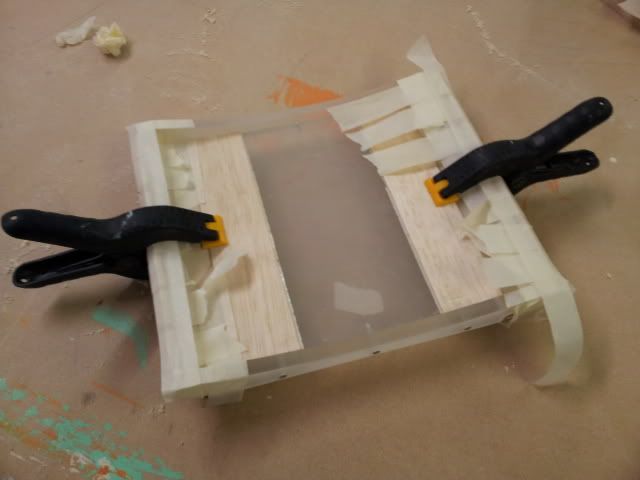
I cut a bit of mdf to make taping everything together a bit easier . I decided to try PU adhesive , on a test bit and it seemed to stick to the ply and the perspex well . So glued everything up and got busy with the masking tape
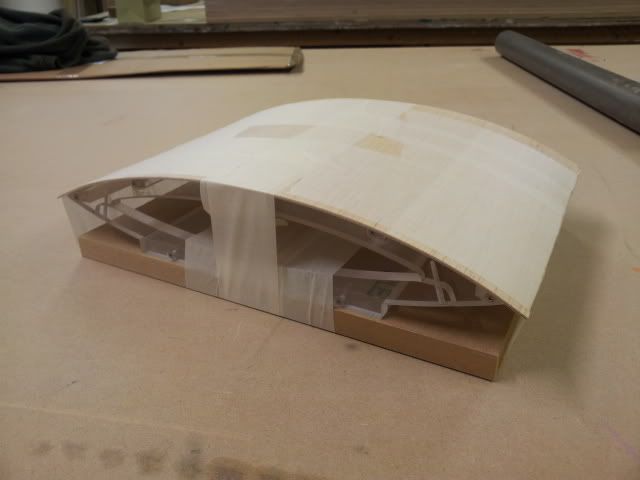
Only problem is that just after I finished this I picked up my test piece that has been stuck solid all morning and managed to break the join a little too easily :wallbash: .... so I could be doing this all again :duh:
Anyway the reason for the balsa ...
Without lots of cross pieces when you bend the ply around the curve you get little hollows like this ...
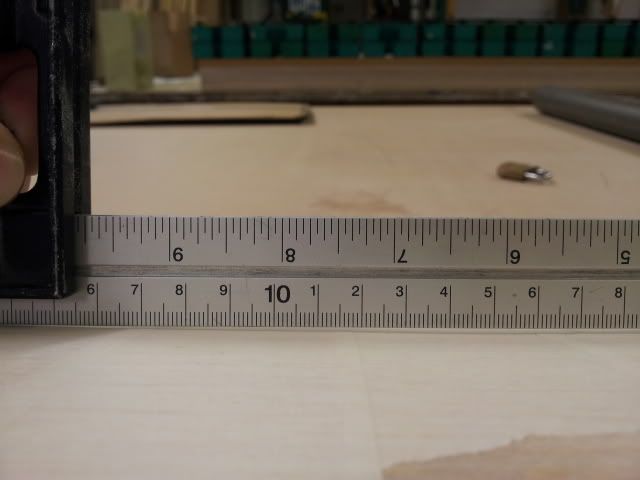
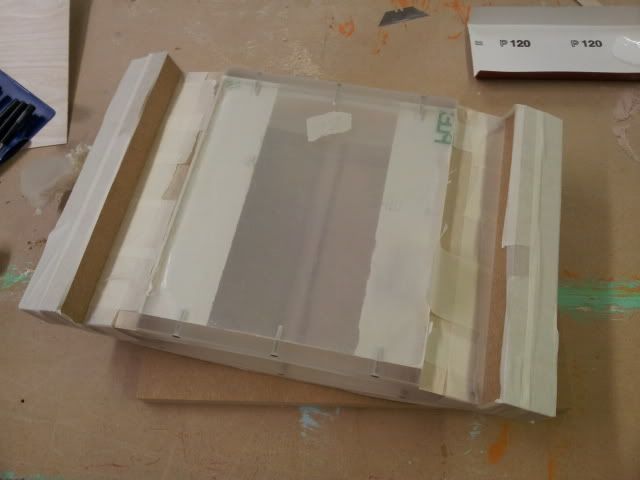
I don't have enough room to put as many cross pieces as I'd like so the idea is that once the glue has set I can sand the whole thing flat leaving the balsa in the hollows and then laminate the top bit of ply on giving ( I hope ) a perfect curve .

First job was to square up the radiused corners left by routing the formers and to smooth out any high points from the cross pieces .

Rather than trying to bend one thick piece of material for the curved part I'm going to laminate a couple of bits together .... that way I land up with a bit that is about 1.5mm thick but without having to force the bend .
First step was to laminate a bit of .8mm birch ply with some 1mm balsa , the reason for the balsa in a moment


I cut a bit of mdf to make taping everything together a bit easier . I decided to try PU adhesive , on a test bit and it seemed to stick to the ply and the perspex well . So glued everything up and got busy with the masking tape


Only problem is that just after I finished this I picked up my test piece that has been stuck solid all morning and managed to break the join a little too easily :wallbash: .... so I could be doing this all again :duh:
Anyway the reason for the balsa ...
Without lots of cross pieces when you bend the ply around the curve you get little hollows like this ...

I don't have enough room to put as many cross pieces as I'd like so the idea is that once the glue has set I can sand the whole thing flat leaving the balsa in the hollows and then laminate the top bit of ply on giving ( I hope
 ) a perfect curve .
Thanks Hyburnate 
As I'm waiting for some glue to dry I thought I'd get on and post an update .....
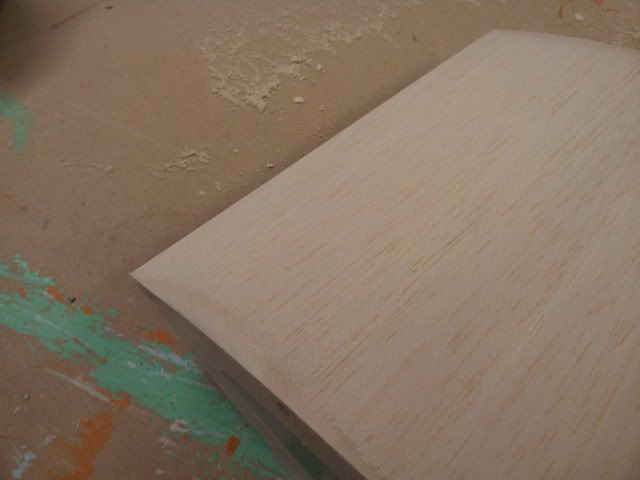
So , lots of sanding later . You can see where the balsa is left in the hollow after sanding down to the ply at the edges .
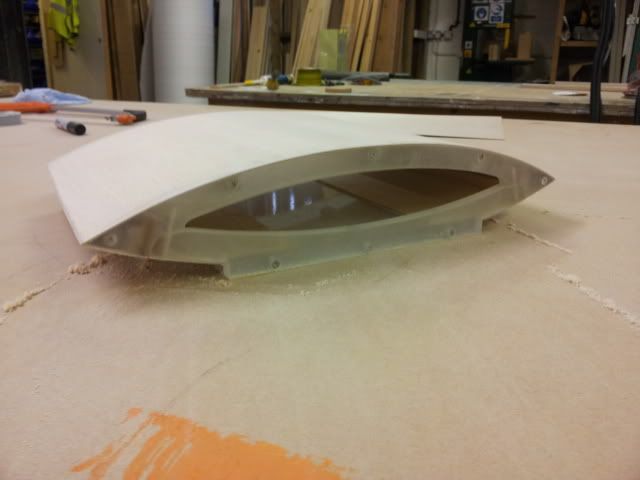
Top and bottom sanded and ready for the final skin of ply ... sorry for the duff picture .
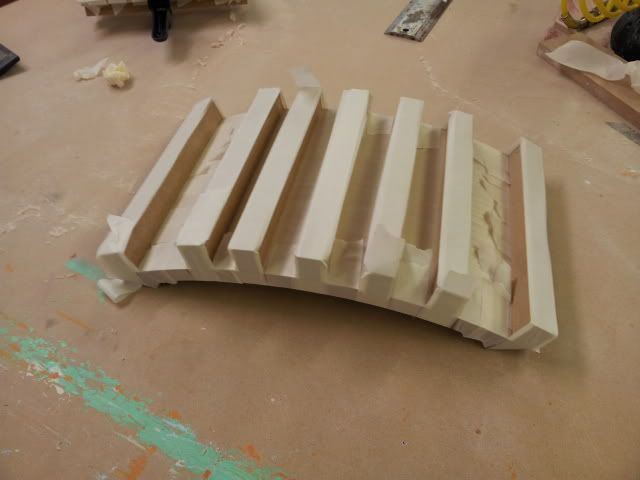
The ply being stuck to the top ..... all the cross pieces held on with masking tape are to help keep the ply flat .
And the first part of the bottom too ...


As I'm waiting for some glue to dry I thought I'd get on and post an update .....
So , lots of sanding later . You can see where the balsa is left in the hollow after sanding down to the ply at the edges .

Top and bottom sanded and ready for the final skin of ply ... sorry for the duff picture .

The ply being stuck to the top ..... all the cross pieces held on with masking tape are to help keep the ply flat .

And the first part of the bottom too ...


Associate
- Joined
- 29 Jul 2004
- Posts
- 1,821
- Location
- Glasgow/The Netherlands
Looking good!
Looking good!
Thanks

Part 3

Bit more sanding and finally it looks like a case instead of some strange perspex frame ....
Still strangely difficult to take a picture of though ...
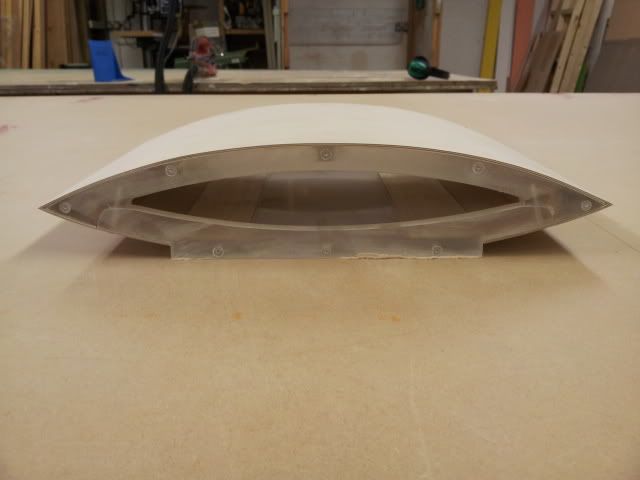
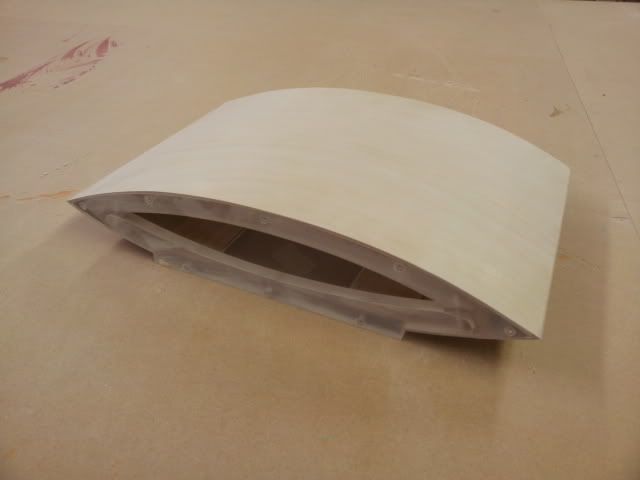
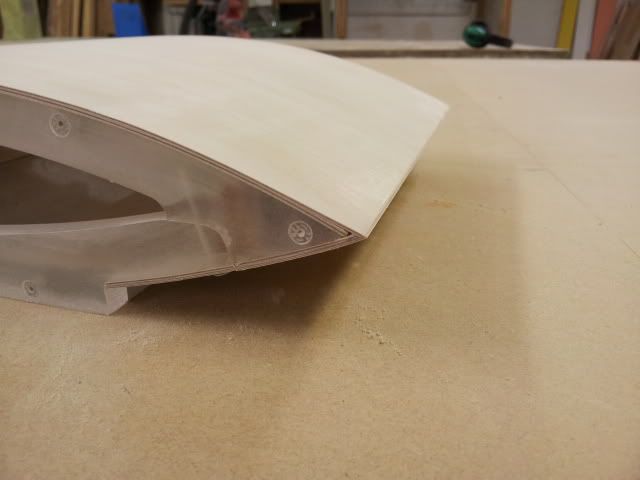
I tried really hard to keep the edge straight and true , happy it's worked out well


Soldato
- Joined
- 10 Aug 2010
- Posts
- 5,508
- Location
- Somerset
That looks awesome, I love the acrylic+plywood 

Soldato
- Joined
- 13 Aug 2004
- Posts
- 8,457
- Location
- England
This is coming along nicely, I can't wait to see the finished product.
Associate
- Joined
- 27 Nov 2006
- Posts
- 1,334
- Location
- Coventry
Looking great so far!


