You are using an out of date browser. It may not display this or other websites correctly.
You should upgrade or use an alternative browser.
You should upgrade or use an alternative browser.
Project Fortis [Parvum ATX Build!]
- Thread starter M1keMK
- Start date
More options
View all postsBeen a little while since my last update, but I have been making steady progress... here's and update:
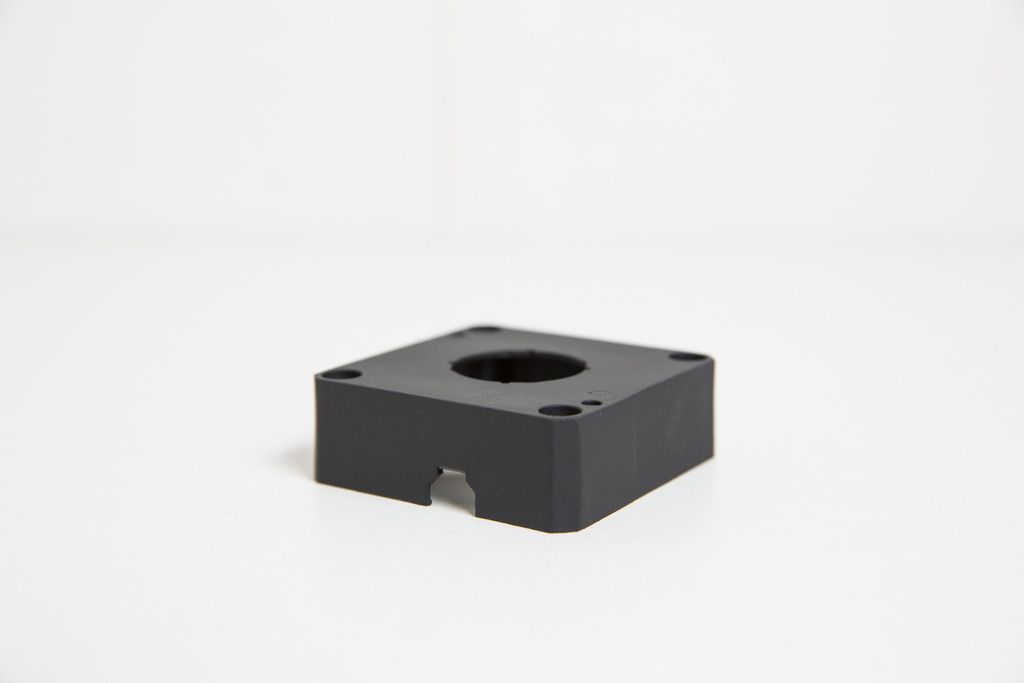
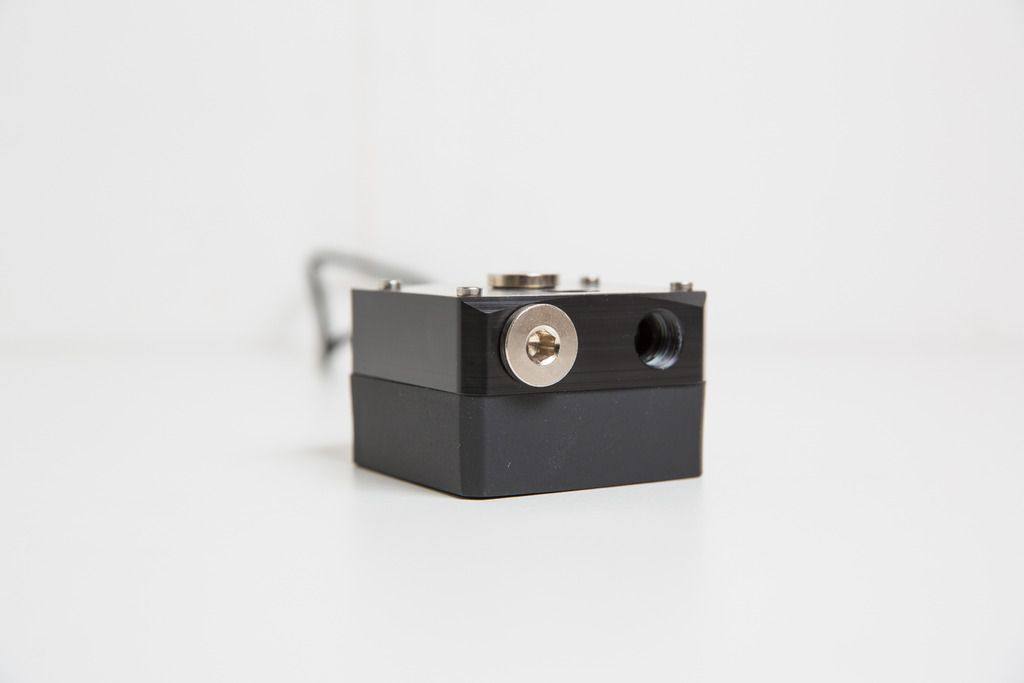
I've painted the pump housing so its properly matt black and matches the black acrylic of the case. Looks very stealthy:
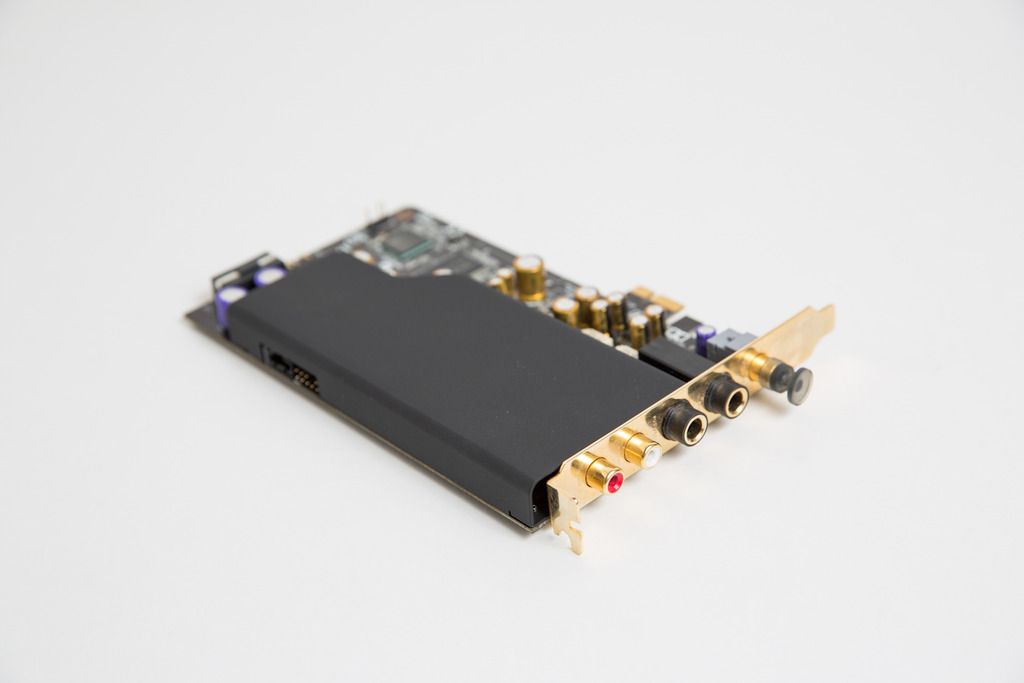
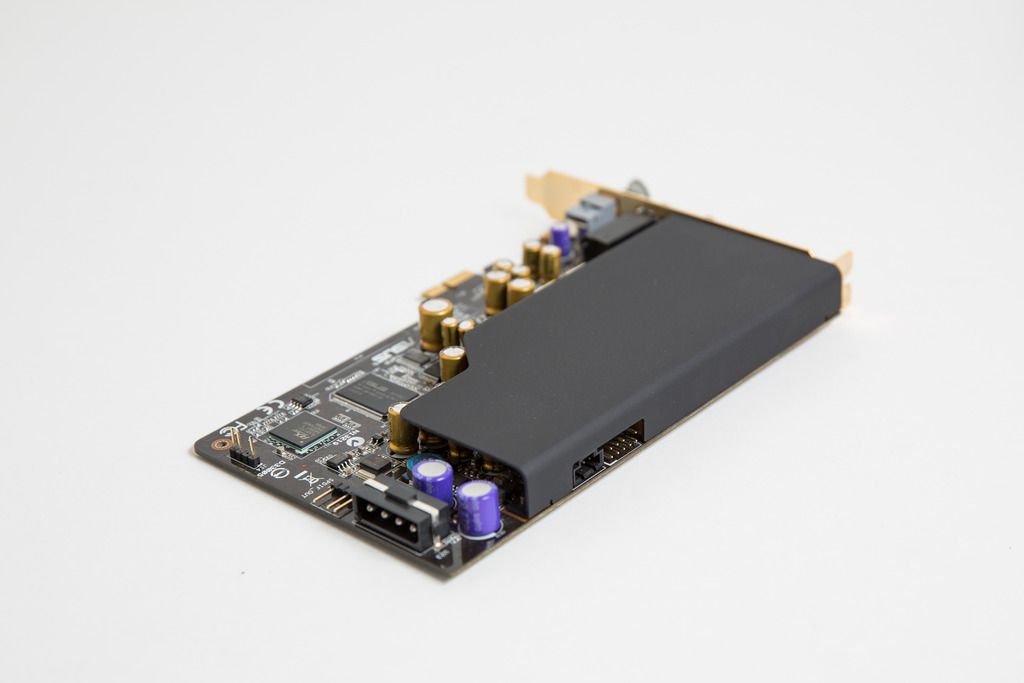
A similar job on my Essence STX. The plate had faded in the light and looked more golden than black, so that had to change:
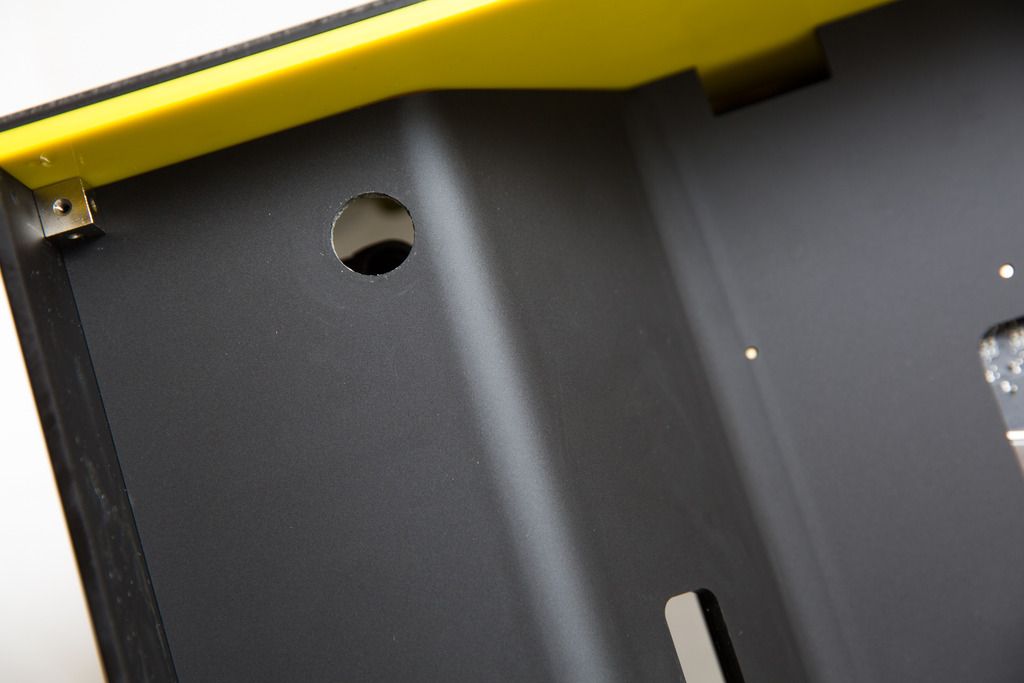
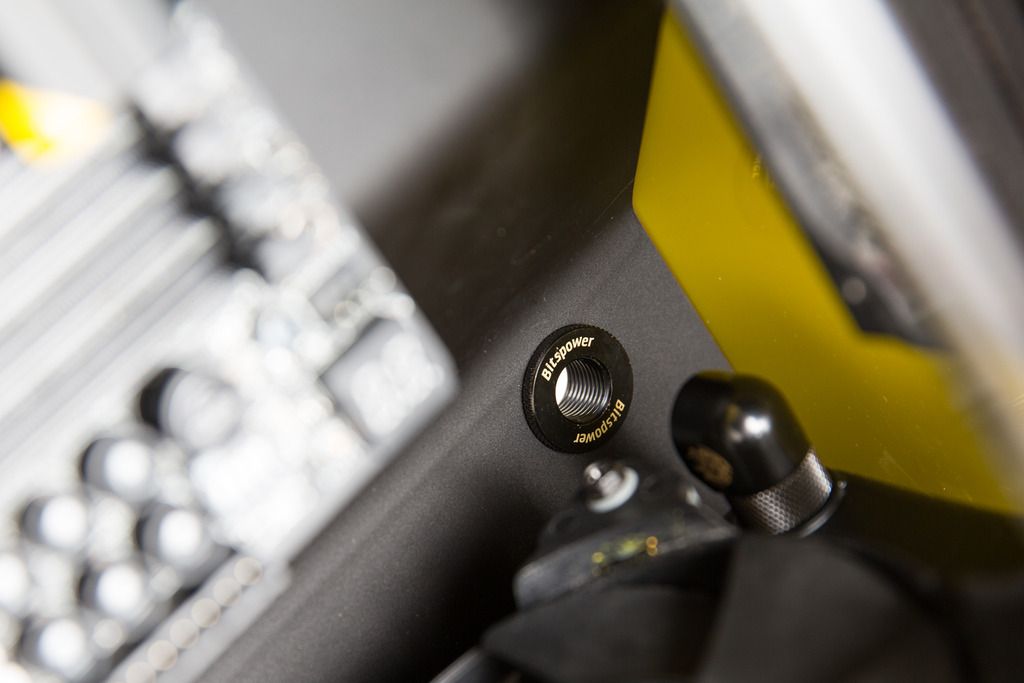
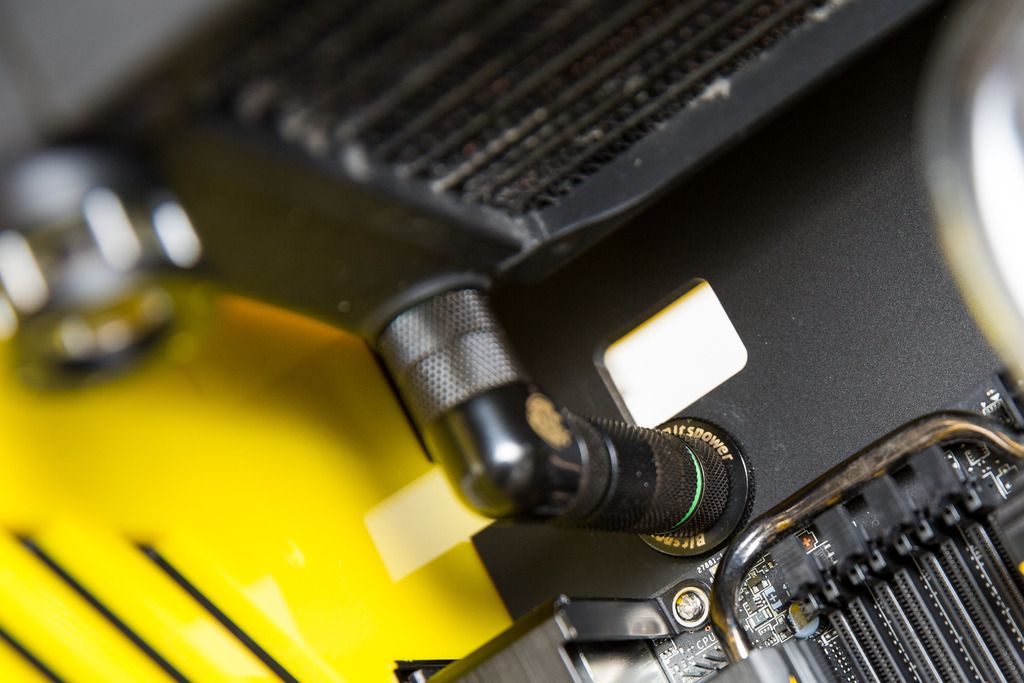
I've cut holes in the midwall for tubing to pass through from one rad to the other. I figured this was going to be the easiest way to do the tubing as the ports nearest the midwall are quite hard to access especially using hardline. It also has the benefit of being able to watercool my fan controller:
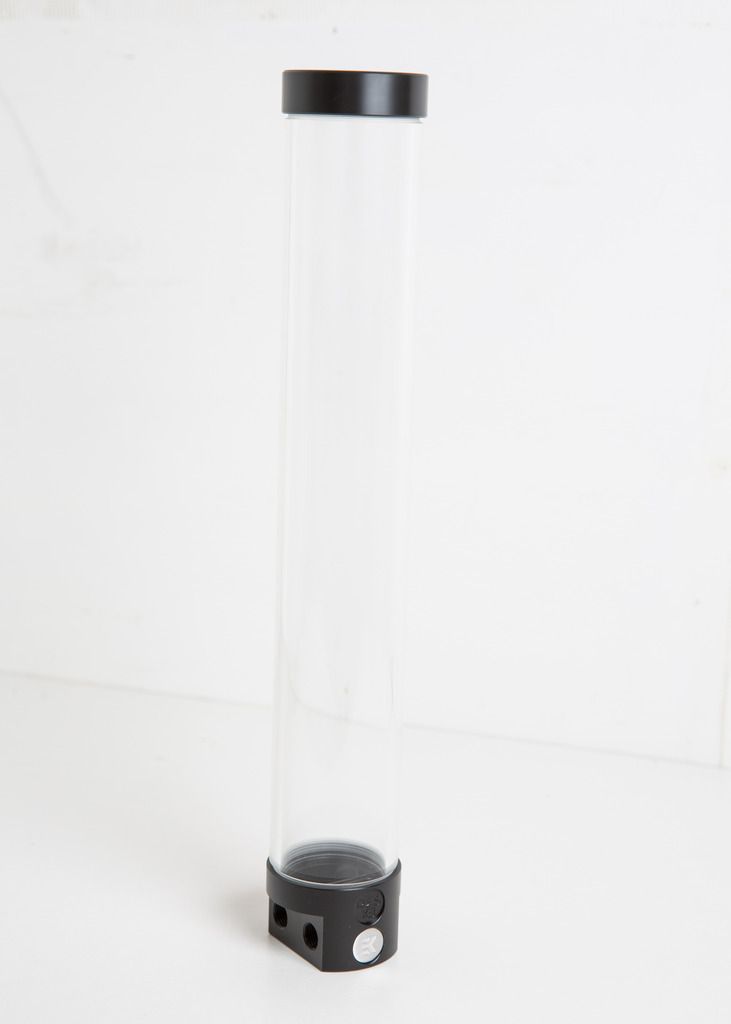
My gigantic EK X3 res arrived - this things is huge, but I think its gonna look good!
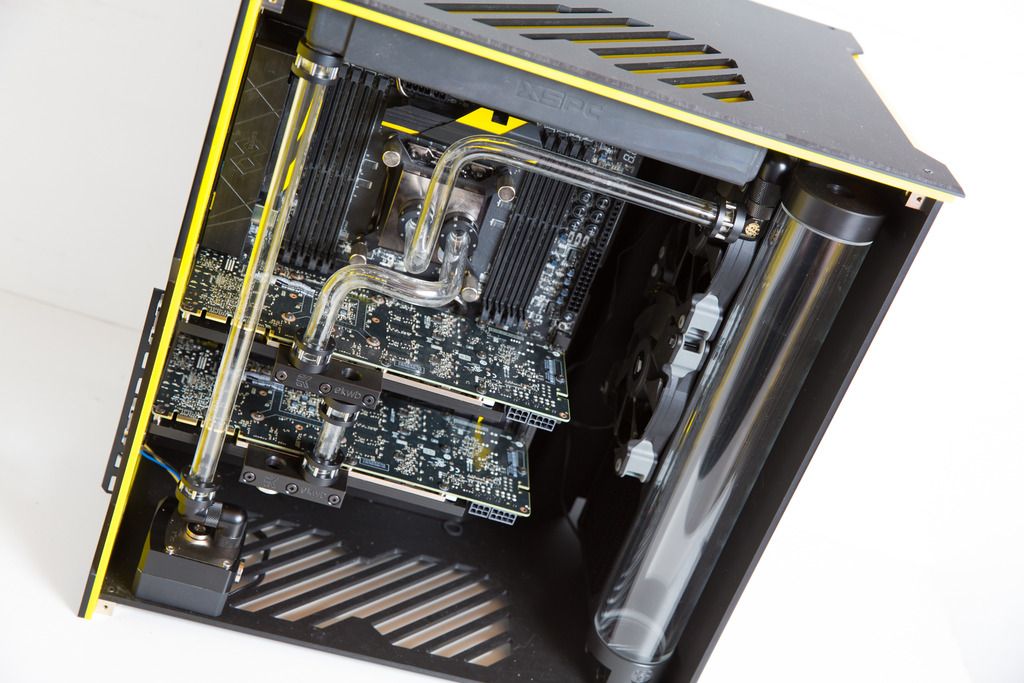
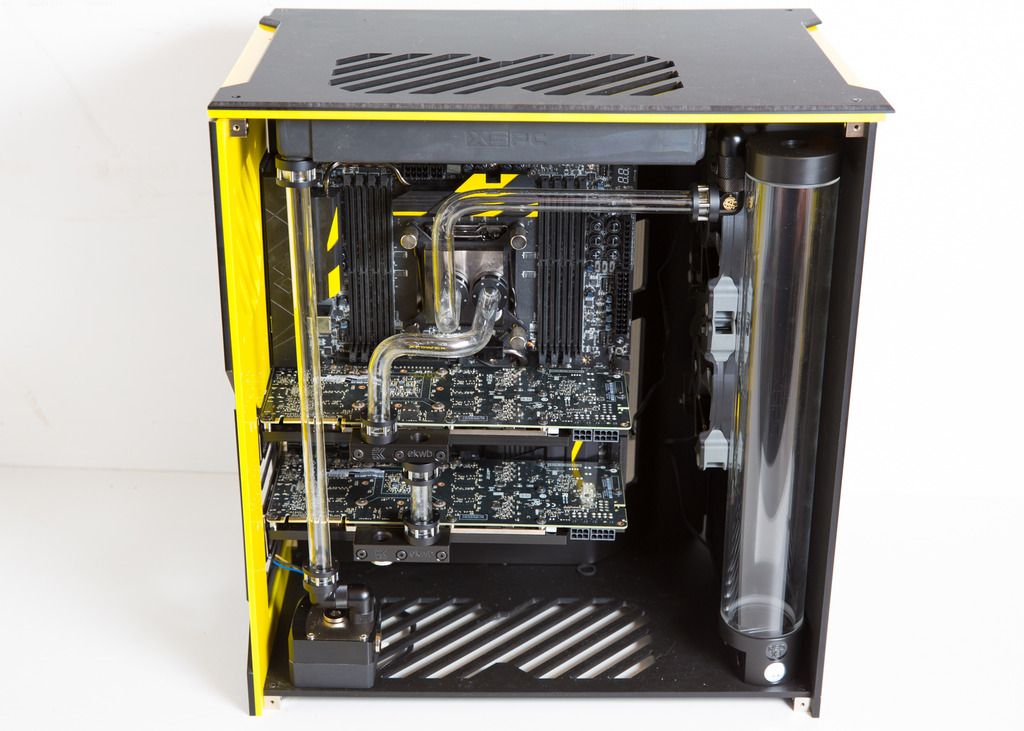
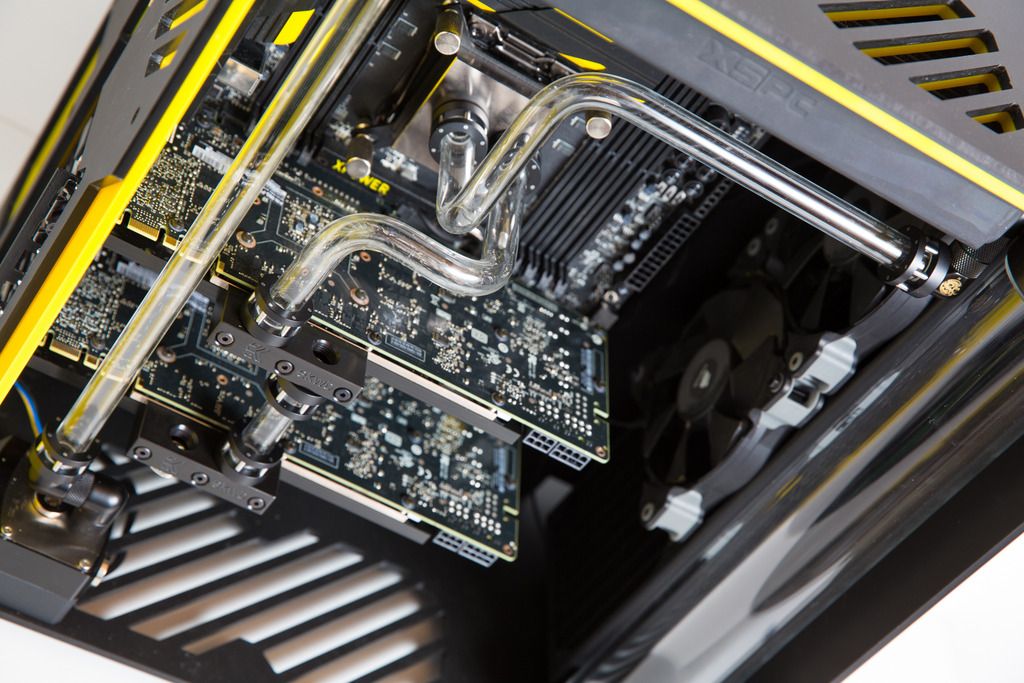
And finally, I've started bending the tubing! This is a first attempt, and certainly one of the tubes I think I can improve on, but you get the idea of how its going to look below:
That's it for now! The backplates should arrive from ColdZero on Monday, which I'm looking forward too. Other than that I'm a bit stuck until I receive a couple of replacement panels from Parvum, then I can properly mount the pump and res. Frustratingly our useless Royal Mail lost them in the post so the guys at parvum are sending out some more!
I've painted the pump housing so its properly matt black and matches the black acrylic of the case. Looks very stealthy:


A similar job on my Essence STX. The plate had faded in the light and looked more golden than black, so that had to change:


I've cut holes in the midwall for tubing to pass through from one rad to the other. I figured this was going to be the easiest way to do the tubing as the ports nearest the midwall are quite hard to access especially using hardline. It also has the benefit of being able to watercool my fan controller:


My gigantic EK X3 res arrived - this things is huge, but I think its gonna look good!

And finally, I've started bending the tubing! This is a first attempt, and certainly one of the tubes I think I can improve on, but you get the idea of how its going to look below:


That's it for now! The backplates should arrive from ColdZero on Monday, which I'm looking forward too. Other than that I'm a bit stuck until I receive a couple of replacement panels from Parvum, then I can properly mount the pump and res. Frustratingly our useless Royal Mail lost them in the post so the guys at parvum are sending out some more!
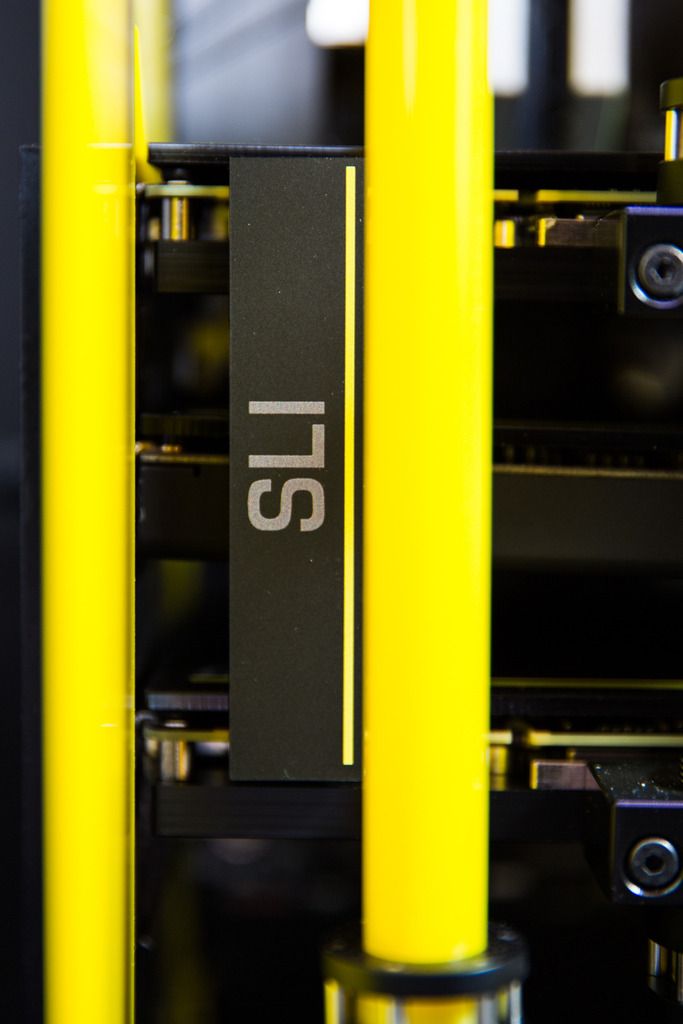
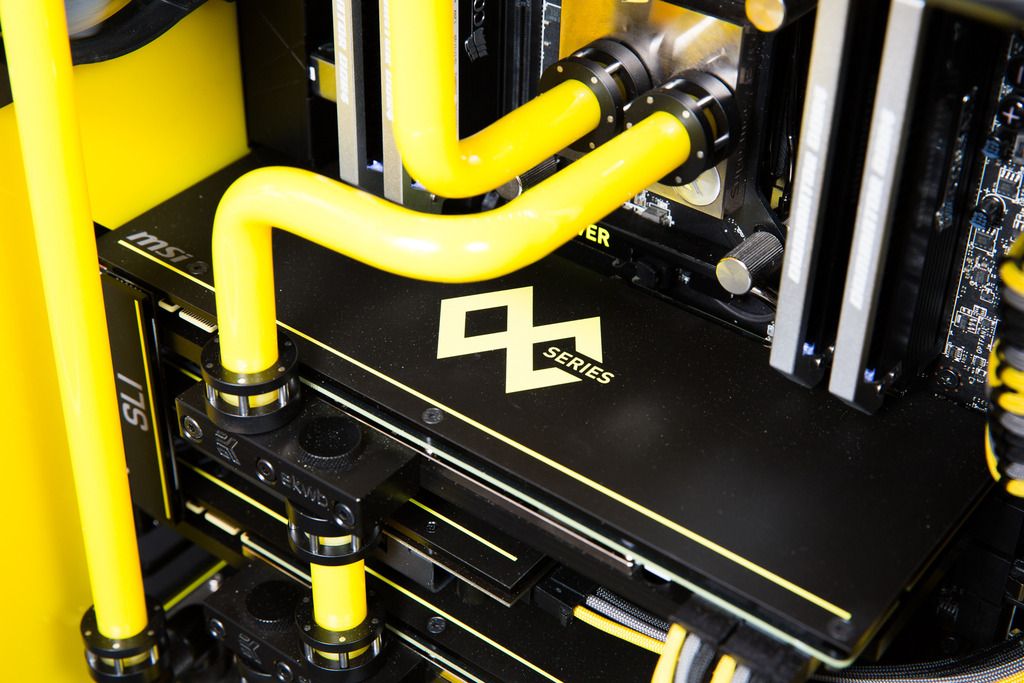
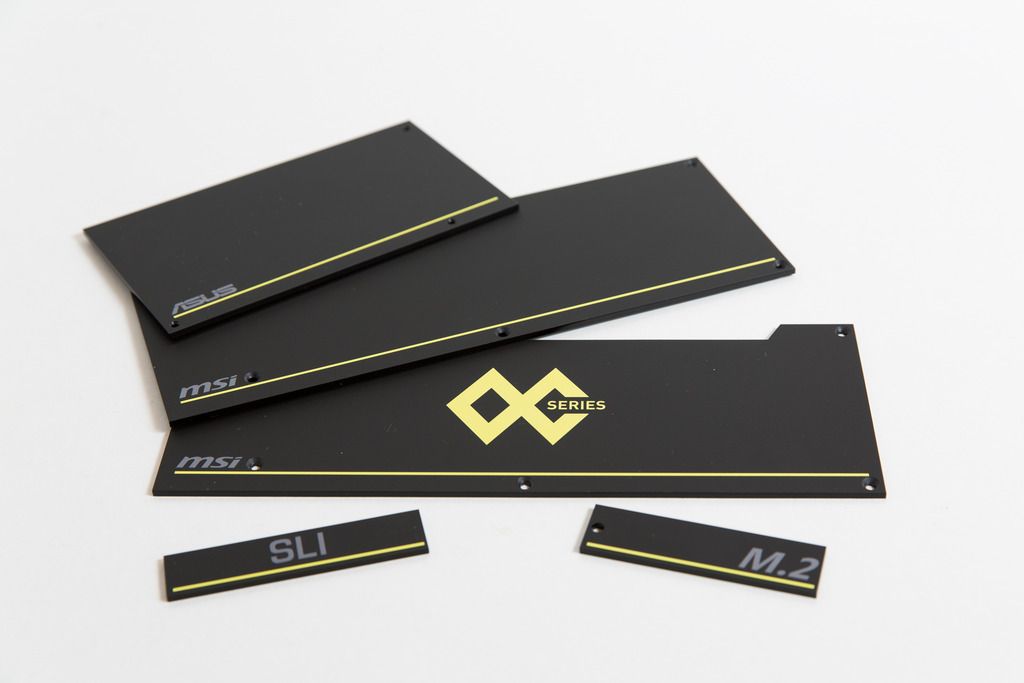
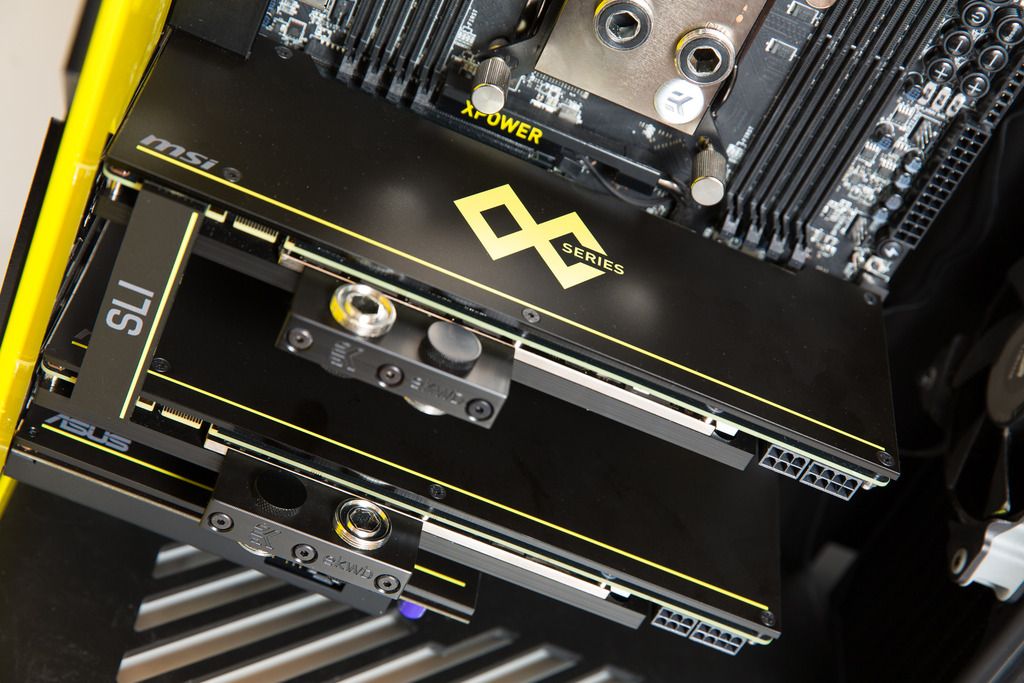
Hey all! Update time! The backplates arrived and they look awesome. Thanks a lot to Ricardo at ColdZero - great job!
Here we go:
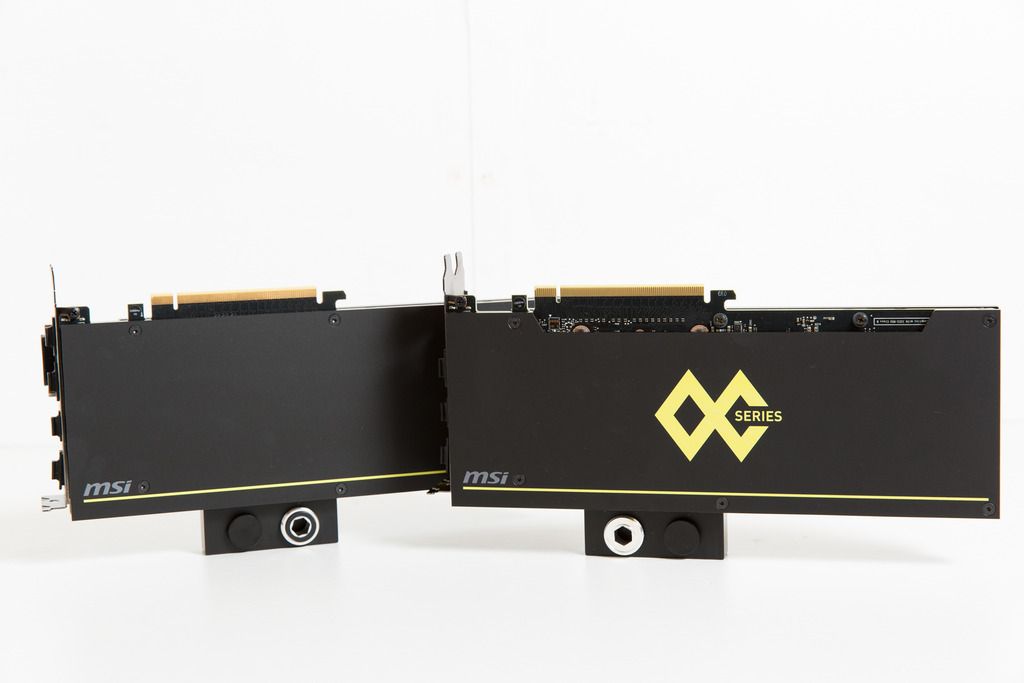
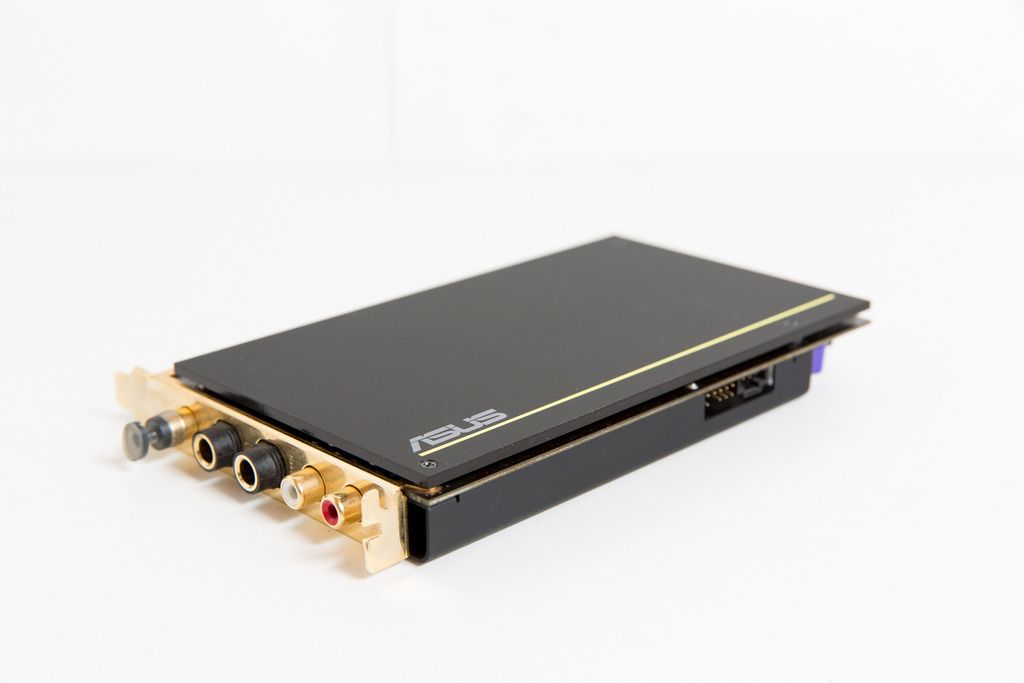
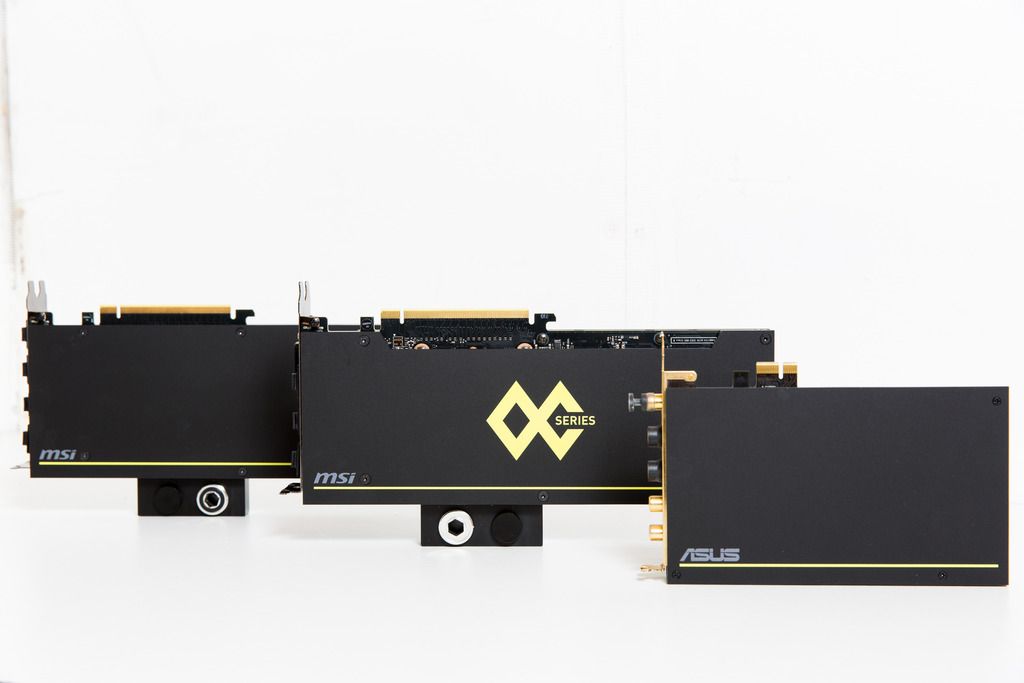
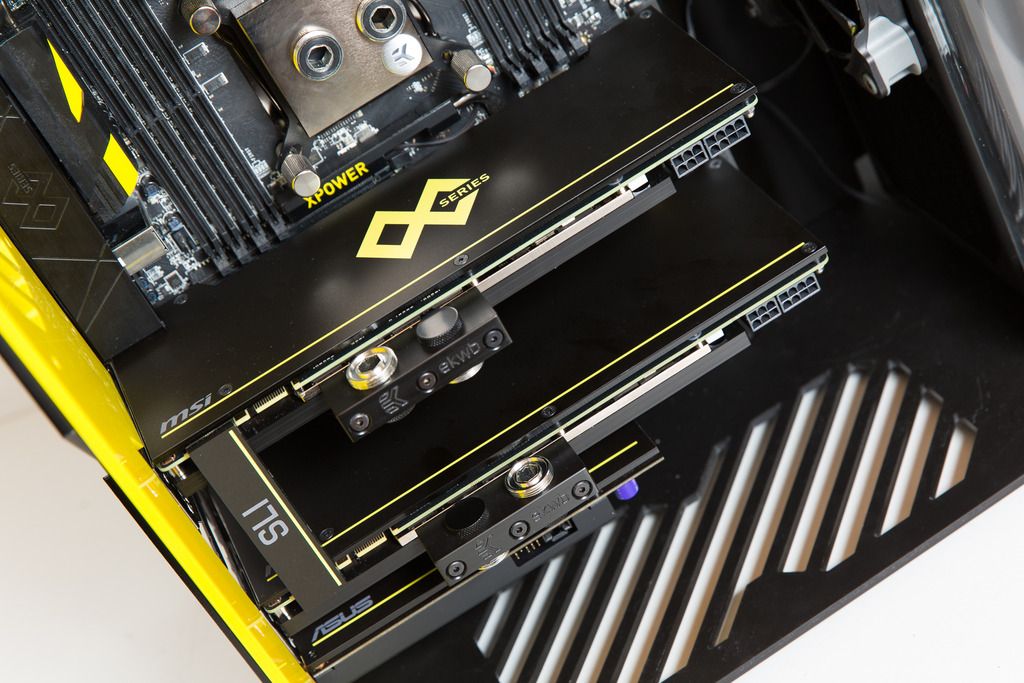
Sadly still no replacement panels. Getting a bit frustrating now as I cant really progress any further without them and this build has already taken way longer than I had hoped! Oh well... hopefully more updates soon.
Here we go:


Sadly still no replacement panels. Getting a bit frustrating now as I cant really progress any further without them and this build has already taken way longer than I had hoped! Oh well... hopefully more updates soon.
Thanks for the comments guys. I definitely recommend coldzero based on these backplates.
The coolant will be mayhems pastel yellow. It's all hear ready and waiting!
Thanks mate. The fan controller is a aqua-computer aquaero 5. It's fully programmable based on sensor readouts. However it can get quite hot on the stock heat sink which reduces max power output so aqua computer do a little water block for it. I'll post some pics later so you can see what I mean!
very neat build mate. what sort of coolant you are planning to use.
The coolant will be mayhems pastel yellow. It's all hear ready and waiting!
Those GPUs look stunning with those backplates and SLI bridge. I also love the backplate for the sound card. Much better than looking at a PCB. Also I did not know you could watercool fan controllers (I assume it requires a custom waterblock?)
As always sublime work
Thanks mate. The fan controller is a aqua-computer aquaero 5. It's fully programmable based on sensor readouts. However it can get quite hot on the stock heat sink which reduces max power output so aqua computer do a little water block for it. I'll post some pics later so you can see what I mean!
Time for another update! The panels arrived, so I can really get on and finish the build now 
Here's todays work:
The new floor (now solid, without the radiator grill) was one of the panels to arrive which meant I could get on with the pump and res mounts:
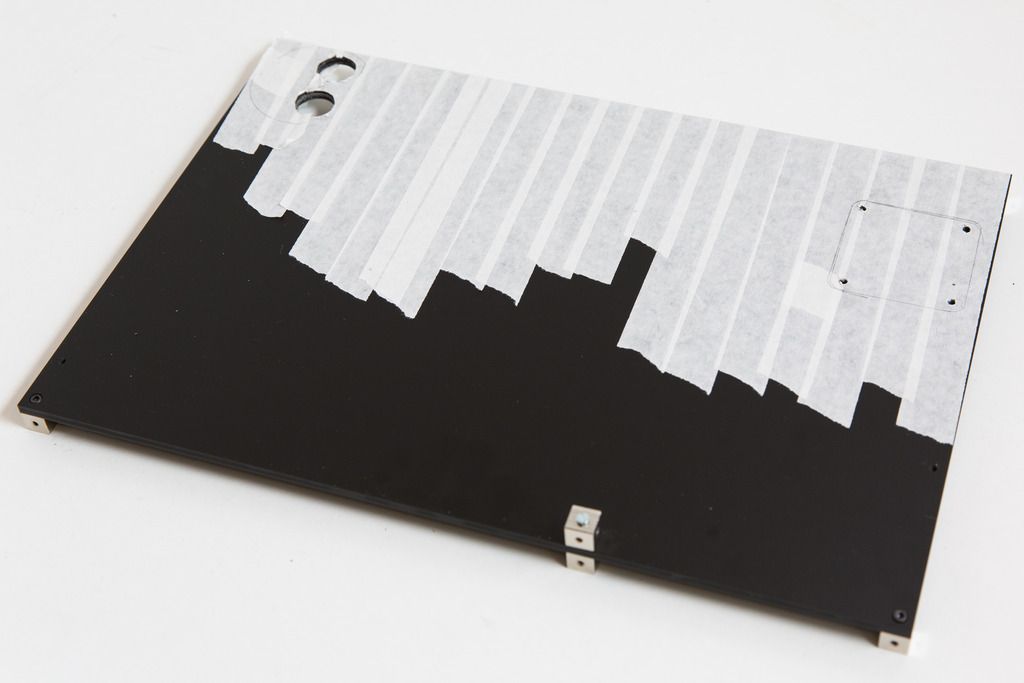
The res will have extension fittings with plugs on the bottom, which go through the two large holes. This means the res can sit flush on the floor, while the fittings help locate it in position and also act as rather useful drain ports at the lowest point of the whole loop!
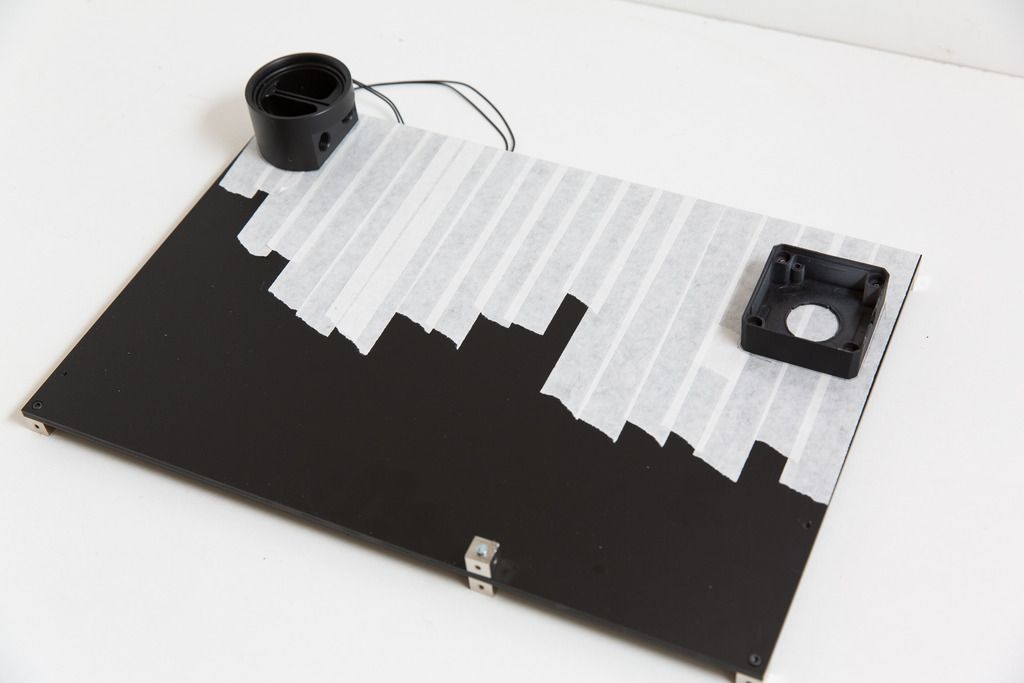
And the underside of the floor - you can see the two drain ports:
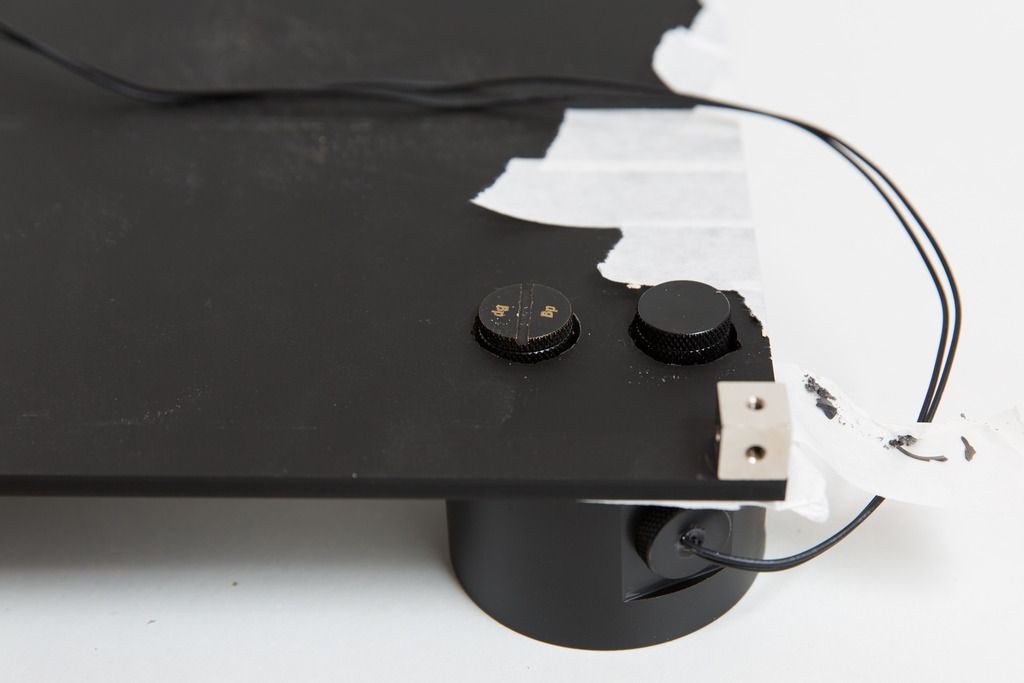
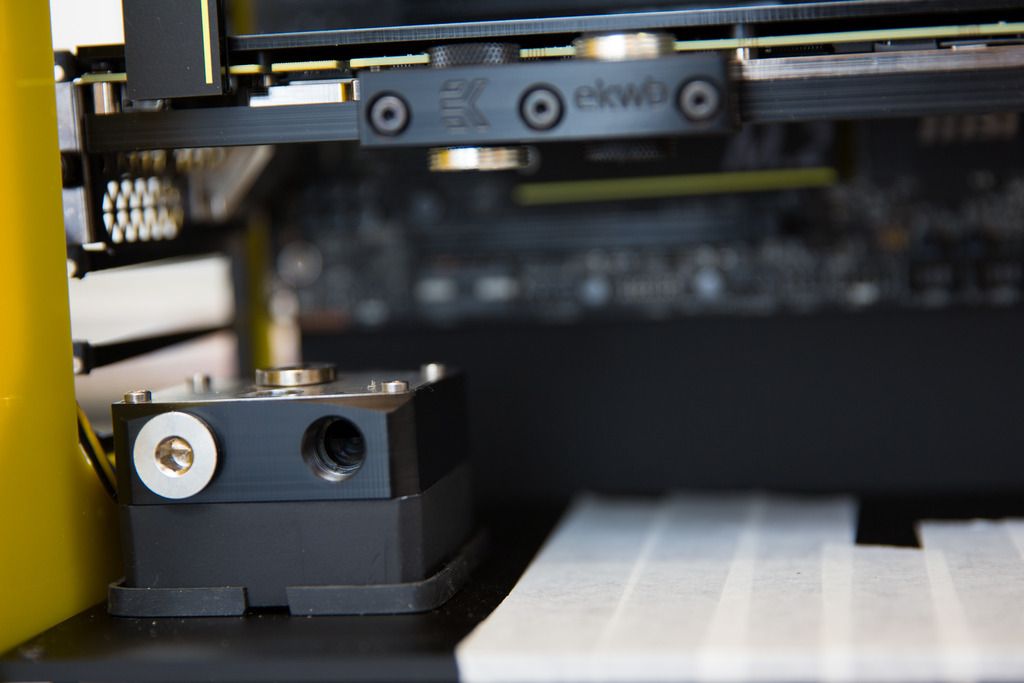
Pump mounted into the floor:
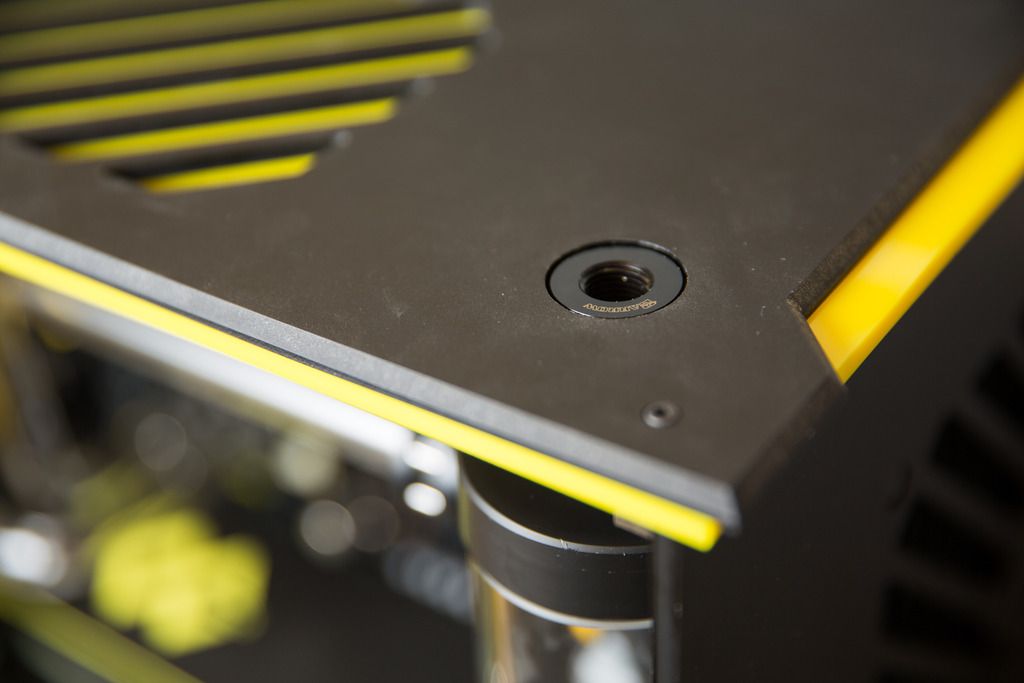
I also cut the holes for the fill port in the roof - looks nice & flush countersunk into the top roof panel - this goes straight into the top of the res:
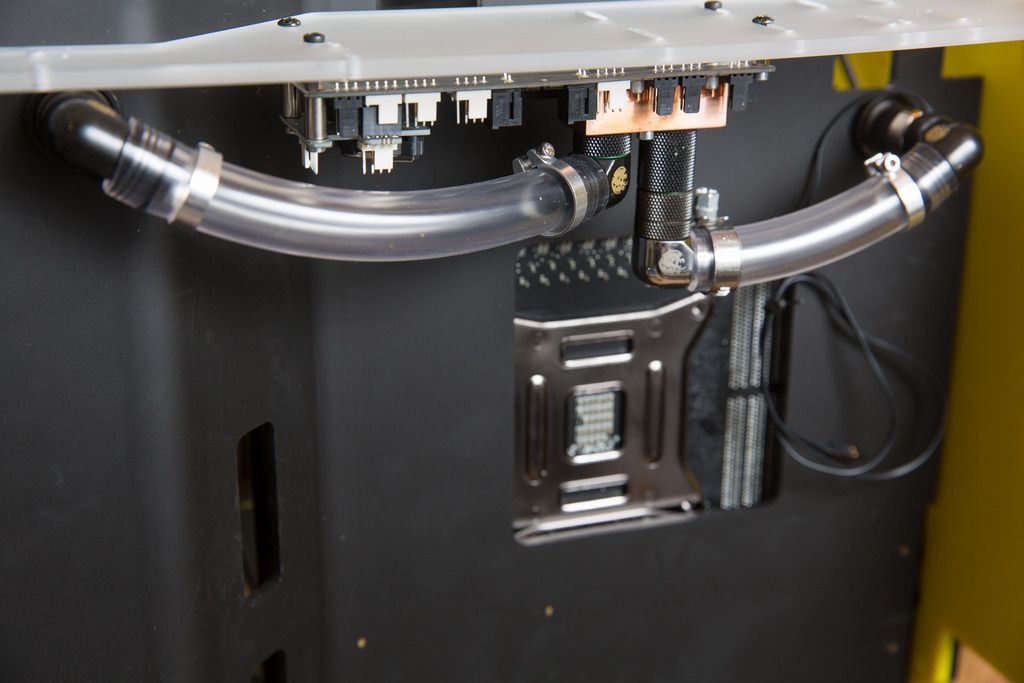
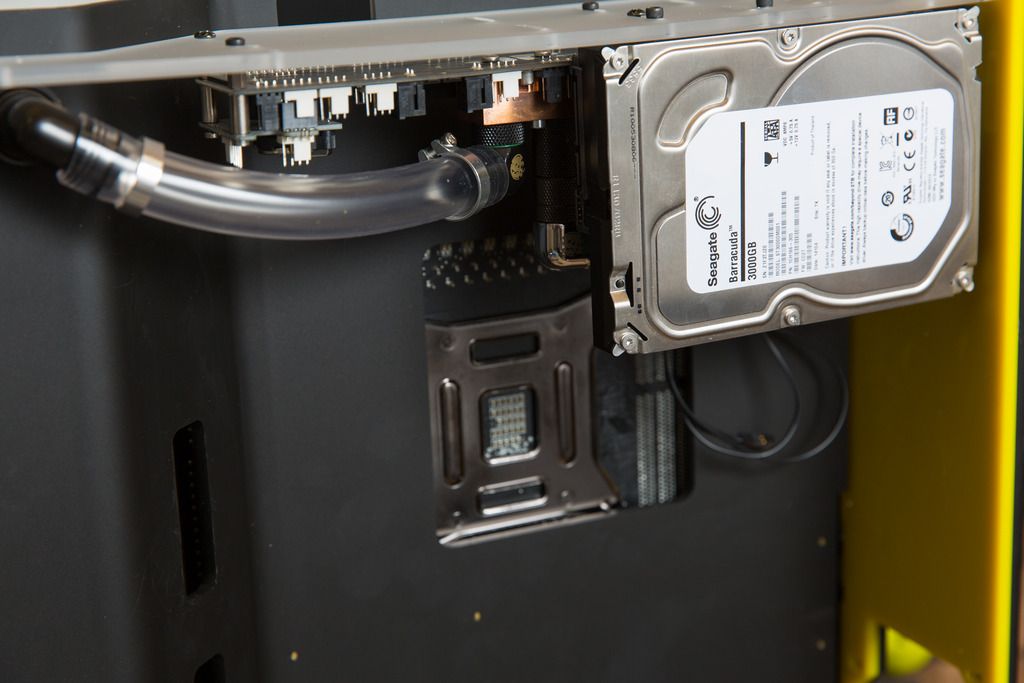
And I've mounted the fan controller and HDD:
That's it for now!

Here's todays work:
The new floor (now solid, without the radiator grill) was one of the panels to arrive which meant I could get on with the pump and res mounts:

The res will have extension fittings with plugs on the bottom, which go through the two large holes. This means the res can sit flush on the floor, while the fittings help locate it in position and also act as rather useful drain ports at the lowest point of the whole loop!

And the underside of the floor - you can see the two drain ports:

Pump mounted into the floor:

I also cut the holes for the fill port in the roof - looks nice & flush countersunk into the top roof panel - this goes straight into the top of the res:

And I've mounted the fan controller and HDD:


That's it for now!
Sorry theres been a bit of a gap between updates - not had much time the last 2 weeks to finish off the last couple of bits!
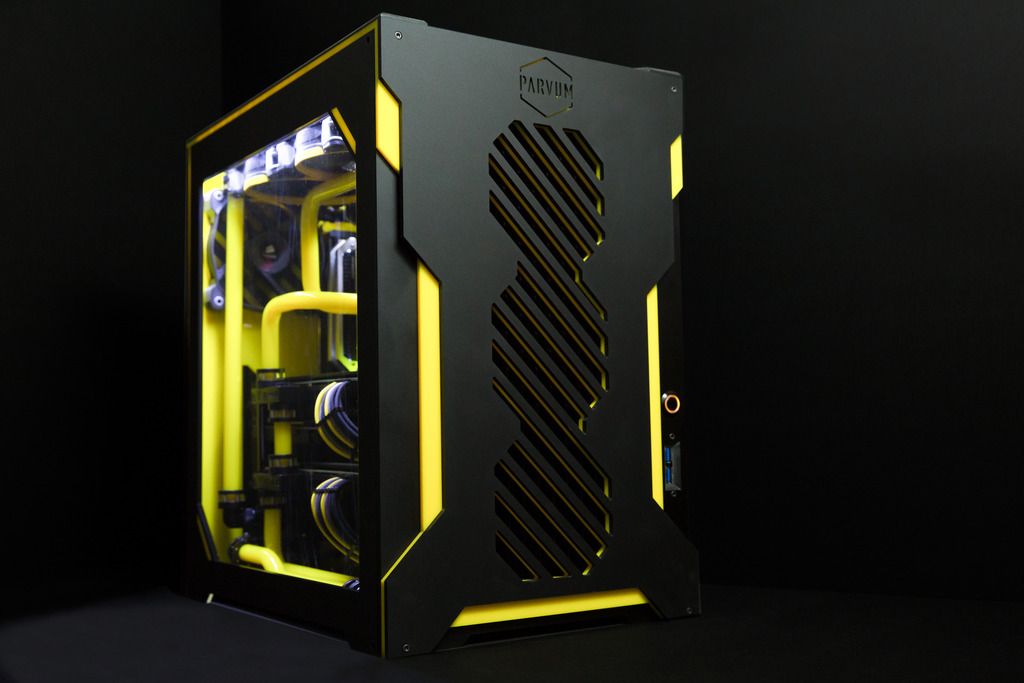
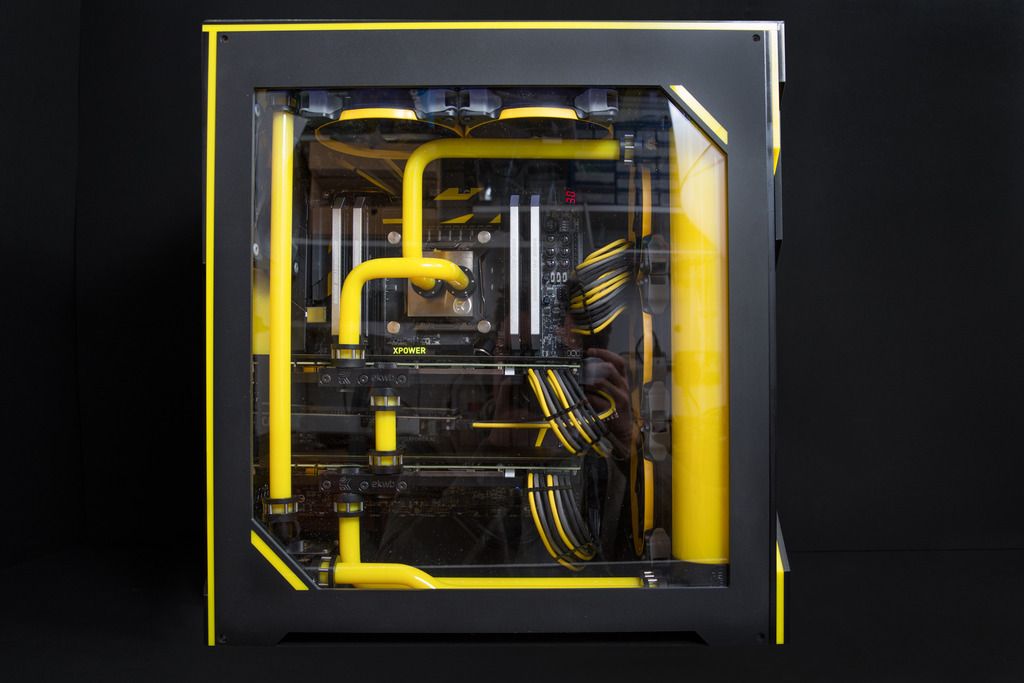
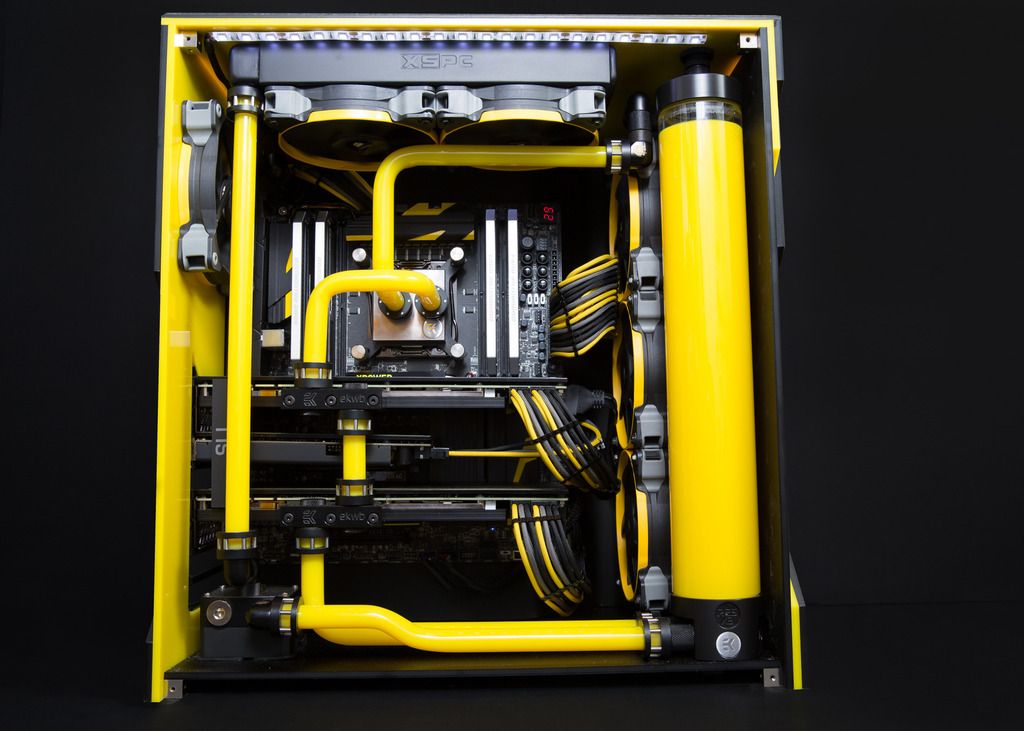
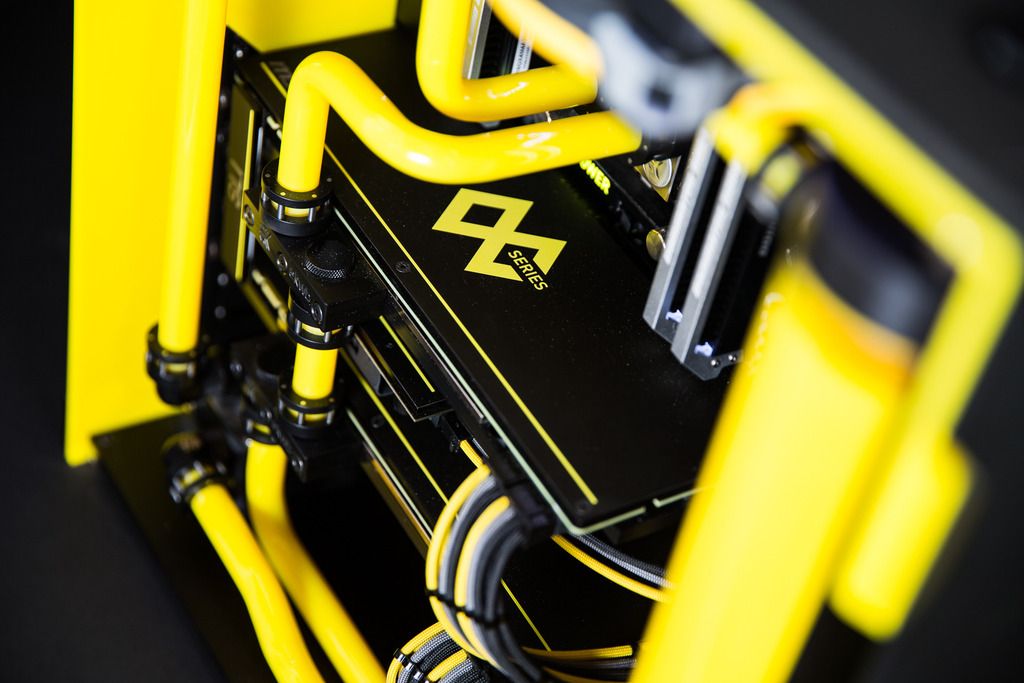
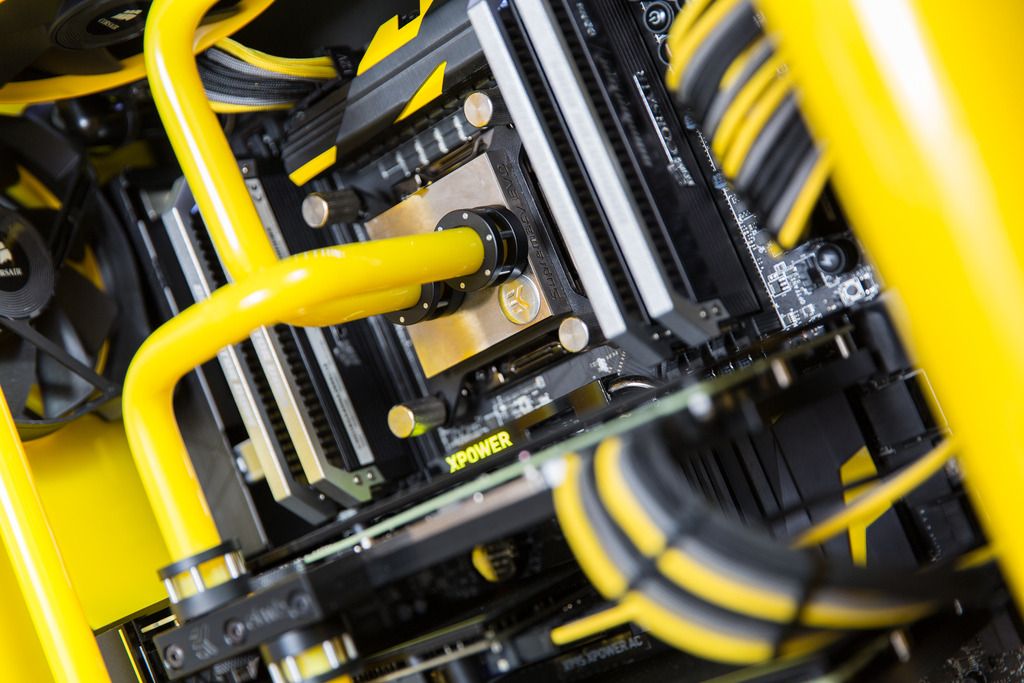
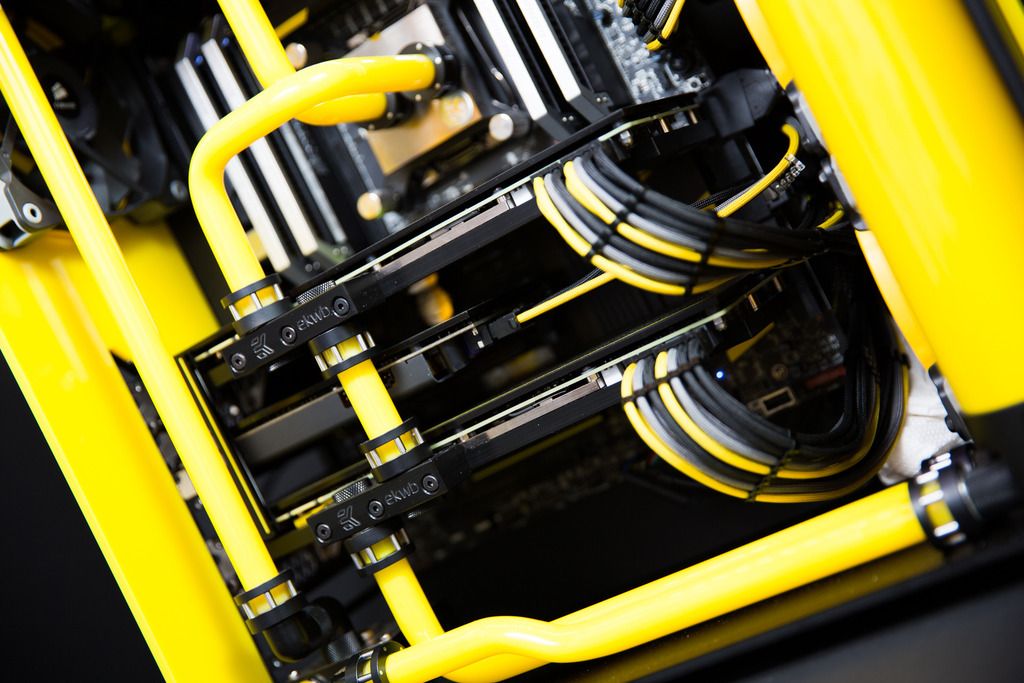
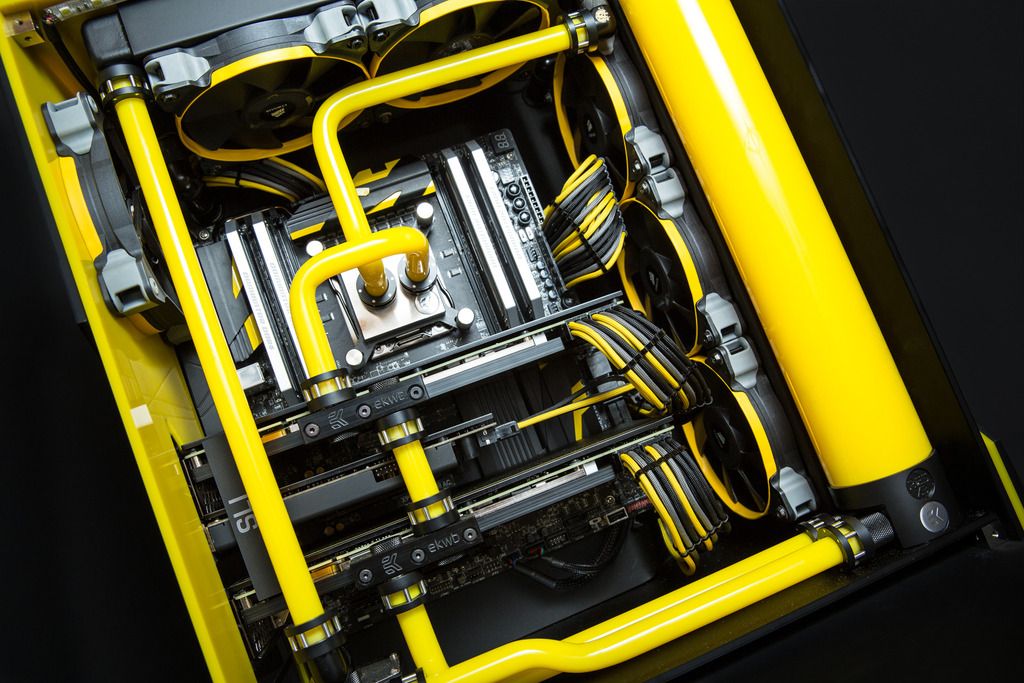
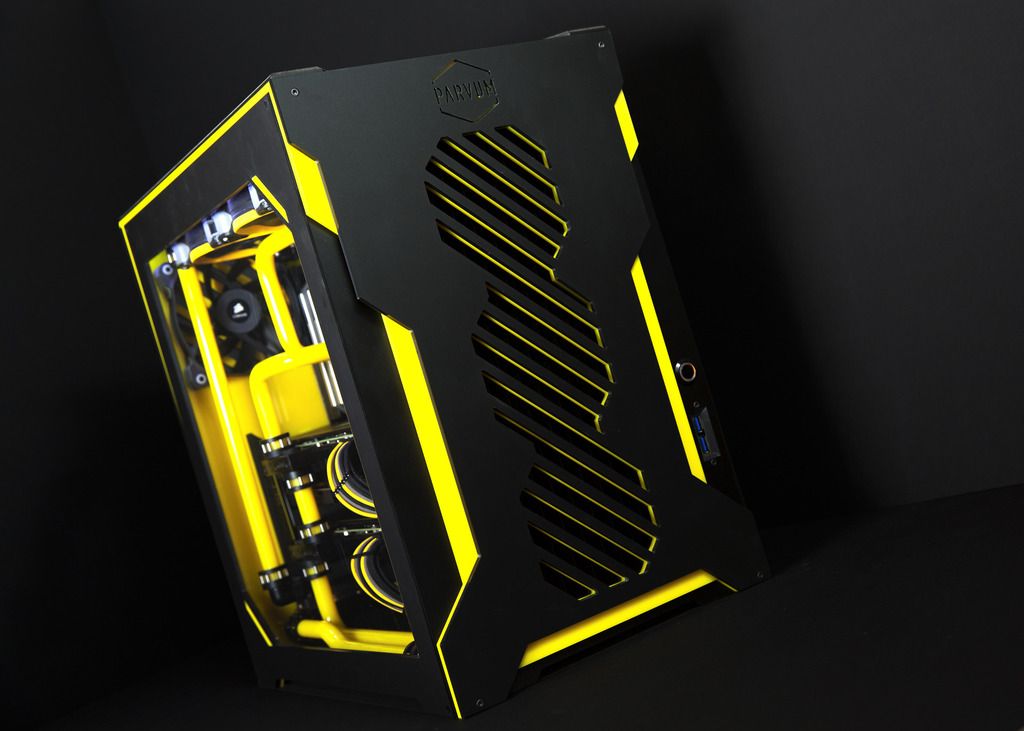
Anyway, all tubing is done, everything is wired up and I'm pretty much ready for leak testing tomorrow (at last!). Here are a few shots pre-leak test
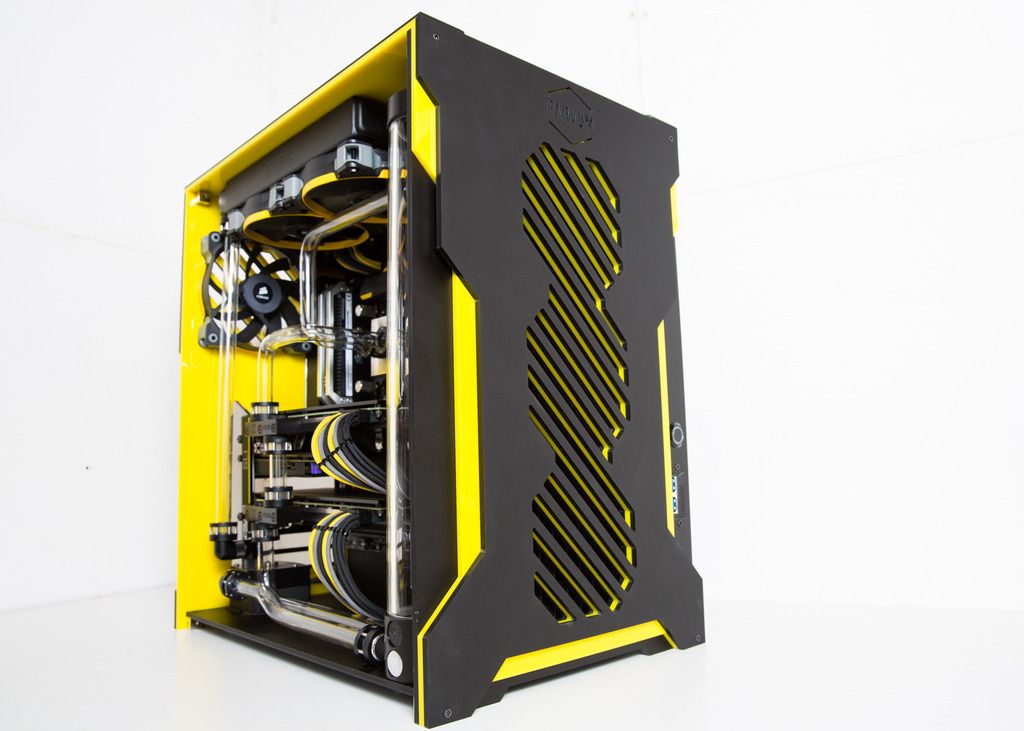
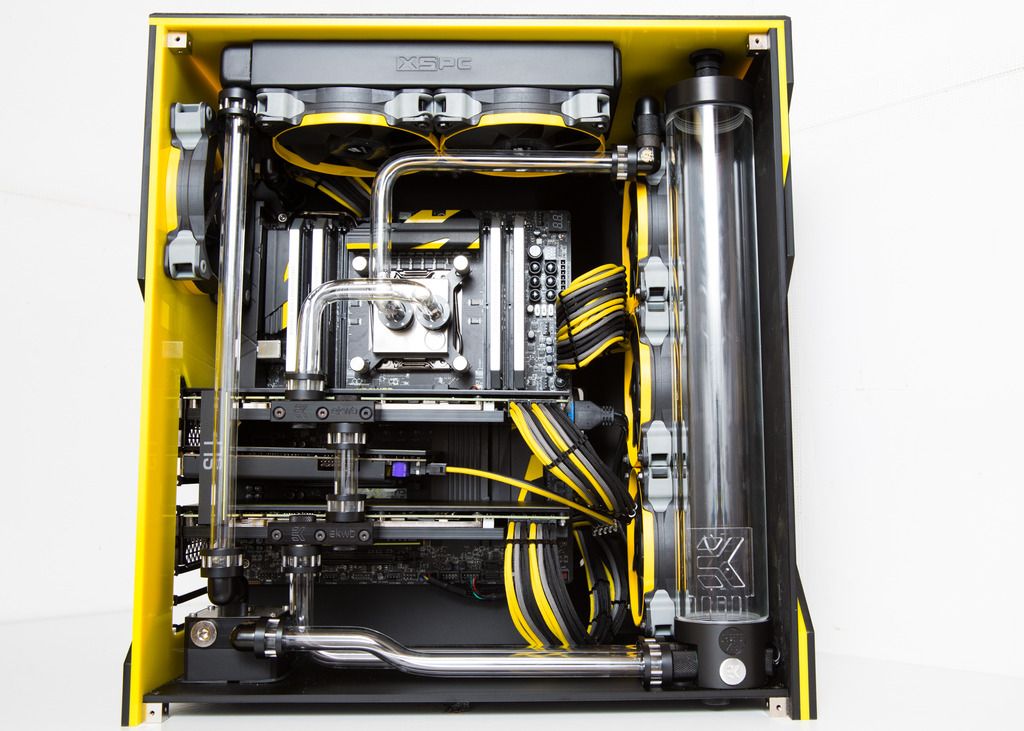
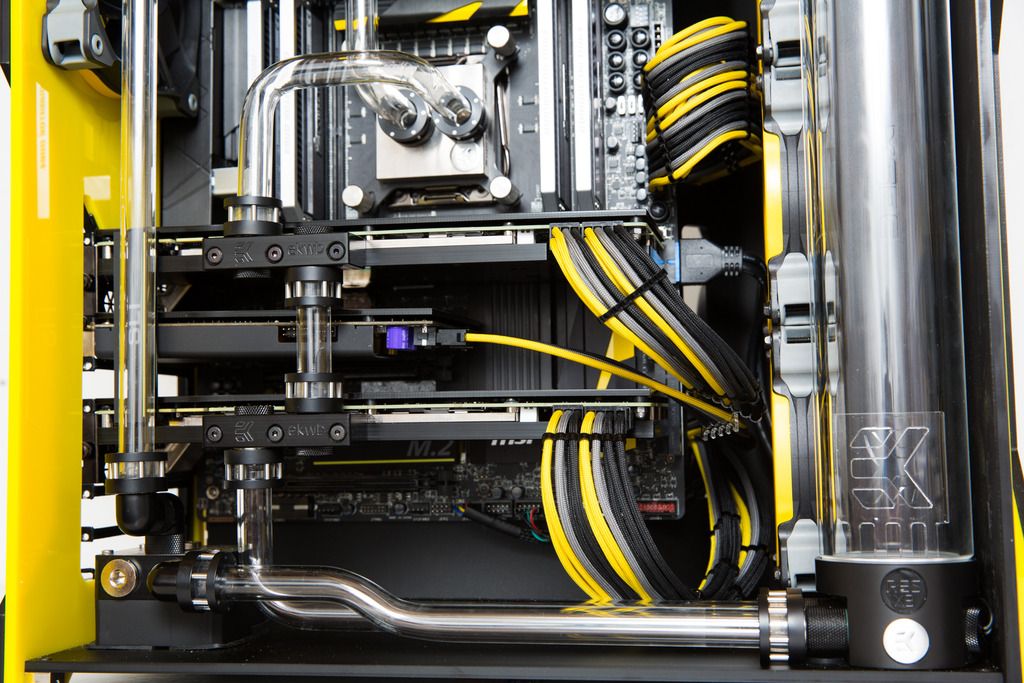
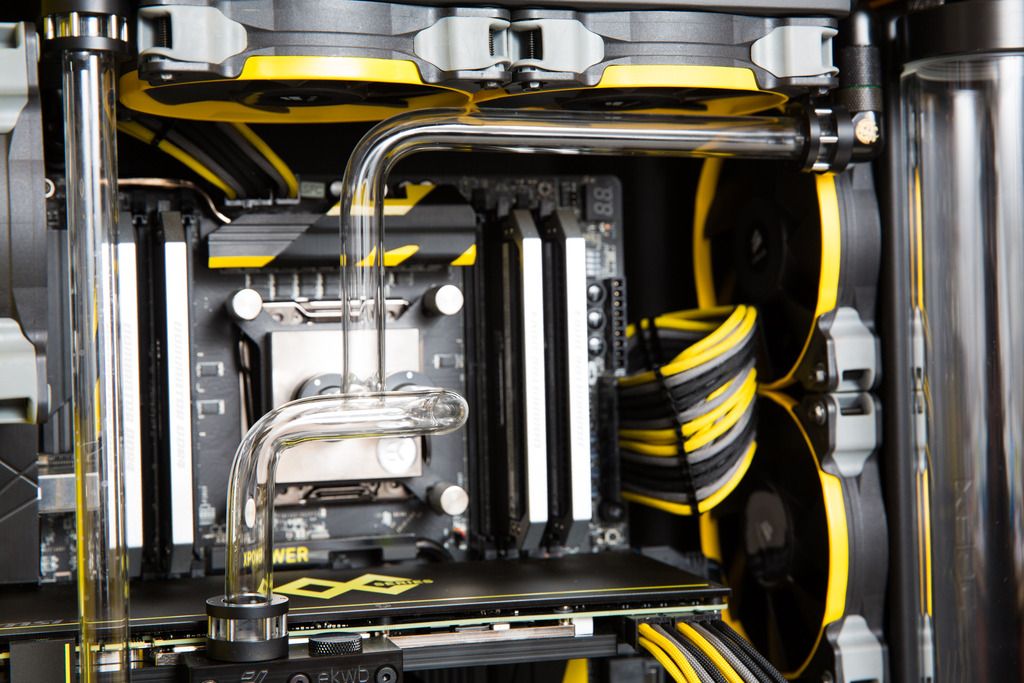
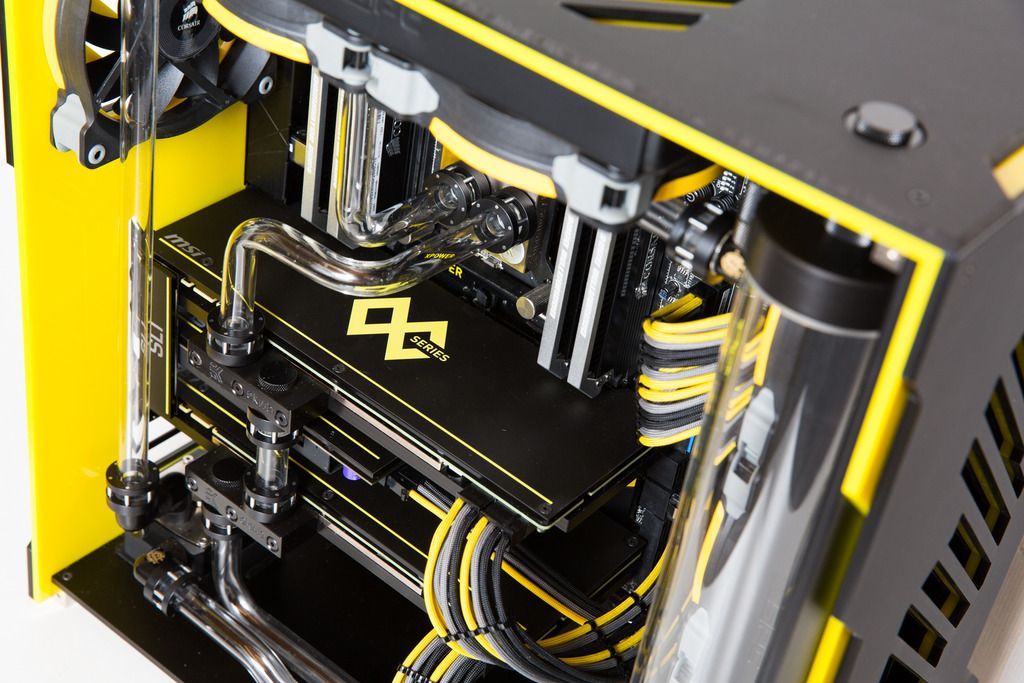
Providing there are no leaks or any other disasters, it should all be finished within the next couple of days
Anyway, all tubing is done, everything is wired up and I'm pretty much ready for leak testing tomorrow (at last!). Here are a few shots pre-leak test


Providing there are no leaks or any other disasters, it should all be finished within the next couple of days

Thanks for the comments guys. Leaks testing now, although the mayhems sunset pastel yellow is not quite deep enough for my tastes so I gotta work out a what to do about that. Might just grab some yellow dye and see if that does the trick.
Adding yellow dye to yellow pastel definitely helps deepen the colour. I tried it on my friends Parvum recently and we got it matching the yellow acrylic almost perfectly.
JR
That's what I'm after! I've ordered some mathematical yellow dye - should be here in the next couple of days.
the purple cap on the sound card and the blue connector on the USB3.0
grab some black insulation tape and cover them. nice easy fix that wont void any warranties.
I hadnt actually noticed the cap, now you've pointed it out it'll bug be so will have to cover it!
Quick update...
Project Fortis won ROTM over at guru3d
http://www.guru3d.com/articles-pages/guru3d-rig-of-the-month-december-2015,1.html
and its now nominated for the rig of the year vote! If any of you liked my build enough and have a guru3d account, please vote for me
http://forums.guru3d.com/showthread.php?t=405016
Project Fortis won ROTM over at guru3d

http://www.guru3d.com/articles-pages/guru3d-rig-of-the-month-december-2015,1.html
and its now nominated for the rig of the year vote! If any of you liked my build enough and have a guru3d account, please vote for me

http://forums.guru3d.com/showthread.php?t=405016


