PROJECT: Girly Mods II.

Associate
Joined
4 Jan 2007
Posts
197
Location
Stoke
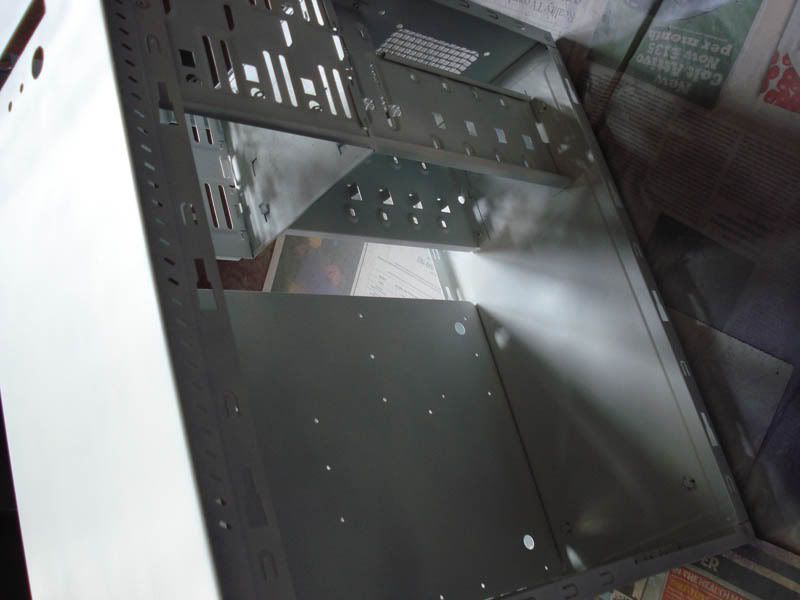
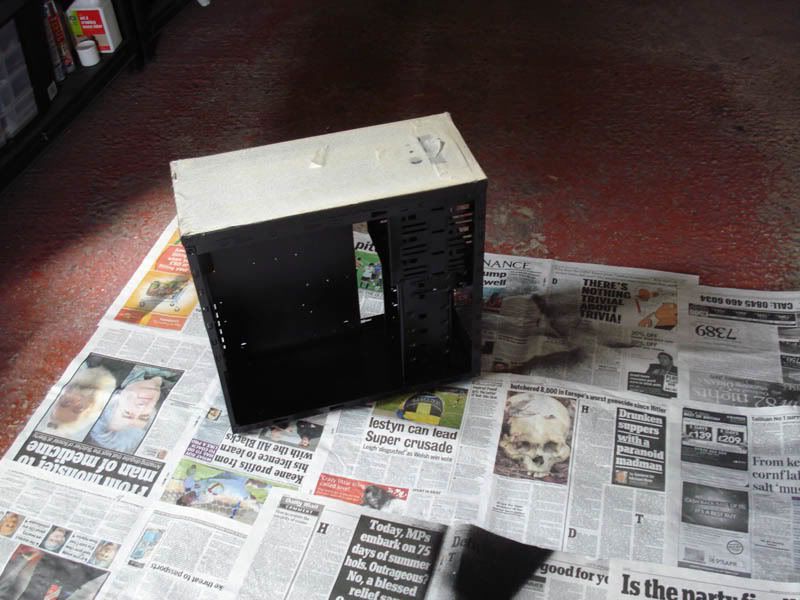
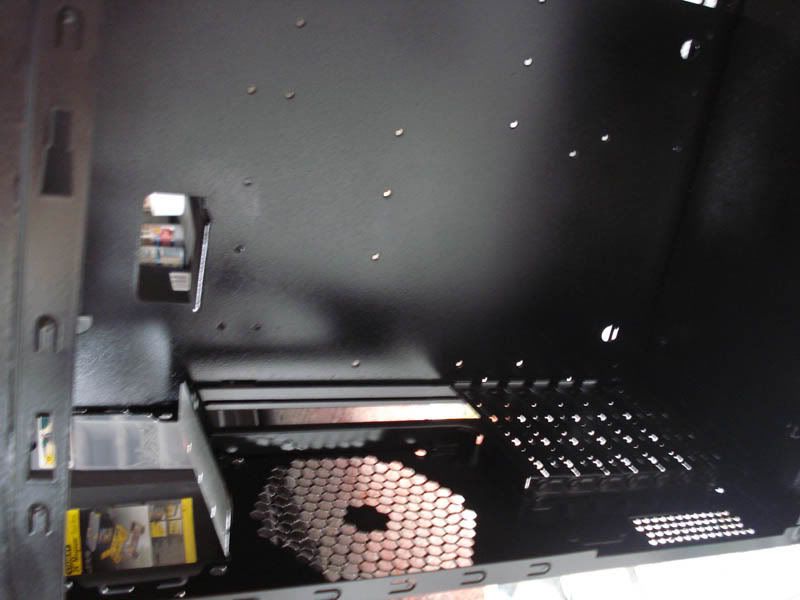
I'm back with a brand new project! Last time I painted the inside of my case black so I'm going for something a bit more adventurous this time.

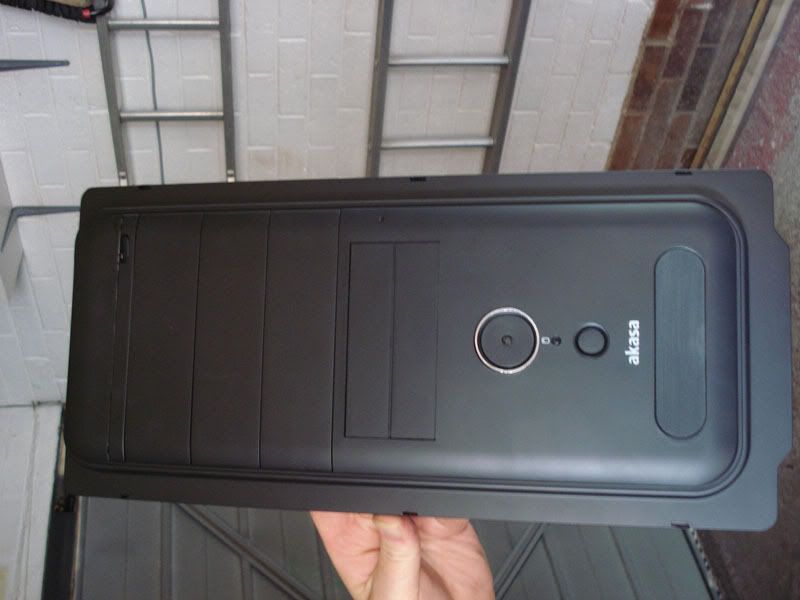
Basically I'm helping my friend mod a case to take to uni with her. We're both pretty big into computers and she's always complaining about the lack of "nice, girly" cases. So we decided to make our own :D

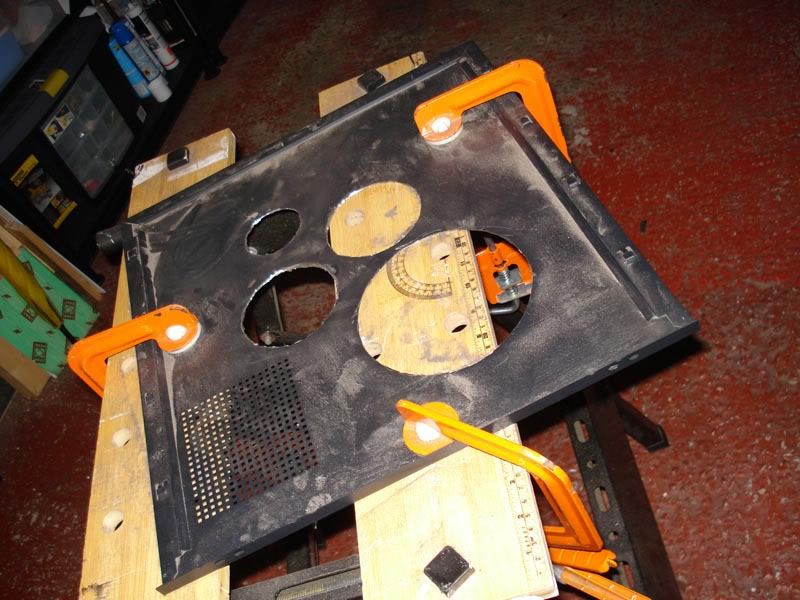
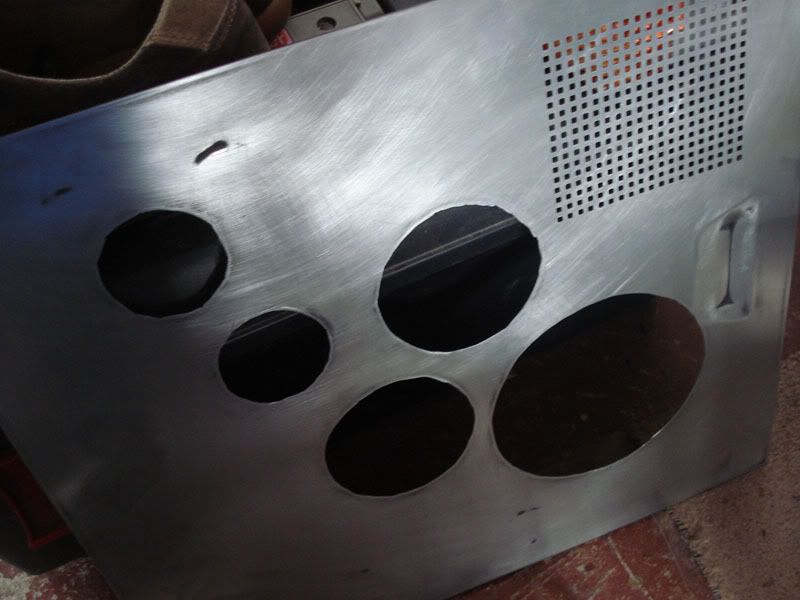
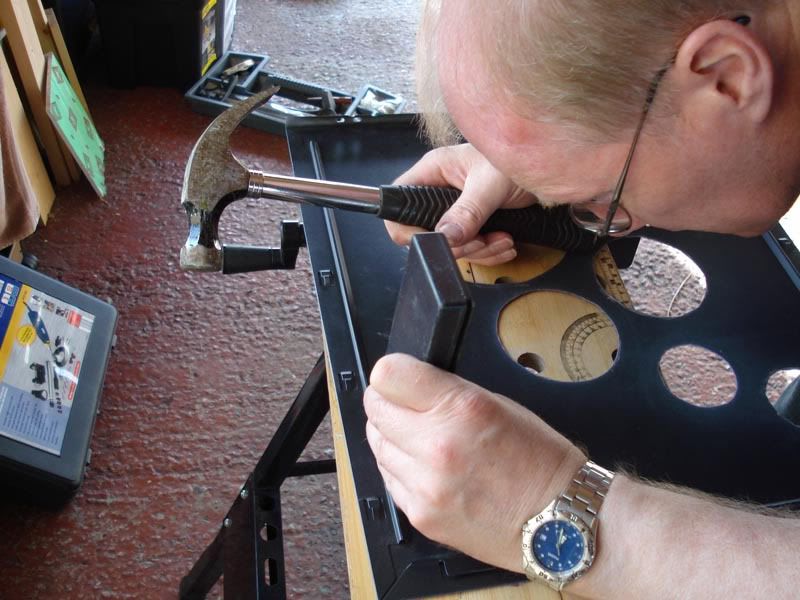
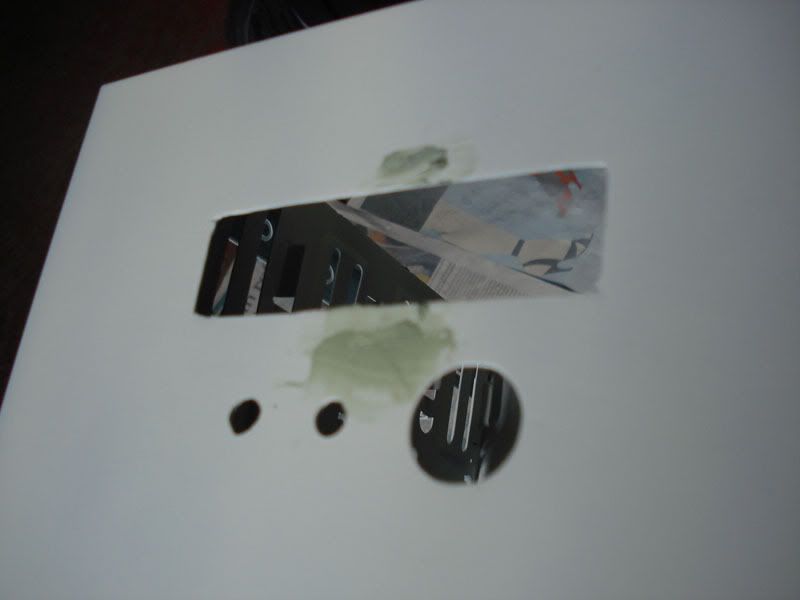
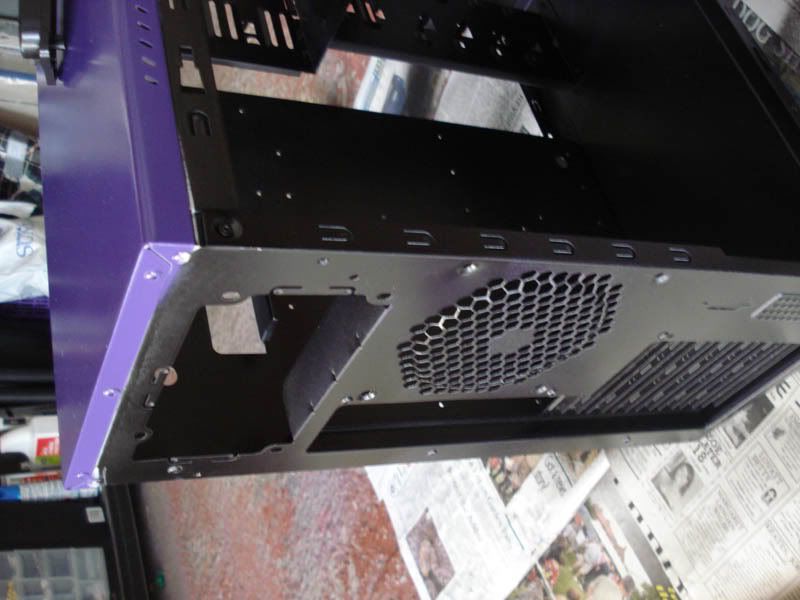
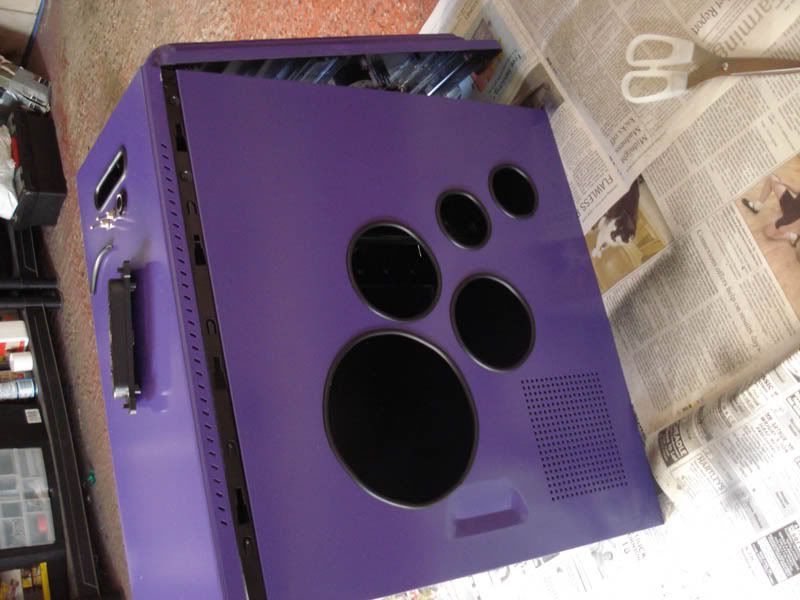
When we started the plans were to paint the inside and outside, cut out a window, do something to the front panel to make it clean and simple, possibly put the power buttons on the top, and look into making a fan controller. We didn't have concrete plans but we've just sort of felt our way along.

I did start to post some pictures of this before but I didn't get very far and we hadn't worked on the case for a while. I thought I'd start a new thread and start again now that we've done a lot more work on it.

Pictures to follow in the next post!
 
We're using an akasa zen case in black as the base for this because it's cheap and cheerful so it doesn't really matter if we mess it up too badly.
01.jpg

The front panel was the biggest challenge; it's made out of plastic and looks pretty cheap so we wanted to simplify it and make it look a bit more elegant. I love Lian Li cases for looks so that's the kind of idea we were going for.

02.jpg
03.jpg

06.jpg
07.jpg

05.jpg

For the side panel we wanted a window but not something boring or conventional. We decided to go for a pattern of circles that got smaller as they got further into the corner. I didn't realise how hard it would be to cut circles out with a dremel but we just about managed it. We didn't have a proper dremel, we have a dremel-a-like. The actual thing itself is really good but the accessories that came with it are pretty rubbish. We cut out about 2inches of circle and the cutting discs were worn down to nothing as shown in the picture. We ended up going to buy some dremel branded cutting discs and they were about a million times better. In fact we only used two for the rest of the cutting and that included four circles, a square on the top panel and cutting the plastic for the window! It took a lot of sanding and grinding to get the circles looking pretty neat. We decided to get blowhole trim to take care of the irregularities.

09-1.jpg
09.jpg

10.jpg
08.jpg

We used the power sander to take off the black paint that was already on the case and got it down to the metal. In the picture there are some black bits of paint left on; these were dents in the metal. My dad thought he could probably tap them out for us so he did and they look a lot better than they did, although you can still see a bit of a dent in one of them. After we'd sanded we were ready for the paint!
 
Actually I lied... it's not quite paint time yet. First off we had to do something about the front panel. My friend's dad suggest using car filler to fill in some of gaps and holes and we thought that was a pretty good idea. We wouldn't need the power button and reset holes or the bit at the bottom that covered up the usb i/o because we'd decided to put all that stuff on the top of the case. In the end we decided to fill in everything but the one cd bay we were going to use.

11.jpg

12-2.jpg

12.jpg

14.jpg

We glued the power button in to fill up some of the hole (it was loose before) and filled down the little handle on the i/o cover and glued that into place. We'd taken out the actual usb connections because we were going to use them on the top of the case instead.

13.jpg

15.jpg

16.jpg

19.jpg

It looks a mess in the second picture, but once it had been sanded down it was pretty good. After I'd put a coat of primer on it was obvious that we hadn't sanded down enough and that there were still some gaps so we put a little more filler on and sanded it down again. It didn't take that long and now it's painted you really cant tell where the filler is.

After that I primed the side panels and then concentrated on the top while that dried.
18.jpg

17.jpg
 
So the top panel. We had the usb i/o from the front of the case.
20.jpg

So we decided to simply cut a hole and stick that to the inside of the case. Pretty simple but I thought it would look good when it was done.

21.jpg

22.jpg

23.jpg

Cut the hole out with the dremel. Also drilled holes for a power button and two toggle switches that we were going to use as fan controllers (one connected to each case fan - flick on way to make the fan run at 12v and the other to make it run at 5 or 7v depending on whether or not the fans will run at 5!). After these were cut out, I used a bit more filler to fill in the bits that had been over cut, and then sanded and primer the case. After that I noticed that there were two little marks in the top of the case that looked like the dremel had knocked them and almost cut them. So I filled those in with filler as well.

25.jpg

You can just about make out the marks I think. You can see them on the last pic above, they're the silver lines near the big hole.
26.jpg

27.jpg

27-2.jpg


Think I might leave it there for now as I'm off to bed. Will post more tomorrow! :D
 
Thanks for the comments everyone! The circles still look a bit of a mess in these photos but they'll get better once they're painted and have the blowhole trim on them!

So I left off at the priming stage last night:
28.jpg

29.jpg


I didn't drill the rivets out of the case, and I didn't do it the last time I sprayed the inside of a case. This was partly due to lack of equipment and also because it had worked out fairly well last time so I was sure it would again. We sprayed the inside black first, so I masked off the top and got spraying.
30.jpg

31.jpg

32.jpg

33.jpg


After that we started to spray the outsides of the case purple. We took it slow and did several light coats, sanding lightly between each one.
35.jpg

37.jpg


Then masked off the parts that we'd sprayed black and the top half of the case so we could spray the top purple.
34.jpg

38.jpg


The purple doesn't look as purple here as it does in real life. It looks quite blue-y here but it's actually quite a deep purple. It's a nice contrast with the black.
 
Last edited:
The case when the tape had been removed:
39.jpg

40.jpg


It looks quite neat considering the case wasn't taken apart. I also applied a clear top coat to all of the outsides of the case to give it a bit more protection and make it nice and shiny! :D
41.jpg

You can see the shine quite well on the side panels here.

Next we returned to the side panel to sort out the window. I'd got a 2mm thick A3 piece of clear plastic that we were going to cut down and use. First we had to battle with the blowhole trim. The first couple of times I cut it too short so there was an obvious gap but I'd bought enough of it that we could go wrong a few times and still have enough left over to use. After a lot of fiddling we ended up with this:
45.jpg


I cut the plastic out using the dremel on its lowest setting and it cut through really easily. My dad suggested using more of the filler to stick it to the case as you use cement when you're laying slabs (at least according to him). The problem was the blowhole trim stuck out of the case and if we tried to glue the plastic to the blowhole, if it moved at all before it dried we'd have glue smeared across the window. So we used the filler like this:
49.jpg


And it stuck pretty well!
50.jpg

51.jpg
 
So now all this was done we decided to get an idea of what the case would look like when it was done:
47.jpg

46.jpg


I think it looks pretty good! :D

That's where we're up to right now, we just need to sort out the electronics and then assemble it and put the computer in the case, lol. The next update probably wont be until next week now, as I'm working all day saturday and then I have band practice on sunday. So I should be back on monday or tuesday with an update full of soldering iron fun!
 
Nice work ladies - and a good log too, clear theme and direction, good photo and nice storytelling.

Will you follow the black and purple theme inside too? or should I just wait and see ;)
subscribed and looking forward to the conclusion :cool:
 
Nicely done so far, good little read as well.

Can't wait for more updates actually, I enjoy following build logs for some reason.

Good going :)
 
Back
Top Bottom