Project: Guitar Of Justice

Associate
Joined
28 Feb 2013
Posts
1,710
Location
Leeds
Hello

After looking at people succeed in other projects, i thought i would take on my own.

The project name came from a film me and my girlfriend watched last night "Justice".
it was all about doing the right thing, even if it was wrong.

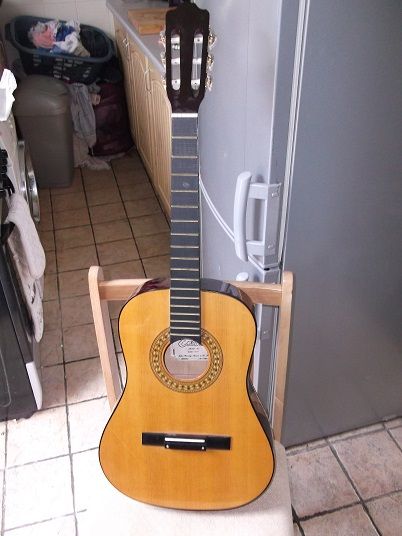
The guitar i have chosen for my project is a 3/4 size Acoustic Guitar "Classical".

Its horrible brown, and has a funny pattern around the centre hole.

That is all about to change for the little guitar.. but that you can not see just yet :)

This is what i am aiming to put inside this little acoustic guitar!

-------------------------------------

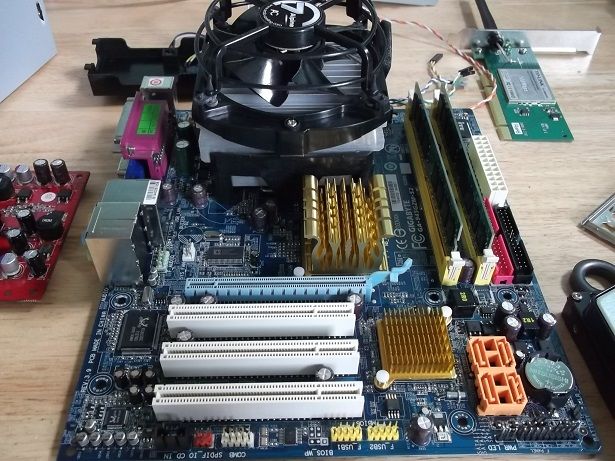
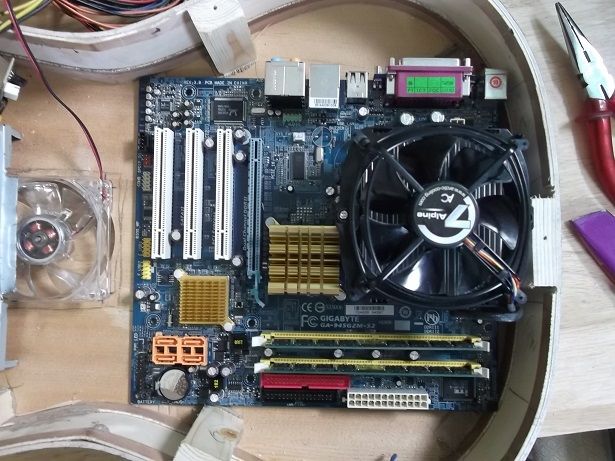
Micro ATX motherboard gigabyte mATX board.

RAM: 2 x 1gb DDR2 800mhz ram

CPU: Intel pentium D 3.0ghz dual core

Cooler: intel stock cooler

Power Supply: Antec 300watt micro psu.

GPU: Onboard / Low profile HTPC GPU.

CD/DVD Drive: Slot Type Laptop Drive.

Cooling: 2 x 60mm FANS (InTake) , 1 x 80mm FAN (Extract)

Hard Drives: 1 x 500gb seagate SATA HDD

-------------------------------------


Here is the first part of the project of what i have managed to do tonight.

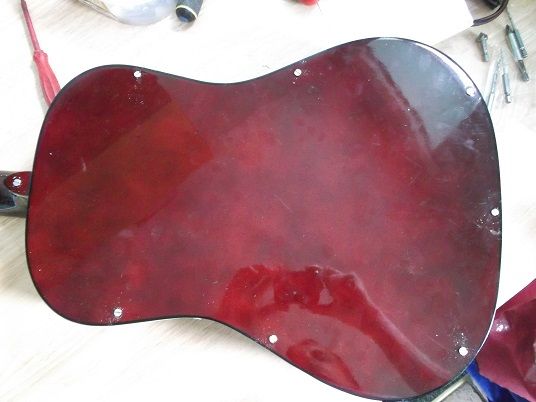
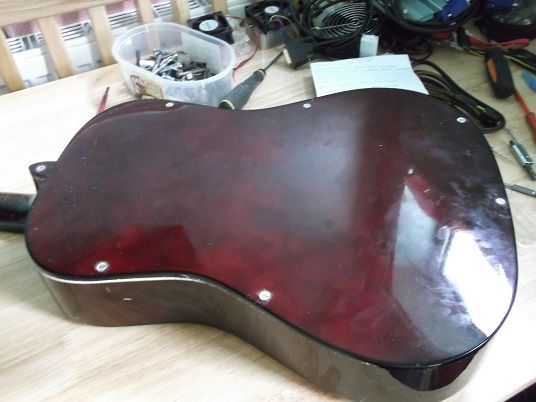
This is the wonderful little guitar.


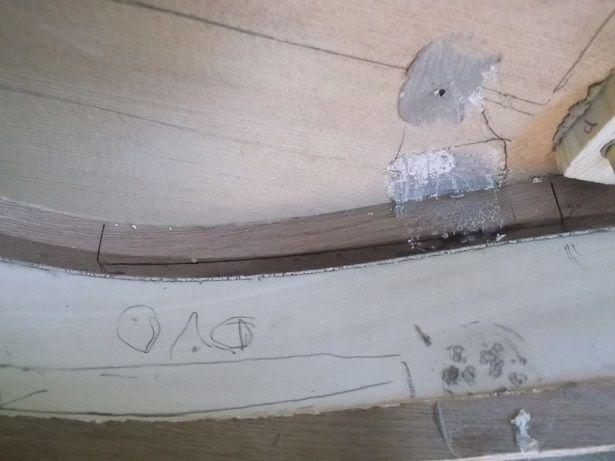
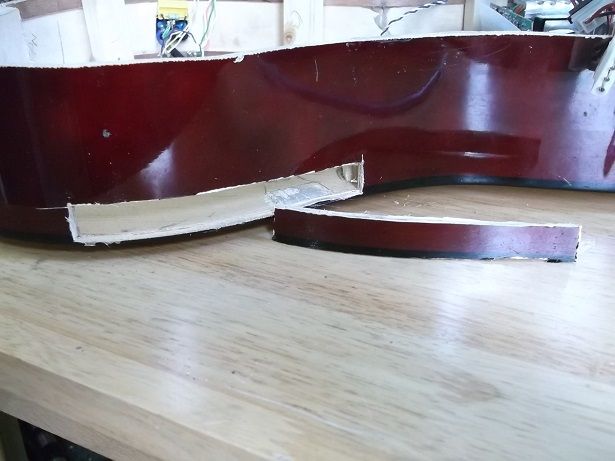
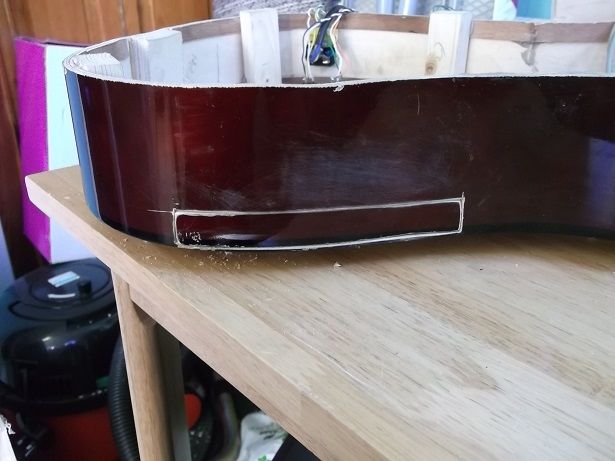
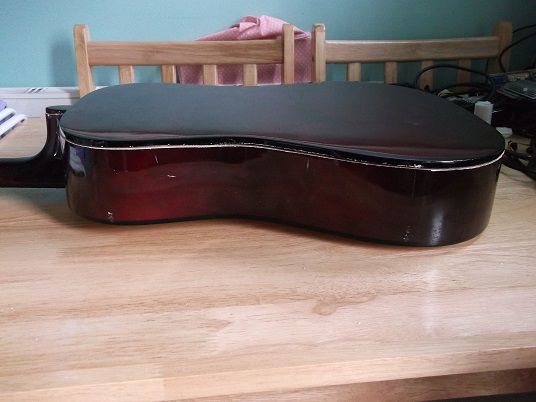
First thing was to get into it, i put masking tape around the back edge and drew a thin line enough to take the back of (Sorry no pictures of this bit :()

i then cut it with a hack saw blade "24".


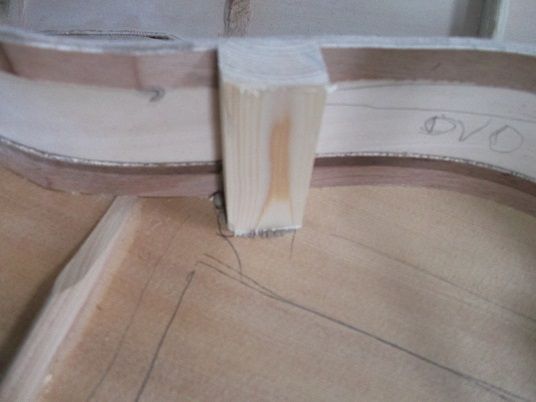
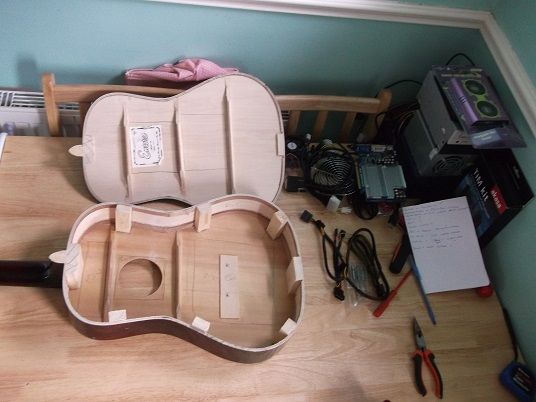
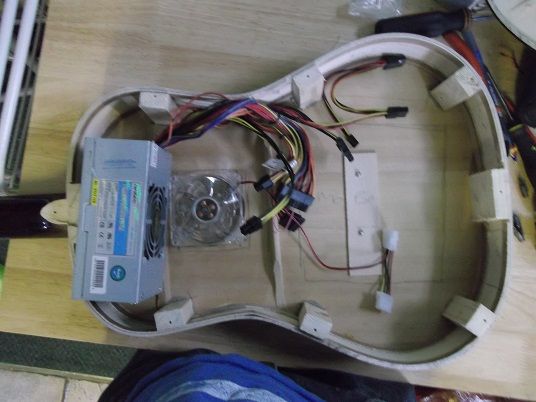
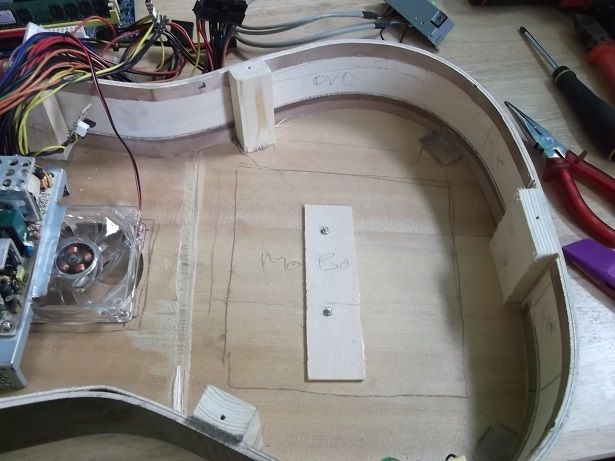
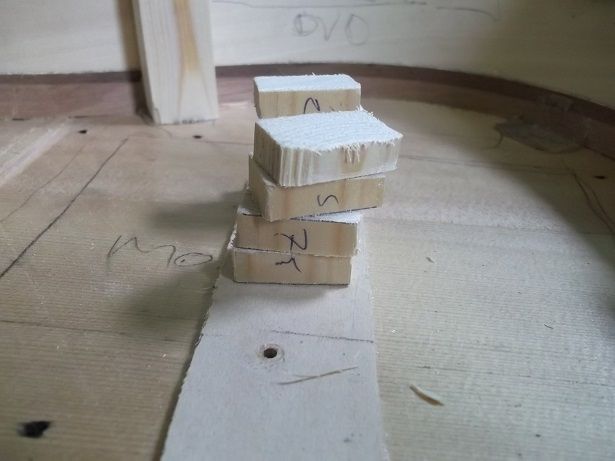
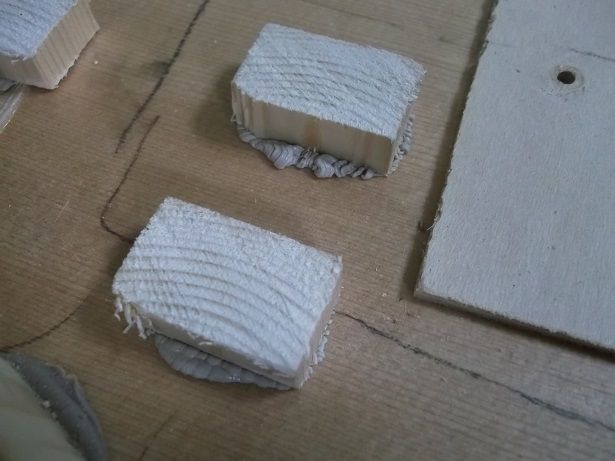
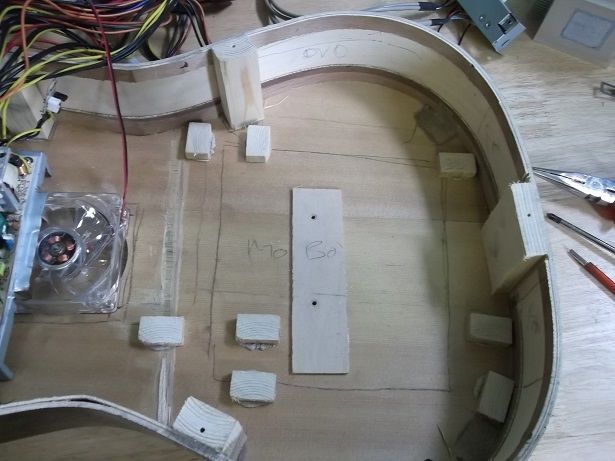
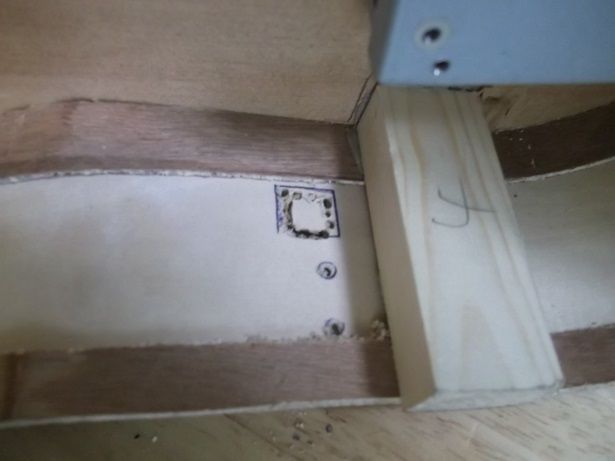
I then added some blocks around the edge to give it strength.
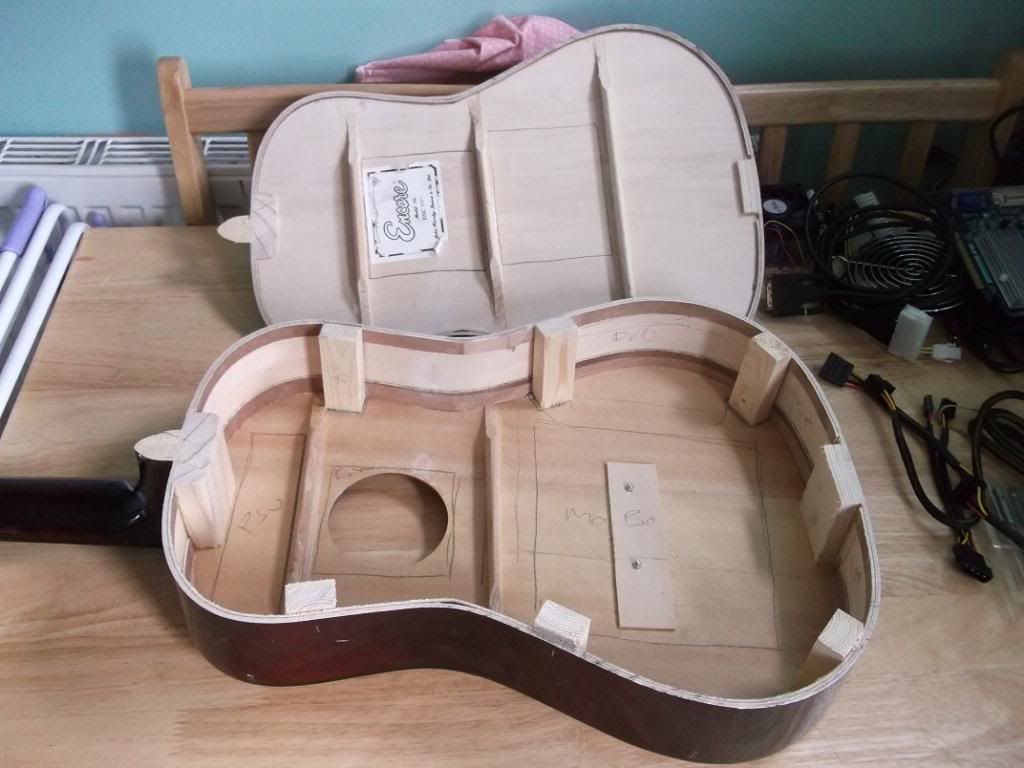


These come in handy next!
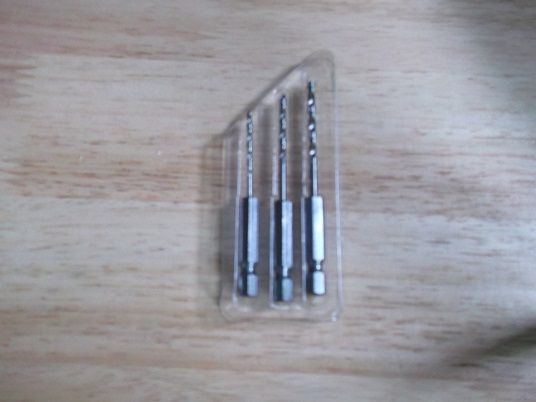


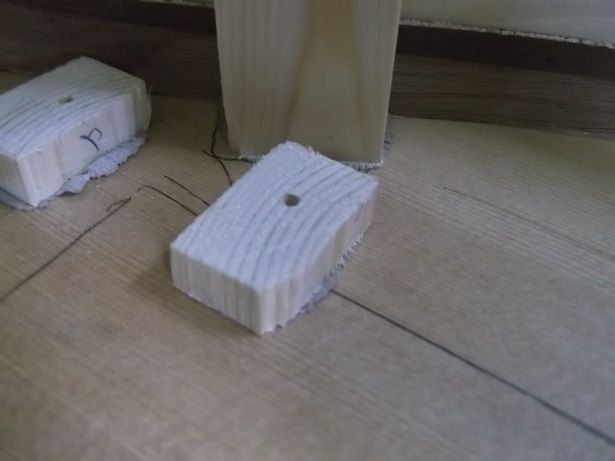
I drilled small pilot holes where the blocks are.
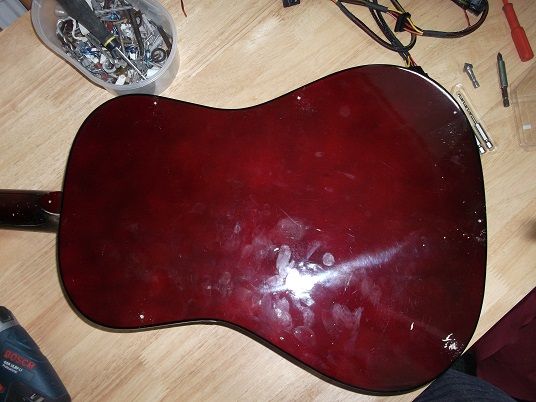


Fastened some screws in to see how it fit!
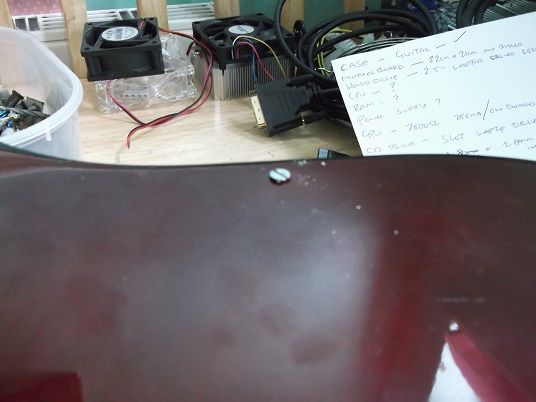


I then counter sunk them to make it look smart.
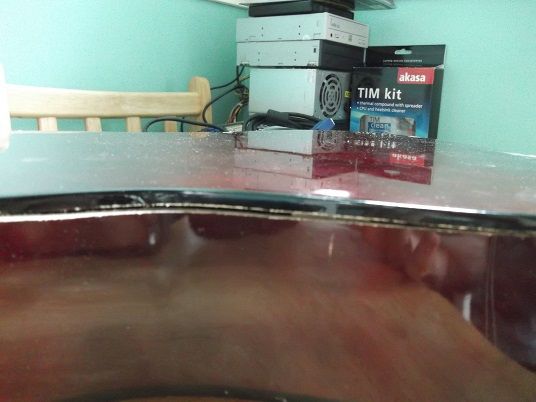


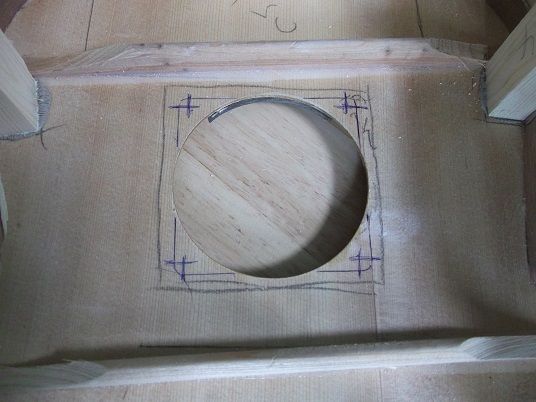
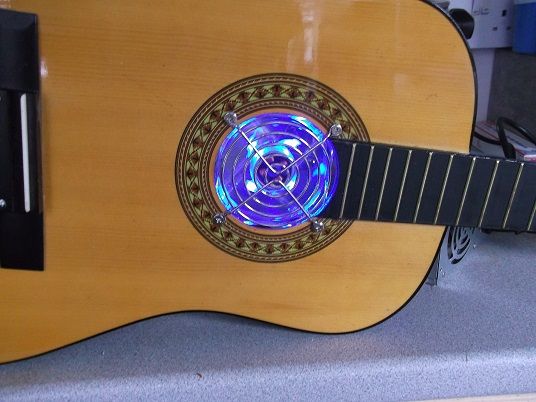
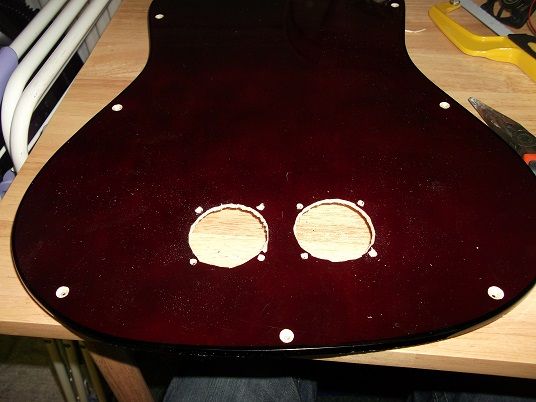
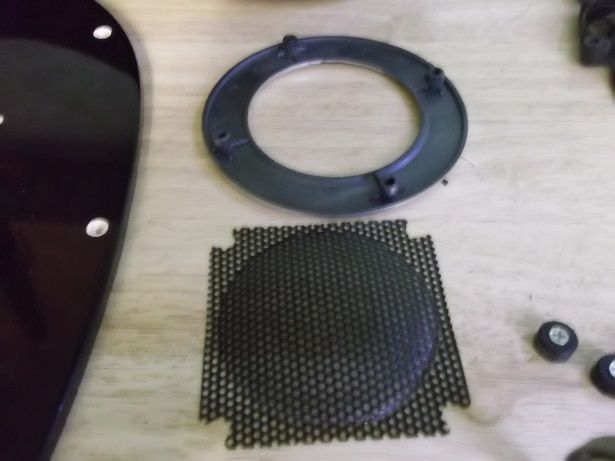
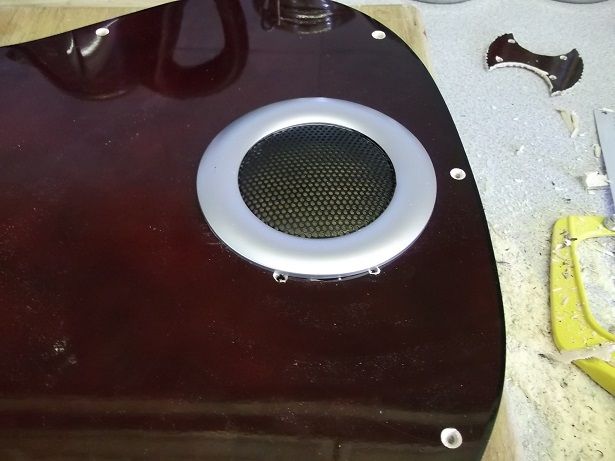
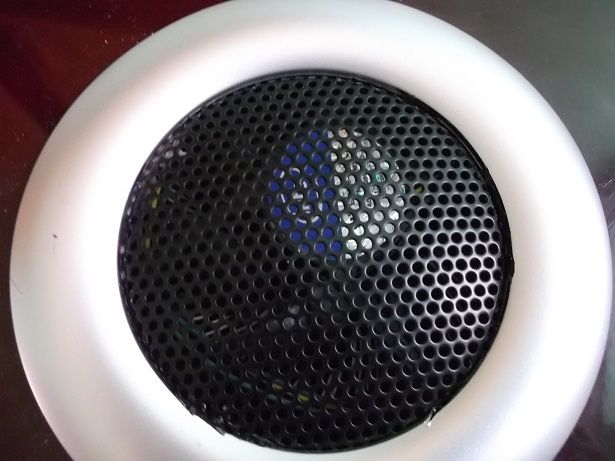
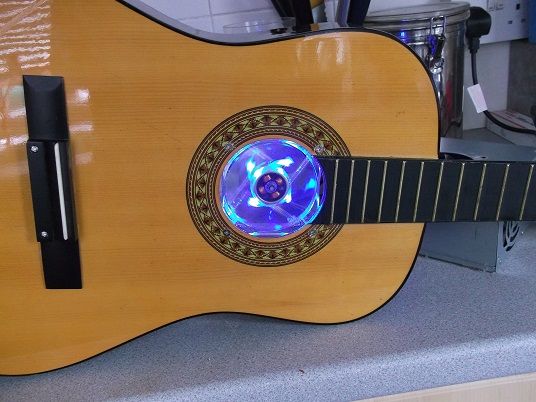
next step was putting in the 80mm extraction fan where the centre hole is.
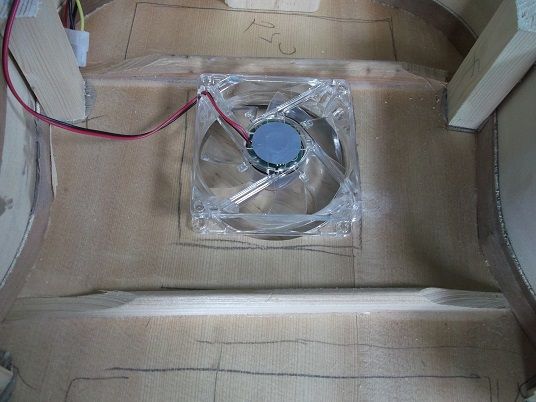


Testing it :), Havnt decided weather i want the grill on or not.


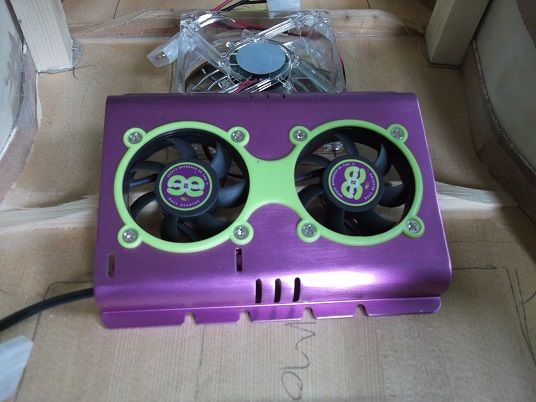
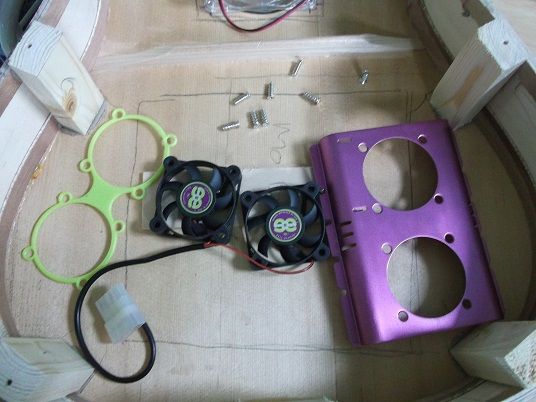
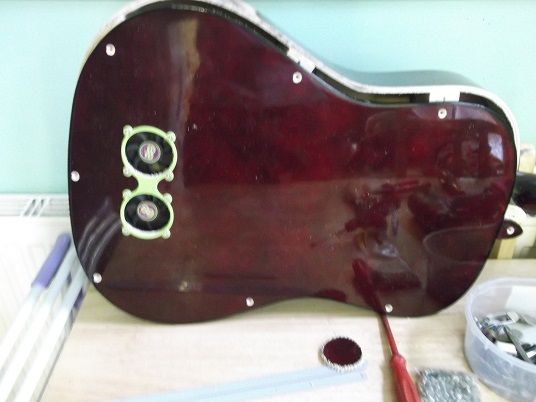
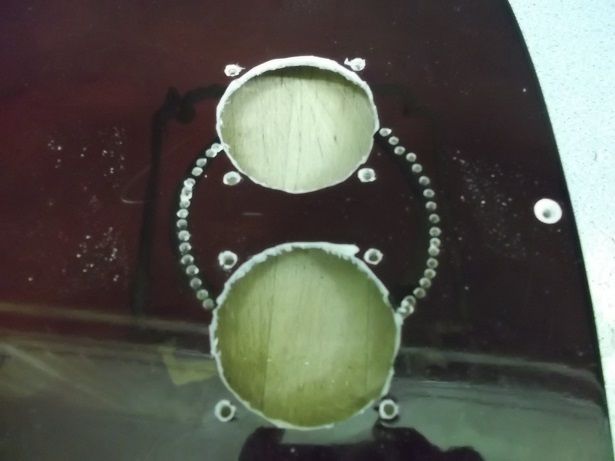
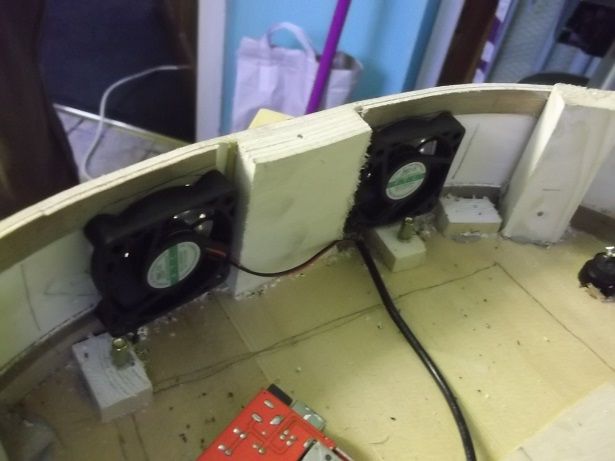
Next was the 2 x 60mm InTake fans.

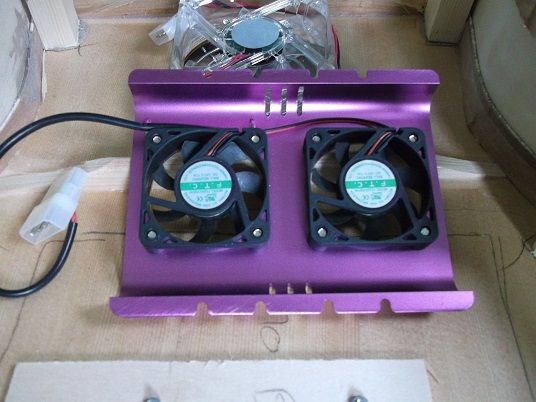
Stolen from a HDD Cooler :)
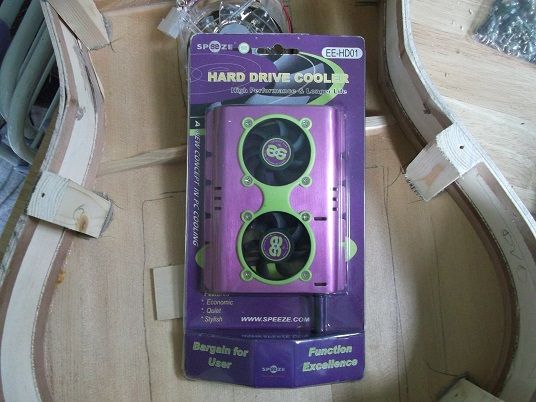


Stripped down !


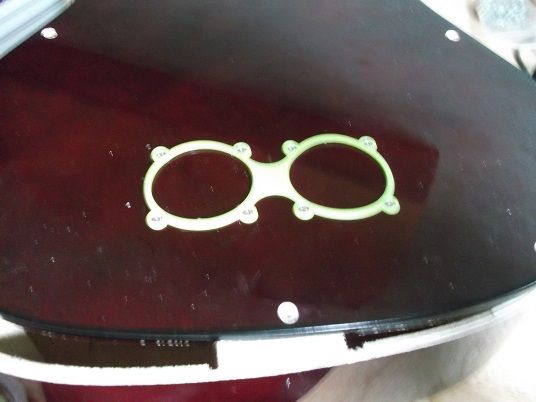
Marking them up. (this wasnt easy to hold on a polished surface lol)
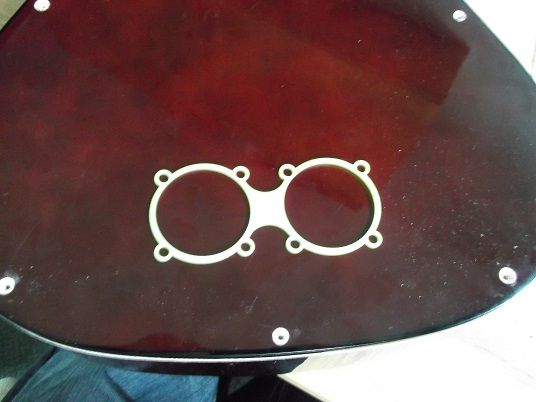


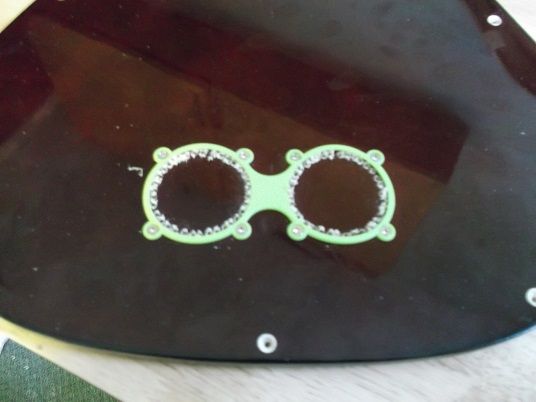
Marked up and drilling holes out.
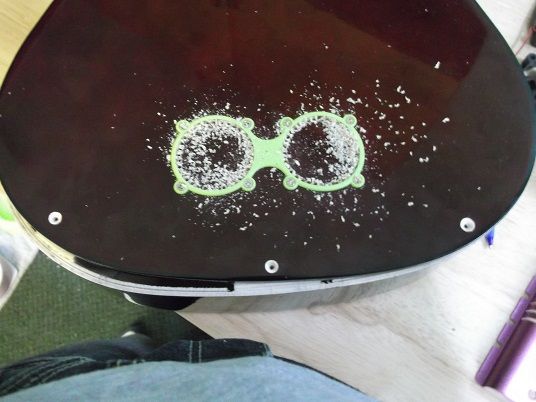


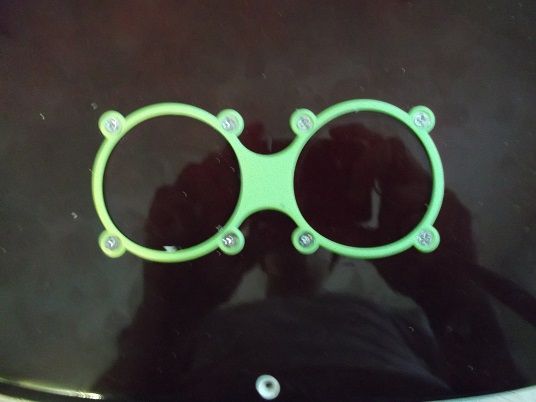
Finally in!
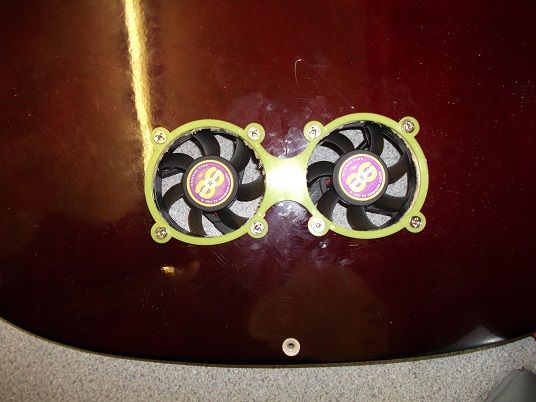


Testing :)
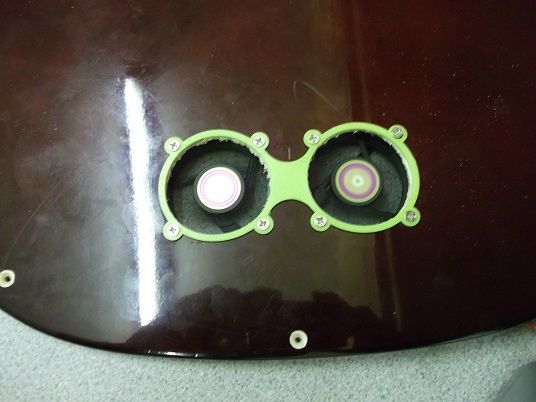


This is it for today, Next update will be in a week or so.
Would love to hear your comments and ideas (if you have any :)).

Hope you enjoy reading this as much as i enjoy building it!

Jonnyp
 
Last edited:
With this and the mini moto build going on I'm loving the creativity some of you guys are bringing to the build front

Thats what its all about, using your imagination and taking one step further!


Interesting idea :)

Please tell me you will spray that fan bracket thing to a more suitable colour :eek:

Yes i will be spraying it. Along with the guitar it self.
I need to decide on colour but there is so many!!
 
Last edited:
Ohh this is my kinda lunacy, I'm liking very much. Will it still play ?

Yes it will still play :)

There is going to be a twist to it aswell.
My plan is To put a mic inside the guitar thats plugged into the motherboard mic input. Then all you have todo is either plug some speakers in or head phones. And with some effects software (yet to find) you can play some joe satriani if you wish lol

I need to find a decent mic first though. Might need a compression mic so it dosnt distort.
We will see :)
 
You say it will still play ? Surely to play the Guitar of Justice, you're going to need the Pick of Destiny ? :D

LoL i love it :D i will have to find one lol
Does the body of that guitar not amplify all the fan noise to unbearable levels?

It does alittle yes. But to get round that im going to add rubber gaskets between the fan and guitar, also maybe some sound proofing inside.
 
Iv been on a motherboard hunt for the last 2 hours. Im sick of seeing them !

Here is what iv found.

There not the size i need but the closest i can find. I will have to mod the case some more to make them fit.

Gigabyte a55m-ds2 socket fm1 22.5cm x 17.4.
Gigabyte f2a75m-d3h socket fm2 22.5cm x 17.4.
Gigabyte ga-h61m-usb3v socket 1155 22.6cm x 17.5.

These are the closest i can find. I just need to decide which one.

Im thinking towards the fm sockets because there cheap and cheerfull.
But intel for performance. But heat might be an issue.

If anyone can suggest another board. Please do :).

Jonnyp
 
Time for a update! woooo!

Here is the second part of my build, exciting things happening this time :)

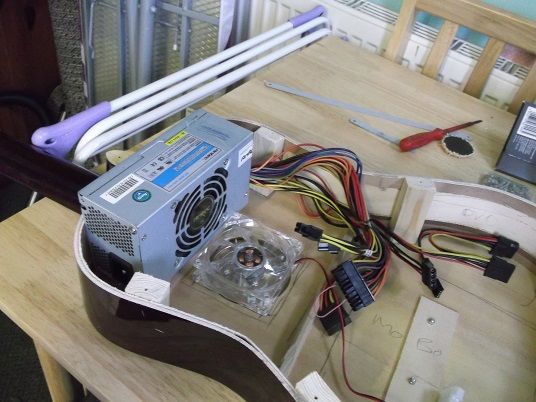
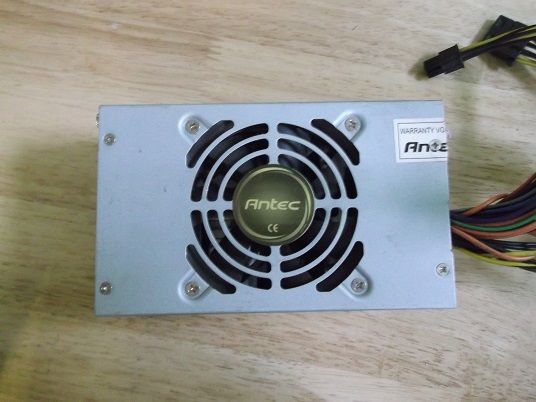
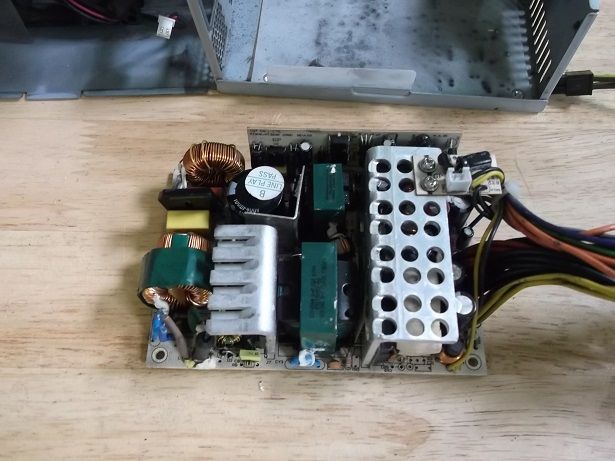
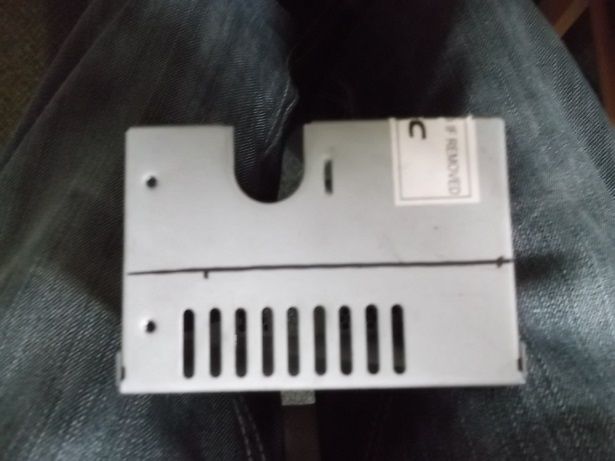
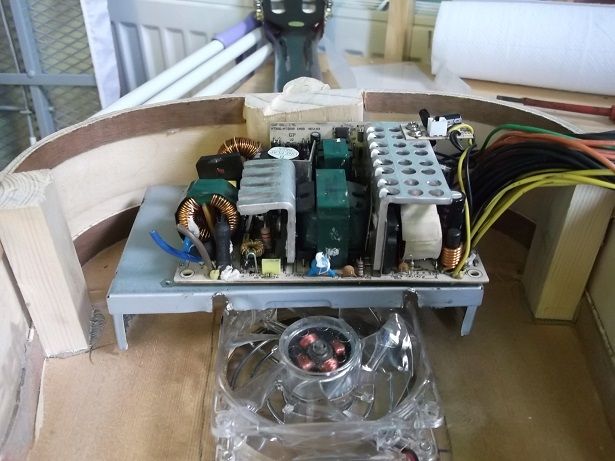
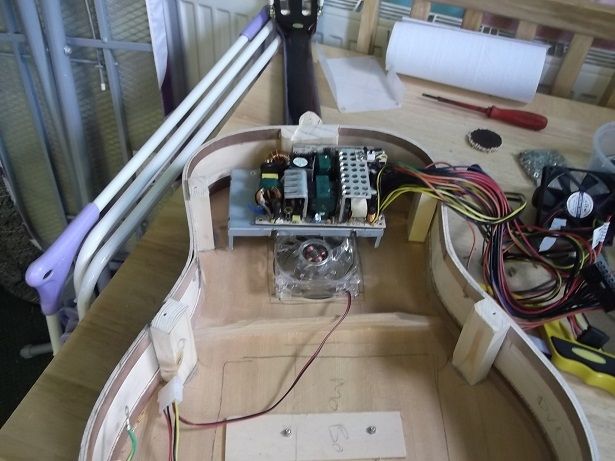
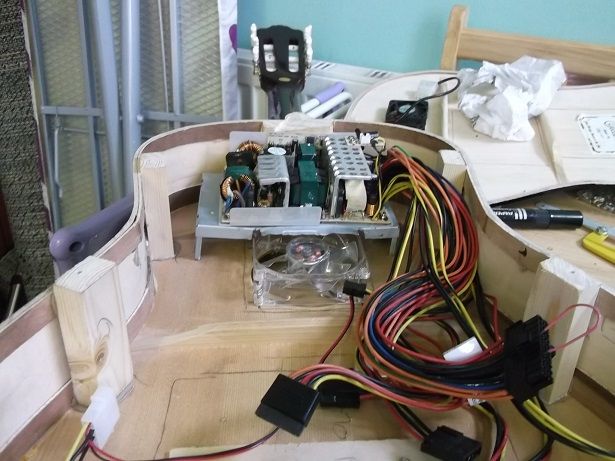
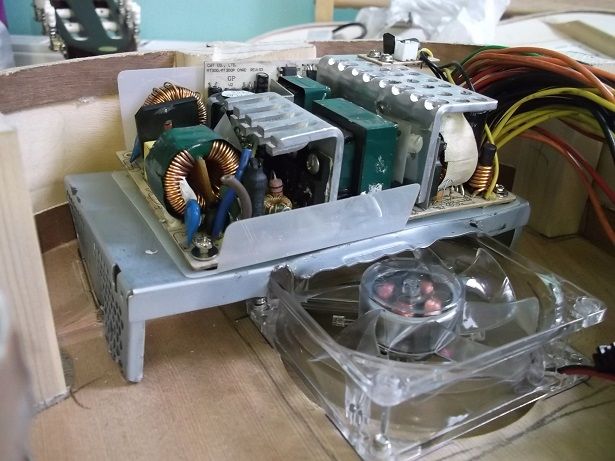
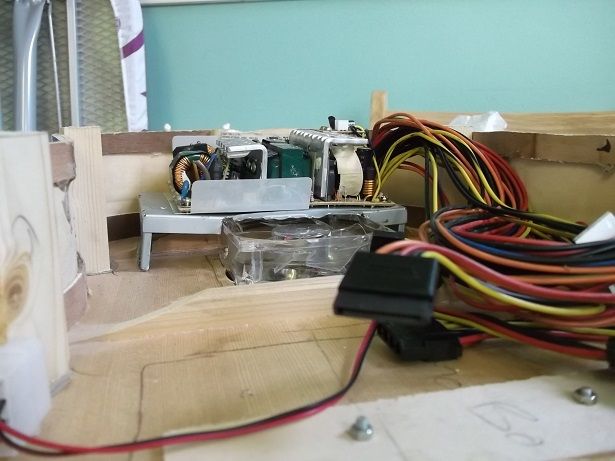
The first thing i did, was hunt myself down a Micro PSU. the one i found was a Antex 300WATT micro PSU, with everything i need on it, and the perfect size.. well not perfect, but small enough to fit :D

Here it is!


Cute little thing !


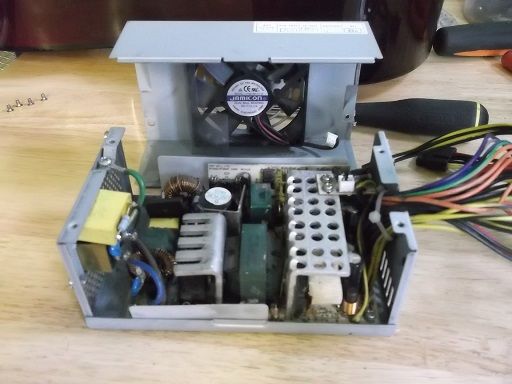
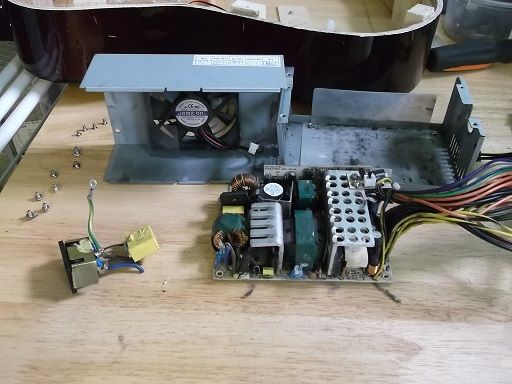
Time to strip it down!


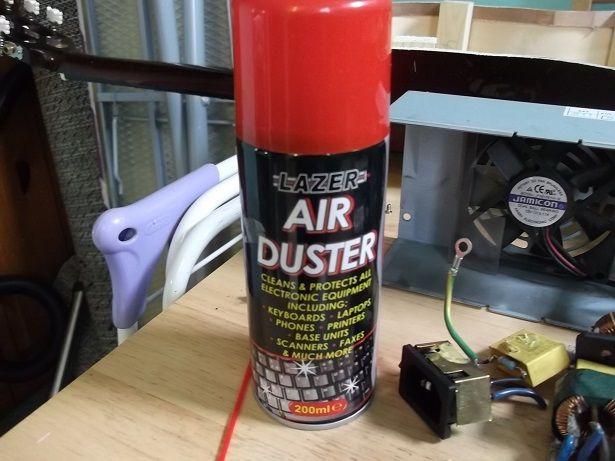
Needed a clean :/


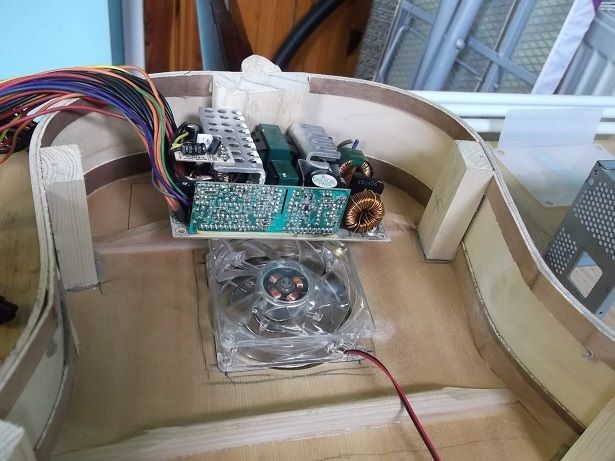
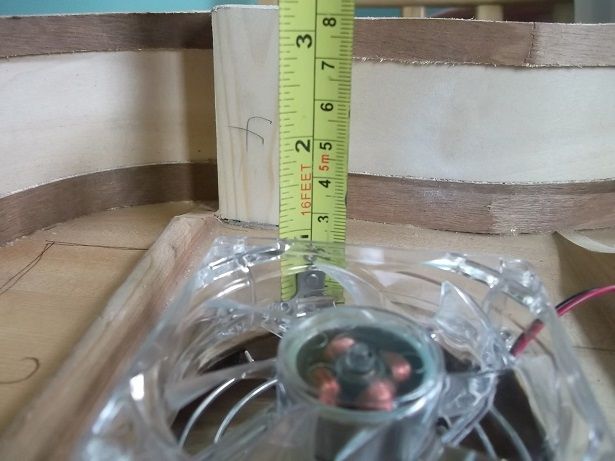
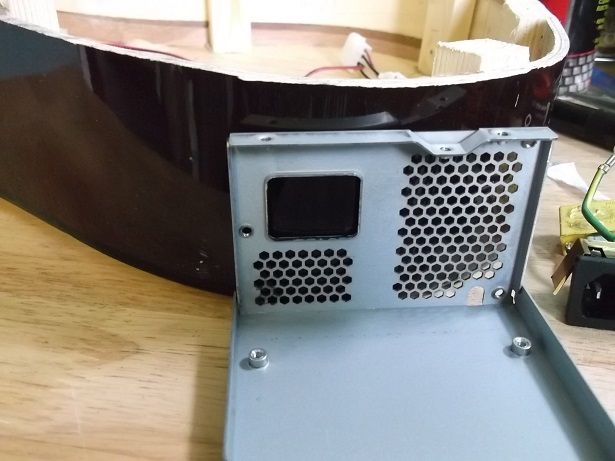
Sizing it up


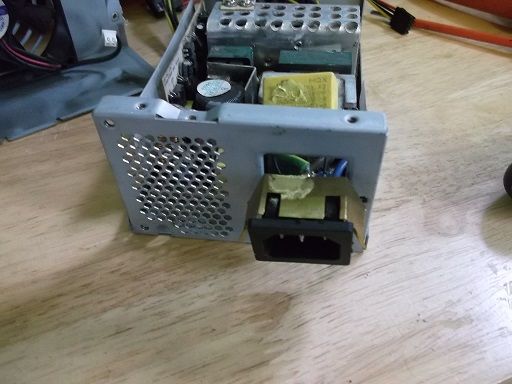
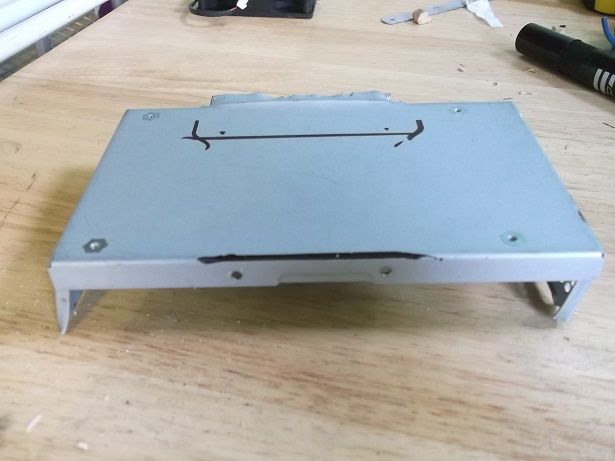
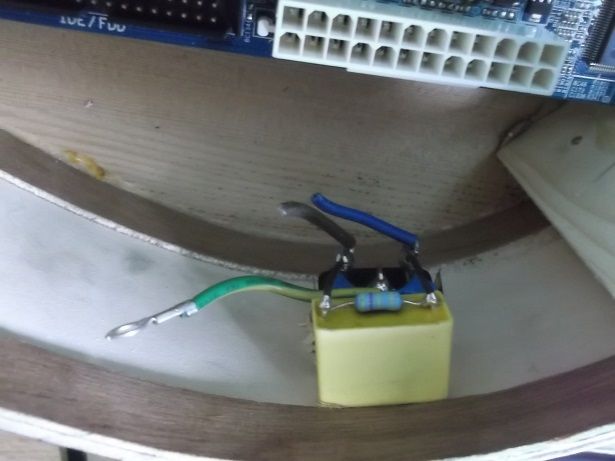
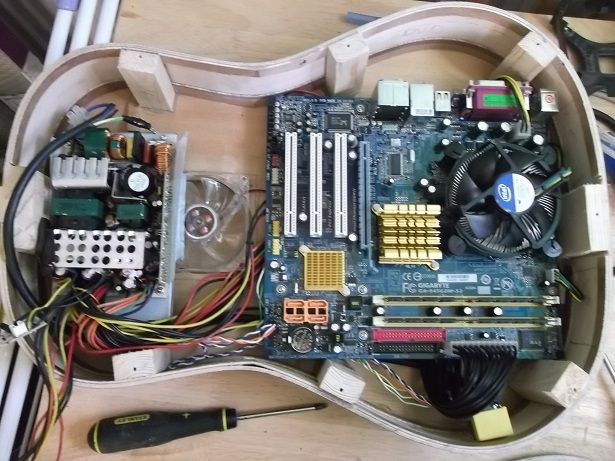
Had to make a plate for it to sit on, and to give the Power input somwhere to earth.


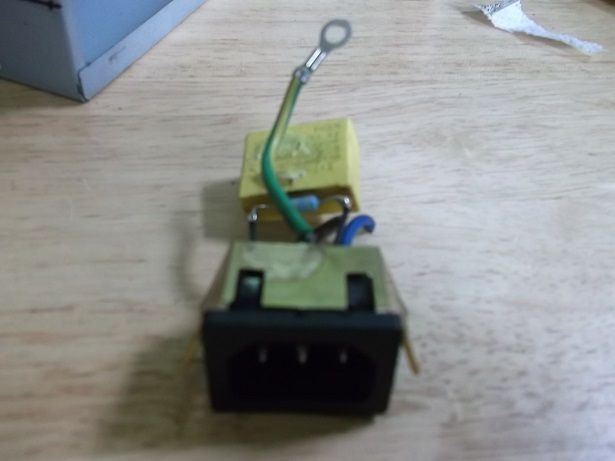
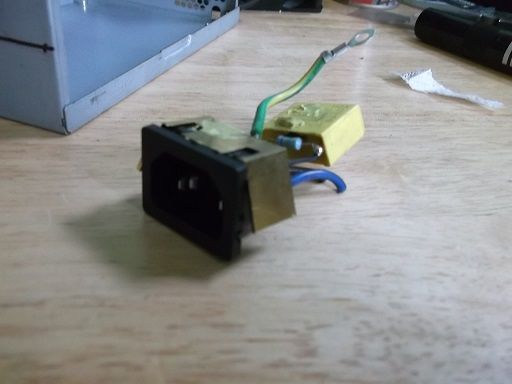
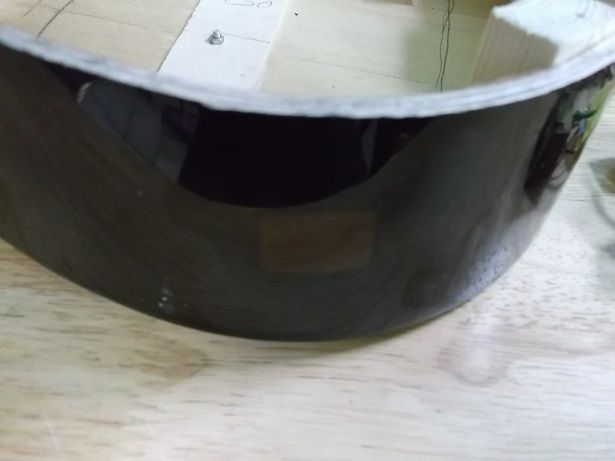
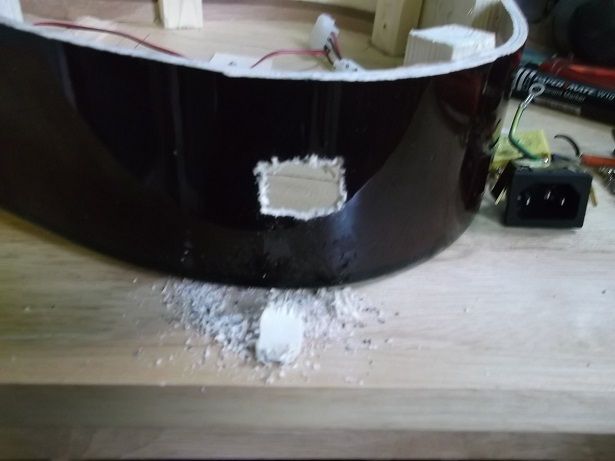
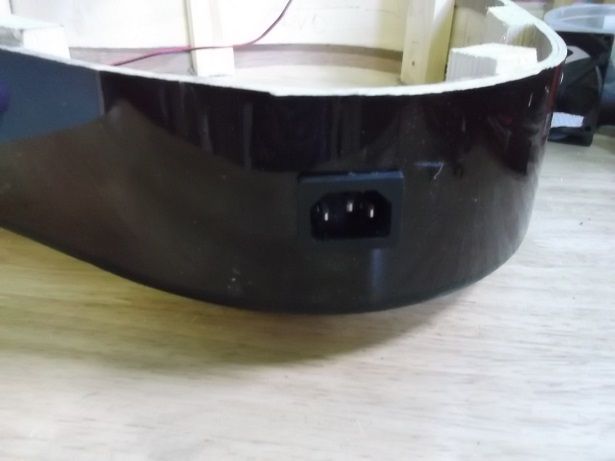
In the mean time or getting detracted by other things.. i decided i wanted to put the kettle plug in.. why now ?, no idea...


My tidy cutting :D


right, now thats out of the way... back to the PSU..


Now that thats in.. before i started on the next bit, i needed to clean up a little lol


MAGIC


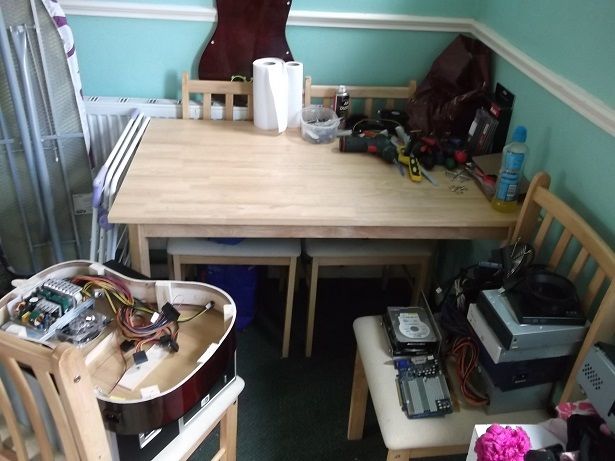
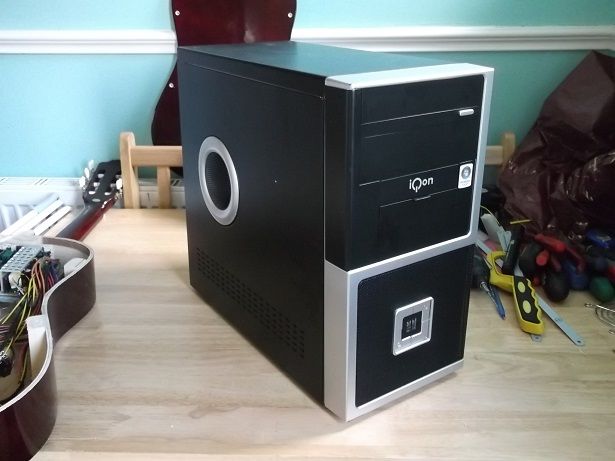
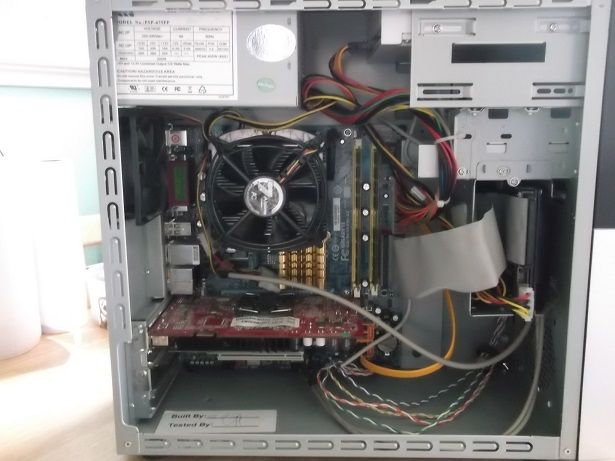
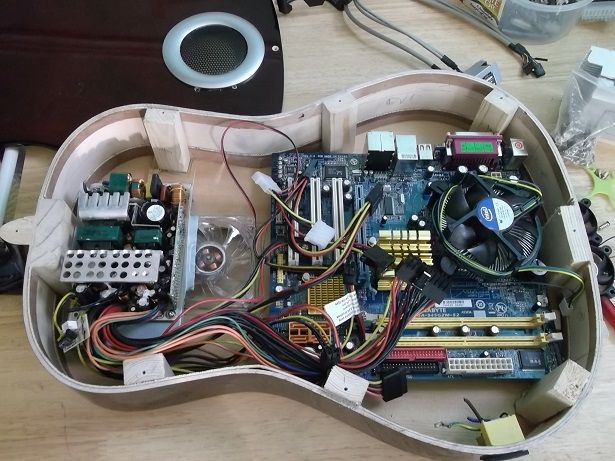
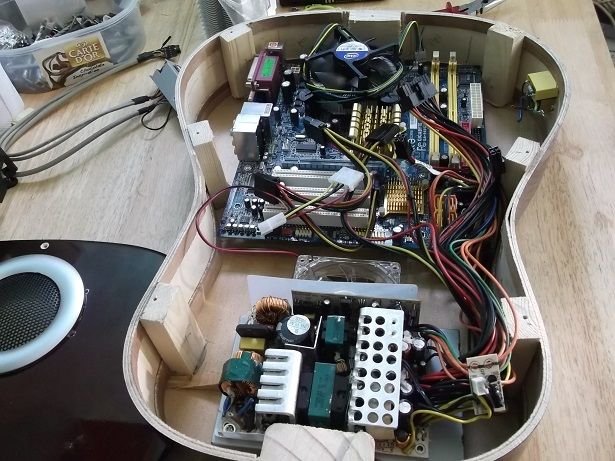
This is a doner PC i bought so i could finish the project..

IQON Case..
Gigabyte Motherboard
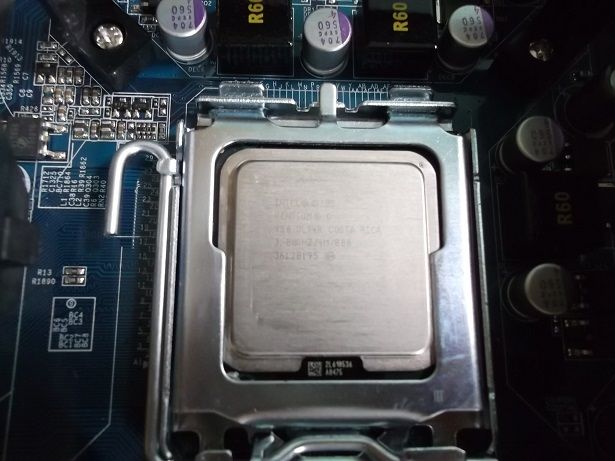
Intel Pentium D 3.0ghz
2GB 800MHZ DDR2 RAM
200GB HDD
300WATT PSU..


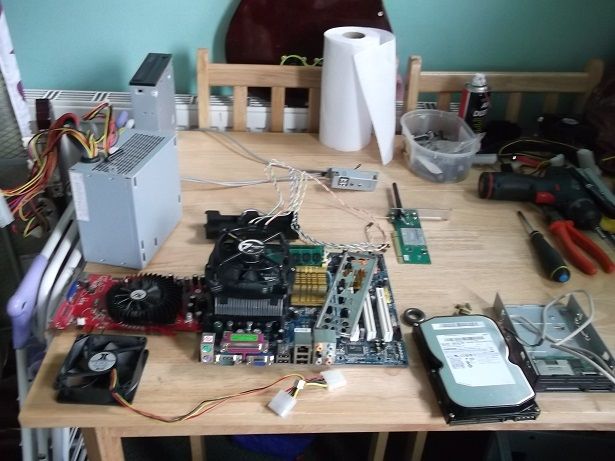
Then it was the last day for the computer :(


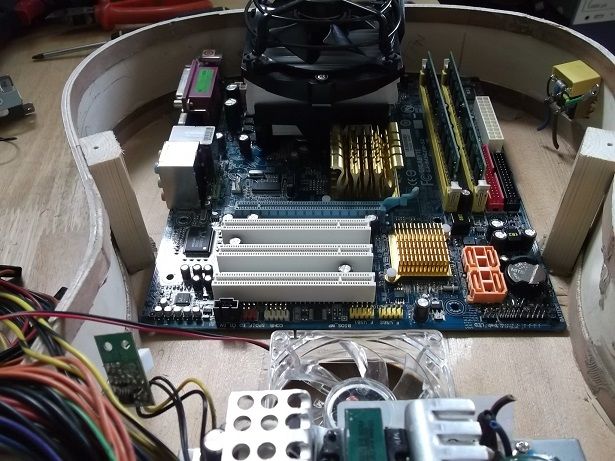
This is going to be tight...


Yup..


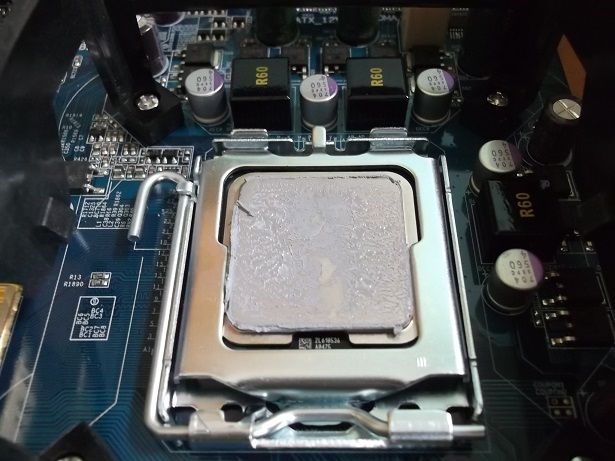
Took Cooler of (Artic Alpine 7), because it was far too big for this case..
Then cleaned old Thermal paste of.


oooo shiny...


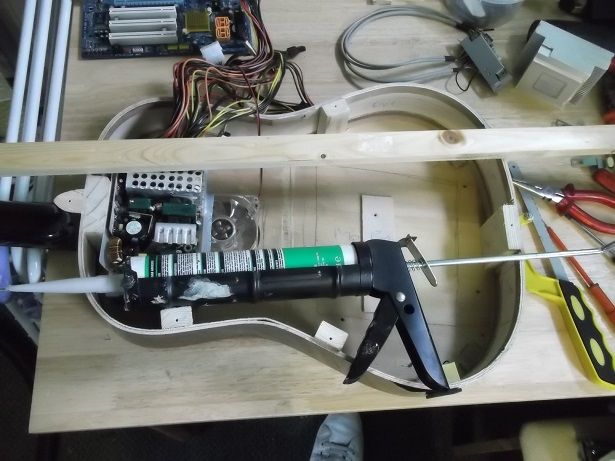
These are some tools i used.. and a peice of wood :rolleyes:


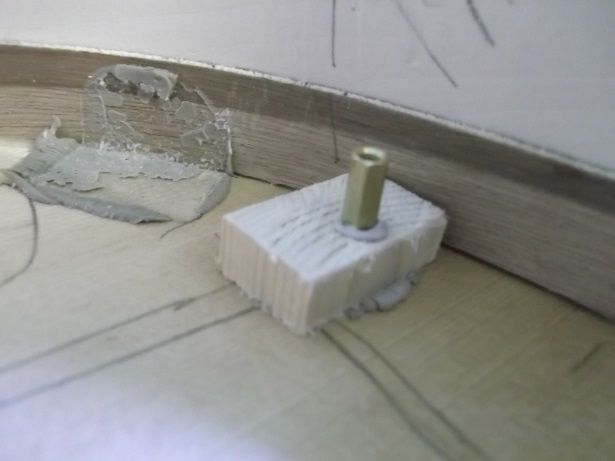
Little building blocks :D


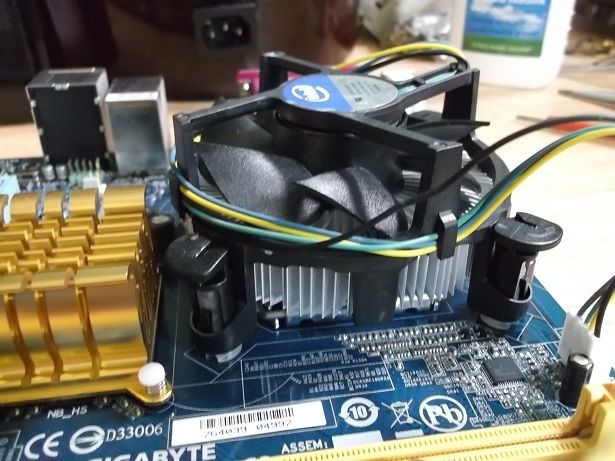
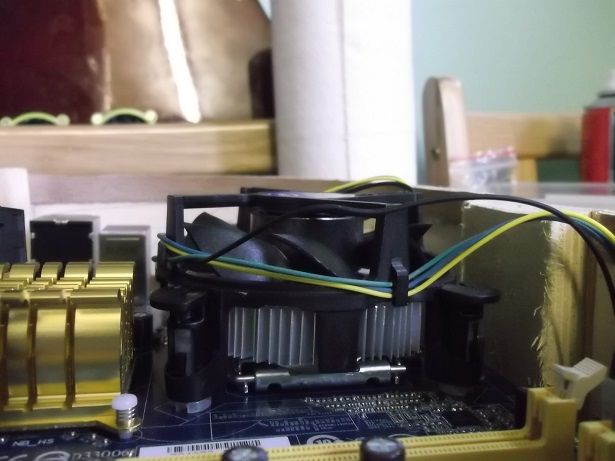
Stock INTEL cooler.. for £1 , bargain ..


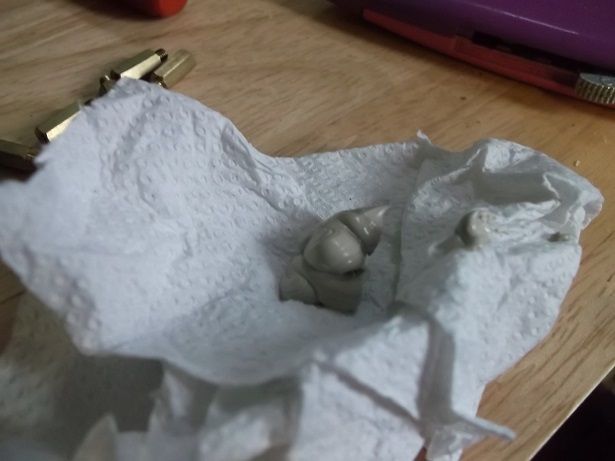
Little poo poo :D


Not much space.. here is when the dilemma come!


Where i put the intake fans.. the lid wouldn't fit after putting in the motherboard with the cooler.. so.. had to improvise :D


Look familiar?


Batman and teletubby?


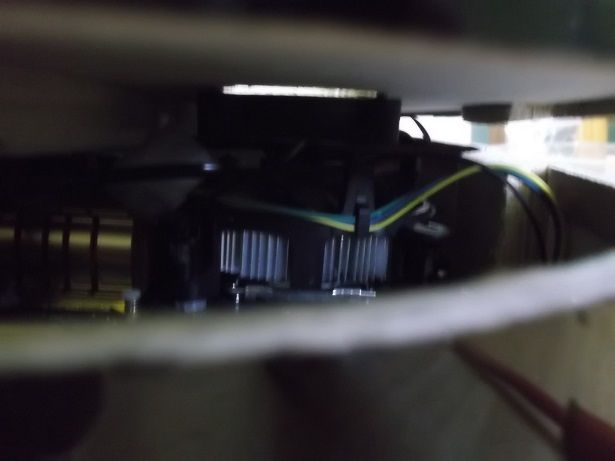
Now air can get to the CPU :)


Not much room, and i want to put a custom loop in here at a later date ?, am i nuts ?


Thats it for now folks.

What i have left todo, and you have to come!

Fit slot type drive. (yet to purchase)
Fit the 2 60mm Fans i have spare.
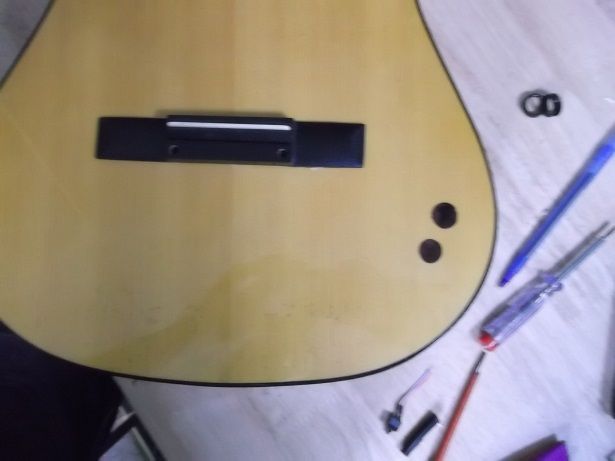
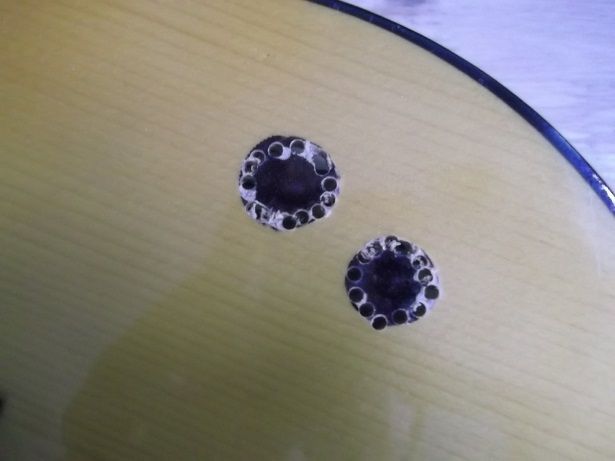
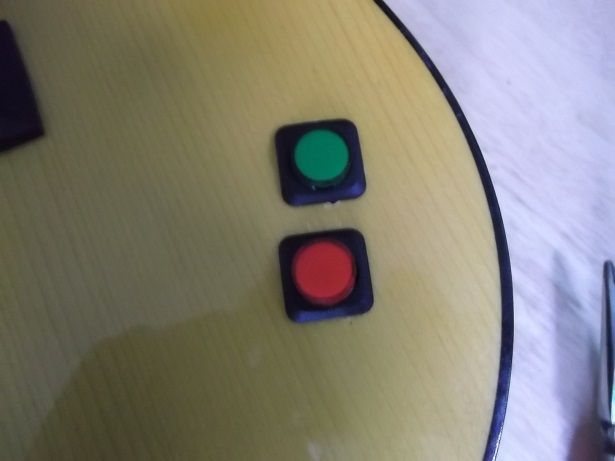
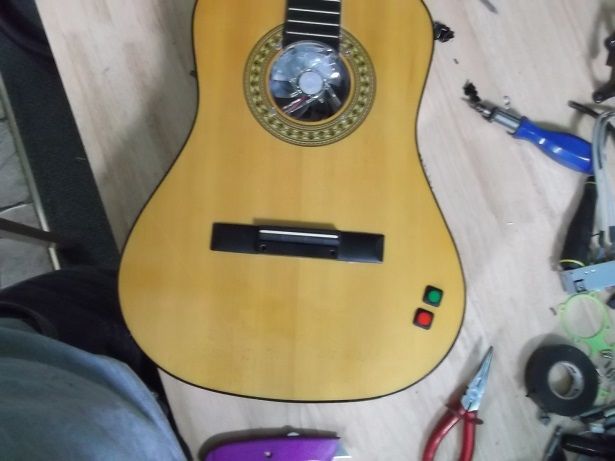
Fit power and reset button.
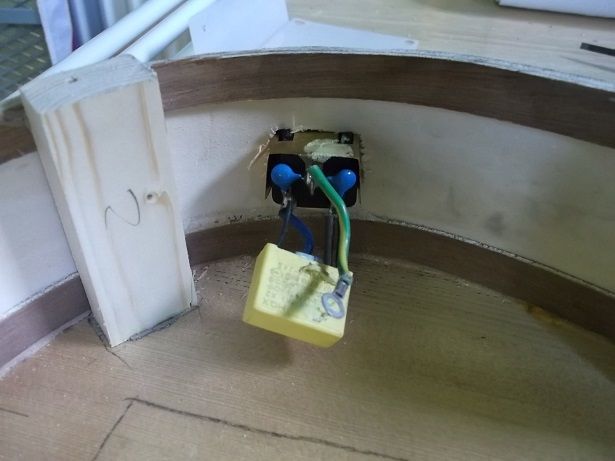
Wire the kettle plug to power supply.
Find space for 2 HDD's and install them.
Find space to install a GPU (if i can).
Sand case down
Paint case
Cable management! (is a must...).
Plug and play!

But do plans always go to plan ?

I hope you enjoy this as much as i do building it, got any questions, fire away :)

See you soon :)
 
lol, your not the only one :D, i did think of that myself, but i want the guitar to still play, so i cant do that :(

i maybe be able to put them behind the original strings ?, i will have to have alook :D
 
the guitar might still play but it will sound complete and utter ****, interesting build though.

maybe, but it might sound awsome lol.. we will soon find out :)


So, when does the mATX version get done in a full sized acoustic?

this is a mATX version ?

i don't want todo another guitar.. i have other plans for my next project :)
 
Last edited:
Update no.3

Hi guys, here's another update of my guitar project!

This time round i have wired the PSU in, and the power button & reset button.
also mounted the HDD.

Here we go..

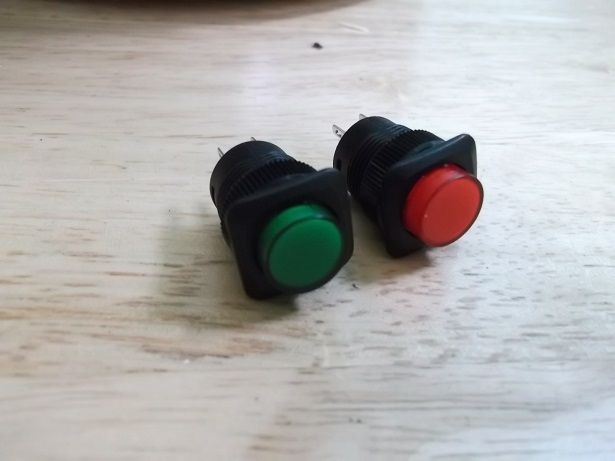
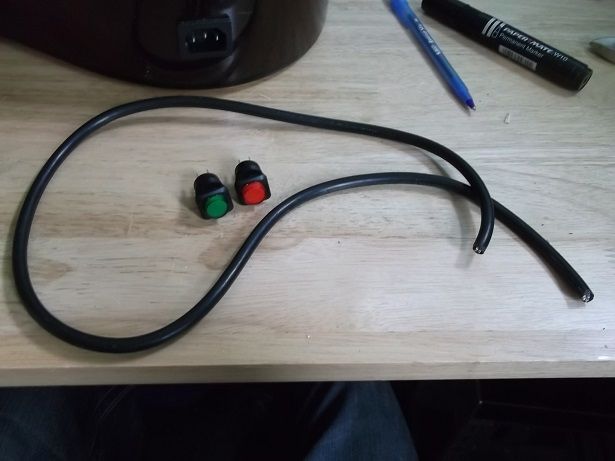
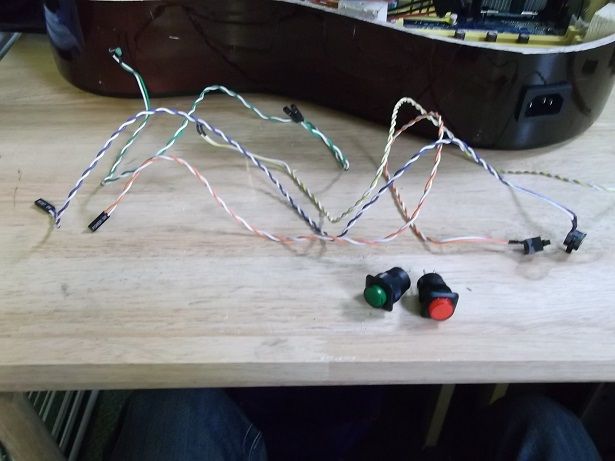
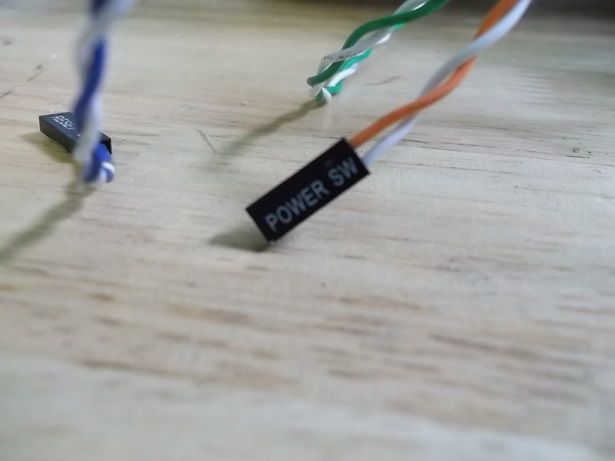
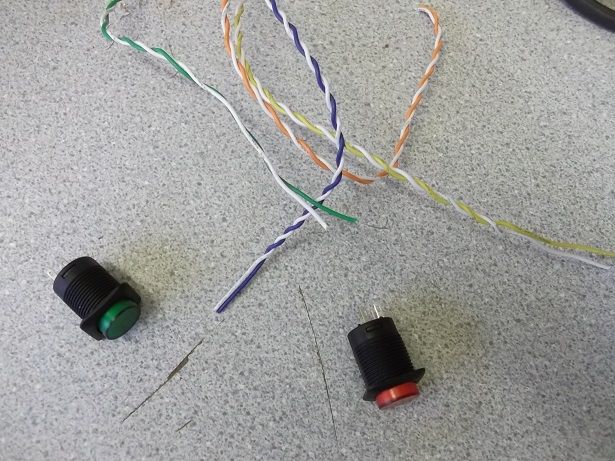
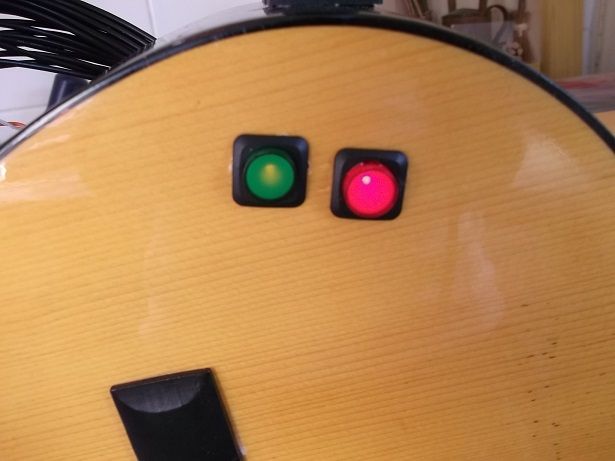
The power and reset buttons. Both are LED push buttons.


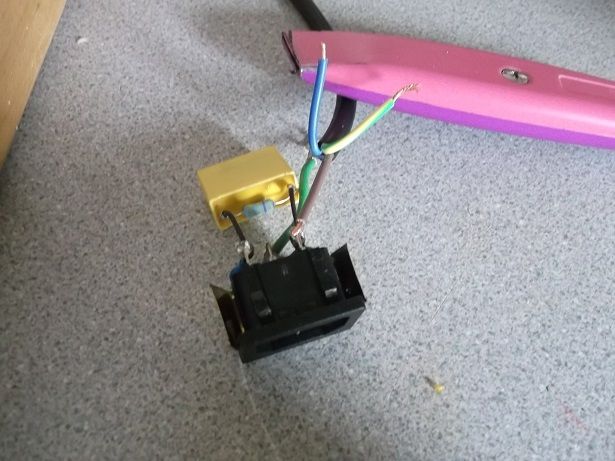
Buttons and power cable to wire PSU in.


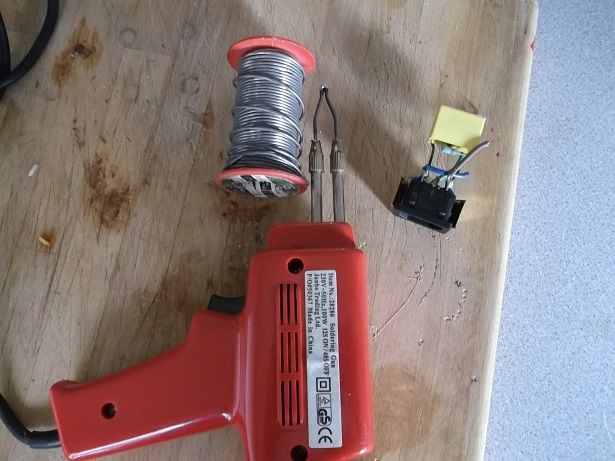
My soldering kit :D


My holding tool.. yes i know its pink!


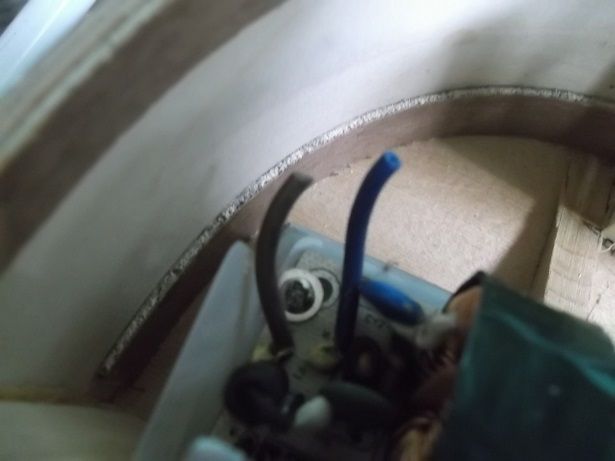
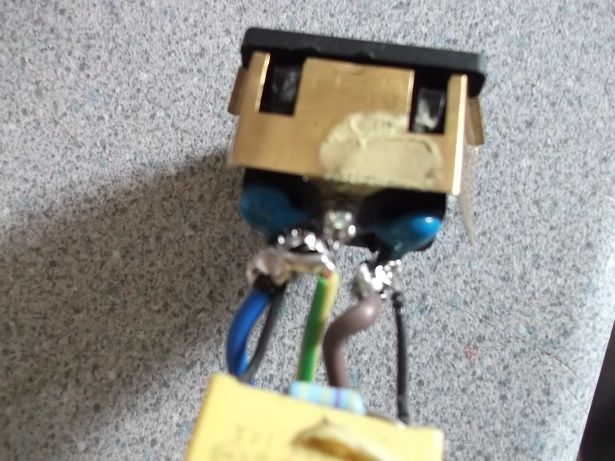
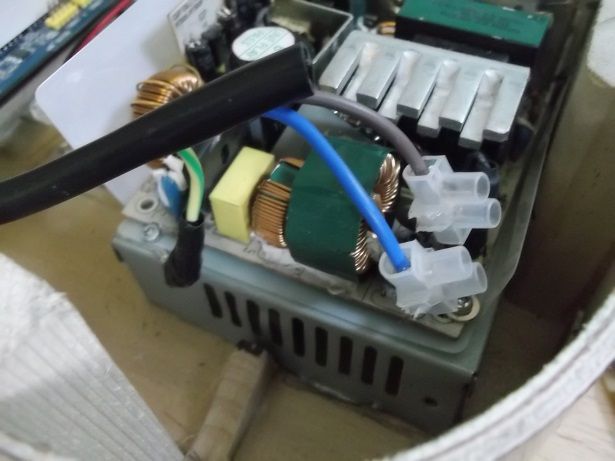
Power cable in.


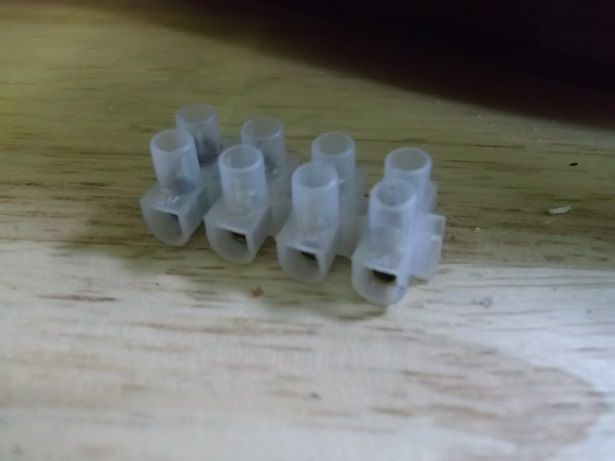
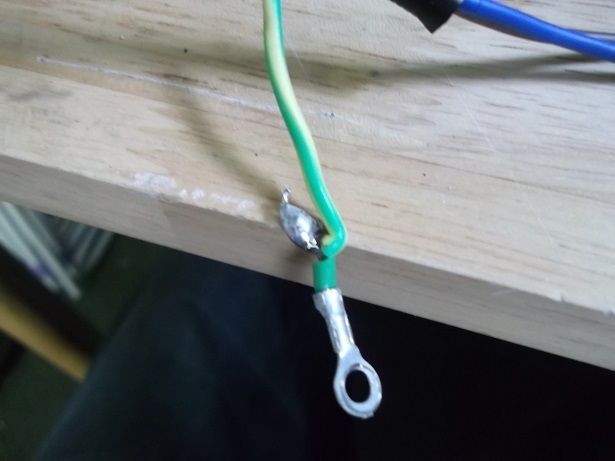
I used these connector blocks just incase i ever need to remove the PSU.


Testing to make sure i did it right lol


Don't worry that you can still see the hole, once painted and filled, it was never there!


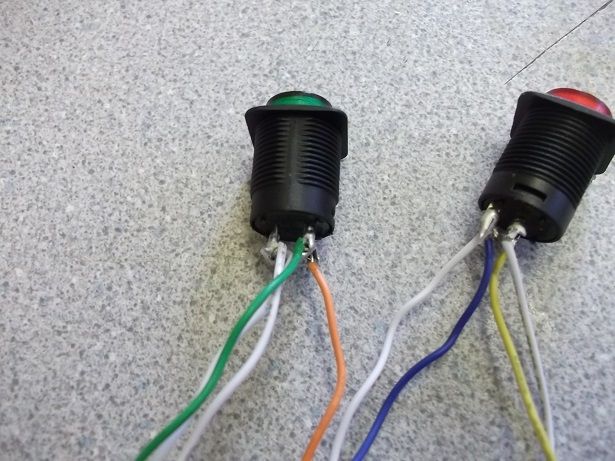
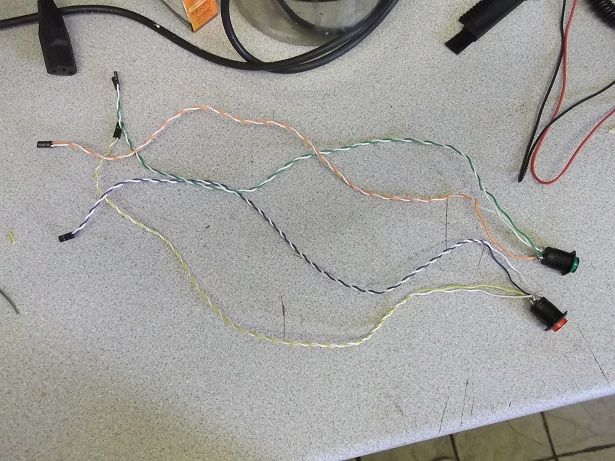
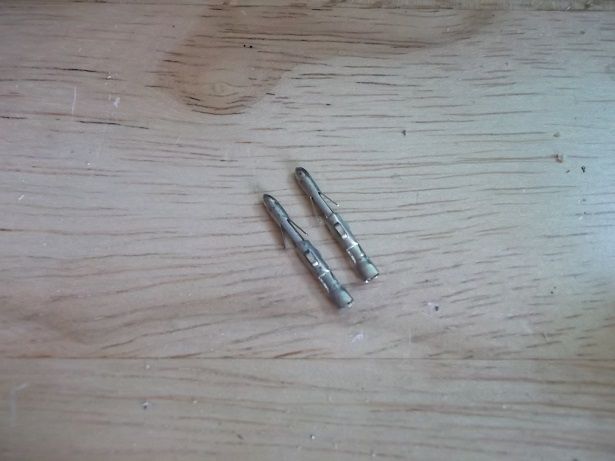
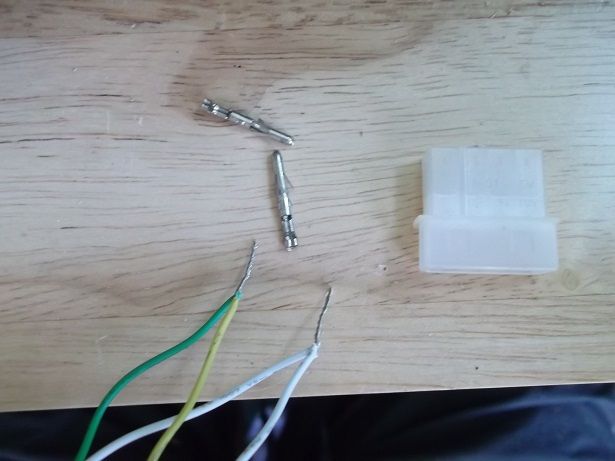
Wiring in the LED's for the power buttons, had to salvage some molex connectors from a old power supply lol


Testing, and working! :)


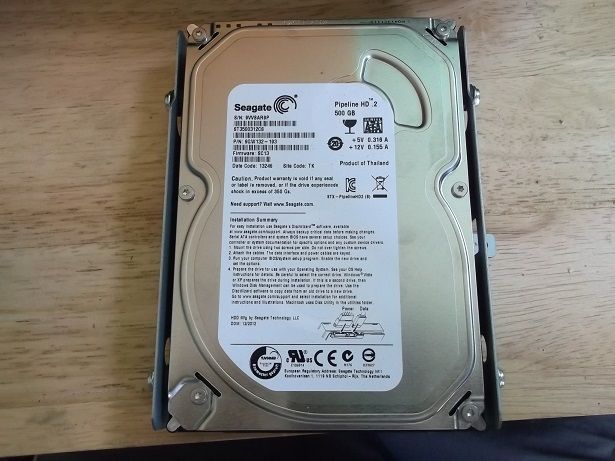
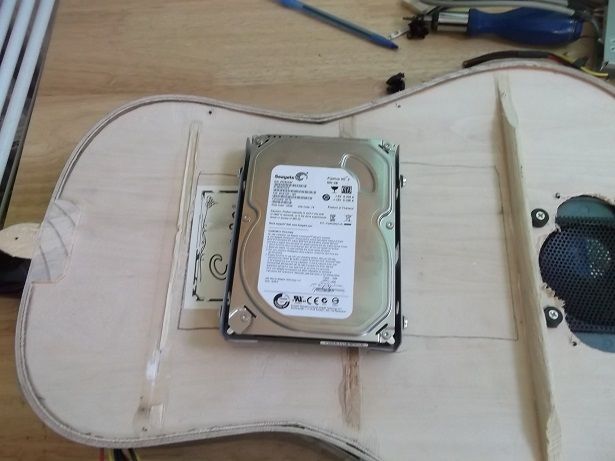
500GB SATA Seagate HDD, taken from a TIVO box :).
i also used the mounts from the TIVO box because it had rubber gromits, so would stop a lot of vibration from picking the guitar up.


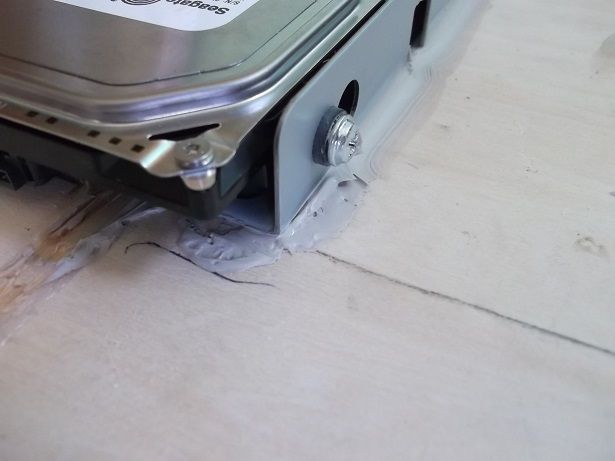
Iv decided to mount the HDD on the rear cover.


with some super sticky adhesive.


Plenty of weight to hold it down lol


last but not least, abit of cable managment to see how it all looks and fits.


Thats it for now, not a huge update, but every little helps.

see you next time :).
 
That looks awesome, can't wait to see the finished build

really nice dude , A simple guitar case and guitar stand and your sorted for a LAN event! that would turn some heads!

Thanks guys, its getting close to the end now! :D


------------------------------------------------------


New update!

Not a lot happening in this one, but need to keep you updated with what im doing so here it is!

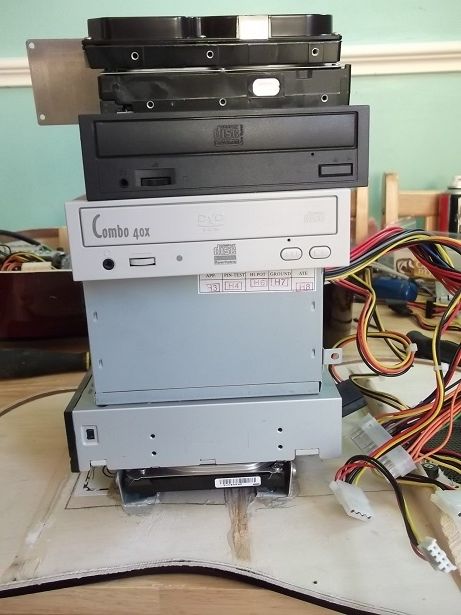
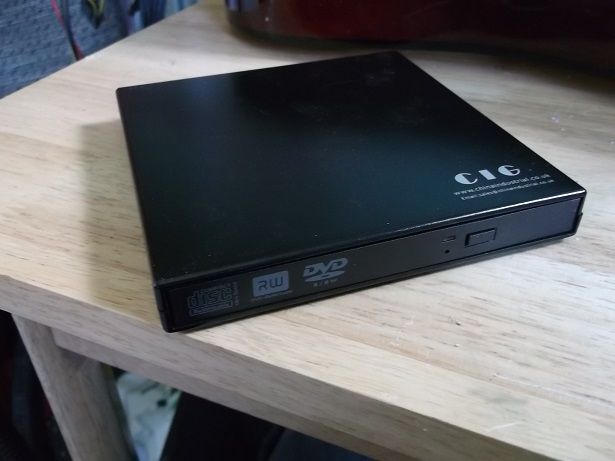
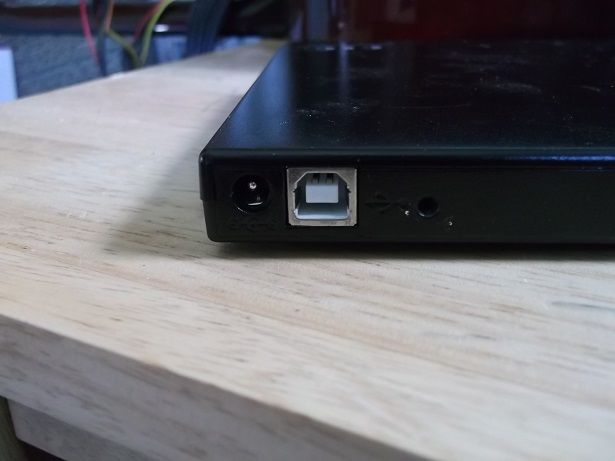
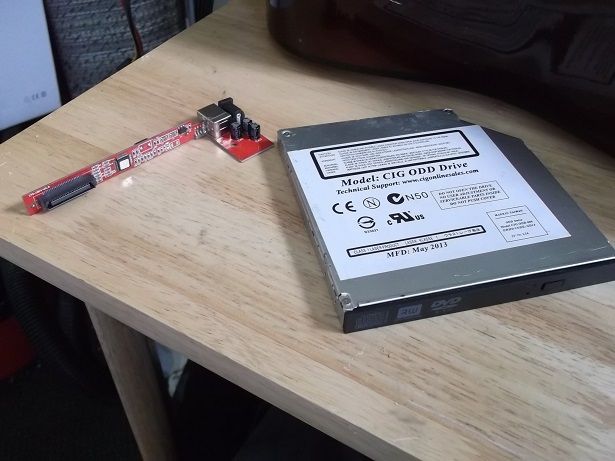
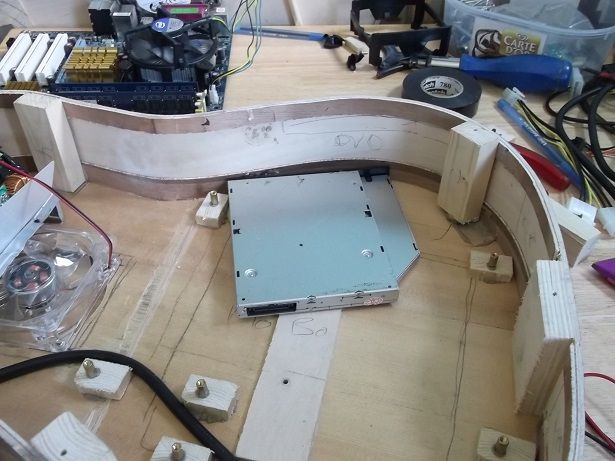
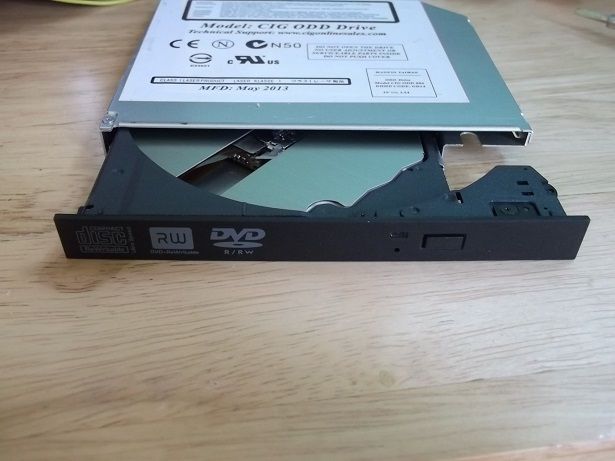
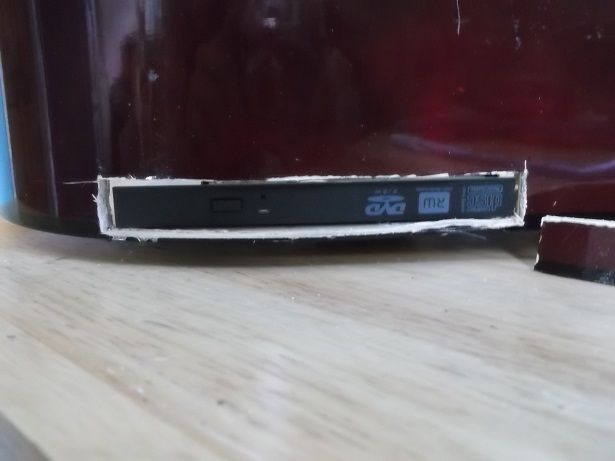
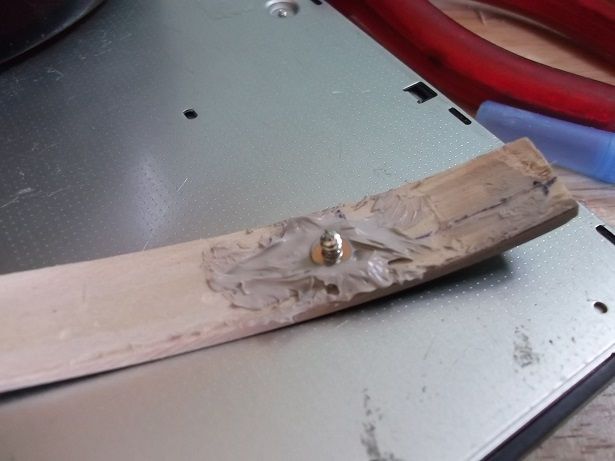
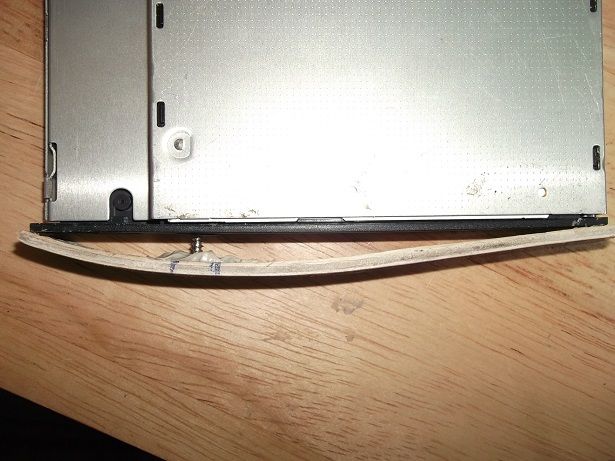
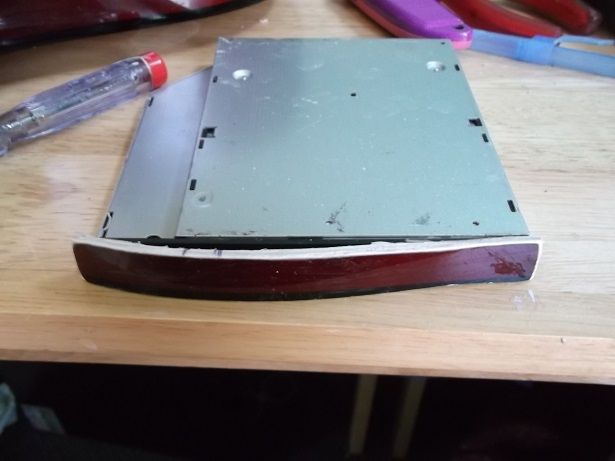
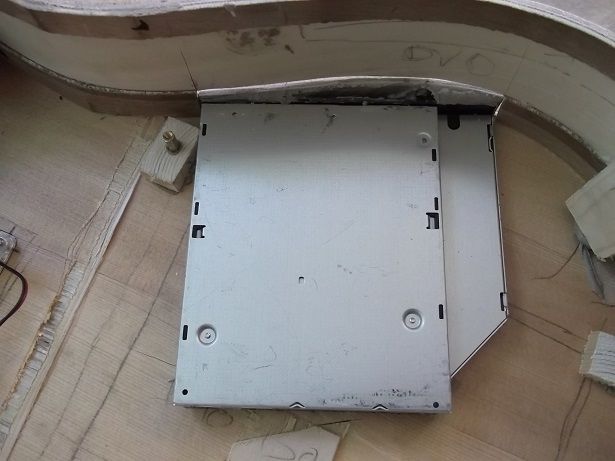
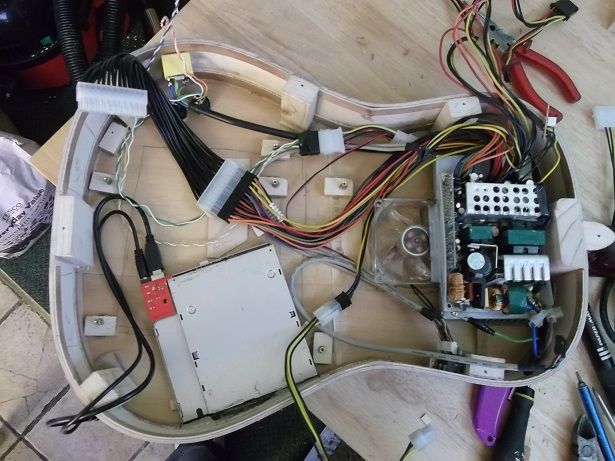
i didnt manage to get a "slot loading" drive, but i did have this lying around, so i stripped it down.


Video of the magic button :D (Don't know how to get this to play on the forums, so it hyper-links it to my photobucket page.


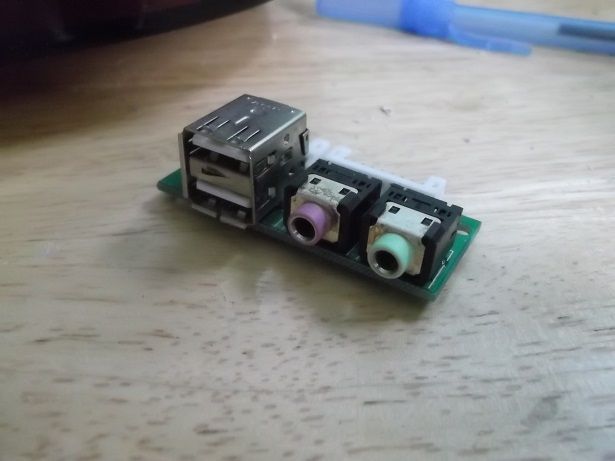
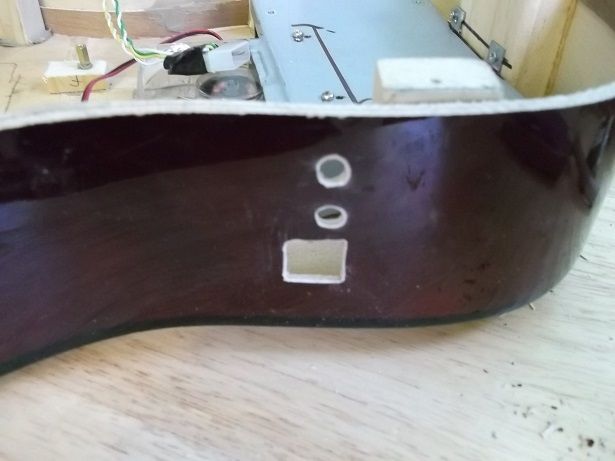
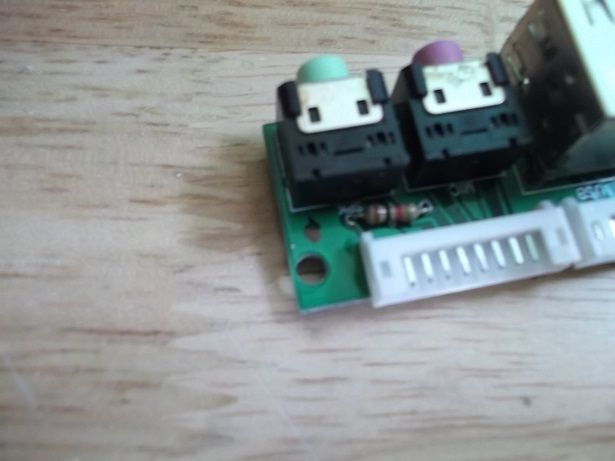
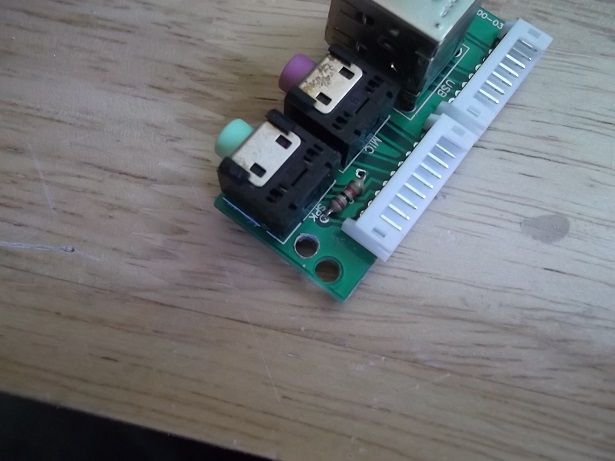
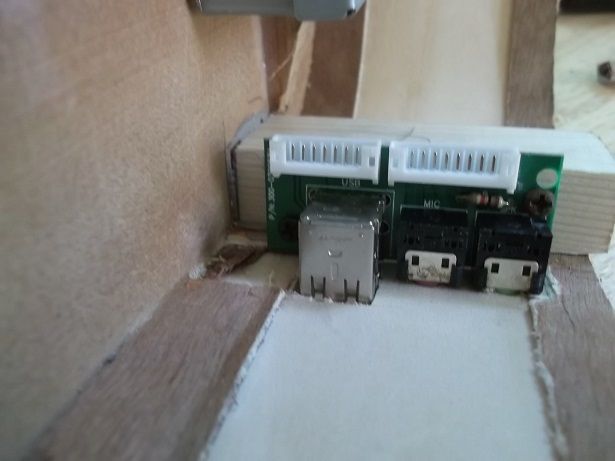
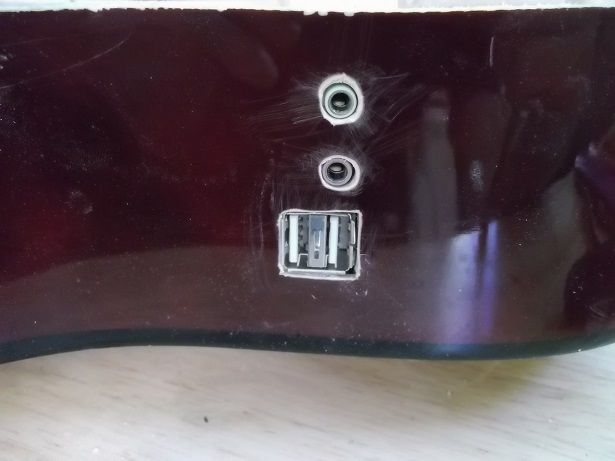
Now for the USB and Audio PCB :)


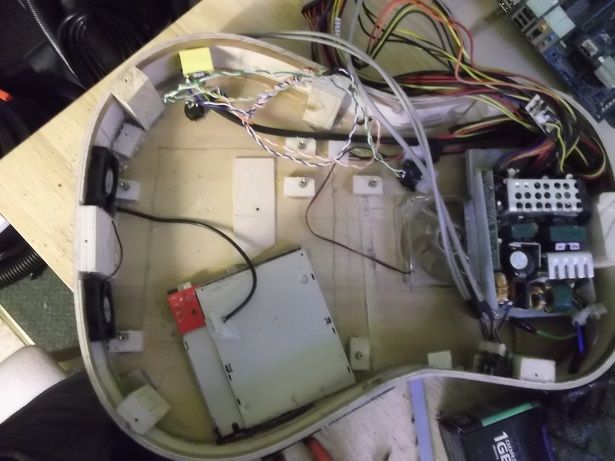
Some serious cable management! :D


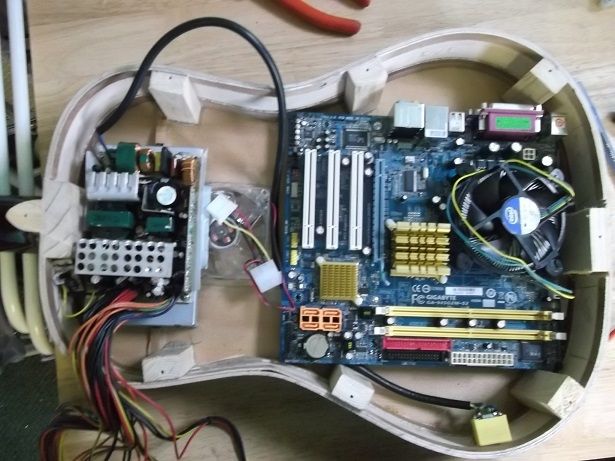
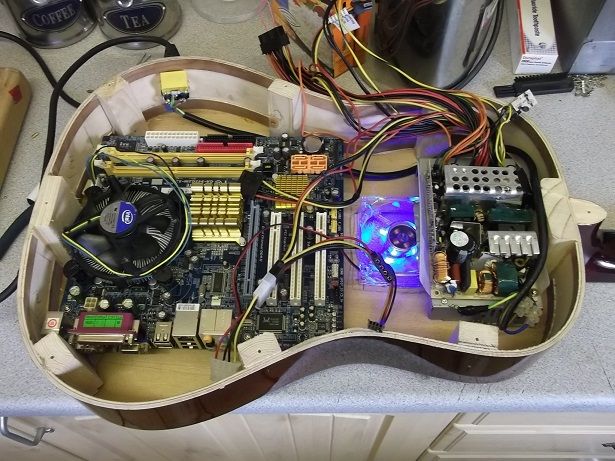
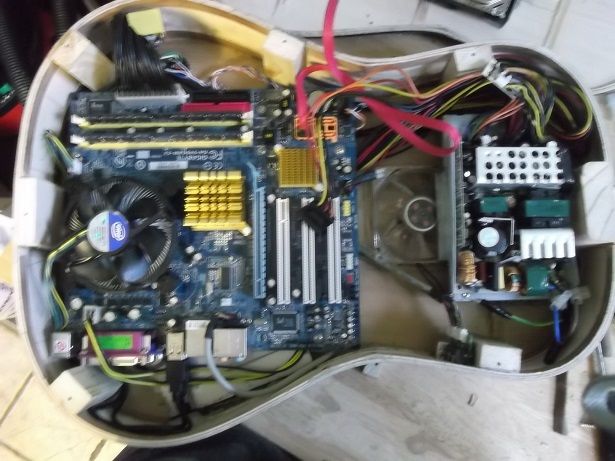
Everything in place and as it stands at the minute!


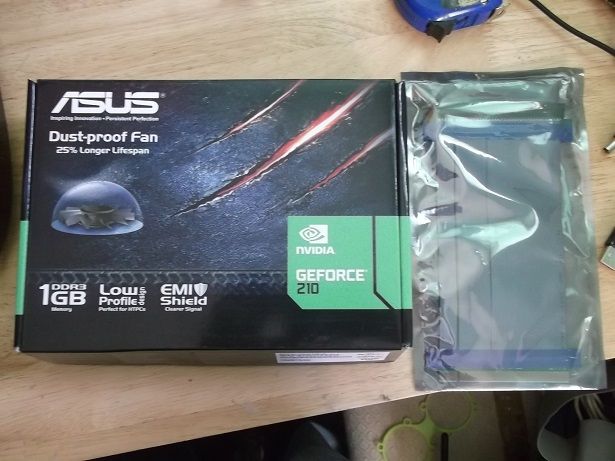
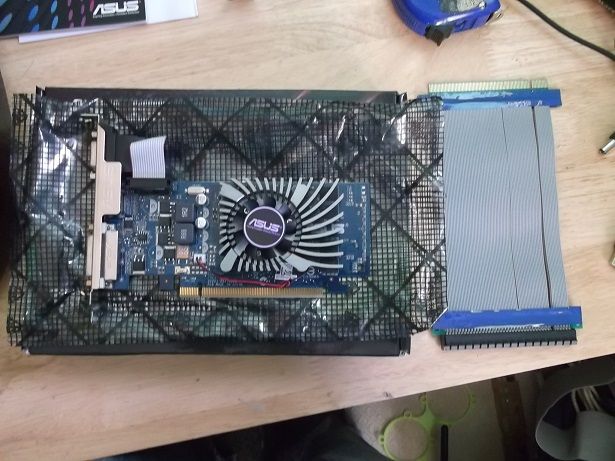
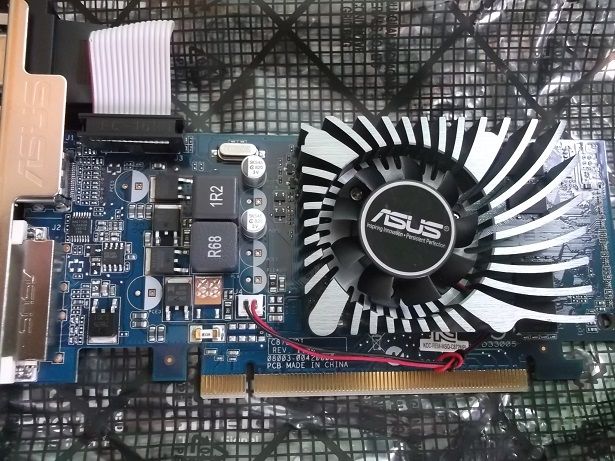
Thats it for now, iv just ordered a ASUS GT210 1GB Low profile GPU and PCI-E Extender cable.

so that will be my next update once they arrive (hopefully tuesday).

Once i have done that, its then onto making sure it all works 100% and everything has a place.

then tidying and spraying the case :)
Dont' worry about the way things look when it comes to the holes and cd draw, they will look better once i get round to the case ;)

Then final pictures will be revealed in the "Reserved" post at No.2.

im happy to take any ideas and suggestions towards colours, or designs.

Thanks for looking :0, see you next time!

EDIT: Sorry about the blurry photo's :(
 
Last edited:
Nice one mate. Looks sweet:)

really nice work there!

Its really coming along now, cannot wait to see it finished

Very cool project!

nice work

cheers guys, good comments help me keep doing it :)


Looks great, as for colours I just finished spraying my electric guitar in a BMW graphite grey metallic and it looks the business. I don't know if that is the look your going for or if you want too keep the wood look that would be very cool too. If it was me I would definitely keep the two tone look so that the back and sides are different from the front as I think it really helps show of the guitars shape better than one solid colour.

Cheers, i like the idea of that grey colour (im a fan of grey :) ), but i don't think it would work on this.

id love to keep the wood, but with me working on it, most of it is scratched and damaged. i could strip and re-varnish it, but im not that good at that sort of thing, and there is hundrends of different types of wood styles, i wouldn't want to get it wrong lol.

as for keeping it the traditional guitar acoustic look, i agree.

i just need to decide on colours, i was thinking of blue, with black faded edges. but then what colour would i do the sides and back ?

Jonnyp
 
Update time! :)


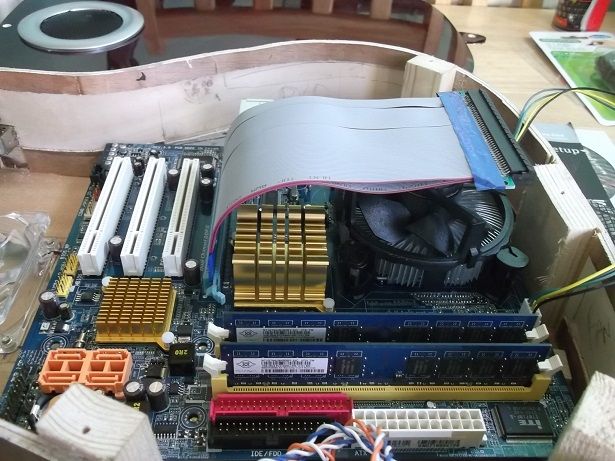
in this update, i received the graphics card, and GPU extender cable., got round to fitting them, and also added the 2 x 60mm fans from before to the bottom of the case for intake.

Take alook.


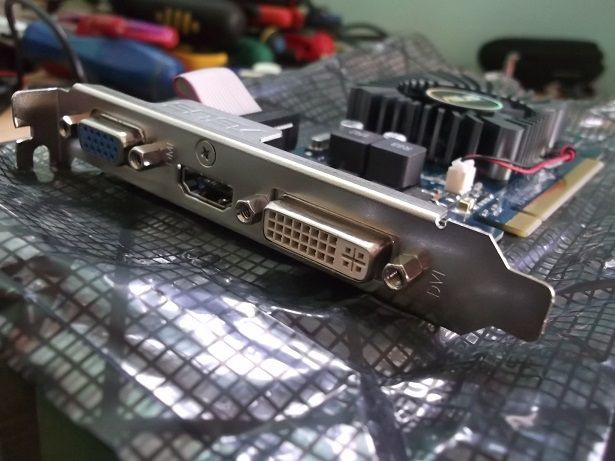
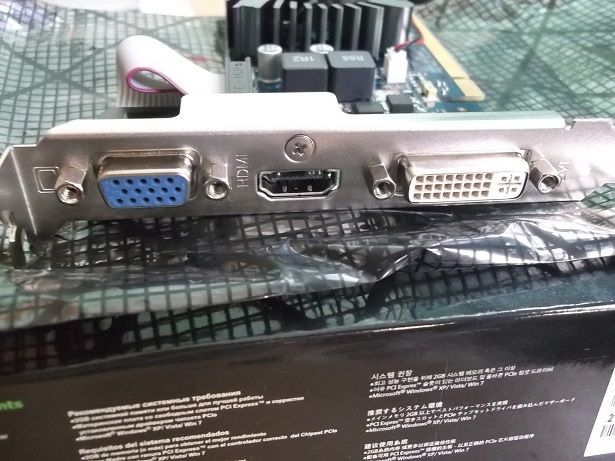
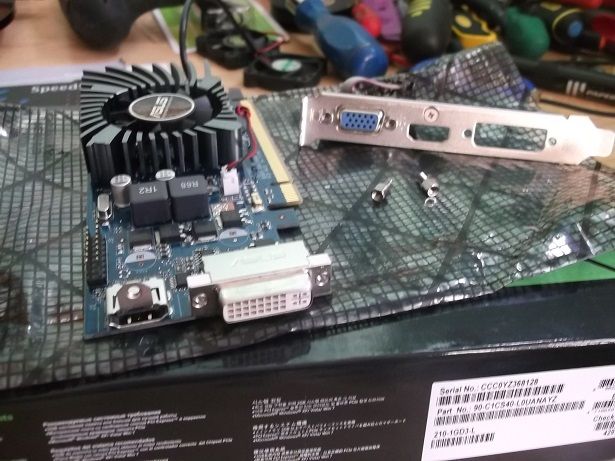
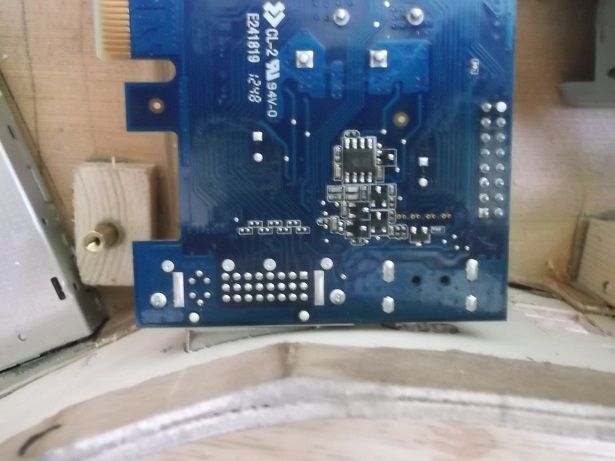
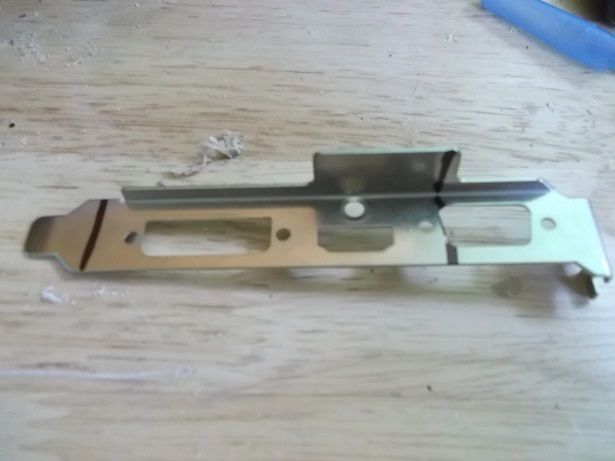
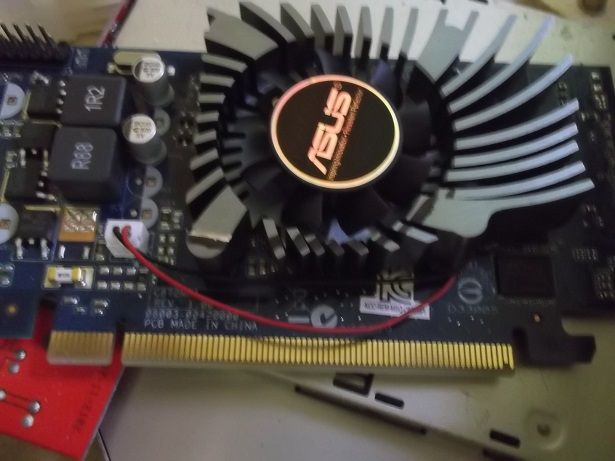
now, in orde for me to get the graphics card into the case, i had to take its face off!


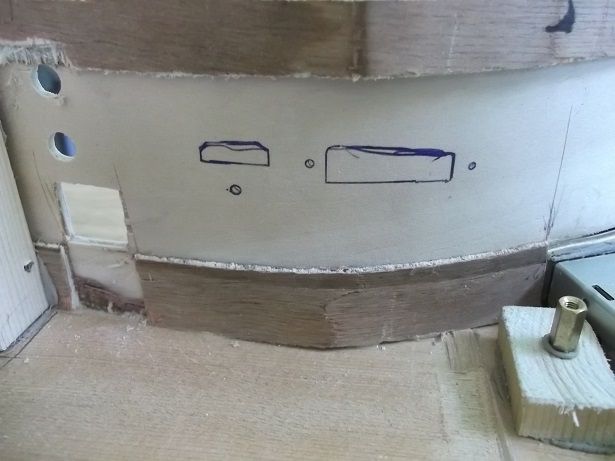
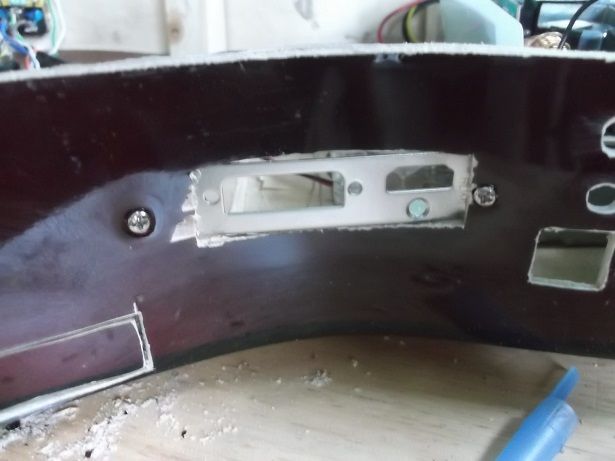
using the face plate, i marked up the holes.


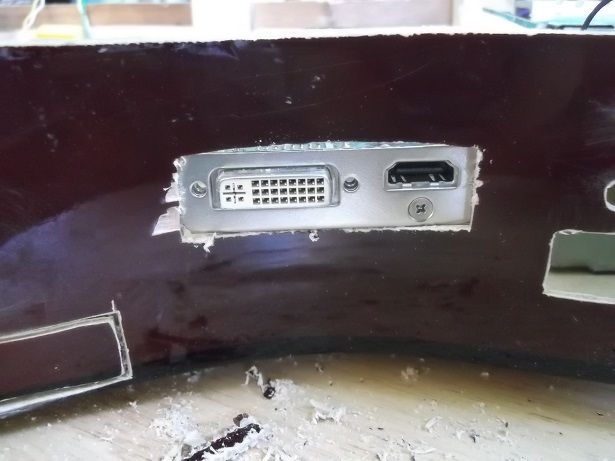
now, as you can see in this picture it didnt fit right. (this is the only place in the case i could put it!, i tried a million different place's, but because of the GPU extender cable, it wouldn't !


so, i had to improvise, again!


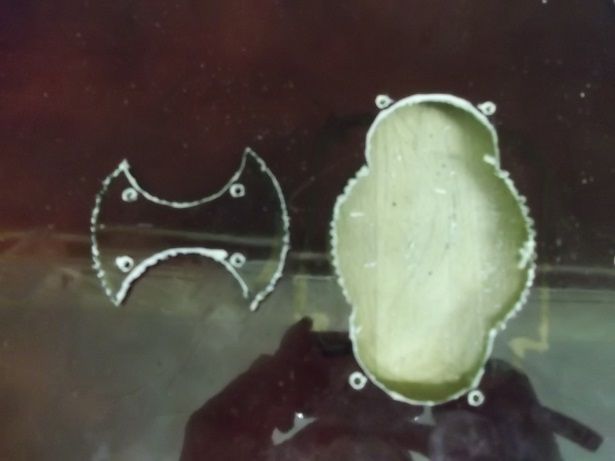
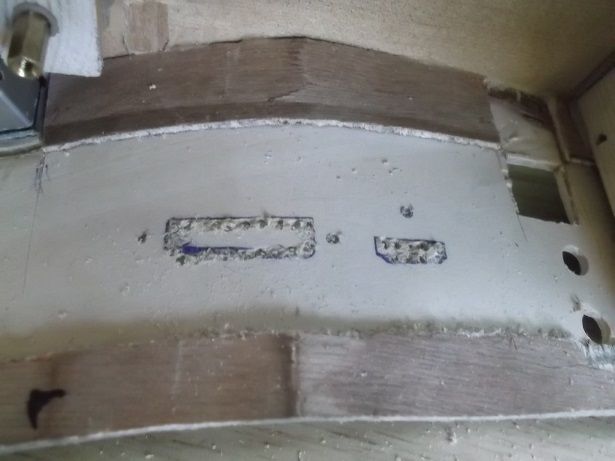
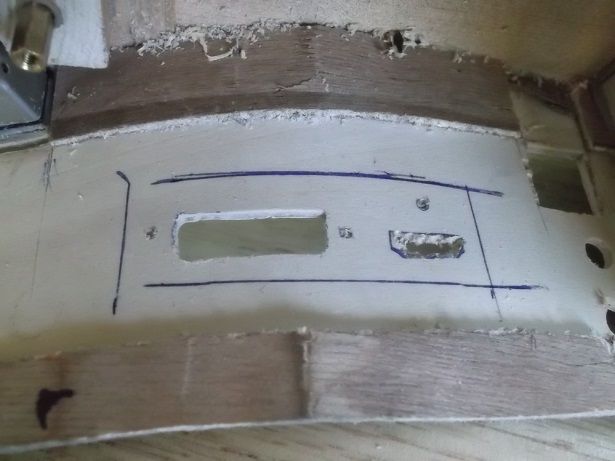
i marked up around the face plate on the curve of the guitar, cut it out, and screwed it into place.


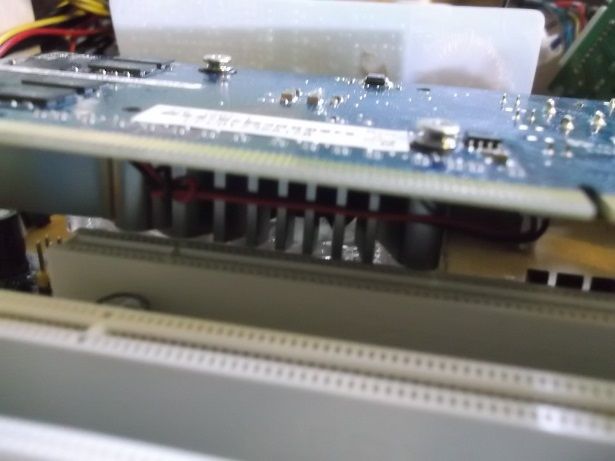
then i had the issue of it touching one of the PCI slots on the board..


(Sorry about the picture, tried to get a better shot, but im using a digital camera.)

This is where it was touching.


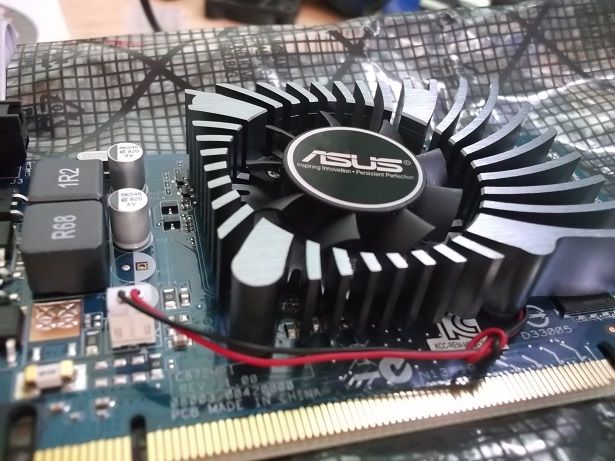
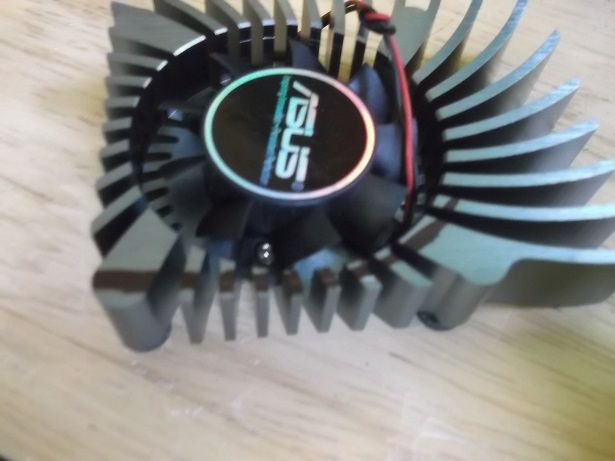
Back on the card, with the fins bent in towards the fan to make it fit
:D, just hope this dosnt effect the cooling too much.


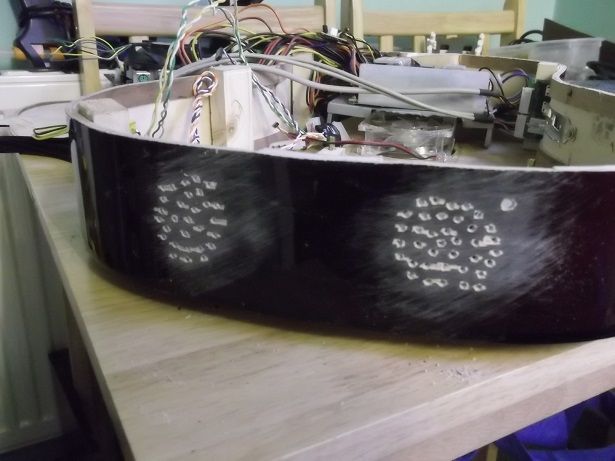
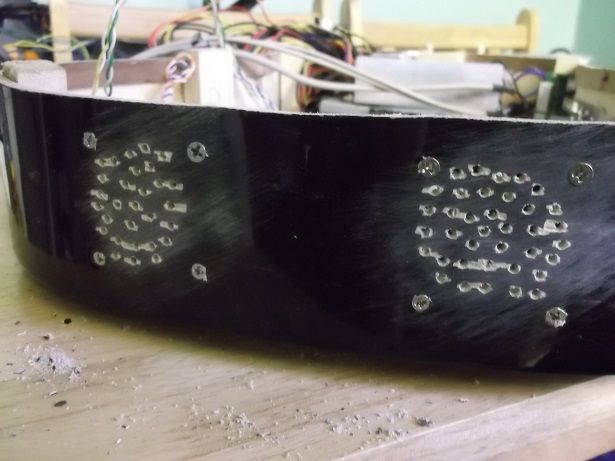
Next was to drill some air intake holes for the 2 x 60mm fans.

Not the best, but i'm going to put some grills, or mesh over the bottom to prevent a lot of dust getting in. so you wont be able to see the holes.

(You may ask why not just cut some holes ?... i didn't cut holes because the case needs as much strength as possible.)


Fans in.


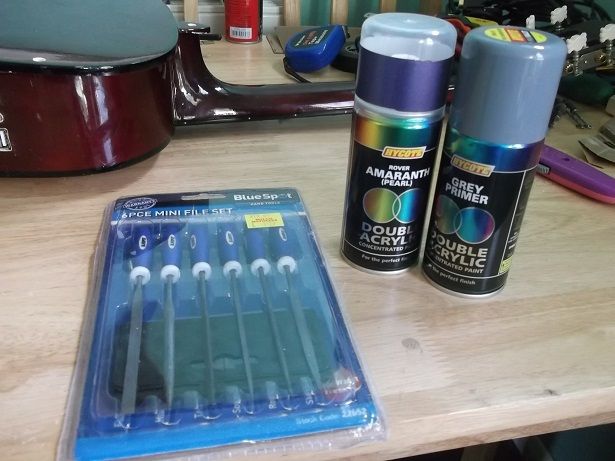
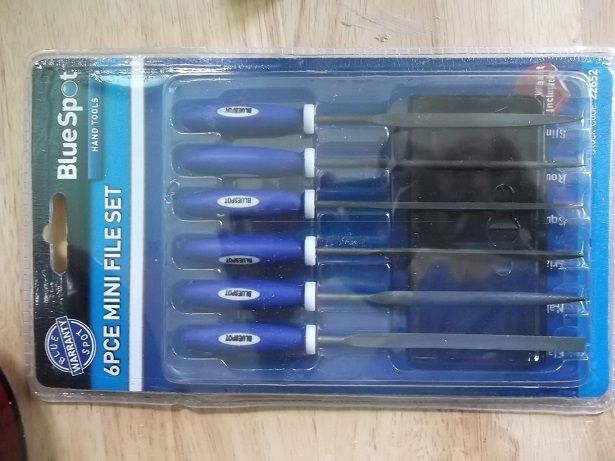
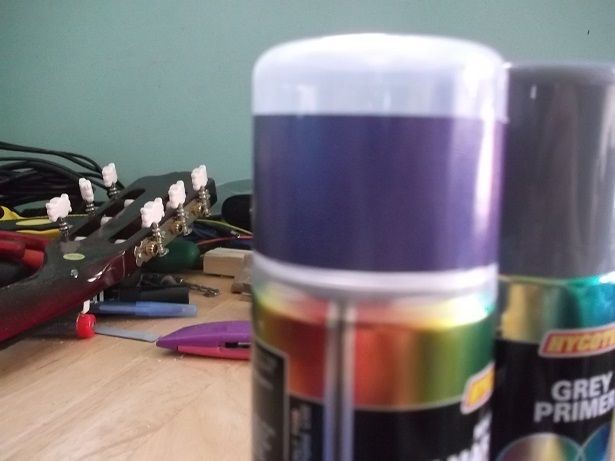
Bought some new files and 2 of the paints ill be needing to do the exterior of the case.


Hope you like the colour :D, my girlfriend chose it, i had to include her somwhere :D.


Thats all for now, next to see will be tidying up the case, spraying it, and then major cable management inside, and then the hardware, install the os, and use it !

Cool as, see you soon :)
 
Lol, iv been that busy with my main system and moving house, it's take me ages to get it finished !

I dont have much Todo now.

Finish sanding the guitar.
Prep for painting.
Paint.
Install components.
Plug it in.
Use it.

But easier said than done lol.

Jonnyp
 
There is one problem you may have with this case and its vibration.
I may have a solution for that.
There is this small company I found which makes insulation foam, which among other things is fantastic for sound and vibration reducing. They are called Kewell Converters and they cut their foam to size, so you dont need to order huge sheet. Foam itself is also very flexible so it will fit all angles well. I am using it in my current project as well. As far as I know its also available with some self adhesive on one side.
Look into this, mate :-)

Will do :) cheers mate !
 
Back
Top Bottom