[Project Log] "Blue Morpho"

I can't say enough about the photography, this build was already shaping up to be one of the best but the level of effort put into the pictures has made it much more interesting. How you've managed to do that with a phone camera is beyond me, sublime, bravo.

wow, thank you very much man. Geez all these kind words from you guys, it's amazing!.. thank you..
 
Small Status Update

Hey Guys,
Just a small status update.. I am currently awaiting the Reservoir/motherboard block from Parvum,
and really not much work i can do until it's here. Would love to do the sleeving, but don't really
know the length of the cables until the block is here. Same goes with installing the parts or making
some sexiness to the motherboard since the motherboard is at Parvum for measurement.
So next photo update will be the reservoir block when it arrives, and it's going to be amazing!!

Also got my new camera, a Canon EOS 70D and some macro lenses, so images are hopefully going to get
even better now. If not then i will go back to my HTC ONE M9 that has delivered all the images up until now.

So stay tuned guys, next update is going to be pure sexiness!!
 
Good to see you've finally got yourself a decent camera, because the photo's so far are, quite frankly, awful... :D

Can't wait to see what the guys at Parvum have knocked up for you, going by the quality of the rest of the build it's going to be special :)


Haha thank you :D ..
Yeah, same here, can't wait till it gets here so i can install everything and start doing the sleeving..
 
Just Trying Some New Stuff

So as i await the big piece of acrylic block from parvum, I recieved som goodies from both CaseKing and Coolerkit.
I take photos of these later on, but first off i wanted to show some 90 degree angles adapters in acrylic that i recieved.
I kinda like the looks of these, an actually think they would be a perfect match to the big acrylic reservoir/motherboard combo.
But who knows, i might change it once the block is here and i have a better visual idea of it.
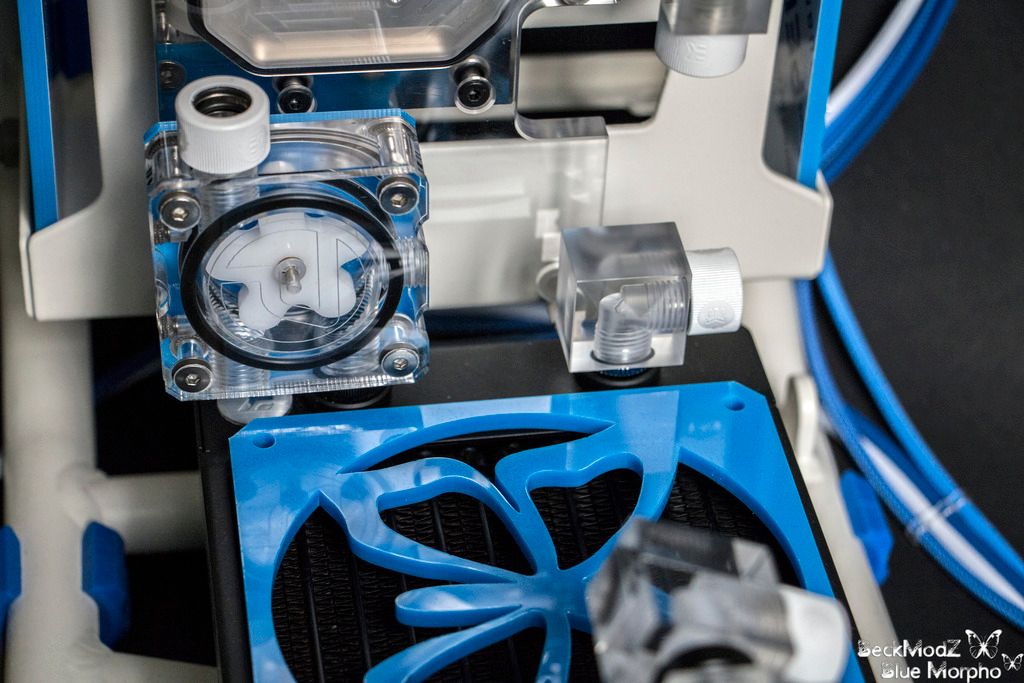
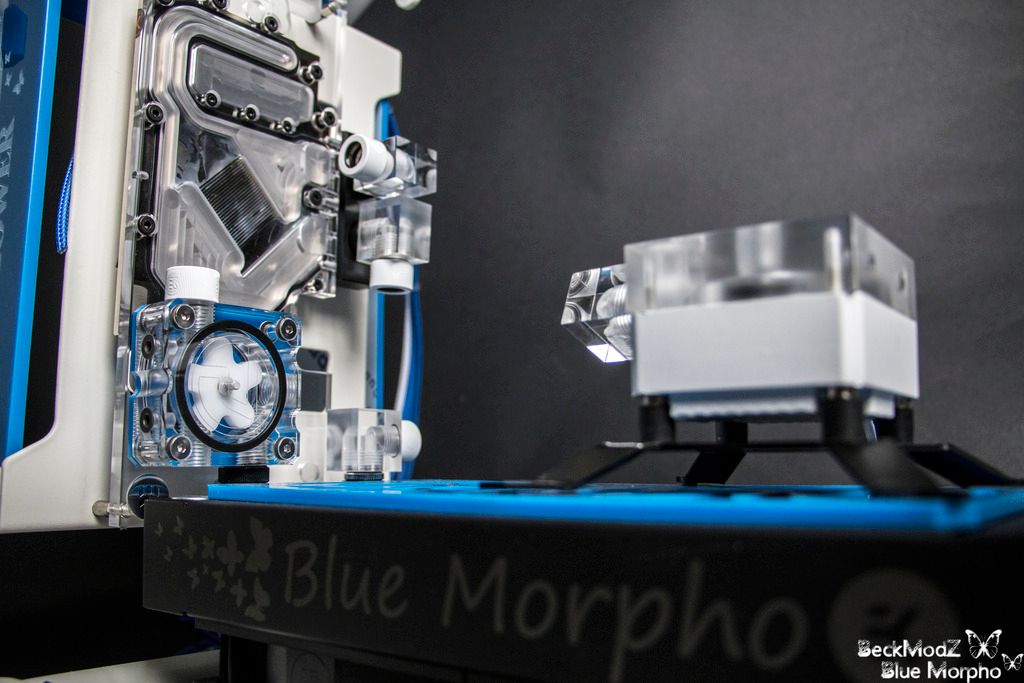
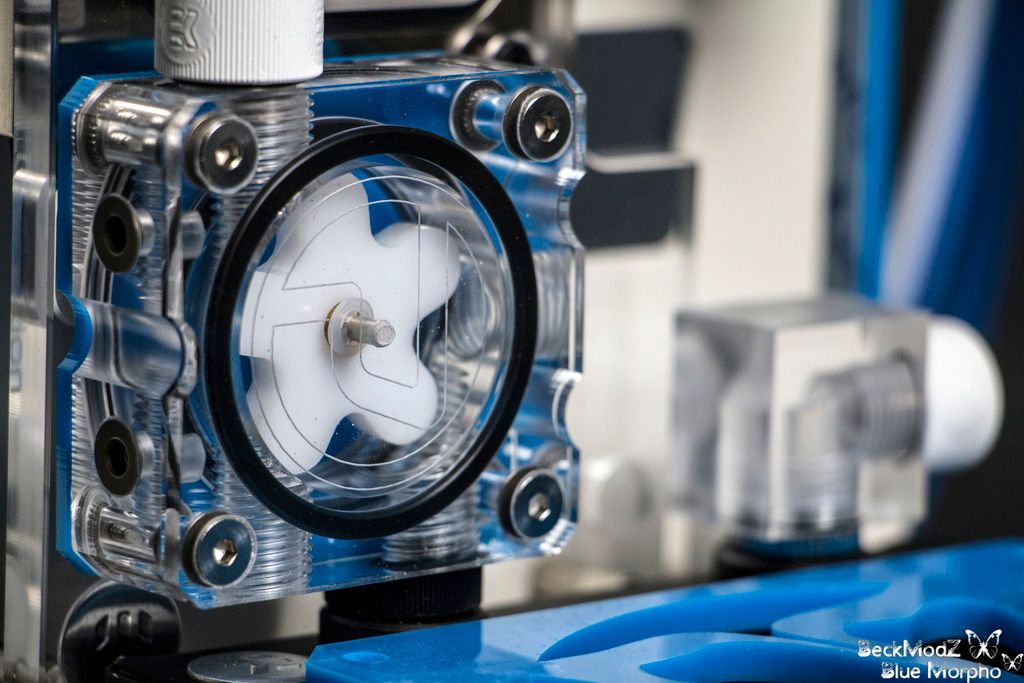
For now though, i installed them to get a visual idea of the flow direction, and also the new flow meter arrived, which had a matching

skye blue backplate that fits perfect to the rest of the acrylic custom parts!

The fittings leading towards the back of the case, from gpu, from rad and from pump, are going into the tunnels in the reservoir block,
and being guided to the next piece of hardware. Will be easier to see later folks, so stay tuned and let me know what you think of the

angled adapters. Should they stay or should they go ?


IMG_3892%20copy_zpsxg35x7l0.jpg


IMG_3902%20copy_zpsoumj8ruf.jpg


IMG_3901%20copy_zpsh5wouxia.jpg


IMG_3898%20copy_zpsoe2sgikb.jpg


IMG_3873%20copy_zpshzndjygr.jpg


IMG_3889%20copy_zpspylqvkdq.jpg


IMG_3897%20copy_zpsglq8hi5t.jpg


Stay Tuned Guys!!
 
Like you say, it's difficult to make a call on a style match with half of it not there. They're certainly different though...which is good. I think I looked at these (amongst countless others) when I was trying to find 90 degree fittings that would fit in the 19mm I had to play with. Even contemplated drilling and tapping my own as a last resort :D

Yep, difficult indeed.
I actually was thinking about drilling and tapping my own as well.
still thinking about taking these angled blocks and rounding them up a bit :)
 
Worth a go if you have loads of time and a spare :D Unusual is good. Could take a while to sand it fine enough so that it's clear again rather than frosted.
Tungsten Carbide Dremel bits work nicely on delrin so I'd assume on acrylic too. Got a set from China (auction site) for about £16 and they're really good.
I used the Barrow non-rotary 90 degree fitting in the end but I could do the necessary rotation on a different fitting so I wasn't stuck with it pointing in a random direction.

If it helps, I finally managed to find a G1/4 tap that actually is G1/4 rather than R1/4. Völkel make three (taper, second and bottoming) and they can be had for about a tenner.

I've been playing with tapping and threading acrylic directly too. You can thread 12/10 acrylic tube but I think it would be better as 13/10 and you still need to work out how to seal it. I think 16/10 could be tapped and if the end is flat, a fitting's o-ring should seal against it.....just in case this opens up some interesting possibilities you haven't already thought of.

Oh, never really thought of that.. that's indeed an interesting idea, and without a doubt something i will try at some later time, i can easily imagine how sweet it would look to have acrylic tubes going directly into the reservoir block without the need of fittings, would look so sexy :) ..

Have gotten some G1/4 taps from my work, in the correct size, so shouldnt be a problem :) Got a dremel too, somewhere in the mess at least :)
Will wait untill the reservoir gets here (2 weeks), and see how it all look together, and then maybe if it looks terrible, i will try to give them block angled adapters some sexy curves instead :) ..
 
Only thing to think of is that if you thread the outside of a tube, there isn't an o-ring to seal it. If you can make a shoulder in the acrylic block, you could fit an o-ring or washer so the end of the tube screws in and tightens against it.
If you tap the inside of a tube, you can connect it with male to male connectors as long as the end is flat. Koolance make some fittings with 4mm male thread either side and a 2mm ring in the middle.
You could only do this at one end as you couldn't screw it in both sides in opposite directions at once. XSPC do a rotary male to male which is longer but would let you screw the other end in - or you could use a normal fitting on one end.

Not that I've been thinking about this a while :D

hahaah ! :D i can tell :D ..
was thinking since the reservoirs is a block and a lid it might be possible to make place for an o-ring inside the lid, and have it seal around the threaded tube.. Will be trying this out for sure, if and when i have a little time in between the builds :) Thx for the idea, if you ever get it done please drop me some images on my facebook page: beckmodz - liquid designs
would love to see the result :)
 
Very neat indeed. i can see what you mean, looks really thin.
But great idea still, if it isn't too fragile when threaded :)

Thanks for that, will check it out, and also your log :)
 
Good point. Just tried and it did crack when I squeezed it fairly hard. Would probably be ok in use though. Also, the chamfered end and really long thread (I got bored) didn't help. Have cut the end off leaving one thread as a started and threaded 10mm - acrylic shavings all over my desk again :D Squeezing the end now it seems to hold. I think if I tried really hard I could crack it but it's definitely tough enough for service.

:D The question is though, what if you used PETG tubing instead, that should be a lot harder to break and not as fragile as acrylic tubing..
Maybe you should give that a go instead, pretty sure that would give a much better and more solid result mate.
 
Final Renders of Res/Mobo Block Before Cut

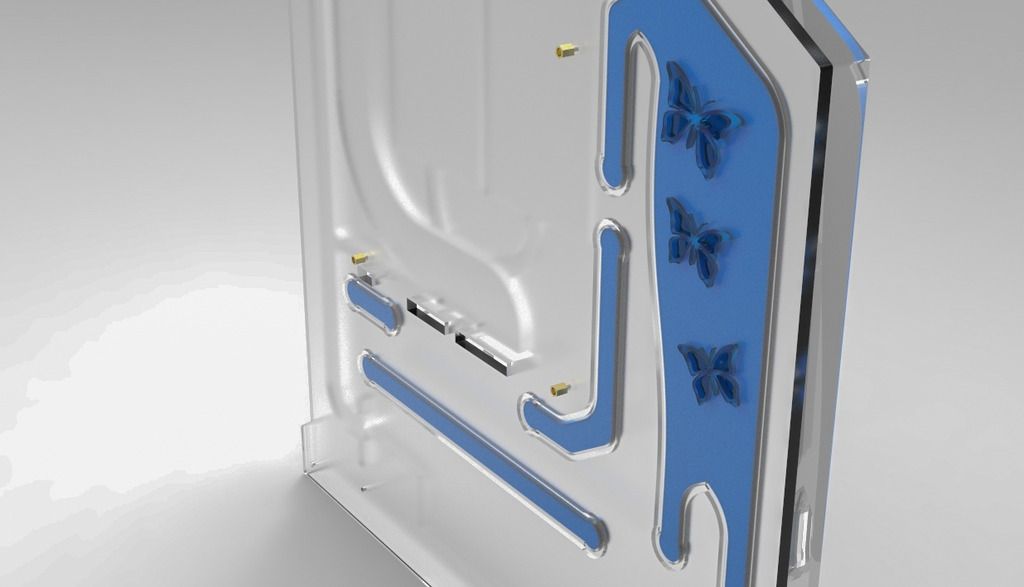
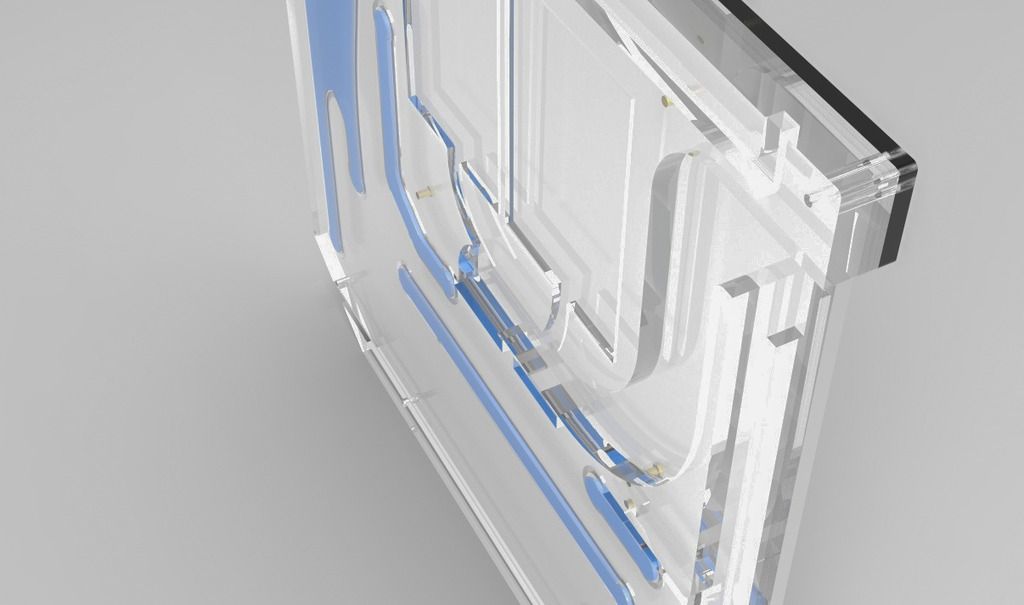
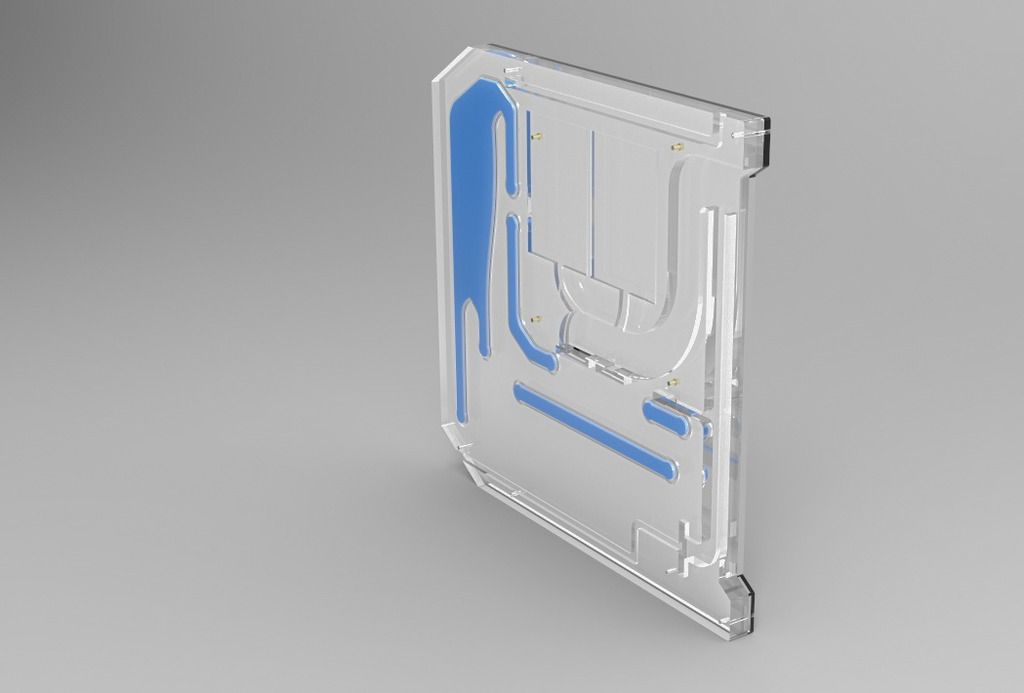
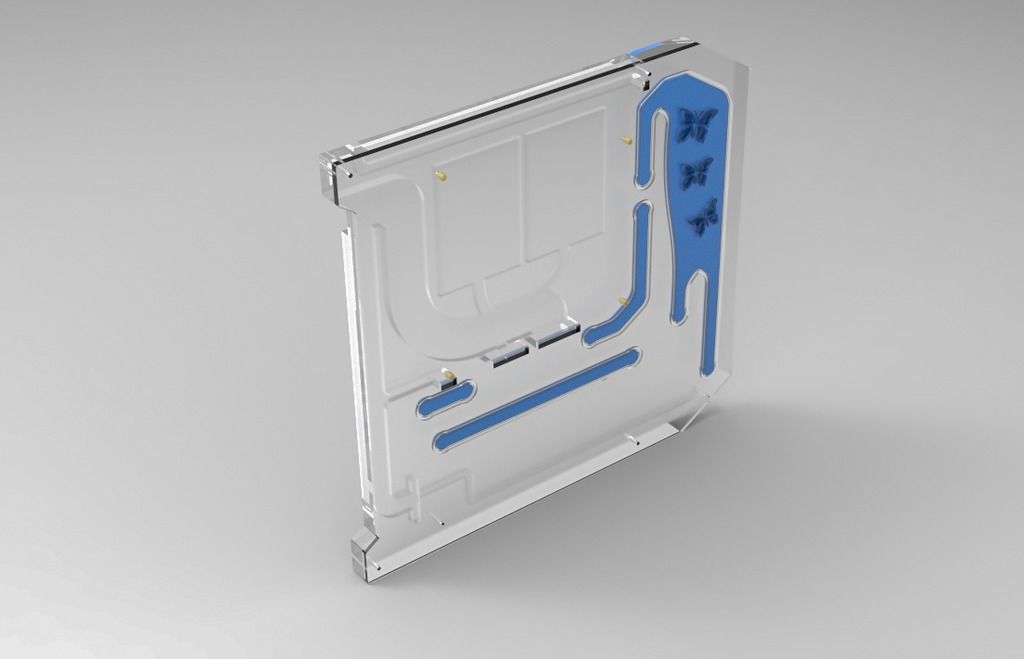
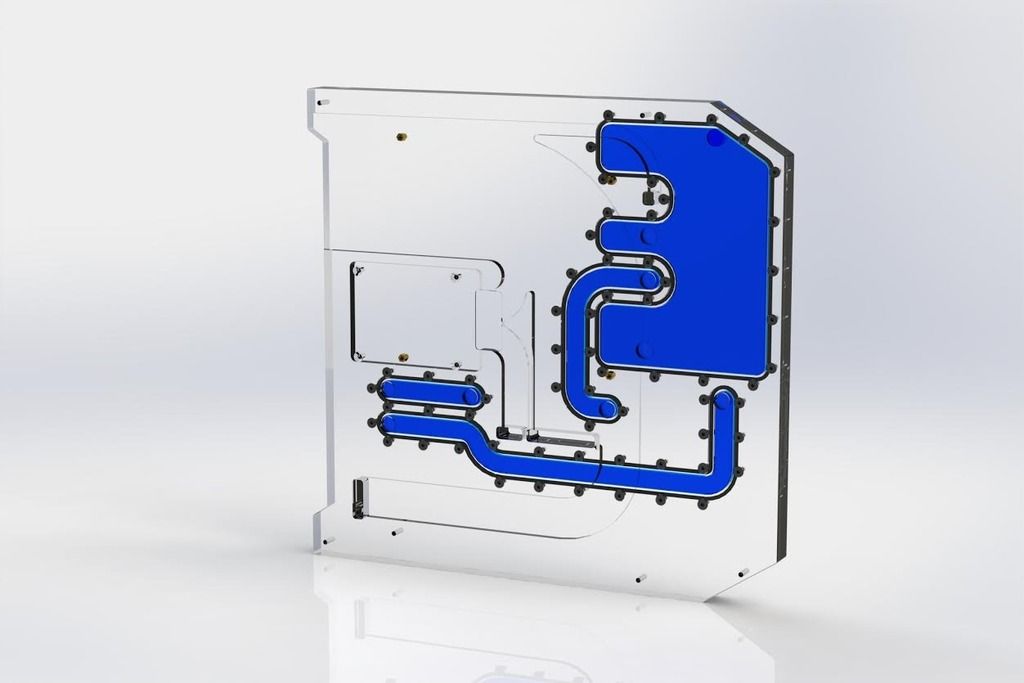
So the reservoir/motherboard tray is now in ready to get cut!. While I have 14 days of work ahead of me with 168 hours total, so will not have any time to build in that period.
But when i get back from work in two weeks, the reservoir block should be arriving at my door.
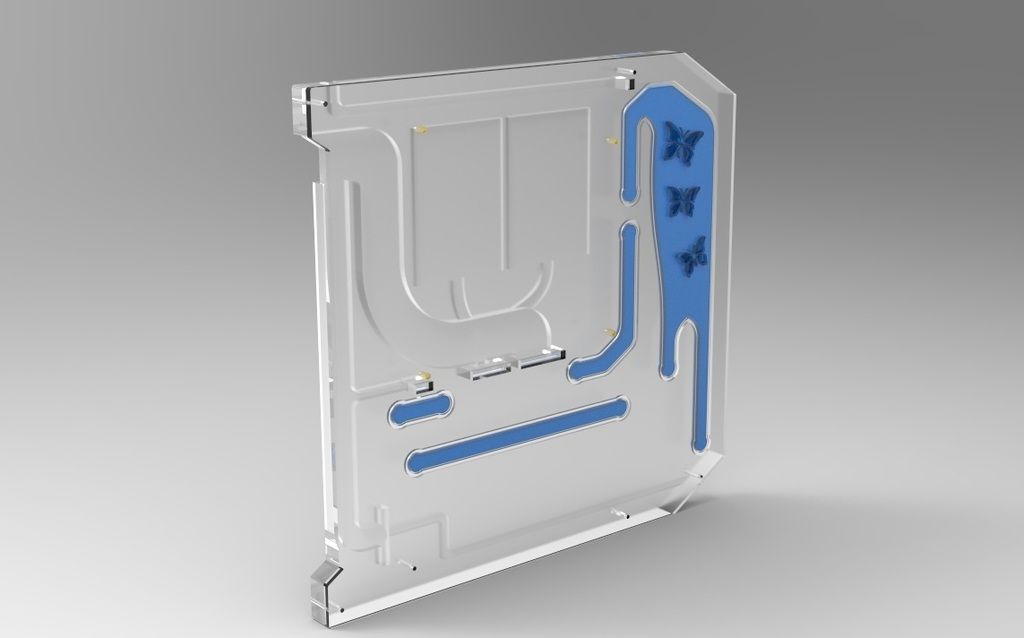
Here's some new 3D renders with the cable routing and ssd housing on the backside of the block. Really looking forward to getting this piece home and see how it all comes together!
So be patient guys, updates will come again when i am home from work in two weeks, and when the reservoir is here.


untitled.83_zpsotijyjxr.jpg


untitled.84_zpspiyqlwbd.jpg


untitled.86_zpsxc2dfqiw.jpg


untitled.85_zpswyo3d2i7.jpg


untitled.87_zpsgymqt0hz.jpg


untitled.88_zpsqcqwzcwv.jpg


Hope you like it !!
 
Installing the PSU while Awaiting Parvum

So just a small update guys. The reservoir/motherboard block from Parvum, still isn't finished :(
Really hope it gets done soon, as i hate to keep pushing the deadlines on this project, but i know it's a complicated
piece of work and that it's better to have everything correct so we dont have to re-do it..
Also had to re-design the block after sending new meassures, but i think this will look much more sexy when done. Will put in a image of that too.

So while waiting for the block, there's not really anything i can do, want to start sleeving but since the block isn't
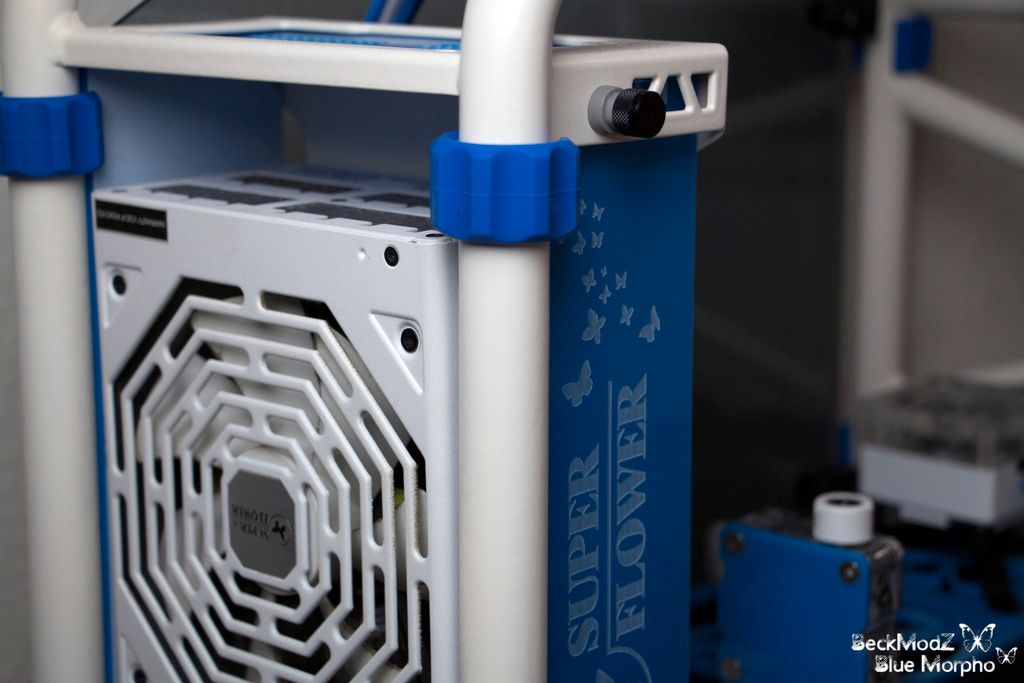
here, i have no idea about the lengths of the wires. So i installed the PSU instead and started thinking about just making the psu side of the cables, and then just cut them long enough

that i can adjust the length once the block is here.
Well, i have around 4-6cm of freeroom for all the double wires, and just noticed that the 24pin has 11 freakin double wires.. Amazing, so i guess the old soldering iron will come into

play again. Just hope that i can make it neat and that there's enough space to fit all them cables :)

Oh, wait, i also have the next project planned when i am done with this one :)
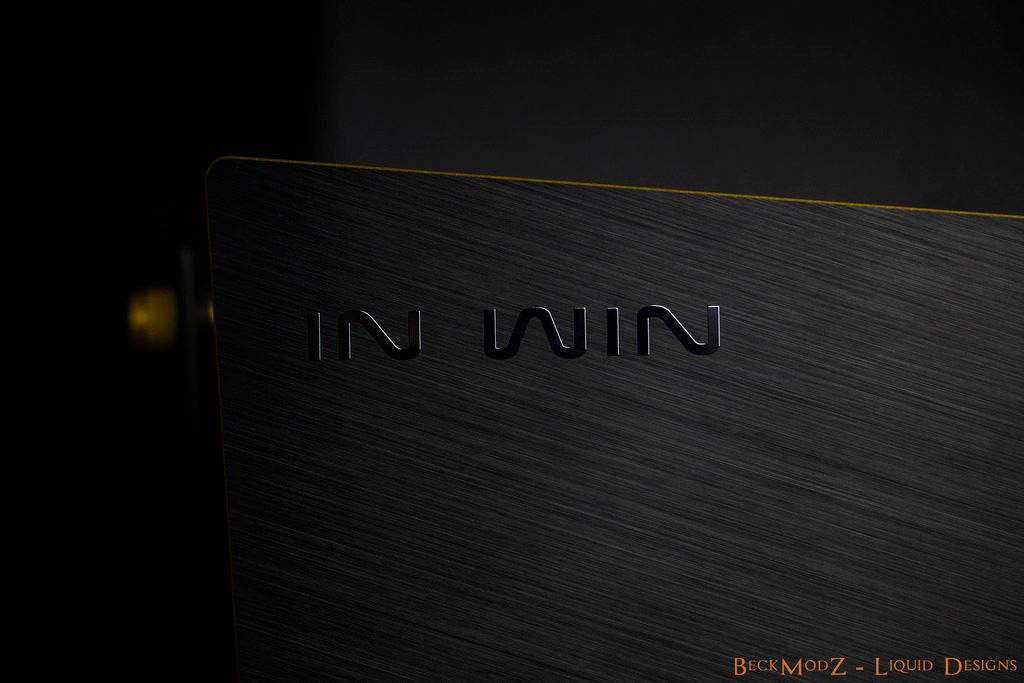
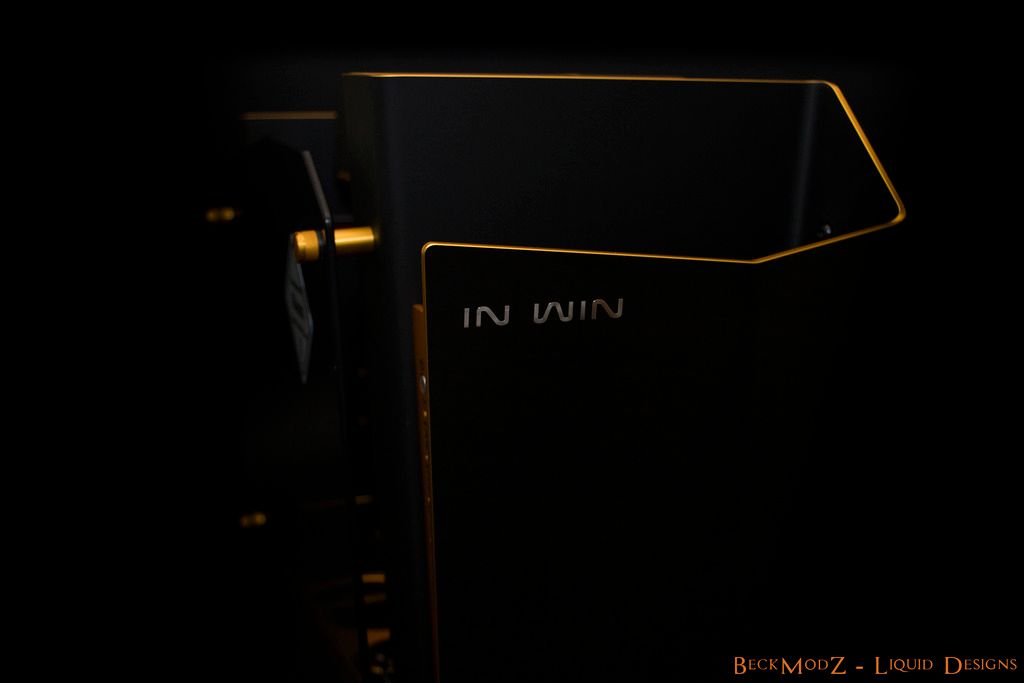
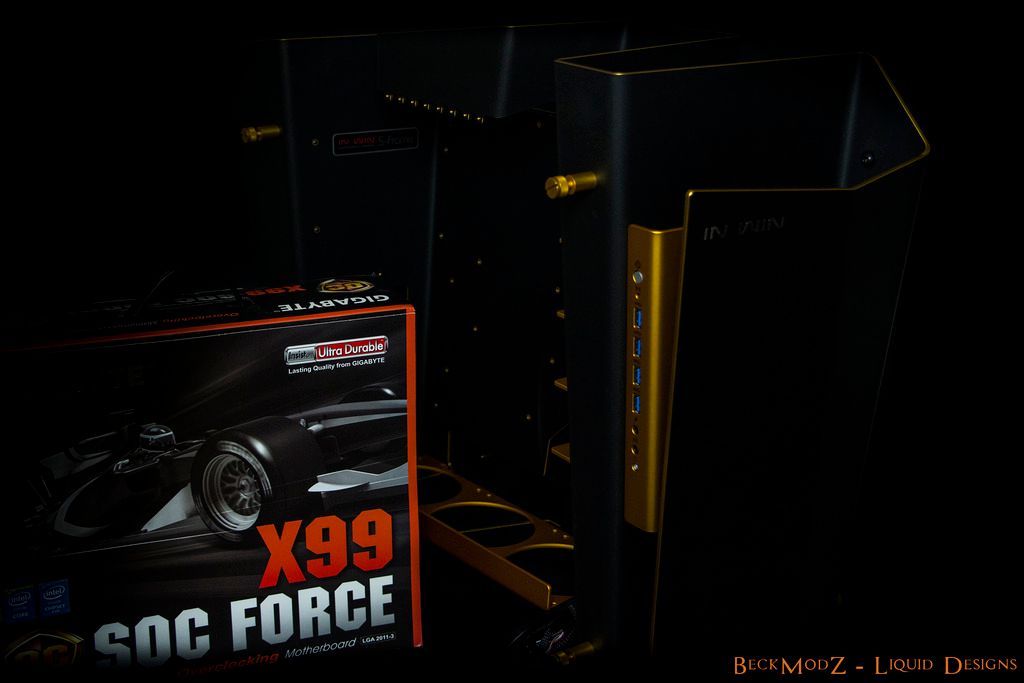
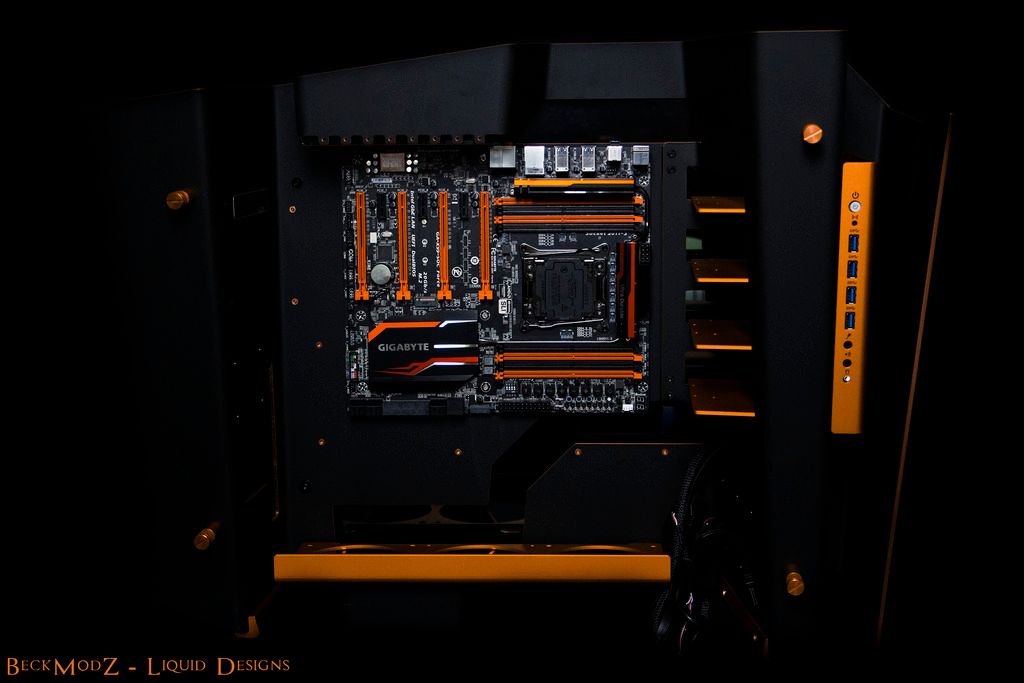
An In Win S-Frame project called "Phoenix", with x99 soc Force from gigabyte, and a lot of sexy custom waterblocks to be made for it..!
So have a look out for that one when the blue morpho is finished :)
Dropped in a few teaser images for that project.


eb75372c-0472-4ea3-8b49-d51261e0049b_zps45oszt11.jpg


IMG_6749%20copy_zps7zvajega.jpg


IMG_6742%20copy_zps1idvhvnj.jpg


IMG_6745%20copy_zps95asbfm9.jpg


IMG_6752%20copy_zpsfkxncxbs.jpg


Now some teaser images for the next project..

BeckModZ%20S-Frame%200_zpsuiq2mmpr.jpg


BeckModZ%20S-Frame%202_zpsndu73jbi.jpg


BeckModZ%20S-Frame%203_zps3jkvbuxl.jpg


BeckModZ%20S-Frame%204_zpsiftscwdp.jpg


BeckModZ%20S-Frame%207_zpso4i27usi.jpg


Hope you like it !!
 
I know exactly how you feel; I'm in the same boat except I've not started the design for the block yet :o Even sleeved the front panel cables while I wait :D

Are those stock photos or have you got the S-Frame sitting there staring at you, calling to you?!

Yeah, it's killing me :D really want to get the blue morpho finished soon, has taken almost 6 months now :O ..

And it's not stock photos :) i took the images with my canon eos 70D yesterday, and did a quick install of the motherboard, so i could get a better idea of how i wanted the 2 big custom waterblocks to be, and to give me an idea of flow and Alternate GPU mount and everything :)
So yeah, the S-Frame is whispering my name all the time, making me want to jump right into that project ! :D BUT have to finish this one up first!..

But at least since the S-Frame is here, i could do all the meassures for the waterblocks, and start up the fabrication of them. That way they should be ready at the time i start up the project, so i dont have to wait 3 months again. :)
 
The S-frame is a really nice looking case....with a massive requirement for good cable management! :eek: Nowhere to run to, nowhere to hide and all that. Good luck with that! Cabling channels in the blockwork maybe?

Just to taunt me futher, the postman has just delivered the 8mm sleeving and molex pins. :( Now if I could just persuade the pins to come out of my PSU's non-standard PCI-E modular plugs :D

hahahaha :D damn pins ! :D ..
i know the feeling all to well ! :D..

Nah actually i was planning doing some orange acrylic work on the s-frame, to act as cable routing,hiding and everything, but in the front of the case. but more info on that when i open the build log :)
 
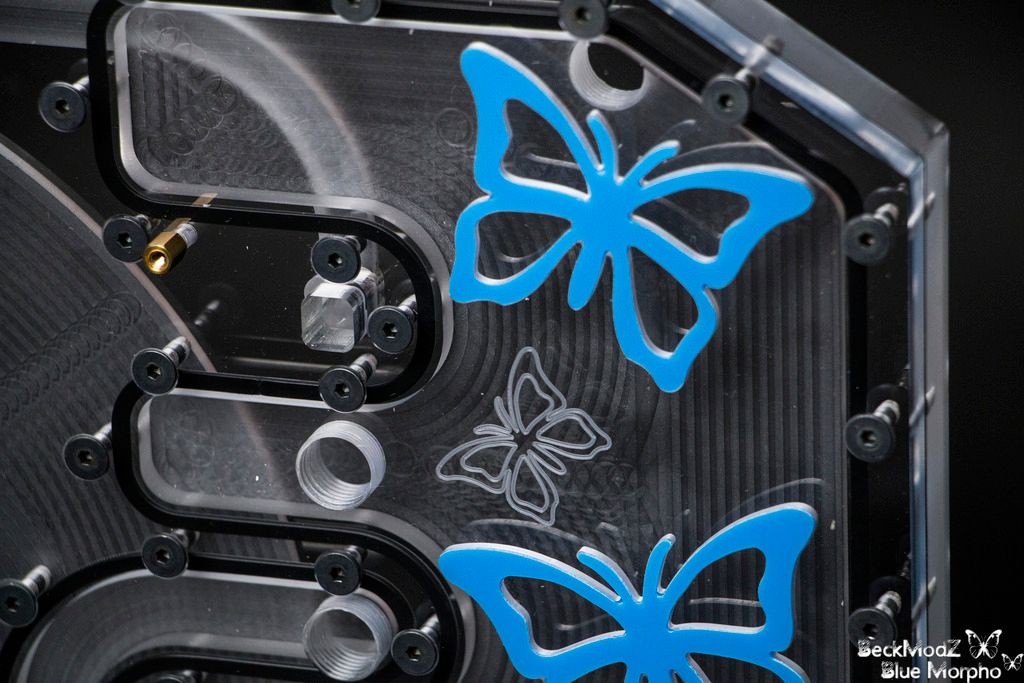
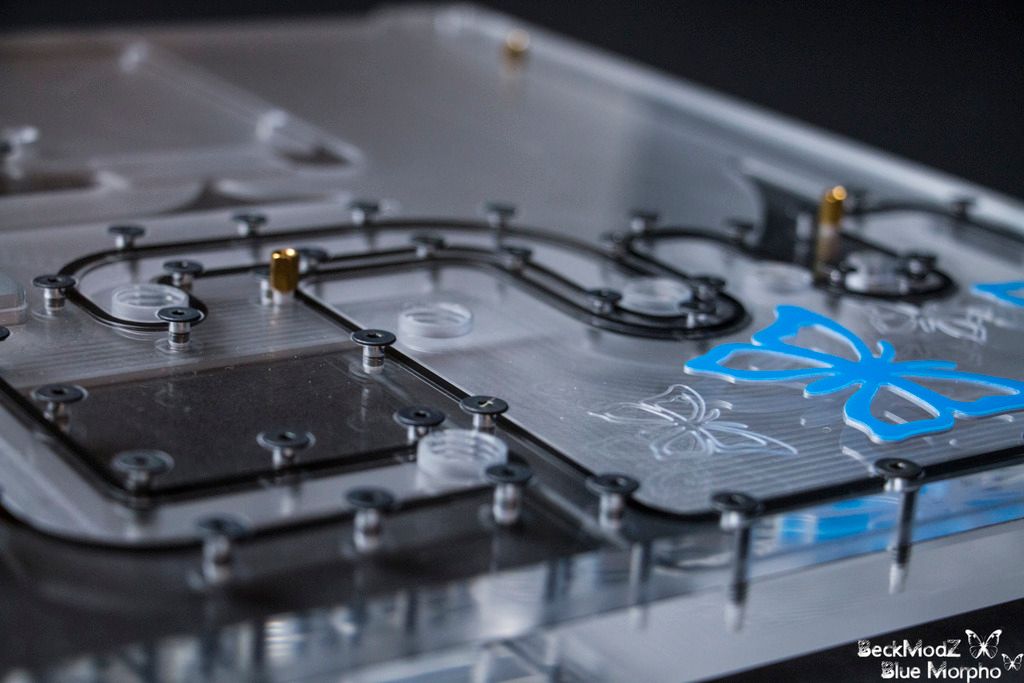
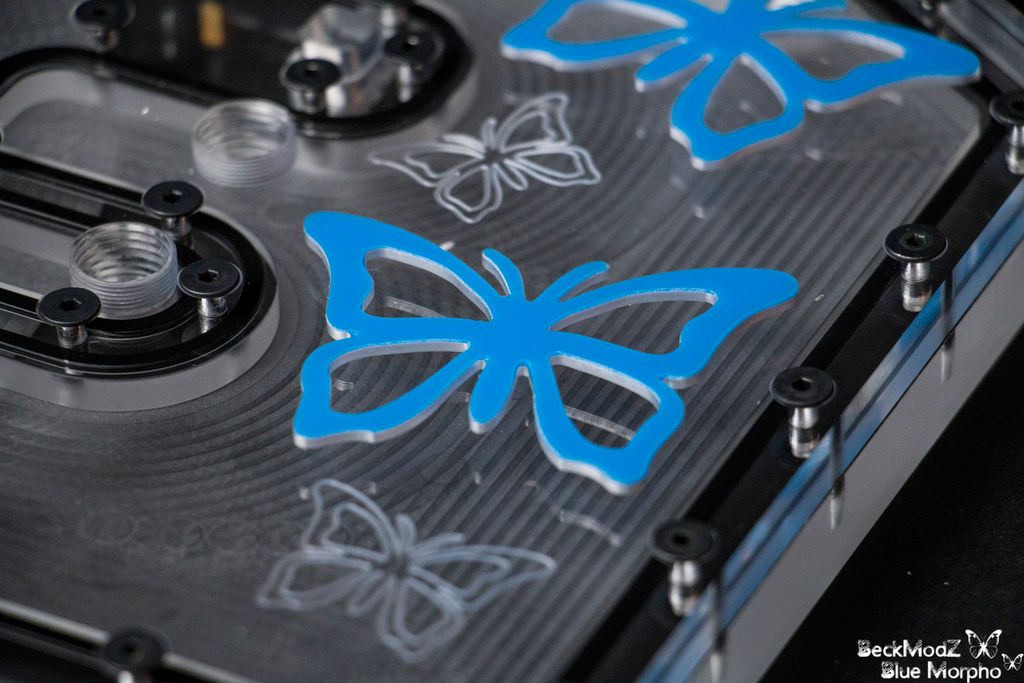
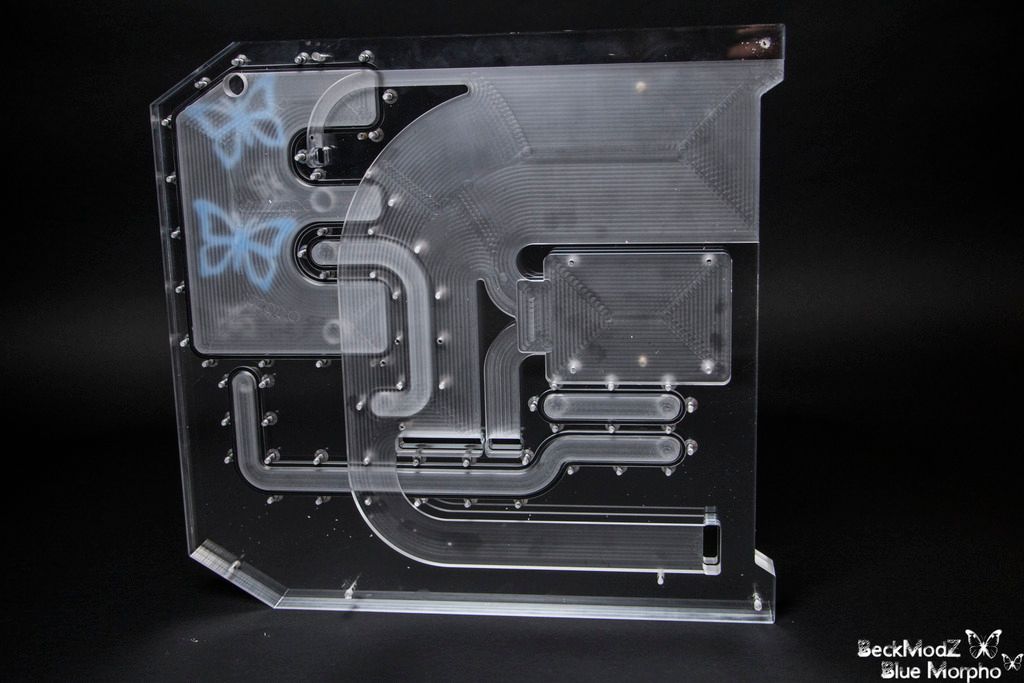
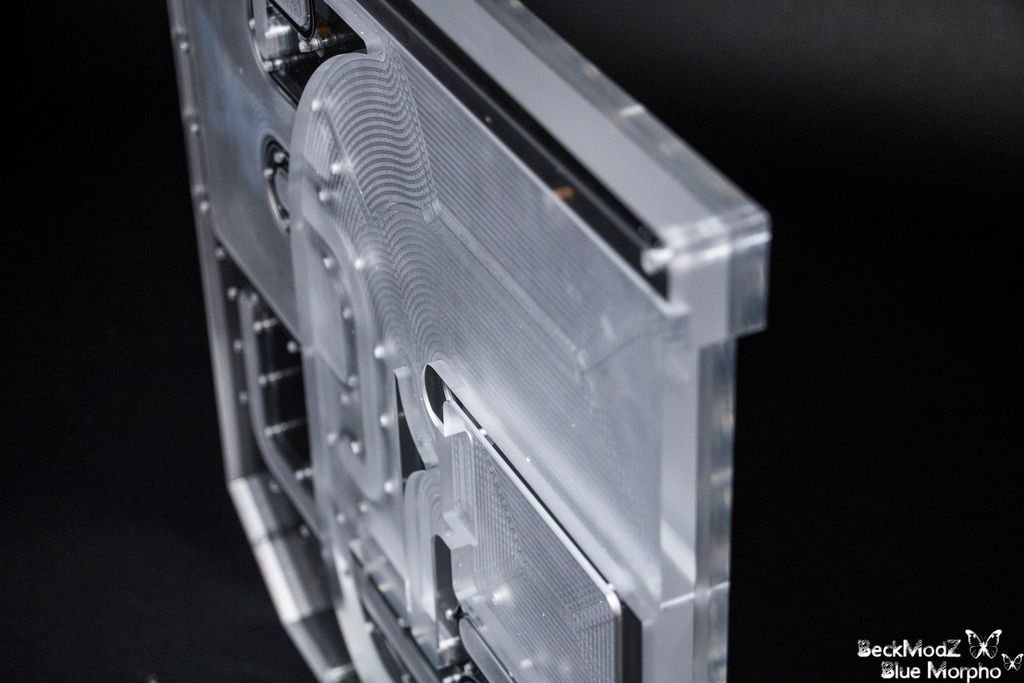
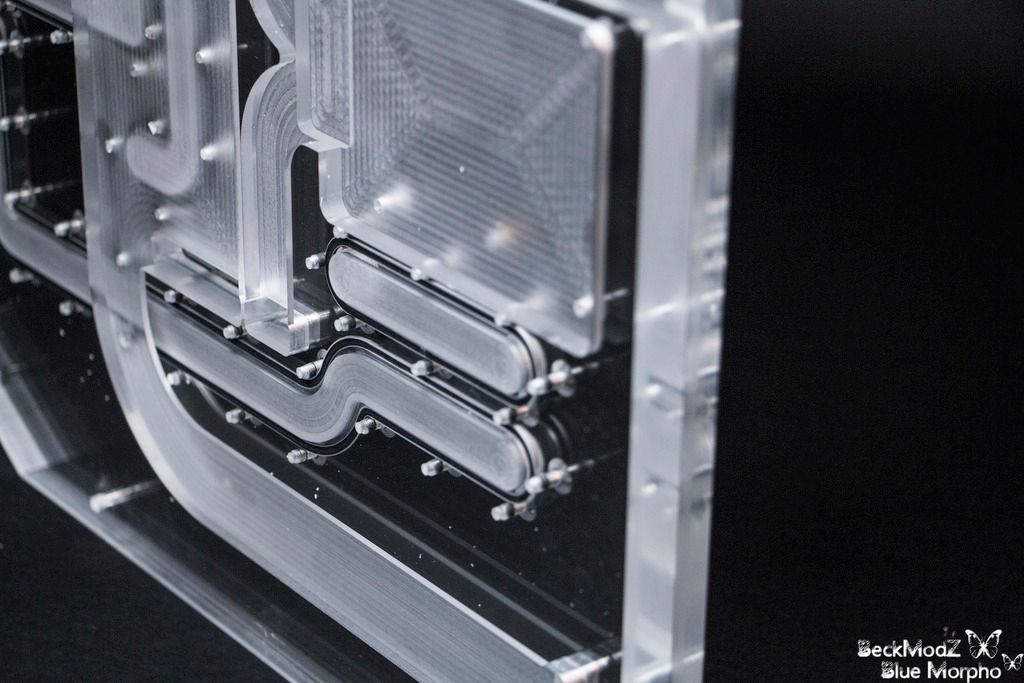
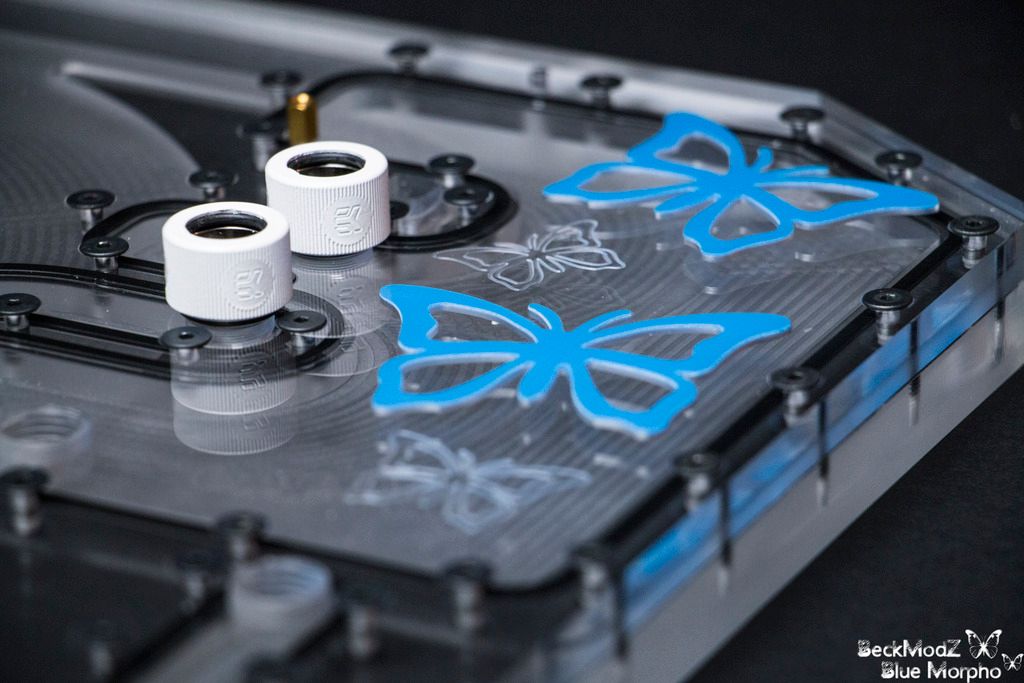
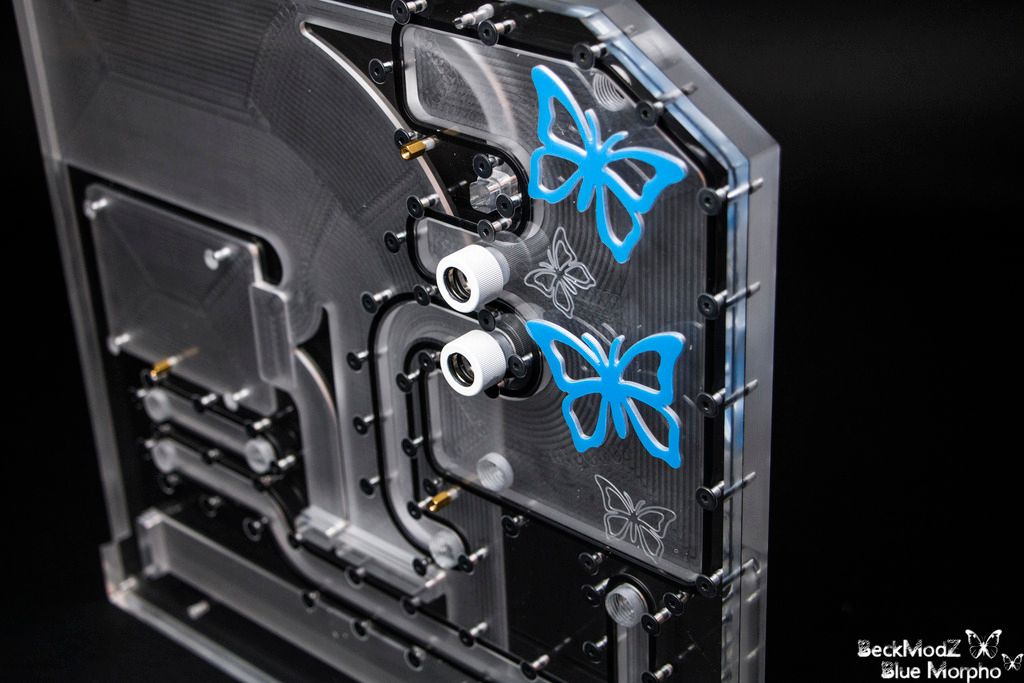
FINALLY!! The Reservoir/Motherboard block has arrived!

So after waiting way too long for this piece of art, Parvum finally finished the reservoir and motherboard block,
and i have to say, once again they did an absolutely AMAZING job. The block looks so stunning.
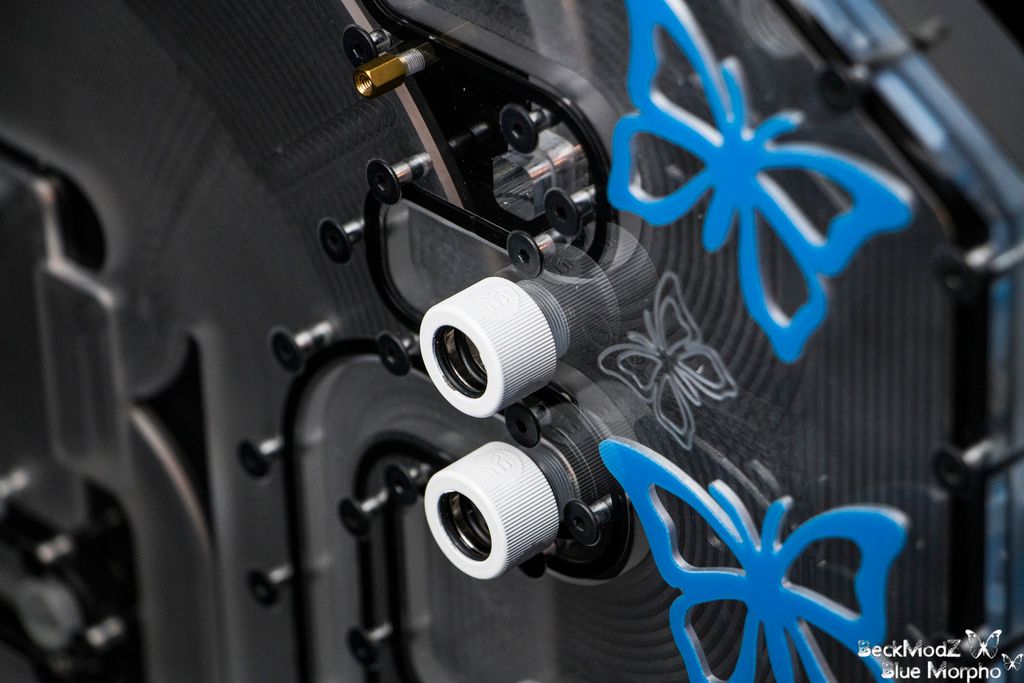
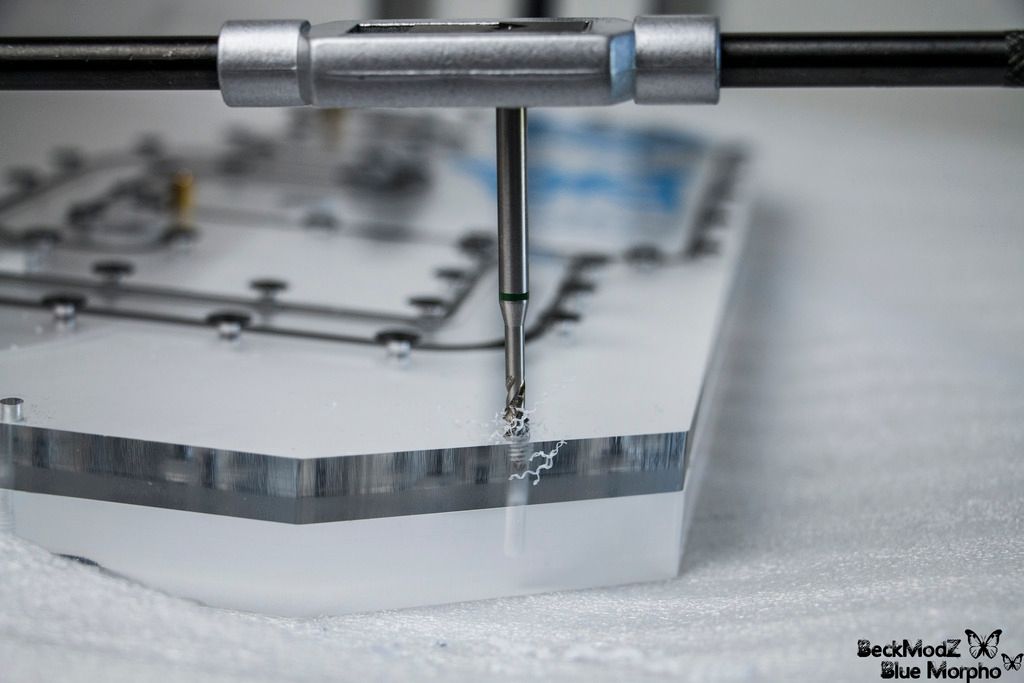
i unpacked it and instantly tried to see if i could mount it, unfortunally the mount holes was on the wrong side of the block,
so i had to drill and tap new mounting holes, and also had to tap the rad holder mount.
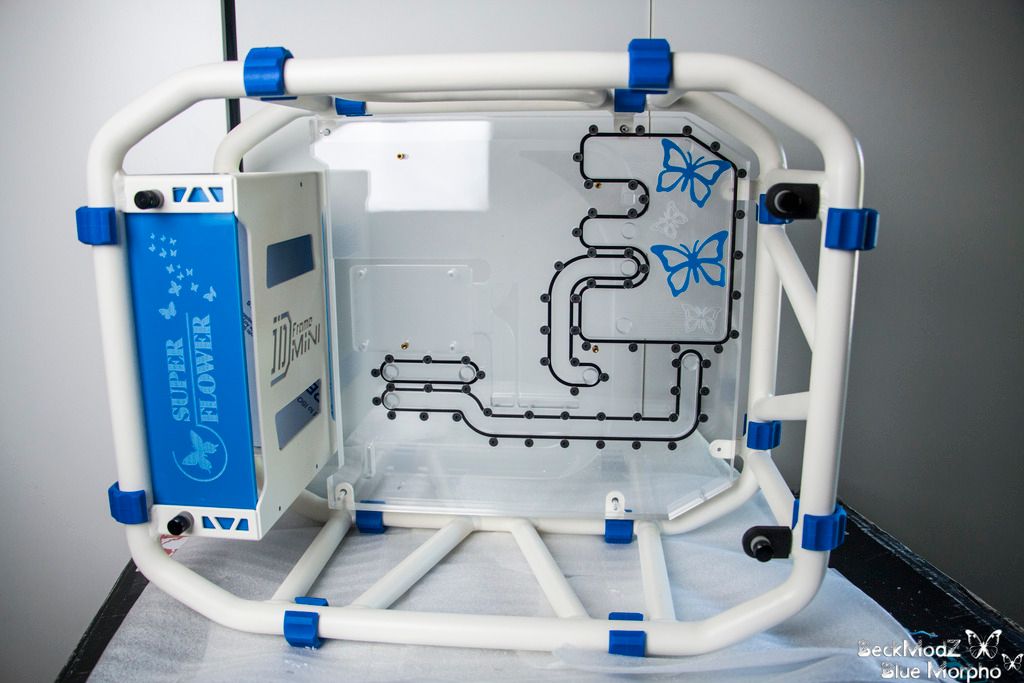
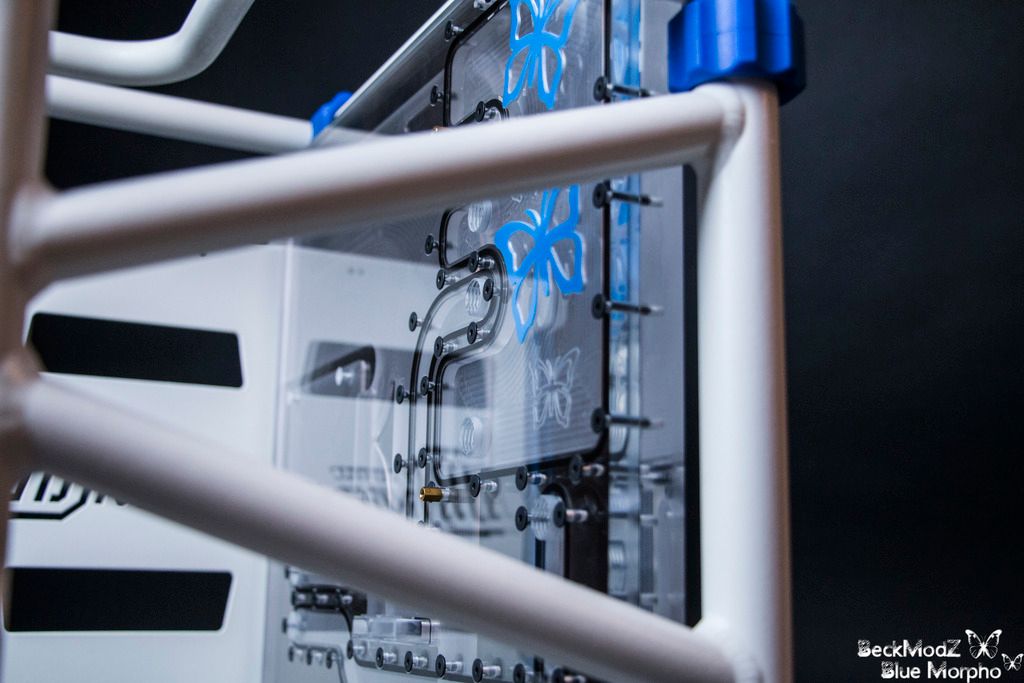
So guys, finally here's a small tease of the block and a quick mount of it!
Really sorry about the white plastic pieces in the block, was lazy and didnt want to open up the block to get it out. (14 days of work and 200hours, im tired!)


IMG_6856%20copy_zpsbmotjahr.jpg


IMG_6854%20copy_zpssk1bxfct.jpg


IMG_6862%20copy_zps7zgtmczc.jpg


IMG_6863%20copy_zps9gaaonay.jpg


IMG_6852%20copy_zpsjlu4vphw.jpg


IMG_6847%20copy_zpsqwqxrk2g.jpg


IMG_6872%20copy_zps8adxlyo1.jpg


IMG_6877%20copy_zpsvw50yt7j.jpg


IMG_6878%20copy_zpsbejxzorm.jpg


IMG_6899%20copy_zpsrcygelpo.jpg


IMG_6906%20copy_zpssb8m36zn.jpg


IMG_6911%20copy_zps8kwyhd7v.jpg


IMG_6769%20copy_zps0rb05ilr.jpg


IMG_6771%20copy_zpsyurtnquz.jpg


IMG_6933%20copy_zpssf1npsoh.jpg


Hope you like it !! cant wait to show you the next updates
 
Need Help With 24Pin Sleeving Design?!

Since the block is finally here, it is time to start the massive sleeving job!..
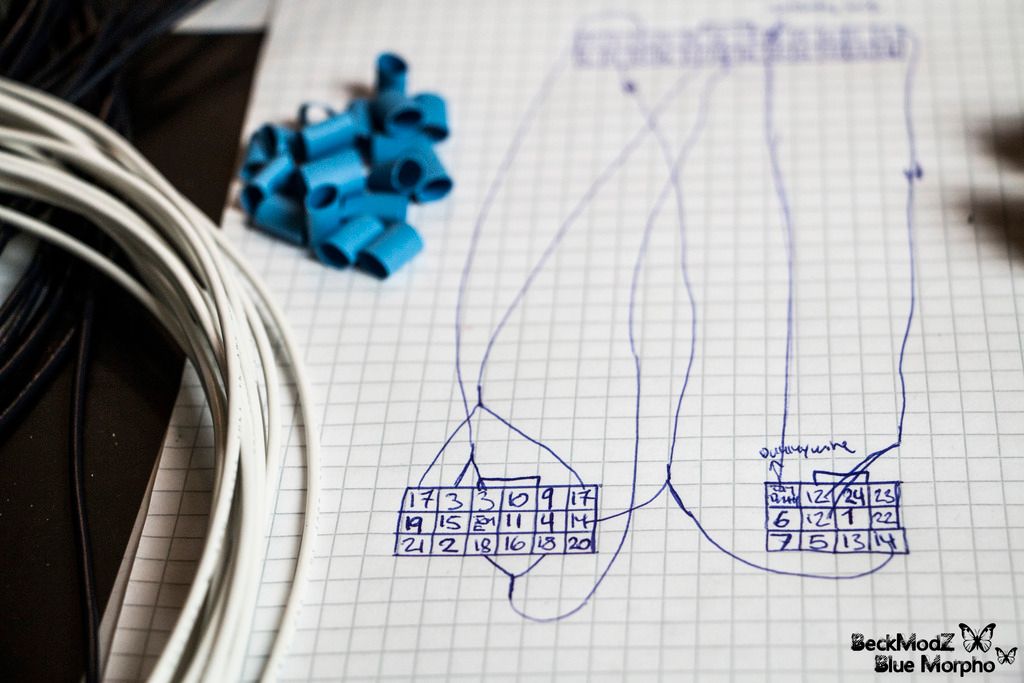
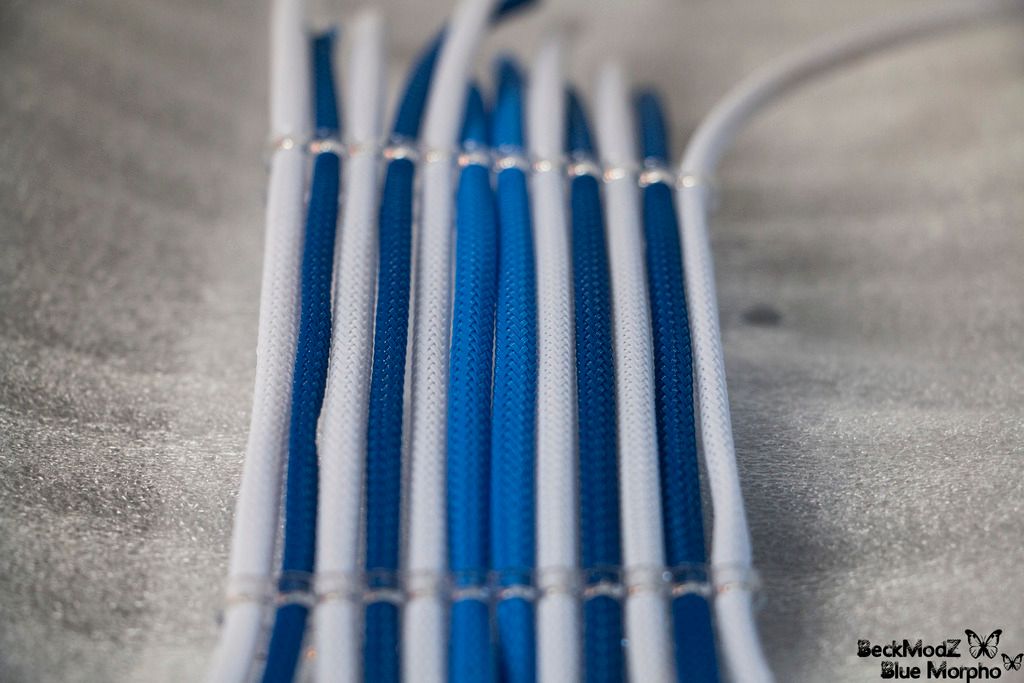
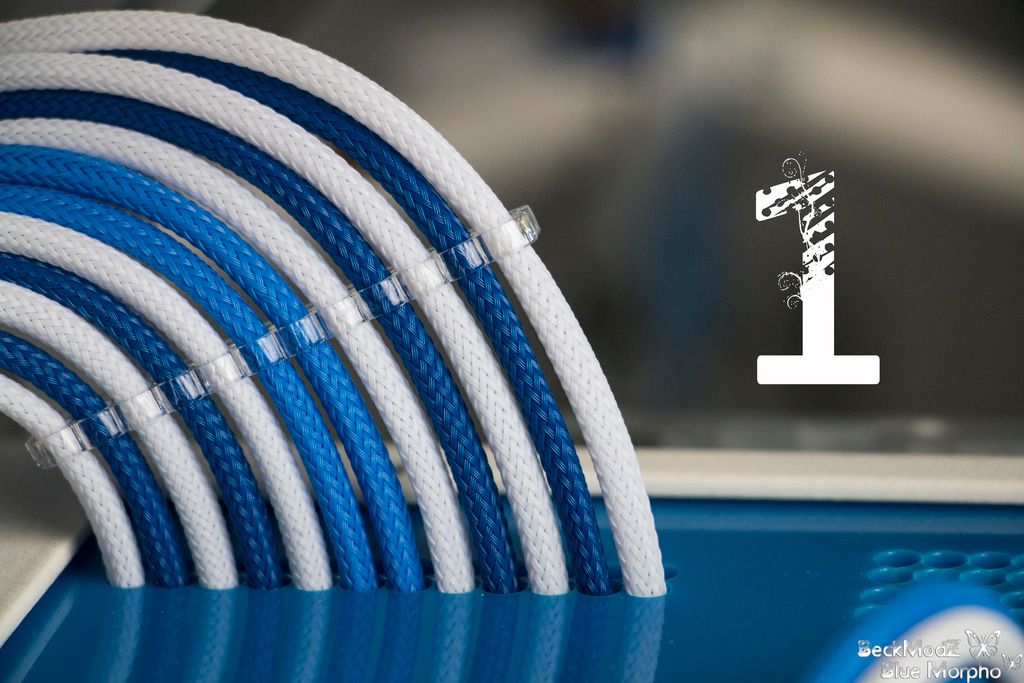
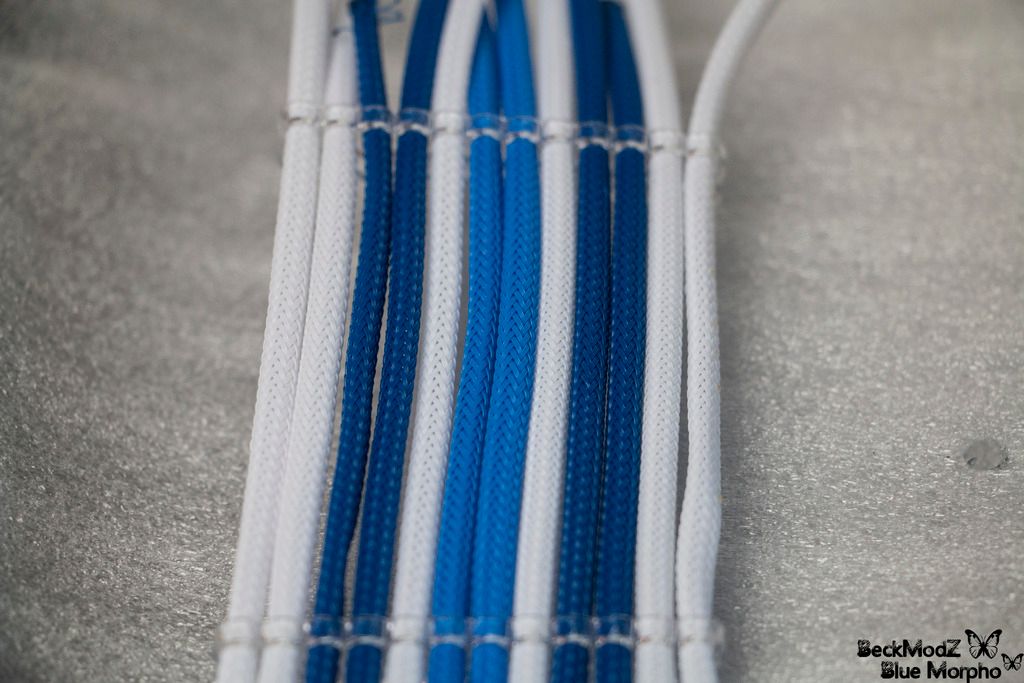
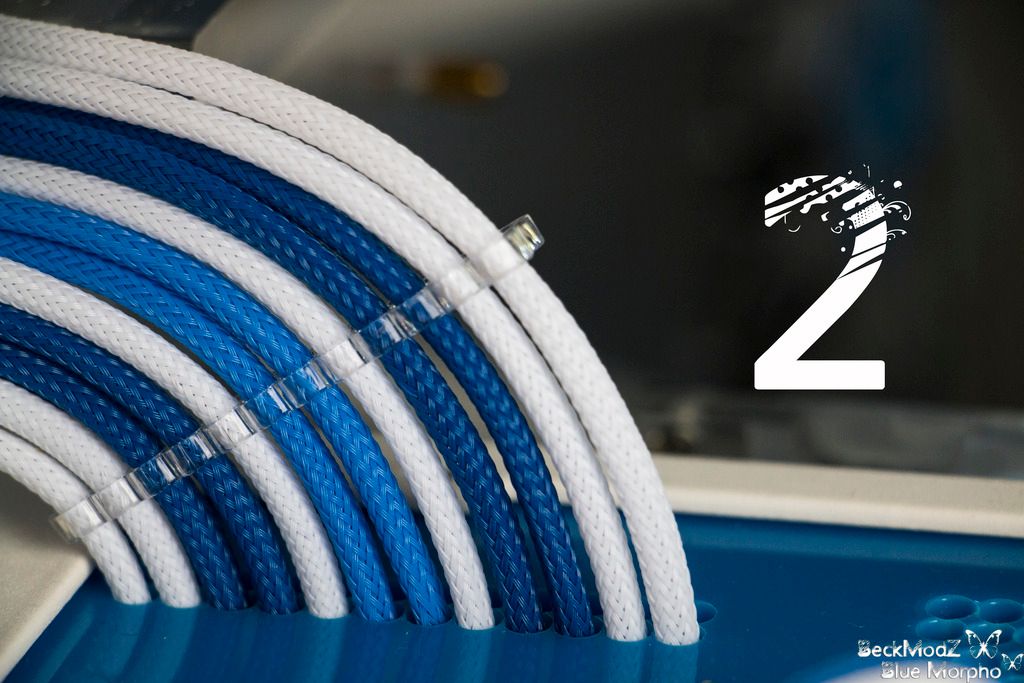
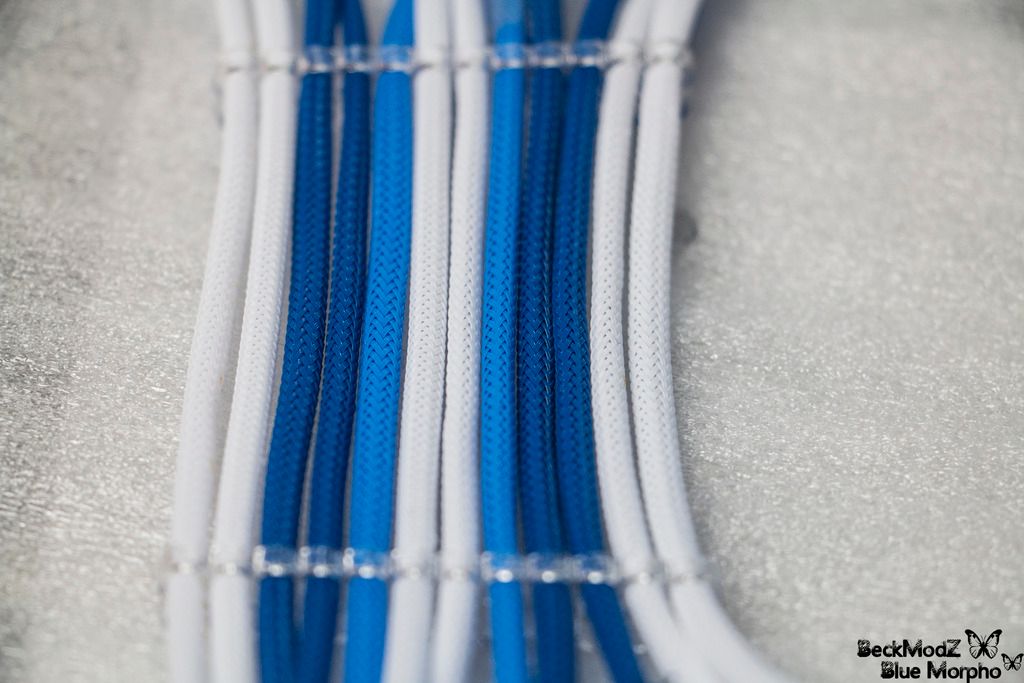
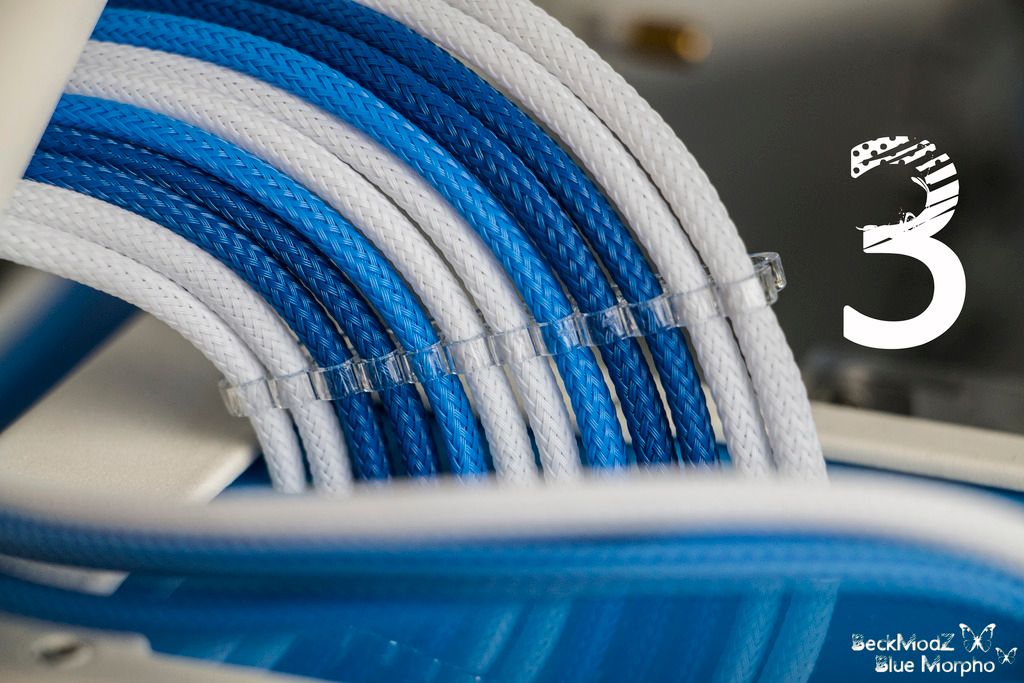
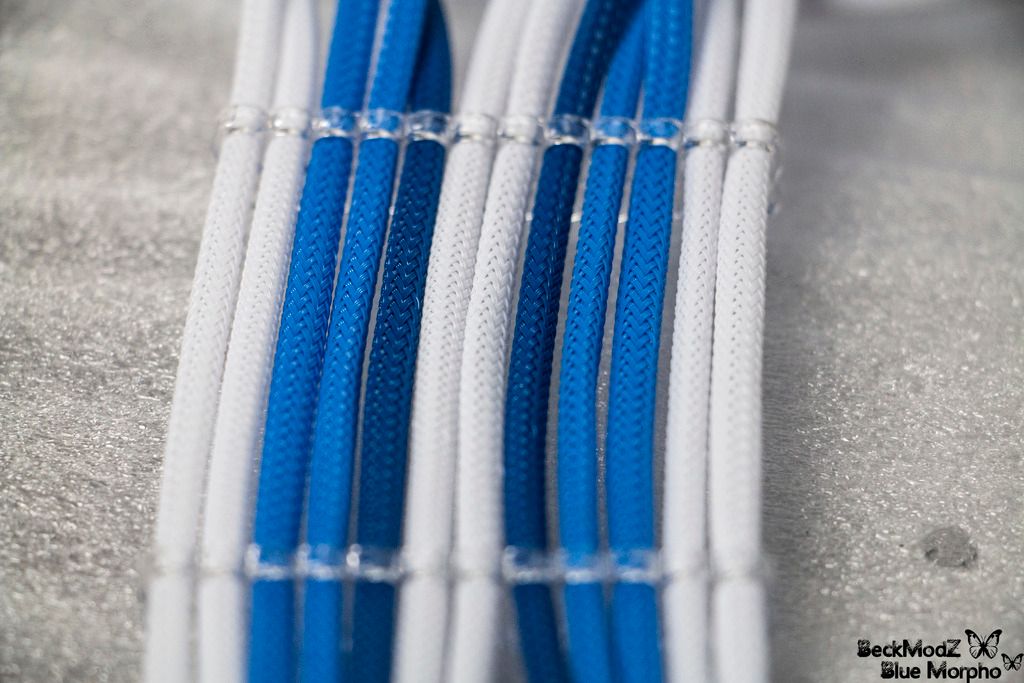
Today i started on the 24pin, and have some troubles choosing what layout to go with, so i took some photos and threw in some numbers on them,
and hopefully you guys can help me pick the best design, before i go all crazy with all the damn double wires i have to make!
Take your pick and let me know guys :)

Also added a quick picture of my pinout for the 24pin.. massive! ..Always remember to write down the pinouts before you rip the old cable apart !

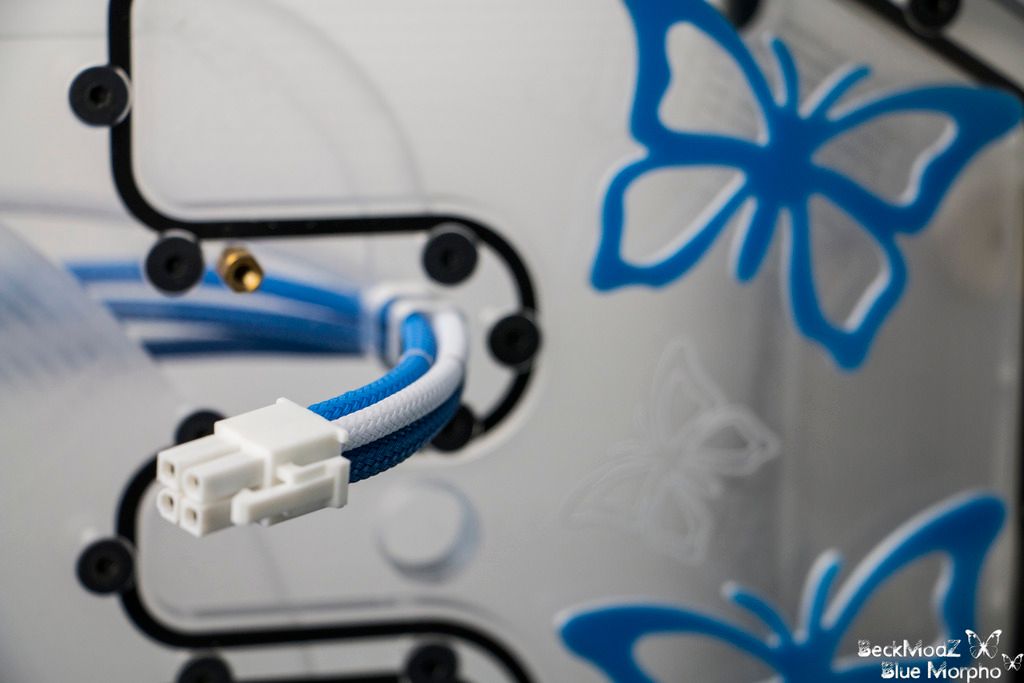
And will be using white connectors in the front, instead of black ones, so threw in a photo of the 4pin CPU cable going in through the block, to give you an idea.
Also i decided that it will look too disturbing to the eyes if using cablecombs,when there's 44 cables in the back that has to be nicely tugged together..
So instead i will probably go Oldschool and do cable lacing on all 44 cables.
Hopefully with a very neat looking end result.


IMG_7067%20copy_zpsob05hcps.jpg


IMG_7034%20copy_zpscvyqjd5a.jpg


IMG_7019%20copy_zpsksfsyamf.jpg


IMG_7038%20copy_zpsy1f93kt5.jpg


IMG_7043%20copy_zpsg4i1wu0m.jpg


IMG_7054%20copy_zpsjlwire93.jpg


IMG_7061%20copy_zpsbpg6hkb0.jpg


IMG_7071%20copy_zpswjrw7gwo.jpg


IMG_7074%20copy_zpsakvzkssu.jpg


IMG_7030%20copy_zps9oxpvjpz.jpg


Please write what number you like the most, so i can get started with the 24pin.
 
1 is too 'stripy' to me.
I prefer more lighter blue than dark so either (and sorry for being awkward):
2 but swap the shades of blue (outer pairs light and centre pair dark) or
4 but with the single dark on the outside (white, white, dark, light, light, white, white, light, light, dark, white, white).

I dunno, you give people a simple numerical choice and what happens?! :rolleyes: :D

Haha !! :D thanks, i agree with #1 being too stripy..

and on #2 you are right as well, would look better that way..

#4 is my favorite, and will deff try swapping the light and dark to see the result..

Thanks so far ! :D
 
The thought has just occurred - not sure why it took so long, I blame age before my time - I bought paracord for this purpose in....wait for it....light blue, dark blue and....white. At least I get the opportunity to see some layouts 'in the flesh' before I surrender what little is left of my sanity to sleeving :D

Haha :D very nice.. yeah sleeving is a major killer, and i hate it when doing it, BUT once it's done i am absolutely freakin happy i took the time to do it :D

Wow.This build looks amazing.

I love the way ordinary mortals like myself can get little bits of inspiration from logs like this.
My case is getting a couple of butterflies on it next week! :)
(I'd been thinking of putting Super Flower butterflies on but it's getting a couple of nicer ones now)

Good to hear man ! :D Butterflies are nice, even though not everyone agree with me putting butterflies in a gaming pc, But "Blue Morpho" is a butterfly, and gave me the inspiration for the colors :)
 
Sleeving and Installing Blocks

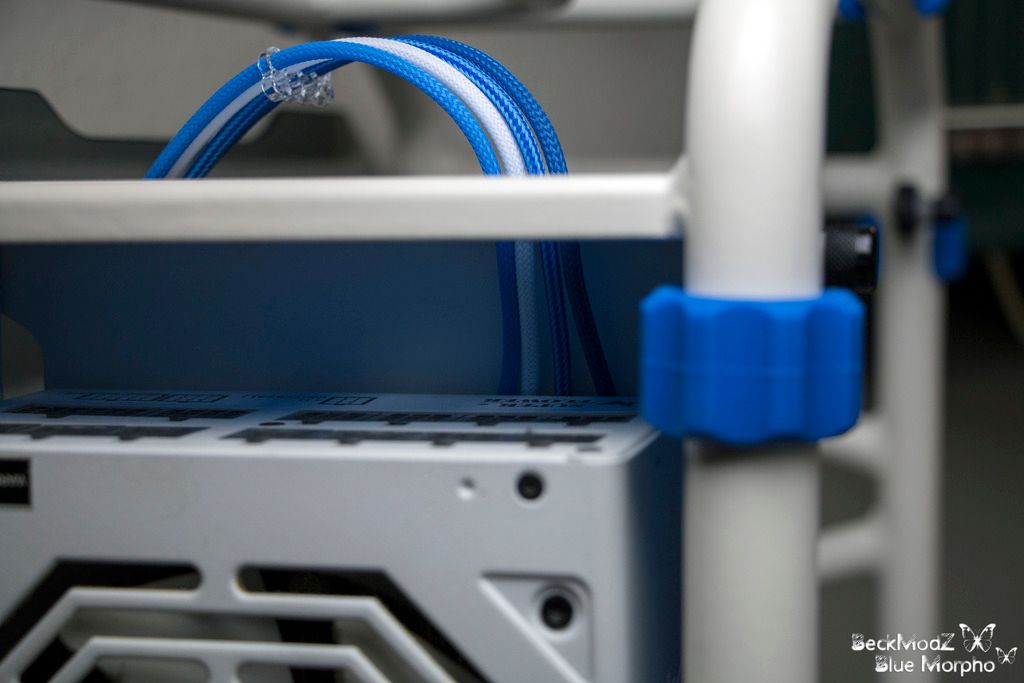
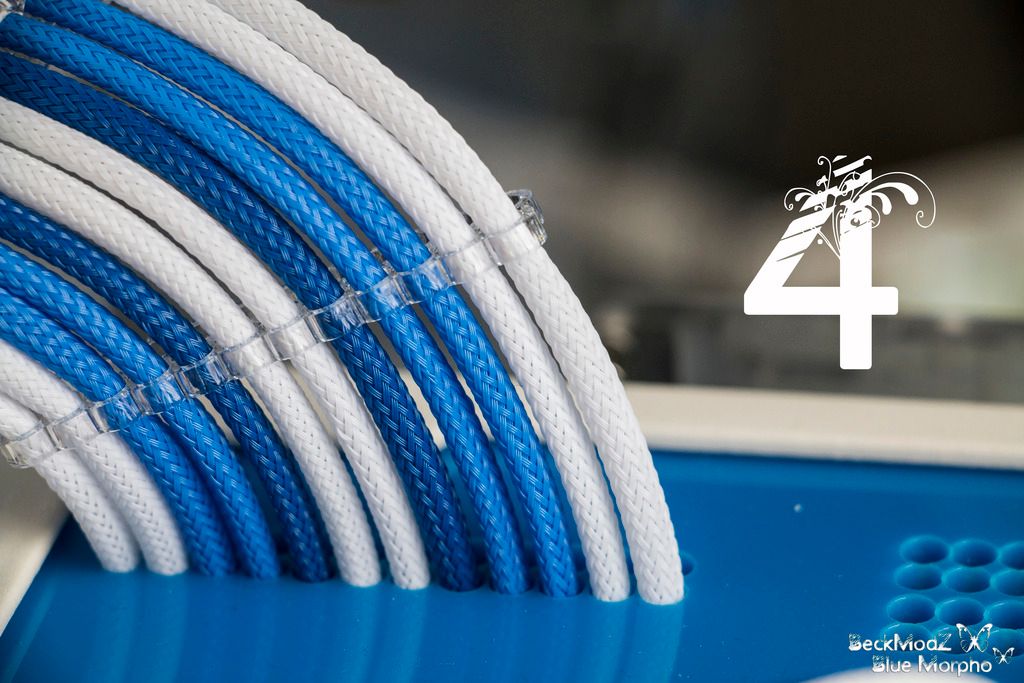
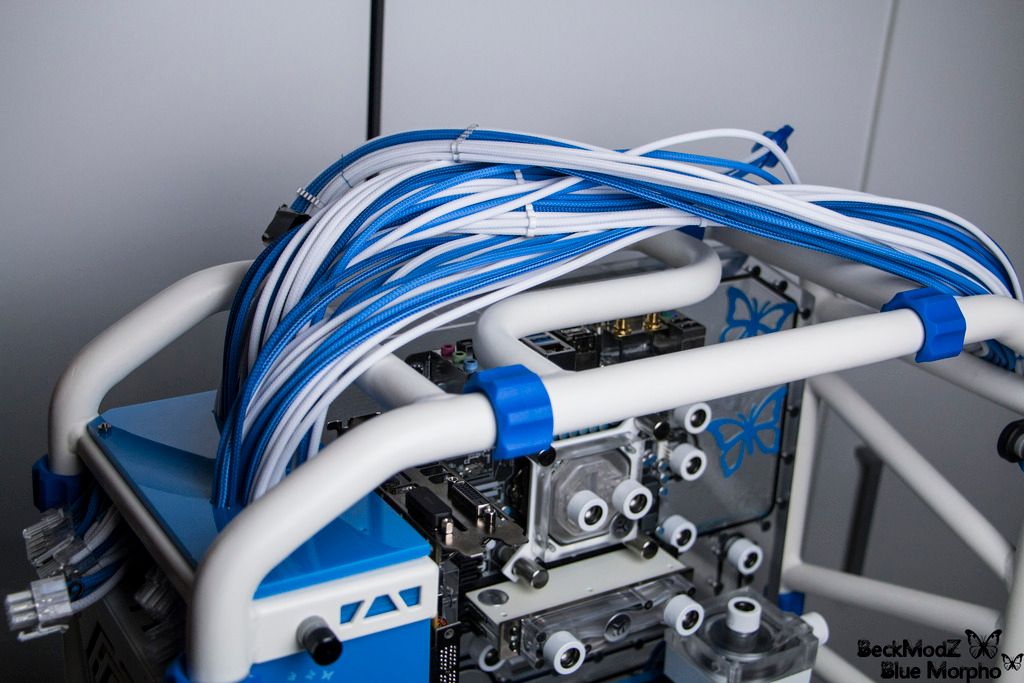
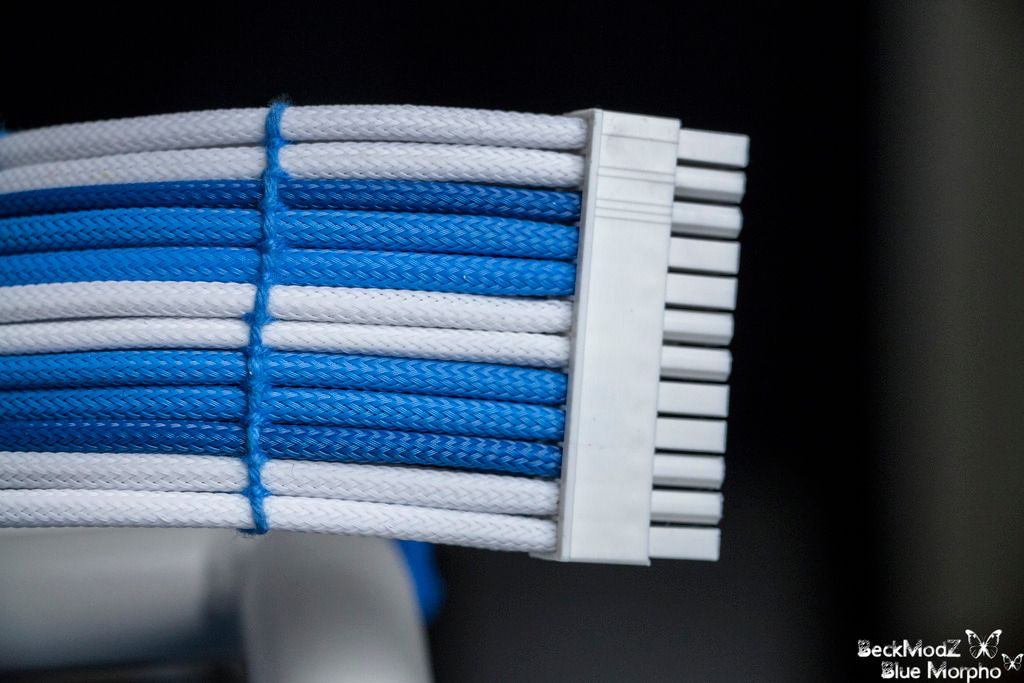
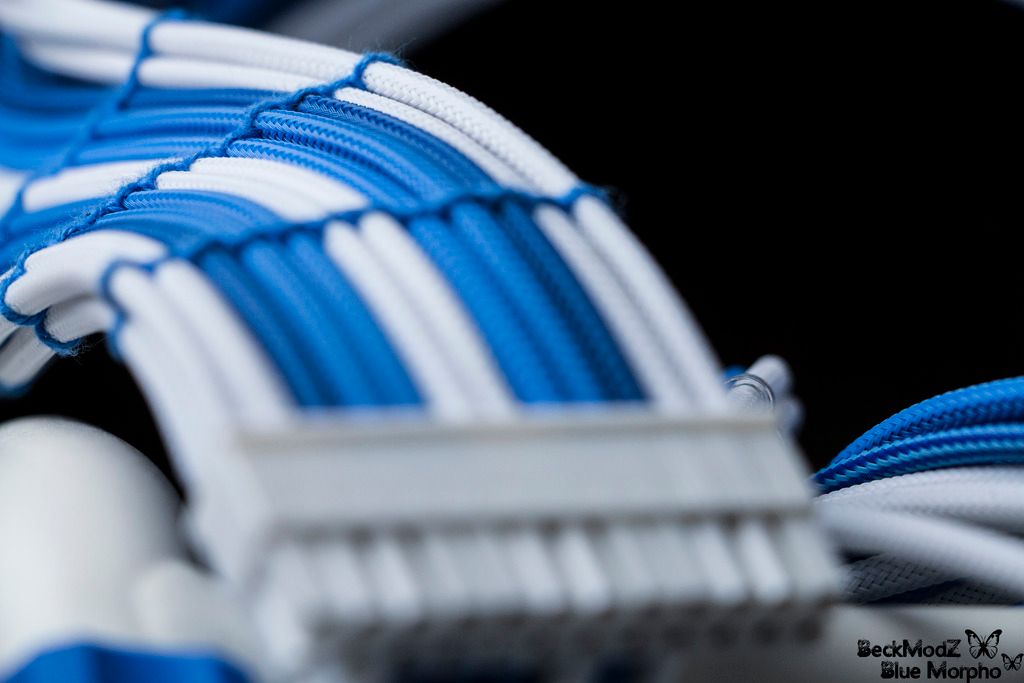
So the past week i've been busy doing all the sleeving, and I'm still not done... I started with the cable lacing, (takes forever!), and i'm not sure i want to use the

blue cotton thread because it looks fluffy. So probably going to get some waxed blue thread instead and redo it.
Anyways i will attach a few images below so you can see what i mean.

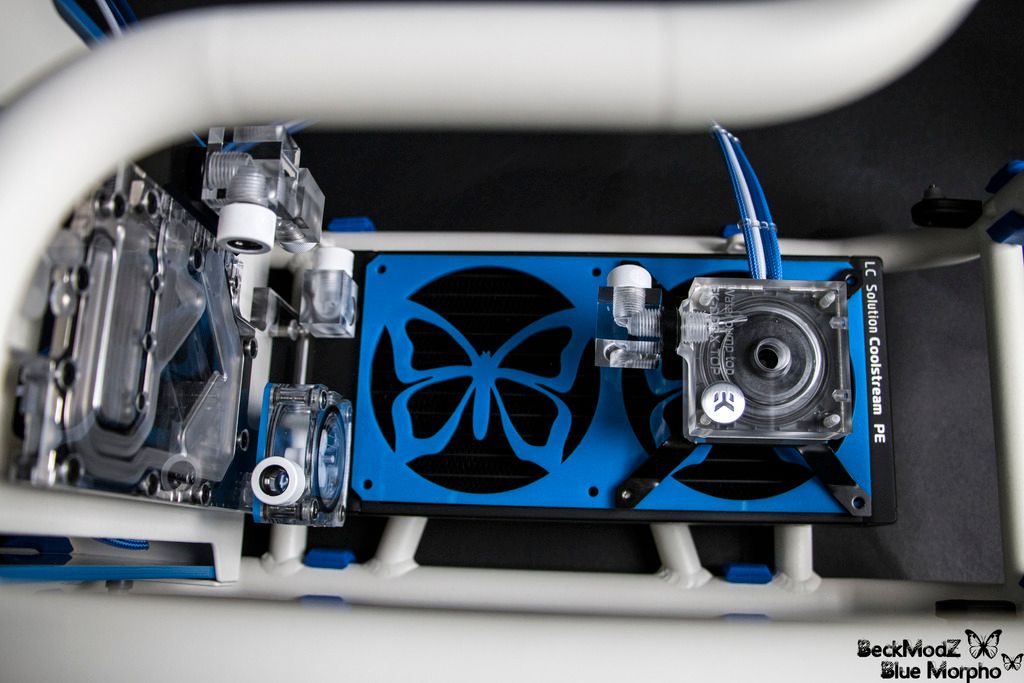
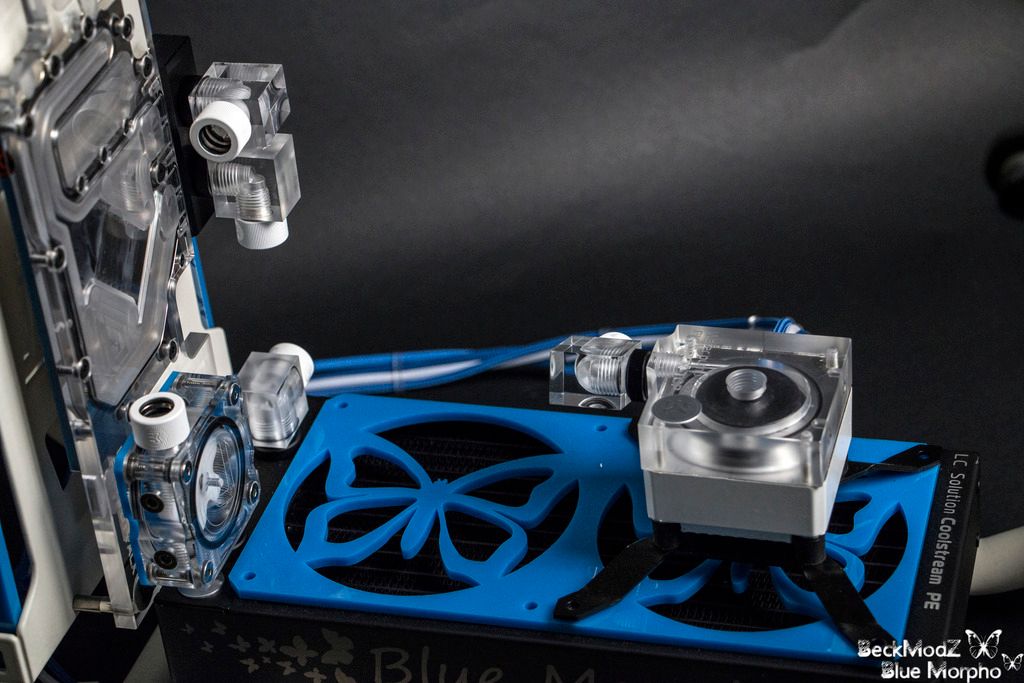
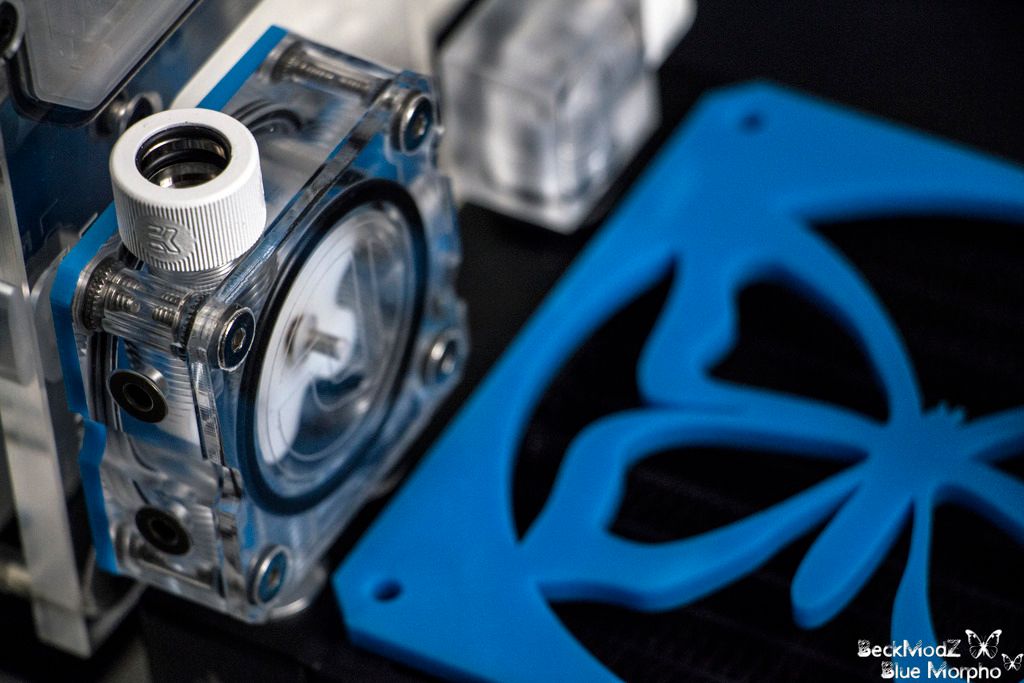
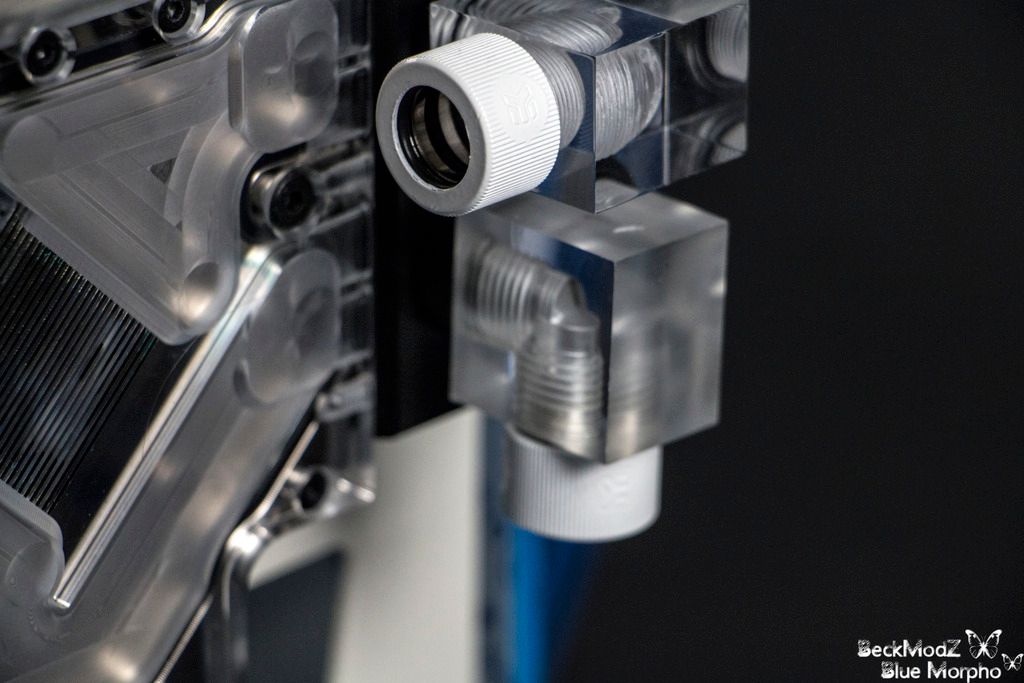
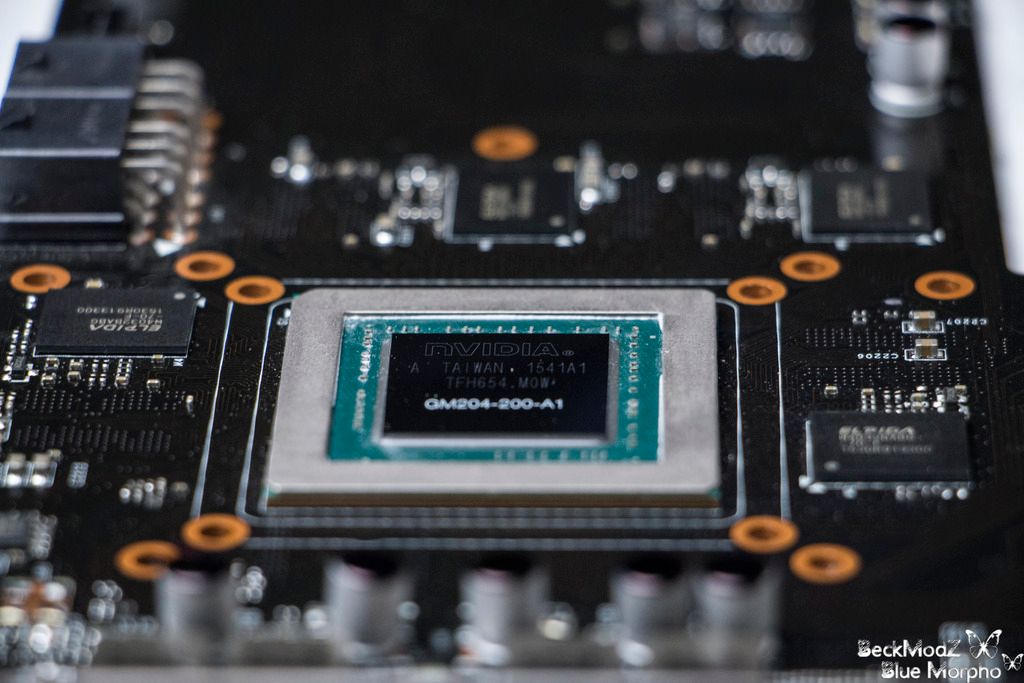
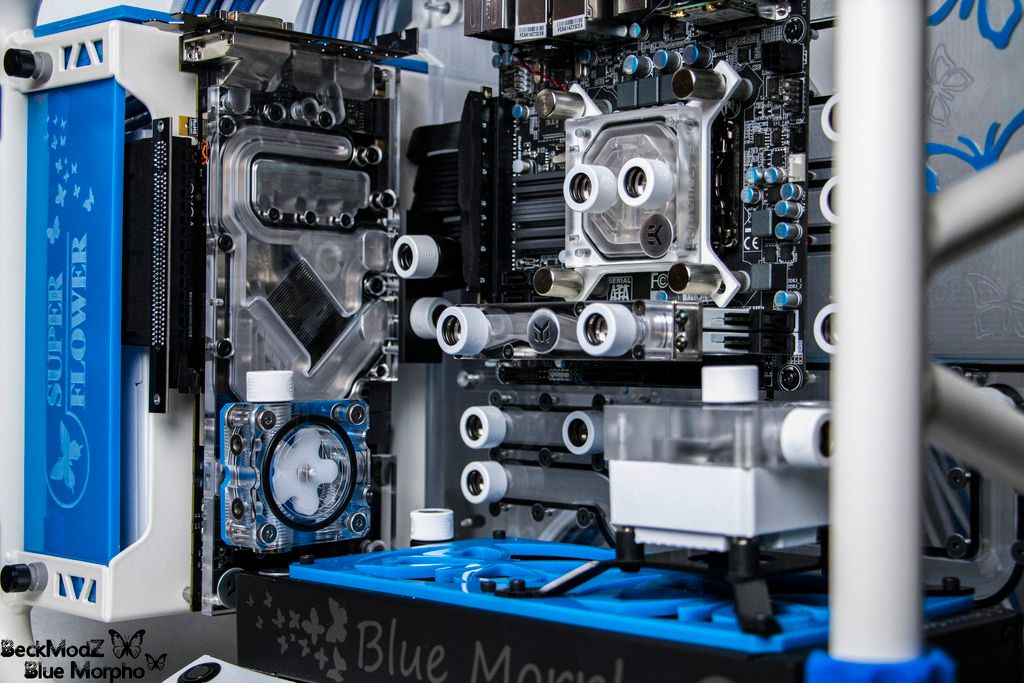
I also installed all the waterblocks and fittings today, and see if i can find the best looking way to do the tubing, this weekend.
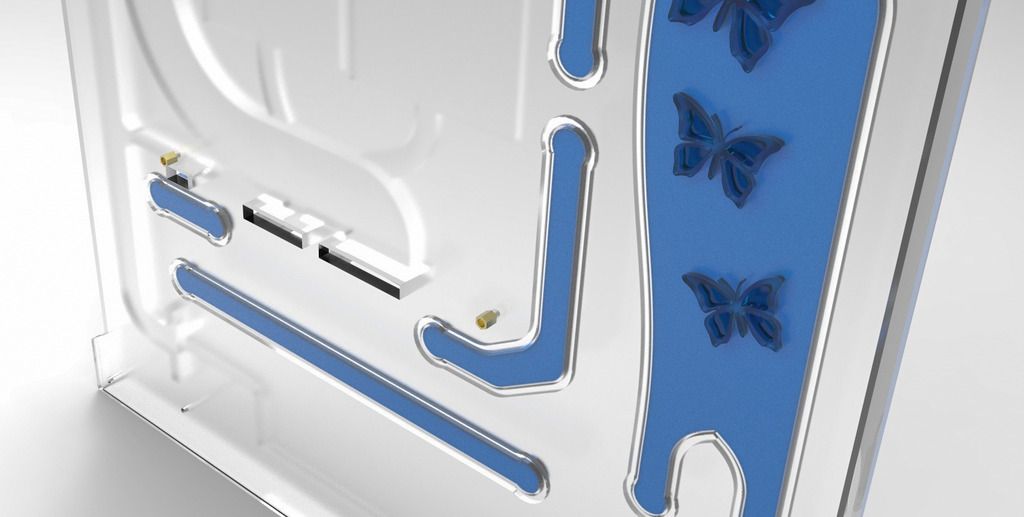
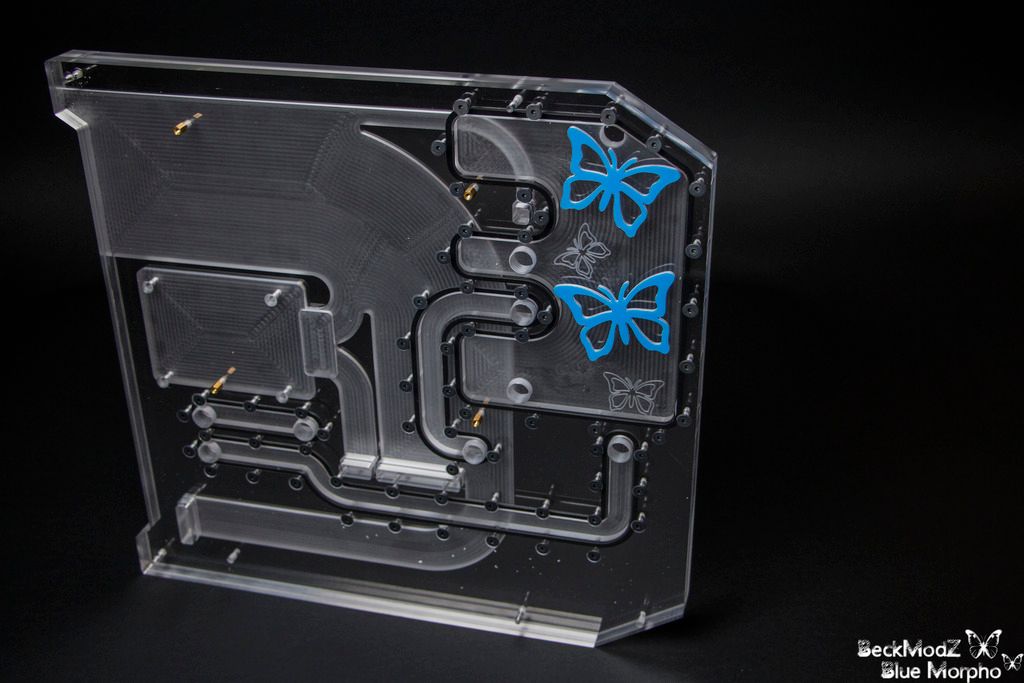
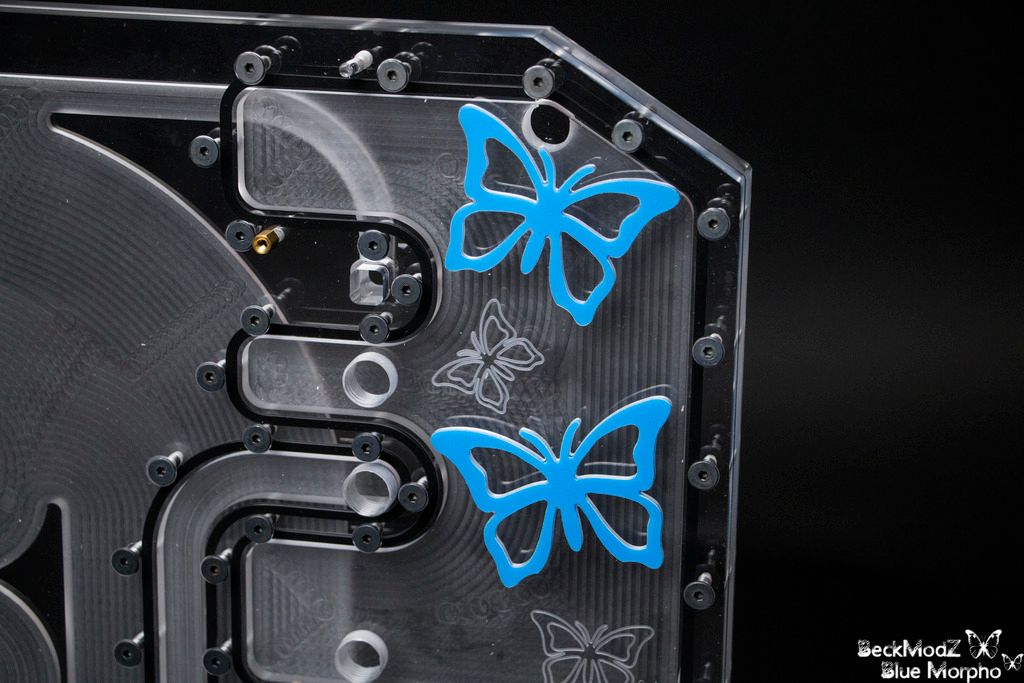
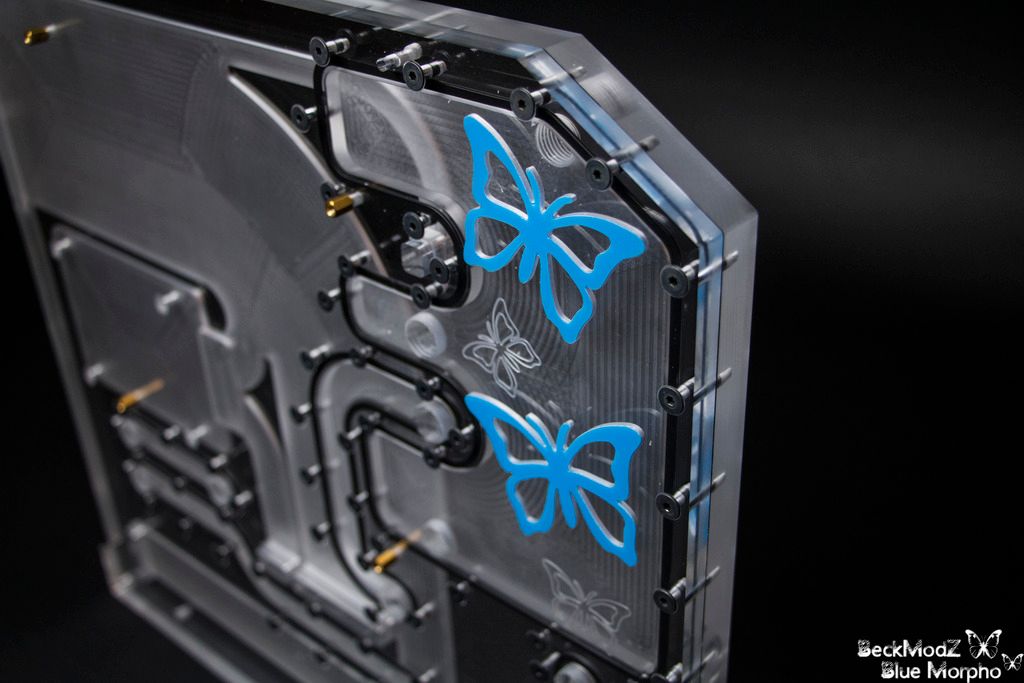
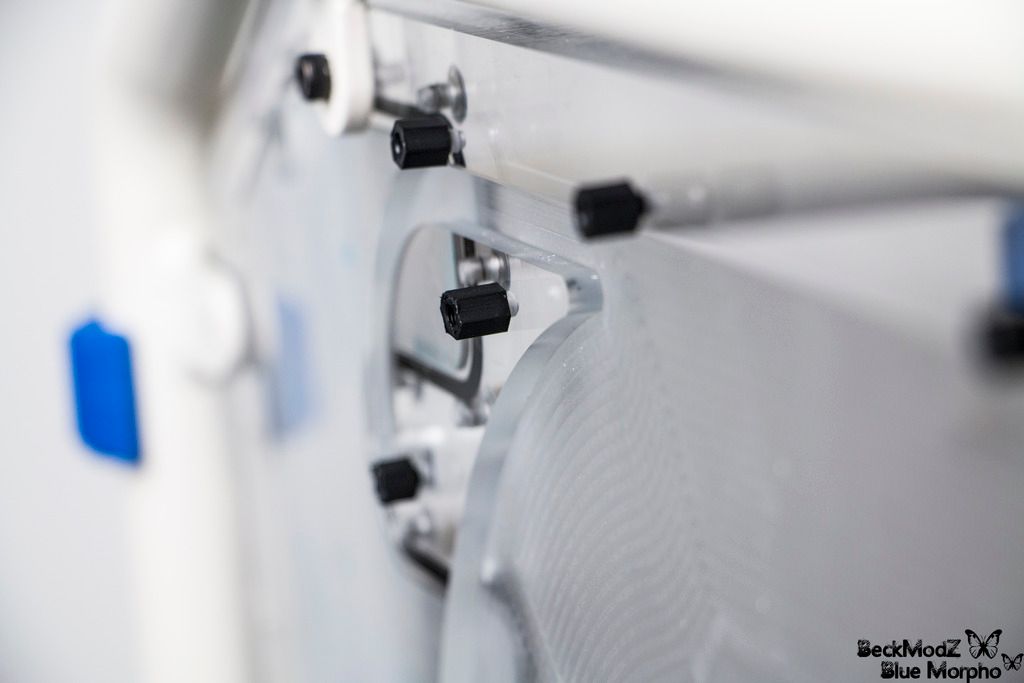
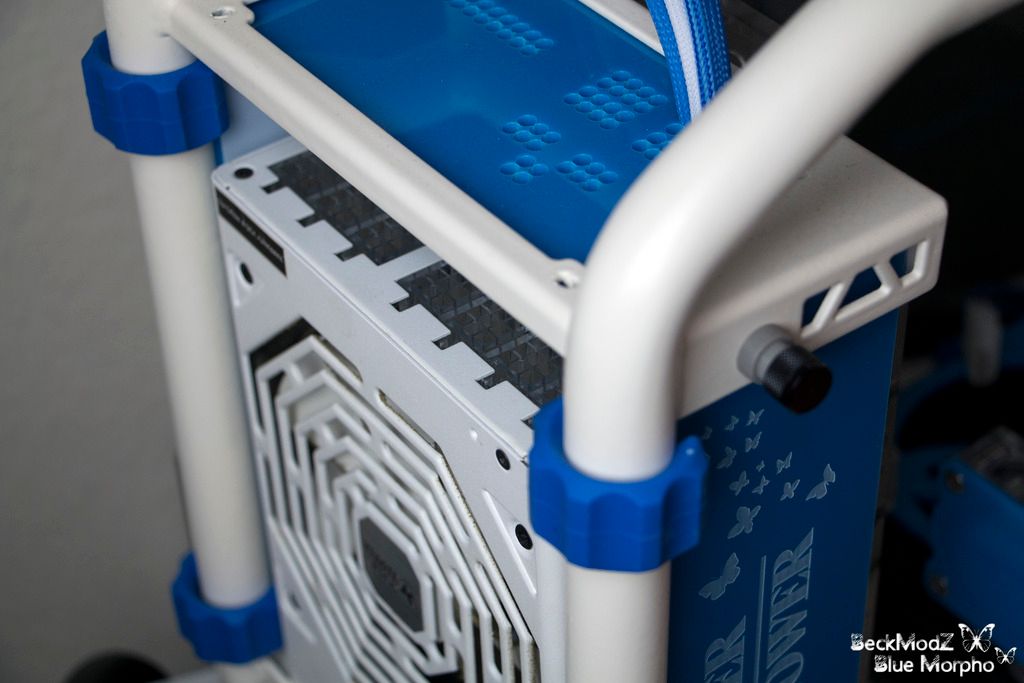
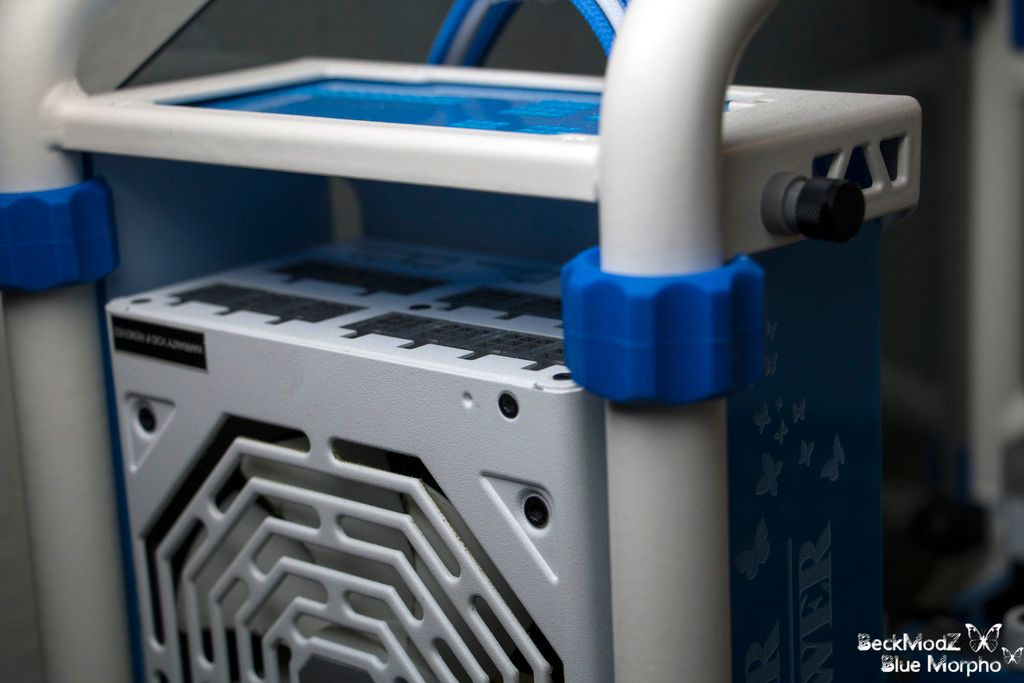
Another thing i have been doing is drilling 14 holes on the backside of the reservoir and tapped them, then mounted some standoffs that will keep the clear plexi plate in

place, which is going to keep all the cables neatly in place.. At least thats the idea, dont know how it'g going to look yet.

Almost forgot! Been trying a few options out for the placement of the powerbutton, and ended up bending some acrylic under the rad, and installed the button in that.
Not done with it yet though!.. need some fine adjustments and maybe some blue vinyl.. Originally i was going to put an LCD temp in the acrylic piece also, but we'll see :)

IMG_7289%20copy_zpsnylnrdpv.jpg


IMG_7570%20copy_zpsftlca7y1.jpg


IMG_7577%20copy_zpslsrbjpof.jpg


IMG_7583%20copy_zpssfnxav0v.jpg


IMG_7618%20copy_zpshxi9rczk.jpg


IMG_7606%20copy_zpsy3ez6h19.jpg


IMG_7604%20copy_zpsi3tijxsk.jpg


IMG_7620%20copy_zps2avapdxm.jpg


IMG_7627%20copy_zpsqbs1lapb.jpg


IMG_7633%20copy_zpsofr7caxr.jpg


Stay tuned guys, soon more sleeving and also the tubing is getting done soon!
 
Back
Top Bottom