[Project Log] Green Abyss

Associate
Joined
1 Apr 2013
Posts
38
Welcome to my Build log, This is a work in progress so i will post updates when they happen.
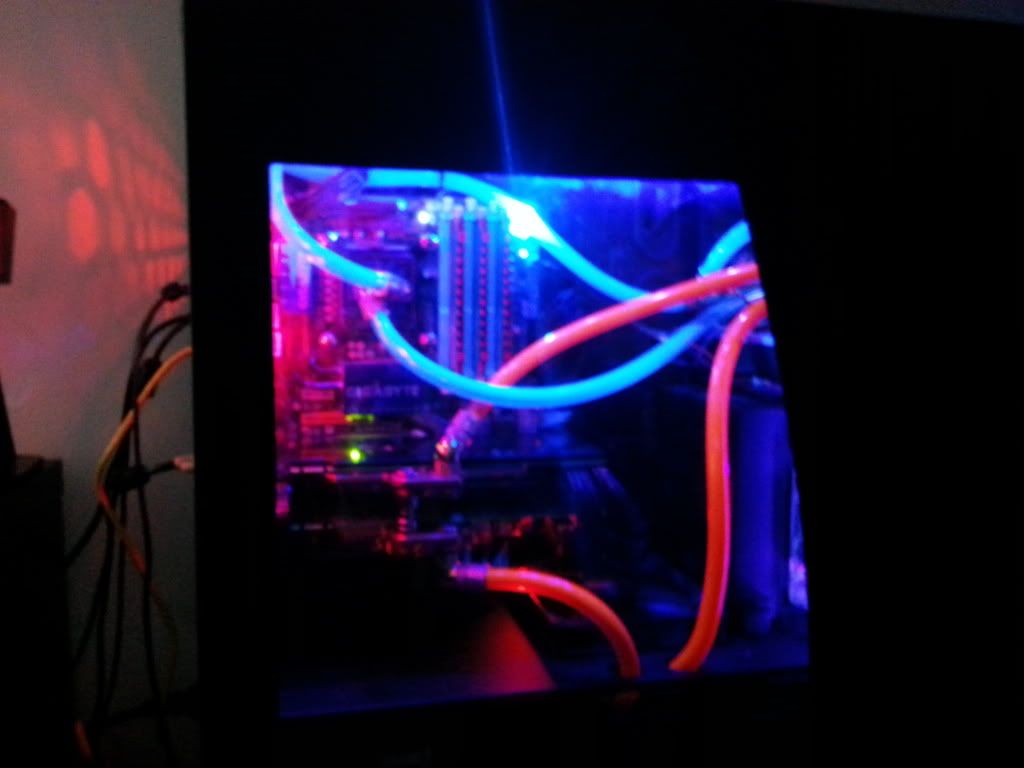
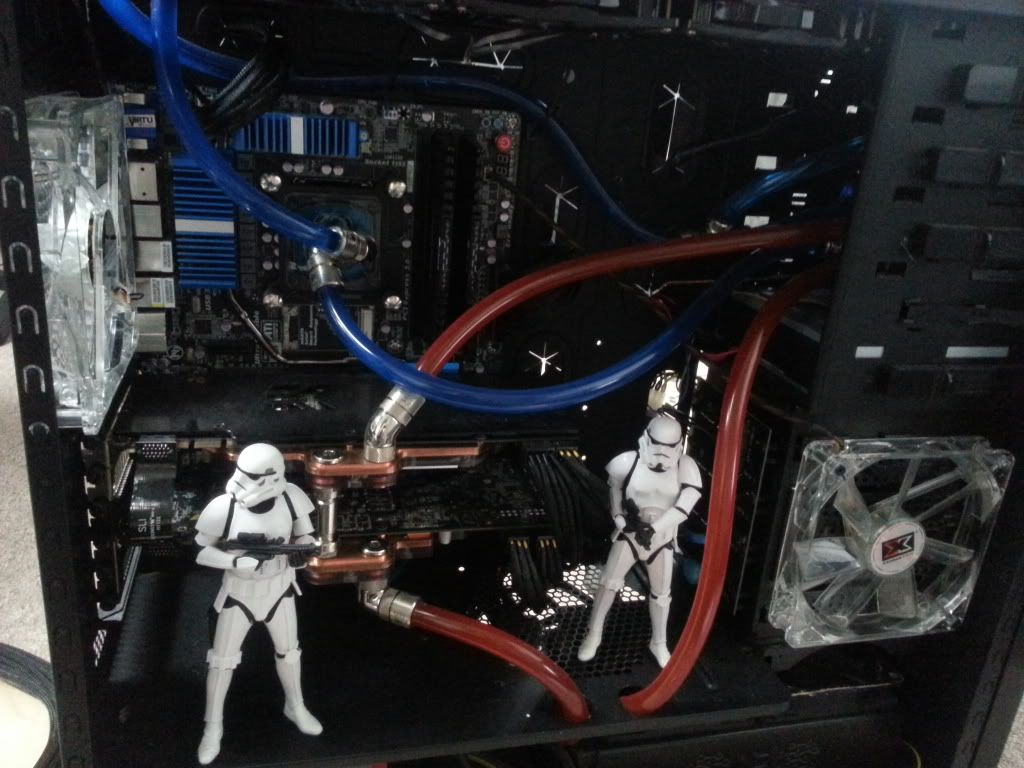
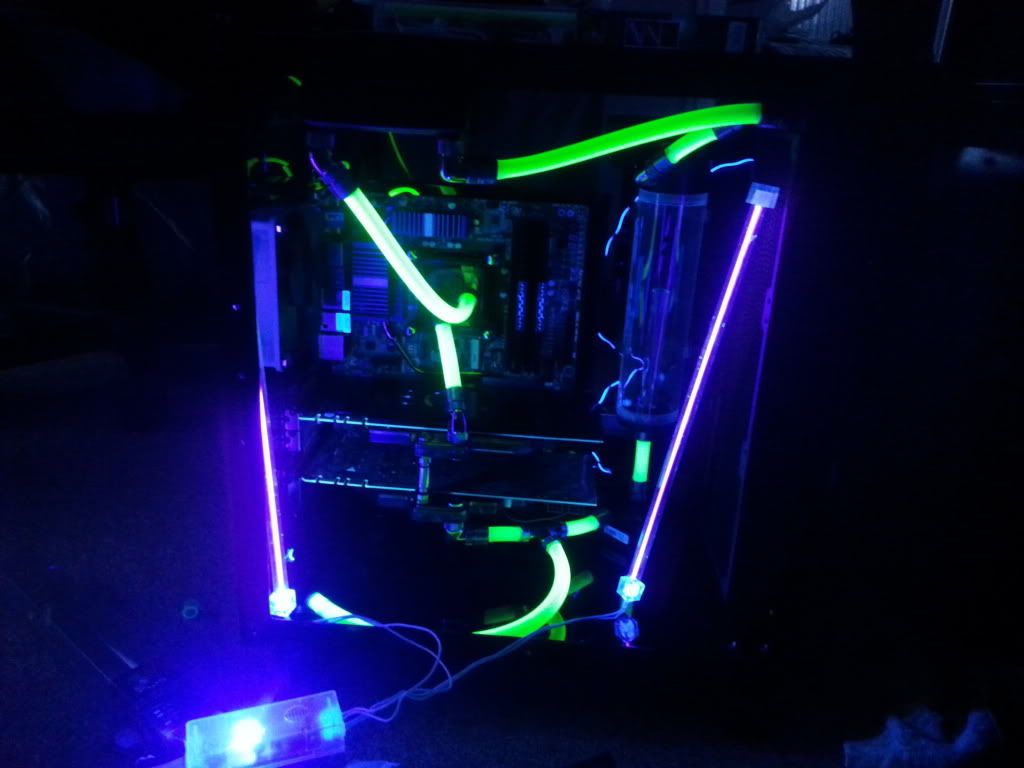
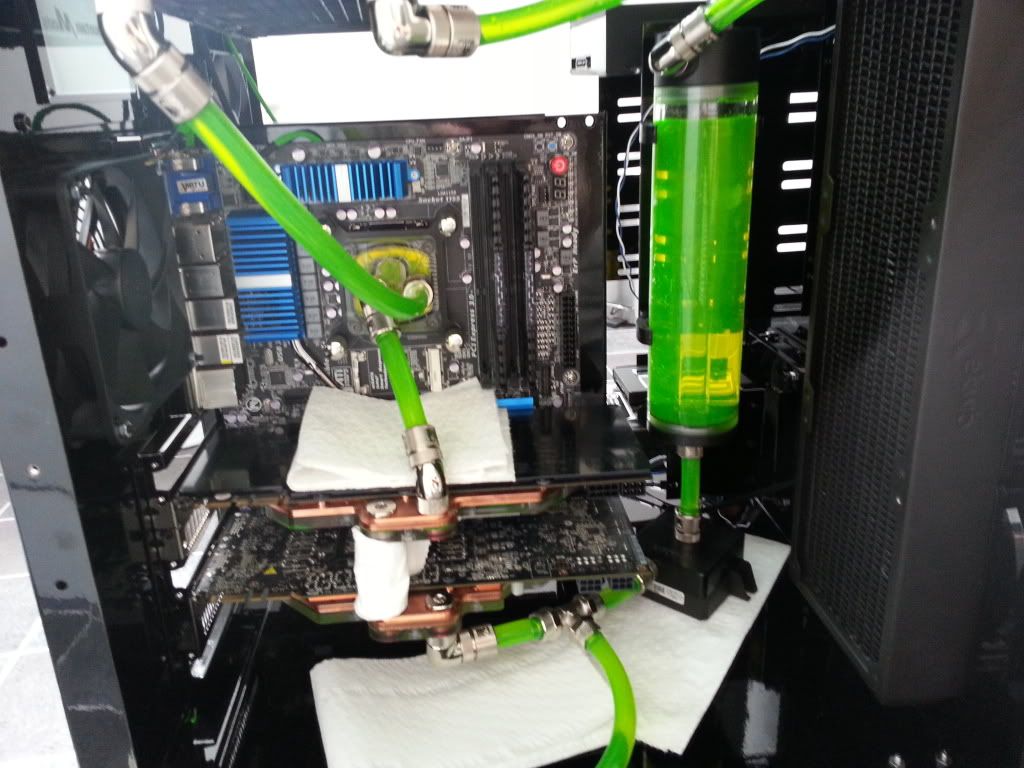
This is my 2nd WC build but my first Build log! Comments are apreciated. So the aim of this build log is to change from my current build, an 800D Dual loop to a single loop in a MM U2-Ufo.


So the hardware inside:
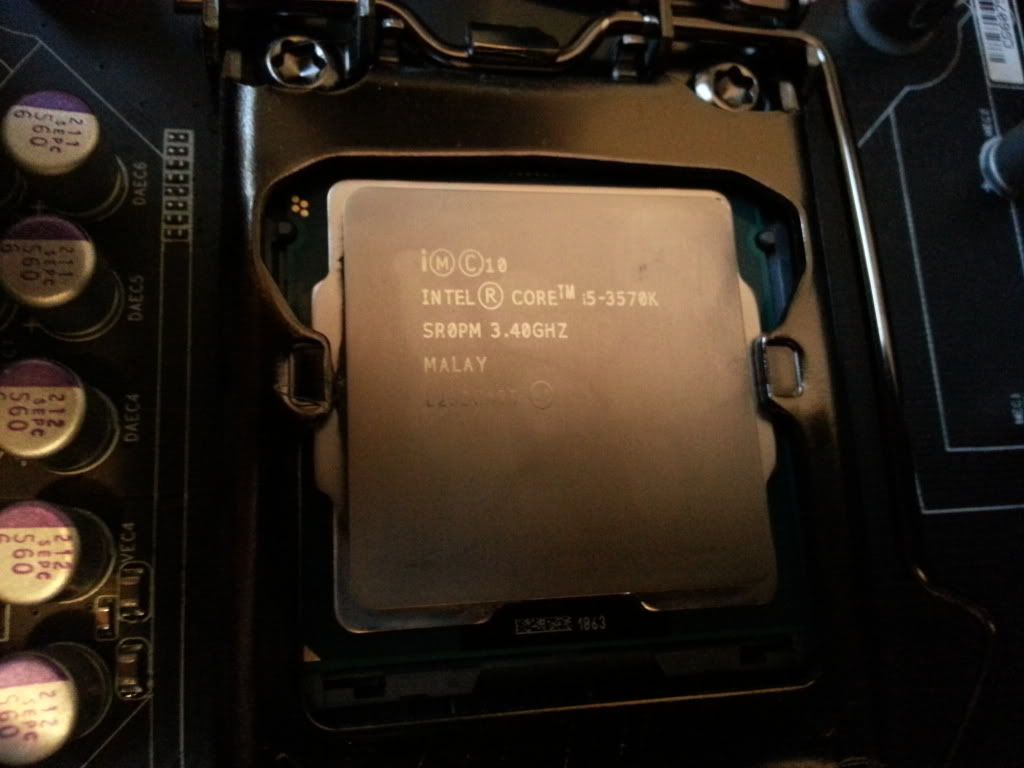
I5 3570K 3.4Ghz - in the 800D clocked at 4.5
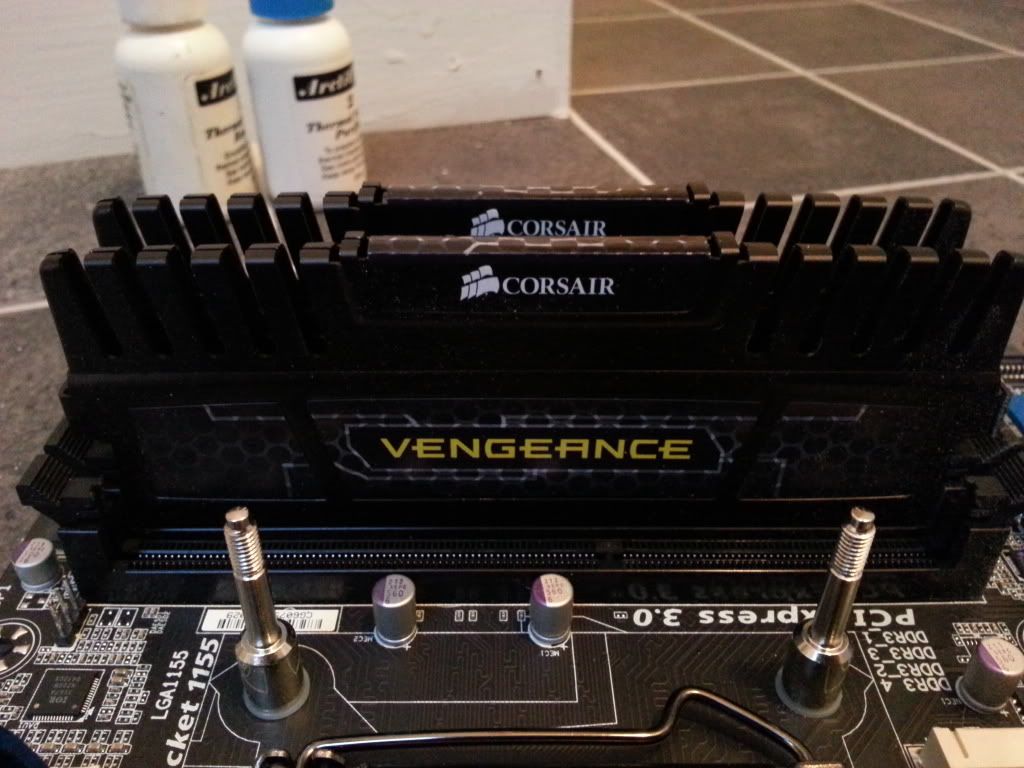
Corsair Vengence 16GB DDR3
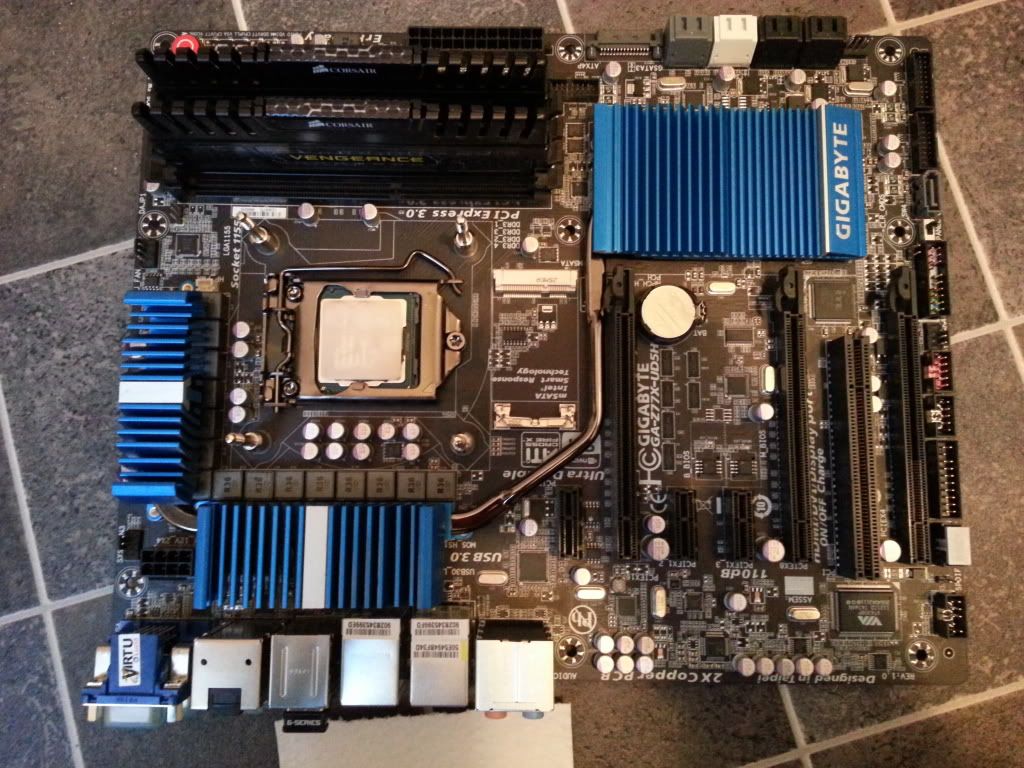
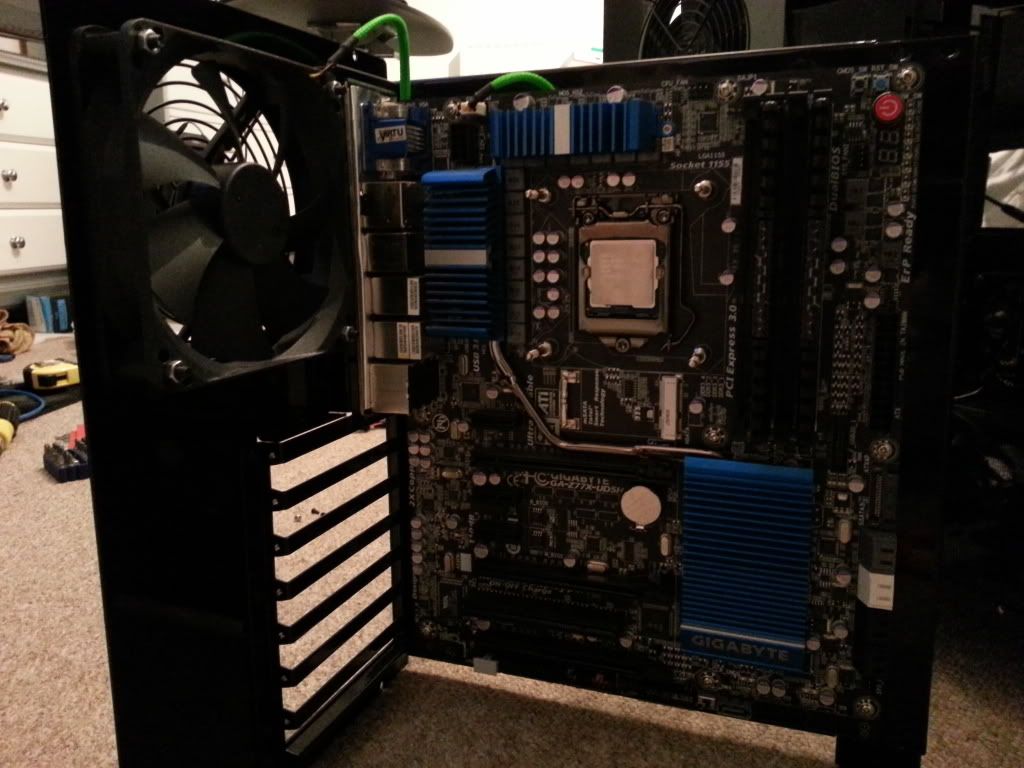
Gigabyte Z77 UD5H
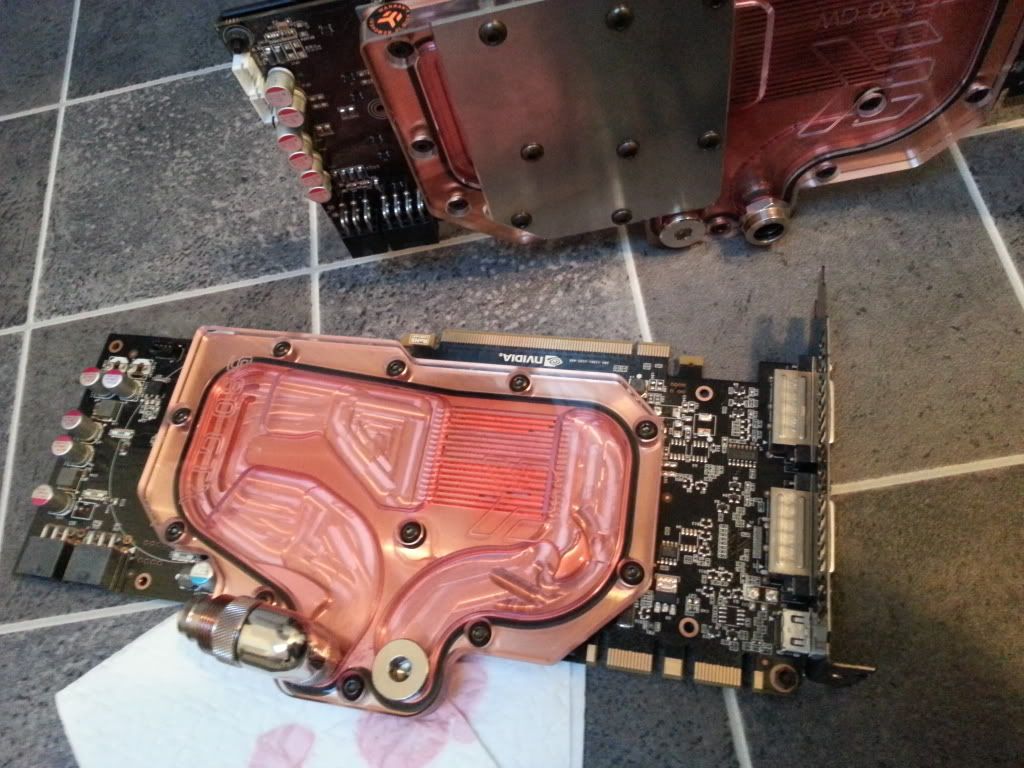
X2 Gainward GTX 570 GLH,
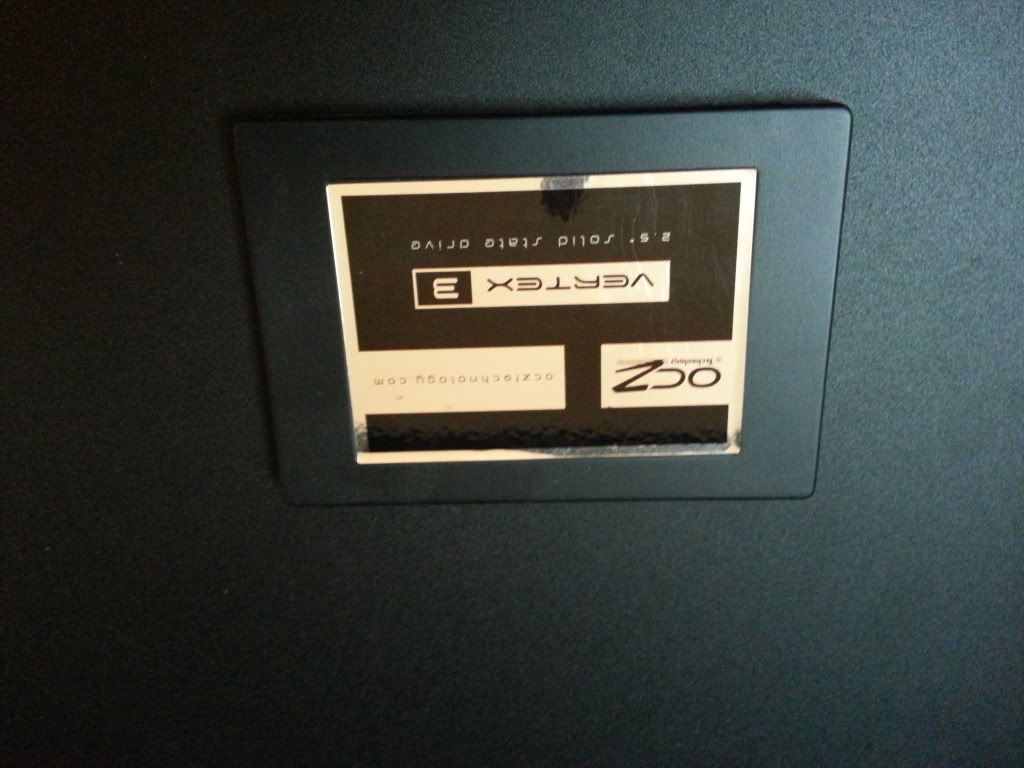
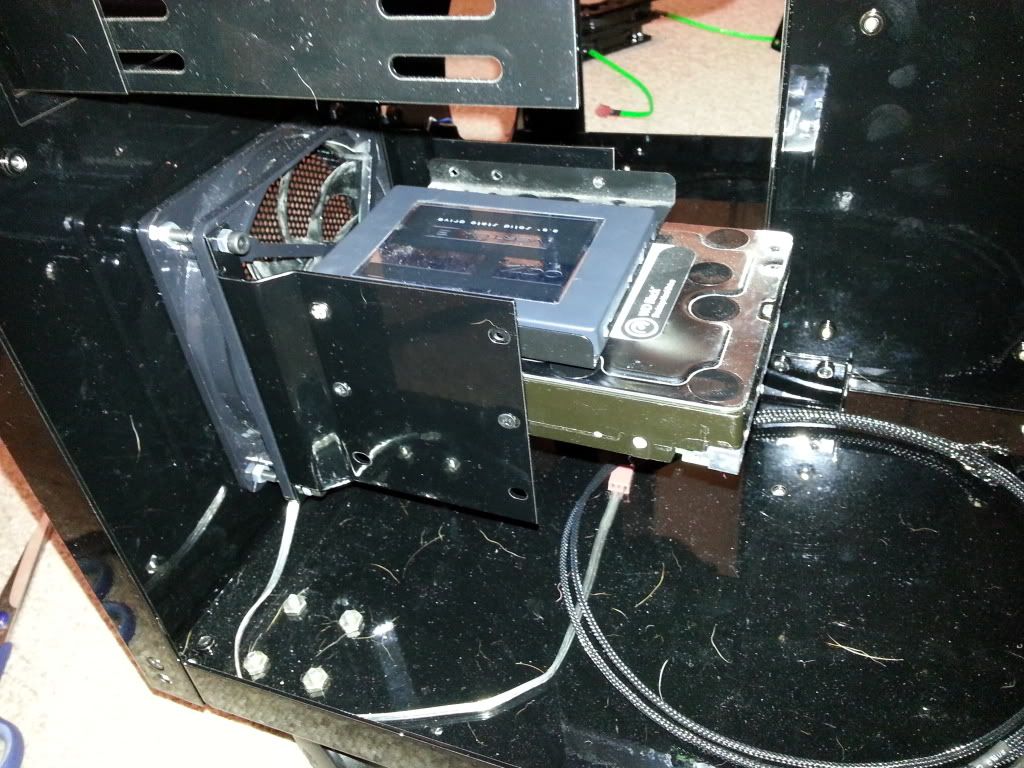
OCZ Vertex 3 250GB SSD
WD Black 2TB

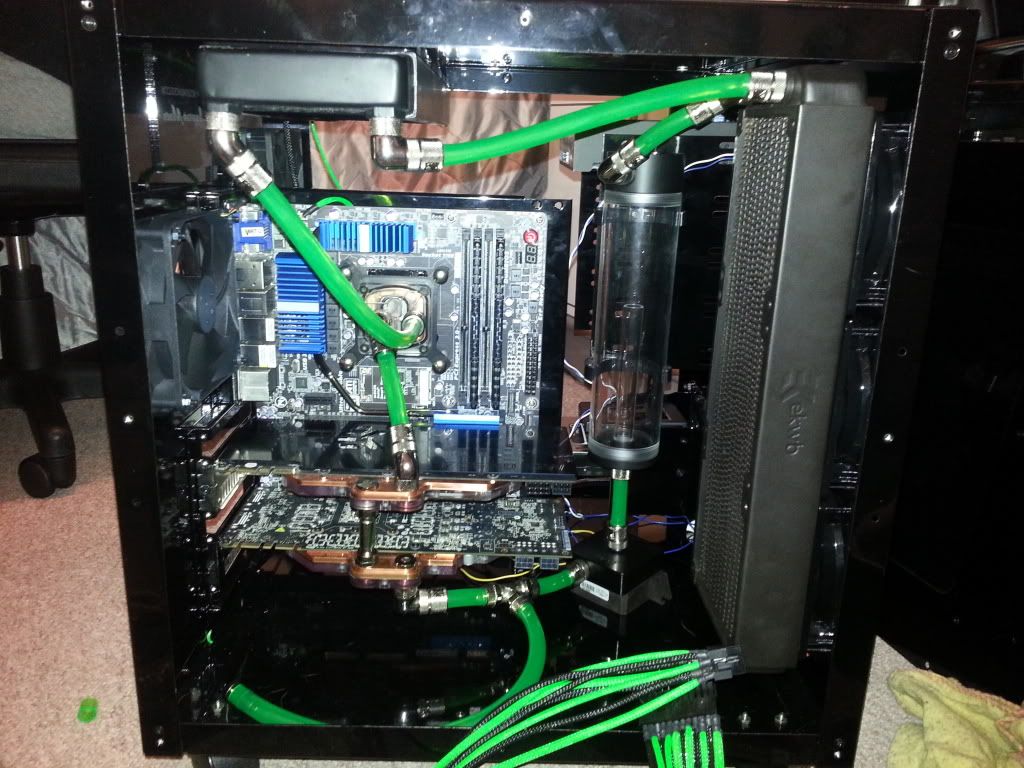
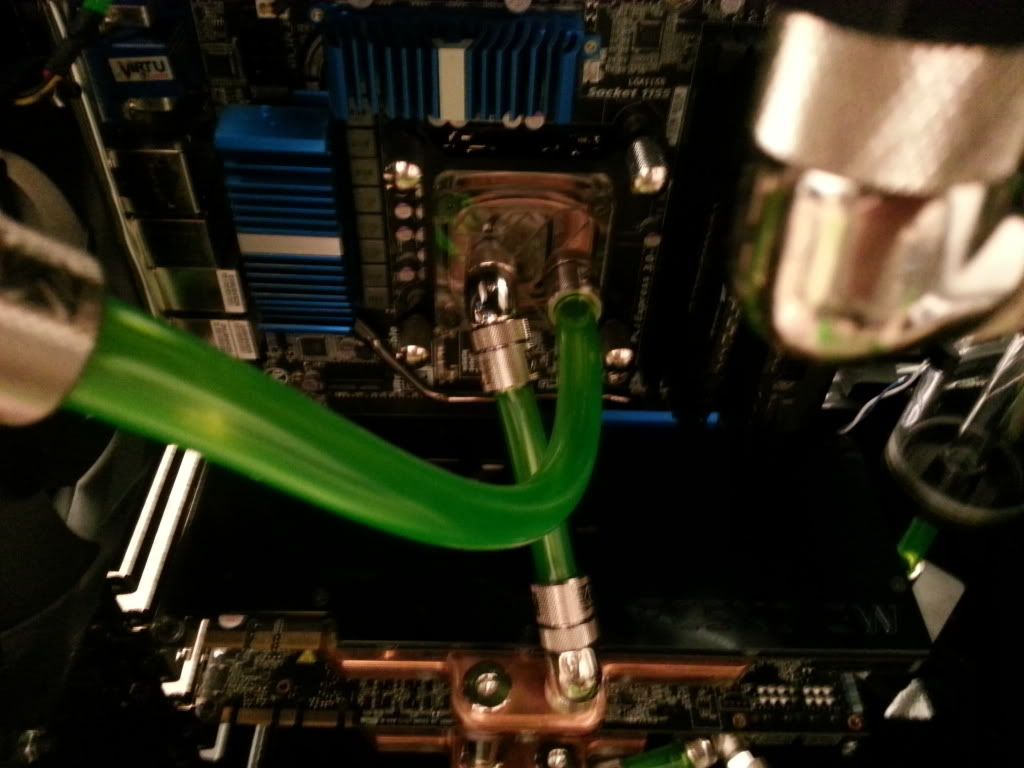
CPU block - EK HF supreme Copper Plexi
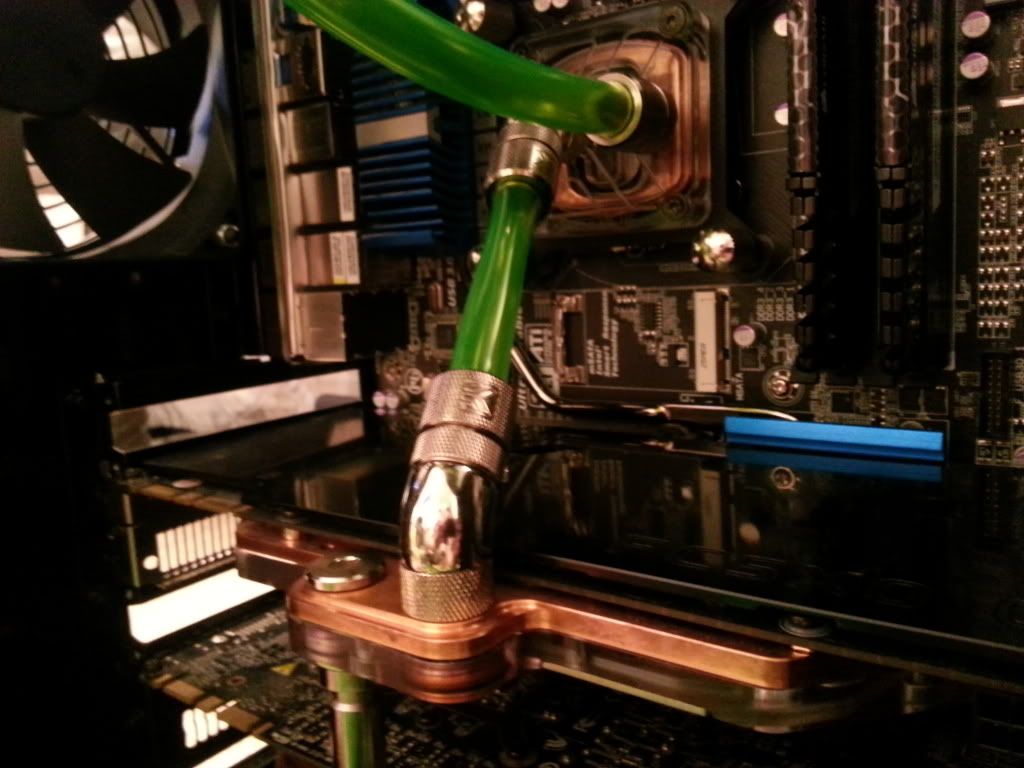
GPU Blocks - EK FC570 GTX non Reference Copper Plexi
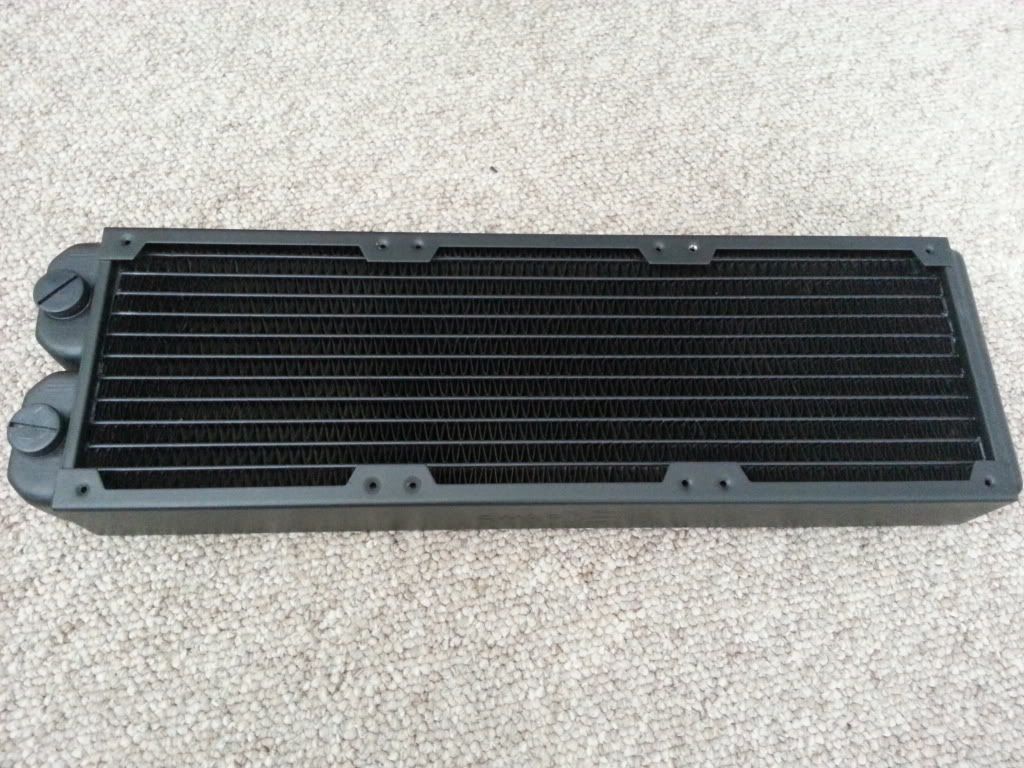
Radiators (currently in 800D) XSPC RS360, EK Coolstream 240 XTX
Ive bought a EK Coolstream 360 XT triple to add to the new build and replace the 240.

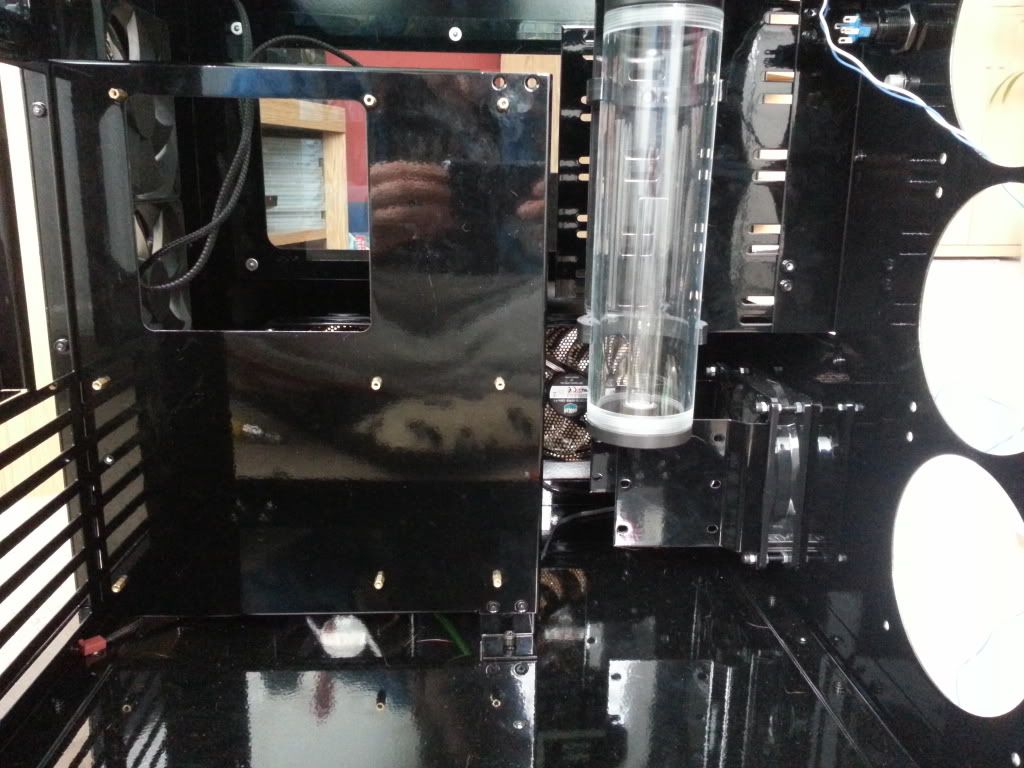
The 800D i have a XSPC Dual Bay res with the Liang 12V DDC pumps, This is being swapped out for a EK multioption 250.


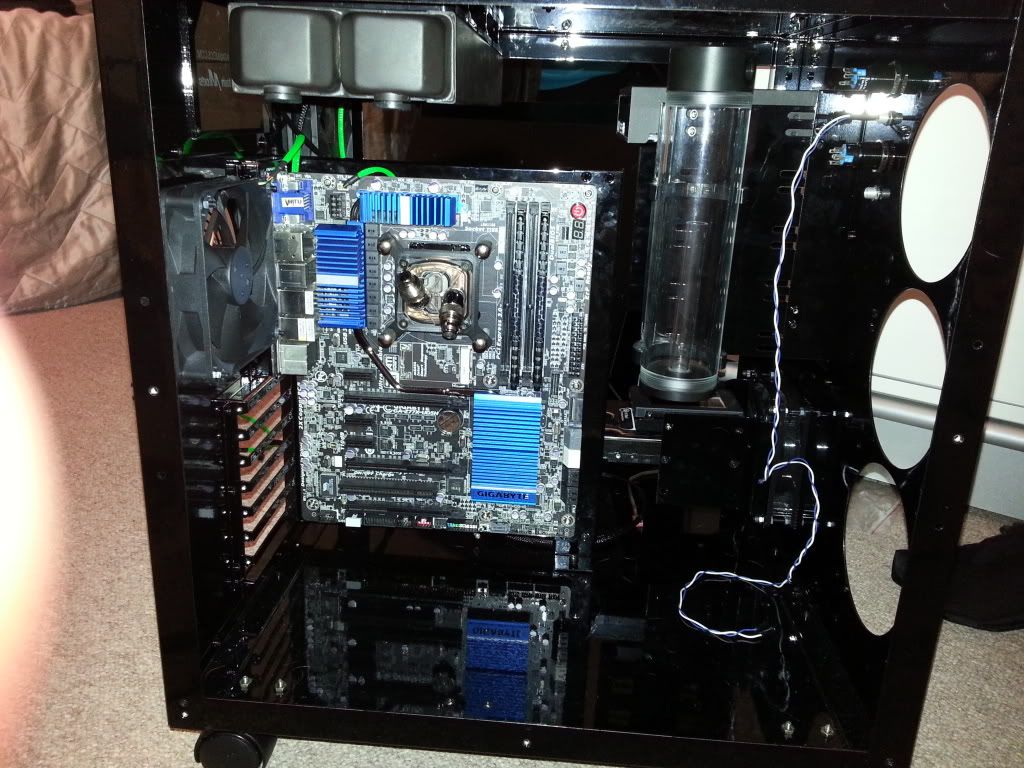
So the new case was purchased from Mountain Mods website. I think these cases are like marmite, You either love them or hate them! im the former!

I picked a U2-UFO CYO,
Mirror Black finish with smoked glass.
3 sides were:
original top,
Side 1, triple half window.
Side 2, Full window

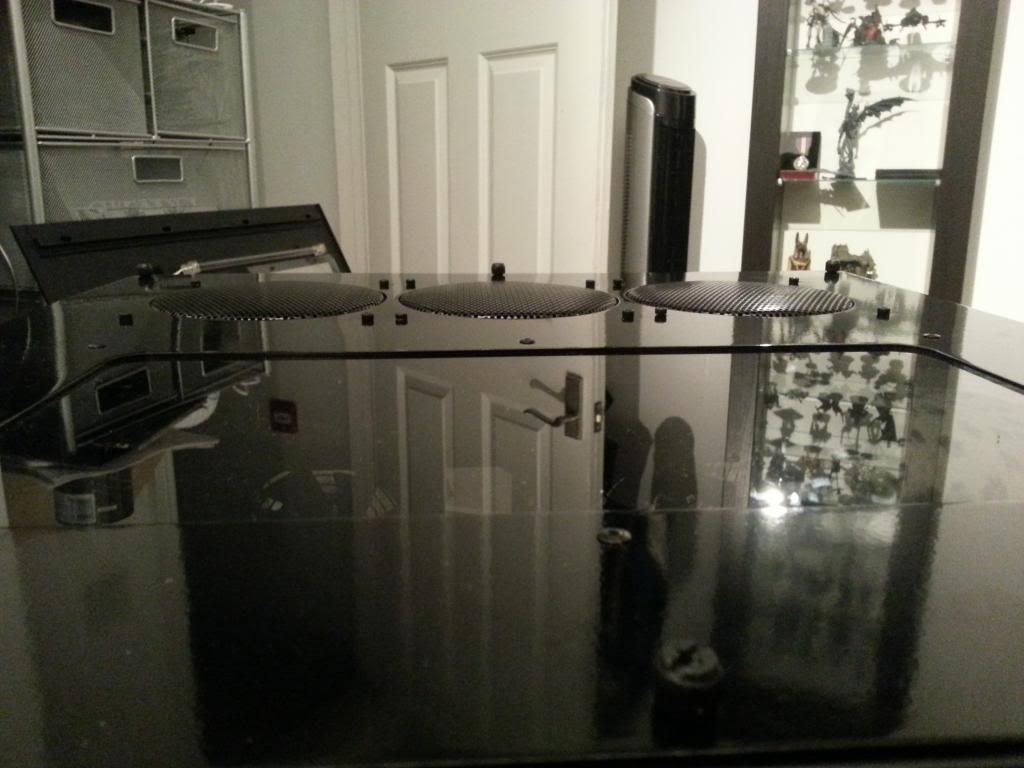
So ill start with the assembled case, I wont bore you with pictures of it in bits and in the packets, Here it is,
1382687


Ill get some more pics up of the case with the sides when i get home from work.

More to follow so grab yer popcorn!
 
Last edited:
Associate
OP
Joined
1 Apr 2013
Posts
38
Update and some more piccys!


1383675

1383676

1383677

1383678


I removed the standard chrome reset and power buttons and replaced them with Anti Vandal switches, These have the green lights on them when powered.

1383679
 
Associate
OP
Joined
1 Apr 2013
Posts
38
With that the PSU was out. with its fat ugly cable shrouding. I never bothered with it before as in the 800D it was hidden from view.

1383686


I cracked it open

1383687


and operation sleeving commenced!

1383688


(I know, the shroud went a bit skiwhif!)

1383689


Ive got 9 more wires to do on the main 24pin, at this point my hands and fingers feel like ive worn them to the bone!!
 
Associate
OP
Joined
1 Apr 2013
Posts
38
Slight snag with the sleeving, I ran out of it!!! More on order!
just 22 more wires to do

Update on what it looks like (i also found out that the plastic ring that goes around the hole where the wires come out of the psu wont actually fit any more!

1384835


1384836


I know it the shroud isnt great but after actually doing sleeving, ive decided that i hate doing it!
 
Associate
OP
Joined
1 Apr 2013
Posts
38
Thanks,

Im not entirely happy with it, i think it need Moar black!! i went green - black, im thinking of going green - black -black - green, (only on the atx as it just looks too green)
 
Soldato
Joined
17 Aug 2012
Posts
6,595
Location
Tamworth, UK
Does look quite green compared to black, however when it's all plugged in it should be alright cause it will be all seperated from the other cables.

Nice storm-trooper shot, he looks menacing! Also looks like a light sabre battle in the background with the tubing!
 
Associate
OP
Joined
1 Apr 2013
Posts
38
hallo, quick update and some MOAR pictures!! Screws arrived today ( the right length ones) Mounted the top 360 Radiator,

EK coolstream XT 360 triple
20130403_130530_zps0f29d1ec.jpg


3 Coolermaster Sickleflow to go on the top of the rad, I did sleeve these cables too with the leftovers.
20130403_130604_zps9340c5fb.jpg


Case on its side looking up at the roof of it..
20130404_215338_zpsb95492b4.jpg


the top of the rad from the outside
20130404_215251_zps30d9df24.jpg


and he just couldnt keep away...
20130404_215804_zps9e0558ac.jpg
 
Associate
OP
Joined
1 Apr 2013
Posts
38
Just waiting on the other screws for the XSPC 360RS (older one which uses M4 screws not M3) to mount the front rad.

Now, i am open to suggestions on tube routing... the pic below is the motherbaord side of the case, the mobo will be mounted on that metal plate, directly above it is the 360 rad from the pics before, fittings closest to the camera, to the right you can see the res, below that is the pumps location, to the right of that is where the other 360 rad lives.

Now i was planning it as follows...
res-->pump-->GFX (going from bottom card 1st)-->rad(top)-->cpu-->rad(front)

trying to get the shortest distance in tubing.

Better to have the barbs on front rad at bottom or top?

Will 1 12v Liang be enough pump power?

20130403_140334_zps60de8942.jpg
 
Last edited:
Associate
OP
Joined
1 Apr 2013
Posts
38
Some updates, The bits you REALLY wanna see..

I took apart my old system and took out the hardware.

Mobo, cpu and ram

20130405_192647_zps8fc3164b.jpg

20130405_192703_zpsedc410e7.jpg

20130405_192710_zpsbbe04d04.jpg


GFX cards came out. I know theres a lot of folks out there who would rather take a bullet to the ass than use dyes/coolants but i DO use them and i do like them.
Blue didnt stain or anything but red seems a bit more stubborn... Staining but no gunk! ive been using Mayhem X1

20130405_1927180_zps99764ce0.jpg


Mounted the Board with no issues, it looks snug

20130405_195138_zps0d17aa98.jpg
 
Associate
OP
Joined
1 Apr 2013
Posts
38
Hard Drives came out next and were fitted to the UFO

20130405_184014_zpsd42c229a.jpg


20130405_184027_zps1111d2c8.jpg


20130405_215526_zps0c0aa14e.jpg


****ing dog hair i know! this case is like a magnet!!!!!


I hate the crappy 90's colour of optical drives!
20130405_182321_zps4a3cf759.jpg

20130405_182342_zps5dc07d00.jpg


So i took it apart and sprayed it over, thoughts?

20130405_193721_zps61f5d221.jpg

20130405_193726_zps65aea209.jpg


took a time out....
20130405_194901_zps94b806d9.jpg


After taking the pump off of the Xspc dual bay i slapped the EK top on it, once i get the delivery of sleeving i will get that braided and fitted in the case.
20130405_204831_zps384a1c57.jpg


So heres how ive left if for now....

20130405_215511_zps61efc960.jpg


Stay tuned!
 
Associate
OP
Joined
1 Apr 2013
Posts
38
Updates, Tubing is in (ive not connected the pump properly as i want to sleeve the wires before sticking it down.)

heres the tubing...

20130406_200713_zps056ba6cd.jpg


20130406_200804_zps0e958bb5.jpg


20130406_200836_zps2b449384.jpg


LIGHTS OFF!

20130406_201229_zps8eb9a7f4.jpg

20130406_201252_zps71c0c0c9.jpg


didnt realise the green braids were uv!
#
20130406_201243_zpsc53fe993.jpg


Lastly i thought id see the difference...

on the left is tygon clear tubing with Mayhem X1 Green, On the right is the Green tubing,
Im leaning more towards the coloured tubing, plus the green coolant during normal light looks a little like wee wee! :)

20130406_202040_zps68e8d4f4.jpg


Thats it for now..
 
Last edited:
Associate
OP
Joined
1 Apr 2013
Posts
38
I finished work early today so thought id fill it up and lead test/bleed the system...

20130407_161751_zps57a14ff2.jpg


Started alright but then....

20130407_161523_zps8b58d2ba.jpg


20130407_161538_zps0fc75c10-1_zps4e2777c5.jpg


I thought "where the **** is that coming from?" it wasnt hte barbs as it was coming from the other side of the rad. Luckley i could take the rad out of the loop with out draining it all and discovered that it was one of my screws!! (Facepalm!) I orignially had 35mm M3 Screws for this rad in my 800d, they were the perfect size however i found out that the MM case is a lot thinner than the 800D so i needed 30mm screws, I took the fans off, all of the screws were 30mm and there it was!! 1 screw was 35mm and was embedded in the fins of the rad! (double facepalm!)
So now its a new rad on order. Im so ****ed at myself!!! :S

Heres the damage... (i bent the metal back for a better view seeing as that rads being binned!!

20130407_164801_zps92f6e017.jpg
 
Last edited:
Associate
OP
Joined
1 Apr 2013
Posts
38
ive had to stop the project for a bit as ive ran out of money till next payday as the dog has just cost 2k at the vet, She chewed a toy in half and then swallowed half of it when we tried to get it out of her mouth!!!

So ive put the PC back together and theres a few things left to do:

1, sleeve the other gpu power cables,
2, tidy cable management! as the other side of the mobo is a Sh*thole!
3, get another fan controller for the gap at the front.
4 add one more bit of bling on the outside


Thinking of getting a second dual bay fan controller to fill the gap as the current is only 5 channel and ive got a total of 12 fans.
 
Associate
Joined
6 Dec 2007
Posts
1,793
Very nice, I still have a MM U2UFO sat next to me retired now though. Really makes me want to do another project in it...
 
Back
Top Bottom