Huge Update!
Ordered my components and started the build. I nicked 4Gb of RAM from my main rig to test the system and installed it with the stock cooler on the removable motherboard tray. I got Windows and all of my programs installed on that while I still had my main rig up and running. Because my DVD drive is IDE, I couldn't install Windows from a DVD, so I had to format my camera's memory card, and use the camera as a card reader to install Windows from, hence the iPhone pictures (a Christmas present- very happy)!
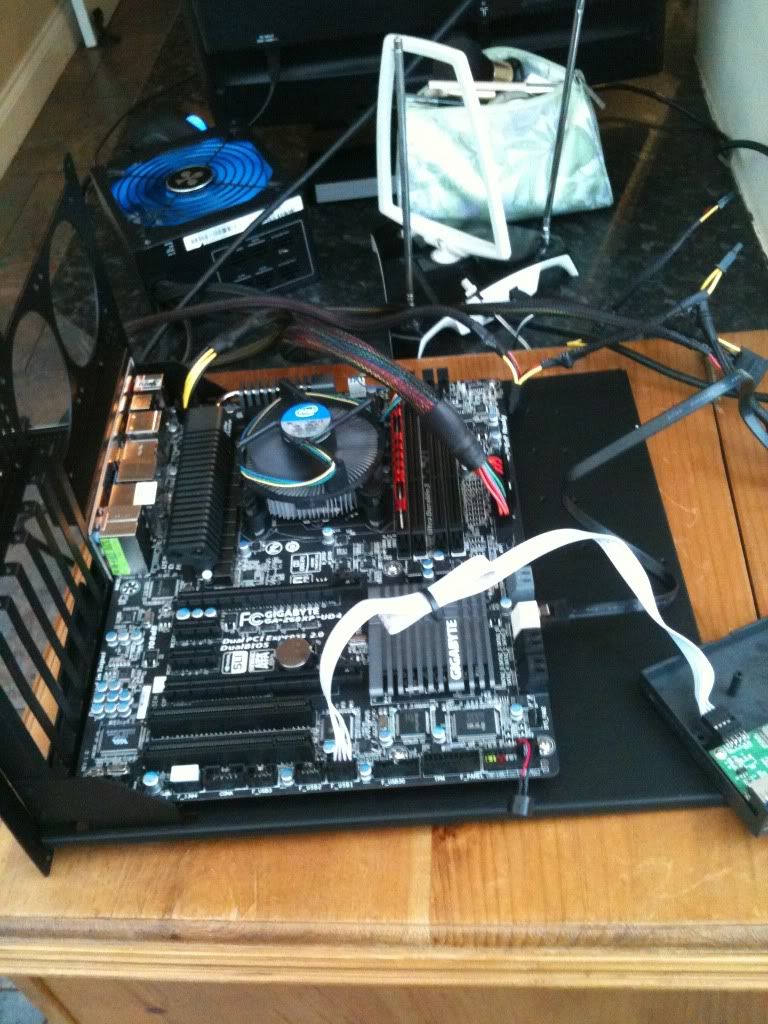

Then I proceeded to build the thing! The motherboard had to come off for the backplate for the new CPU cooler. I will never go back from using a removable motherboard tray, I love these things so much! They make life so much easier! Building this required a bit more physical work than I thought, everything was heavy and difficult to do, such as trying to get the top mesh on. I could have done with an extra pair of hands tbh! Getting the rad for the cooler in was very difficult too, mainly because it is not designed for it!

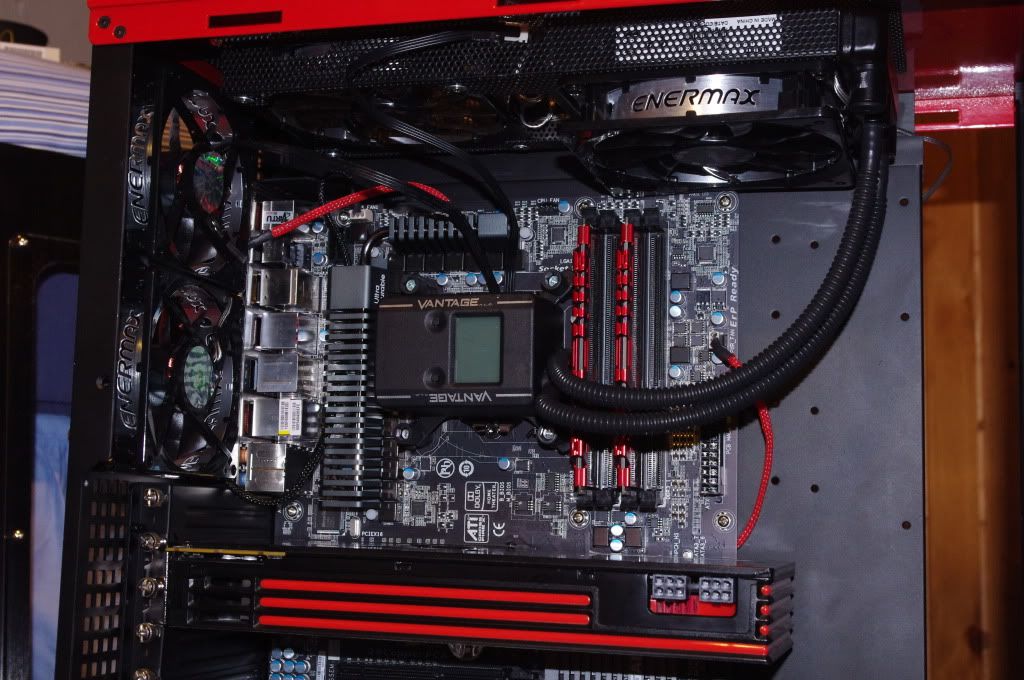

I had braided the front panel connectors, I just attached the power and reset switch as well as the power LED- I hate HDD LEDs! I also included the buzzer which I tucked under the braid, but with it's red and black wires it's pretty tactical anyway.
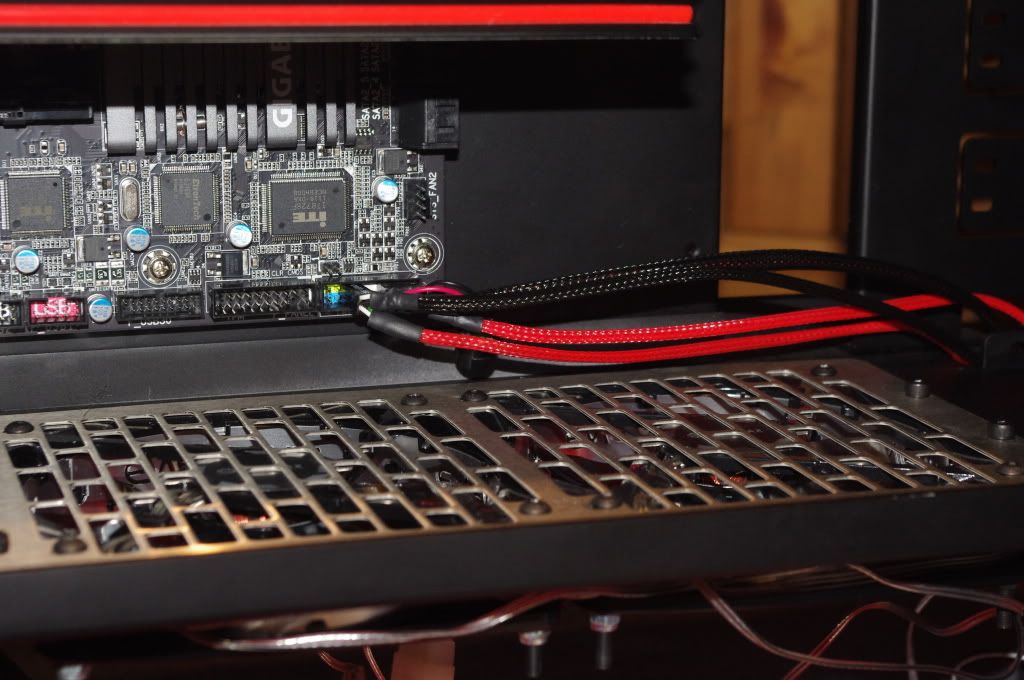
I got a red LED strip for the bottom to give it a bid of a glow. A very usefully placed hole allowed me to route all the wiring nicely.
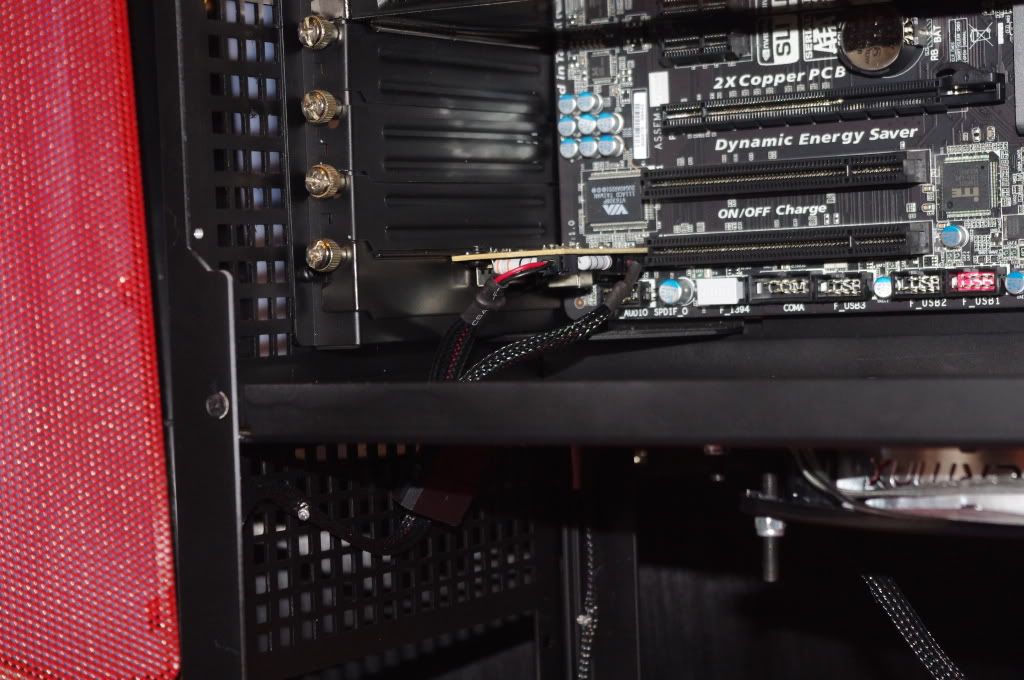
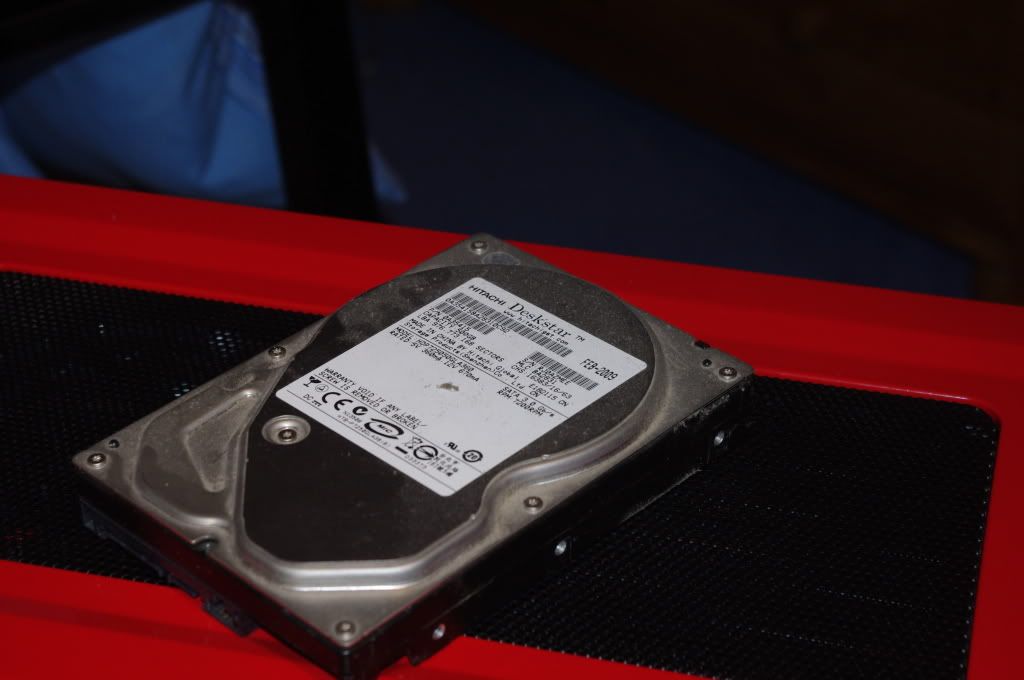
I was originally going to get a newer 1TB HDD for the build, but after what happened and the subsequent rise in HDD prices I stuck with this, at least I wouldn't have to copy all my documents over!
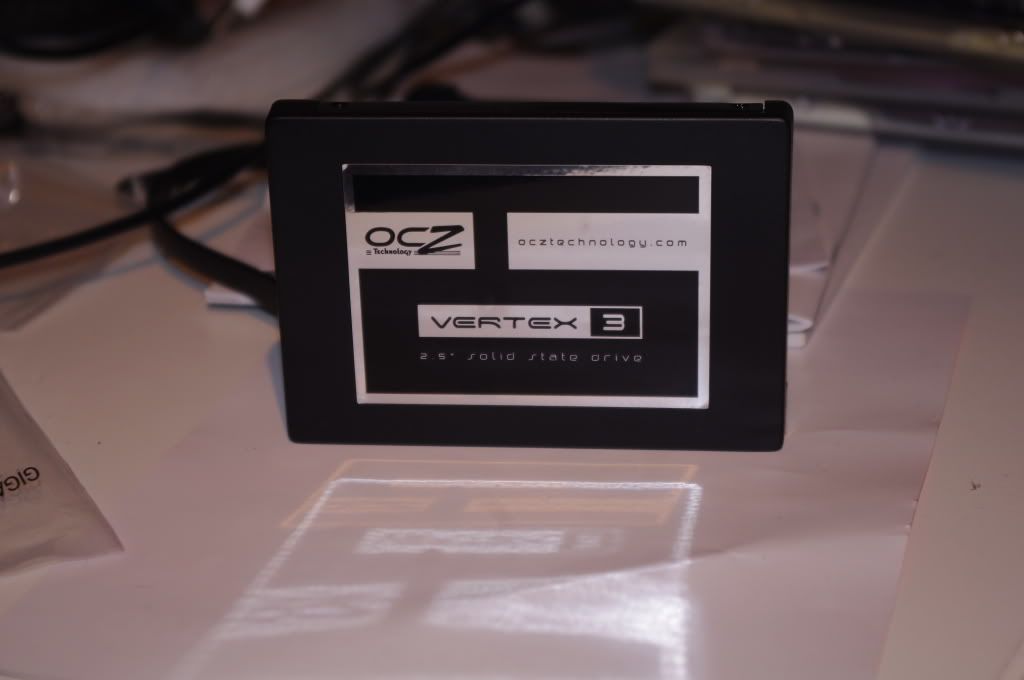
This should help alleviate the issue! I've installed Windows, all my games and editing programs as well as Office and a few other bits and pieces and it's still less that half full!
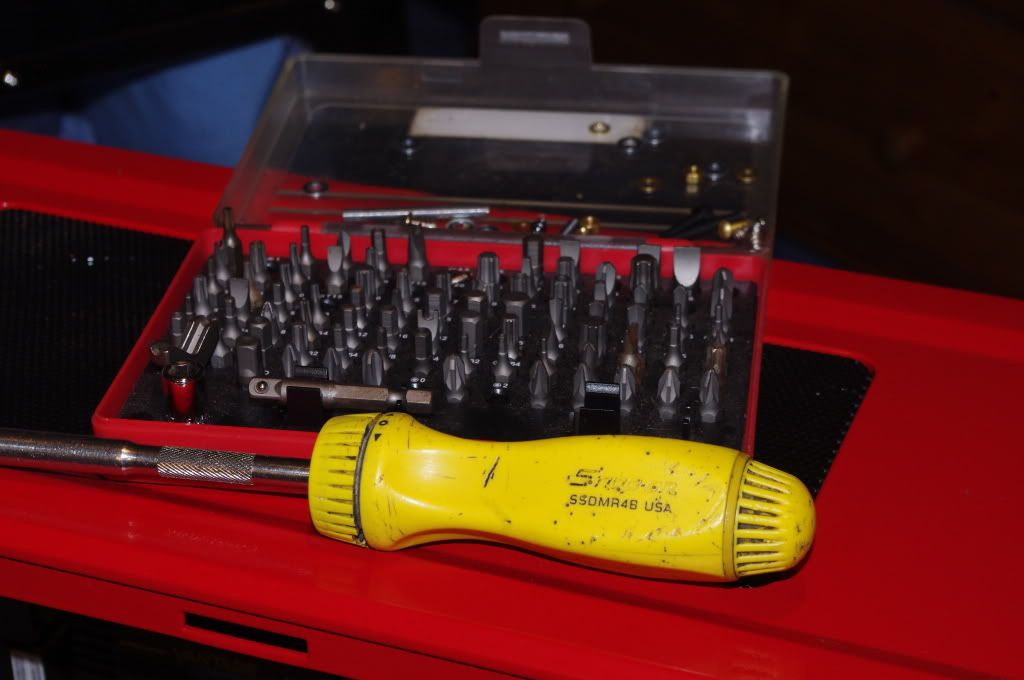
Every regular PC builder or DIY person should get these, it's a Snapon magnetic ratchet screwdriver and Mac Tools head set. This thing does everything, Torx, Allen heads, about 5 different types of posidrive, both sharp and blunt and a whole host of other heads I've never even seen before!
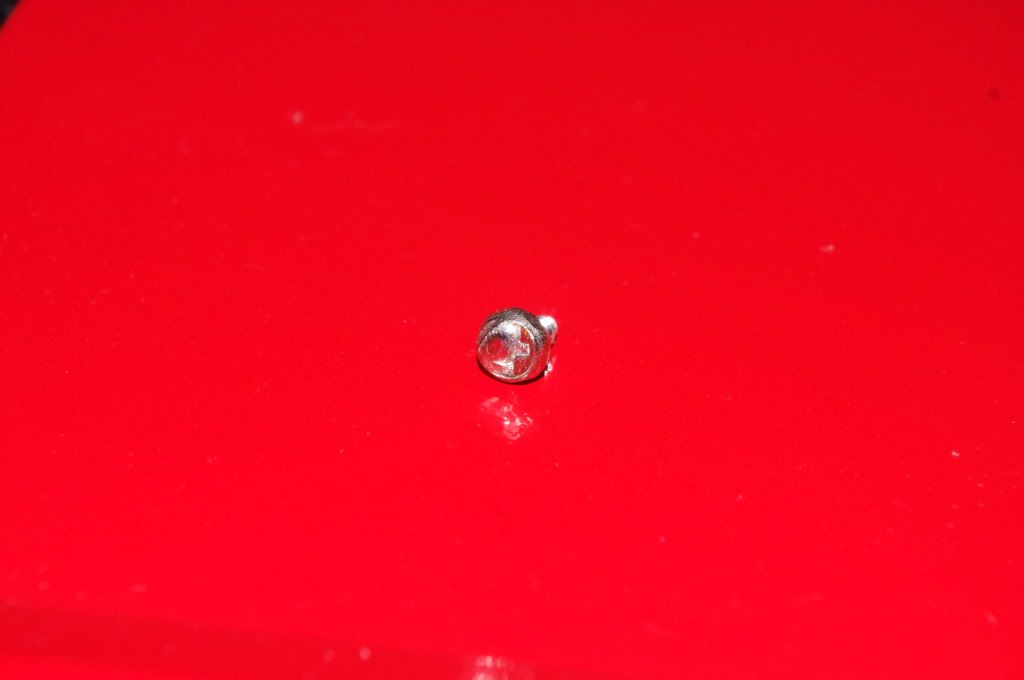
I just found this screw in my organiser, god knows what happened to it!
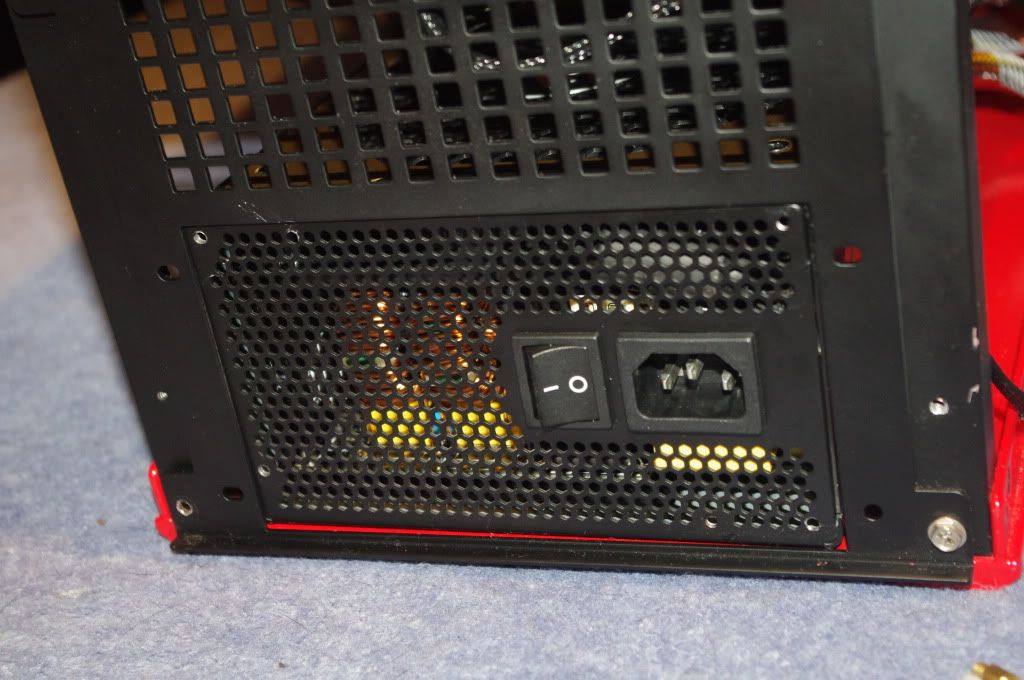
There are two backs for PSUs on this case, one is for standard ATX PSUs which are mounted vertically the other is horizontal but is designed for redundant PSUs. I couldn't use the vertical one because it would hit against the fan. So far more high tech mounting solutions were in order:
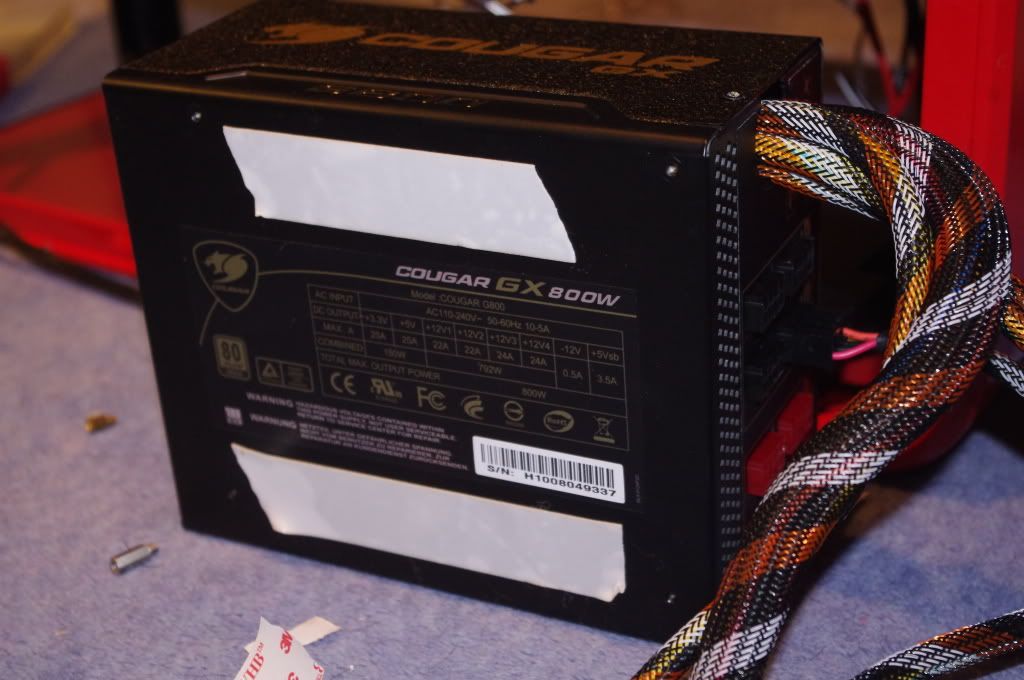
The 3M tape is just amazing! I had the case upside down later on and the PSU just sat there! As you can see, the size for the hole of a redundant PSU is almost identical to the full size of an ATX one, so it fills the gap perfectly, just isn't screwed in. The flash did a horrible job of highlighting a very shallow scuff that isn't visible normally, so thanks!
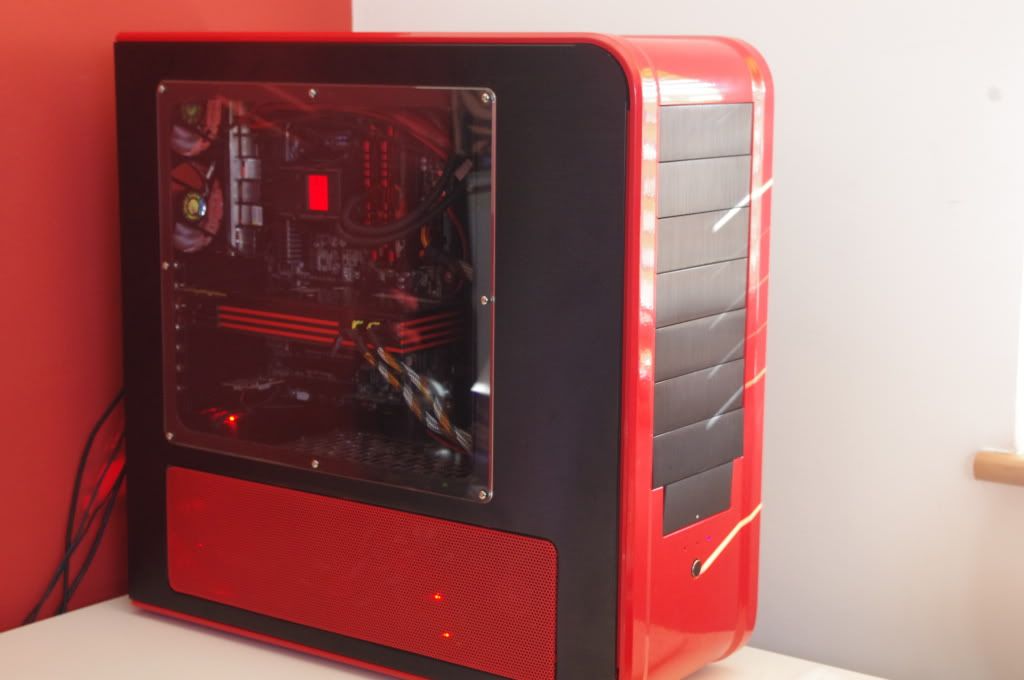
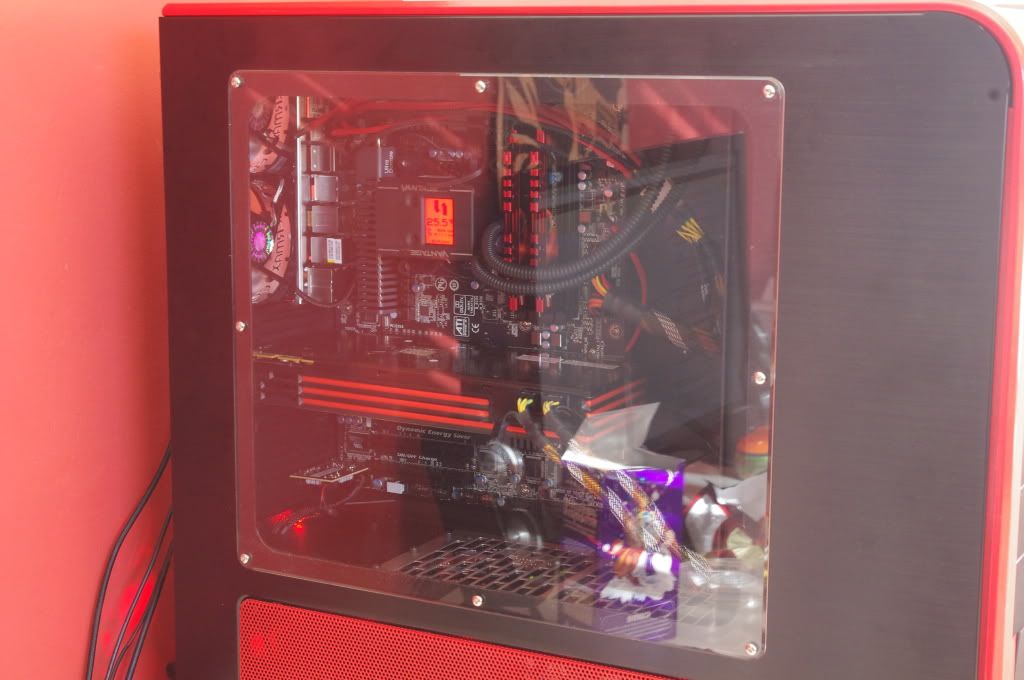
Finally, the finished article. The pictures aren't the best due to the slow shutter which makes it difficult to see through the window, I'll try to get some better ones up at some point! All that's left is to do the 24-pin ATX and the two 6-pin PCIe connectors to finish the job off. Other than that, a bit of cable management, some white lighting for the main section and it's done! The bottom lighting gives it a nice glowing effect at night, but is not really visible here. Also the screen on the cooler came out badly due to the long exposure, it displays the coolant temperature and a few other bits rather than a solid red screen!
All I wasn't happy with were the side panels, they just didn't seem to slide all the way forward. I had to really wrestle with it and force them in with the screws which required a screwdriver to do up. I'm not sure if this is due do the unibody section being left for ages which changed it's shape slightly. Anyway, I'm going to try bending the 'hooks' a bit next time I have it apart, but it's hardly an issue really.
My room is a state most of the time due to my work (all the boxes under the desk) but by the time I'd finished with this it looked like a claymore filled with screws had gone off! Fortunately, clearing up scews is one of the other great uses of my magnetic screwdriver!
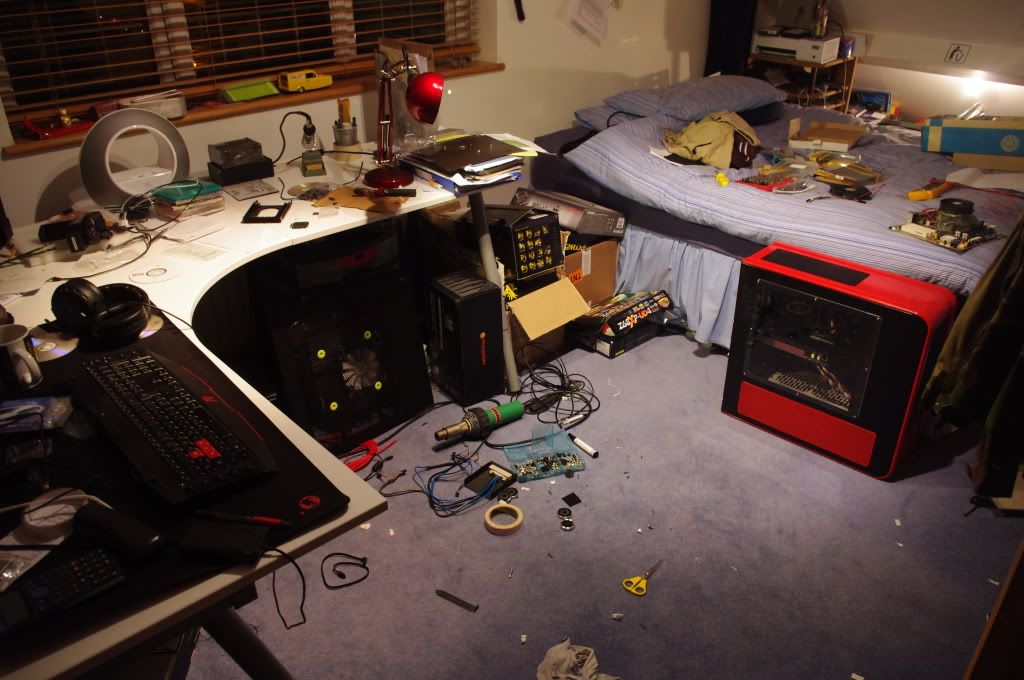
My old system was looking in a bit of a state, I'll be selling the 1055T for a cheaper Athlon to give to my parents as a replacement for the 1.7Ghz Celeron laptop with 1Gb RAM running Vista I gave them a few years ago! Just need some RAM, and a HDD- funnily enough I have a few PSUs I could use! I would sell it, but the motherboard hasn't got a warranty or a box so I wouldn't get a decent price for it.
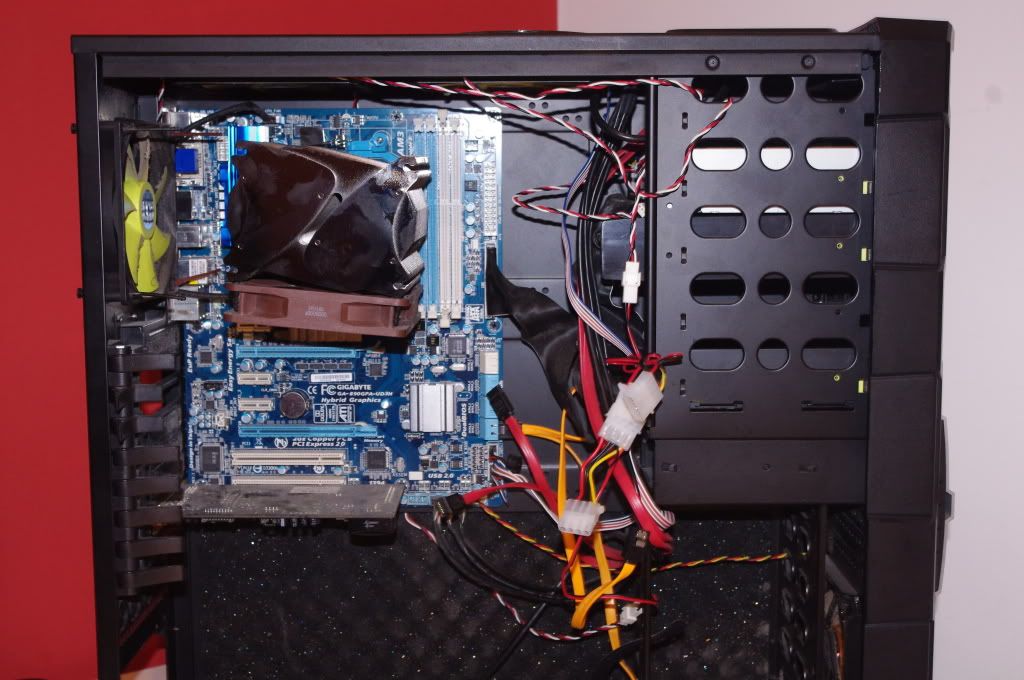
But the thing that was looking in most of a state was myself as you can see from this very un-flattering photo! I was knackered! A cup of tea well earned I think!
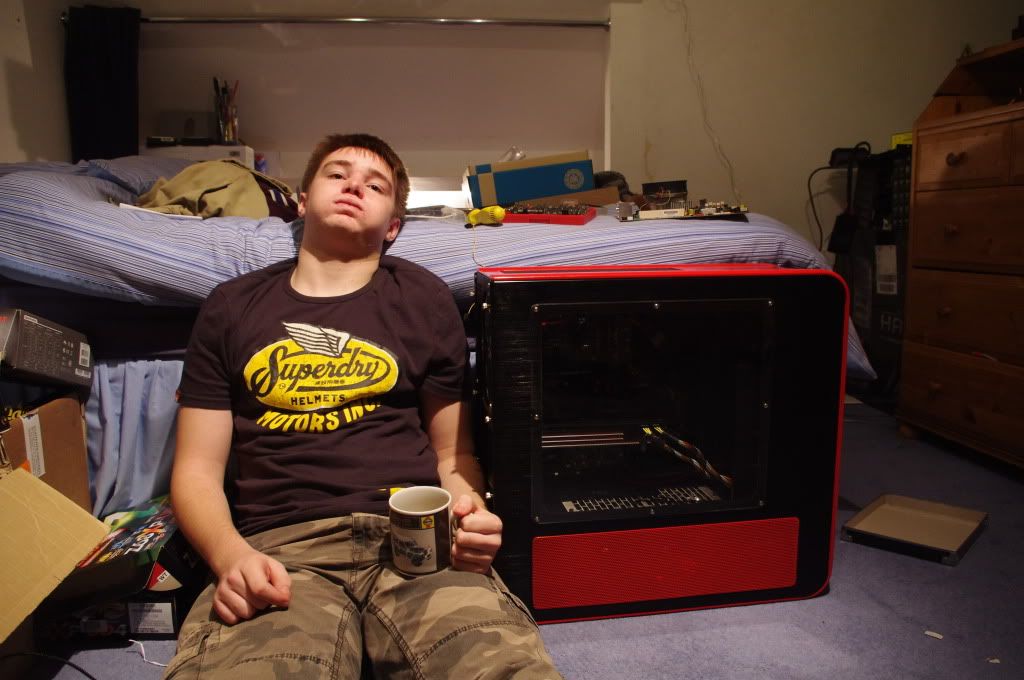
Then I had to lift the thing onto my desk, which was no mean feat! So that's the project just about finished! All that's left is a little lighting and braiding and it's totally finished! I can't tell you how amazing it looks sitting here on my desk- pictures just don't do it justice!
Ordered my components and started the build. I nicked 4Gb of RAM from my main rig to test the system and installed it with the stock cooler on the removable motherboard tray. I got Windows and all of my programs installed on that while I still had my main rig up and running. Because my DVD drive is IDE, I couldn't install Windows from a DVD, so I had to format my camera's memory card, and use the camera as a card reader to install Windows from, hence the iPhone pictures (a Christmas present- very happy)!


Then I proceeded to build the thing! The motherboard had to come off for the backplate for the new CPU cooler. I will never go back from using a removable motherboard tray, I love these things so much! They make life so much easier! Building this required a bit more physical work than I thought, everything was heavy and difficult to do, such as trying to get the top mesh on. I could have done with an extra pair of hands tbh! Getting the rad for the cooler in was very difficult too, mainly because it is not designed for it!


I had braided the front panel connectors, I just attached the power and reset switch as well as the power LED- I hate HDD LEDs! I also included the buzzer which I tucked under the braid, but with it's red and black wires it's pretty tactical anyway.

I got a red LED strip for the bottom to give it a bid of a glow. A very usefully placed hole allowed me to route all the wiring nicely.

I was originally going to get a newer 1TB HDD for the build, but after what happened and the subsequent rise in HDD prices I stuck with this, at least I wouldn't have to copy all my documents over!

This should help alleviate the issue! I've installed Windows, all my games and editing programs as well as Office and a few other bits and pieces and it's still less that half full!

Every regular PC builder or DIY person should get these, it's a Snapon magnetic ratchet screwdriver and Mac Tools head set. This thing does everything, Torx, Allen heads, about 5 different types of posidrive, both sharp and blunt and a whole host of other heads I've never even seen before!

I just found this screw in my organiser, god knows what happened to it!

There are two backs for PSUs on this case, one is for standard ATX PSUs which are mounted vertically the other is horizontal but is designed for redundant PSUs. I couldn't use the vertical one because it would hit against the fan. So far more high tech mounting solutions were in order:

The 3M tape is just amazing! I had the case upside down later on and the PSU just sat there! As you can see, the size for the hole of a redundant PSU is almost identical to the full size of an ATX one, so it fills the gap perfectly, just isn't screwed in. The flash did a horrible job of highlighting a very shallow scuff that isn't visible normally, so thanks!

Finally, the finished article. The pictures aren't the best due to the slow shutter which makes it difficult to see through the window, I'll try to get some better ones up at some point! All that's left is to do the 24-pin ATX and the two 6-pin PCIe connectors to finish the job off. Other than that, a bit of cable management, some white lighting for the main section and it's done! The bottom lighting gives it a nice glowing effect at night, but is not really visible here. Also the screen on the cooler came out badly due to the long exposure, it displays the coolant temperature and a few other bits rather than a solid red screen!


All I wasn't happy with were the side panels, they just didn't seem to slide all the way forward. I had to really wrestle with it and force them in with the screws which required a screwdriver to do up. I'm not sure if this is due do the unibody section being left for ages which changed it's shape slightly. Anyway, I'm going to try bending the 'hooks' a bit next time I have it apart, but it's hardly an issue really.
My room is a state most of the time due to my work (all the boxes under the desk) but by the time I'd finished with this it looked like a claymore filled with screws had gone off! Fortunately, clearing up scews is one of the other great uses of my magnetic screwdriver!

My old system was looking in a bit of a state, I'll be selling the 1055T for a cheaper Athlon to give to my parents as a replacement for the 1.7Ghz Celeron laptop with 1Gb RAM running Vista I gave them a few years ago! Just need some RAM, and a HDD- funnily enough I have a few PSUs I could use! I would sell it, but the motherboard hasn't got a warranty or a box so I wouldn't get a decent price for it.

But the thing that was looking in most of a state was myself as you can see from this very un-flattering photo! I was knackered! A cup of tea well earned I think!

Then I had to lift the thing onto my desk, which was no mean feat! So that's the project just about finished! All that's left is a little lighting and braiding and it's totally finished! I can't tell you how amazing it looks sitting here on my desk- pictures just don't do it justice!
Last edited:


 ) but the plan was to dispense with my old faithful Xigmatek Thor's Hammer, which is an outstanding cooler by the way, and replace it with something that would allow better views of the motherboard. I like to stick with air cooling because I don't really have time to maintain a loop, and it causes extra hassle when swapping out components. I'm not an experienced overclocker at the moment, but I can see myself WCing in the future!