Project: Renati Niveus

Caporegime
Joined
29 Jul 2011
Posts
36,662
Location
In acme's chair.
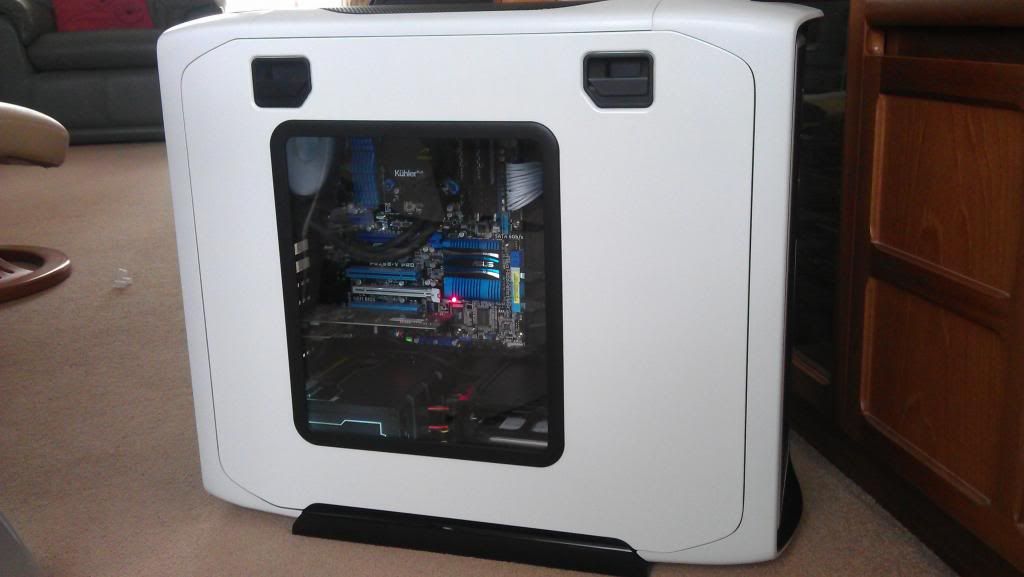
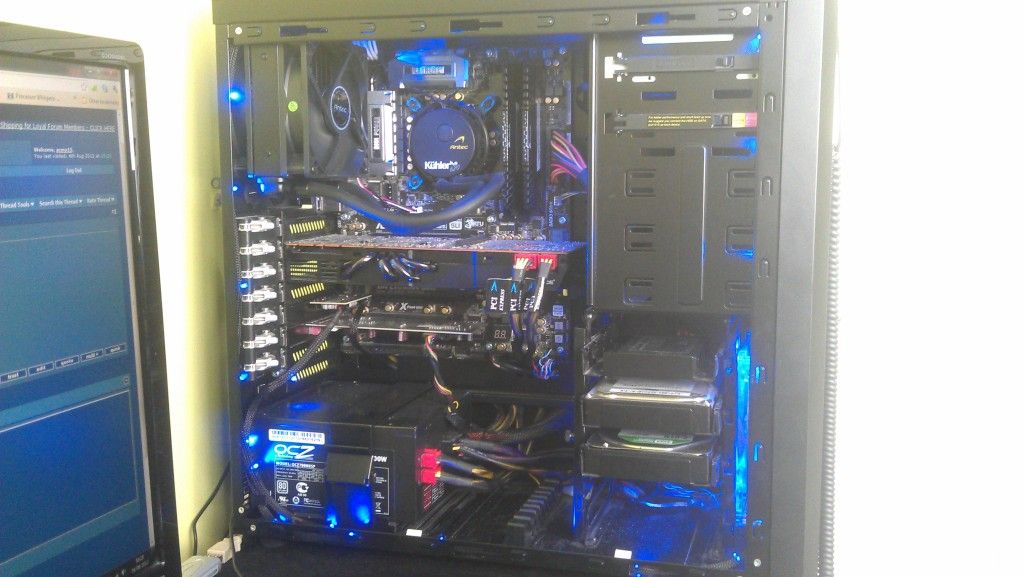
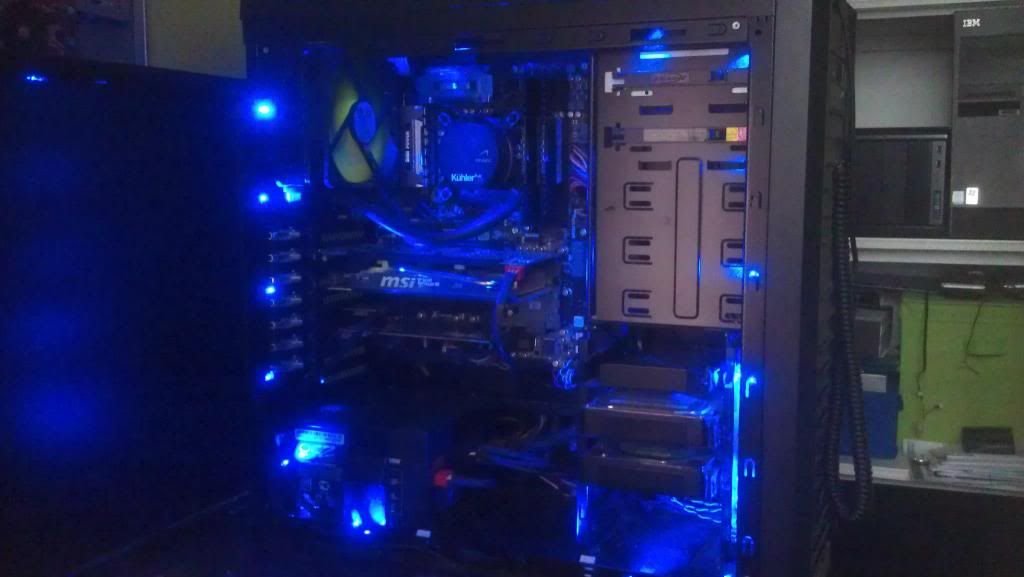
Welcome to my system re-build thread. A few of you may know that ever since I first built my system a couple of years ago I have not been entirely happy with the components I picked, so I finally took action, sold all of the parts I wasn't happy with, and replaced them with parts which I perhaps should have bought in the first place. :)

The project name 'Renati Niveus' roughly translates from Latin as 'Born again, snowy white' which I thought was quite nice. :D

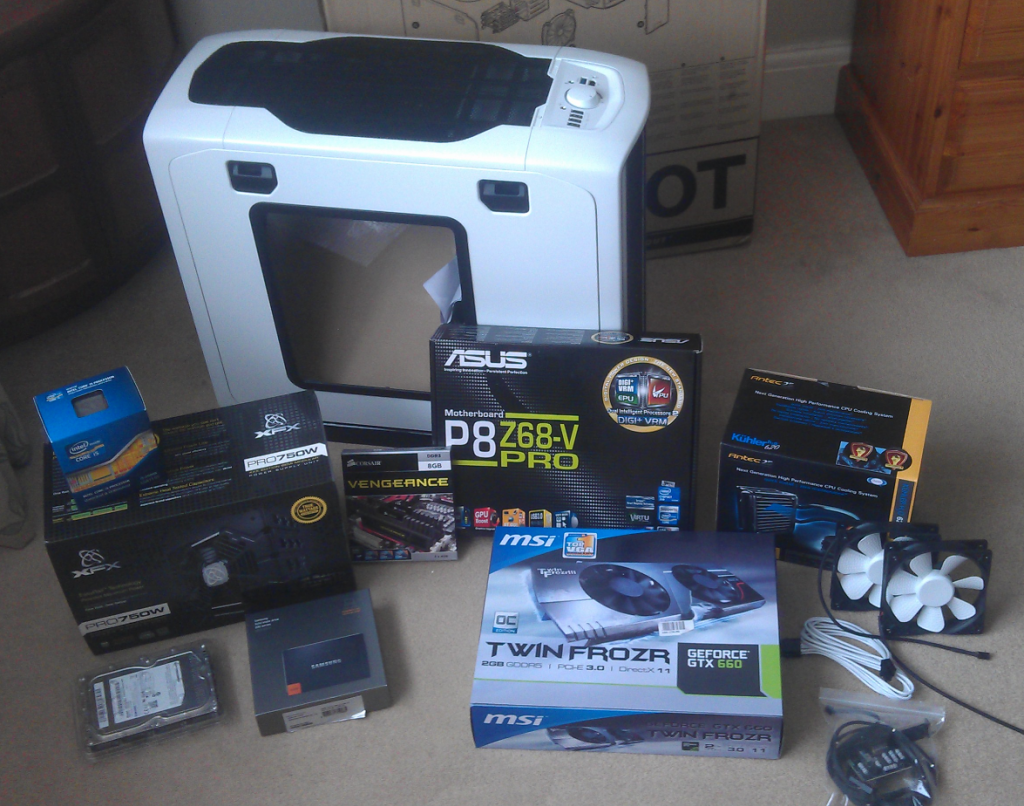
Here is a list of the parts which I currently have:

- i5 2500K
- Asus P8Z68-V Pro (new - replaced ASRock Extreme 4 Gen 3 Z68)
- 8GB Corsair Vengeance Black + 8GB Corsair Vengeance Blue
- MSI GTX660 Twin Frozr III OC Asus GTX670 DirectCU II TOP @ 1200+
- Samsung 830 256GB (new - replaced OCZ Vertex 2 40GB)
- Samsung SpinPoint F3 1TB
- WD Green 2TB
- Antec Kuhler H2O 620 w' Zaward Golf push/pull Corsair H100 w' Akasa Venom Vipers
- XFX Pro 750W XXX 80+ Silver (new - replaced OCZ ModXstream Pro 700W)
- Asus Xonar DS Asus Xonar Essence STX
- Corsair 600T White/Windowed (new - replaced Lancool PC-K62)

Here are some parts which are currently on order (or will be soon):

- NZXT 2M White LED lighting strip
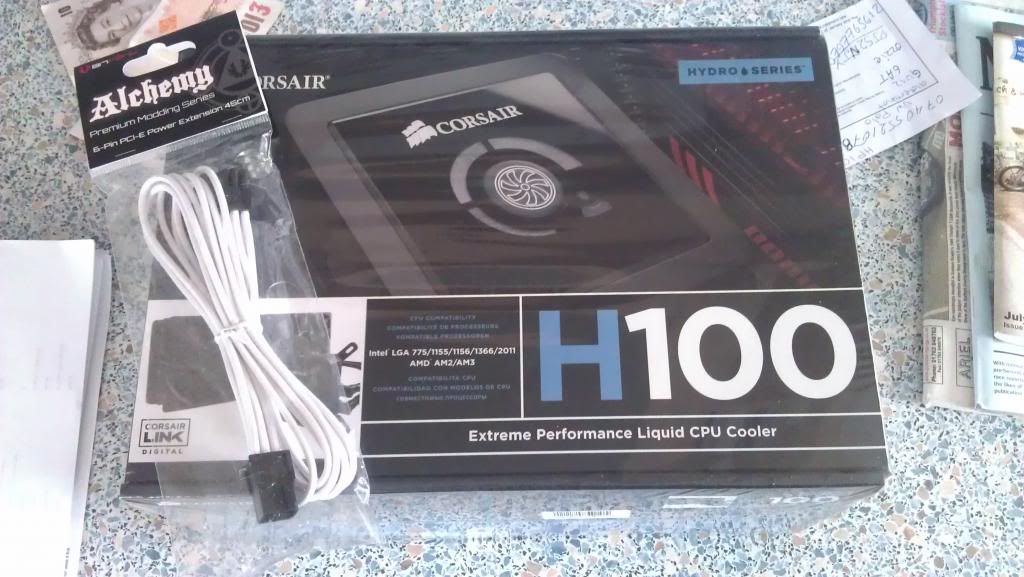
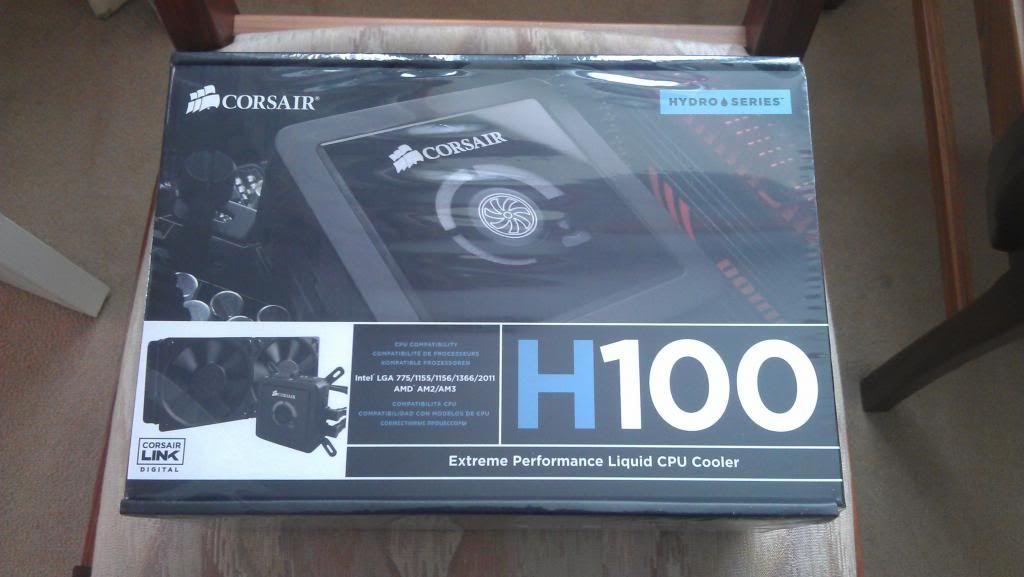
- Corsair H100
- Black/white braided cable extensions
- 8GB Corsair Vengeance Blue

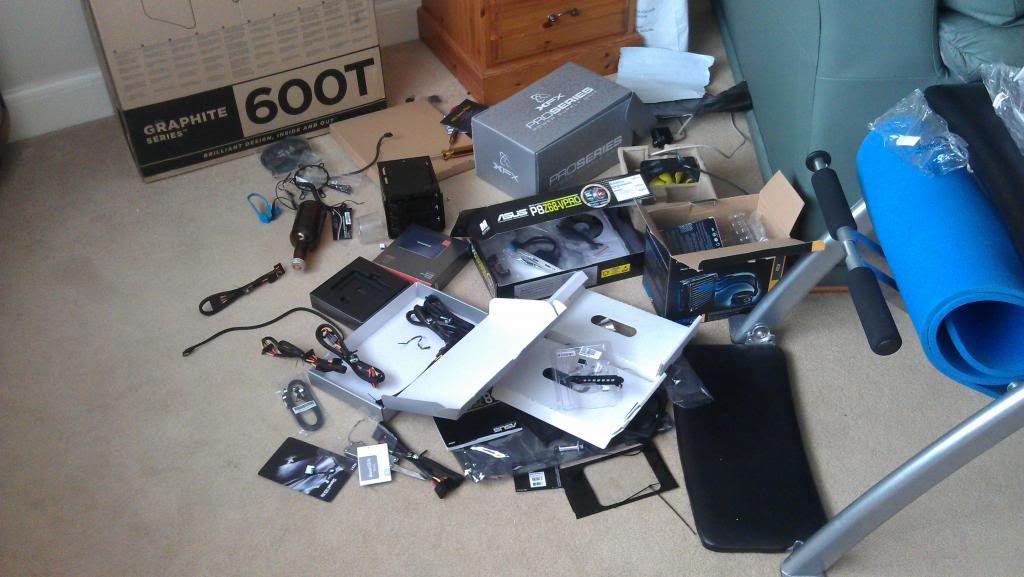
A pic of the goodies I have at the moment :p
Capture_zps9e2a3ec4.png


I am currently job hunting, and when I finally find a job and get some money in, I plan on replacing the 660 with something a little more beefy, possibly replacing the 2500K with a 2600K (not sure on that one) and fitting a custom watercooling loop. :D I already have some black EK compressions and an EK Supreme LTX nickel/plexi CPU block in the cupboard :)

Phase 1 shall commence as soon as my lighting and cables arrive. :D

I had an overclock of 4.6GHz with 1.377v on my old ASRock Extreme 4 Gen 3 Z68, but apparently the P8Z68-V Pro is far better for overclocking, so I am *hoping* to get around 4.7 - 4.8 with the same voltage (when the H100 arrives in 5 weeks) and I am ultimately aiming for 5GHz+ 24/7 stable with under 1.425v once the loop is in. :rolleyes:

We shall see what happens.
 
Last edited:
TL;DR

Progress update part 1 from post #18:
Right, time to get cracking. The time is 4AM, and I could bear looking at that heap of shiny boxes no longer!

Excuse the bad lighting for the first few pictures, it was still dark outside to begin with :p

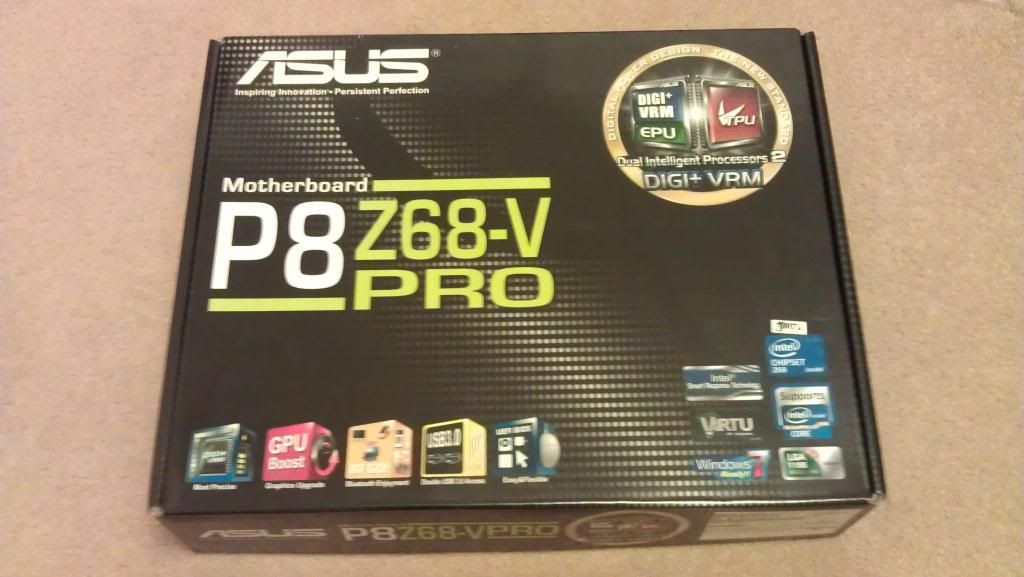
The Asus P8Z68-V. I might be dropping native PCI-E Gen 3 support, but the aesthetics and overclocking potential of this board more than make up for that.

IMAG0692_zps5cef9052.jpg


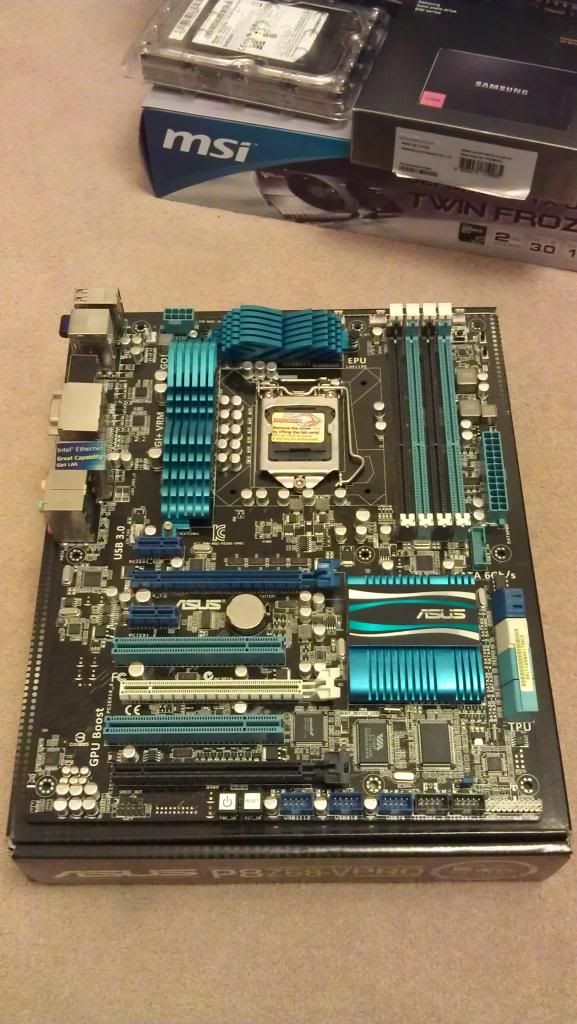
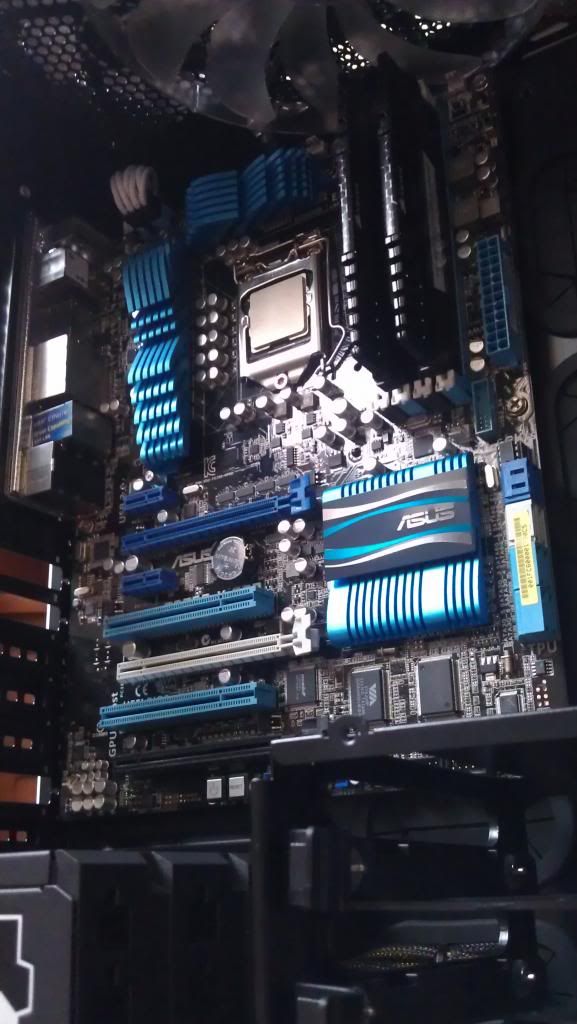
The board in all of its glory. It looks so much better in the flesh than I ever thought it could from pictures, so this terrible picture of mine will do it no justice. :rolleyes:

IMAG0693_zpsec34bb34.jpg


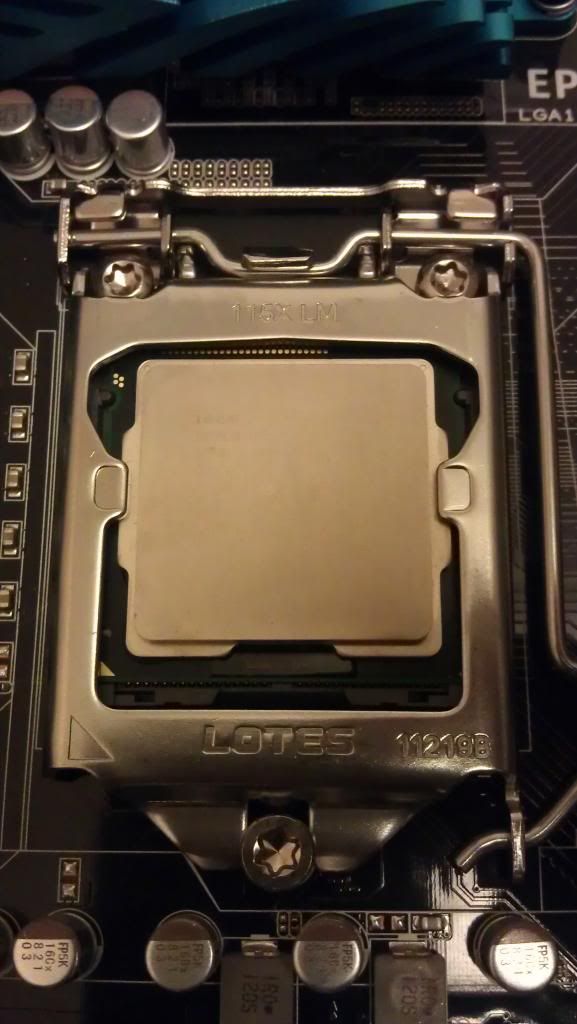
The CPU in the board. I will never like that faint 'crunching' sound you hear when you clamp it in. It worries me every time.

IMAG0695_zps0da5c595.jpg


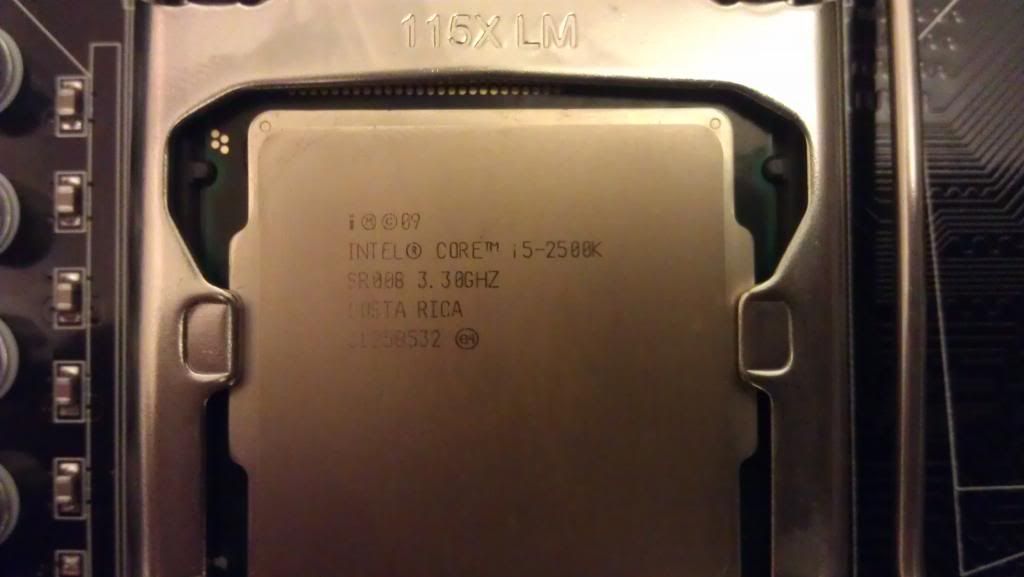
My 2500K. If this baby will do 4.6GHz with 1.377v in my comparatively un-refined ASRock board, lets hope I can do even better with this new one.

IMAG0696_zps8ca0a3c8.jpg


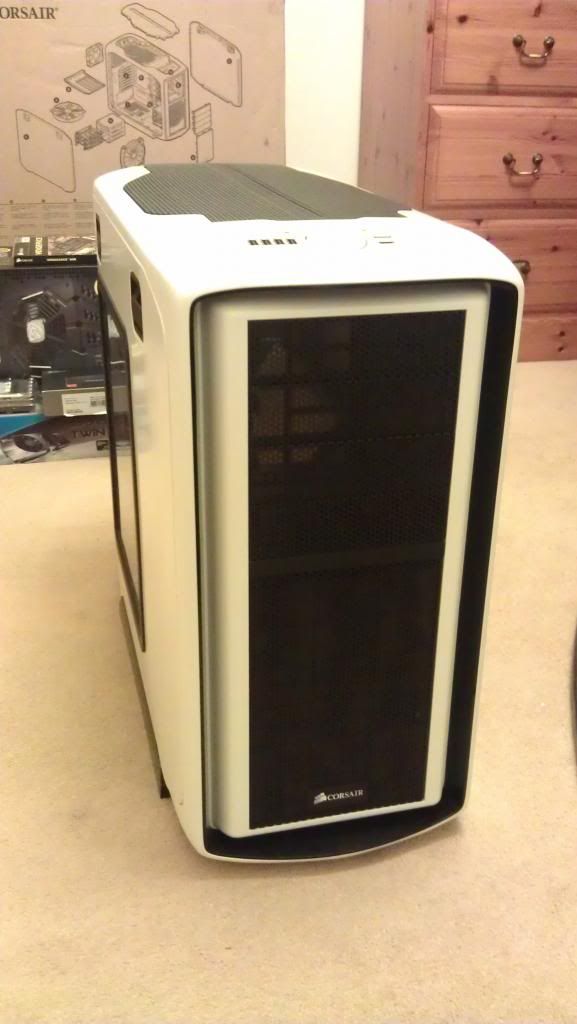
The 600T. Again, the terrible lighting is doing it no justice, but it is truly the most magnificent case I have ever seen, which is the main reason I bought it. The aesthetics. And I feel no shame in admitting it either! ;)

IMAG0698_zpsf60a9bbd.jpg


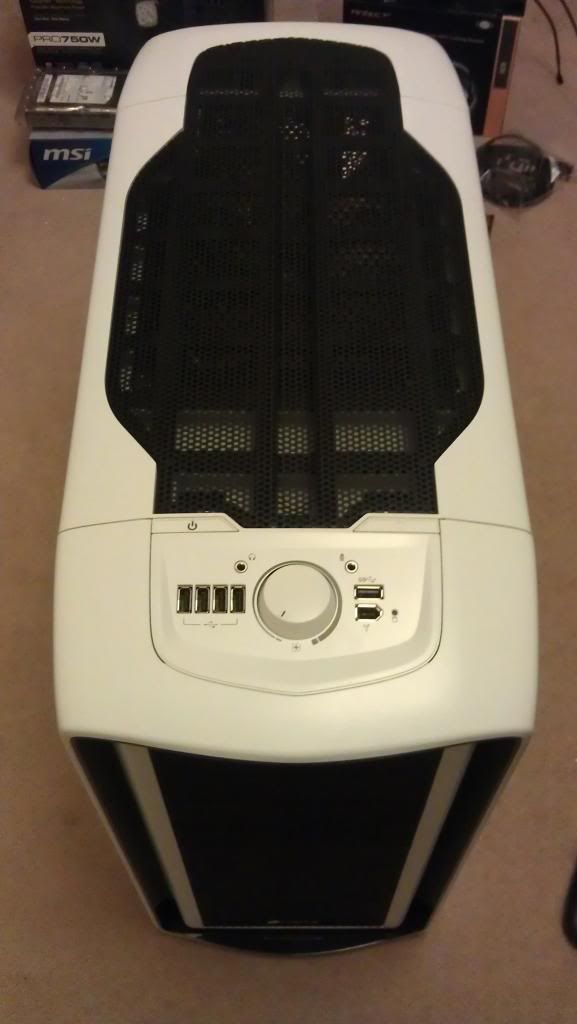
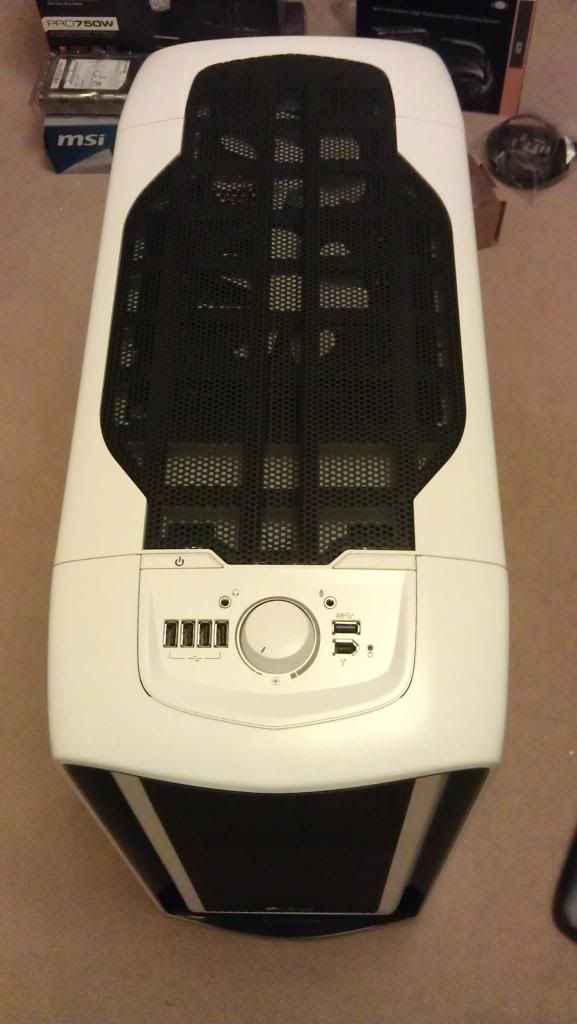
I particularly like the inclusion of a fan speed controller on the top of the case. Lets hope this is one that works, as I have heard bad things about it from some 600T owners. Fingers crossed.

IMAG0700_zpsbfd8e207.jpg


Just seeing what my white Zaward fans will look like in the top once I get my H100. I like what I see. I will now proceed to leave them up there, and spend ages looking for them later on :D

IMAG0701_zpsf73f149d.jpg


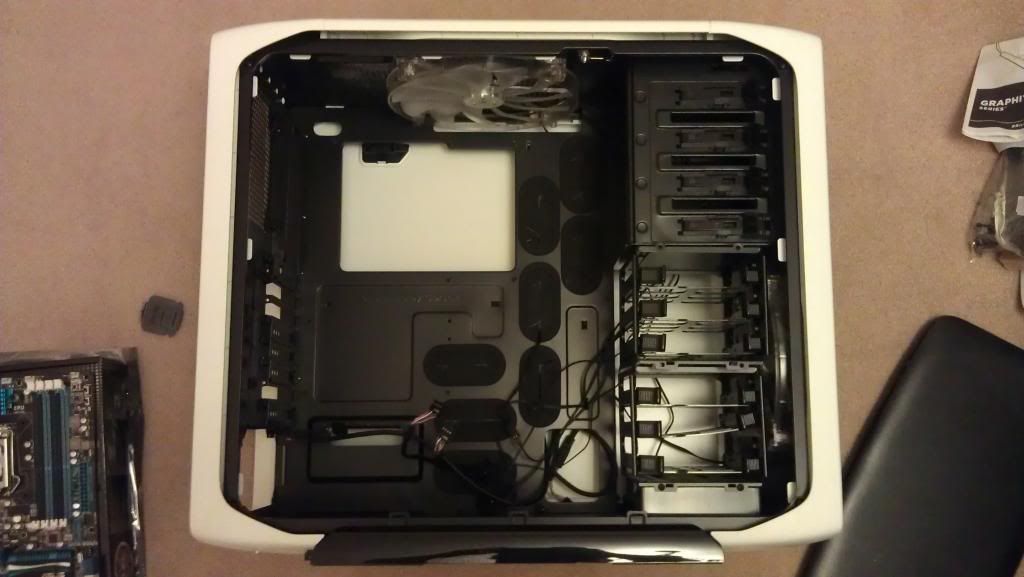
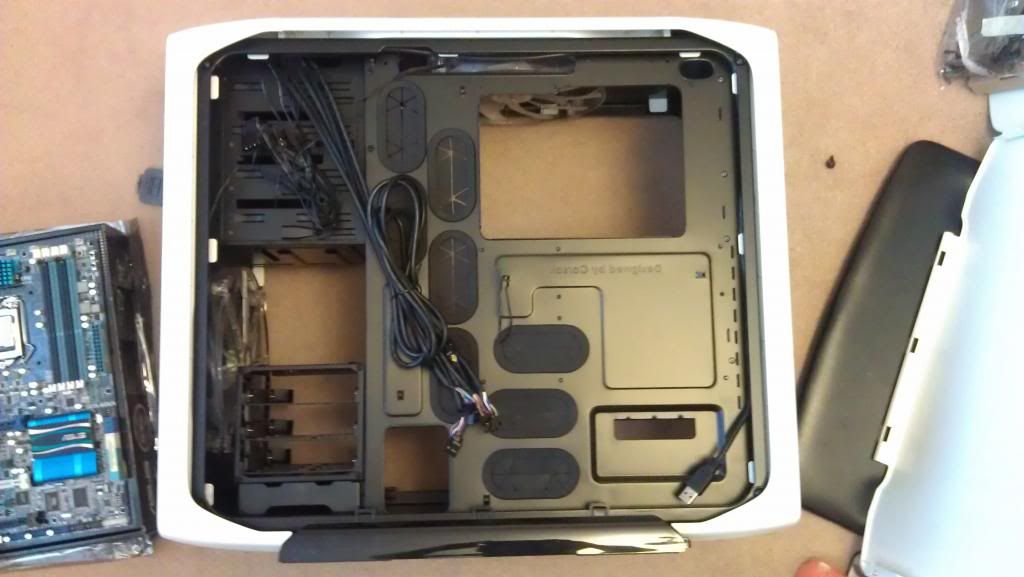
What a mess! Cables everywhere. Which is unsurprising given that there are leads for 2 chassis fans, 4 for the fan control, plus another for fan control power, one thick cable for front panel, another for USB, another for FP audio, and an ever thicker one for USB 3.0. :rolleyes:

IMAG0710_zps3a42390f.jpg


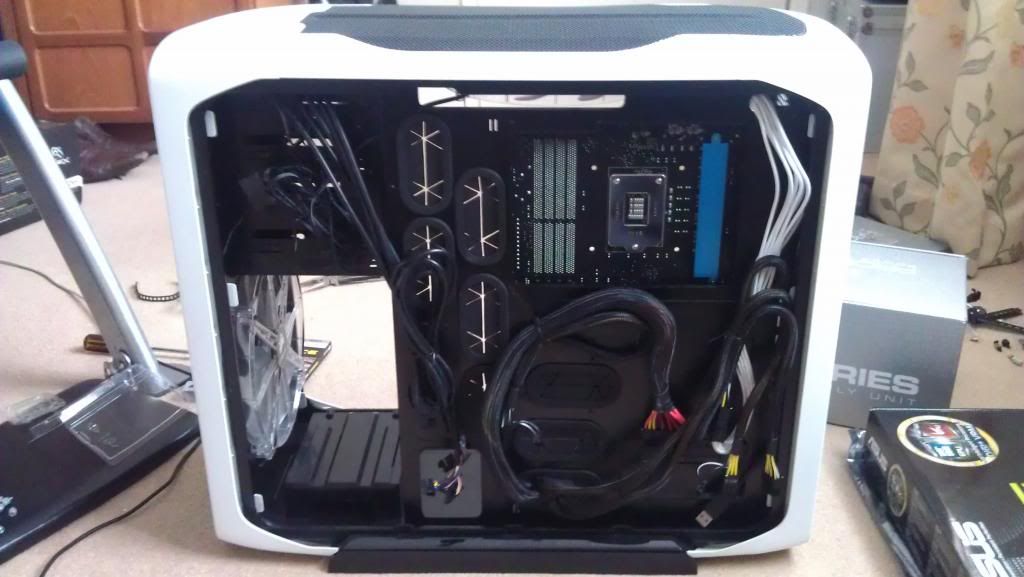
A quick bit of cable management round the back - the cables are left deliberately too short as there are braided extensions in the post :)

IMAG0712_zps3ddd8061.jpg


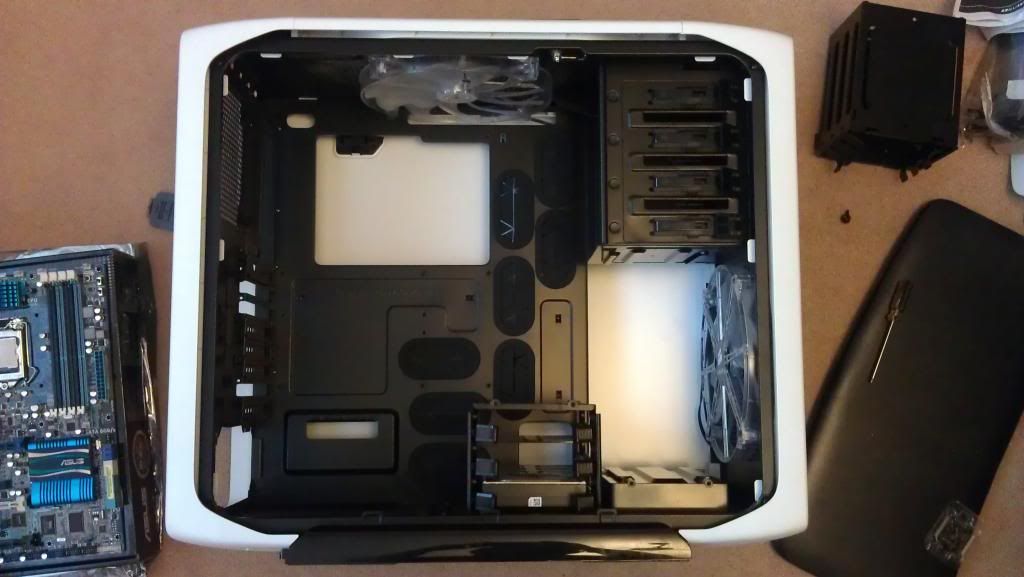
And the drive cages moved around. Much better! :cool:
I also had to remove the drive cage again to put the first HDD in, as you can't actually get that drive tray out with the cage installed in that location. Well done corsair :p

IMAG0715_zps915c2298.jpg


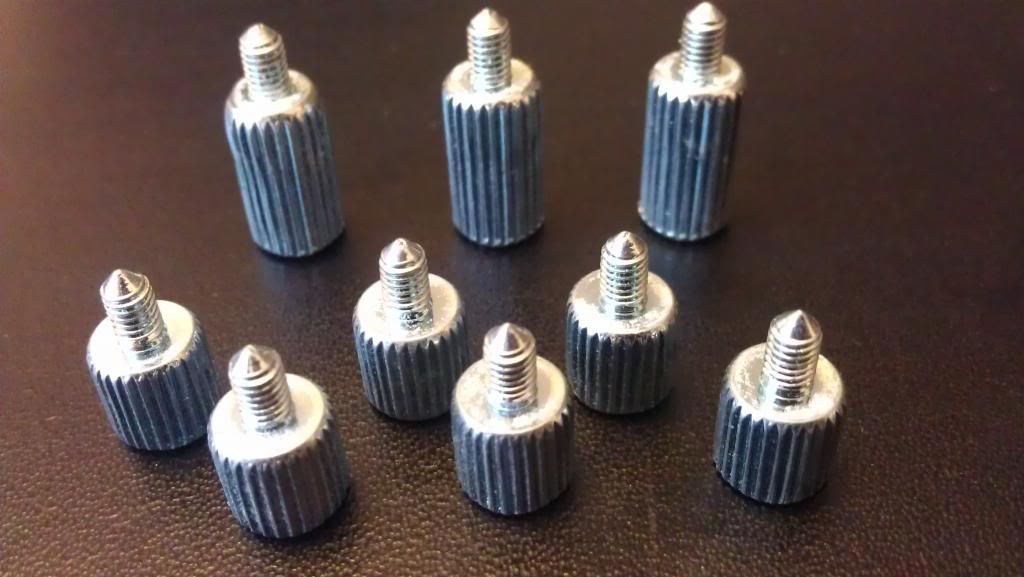
My Lian-Li tool-less motherboard screws. Very nice, but I later find that they the thread is too small for standard motherboard stand-offs, so I ditched them. Not so cool. :(

IMAG0717_zpsfb38fd2b.jpg


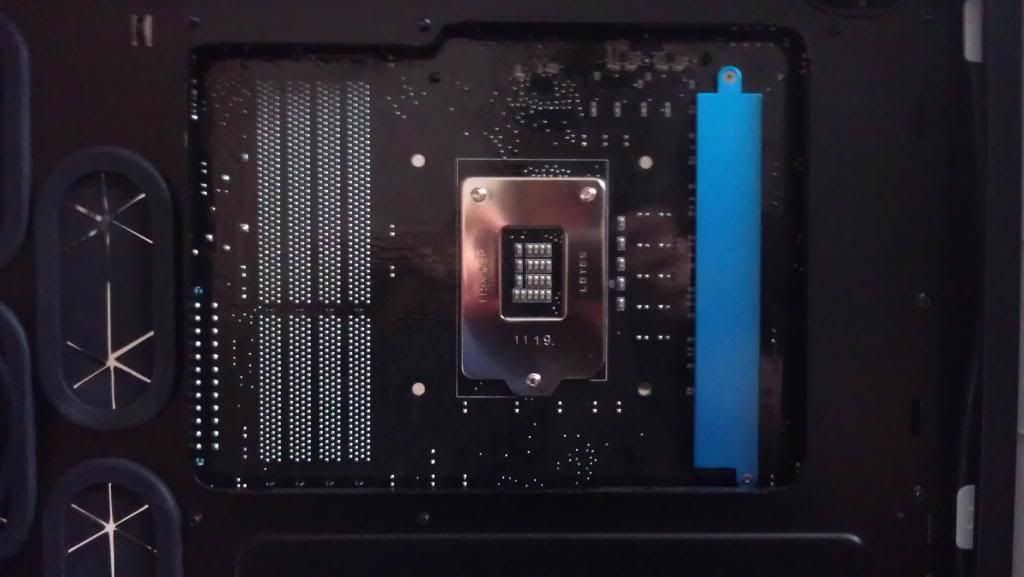
It's so good to have a rear access hole in the right place! Something Lian Li did not achieve with my old PC-K62. :mad:

IMAG0734_zps534b3042.jpg


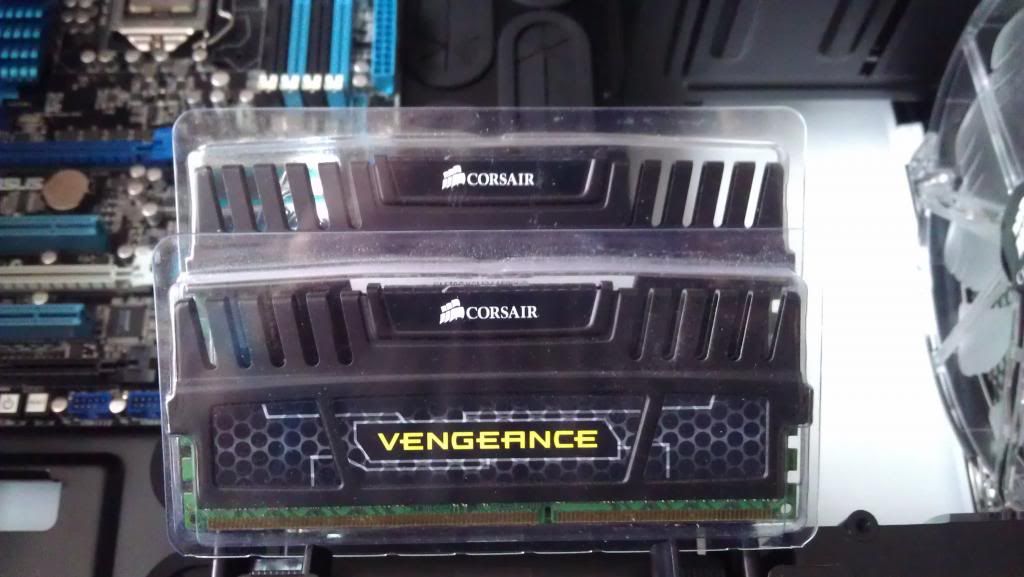
My Vengeance Black 1600MHz.

IMAG0721_zps007b78be.jpg


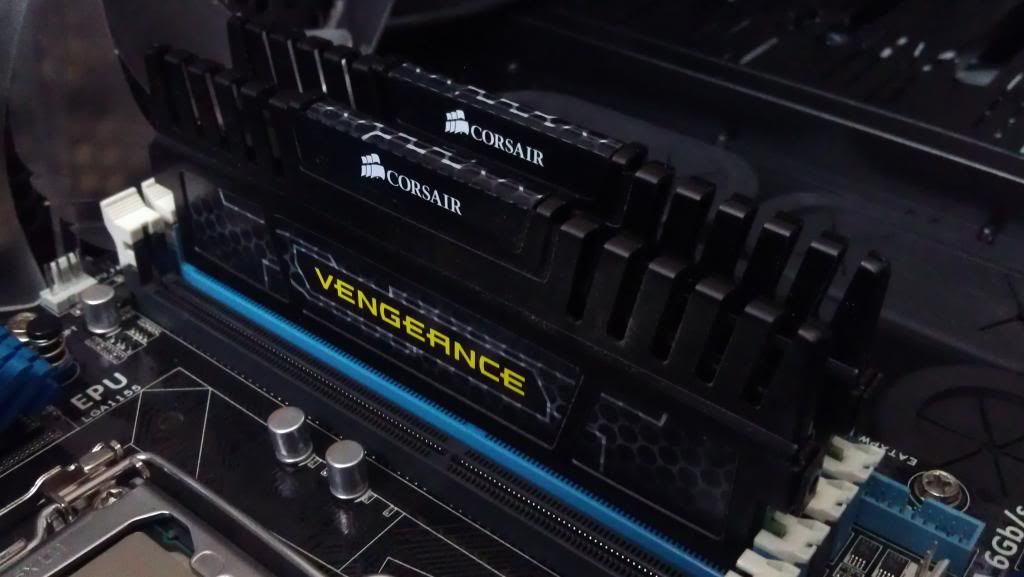
Installed in the board, looking sexy as always! Going nicely with the blue/black theme. Hopefully I will have another 8GB in blue soon, which should complement the build nicely.

IMAG0727_zpsb91e2bb5.jpg


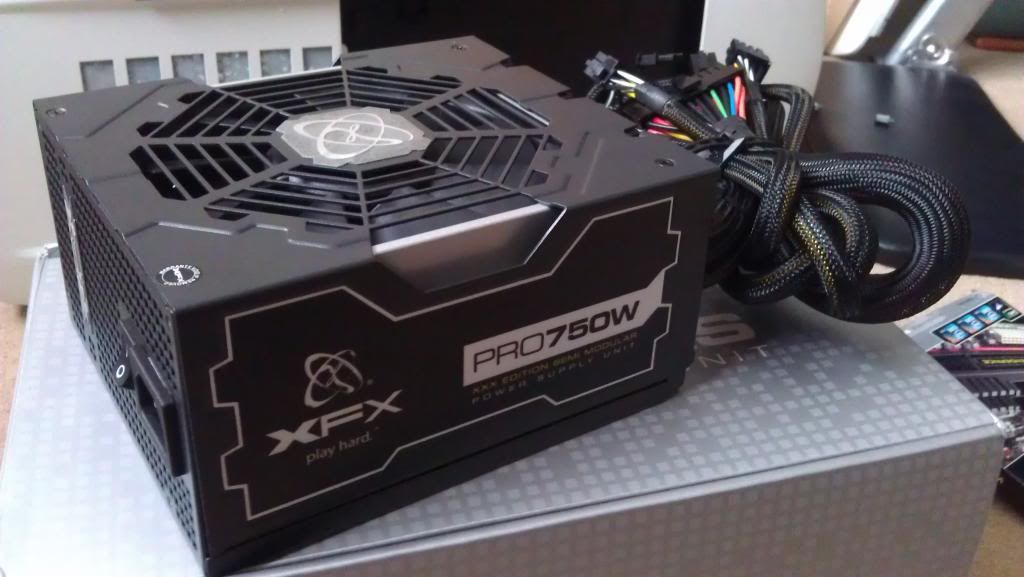
My new PSU. Overkill to the tune of almost 300W for my current setup, but the extra wattage will be better utilised once I can afford to replace my GPU.

IMAG0731_zpscfb3c33c.jpg


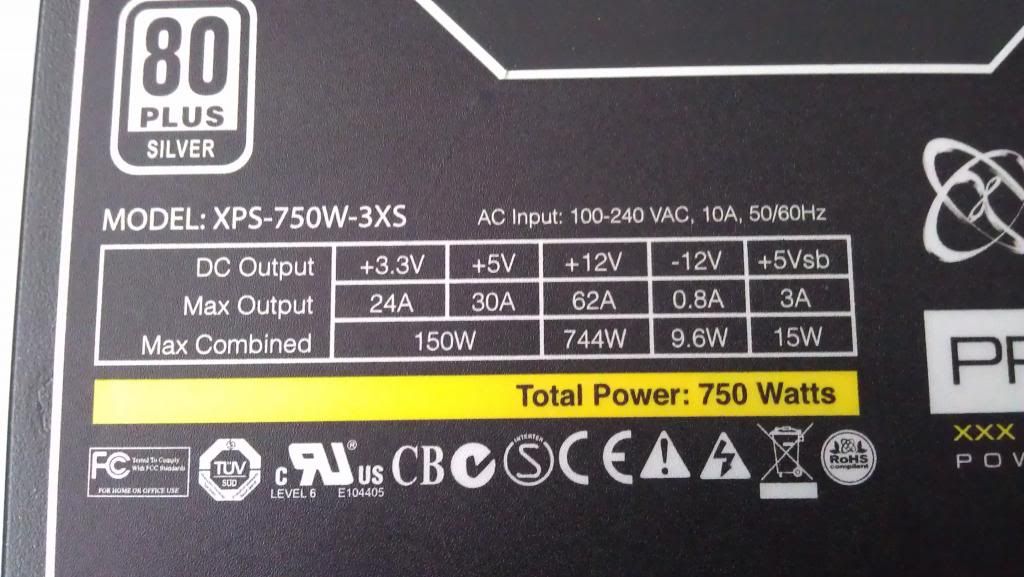
744W on the +12V eh? Thats certainly better than the 540W(ish) my old '700W' OCZ could deliver. :o

IMAG0732_zps74cc50a4.jpg


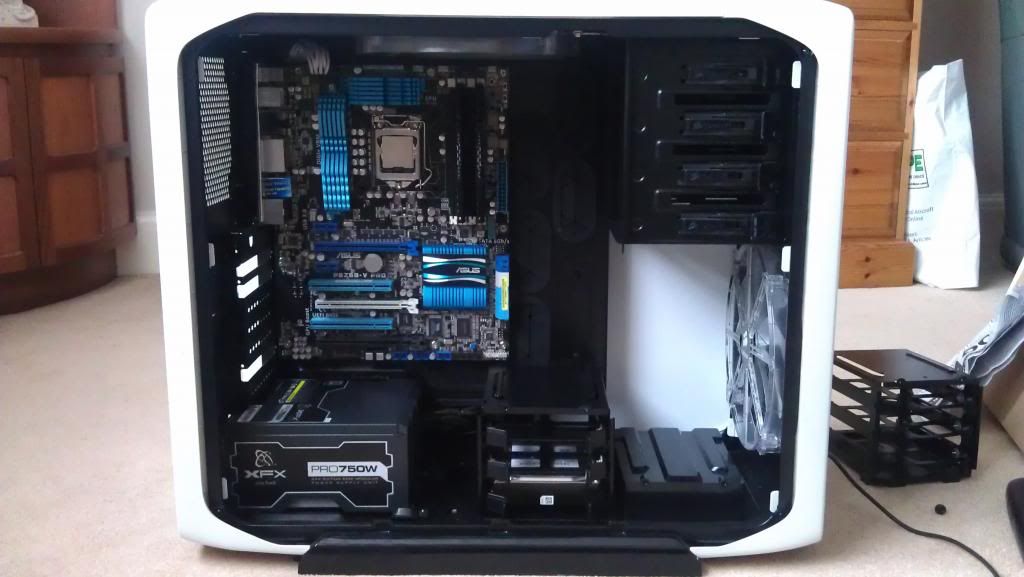
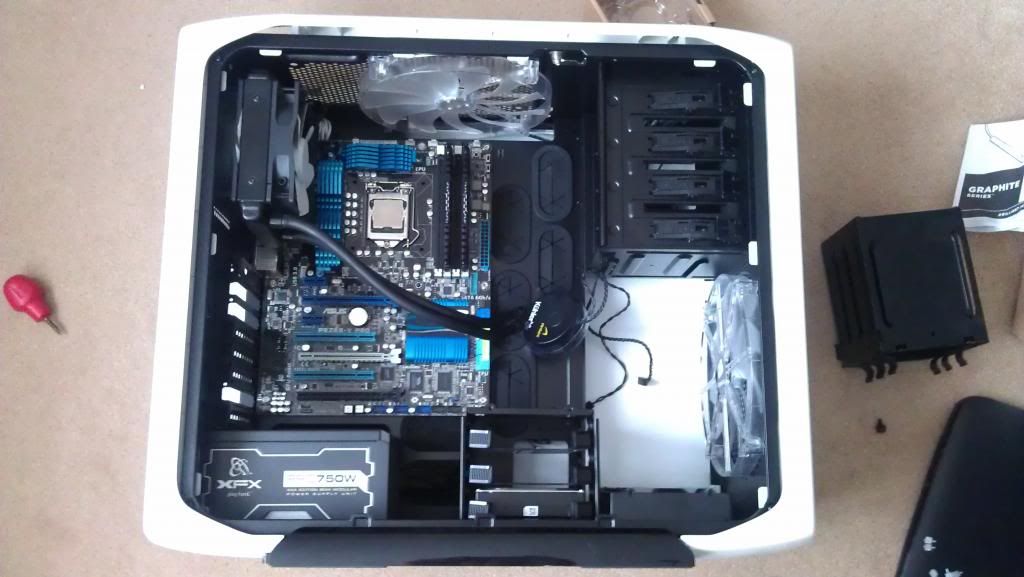
The motherboard, CPU, RAM and PSU all installed. Looking good so far I think. :D

IMAG0743_zpsc4d64c3b.jpg


A bit of cable management round the back. Made deliberately too short again, as there are braided extensions in the post. :)
Now... where are those damned fans?!

IMAG0738_zps07d3c81f.jpg


A terrible attempt at a 'glamour shot' - oh how I love my phone camera. I was going to buy an SLR, but I plunged those funds into my PC instead. :p

IMAG0745_zps2f7c38c6.jpg


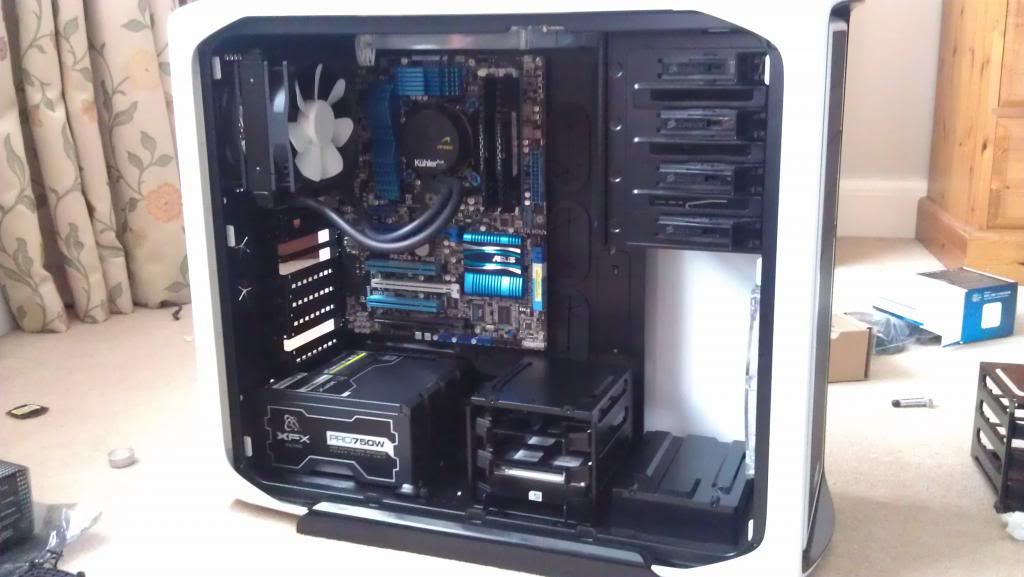
Installing the Kuhler 620 (remember this is only a stop-gap cooler)

IMAG0749_zps20144f60.jpg


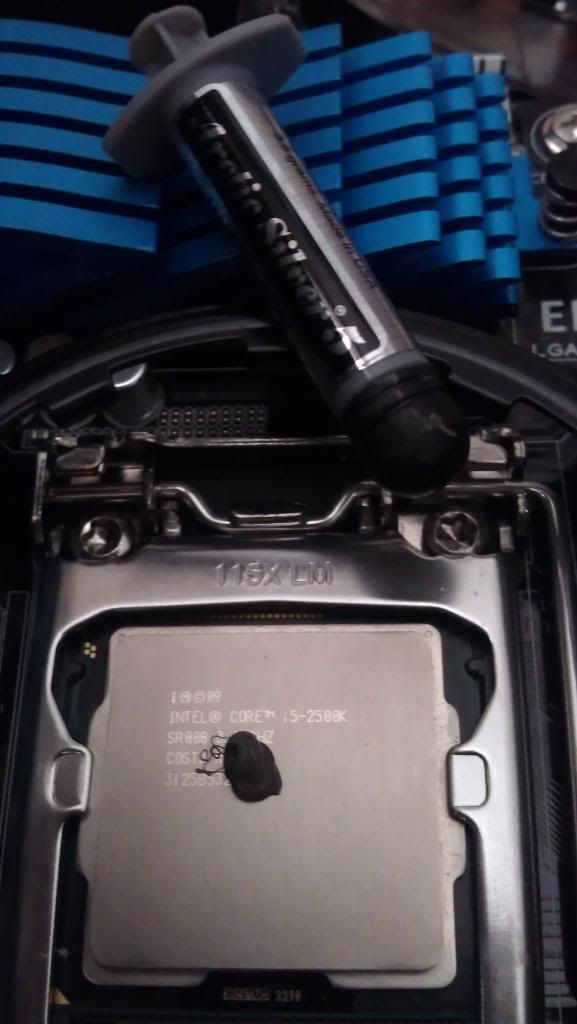
A dob of the old favourite, Arctic SIlver 5! :cool:
As you can see i'm running a little low.

IMAG0754_zps92e53907.jpg


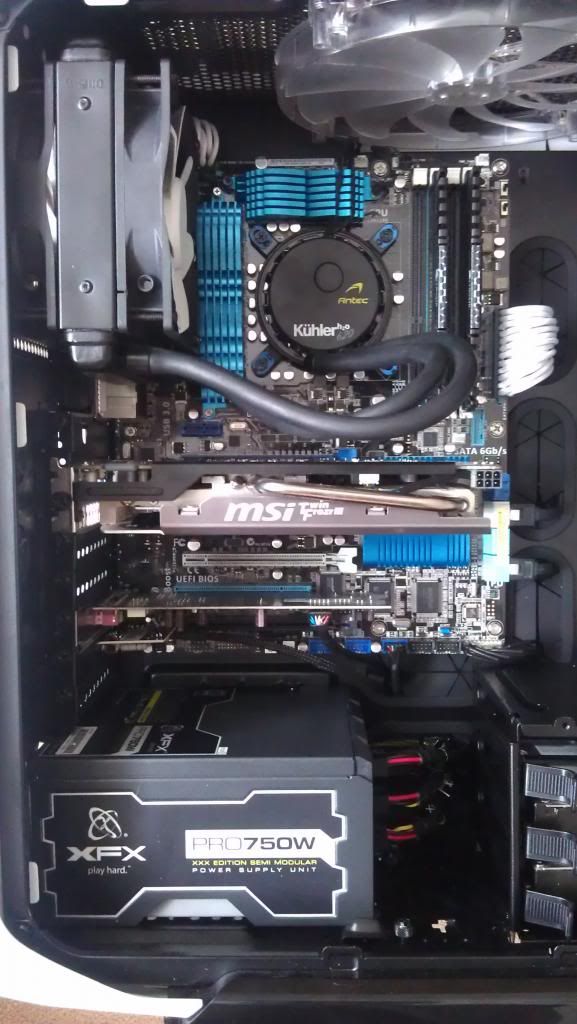
Cooler installed. Its starting to come together now! It was a tad difficult to screw down due to the backplate no longer having adhesive on it, but thats for the best anyway. It was evil! I had to get it off of my old board with spirits, a hairdryer and some scraping. :(

IMAG0755_zps2168c923.jpg


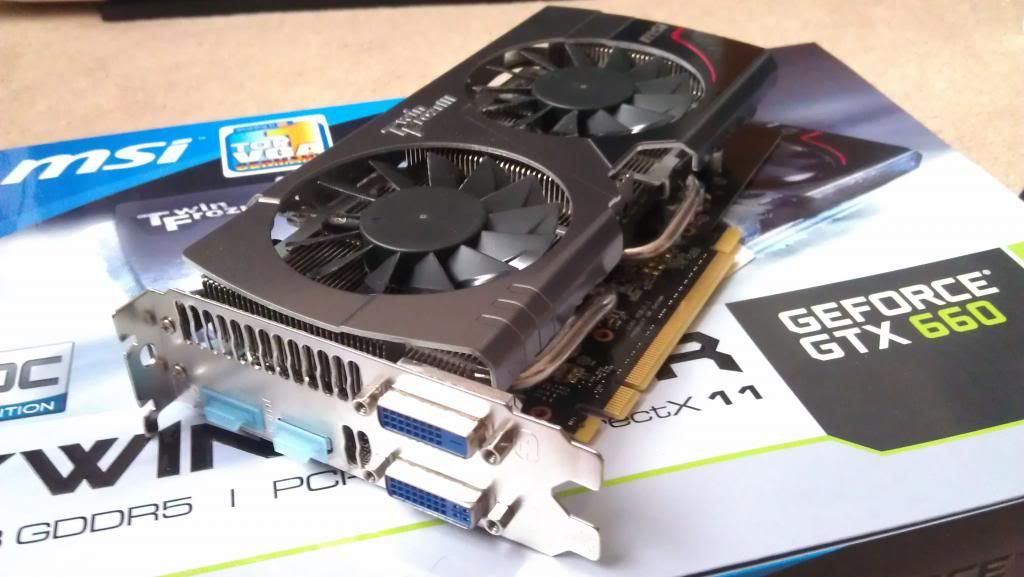
The GTX660 Twin Frozr III. Fantastic card for the money when I bought it, still runs everything I throw at it, but i'm having to drop settings to to very high or even high on some games now, and pull down the AA levels a tad.

IMAG0762_zpsfd5ba480.jpg


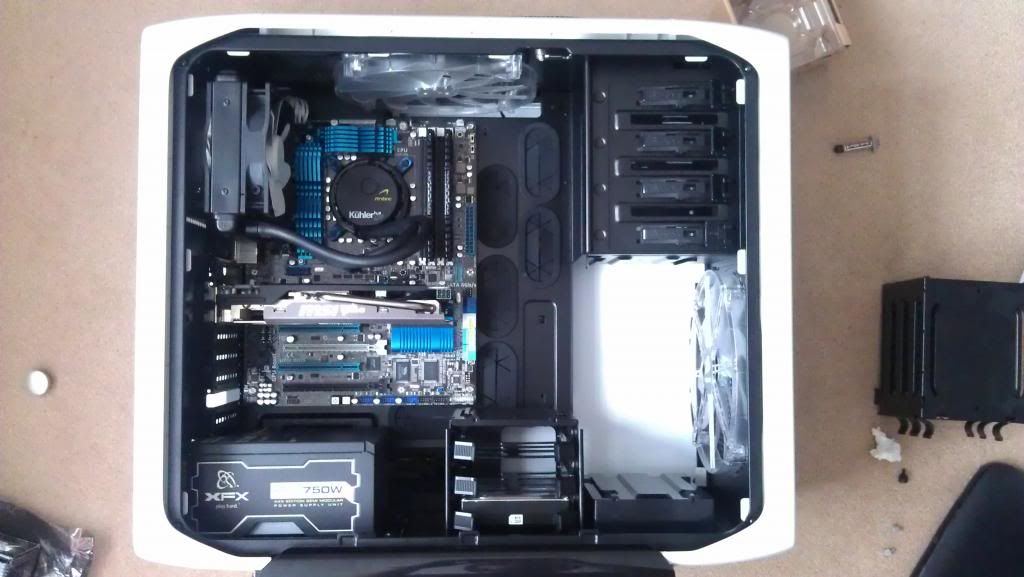
And she's in!

IMAG0772_zps171fa79a.jpg


Thats all for now folks! There will be more updates when the cable extensions arrive. I'll install the rest of the drives, plug everything in, and do the first power on. Fingers crossed all goes OK unlike last time. :rolleyes:

There will also be some overclocking action :D But nothing too extreme to begin with, because i'm still on the Kuhler 620 for now.

~acme

Progress update part 2 from post #23:
Look what came in the mail this morning :eek:
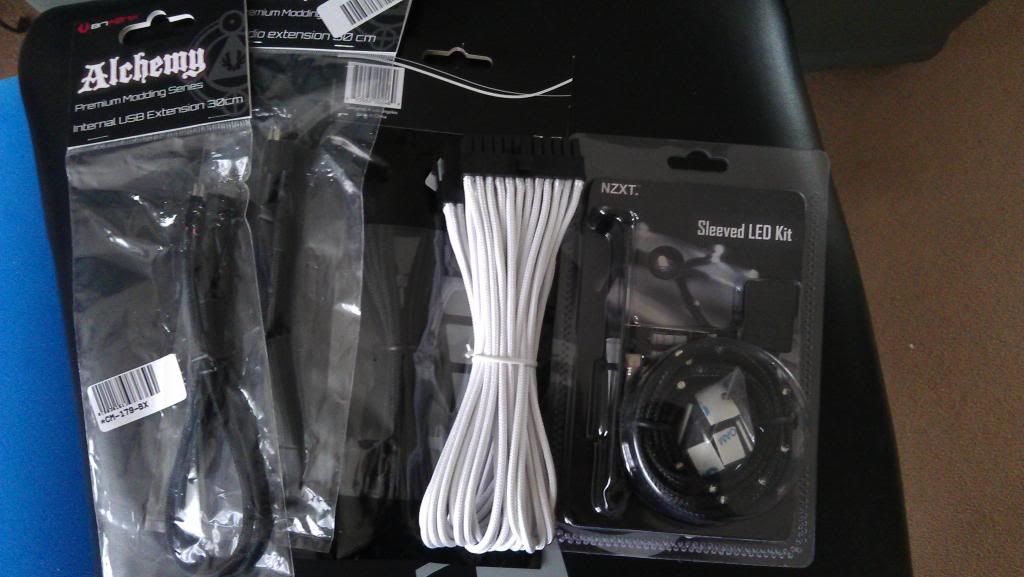
My braided extensions and lighting. (minus the PCI-E extension)
IMAG0776_zps7ae0ec6a.jpg


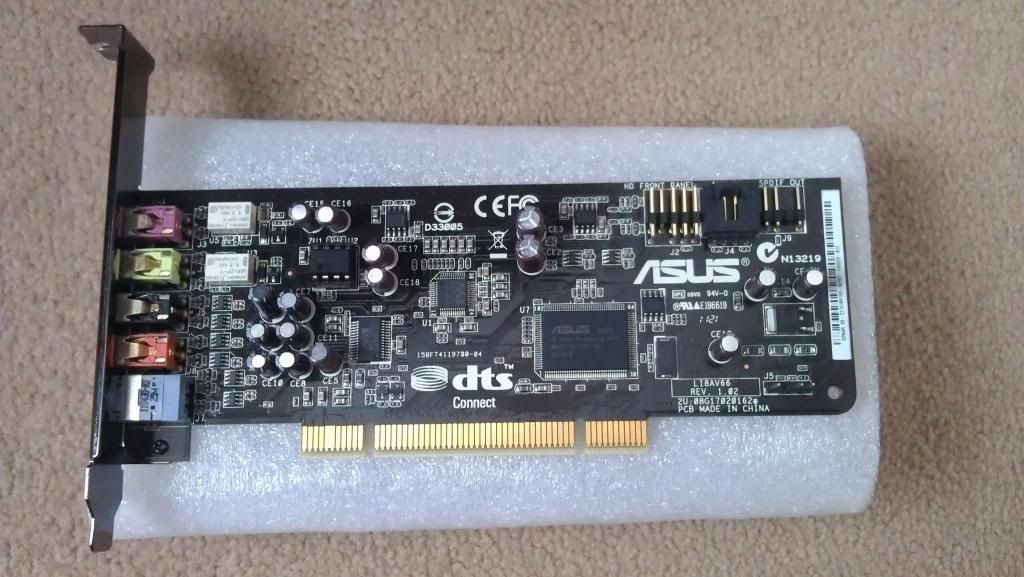
My sound card that I forgot to mention existed - an Asus Xonar DS. Not the best in the world, but enough to be a massive improvement over on-board audio. :cool:
IMAG0777_zpsf5e3026b.jpg


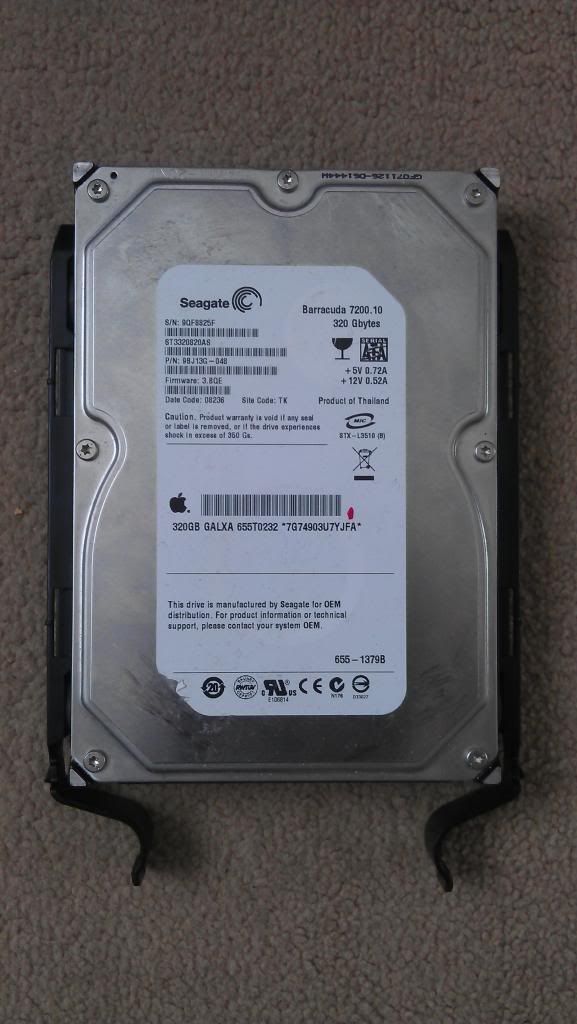
Another HDD. This one will be used for OSX, which is funny as it is out of a Mac (as you can see from the little Apple logo) :p
IMAG0779_zpsfcf18b97.jpg


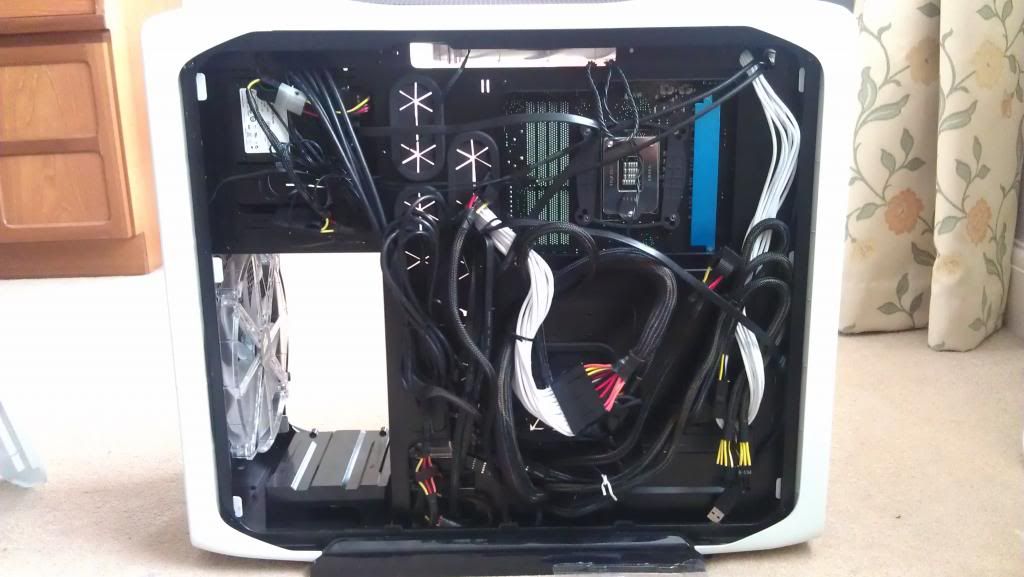
Cable management round the back, not the best, but then again, not the worst either. I can't tell if the side panel is bulging or not. Which I suppose is as good as it not bulging. :p

All cable extensions, power cables etc plugged in. Dont mind the random SATA cable strewn accross the back, thats for the storage drive which is currently still in the PC i'm using now. It will go in the top HDD tray. :)
IMAG0784_zps80fceba5.jpg


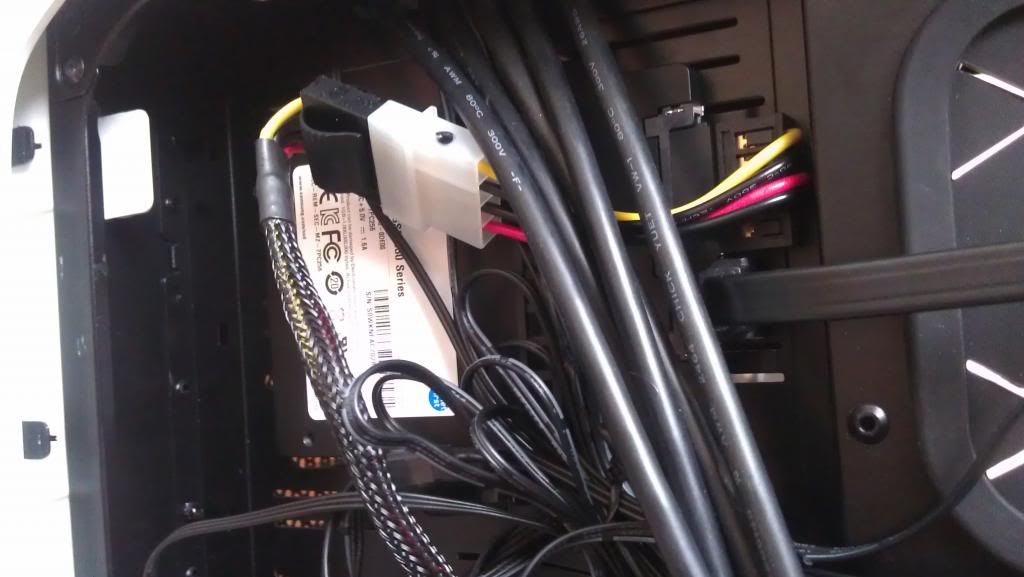
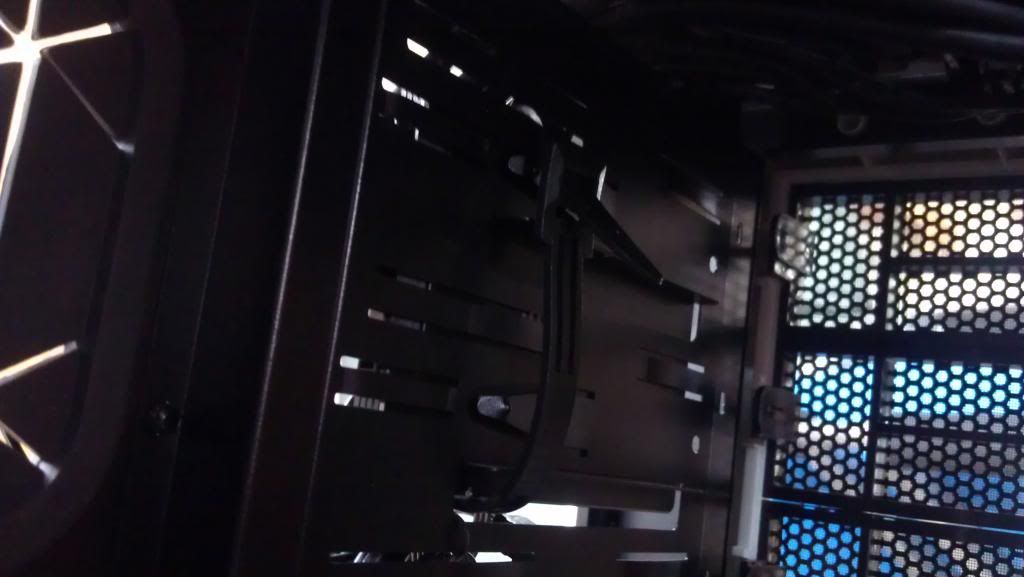
Where I have mounted the SSD, behind the 5.25" drive cage. I used a molex to SATA power adapter so that I could plug in the SSD and the fan controller with one PSU cable. If anyone thinks this could be a problem, let me know!
IMAG0786_zps743ff545.jpg


This is how the SSD is attached. The strap I am using was the one that came with my XFX PSU to hold the cables together in the box. :p
IMAG0788_zpsfbdd9f4e.jpg


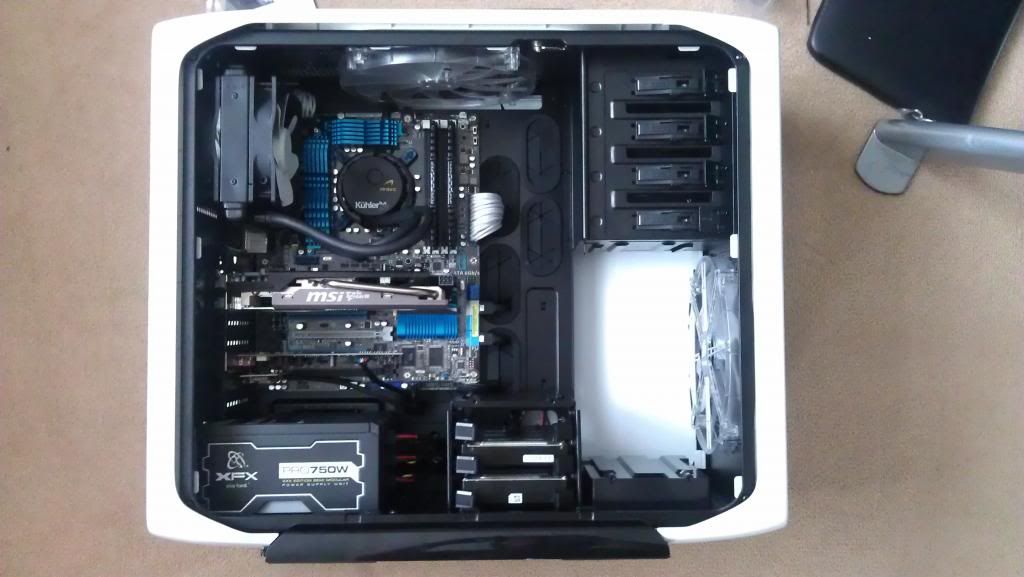
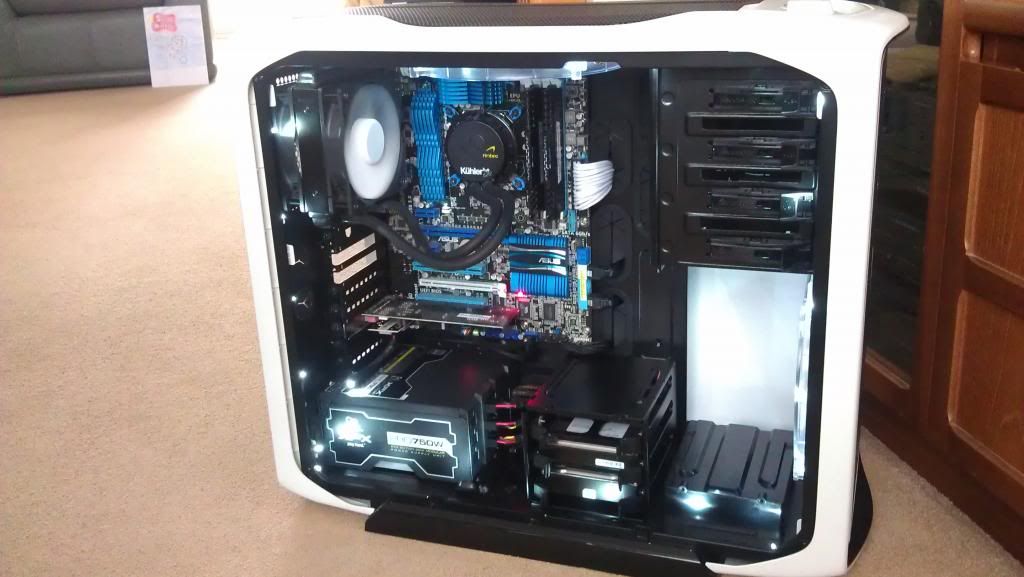
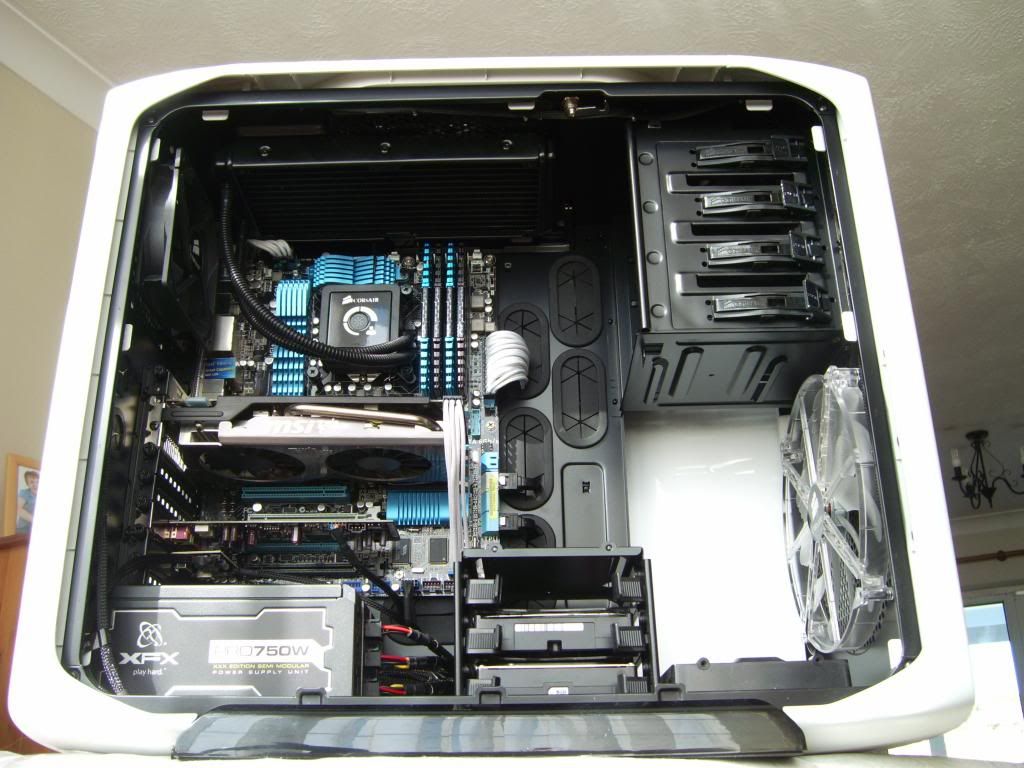
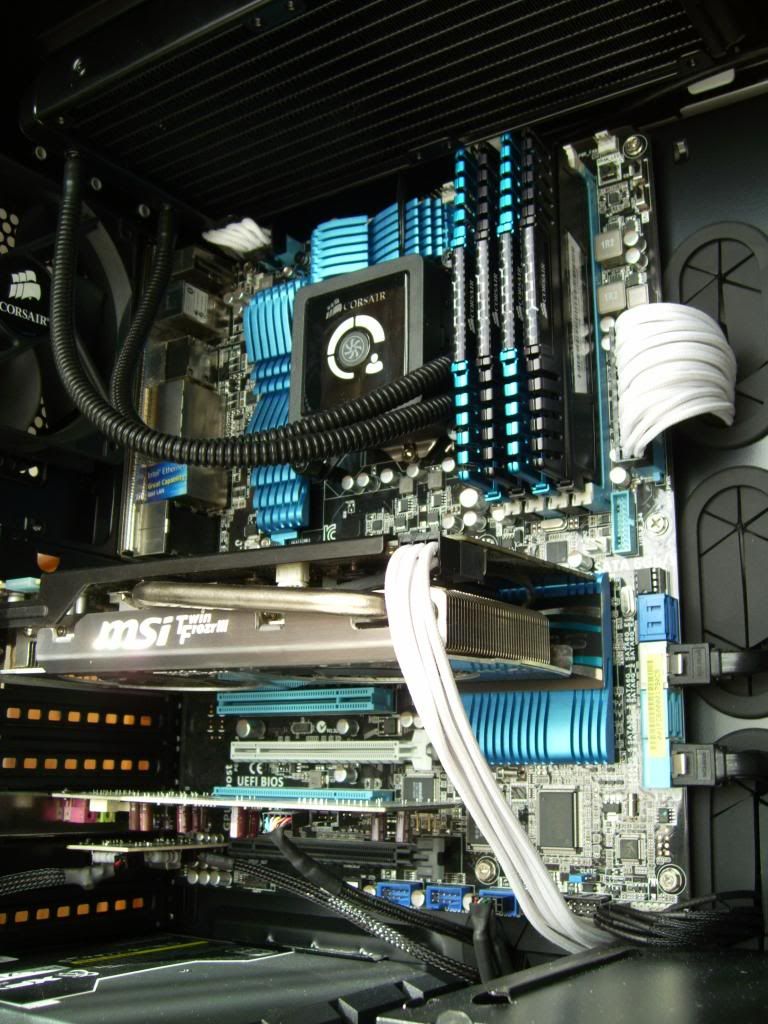
There she is, as done as can be at the moment, still waiting on the GPU power extension though.
IMAG0791_zps3ee96038.jpg

IMAG0793_zps0d2f8e40.jpg


First power on, with the GPU removed due to having no cable for it yet. Nothing caught fire which is always good, and the only error light I have is the boot device one, which is fine as the boot drive is not configured yet. ;)
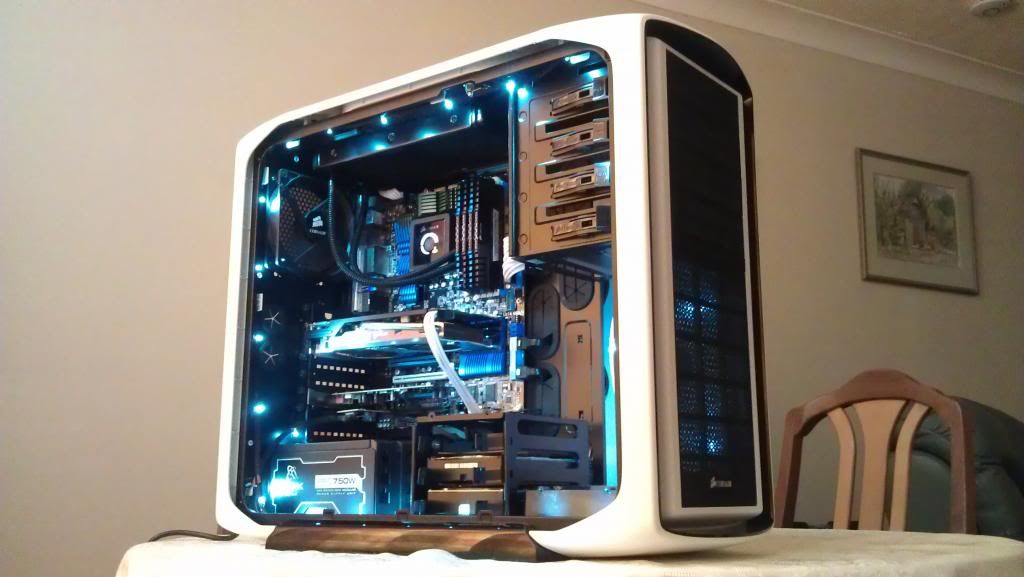
As you can see I have installed the lighting too. :D
IMAG0804_zps103f9162.jpg


Side panel on :cool:
IMAG0800_zps0876ad3c.jpg


And the mess I was left with :D
IMAG0803_zps53e7fdd6.jpg


Final pics will be up once the braided extension is here, the last HDD is in, and I have stolen my mates SLR :D

Stay tuned :)

Progress update part 3 from post #45:
Look what turned up! :D

IMAG0819_zpsa6f51e40.jpg


Looks like we can get this finished sooner than expected. :cool:

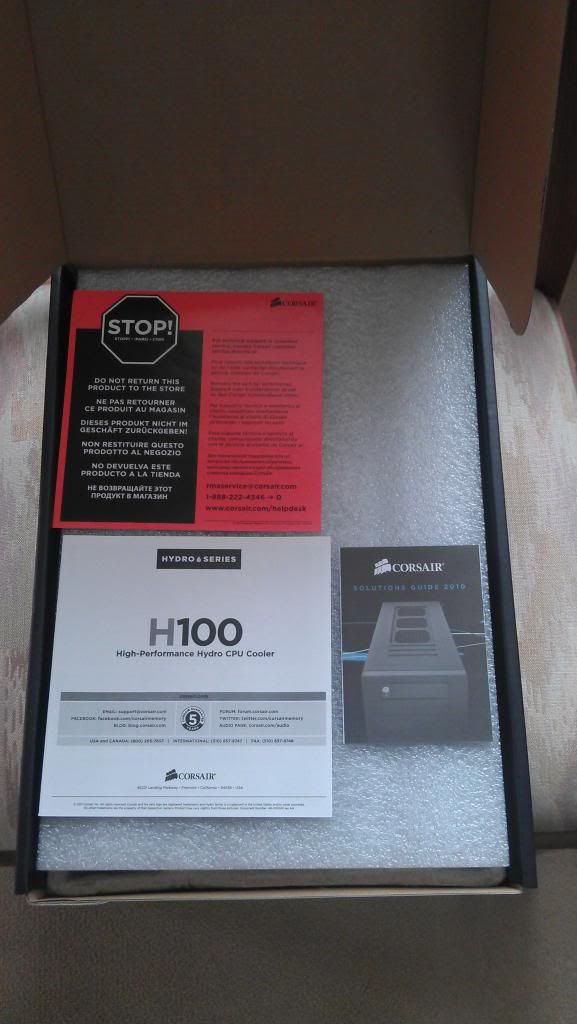
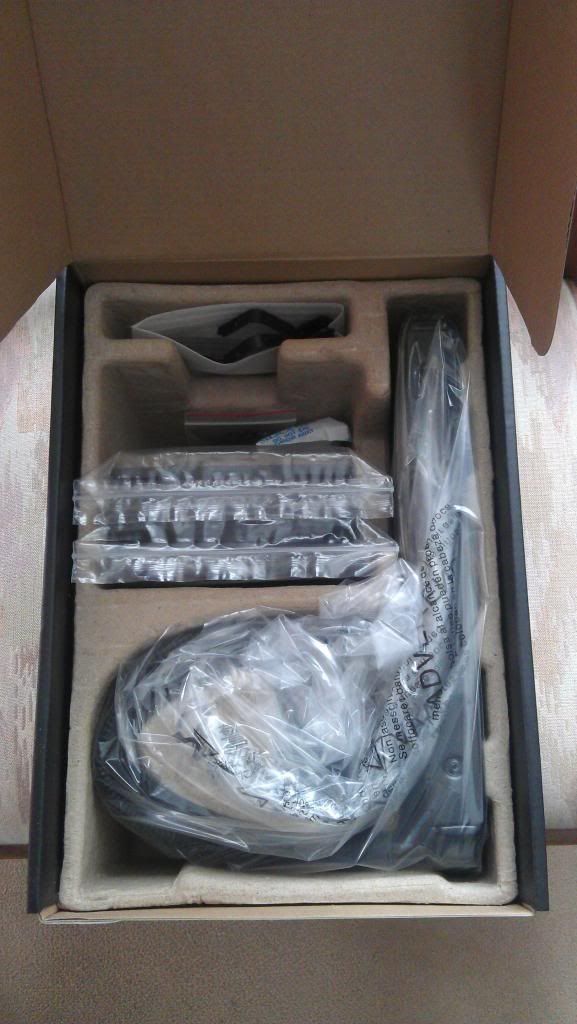
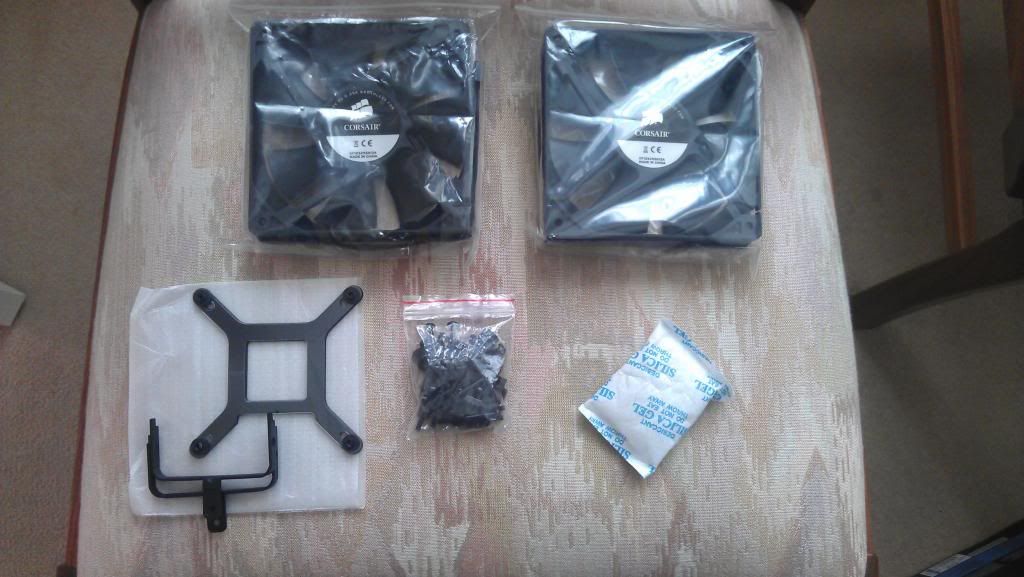
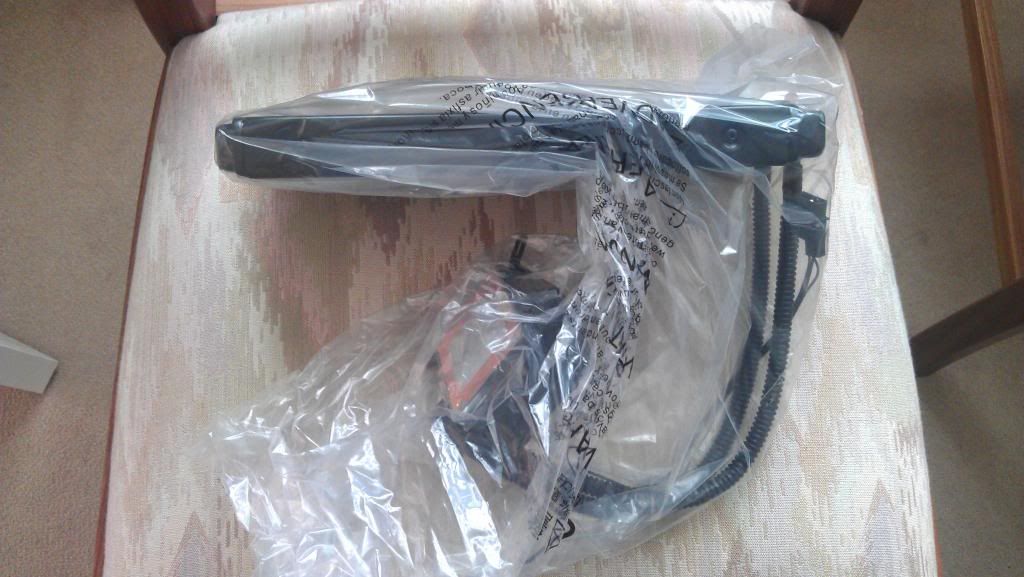
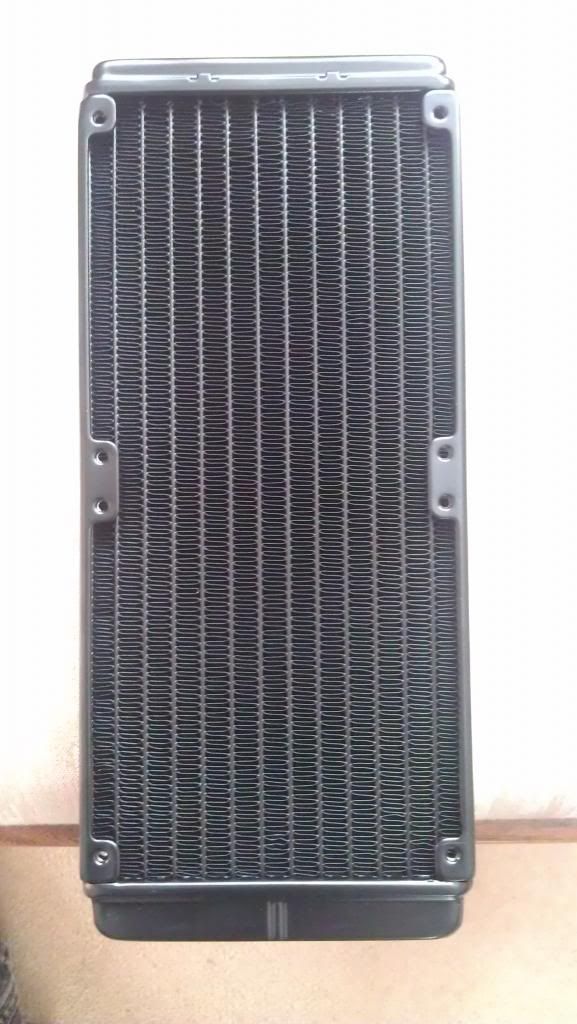
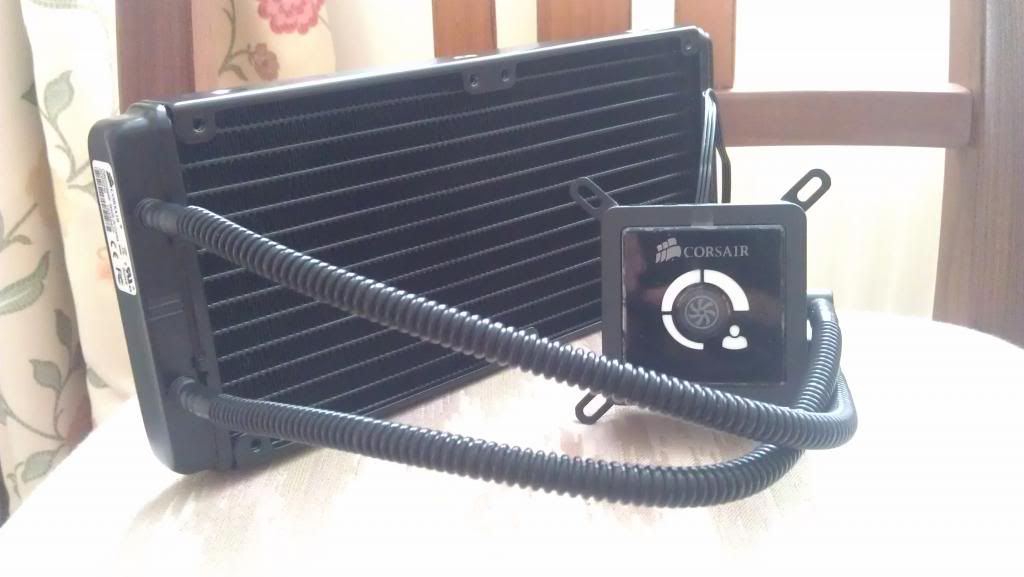
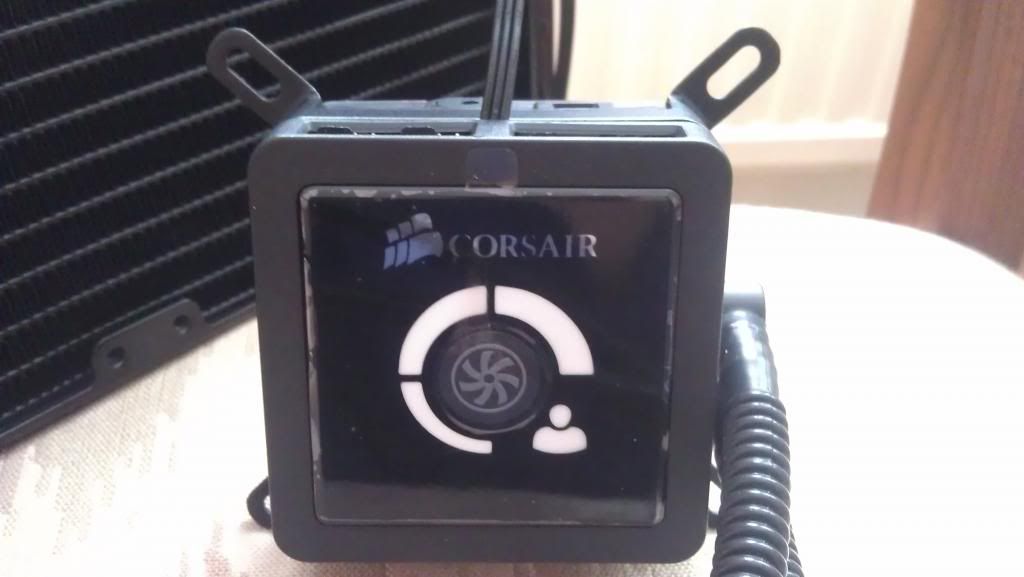
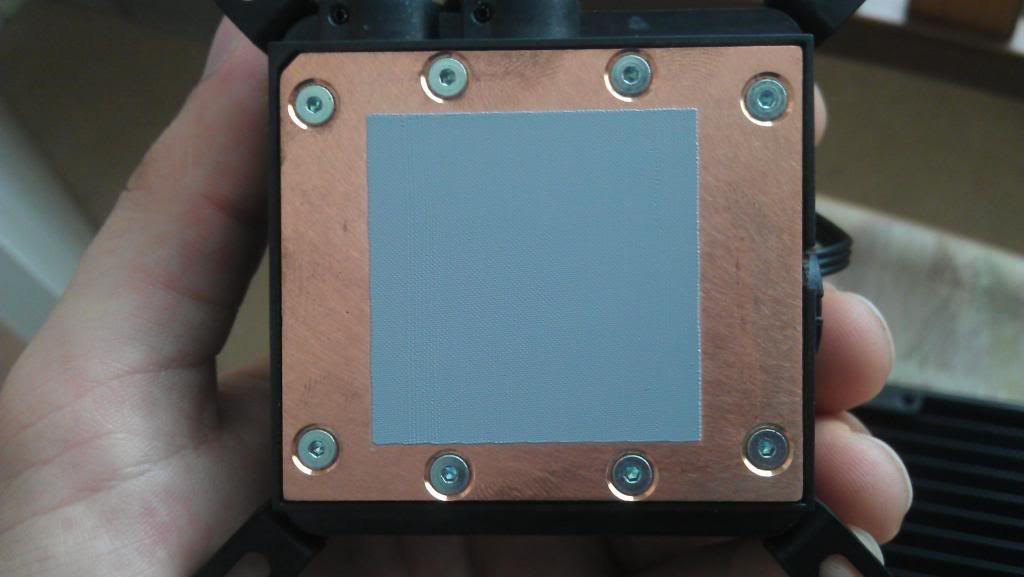
A post of mine taken from the thread about these refurb Corsair units:

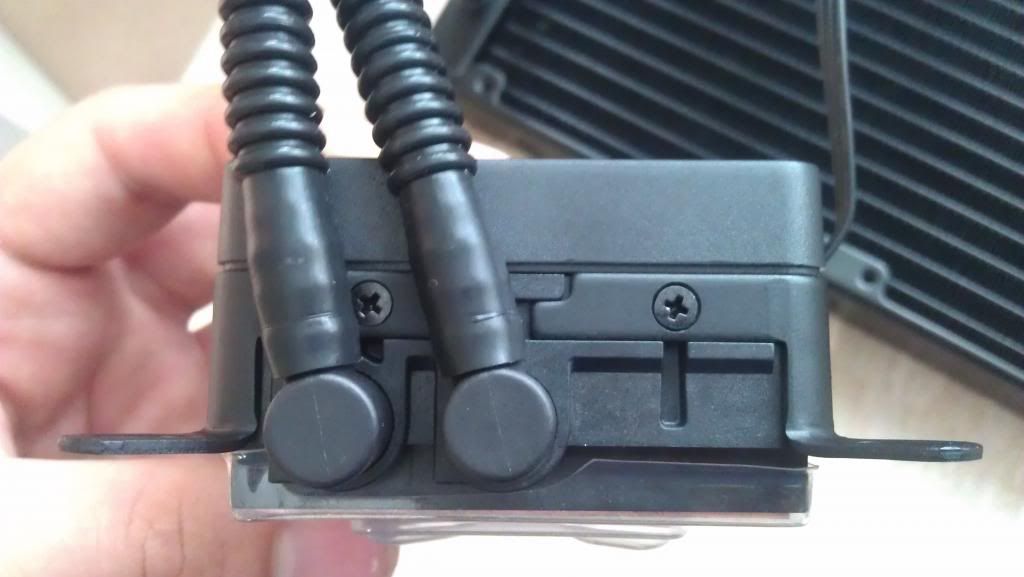
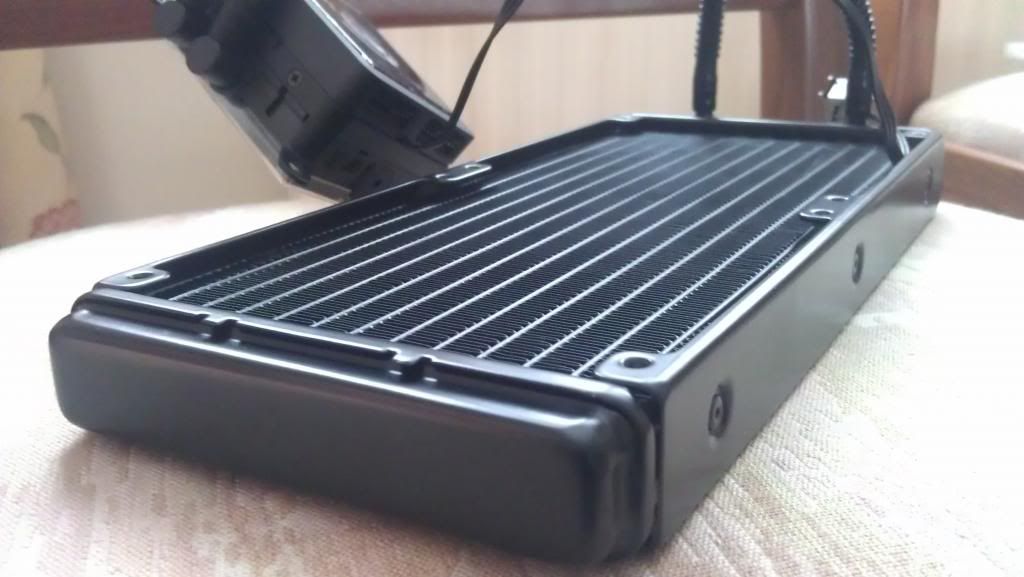
Here are some pictures of the unit I received. Everything appears to be in impeccable condition, in-fact I wouldn't question it's condition if I were told it was brand new. :)

The pictures aren't the best, but I tried my hardest to battle with the lameness of my phone camera. :p

IMAG0821_zps6cd20633.jpg

IMAG0825_zpsf94ce514.jpg

IMAG0827_zps674c2f4a.jpg

IMAG0830_zpsad1aa64e.jpg

IMAG0832_zps16e701f5.jpg

IMAG0833_zps5a3365aa.jpg

IMAG0835_zps15024919.jpg

IMAG0839_zps0525113a.jpg

IMAG0842_zps4080a870.jpg.html

IMAG0846_zpsda0232ac.jpg

IMAG0847_zps92acb426.jpg

IMAG0848_zps8e1ee043.jpg

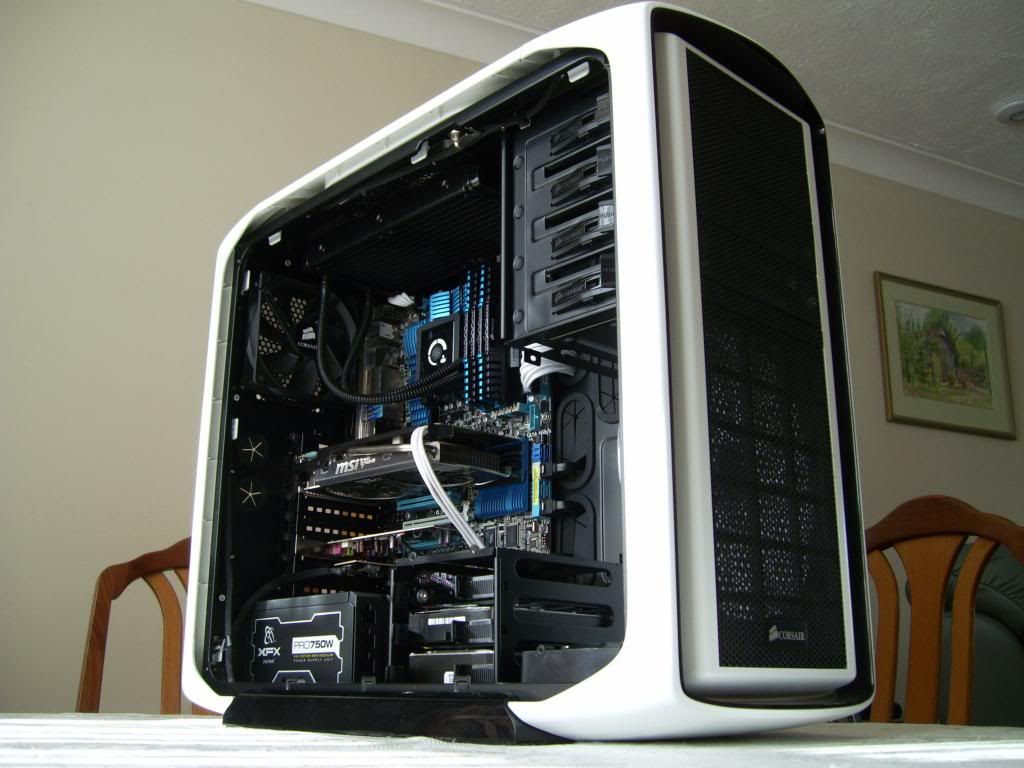
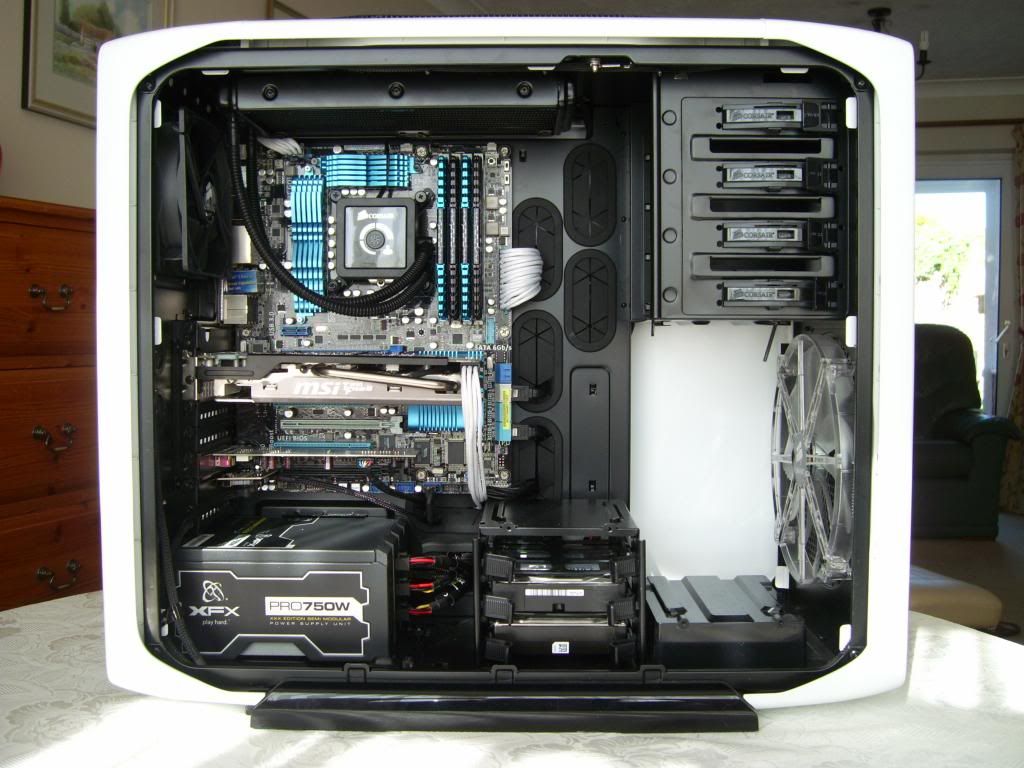
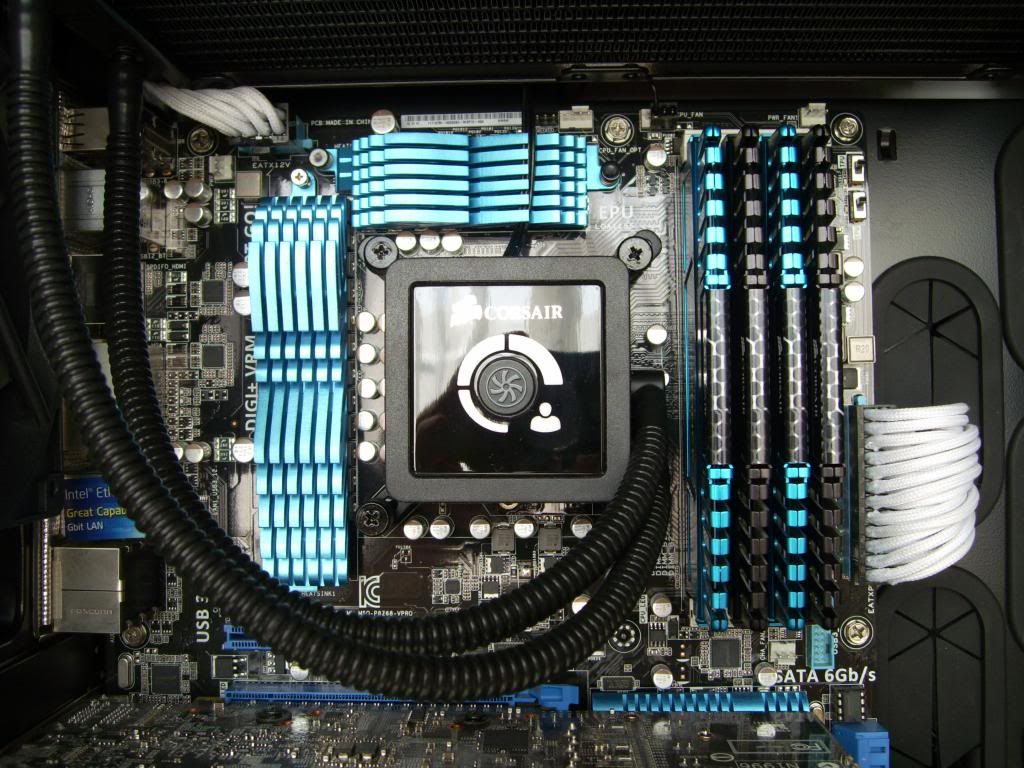
FINAL PICS OF THE SEALED W/C STAGE! :D

PIC_0758_zpscb75f71c.jpg

PIC_0756_zpsad7c5fa1.jpg

PIC_0765_zps2ad0aeda.jpg

PIC_0762_zps7f98b1b3.jpg

PIC_0763_zps1c994f1e.jpg

IMAG0938_zps9e264c1e.jpg

And here she is, pride of place on my messy desk. Her name's Maya. ;)

IMAG0963_zpsd6ac539a.jpg


Reason for the choice of 'nickname': :p
I took the old name Sandy (no prizes for guessing why it was called that last time), and the fact that it is now white, looked up places with white sandy beaches, one particularly nice looking one was Maya Bay in Thailand, and the fact that Maya is also a Siren from Borderlands 2 is co-incidental, but also ties in quite well since I love Borderlands... Also maya the siren has pale skin and blue hair and the PC is white and blue so... ;)

And finally, a couple of before pics! :D
A long while ago with my GTX480:
IMAG0242.jpg

And a slightly more recent one with my 660 installed:
903983_547304901959458_1535648016_o_zps32753f06.jpg

A big thanks to anyone who offered advice and guidance throughout the build process in any of my other threads, as well as to those who I bought some of the replacement parts from. I am very happy to have finally built my PC up to a standard that i'm happy with, and I thoroughly look forward to upgrading my GPU and fitting a custom watercooling loop when funds allow. :D

Special thanks to 8 Pack for giving me overclocking tips, Space Monkey for the most ridiculous transaction ever, OcUK for some great deals (particularly on the H100) and speedy postage, and Hyburnate for being a massive douchenozzle. :p

As well as a big thanks to BlackWhite and a massive apology for un-intentionally screwing you around in the MM. :( If I bump into you at LAN somewhen i'll buy you a pint. :)
 
Last edited:
I just added you too my friends list, was going to try to contact you and ask how the build was coming along as your sig hasn't listed anything for a while ;)

Hope it goes smoothly, best of luck.

edit - I am already planning what I am going to do next, even though I cannot do anything for over a year as we are saving for a mortgage now, but the anticipation of new parts is great. Gives me something else to keep focussed on. Did you take that cleaning job in the end?
 
Last edited:
I just added you too my friends list, was going to try to contact you and ask how the build was coming along as your sig hasn't listed anything for a while ;)

Hope it goes smoothly, best of luck.

edit - I am already planning what I am going to do next, even though I cannot do anything for over a year as we are saving for a mortgage now, but the anticipation of new parts is great. Gives me something else to keep focussed on. Did you take that cleaning job in the end?

Hi Spangles, request accepted :)

At the moment the build looks exactly like in the picture in the OP, except the room is a little darker :D

I will be taking pictures and making updates as I go.

I know the feeling of not being able to buy parts for a while due to money concerns. It sucks, but I guess we have to live with it. :) I bought these new parts using the money raised from selling the old parts, and my PS3 + games & accessories.

I didn't take the cleaning job, but the offer is still there. I am currently on the short-list for a job as an I.T technician at BHASVIC sixth form college, fingers crossed. :)
 
Good luck with the short listed position. I will be watching your cable work closely, as then when I come to building a new one late next year, I know where to take it too that is relatively local :p Hate cables HATE THEM!
 
Good luck with the short listed position. I will be watching your cable work closely, as then when I come to building a new one late next year, I know where to take it too that is relatively local :p Hate cables HATE THEM!

Haha thanks. :)

I spend ages on cable management, like to make it look as perfect as possible, otherwise it irritates me endlessly. The last system I built was transferring my friends components from his Packard Bell branded chassis and putting them in an old Antec 900 I had sitting about.

The only cable management 'feature' in that case is one cable-tie type thing which wont even stay done up. The design of the chassis means that there isnt even anywhere to tuck cables. As a result, most builds in that case wind up looking something like this: http://www.hardwarecanucks.com/foru...antec-900-thermalright-ultra-120-dsc05741.jpg

I persevered and spent close to an hour getting things looking as tidy as humanly possible. I'll get a pic at some point, didn't think to take one. :rolleyes:

I still wouldn't consider myself to be particularly good at it in comparison to some members on here though. Their cable management skills are insane! :eek:
 
Last edited:
That is a bit how mine looked this morning! Spent a bit of time on it this afternoon just to smarten it up. Then forgot to plug the led strip back in :( idiot. Not taking it all apart again.
 
That is a bit how mine looked this morning! Spent a bit of time on it this afternoon just to smarten it up. Then forgot to plug the led strip back in :( idiot. Not taking it all apart again.

What case do you have if you don't mind my asking? Makes a hell of a lot of difference :D
 
YOUR BASKET
1 x Cooler Master CM-690 II Advanced USB3.0 Windowed Dominator Case - Black £89.99
Total : £101.09 (includes shipping : £9.25).


It is quite a good case, I wanted something that I can use for years and not have to buy another one when I want to upgrade. Good size, just I have a MATX mobo in it at the minute so the cables have to come out of the management holes and travel a way to get to the actual board.

Ah thats a nice case, I should have bought one instead of my PC-K62 when I originally built my PC. I nearly did as well.

The system I mentioned previously in the Antec 900 had an M-ATX board, doesn't look too bad, but I know what you mean about the cables having to travel further. Are there no shorter runs you can make from other cable management holes? Or perhaps longer, but would allow you to run cables parallel/close to the bottom of the board, making it look neater overall? :)
 
I have done that today, it looks a lot better. I just fear for anyone's life who is standing with a 20 metre range when I remove back side panel now. There is going to be wires everywhere.

It looks fine now, especially as I cannot see in it because I forgot to attach that light again! Just happy it all works when I hit the power button at the end :)

Haha, my rig was a-bit like that before I took it all apart. I didnt have any little cable ties to hand, so I left it.

That feeling of relief when you press the power button and it works absolutely fine, is fantastic. Balanced out by that heart stopping moment previously when nothing happens, and then you remember that the PSU is still off. :p
 
Haha, I know that experience. It is fine as long as you realise straight away. It is the sort of thing where you could end up sitting there for ages, troubleshooting everything, posting on-line for help & then you discover what a cretin you have been.

Fortunately, I remembered pretty quickly what it was, but I know that is not the case for everyone. The build looks like it will be quite nice though, I know some of us cannot afford to get everything in one go & have to slowly piece it all together due to financial constraints, but the building is 3/4 of the fun of having the system in the first place :)

I am always quite nervous when i'm handling so much hardware. That stuff is worth more than 2x my current bank balance, if I do something stupid to even one part somehow, i'm screwed. :p

I like sitting back and looking at the final result when its all up and running though. That is satisfying. :D

Just placed this order:

YOUR BASKET
1 x NZXT CB-LED20-WT 24x White LED Sleeve - 2m £13.99
1 x BitFenix Alchemy 24pin ATX extension 30cm - White £8.99
1 x NZXT Front Panel connections cable set 30cm sleeved - Black £5.99
1 x BitFenix Alchemy Internal USB Extension 30cm - sleeved black/black £4.98
1 x BitFenix Alchemy Internal Audio Extension Adaptor 30cm - Black £4.49
Total : £38.44 (includes shipping : FREE).


And another for the 6 pin extension from elsewhere. Build will start upon arrival :D
 
Last edited:
Right, time to get cracking. The time is 4AM, and I could bear looking at that heap of shiny boxes no longer!

Excuse the bad lighting for the first few pictures, it was still dark outside to begin with :p

The Asus P8Z68-V. I might be dropping native PCI-E Gen 3 support, but the aesthetics and overclocking potential of this board more than make up for that.

IMAG0692_zps5cef9052.jpg


The board in all of its glory. It looks so much better in the flesh than I ever thought it could from pictures, so this terrible picture of mine will do it no justice. :rolleyes:

IMAG0693_zpsec34bb34.jpg


The CPU in the board. I will never like that faint 'crunching' sound you hear when you clamp it in. It worries me every time.

IMAG0695_zps0da5c595.jpg


My 2500K. If this baby will do 4.6GHz with 1.377v in my comparatively un-refined ASRock board, lets hope I can do even better with this new one.

IMAG0696_zps8ca0a3c8.jpg


The 600T. Again, the terrible lighting is doing it no justice, but it is truly the most magnificent case I have ever seen, which is the main reason I bought it. The aesthetics. And I feel no shame in admitting it either! ;)

IMAG0698_zpsf60a9bbd.jpg


I particularly like the inclusion of a fan speed controller on the top of the case. Lets hope this is one that works, as I have heard bad things about it from some 600T owners. Fingers crossed.

IMAG0700_zpsbfd8e207.jpg


Just seeing what my white Zaward fans will look like in the top once I get my H100. I like what I see. I will now proceed to leave them up there, and spend ages looking for them later on :D

IMAG0701_zpsf73f149d.jpg


What a mess! Cables everywhere. Which is unsurprising given that there are leads for 2 chassis fans, 4 for the fan control, plus another for fan control power, one thick cable for front panel, another for USB, another for FP audio, and an ever thicker one for USB 3.0. :rolleyes:

IMAG0710_zps3a42390f.jpg


A quick bit of cable management round the back - the cables are left deliberately too short as there are braided extensions in the post :)

IMAG0712_zps3ddd8061.jpg


And the drive cages moved around. Much better! :cool:
I also had to remove the drive cage again to put the first HDD in, as you can't actually get that drive tray out with the cage installed in that location. Well done corsair :p

IMAG0715_zps915c2298.jpg


My Lian-Li tool-less motherboard screws. Very nice, but I later find that they the thread is too small for standard motherboard stand-offs, so I ditched them. Not so cool. :(

IMAG0717_zpsfb38fd2b.jpg


It's so good to have a rear access hole in the right place! Something Lian Li did not achieve with my old PC-K62. :mad:

IMAG0734_zps534b3042.jpg


My Vengeance Black 1600MHz.

IMAG0721_zps007b78be.jpg


Installed in the board, looking sexy as always! Going nicely with the blue/black theme. Hopefully I will have another 8GB in blue soon, which should complement the build nicely.

IMAG0727_zpsb91e2bb5.jpg


My new PSU. Overkill to the tune of almost 300W for my current setup, but the extra wattage will be better utilised once I can afford to replace my GPU.

IMAG0731_zpscfb3c33c.jpg


744W on the +12V eh? Thats certainly better than the 540W(ish) my old '700W' OCZ could deliver. :o

IMAG0732_zps74cc50a4.jpg


The motherboard, CPU, RAM and PSU all installed. Looking good so far I think. :D

IMAG0743_zpsc4d64c3b.jpg


A bit of cable management round the back. Made deliberately too short again, as there are braided extensions in the post. :)
Now... where are those damned fans?!

IMAG0738_zps07d3c81f.jpg


A terrible attempt at a 'glamour shot' - oh how I love my phone camera. I was going to buy an SLR, but I plunged those funds into my PC instead. :p

IMAG0745_zps2f7c38c6.jpg


Installing the Kuhler 620 (remember this is only a stop-gap cooler)

IMAG0749_zps20144f60.jpg


A dob of the old favourite, Arctic SIlver 5! :cool:
As you can see i'm running a little low :p

IMAG0754_zps92e53907.jpg


Cooler installed. Its starting to come together now! It was a tad difficult to screw down due to the backplate no longer having adhesive on it, but thats for the best anyway. It was evil! I had to get it off of my old board with spirits, a hairdryer and some scraping. :(

IMAG0755_zps2168c923.jpg


The GTX660 Twin Frozr III. Fantastic card for the money when I bought it, still runs everything I throw at it, but i'm having to drop settings to to very high or even high on some games now, and pull down the AA levels a tad.

IMAG0762_zpsfd5ba480.jpg


And she's in!

IMAG0772_zps171fa79a.jpg


Thats all for now folks! There will be more updates when the cable extensions arrive. I'll install the rest of the drives, plug everything in, and do the first power on. Fingers crossed all goes OK unlike last time. :rolleyes:

There will also be some overclocking action :D But nothing too extreme to begin with, because i'm still on the Kuhler 620 for now.

~acme
 
Last edited:
Dude! It is looking bang tidy as Mr Lemon would say. Cable management is superb! I cannot say any cables anywhere! Fantastic ;)

I like the colour schemes you chose too, white, black & blue, looking good. Once those braided cables are in too, it will look mega. I like how it was 4am, you got the itch and just couldn't sleep so had to build it there and then lol.
 
Back
Top Bottom