Project: Restore

Associate
Joined
16 Dec 2009
Posts
723
Location
Bolton
PROJECT RESTORE

Well I was searching through my storage today and guess what I came Across...

Image1.jpg


That's right you've got it!

Image2.jpg


Image3.jpg


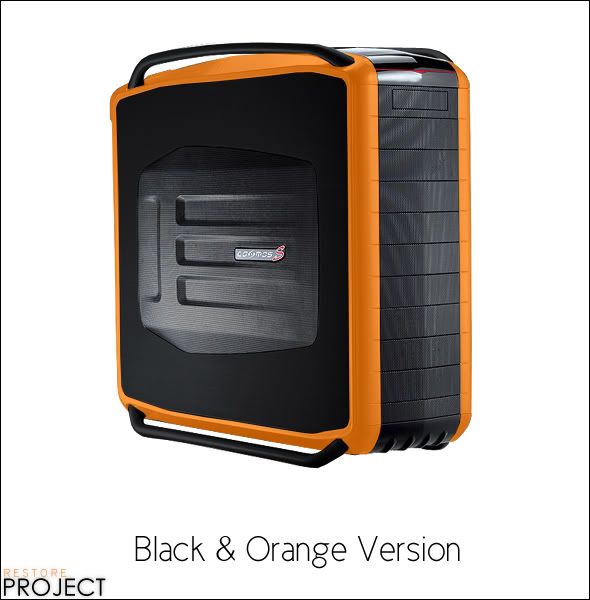
That's right my old Coolermaster Cosmos S.

So basically this project is all down to restoring my old Coolermaster Cosmos S I have owned this case for only around
2 years now and it's in pretty bad shape. Although I can happily say non of the blame should be on me. It all comes
down to the previous owner, you see I originally bought this case from ebay but the description was of poor quality.
It listed that the case had a few "very minor scratched" although this was a huge understatement in my opinion. Anyway
enough of that time to move on.

What will be done?
I'm planing on doing a black respray of the inner case and doing a glossy black respray of the bars at the top and bottom
of the case. Then I would like to possibly respray the aluminium side panels although I'm not too sure yet as this has a
brushed aluminium effect. And finally I will respray the silver plastic part's this will be either black or a bright orange as I
have not yet decided. :P Oh and finally fix the hinges on the doors at the front as they will not close properly.

Anyway keep watching the thread as I will be updating it in the following week's and here's a few more pictures for your amusement.

Image4.jpg


Image5.jpg


Image6.jpg


Image7.jpg


Image8.jpg
 
UPDATE: 17/6/2011

Only a small update tonight I've just started to prep the case for the paint job.

Image9.jpg


Armed with the most advanced technology around!

Image10.jpg


24bit sound action! (Warning only to be used by pro's!)

Image11.jpg


Anyway getting the plastic edges off were a nightmare. It must have taken me a good hour or so just to get the first one off without damaging anything.

Image12.jpg


And finally It was done, with minimum damage :P

I will be buying the paint tomorrow and removing the pop rivets, as I don't posses a drill I'm going to have to do it the good old fashion way. With a Philips screw driver and hammer.

Painting will most likely be started on Monday depending on the weather. =]
 
UPDATE: 20/6/2011

Coming at ya with another update!

So I was tooling up for the rivet removal.

Image13.jpg


It turns out I could get my hand's on a drill.

Image14.jpg


Unfortunately I built up quite a collection of rivets, but in the end it was a great success.

Image15.jpg


Also I managed to pick up some sandpaper, so depending on how nice it is outside tomorrow I might start sanding ready for when my primer and paint arrives from Amazon.

Image16.jpg


Image17.jpg
 
UPDATE: 23/06/2011

Well It finally came the primer is here the only issue is I was having a nice little sleepy sleepy snoozy snooze when the postman came this morning and missed him. So I'll have to collect my paint tomorrow morning and hopefully if it's a good day I'll be spraying tomorrow. :D

Image18.jpg
 
UPDATE: 26/06/2011

So I have to apologise in advance for possibly shoddy pictures from here on in. My main computer has broken (one of the pumps has gone) and it's going to be a few days before I get a replacement. The computer I'm using now has no editing software so i'll try my best to get some quality pictures flowing :D

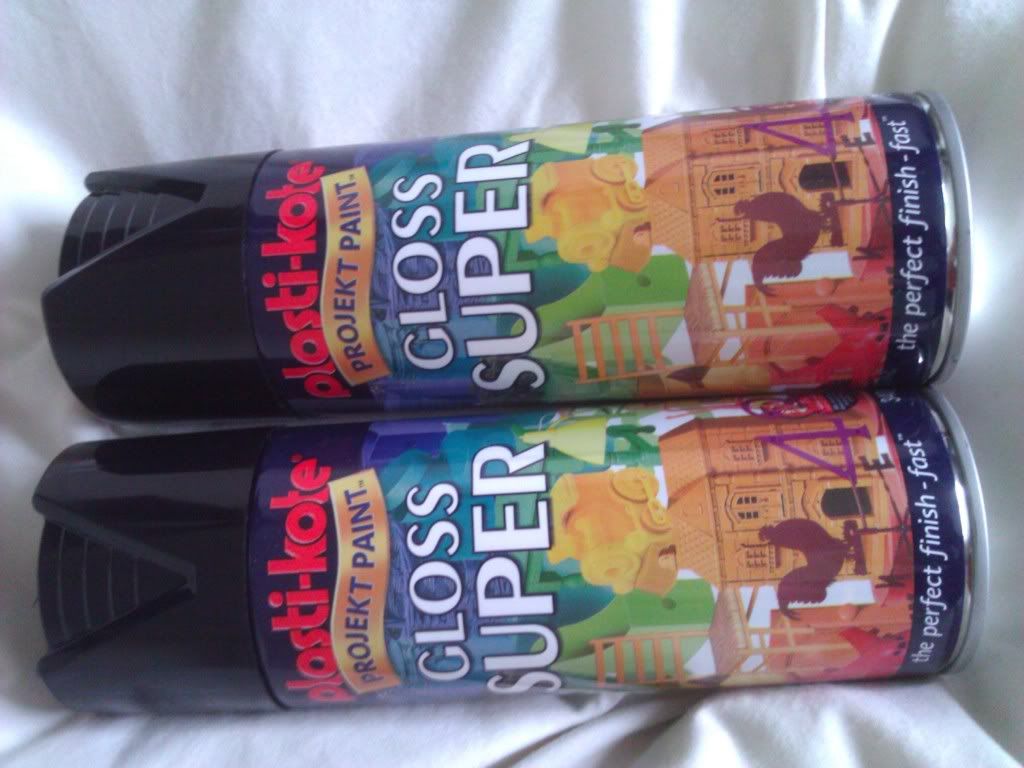
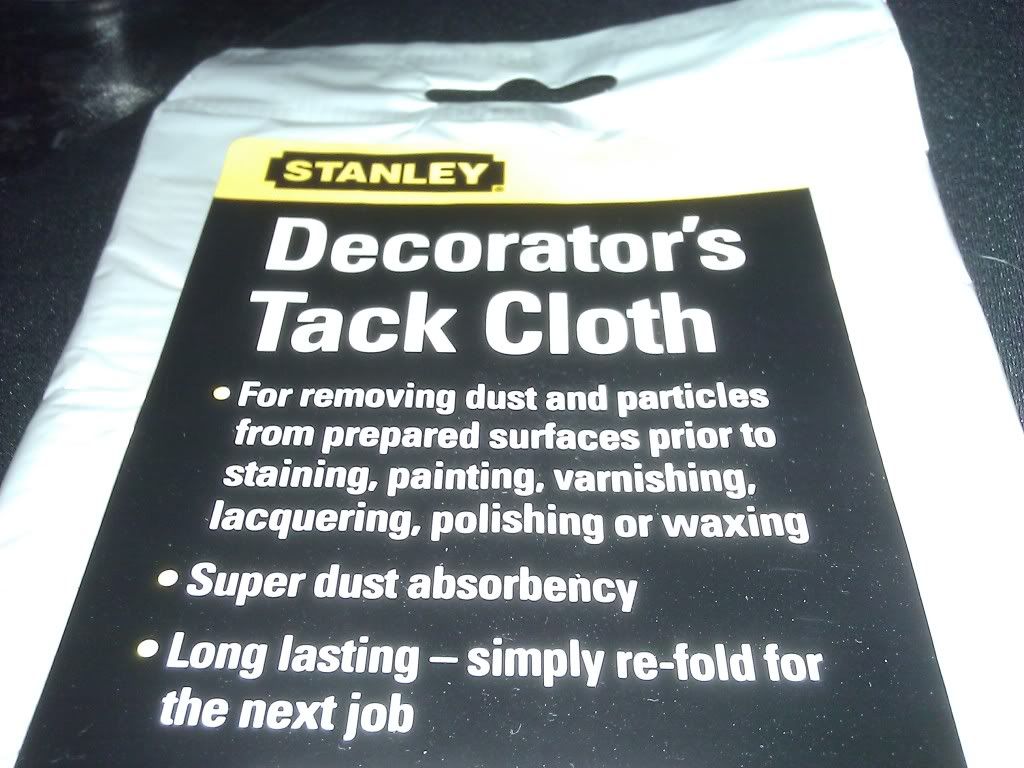
Anyway I've got all the paint and the tack cloth it's down to painting now It looks like a nice day and i'm just about to prep outside for the painting.

=]

WP_000162.jpg


WP_000163.jpg
 
I wish I found one of those knocking around my garage...

Is it just the picture or are one of the bezels actually dented? If so, then I agree that "minor scratches" is a bit of an understatement!

Looking forward to seeing how this turns out.
Yes one of the bezels is actually dented, funny enough I never noticed that until I looked at the picture afterwards :P
 
UPDATE: 29/06/2011

Bish Bash Bosh! I'm out of paint...

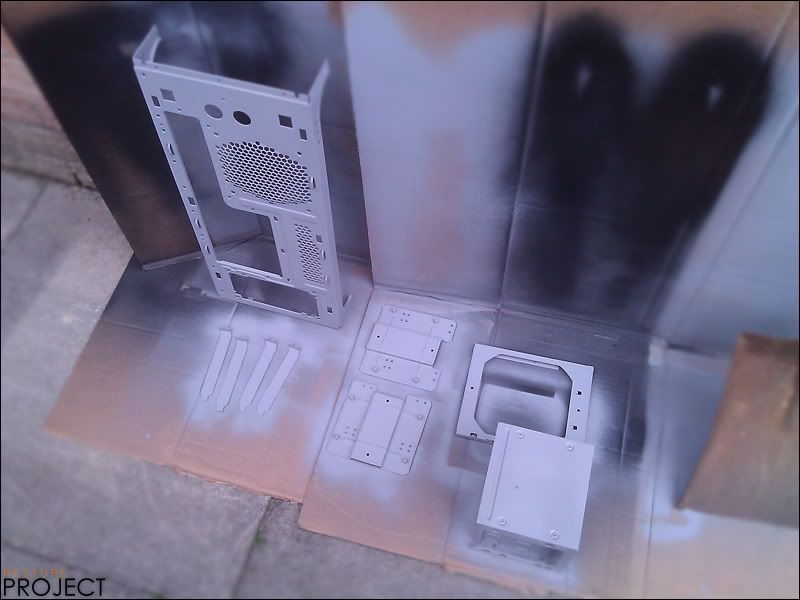
Yeah so the base coat of primer went pretty good other than the fact I didn't buy enough of it. I've never handled spray paint before but I was pretty impressed with my "Mad spraying skills". :P

Anyway back to the tale of no paint, I ran out just over half way through the job a few panels need a small amount of touch up's and as for the rest it's all looking fine and dandy.

Anyway picture time :D

As you can see in this image the low level light really adds a sense of alone...ness and the water adds a feeling of damp...ness. :P Only joking I took this picture before my computer went "CAPUTS!" to show the miserable weather that had been holding back the spraying, I found it still on my phone and though "meh" I'll upload it anyway.

Image22.jpg


Real picture time, check out my "GHETTO" painting setup...

Image19.jpg


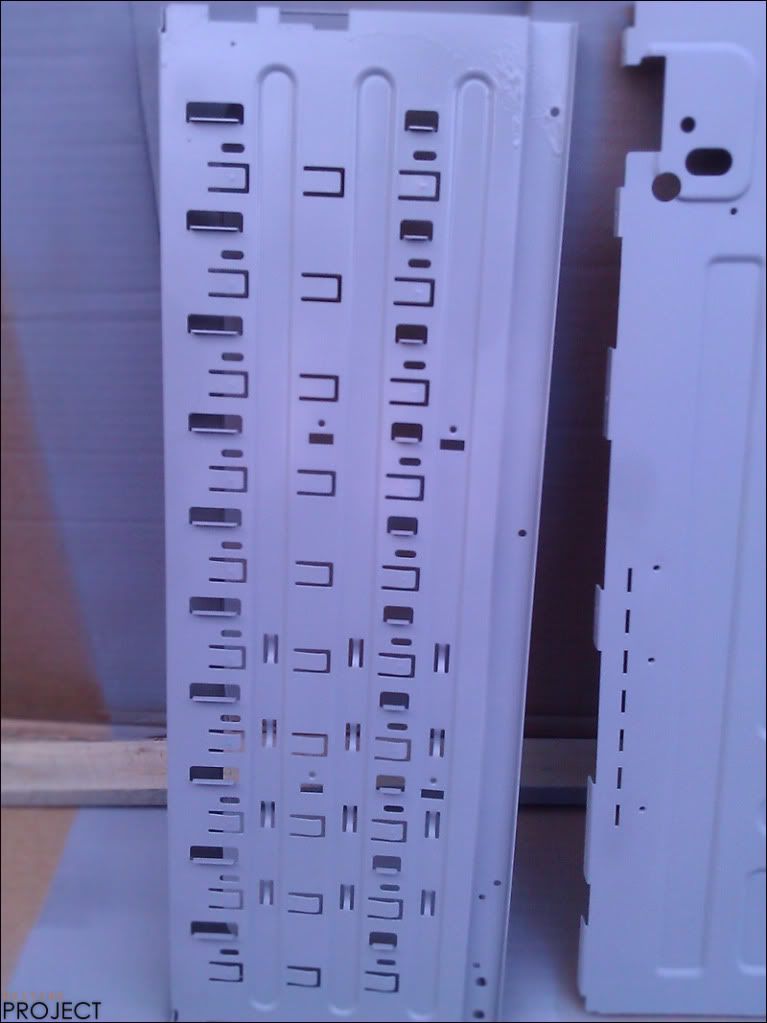
This is a panel that went "well".

Image20.jpg


Then eventually I ran out of paint ^^

Image21.jpg


Anywho I've ordered some more and hopefully I should be sanding down any drips or excess paint I slapped on.

Stay tuned ^^

-Skeng-
 
As A guy who has used more than a few cans of spray paint in his time i'd like to offer some advice.

The Plastikote stuff is ok, but doesn't flow nearly as nice (it splutters) as the Halfords stuff.

Halfords do a very nice black available in matte, satin and gloss, and it's wuite cheap compared to the Plastikote stuff.

Dang I just bought some more plastikote stuff :P
 
UPDATE: 30/06/2011

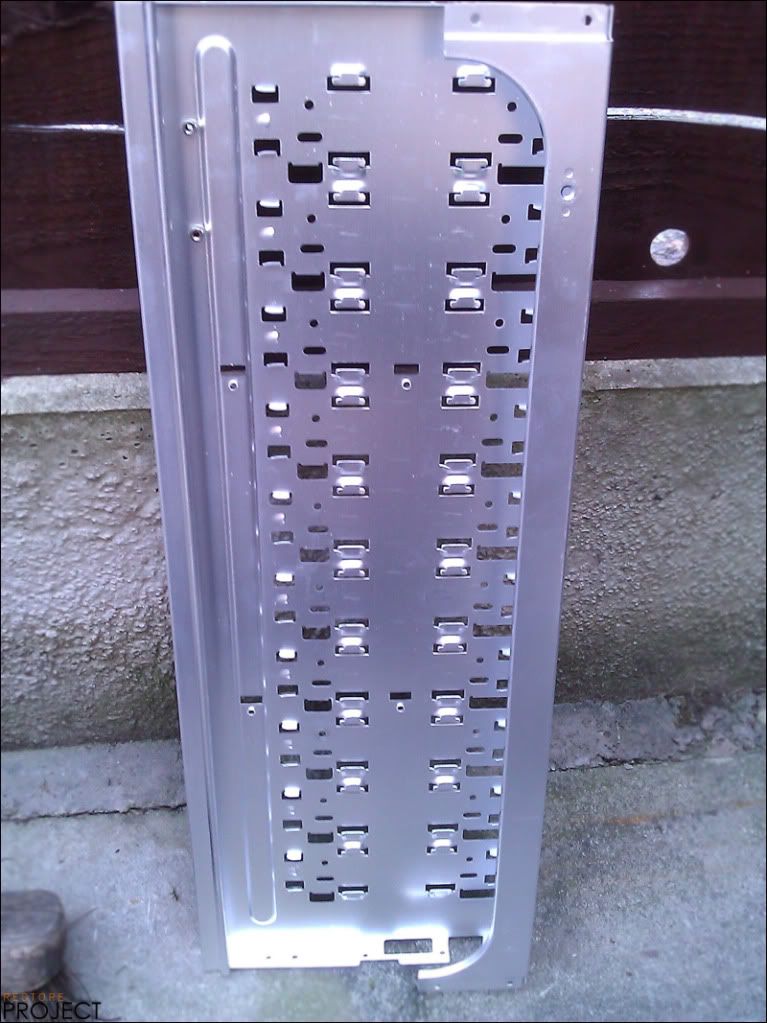
Well it's not really a update I just thought I'd show a few pictures of the panels after they had dried. These are a few of the panels I'm not going to lie I couldnt be bothered to drag them all out and take pictures of each :P
Just need a few touch-ups on one or two of the panels and some areas could use some sanding.

Image23.jpg


Image24.jpg


"DAT Finish!"
Image25.jpg
 
Nice, when you getting new paint do finish?

I bought it from Amazon (mainly for cheapness) unfortunately it's not directly from Amazon and comes from companies selling over Amazon this means the dispatch time isn't that fast. As far as it goes now my items have still not been dispatched so I presume they should come between next Wednesday and Friday.
 
UPDATE: 8/07/2011

This is not really a update I'm just letting you know the reason I haven't posted in a while. So my paint came through and I haven't done anything new at all since the last update. Basically It's been raining, A LOT! and I mean heavy rain and thunderstorms so I haven't been able to paint, not to mention it was my birthday on Wednesday so that kept me busy too. The only chance of painting between now and next week would be Saturday if it's decent weather. Shouldn't be too long now anyway getting into the major stuff soon once this last coat of primer is done. :D
 
UPDATE: 11/07/2011

Another Big Update today folks. So today I retouched and sprayed some panels still on the primer stages but like 95% done now. Anyway pictures are more fun than words so let's begin!

Well today was a wonderful day very hot and sunny weather, before I could start painting I first had to make myself a snack.

In 1941 the japanese bombed pearl harbour...
In 1969 man first landed on the moon...
in 2001 George Bush was elected president...

and in 2011 I made a damn tasty sandwich...
Image26.jpg


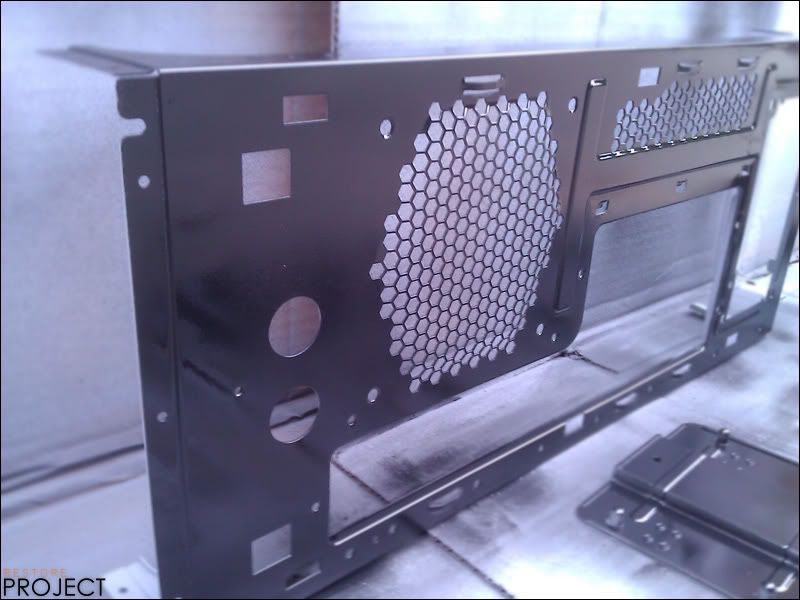
Anyway to business, Apart from touch-ups and that panel I half sprayed this is all I had left.

Image27.jpg


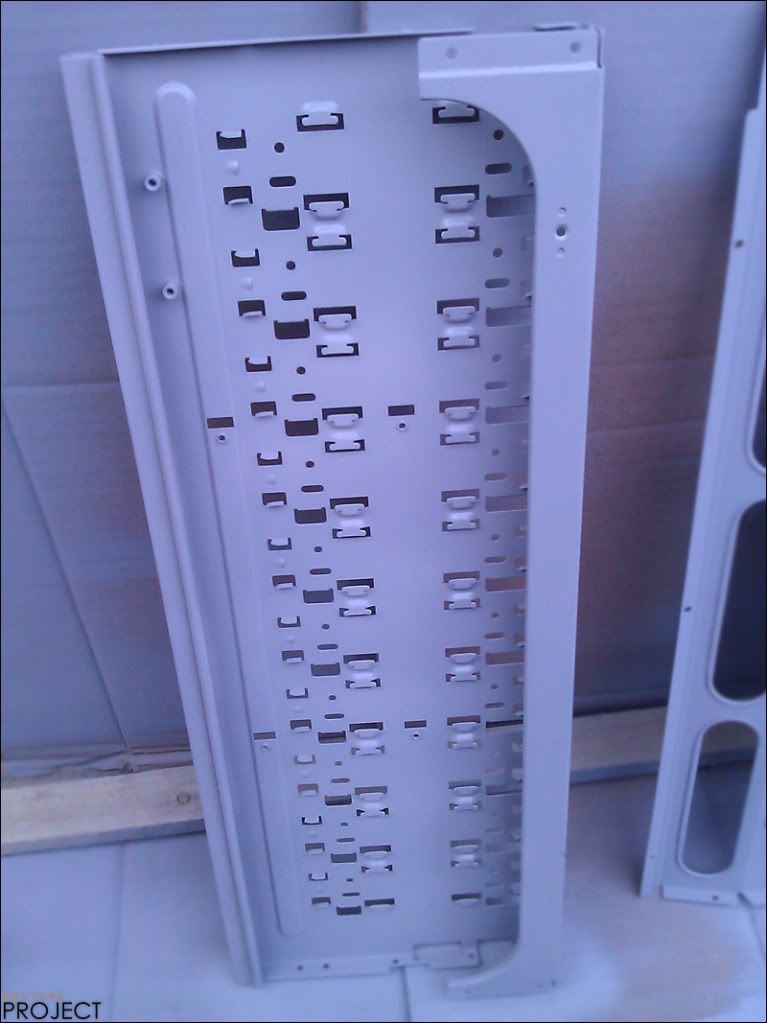
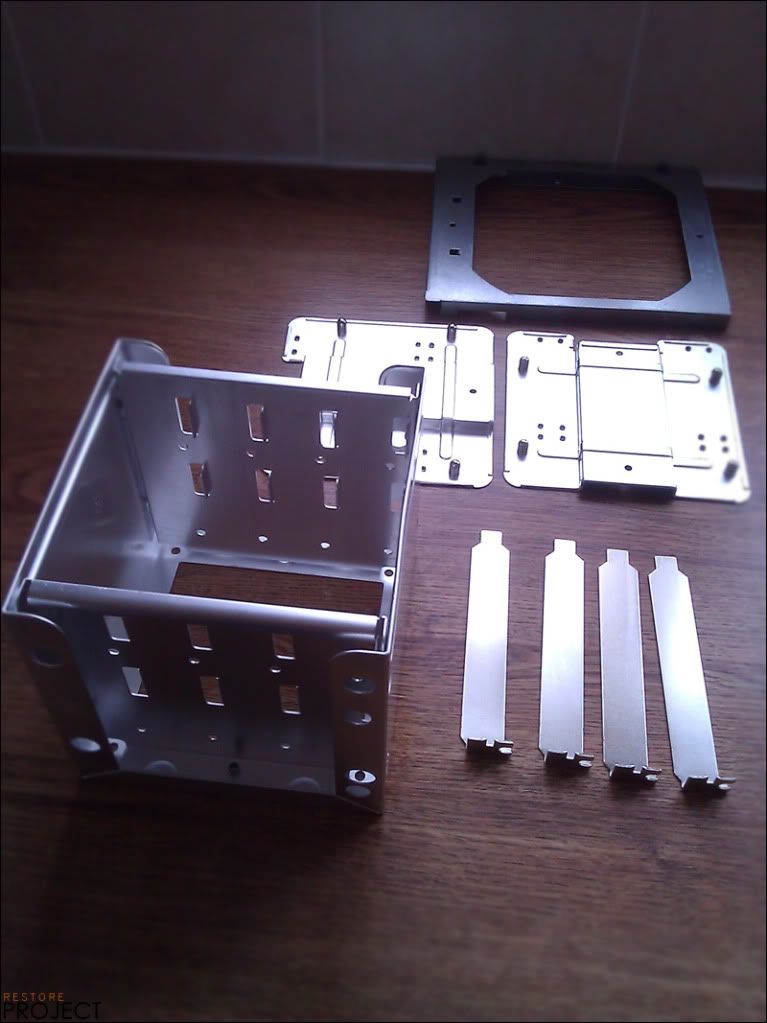
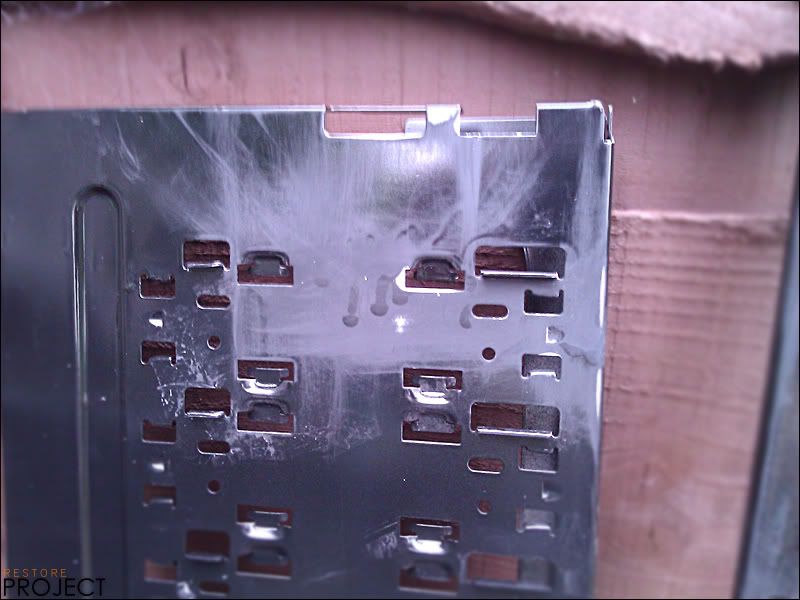
As you can see I needed to remove the remnants of crap left over from the rubber that was stuck to this piece which absorbs vibrations from the PSU.

Image28.jpg


I would also need to sand these bar's down.

Image29.jpg


So that's just what I did.

Image31.jpg


I then left my primer to soak in warm water whilst I set up the spraying area.

Image30.jpg


BAM! retouched this panel.

Image32.jpg


KACHOW! then finished the other side of this panel.

Image33.jpg


Before...

Image35.jpg


After :D

Image36.jpg


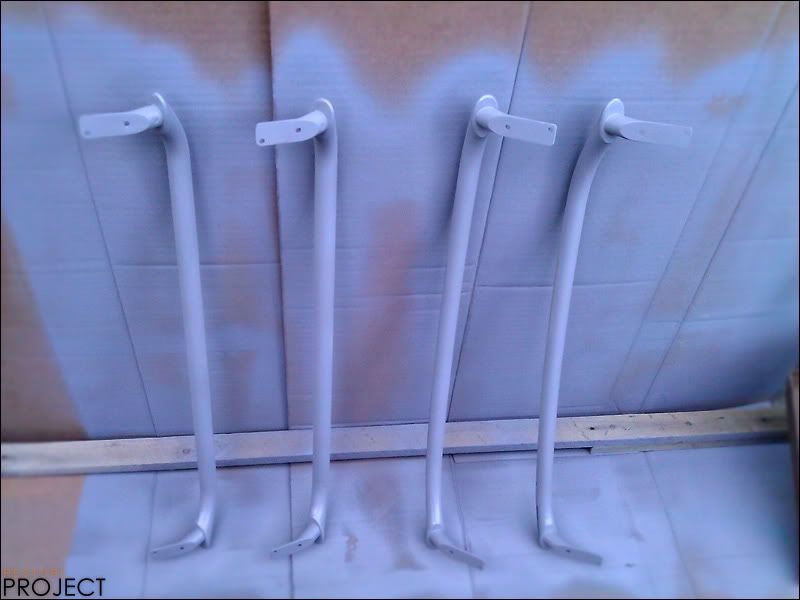
Then I sprayed these bad boys!

Image37.jpg


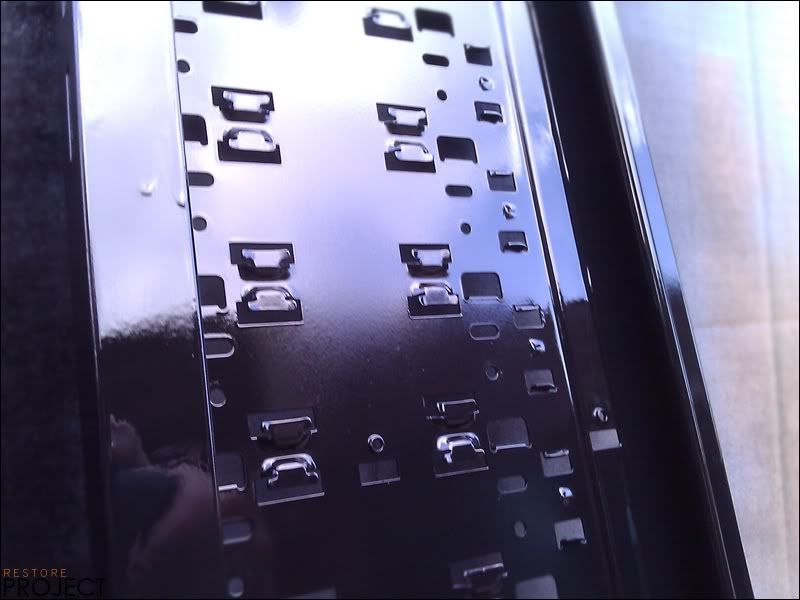
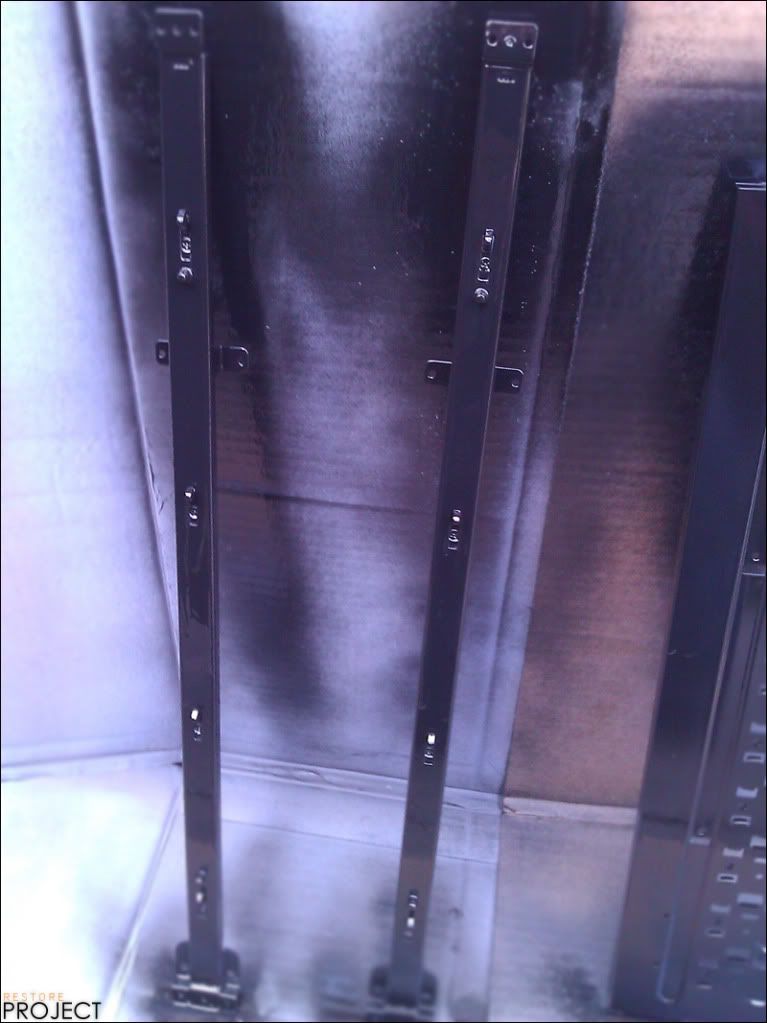
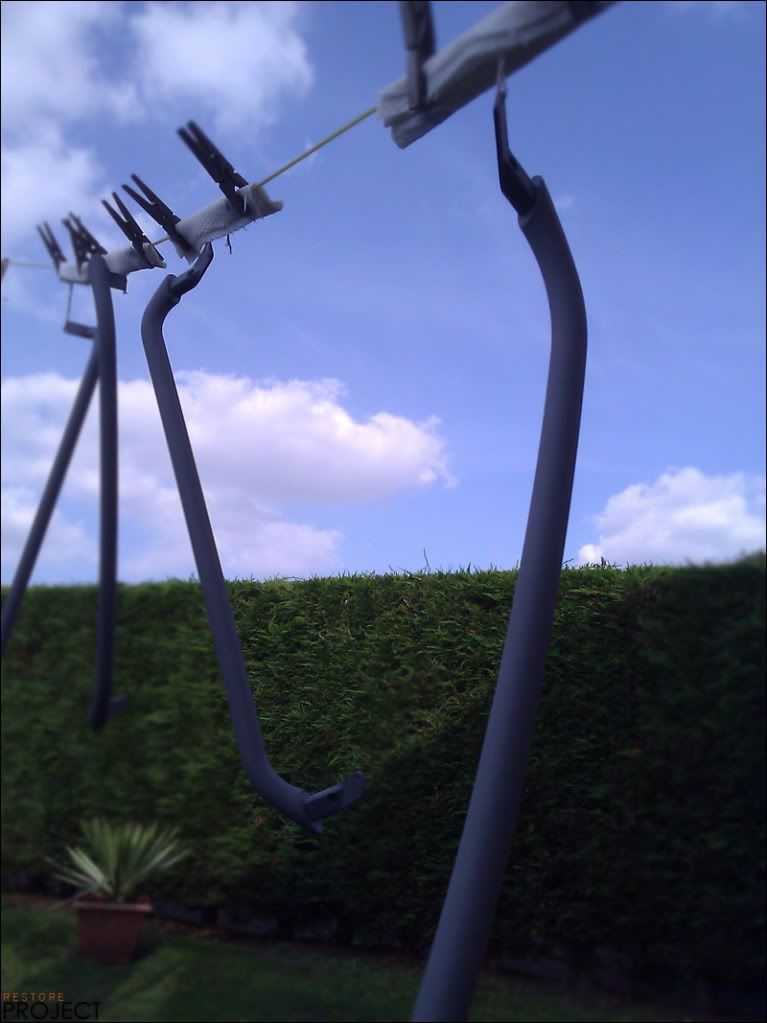
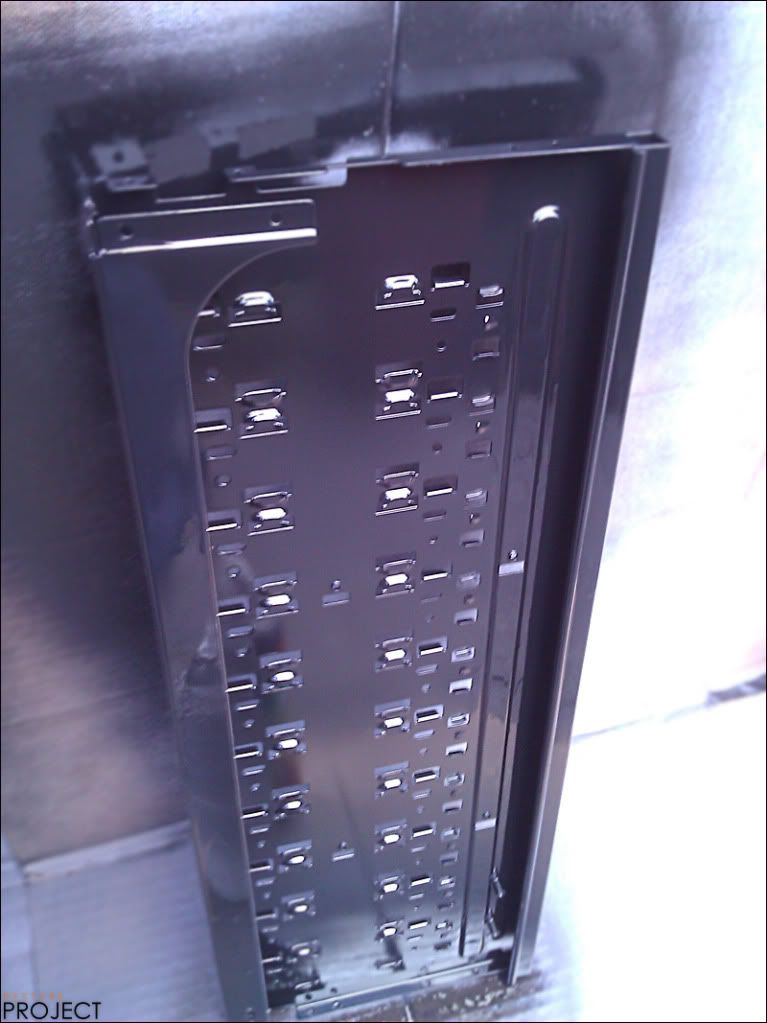
The only issue I have left and the reason I am still 95% through the primer stage is due to the bar's not being able to stand up properly. I could only spray one side successful. So tomorrow I'm going to pick up some string and tie them to my washing line this way I can get the job done without the paint rubbing off. Secondly the square thing which had all that crap on it. Well that crap is damn hard to get off! It wont sand off and a knife didn't help much either. Fortunately I managed to scratch about 80% of it off after soaking it for a long ass time in hot water.

Anyway tomorrow agenda buy string, scrape the rest of that crap off the square PSU holder majiger and finish up priming. :D

So until then stay tuned ;)

-SKENG-
 
I WANT MOAR!
CAPS LOCK RAGE AT ZZZAC'S NO BUILD LOG THREAD ARGHHHHHHHHHHH
PICSSSSSSSSSS!

dont worry, when i get my cpu, i will open a new thread, and do a proper logg. ;)

Guy's I have 2 more month's off before I go back to UNI I'm happily taking my time with this log. If I do it all within a week I'll have nothing else to take my time up this summer. =]
 
Although It has been a while since I updated assuming the weather is nice tomorrow and Oh I believe it will be I'll finish spraying the last of the primer and I will start some of the glossy black. =]

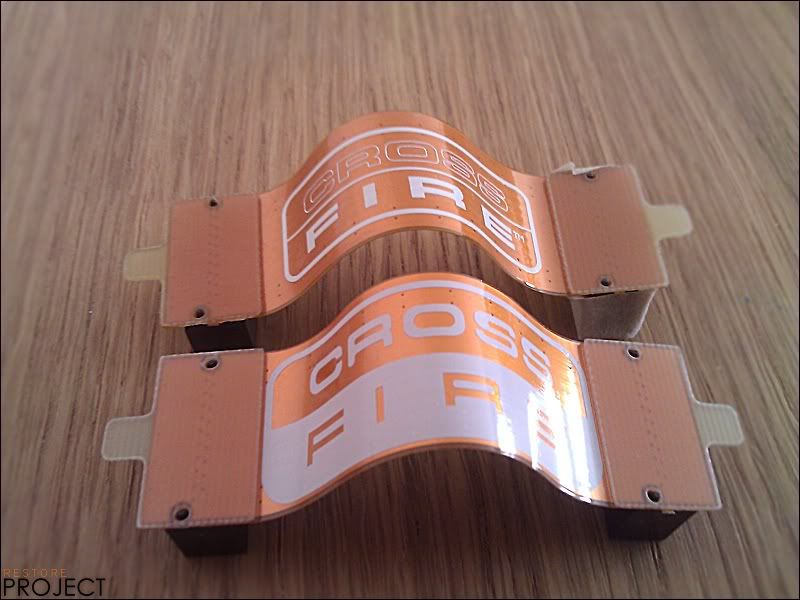
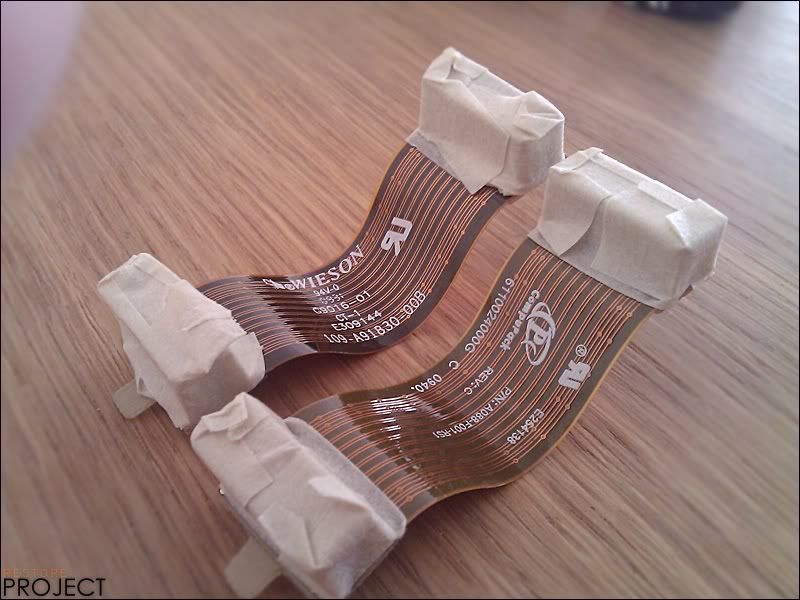
EDIT:// not to mention I want to spray my crossfire bridges for my current PC :D
 
Last edited:
Well I cant really call this a update I was all ready for finishing off my painting when I realised I had no string and as I said before I cant primer the last bits without string to hang them from my washing line. :/

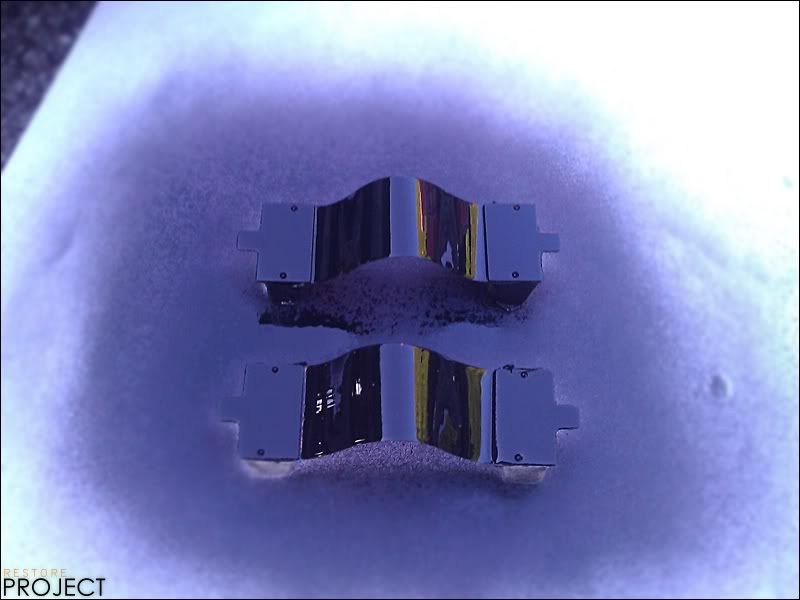
So string, priming and starting some gloss coat tomorrow as for now I got to test out the gloss on my crossfire bridges and so far I'm very impressed.

Check it!

Image38.jpg


Image40.jpg


Image39.jpg
 
UPDATE: 30/07/2011

This weekend, THIS WEEKEND!

UPDATE CENTRAL!

Yes! this weekend, **** is getting done and I mean it this time. Too much time has been spent dilly dallying. So anyway back on track. priming is 100% done YAY and since I have nothing on all day tomorrow I'll be spending the entire day wet/dry sanding then spraying all the panel's black. As far as today goes I have a sneak peak for you all.

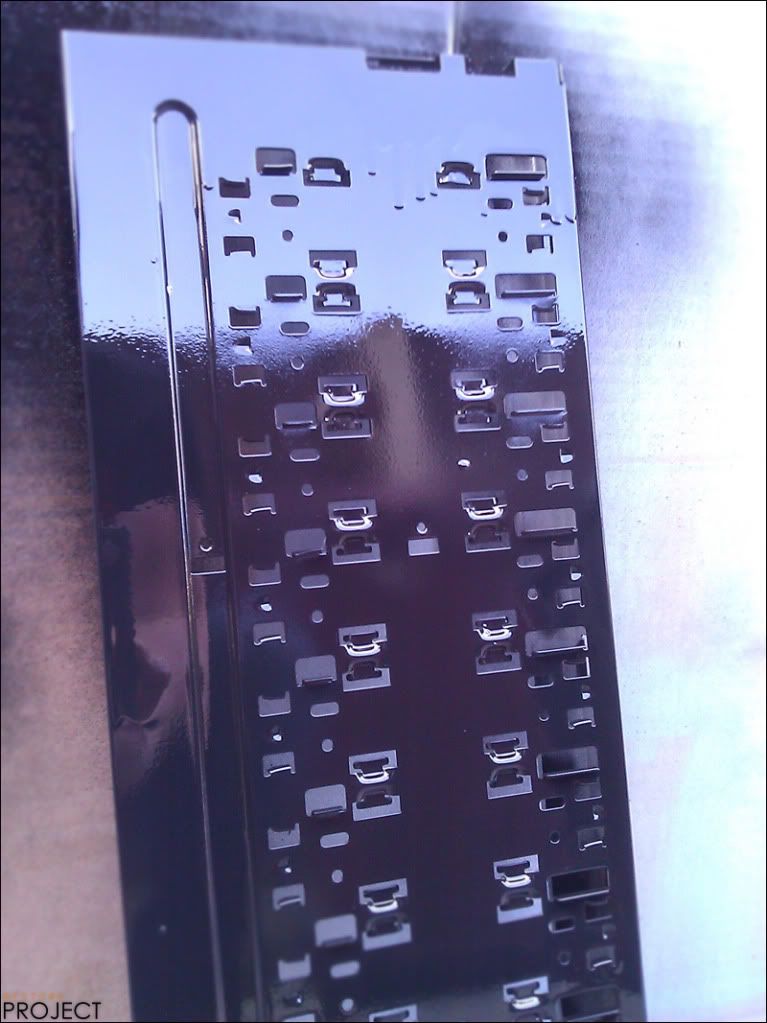
TADA! Nice glossy panel's
Image44.jpg


Image42.jpg


Image41.jpg


Image43.jpg


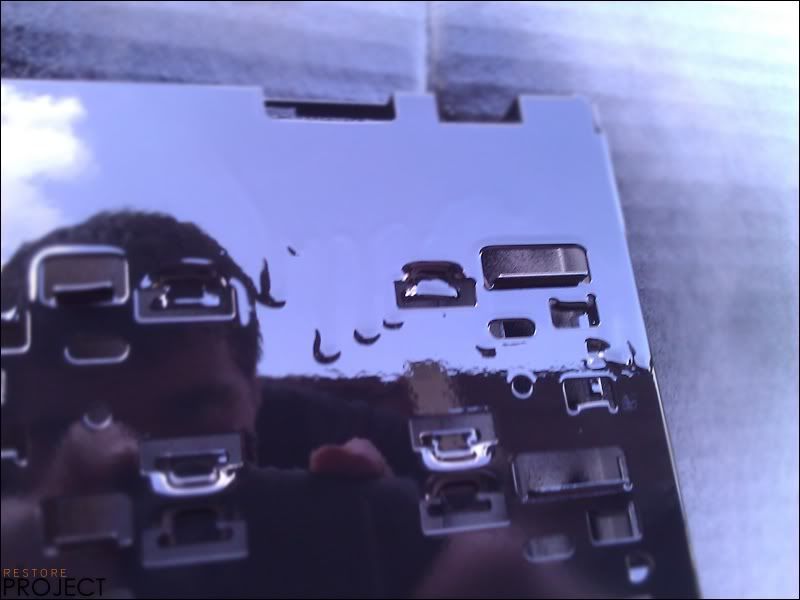
I do enjoy how much this paint reflects :D
Image45.jpg


But damn does this paint like's to drip, I'll be sanding these off tomorrow also this picture guest star's me :D
Image46.jpg


Anyway stay tuned as In one to two hour's I will be uploading some designs for the main case and would like some feedback. ;)

Stay Frosty

-SKENG-
 
Update: 30/07/2011

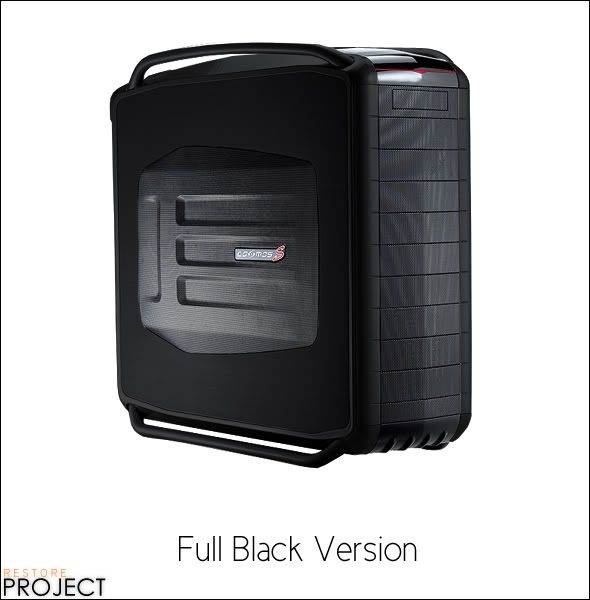
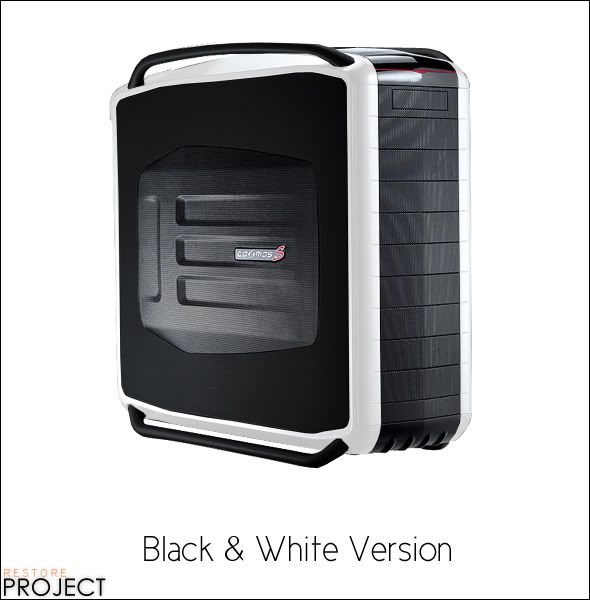
Well here are a few design's I've put together would much appreciate some feedback on which people like better personally I cant decide.

1FullBlack.jpg


1BlackandWhite.jpg


1Blackandorange.jpg
 
UPDATE 31/07/2011

Day 2 of update central and a lot has been done. I've spent about three hours today spraying and sanding the case and I'm pretty happy with it so far, anyway picture time.

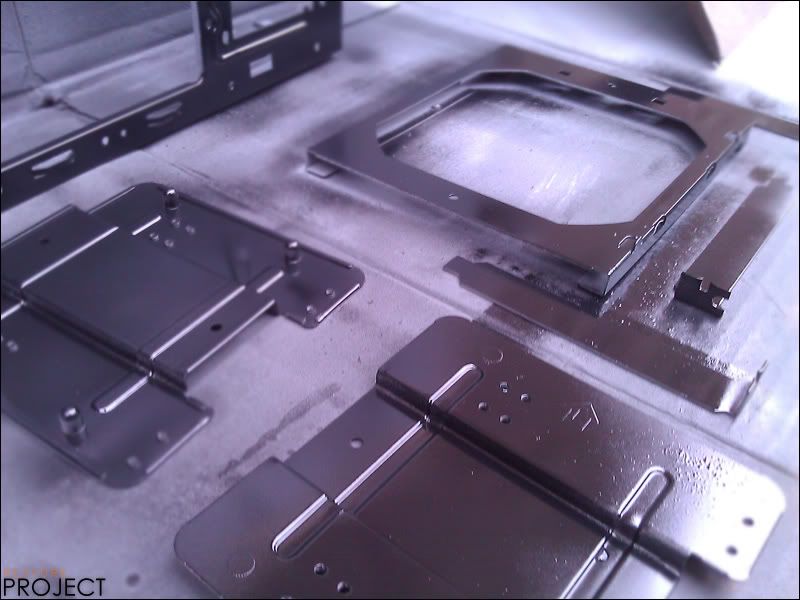
Firstly let me start by saying I accidentally missed out some parts of the case that needed spraying such as the hard drive bay and the rear case port covers.
Image47.jpg


So I primed them including some touch up's on a older panel.
Image52.jpg


Then I wet sanded the drips off the panel and rails that I sprayed yesterday.
(Warning this image may burn your eyes)
Image53.jpg

This still needs to be resprayed but I'll explain that later.

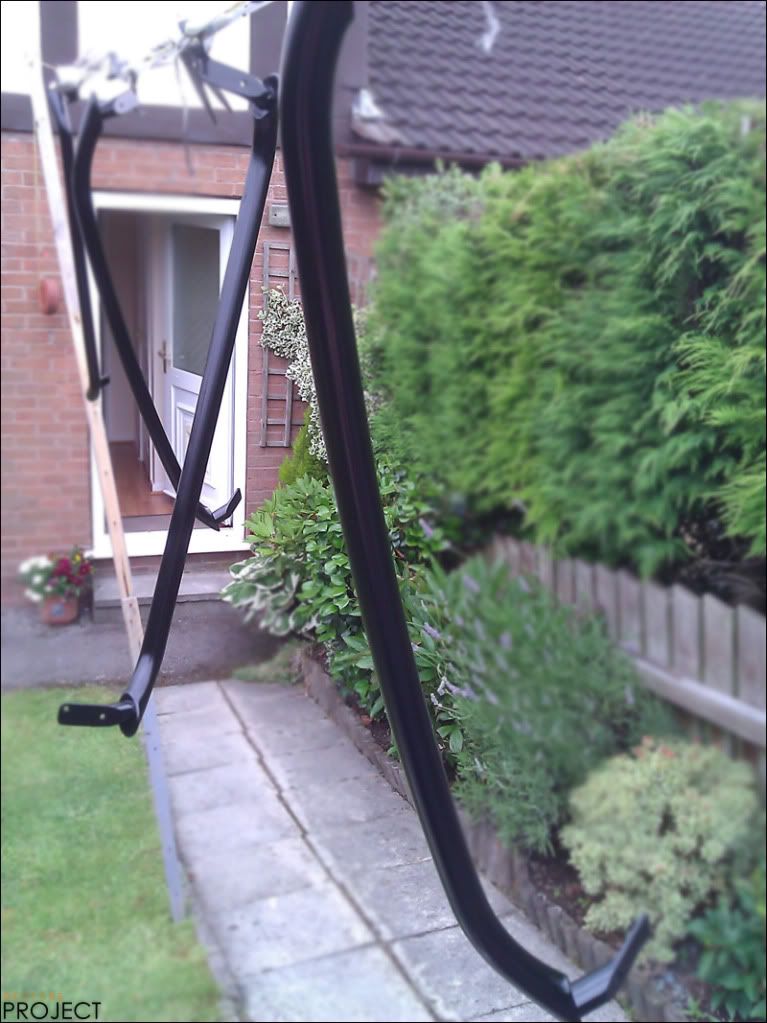
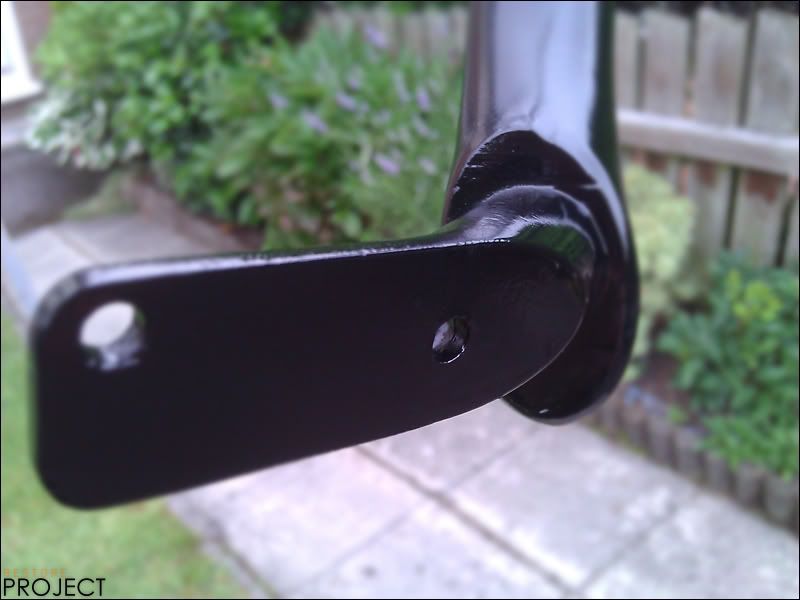
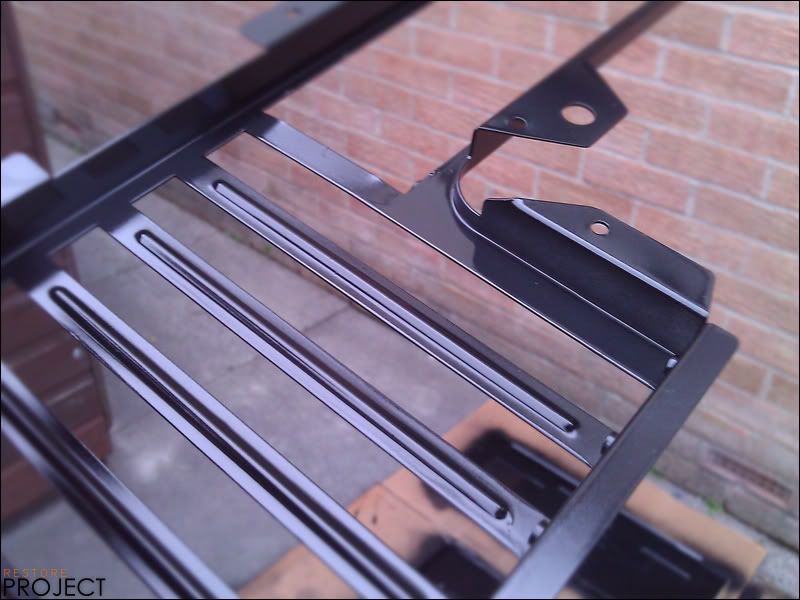
I also sprayed the bar's and they all came out really well apart from one that has a few drips check it!
Image50.jpg


Image48.jpg


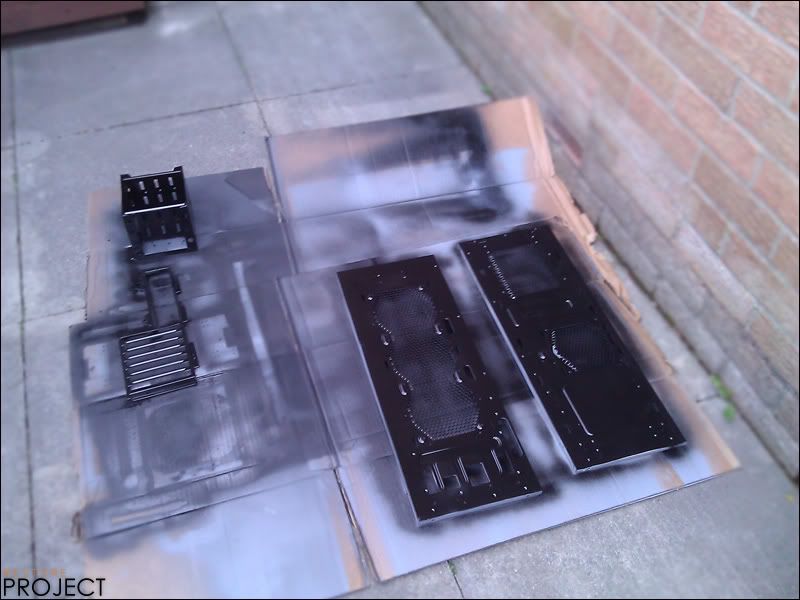
Lastly I went ape **** spraying the rest of my case before "The storm" came.

Image54.jpg


Image56.jpg


Image55.jpg


Image49.jpg


The only reason I didnt carry on was the sky was getting pretty cloudy and the air was hot even though there was no sun, for me that mean's only one thing. "POTENTIAL STORM BREWING"

Image57.jpg


So I put everything away just in case the heaven's opened. I should finish everything else off tomorrow there's just 2 more panel's that haven't yet been sprayed and there are a few drips and bubbles I'd like to sound out before getting to the rivet stage. :D

Stay Tuned

P.S I would still like your opinion regarding case colour check out my previous post for some concept design's personally I'm swinging more towards black and white.

-SKENG-
 
Last edited:
Black and orange or black and white :)

I'm planning on spraying my case soon. Do you just spray it, sand it down, spray then keep repeating? Advice greatly appreciated

Here are three modding guide's I've been looking through

http://www.overclock.net/case-mods-general-discussion/69626-spookys-computer-painting-guide.html

http://www.modthebox.com/paintguide.shtml

http://www.mnpctech.com/case-mod-paint-computer-pc-case-mod-how-to1.html

I don't follow them 100% but I used bit's of information from each. :P
 
UPDATE: 1/08/2011

UPDATE CENTRAL DAY 3 Has been cancelled :/

It's rained twice today already and I don't want to risk it.
 
Last edited:
Back
Top Bottom