Don
- Joined
- 20 Oct 2002
- Posts
- 17,153
- Location
- In a house
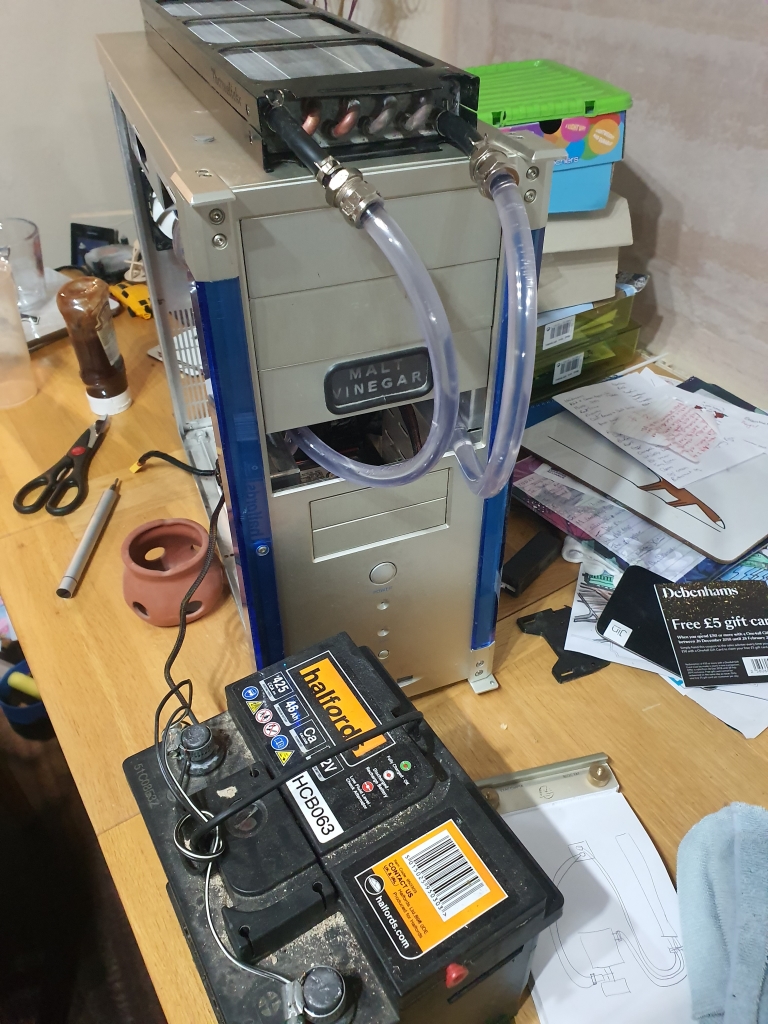
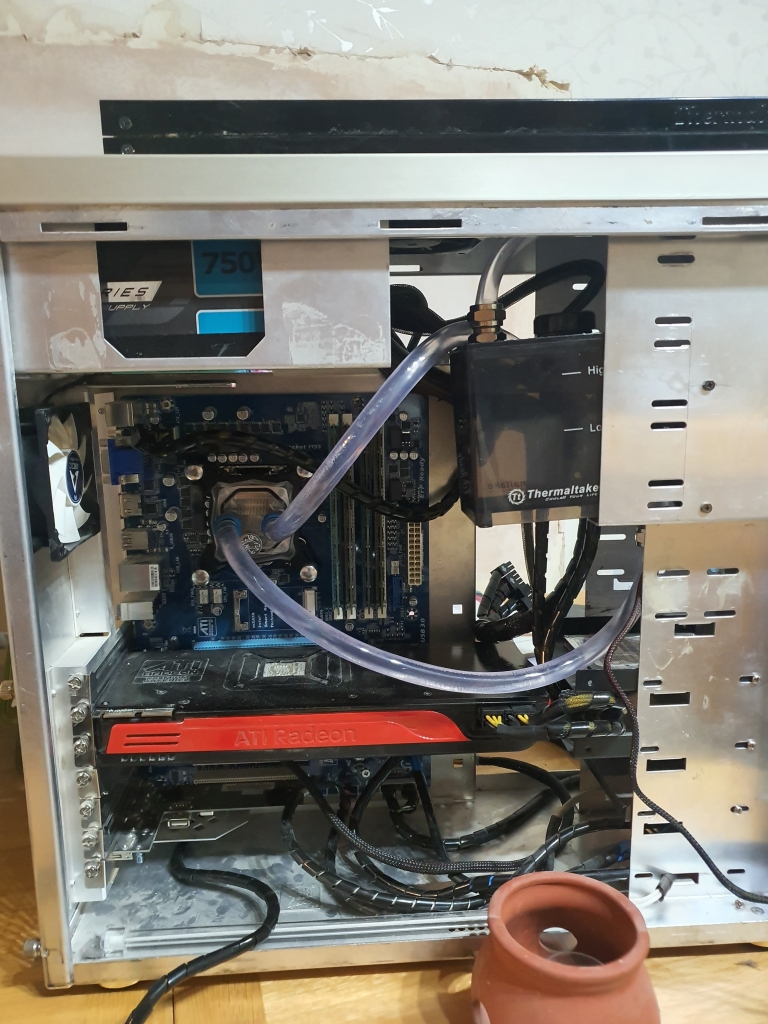
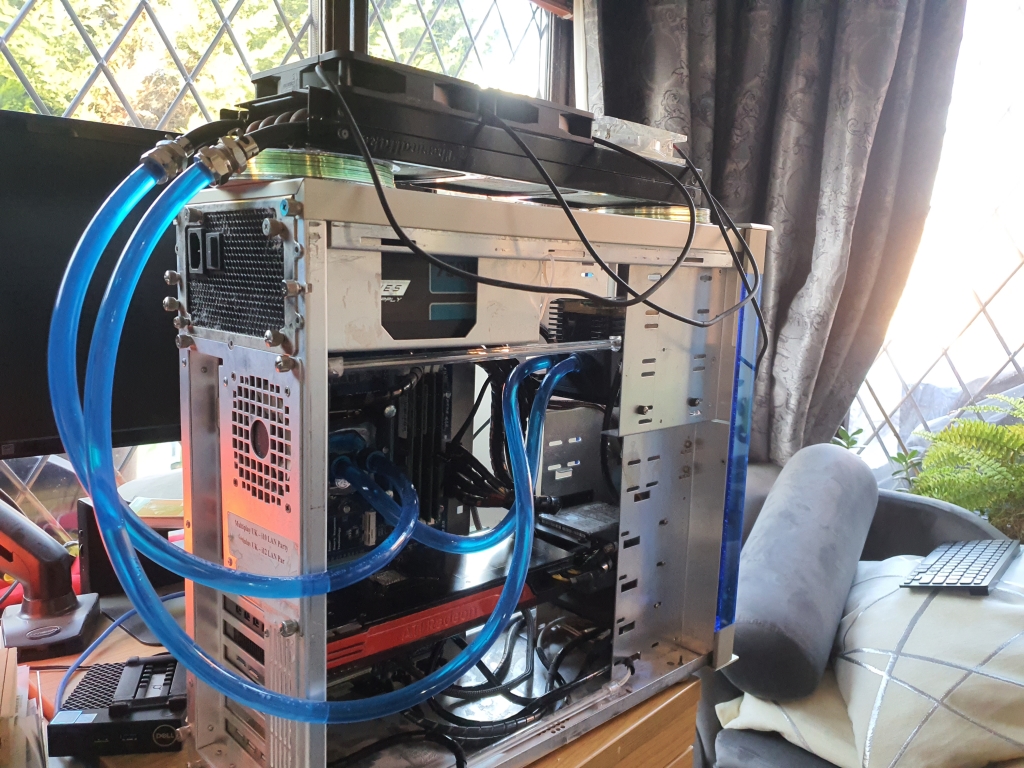
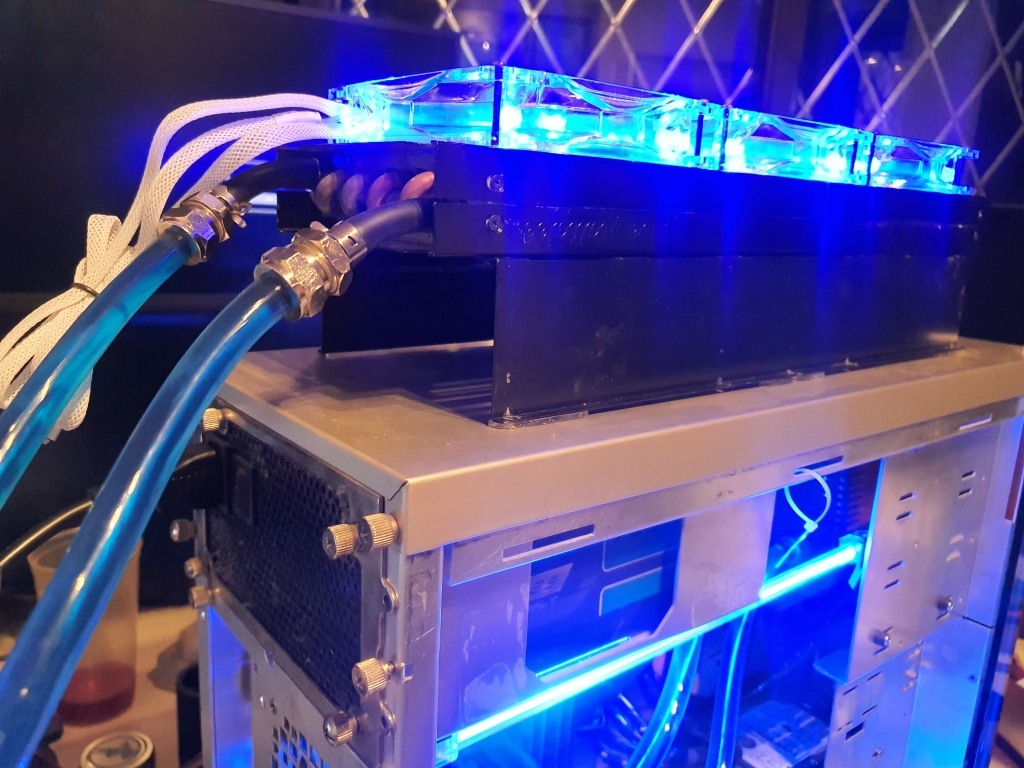
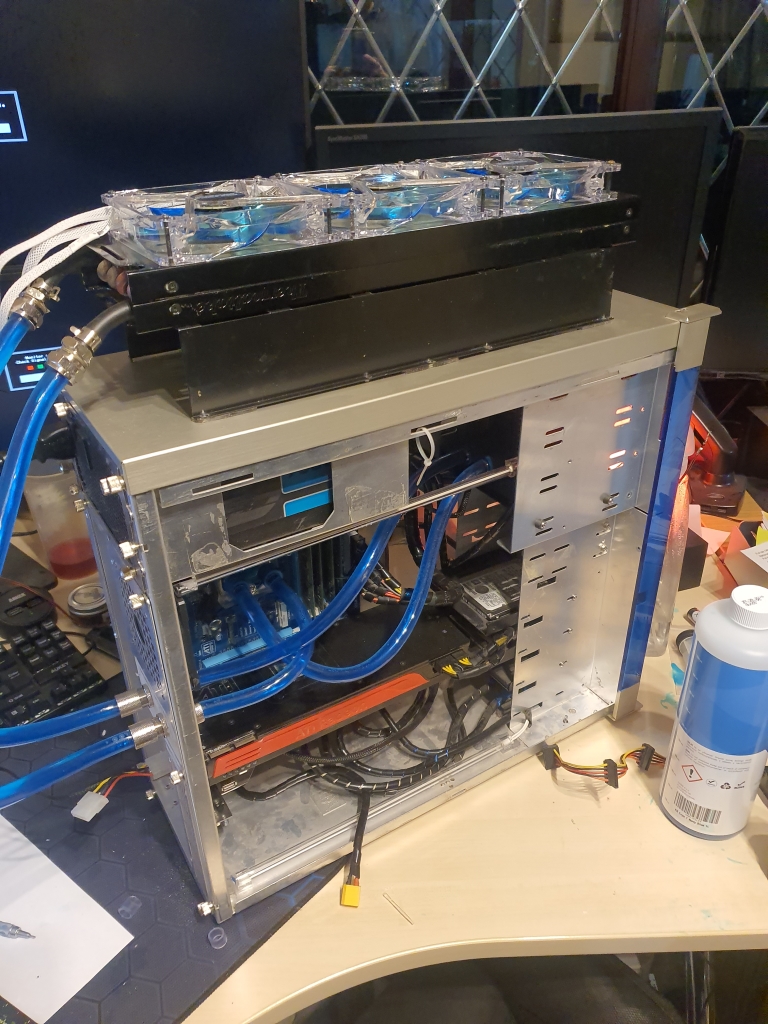
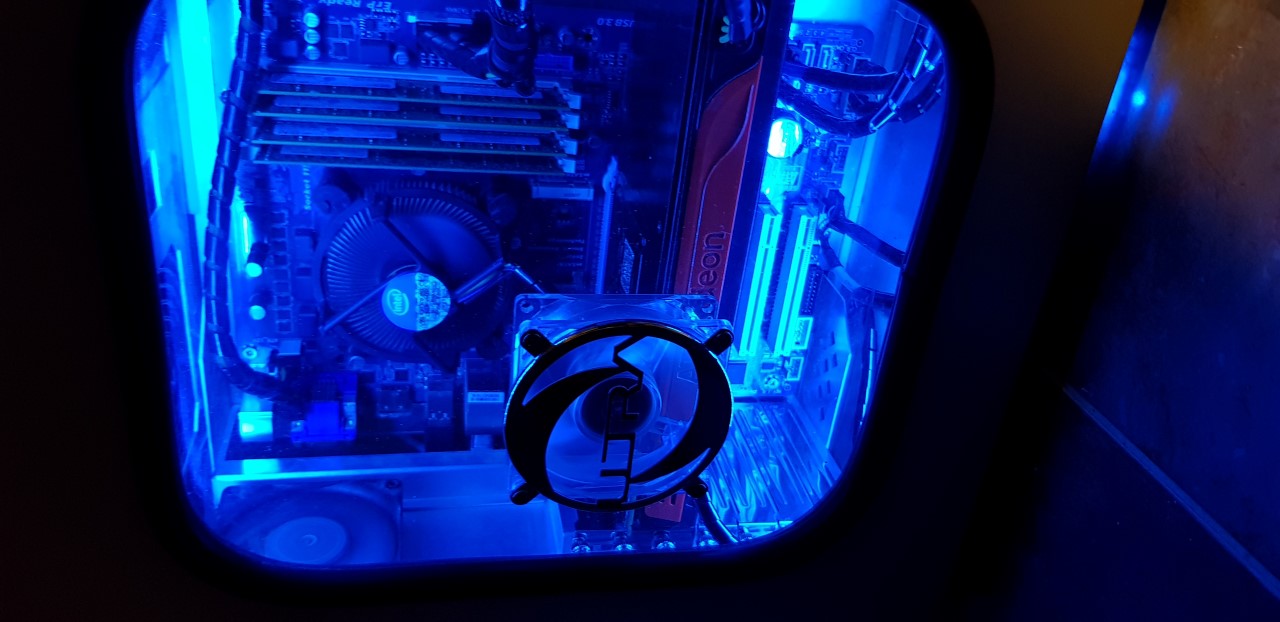
My trusty CM210 case was looking a bit unloved hidden away under my desk. My once pride and joy was looking in a very sorry state. My forays into water-cooling nearly 20 years ago are but a memory, but I always wanted to get back into it, for the benefits of performance and noise, but also because I just have always loved the way a PC with Water running through it freaked so many people out 
So with all this in mind, bearing in mind that this ancient case still houses my main system, and has done since the day it landed into my sweaty, grimy teenage hands all those years ago. It was purchased for the princely sum of £240, but has proved it's worth over and over again. Its simple presence today is a reminder to me that if you buy right the first time, you never have to buy again!
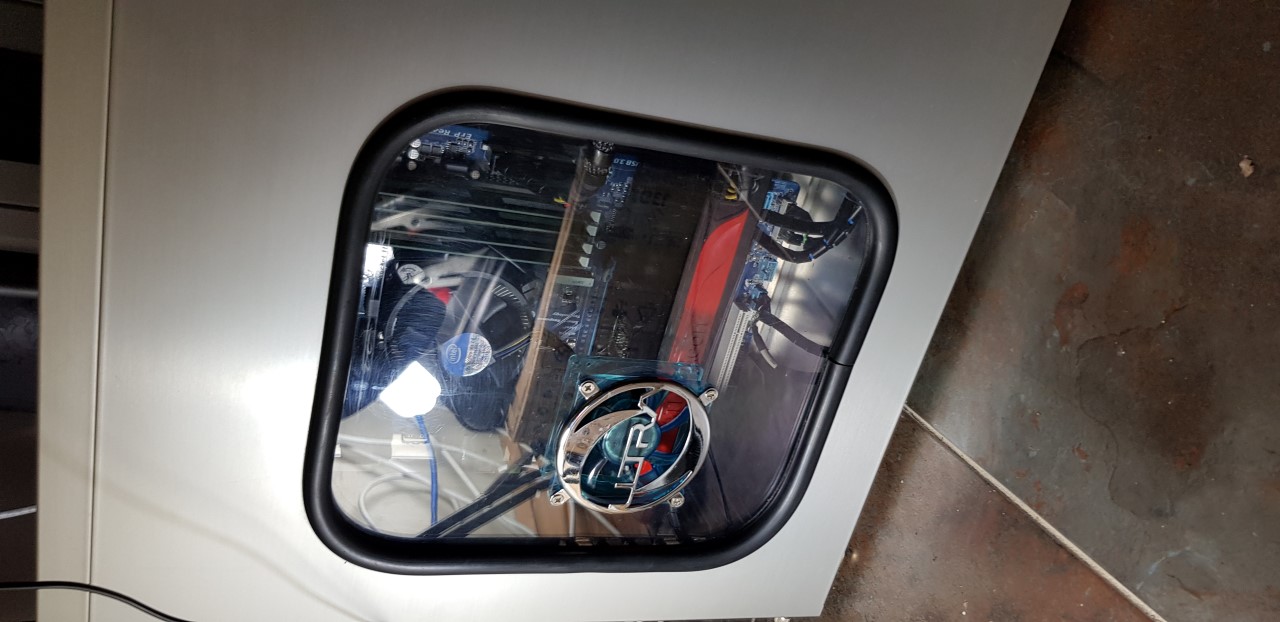
The very first thing I did once the courier turned up nearly 5 days after ordering with EXPRESS delivery (kids today, you have no idea how much of a lottery early online ordering was from enthusiast type stores!) was to take the side panel off, and drive it down (in my modified 1981 mini-van) to the nearest industrial estate to ask a chap if he would cut a large hole into the pristine aluminum side panel. Initially he accepted, although was very confused. Perhaps he thought I was a bit special, but once he found out the cost of the item, he refused to take responsibility. He then lobbed me the massively dangerous bit of equipment, a metal ruler, and essentially just said "Crack on son".
A few seconds of rapid fire explanation of how said equipment worked, and I put a cut in the middle of the panel as a test, it worked.. It was a bit wavey as the ruler was thin, and the smelly, sweaty, stained gloves he whipped off his own gorilla hands only moments before were far from helpful in deftly holding such a dainty guide. Not to mention the Parkinsons like shake that was now emanating from my body caused by picturing the face of my parents when I would have to pretend the side panel from my quarter of a thousand pound PC case was an optional extra after I had obliterated the original.
Still, I held it together, marked out the shape of the desired window, and powered through, the precipitation from my brow steaming away from the metal as the arc passed through premium alloy like a cheesewire.
It was done. There was a little splatter, but the large rubber window trim covered it up perfectly, and fear of cutting the perspex with a hacksaw blade to fit the hole seemed pure childsplay in comparison.
I was out of there before any management could throw a fit, and the chap asked for a fiver, which i duly paid! I think i actually did a bit of a wheelspin on my way out there, so eager was I to get myself home to begin the build of the only thing that really mattered in my life. My CS rig!
Thus began my love affair with my PC case.
When it came with me to uni around 2003, it looked like this, and I was, frankly, the coolest person on the planet:
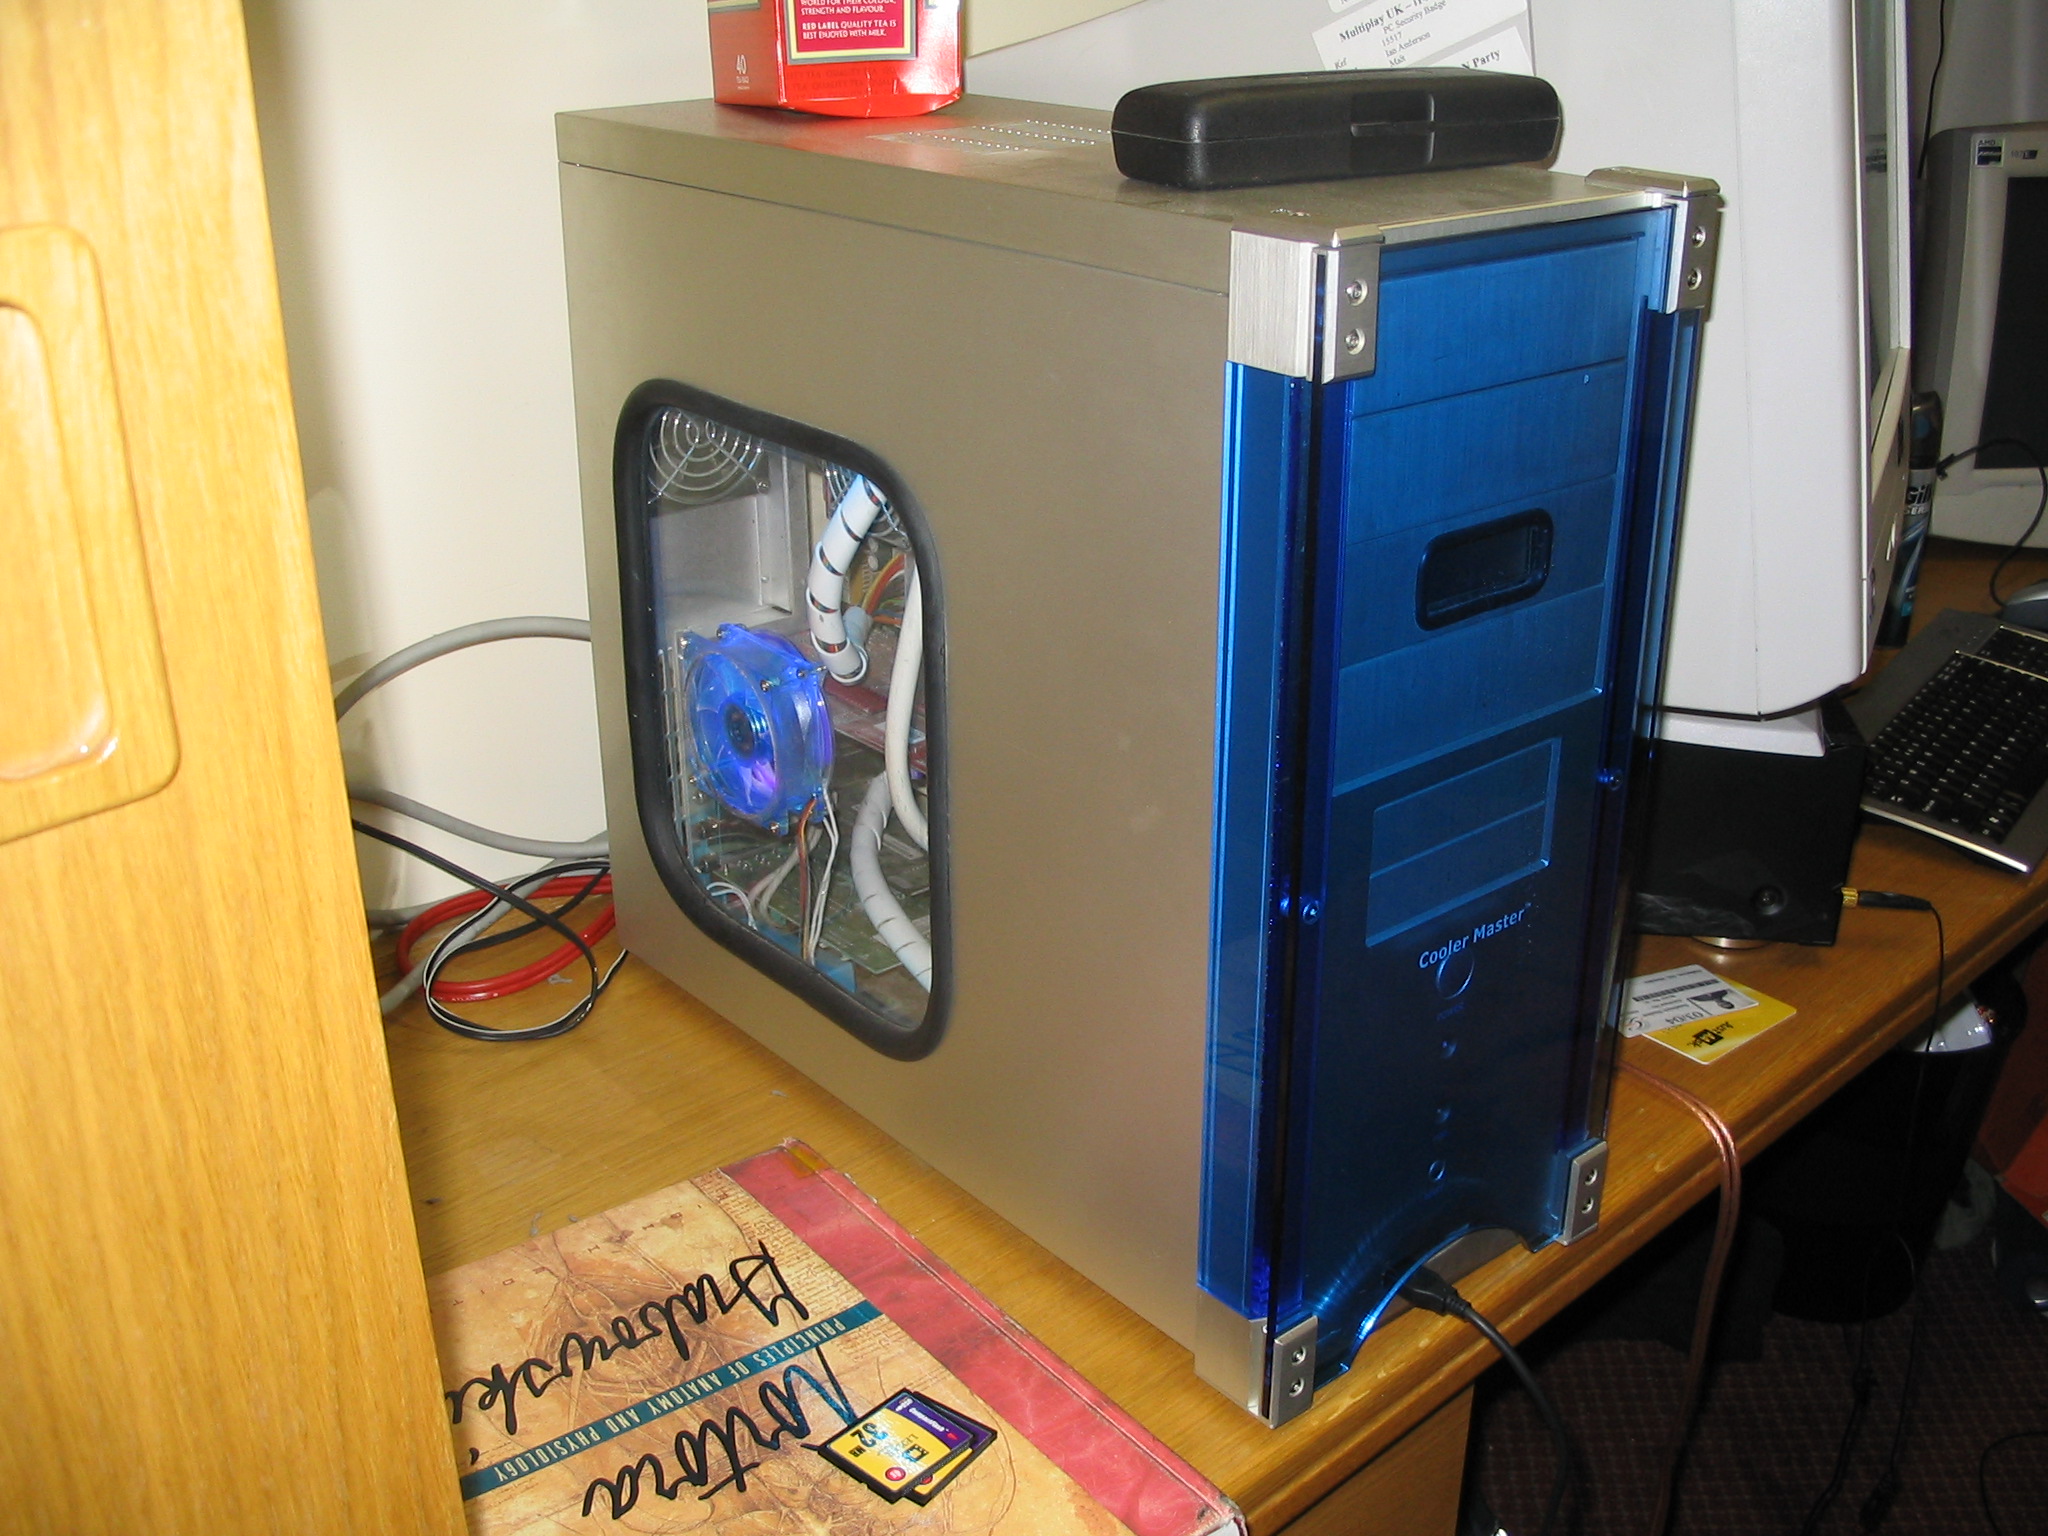
(Notice the retro MatrixOrbital mini-LCD in the CD-bay - more on this later!)
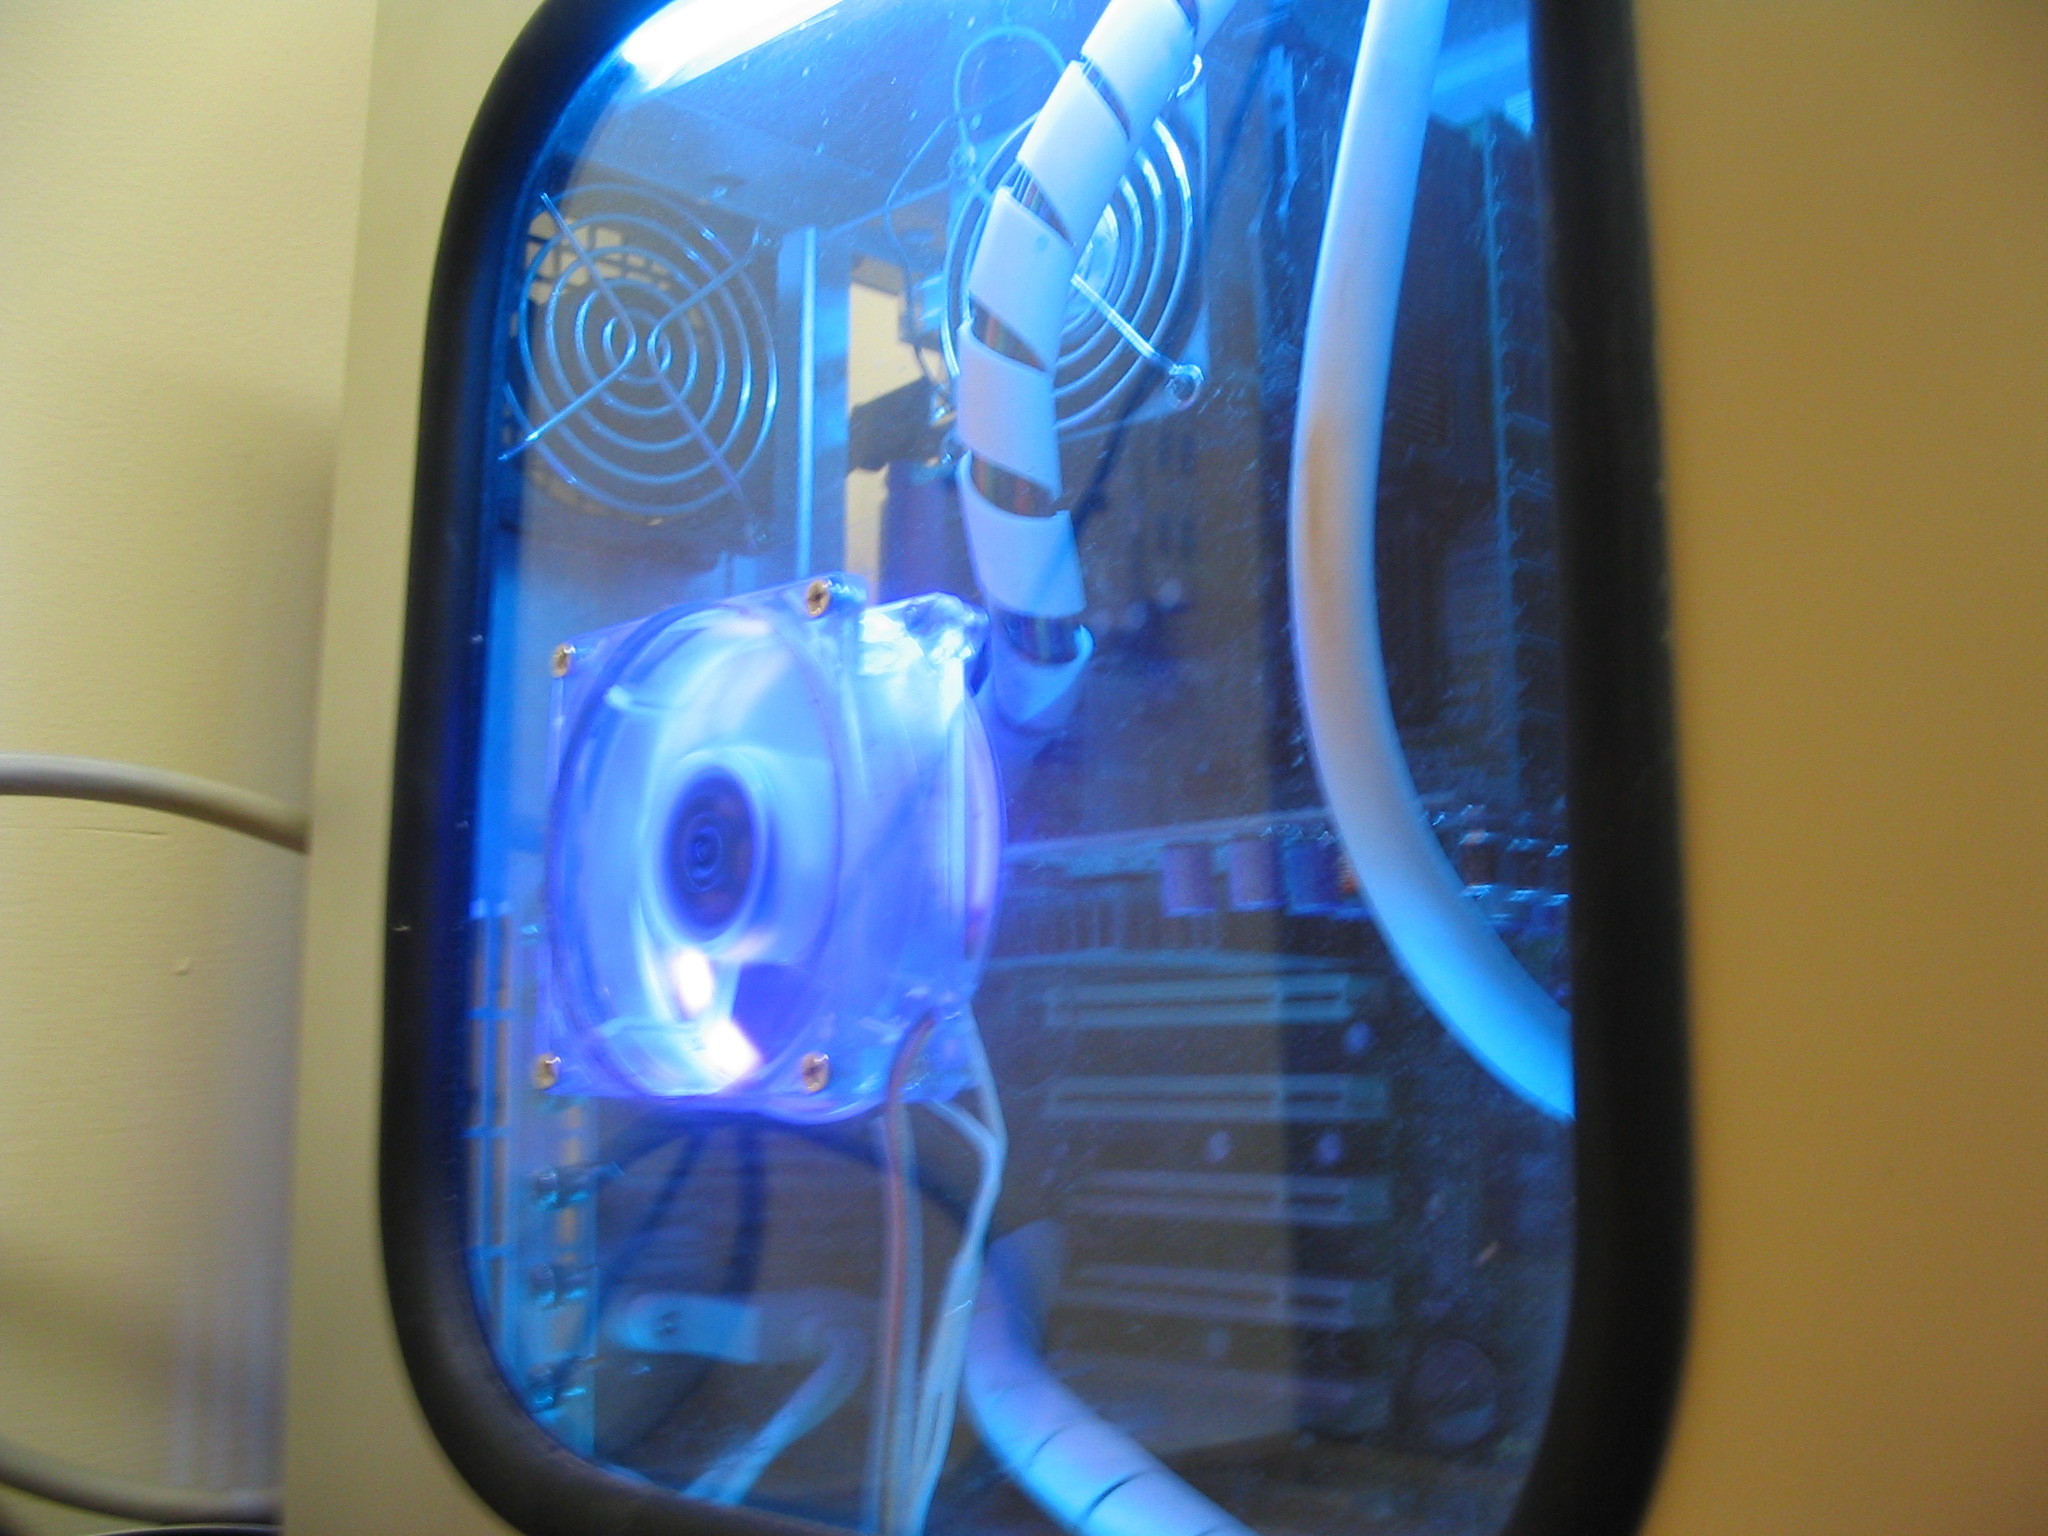
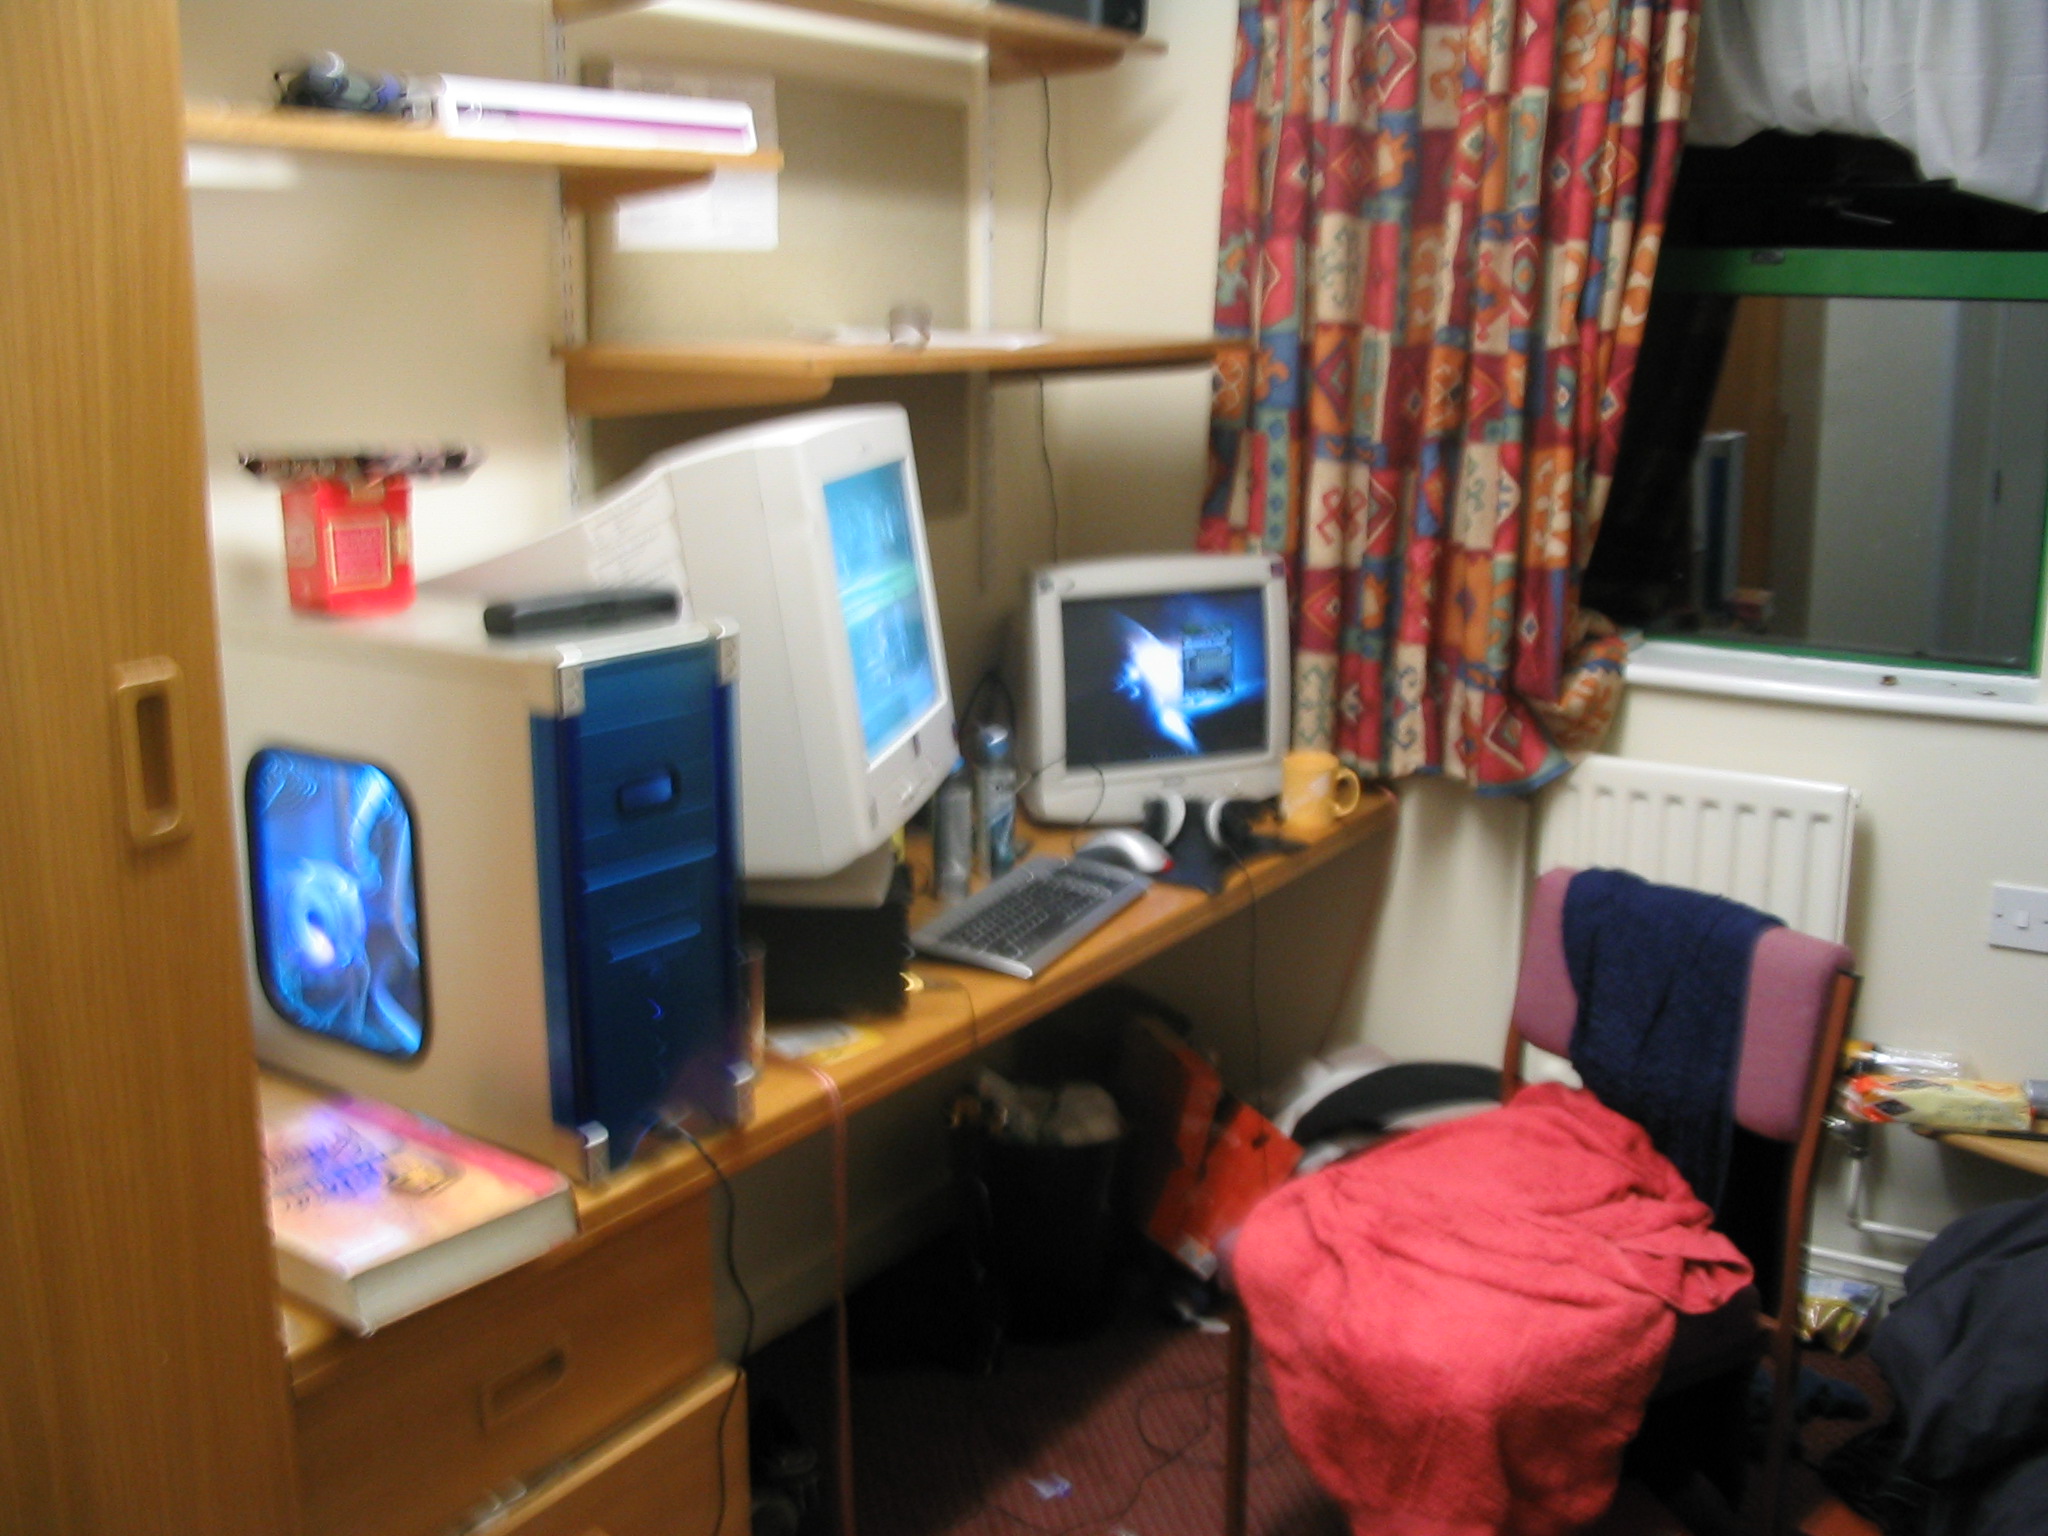
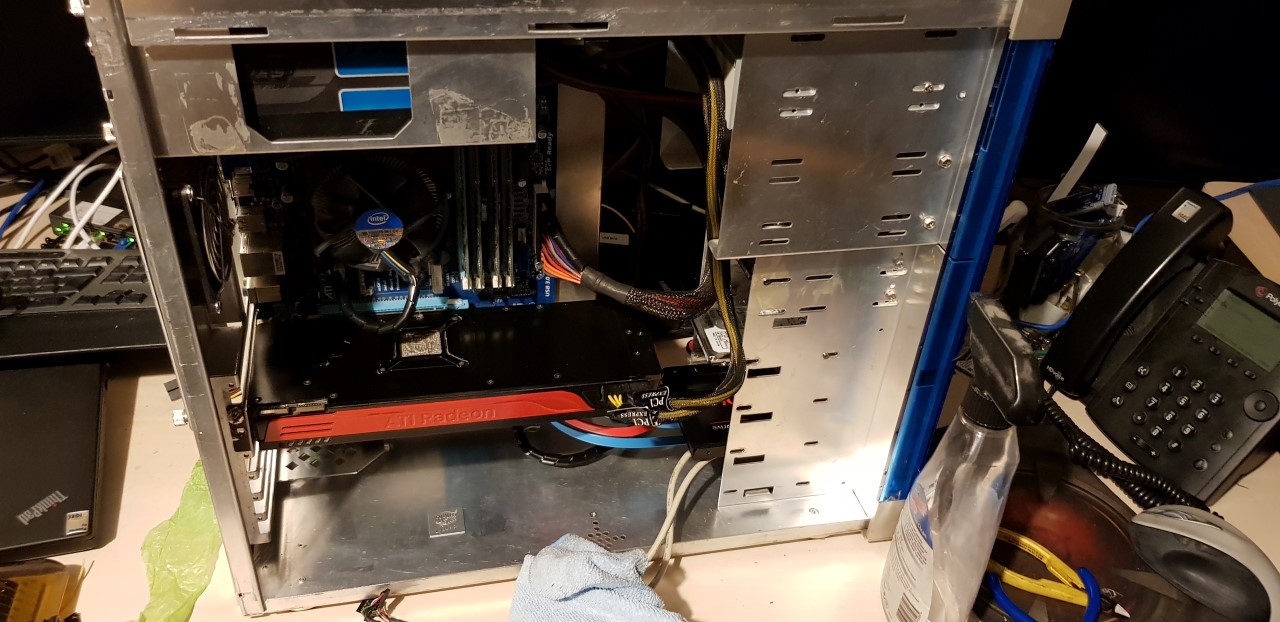
So, basically after all the years, many systems, many LAN events, god knows how many different configurations, the case looked like this:
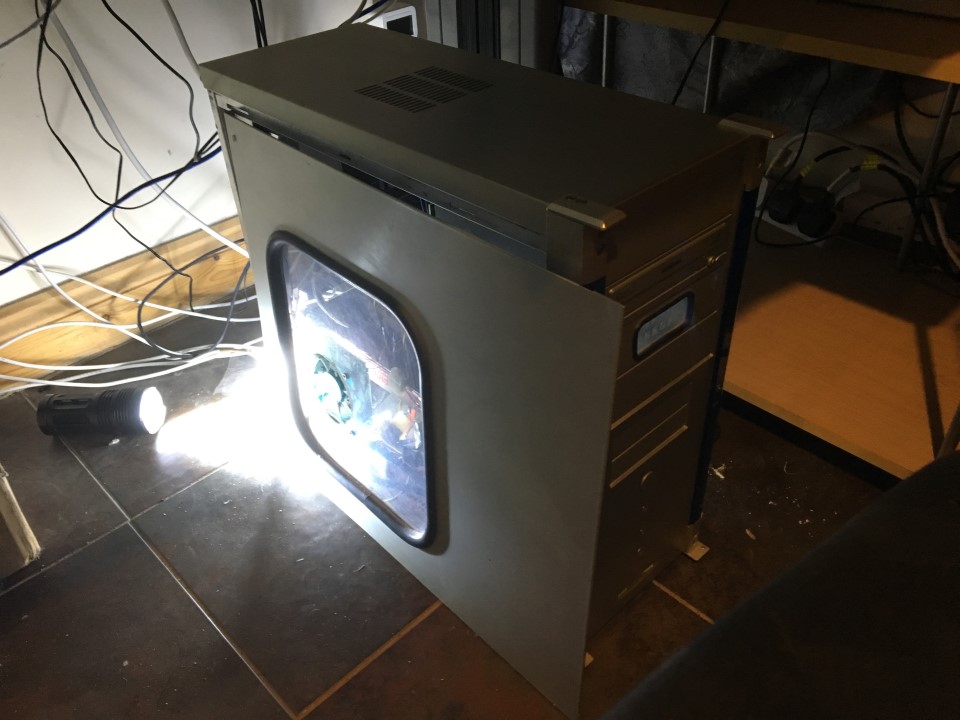
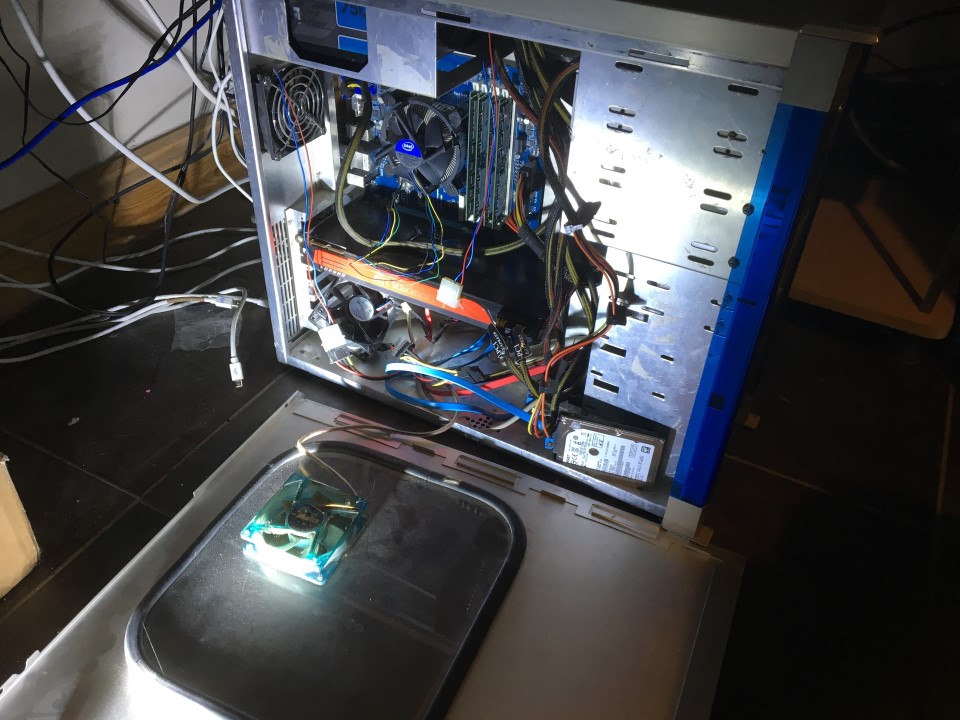
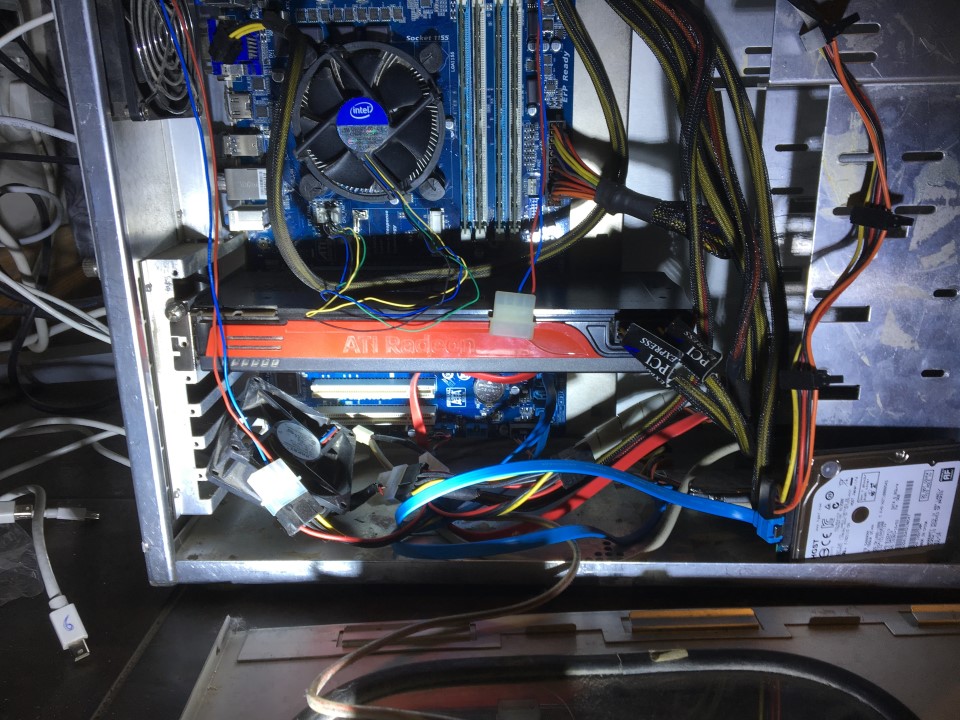
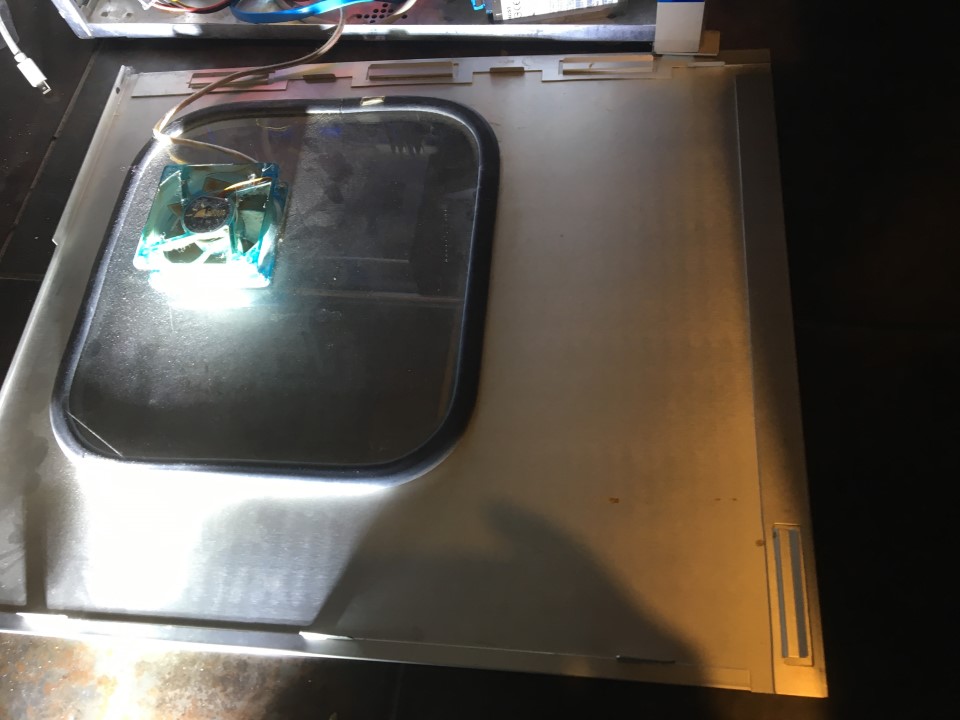
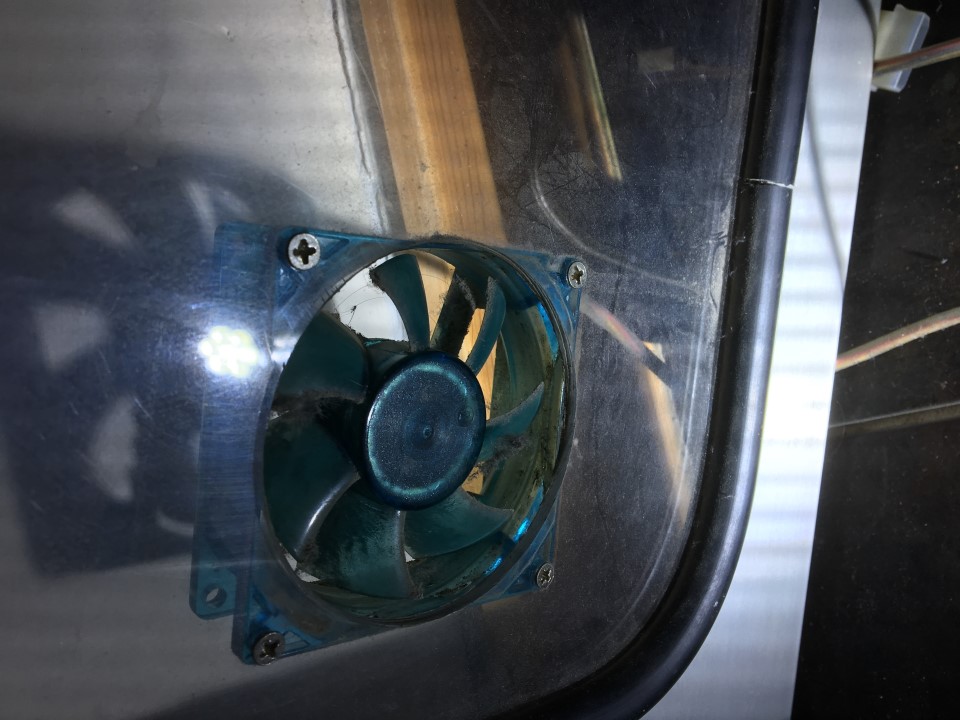
A shadow of it's former self, as you will surely agree.
However, seeing this sorry sight got me thinking. It's nearly Christmas, and I might have some free time to sort all the niggles and get it looking like new.
I unplugged the case, removed noth side panels, and got to work looking at all the things that needed to be sorted. I thought, start with something simple, just to get cracking.
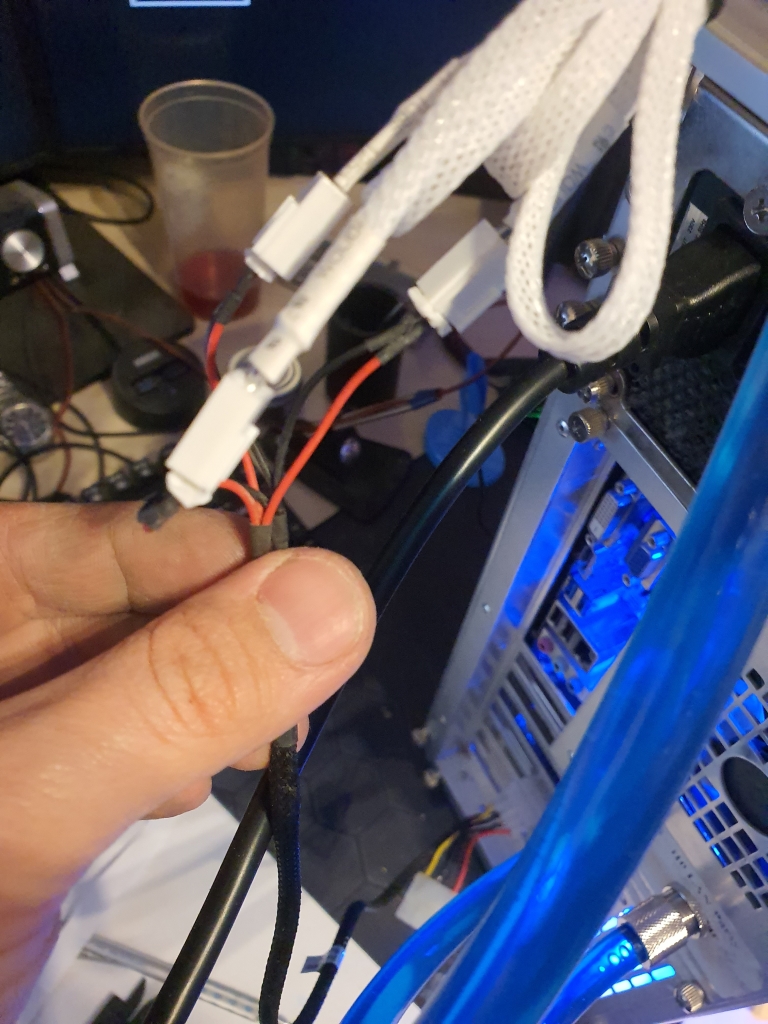
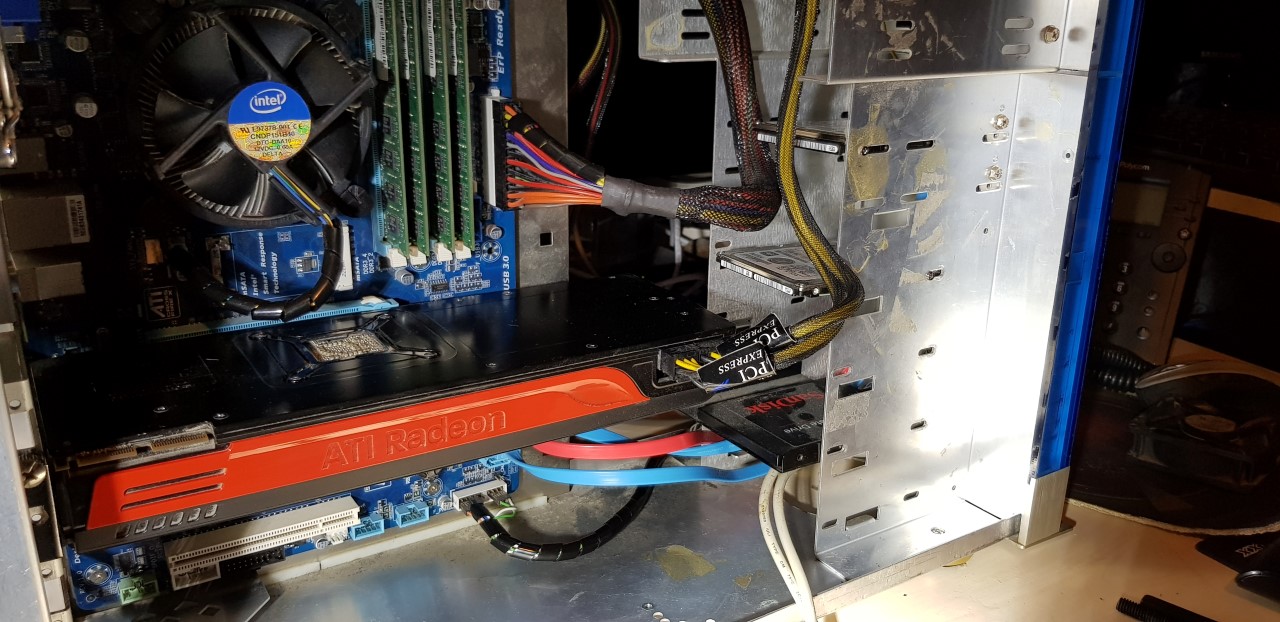
The CPU heat-sink fan cable was long enough to snare local wildlife, as seen here (if I am too lazy to correct this picture, it will be on it's side):
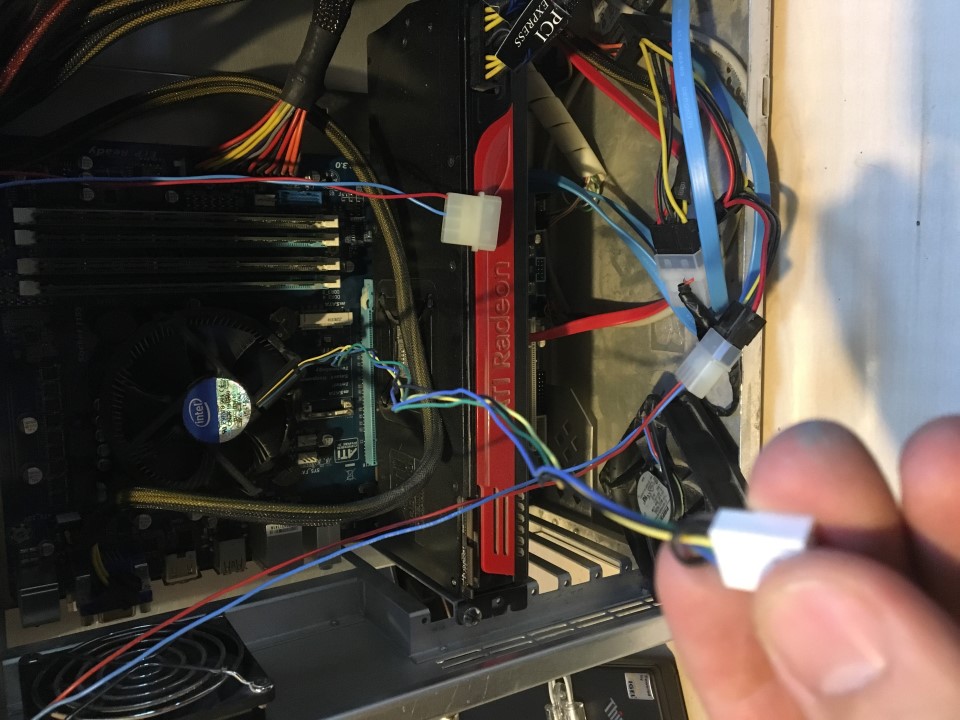
I figured "yeah, I can handle this" and took the first step. Originally, I had planned to pull the pins out from the 3 pin connector, snip the cables, and reuse the original pins. To cut a long story short, it failed. The pins fell apart, and my fingers were nowhere near as nimble as they had been 20 years ago. So, i snipped a connector of an old CPU fan, and soldered it to the now shorted fan cables, and then heat-shrink treated my ball bearing type solder blobs.
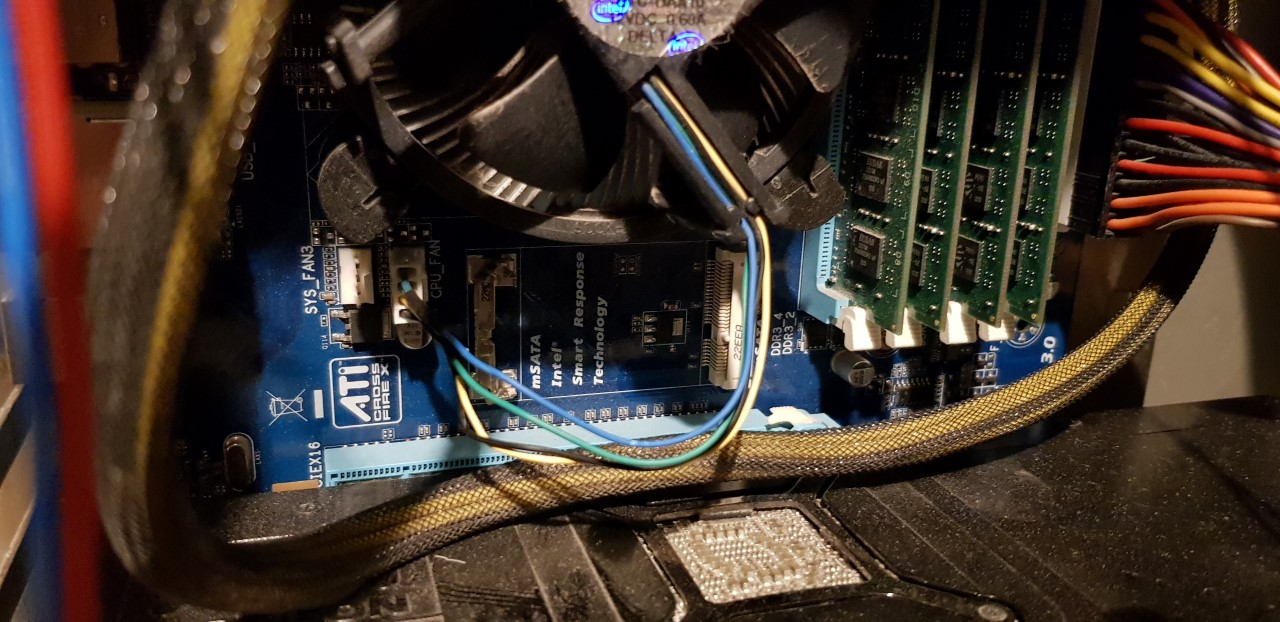
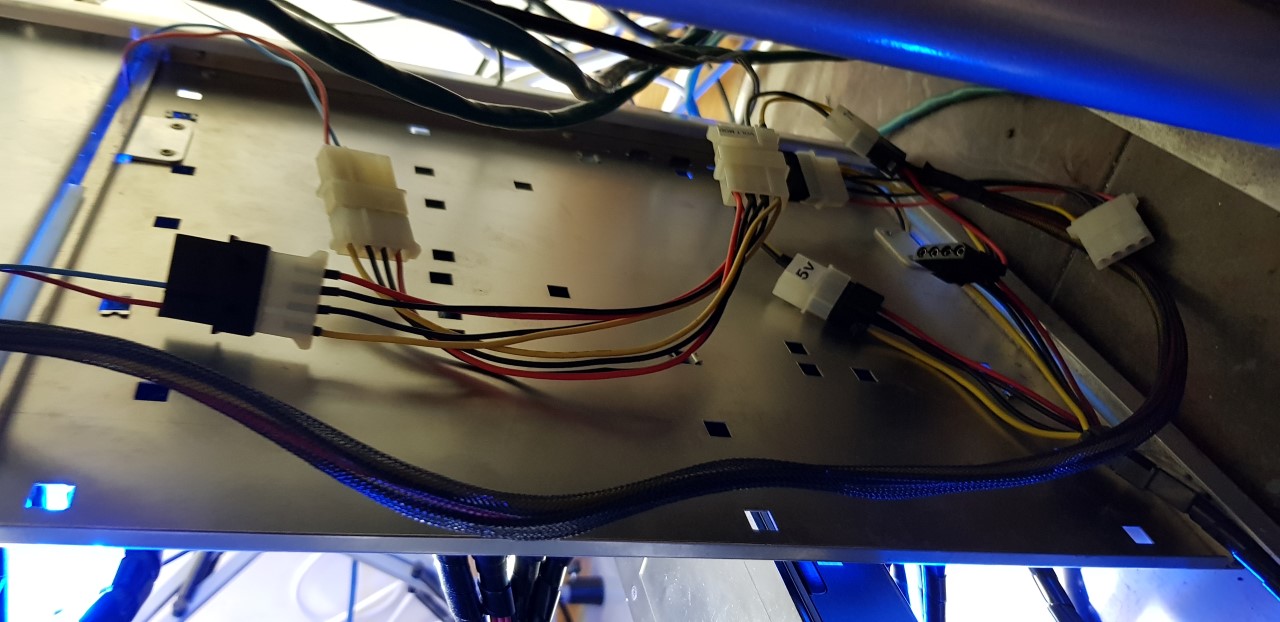
It looked proper, like someone clever had done it! Now I really had a taste for it again. Emboldened by this success, I drew out a line diagram on notepad (a real one...) to plan my next escapades. Some of which would surely contain cable-wrap!
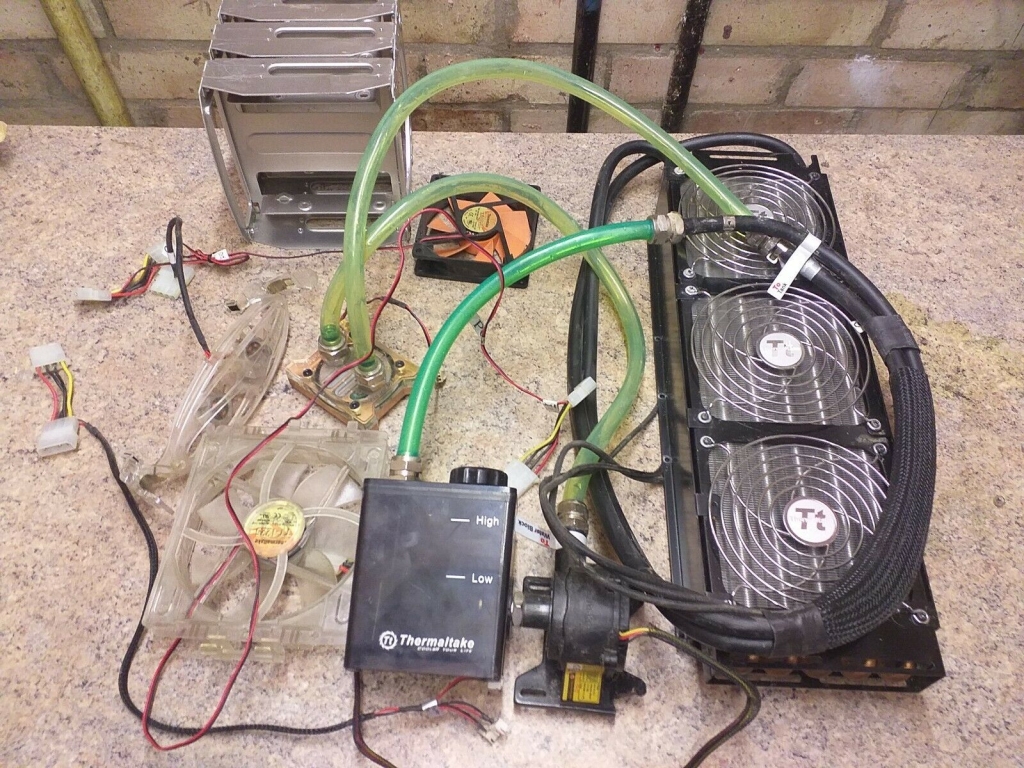
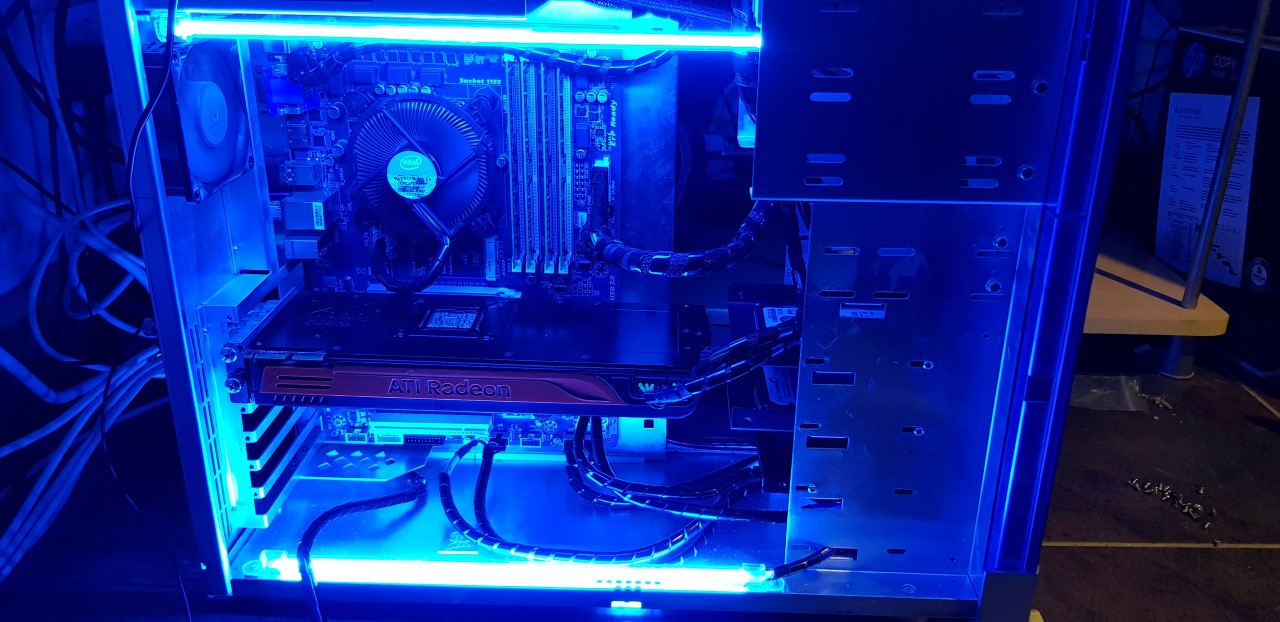
The goal here is to firstly tidy it all up, get it looking nice and clean up the case to make it look more like brand new. Then once it is all sorted I will look to plan and hopefully recreate a proper open loop type cooling system from parts as cheaply as possible
TO BE CONTINUED!

So with all this in mind, bearing in mind that this ancient case still houses my main system, and has done since the day it landed into my sweaty, grimy teenage hands all those years ago. It was purchased for the princely sum of £240, but has proved it's worth over and over again. Its simple presence today is a reminder to me that if you buy right the first time, you never have to buy again!
The very first thing I did once the courier turned up nearly 5 days after ordering with EXPRESS delivery (kids today, you have no idea how much of a lottery early online ordering was from enthusiast type stores!) was to take the side panel off, and drive it down (in my modified 1981 mini-van) to the nearest industrial estate to ask a chap if he would cut a large hole into the pristine aluminum side panel. Initially he accepted, although was very confused. Perhaps he thought I was a bit special, but once he found out the cost of the item, he refused to take responsibility. He then lobbed me the massively dangerous bit of equipment, a metal ruler, and essentially just said "Crack on son".
A few seconds of rapid fire explanation of how said equipment worked, and I put a cut in the middle of the panel as a test, it worked.. It was a bit wavey as the ruler was thin, and the smelly, sweaty, stained gloves he whipped off his own gorilla hands only moments before were far from helpful in deftly holding such a dainty guide. Not to mention the Parkinsons like shake that was now emanating from my body caused by picturing the face of my parents when I would have to pretend the side panel from my quarter of a thousand pound PC case was an optional extra after I had obliterated the original.
Still, I held it together, marked out the shape of the desired window, and powered through, the precipitation from my brow steaming away from the metal as the arc passed through premium alloy like a cheesewire.
It was done. There was a little splatter, but the large rubber window trim covered it up perfectly, and fear of cutting the perspex with a hacksaw blade to fit the hole seemed pure childsplay in comparison.
I was out of there before any management could throw a fit, and the chap asked for a fiver, which i duly paid! I think i actually did a bit of a wheelspin on my way out there, so eager was I to get myself home to begin the build of the only thing that really mattered in my life. My CS rig!
Thus began my love affair with my PC case.
When it came with me to uni around 2003, it looked like this, and I was, frankly, the coolest person on the planet:
(Notice the retro MatrixOrbital mini-LCD in the CD-bay
 - more on this later!)

So, basically after all the years, many systems, many LAN events, god knows how many different configurations, the case looked like this:


A shadow of it's former self, as you will surely agree.
However, seeing this sorry sight got me thinking. It's nearly Christmas, and I might have some free time to sort all the niggles and get it looking like new.
I unplugged the case, removed noth side panels, and got to work looking at all the things that needed to be sorted. I thought, start with something simple, just to get cracking.
The CPU heat-sink fan cable was long enough to snare local wildlife, as seen here (if I am too lazy to correct this picture, it will be on it's side):

I figured "yeah, I can handle this" and took the first step. Originally, I had planned to pull the pins out from the 3 pin connector, snip the cables, and reuse the original pins. To cut a long story short, it failed. The pins fell apart, and my fingers were nowhere near as nimble as they had been 20 years ago. So, i snipped a connector of an old CPU fan, and soldered it to the now shorted fan cables, and then heat-shrink treated my ball bearing type solder blobs.

It looked proper, like someone clever had done it! Now I really had a taste for it again. Emboldened by this success, I drew out a line diagram on notepad (a real one...) to plan my next escapades. Some of which would surely contain cable-wrap!
The goal here is to firstly tidy it all up, get it looking nice and clean up the case to make it look more like brand new. Then once it is all sorted I will look to plan and hopefully recreate a proper open loop type cooling system from parts as cheaply as possible

TO BE CONTINUED!
Last edited:


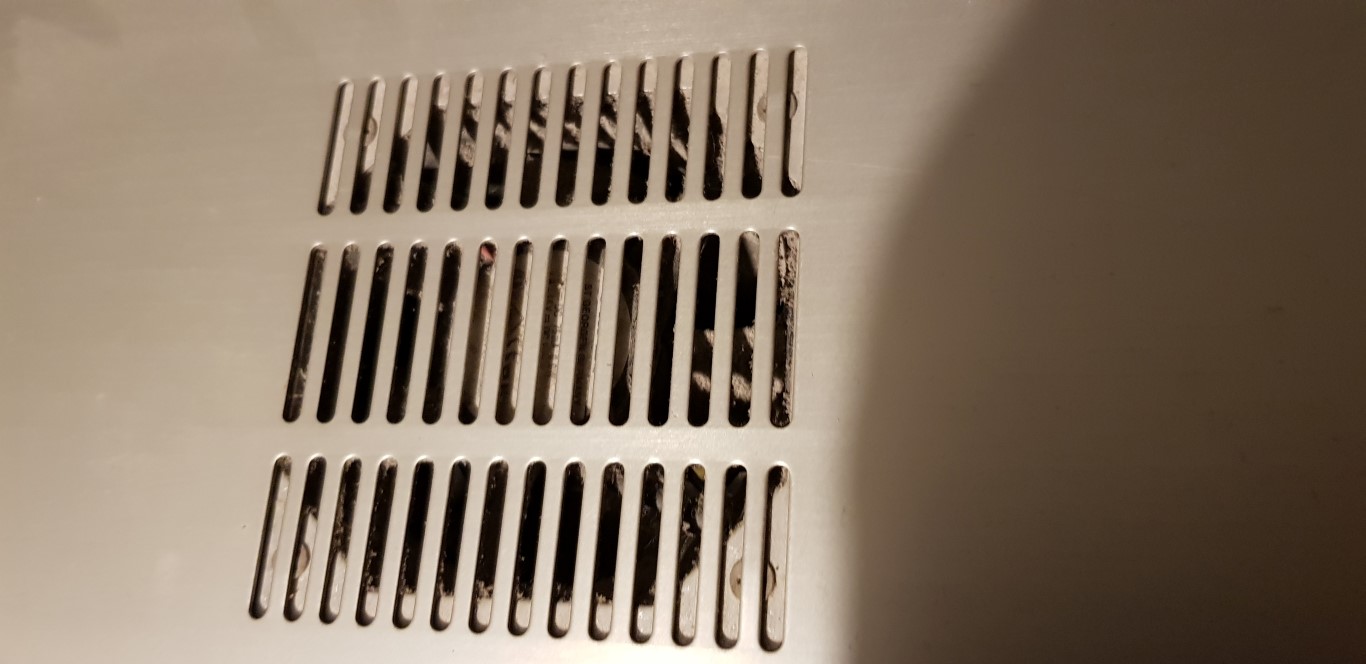
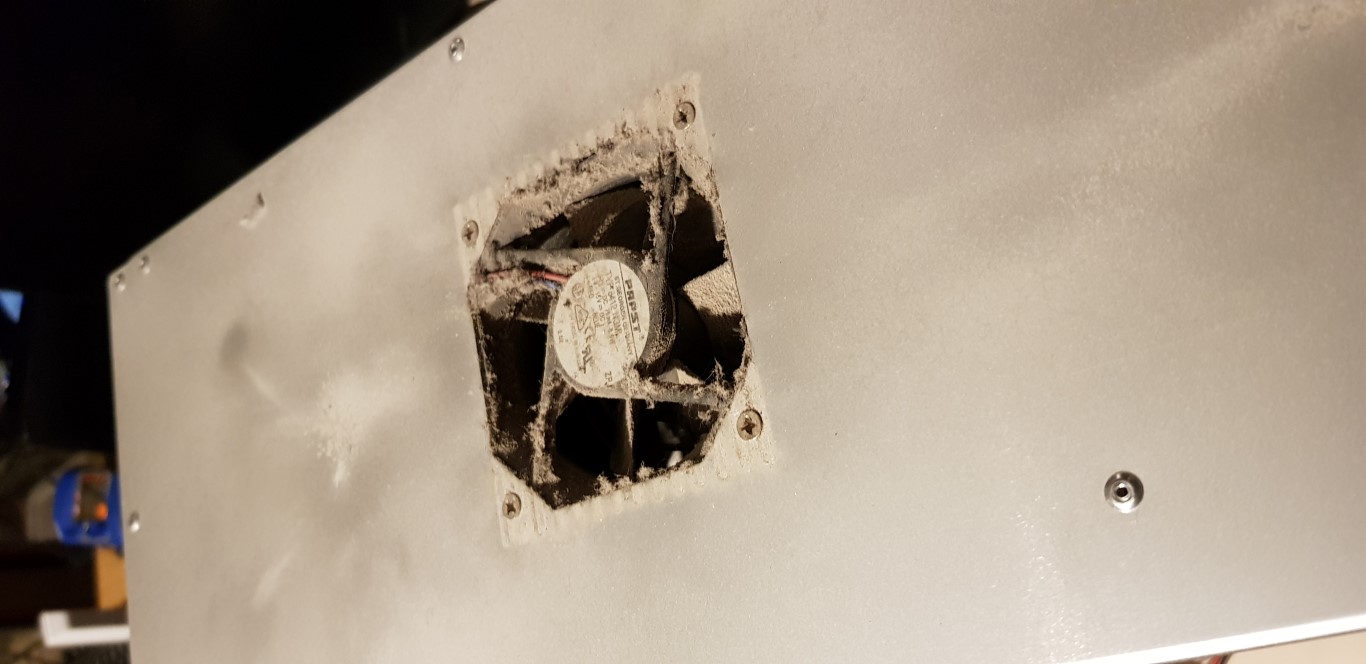



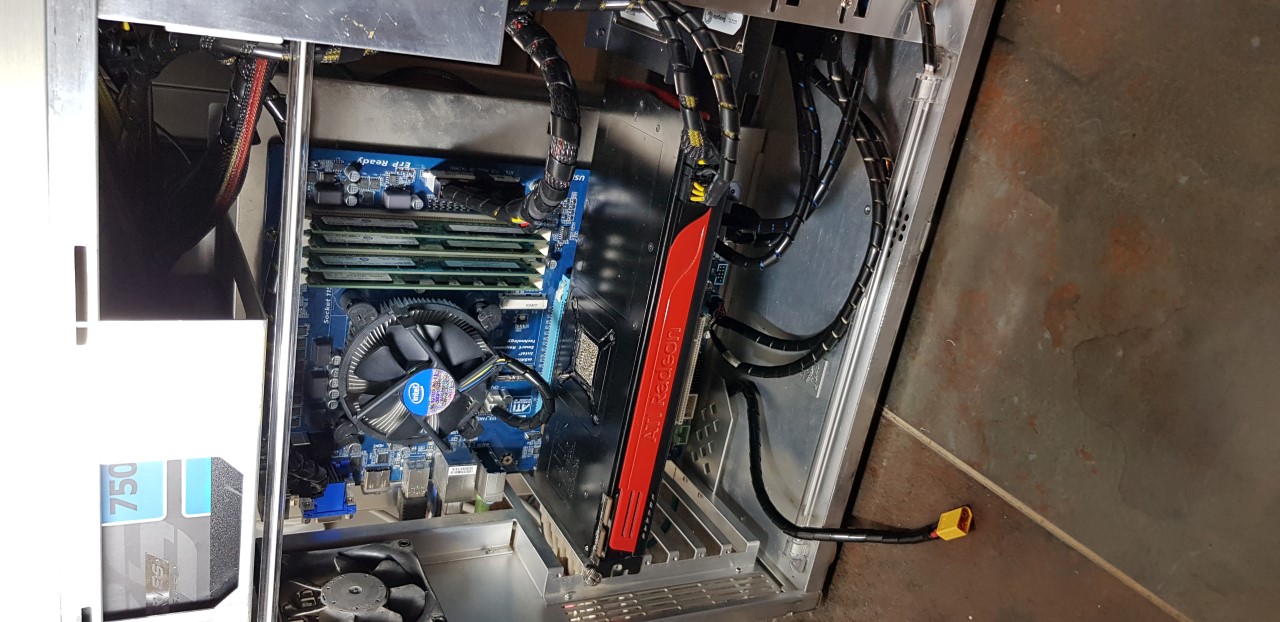
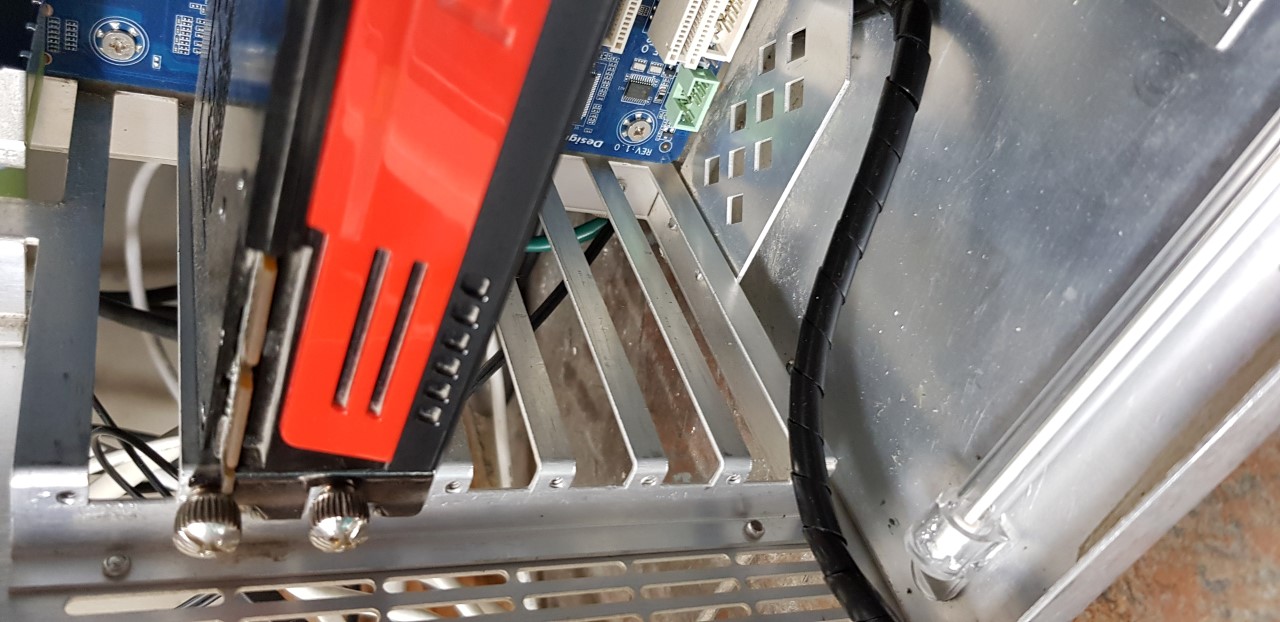
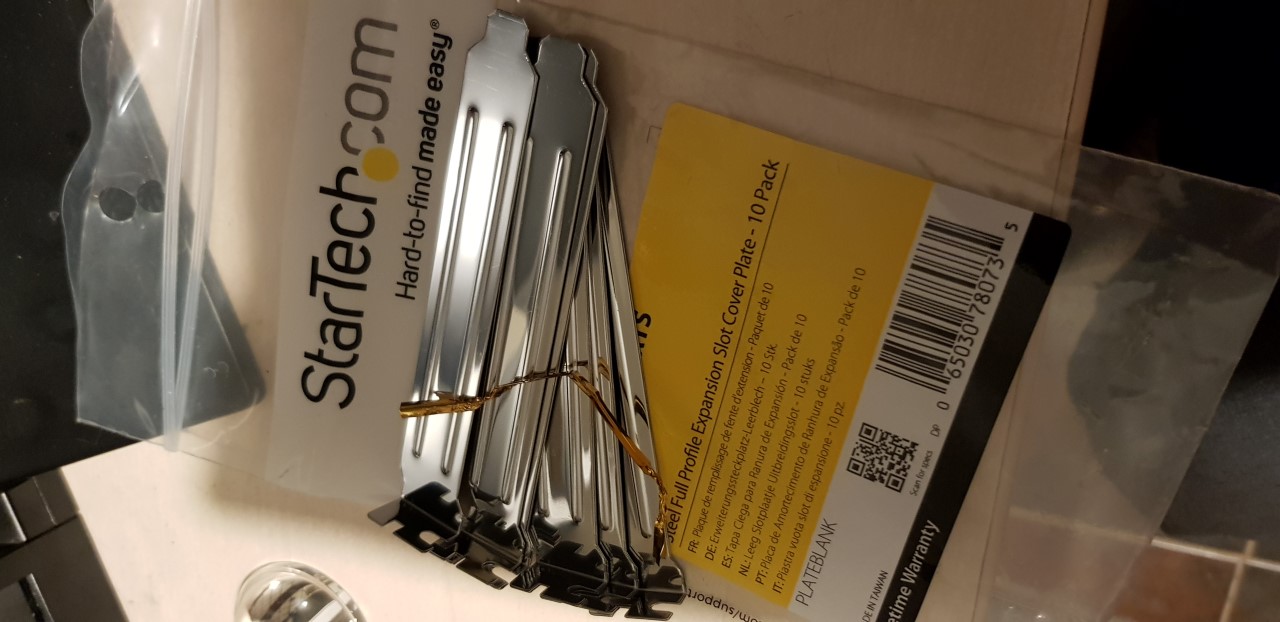
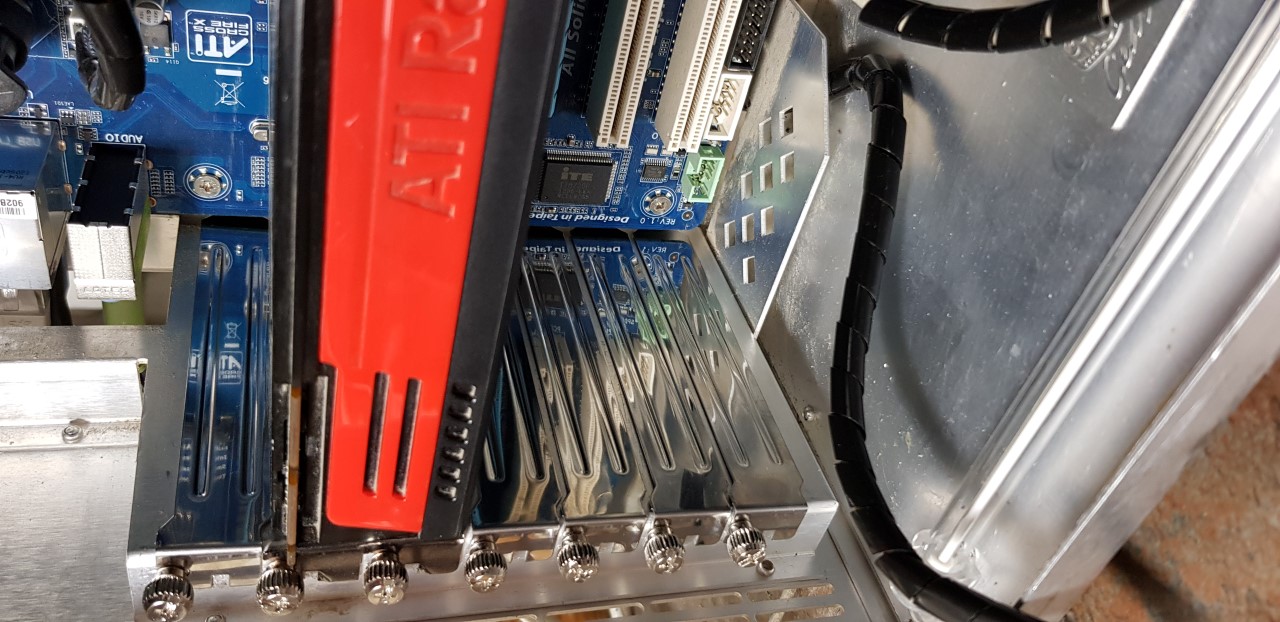

 You could build your whole system in it and then camp out in one of the opposite vacant corners in a 4 man tent.