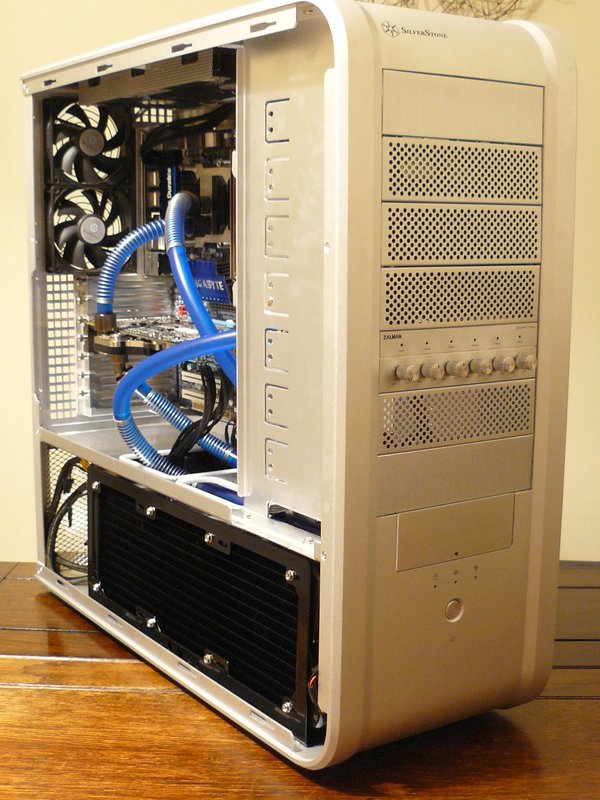
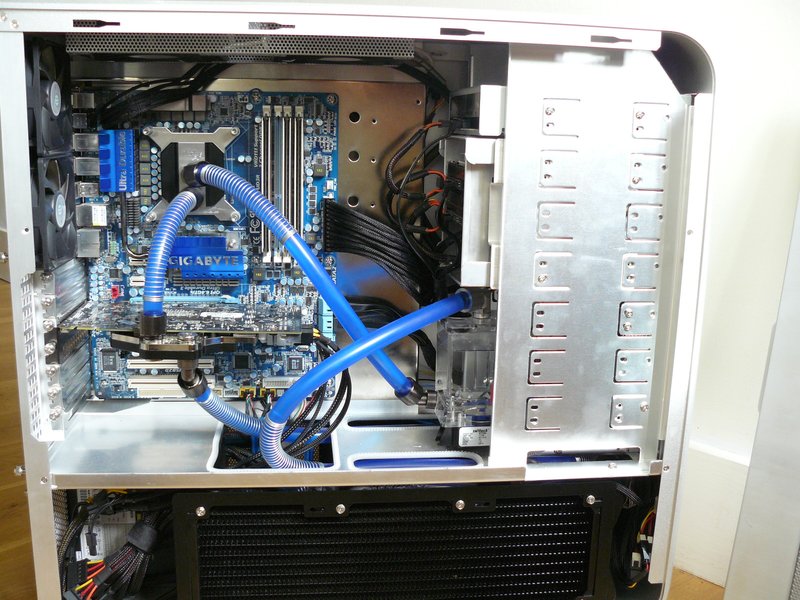
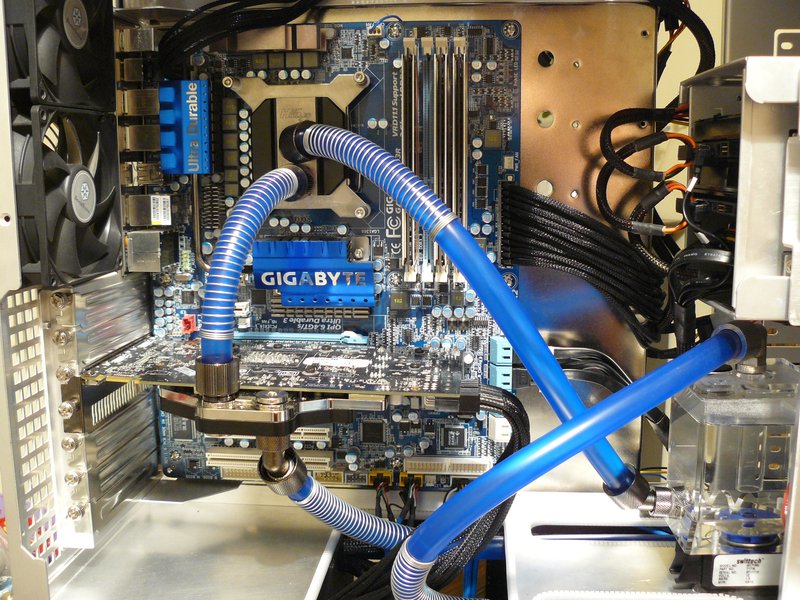
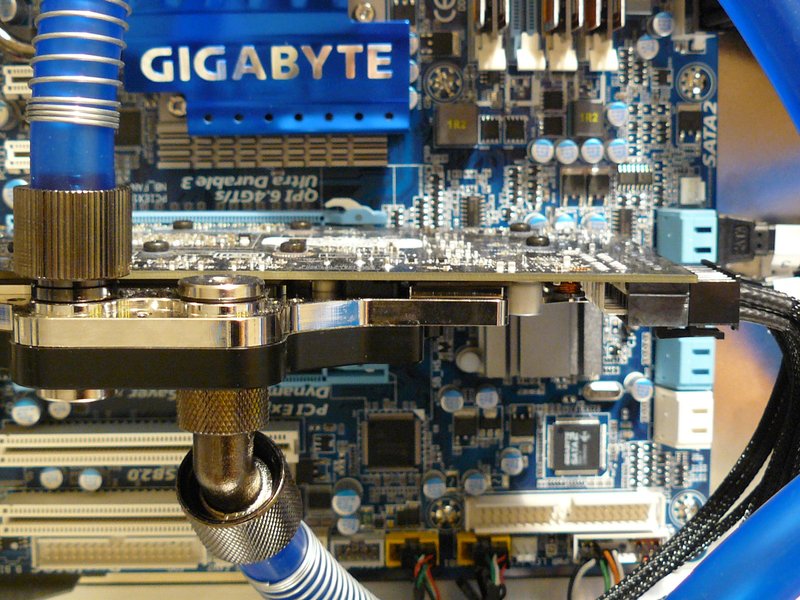
Project "Simples" TJ07

Man of Honour
Joined
30 Oct 2002
Posts
15,849
Location
Surrey
So I missed the boat on the TJ07 gold rush and am coming to the case after everyone and their dog has done a TJ07 project. :p:

So you may all be sick of them by now but by god its a lovely case. I've had all sorts of cases in the past and do tend to spoil myself every now and then and go high, from old Coolermasters to big ass Lian-Li I've often bought the good stuff and then kept it for quite a while.

Which brings me to this build. Its a rebuild of my trusty old home computer, you know the one that you keep on upgrading, giving it new leases of life without changing the facade too much.

Over the years this one has been a XP1800+, an FX60 workstation, Q6600, Q9650, and i7 920. All with requisite motherboards, go faster stripes and more recently watercooling.

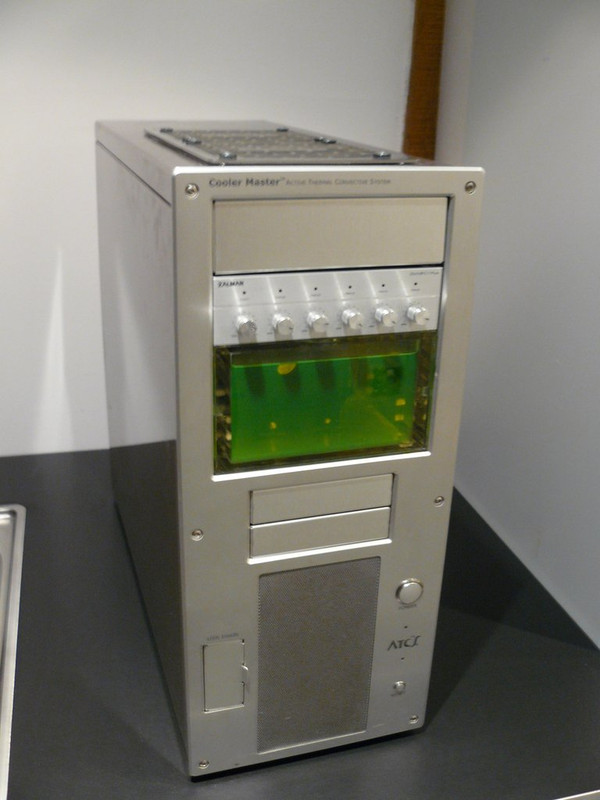
You may have seen pics of it, you may be an afficionado of the brnd and feel I have committed sacreligeous acts on it in recent times but if not I'd like to introduce Mars, aka Bigjobbie. :)
P1100122.jpg
P1100126.jpg


Current Specs:
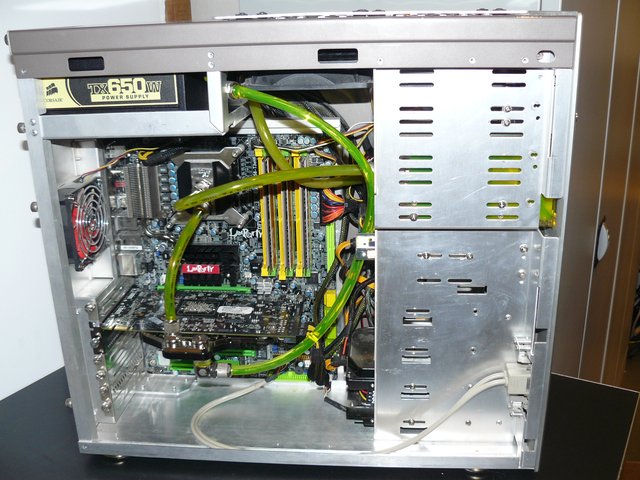
  • Case: Coolermaster ATCS 201 (Circa £200/$250 in 2001) :shocked:
  • Mods: 120.2 Rad hole cut in the roof :eek:
  • Mobo: DFI X58-T3EH6
  • CPU: i7 920 D0
  • Memory: 6GB Crucial Ballistix 1600
  • Gfx: GTX460
  • HDD: 160GB SSD, 250GB SATA, 80GB SATA
  • Zalman ZM-MFC1 fan controller
  • Radiator: Swiftech MCR220QP
  • Fans: 2 x 120mm Redwings, 3 x 80mm Redwings
  • CPU block: HK 3.0 LT
  • GPU block: EK FC460 Nickel
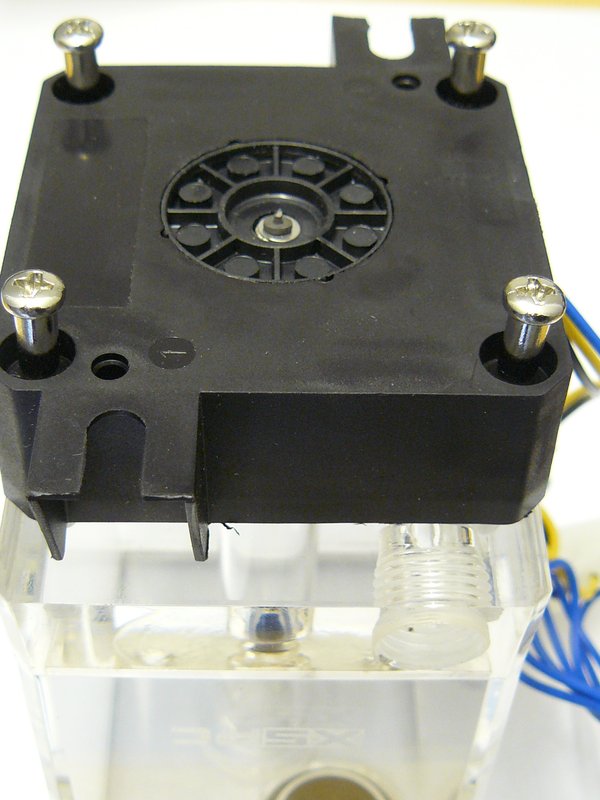
  • Reservoir/Pump: XSPC X2O 750 Bay Res Pump
  • 8/11mm clear tubing
  • Corsair 650W PSU

Plan is to move to a bigger case, this one is very cramped and I'm not getting the performance I know i can from the chip. So improve water setup, better temps, higher overclocks, mad leccy bills :eek:

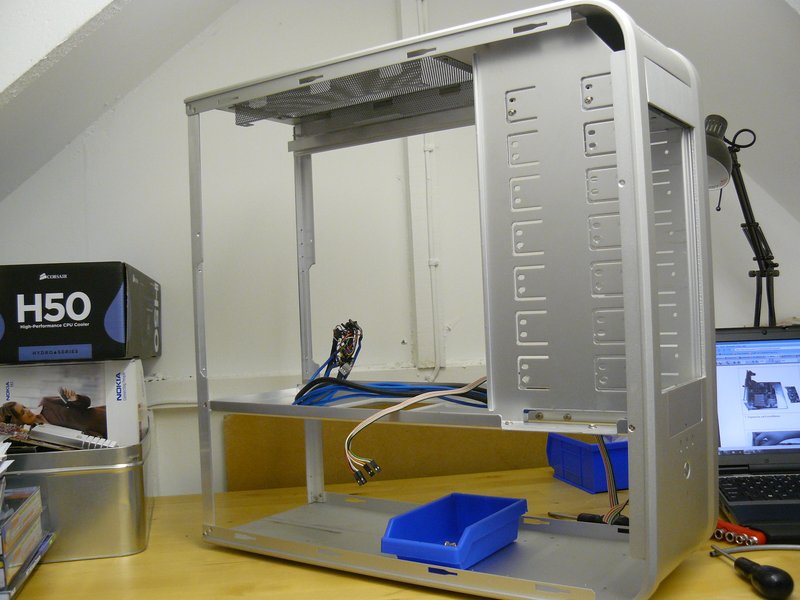
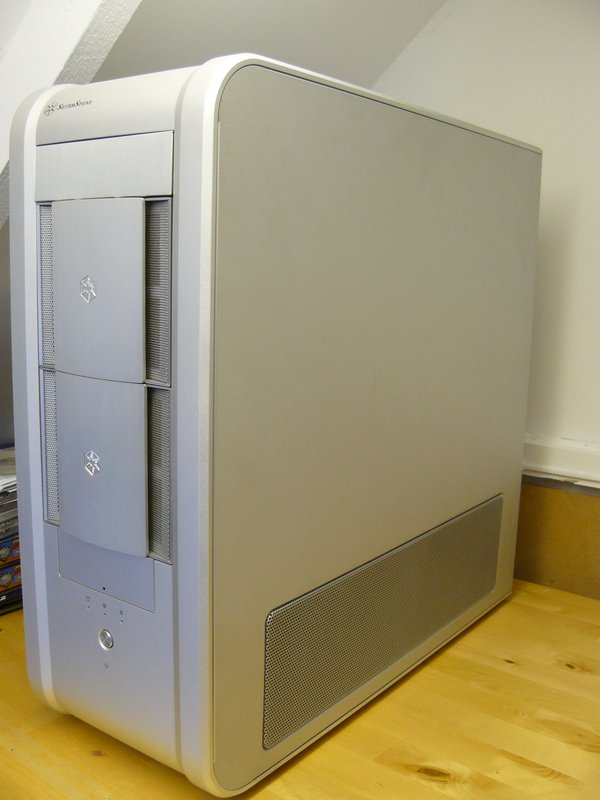
This is what I picked up second hand to replace the CM201 :D
P1100113.jpg


The guy had kept her in pristine condition, only the smallest of blemishes that you wouldn't notice if you weren't poring over the finish lookin for them. (not that I would!)

Note the Disk bays? Obviously he had been a bit of a storage nut, he told me he was selling the case to get one with more space for disks! But apart from that a great guy and a great buy. (I do like silver cases)

So whats going to go in there you ask?

Well from the old rig I'll be recycling: i7-920/GTX460/DDR3/HDD's/MCR220QP/Zalman ZM-MFC1/CPU Block and GPU block! ;)

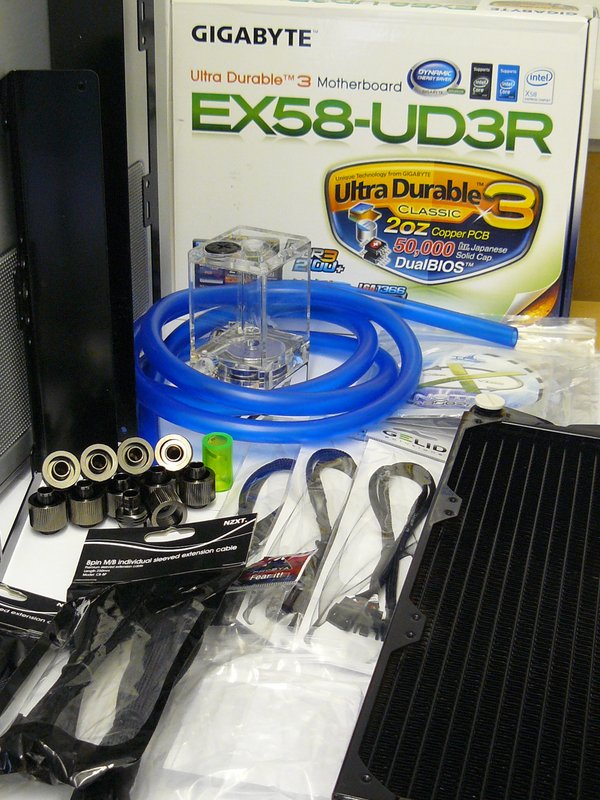
And adding this lot!

P1100116.jpg


Thats:
  • MCR320QP Radiator
  • Laing DDC-1+ Ultra Pump
  • XSPC DDC res top/Raditator stands(360+240)
  • Silver kill coil
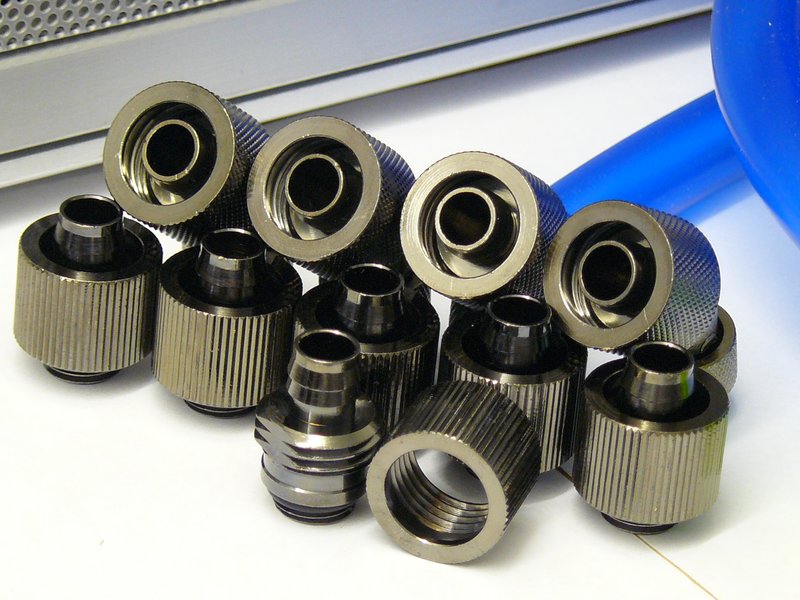
  • 7/16" ID - 5/8" OD (11-16mm) Blue tubing/Nickel fittings
  • Various power extenders.

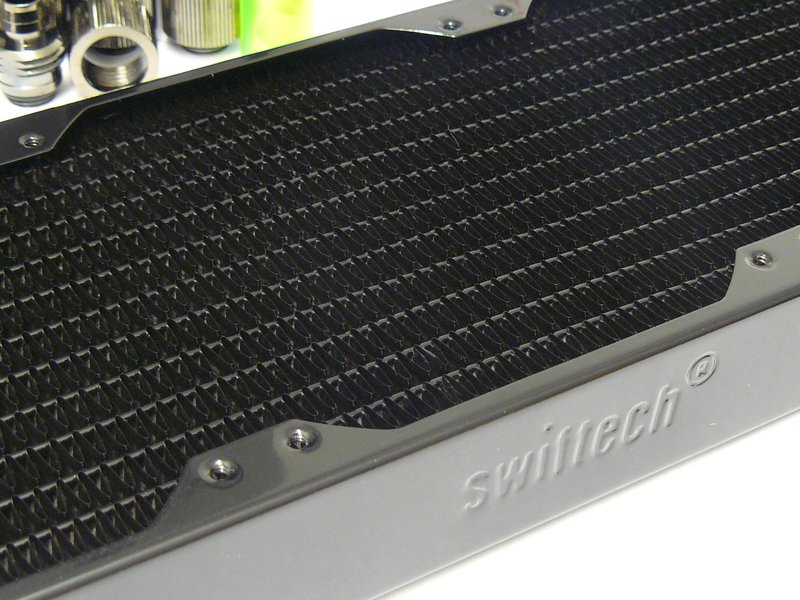
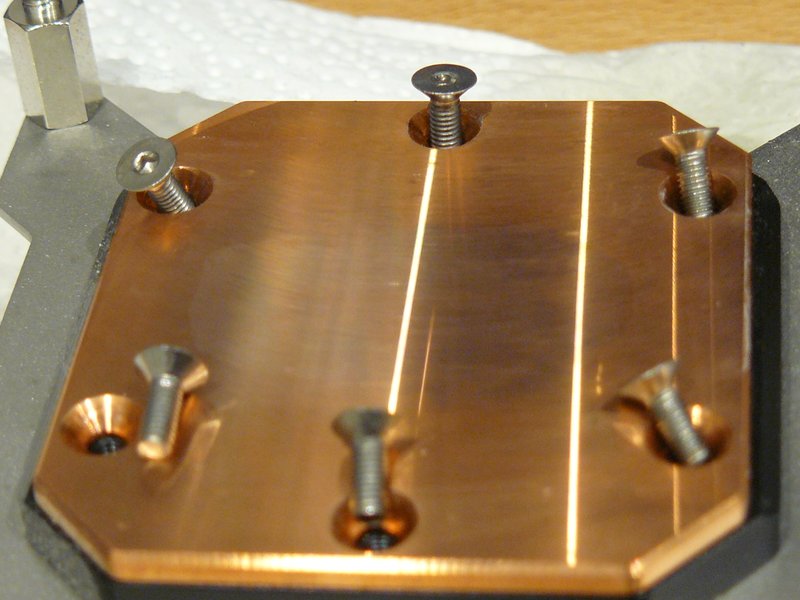
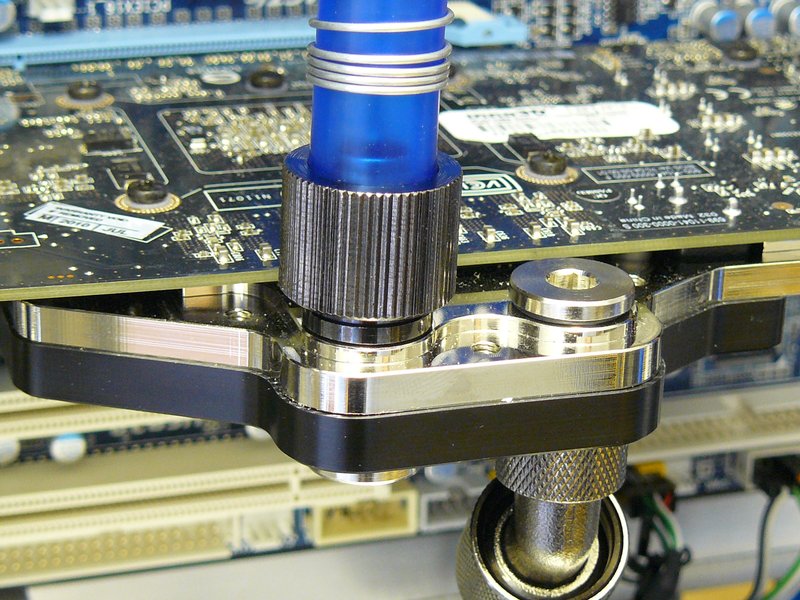
Lets take a closer look:

Fittings "numnum" & Rad detail :)
P1100115.jpg
P1100117.jpg


To be continued
 
Last edited:
OK so the time had come, I prepared the wife that she wouldn't have a computer for the day, braved the incredulous stares from my daughters when informed the same, and shut down the old girl (the computer not the wife!)

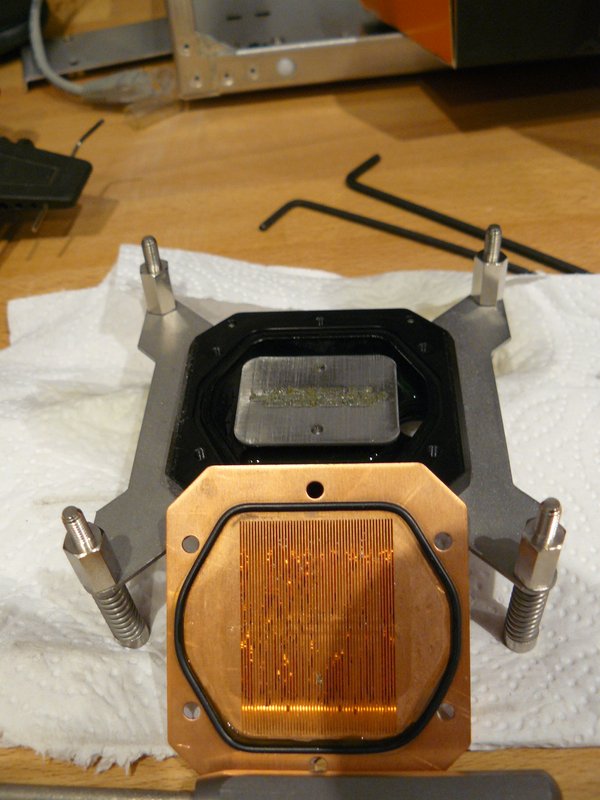
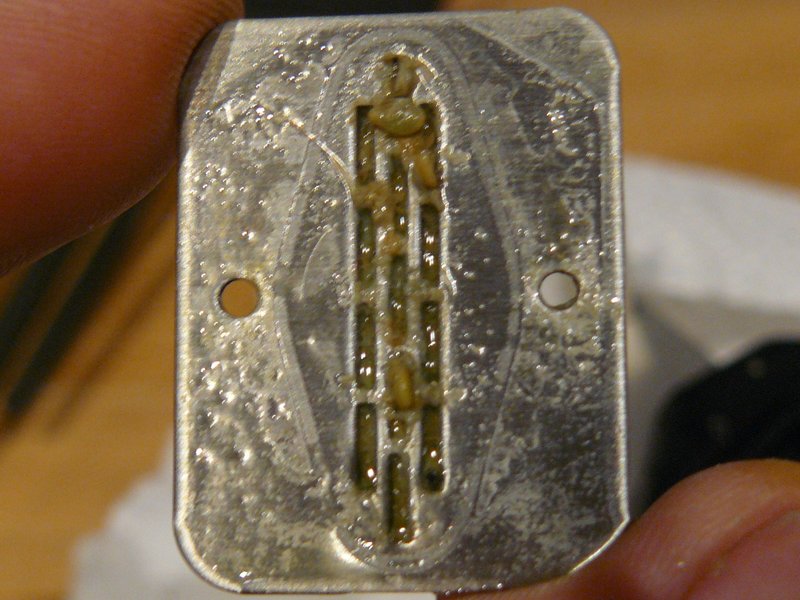
So time to strip out the old box, and I think you may guess what I found when I pulled the loop out. Lets just say I was having severe flow problems and thought my old 750 XSPC pump was knackered, but it wasn't.... oh no.

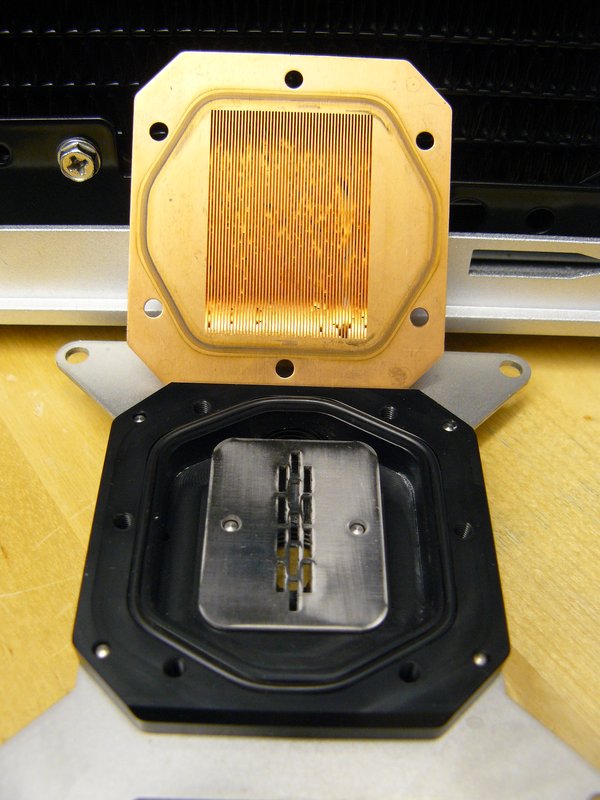
Heatkiller comes apart nice and easy... but Oh MY GOD...

P1100130.jpg
P1100131.jpg


What is it... let me out... mummy!! :eek: But we cleaned it up with dilute vinegar, tomato ketchup and good old elbow grease!
P1100135.jpg
P1100150.jpg


So it was probably plasticiser or some aditives in the coloured liquid I've been using up till now, but NO MORE, its Distilled water and kill coil (silver) for me an mah rigs :D.

Next up, time to strip down and build up... COR!

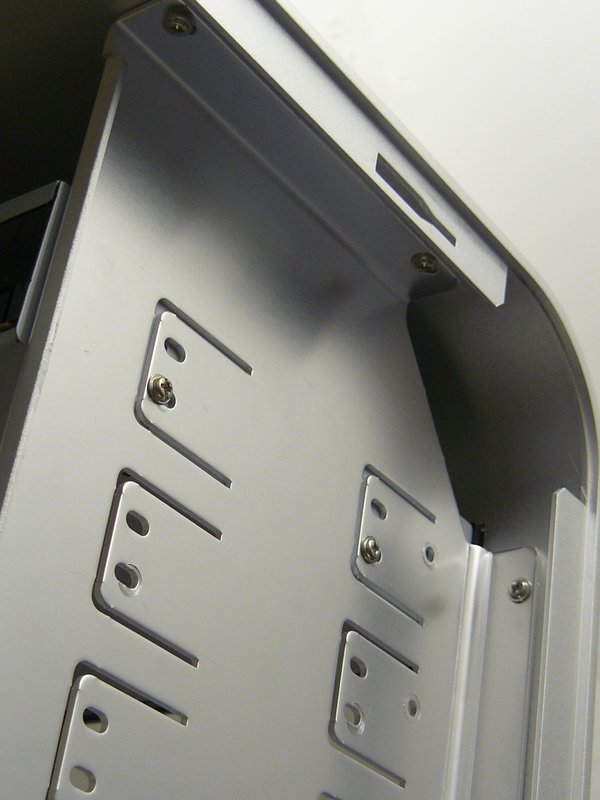
TJ07 has a LOT of screws allowing you to do just about anything with the innards.

P1100119.jpg
P1100118.jpg


And allows you great access while you are working on the rig, you can actually break this down even further but I didn't need to I hoped.

P1100120.jpg


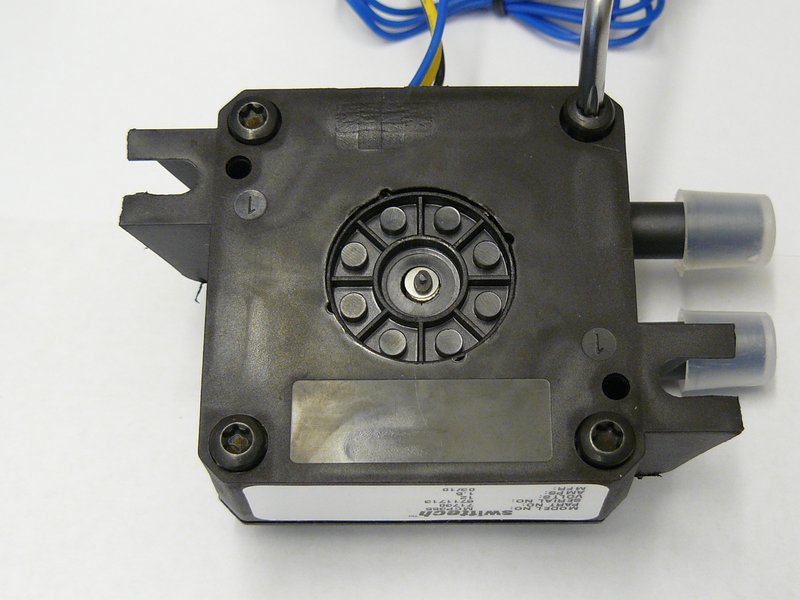
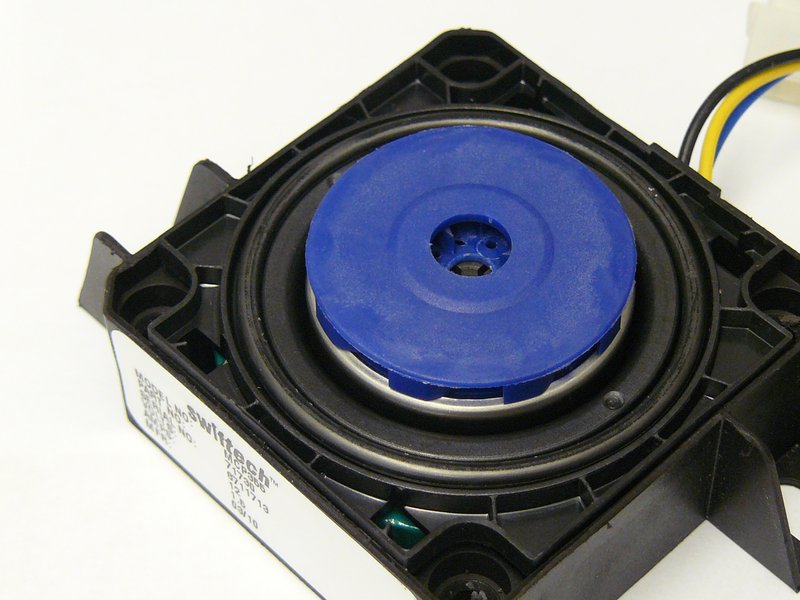
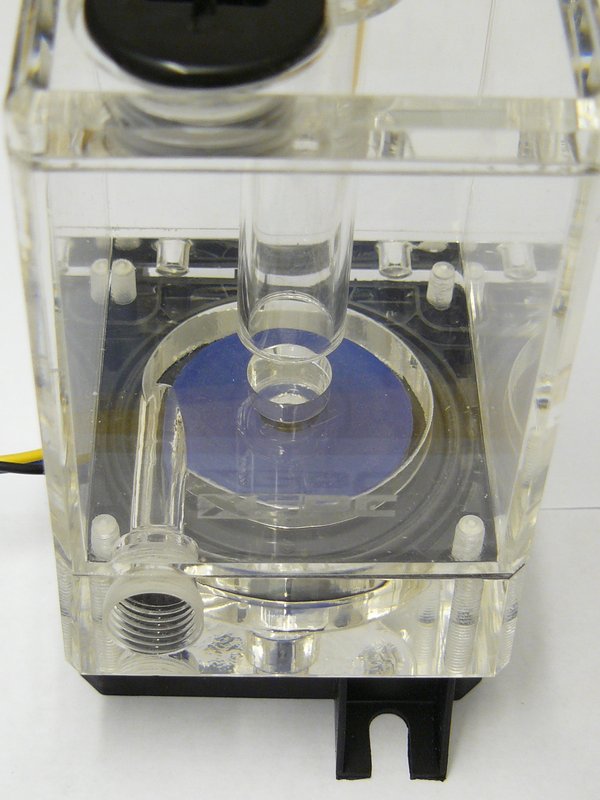
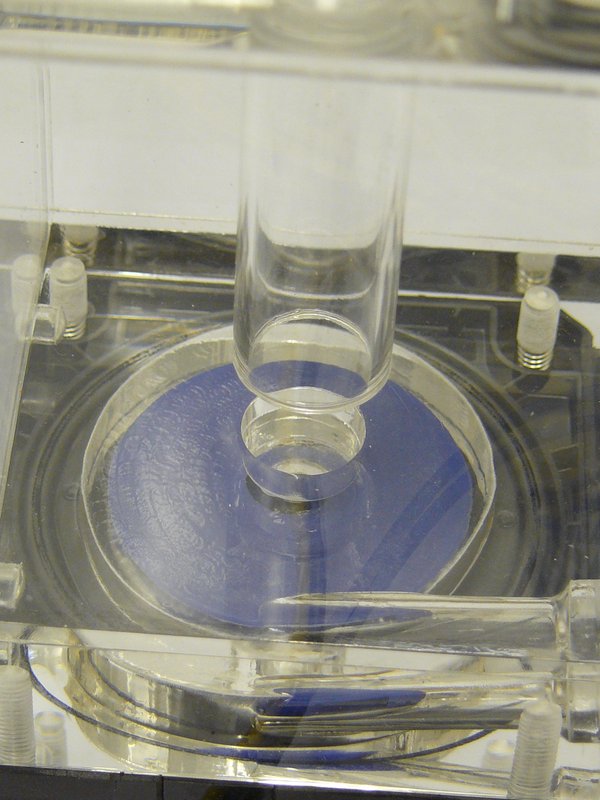
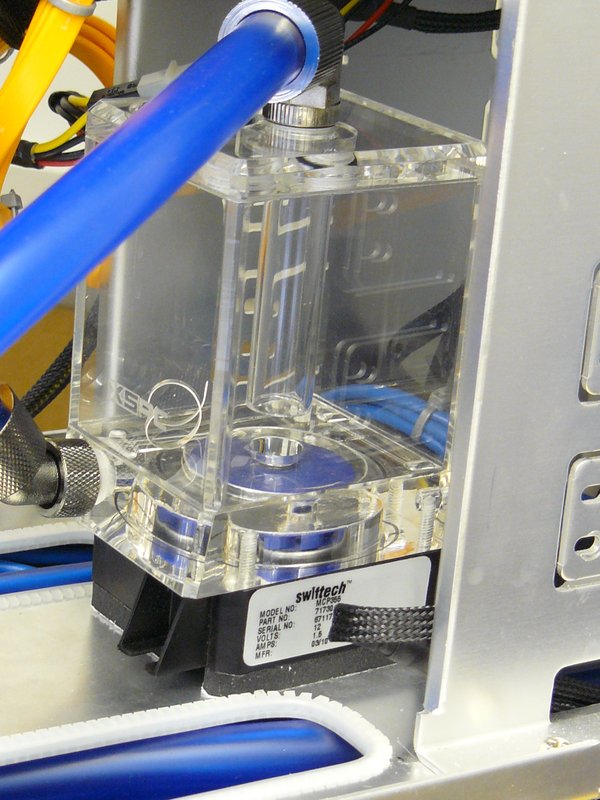
Lets put the pump/res together.. that looks like fun! :p

P1100108.jpg
P1100109.jpg

P1100110.jpg
P1100111.jpg


Nearly done, see the good seal with the o'ring thats essential.
P1100112.jpg
 
Last edited:
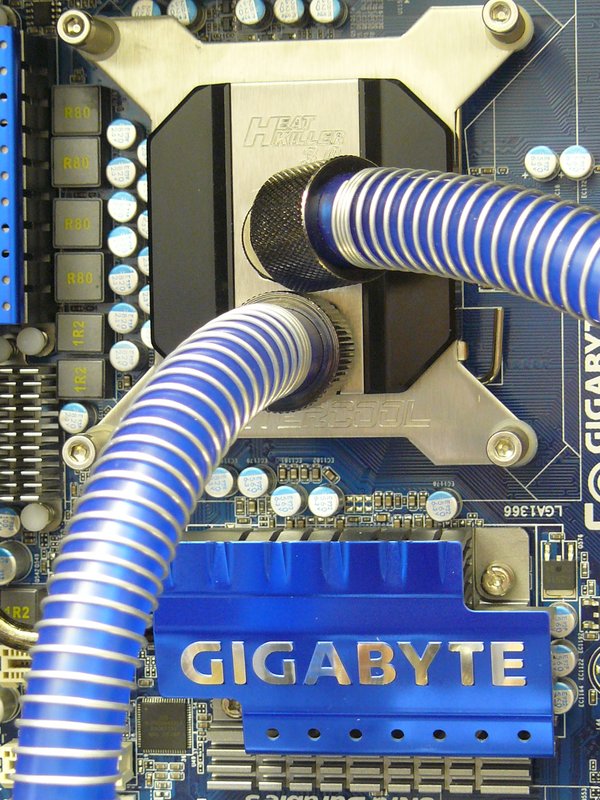
Duff-Man just use distilled/deionised and coloured tubing, I don't think the coloured water in the res works really, personally. but if you wanted it you could do it with coloured acetate on the outside or somesuch mod.
 
Update #3
Now we are cooking!

OK fitted the radiator stands by drilling a couple of holes into the base on each side, enough has been seen on how to drill a hole suffice to say you have to watch out for the feet location on the bottom of the TJ07. And boy is that aluminum thick!

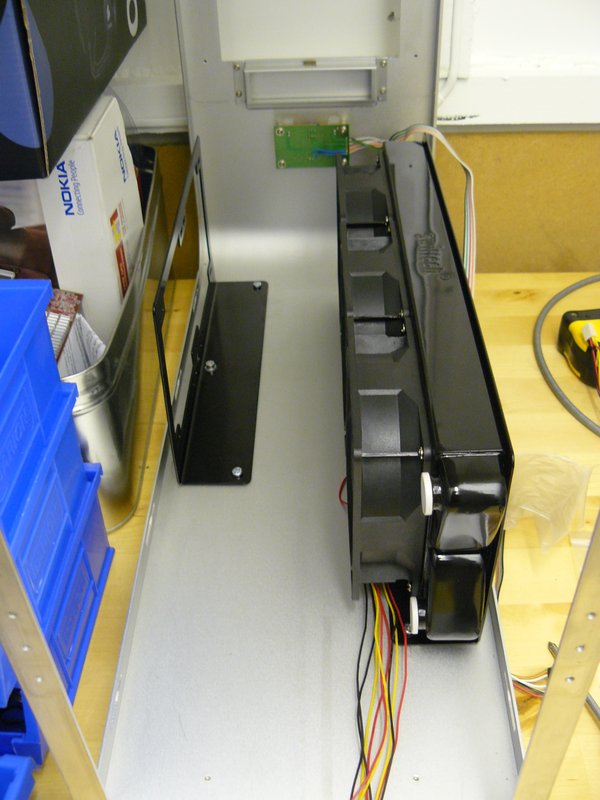
Bit different here as I am pushing hot air out of the case at the bottom as I felt that the rads would just be heating each other up if I pulled air into the case. I could be wrong of course, everyone seems to pull air in when mounting rads in the bottom, I guess I'll suck it and see and rip it apart and change them if I find its rubbish :)

So after removing everything except the frame of the case, I could see where the rads would fit in and start to plan the layout of the tubing and ancilliaries.
P1100121.jpg


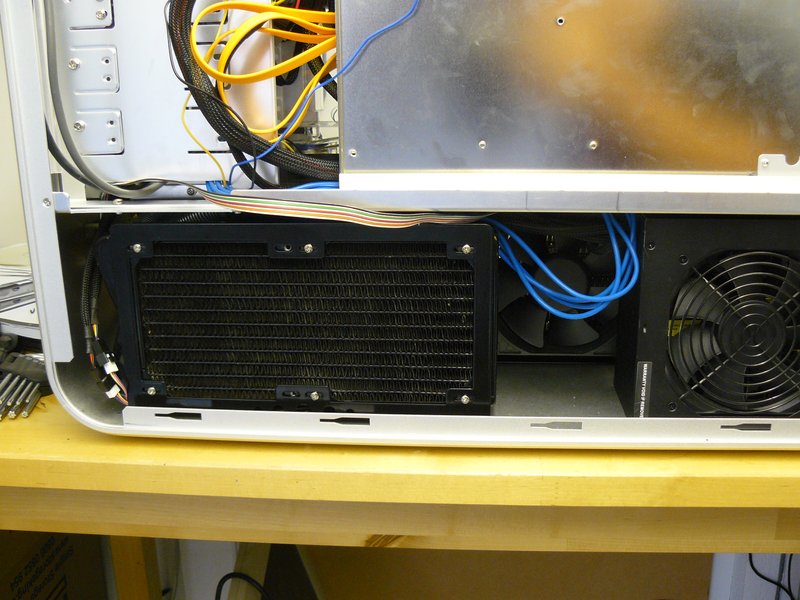
As you may have guessed the PSU is going to go behind the 240 radiator, and I could definitely have got away with a 480 in place of the 360 but its only a CPU/GPU loop so no biggie. If I upgrade the loop later I can switch to a 480.

P1100149.jpg

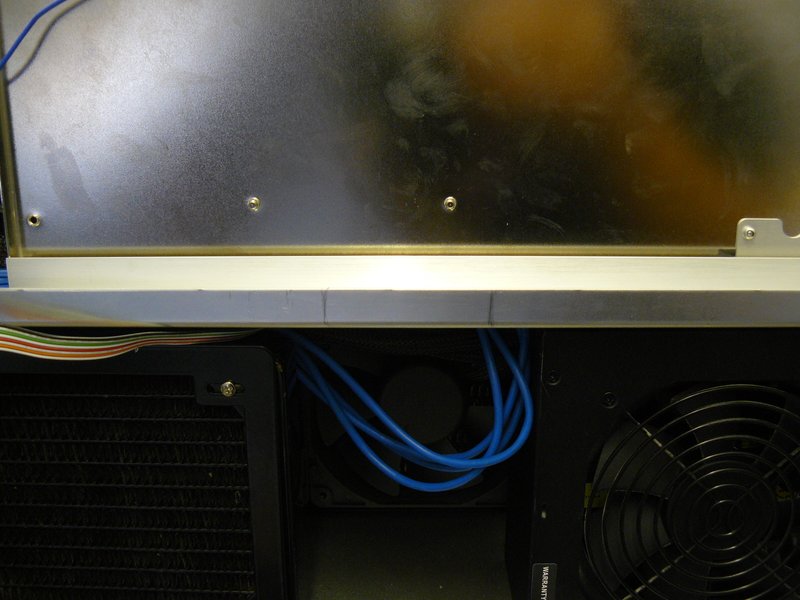
This is how it looks down there with both radiators in place, and you can see the start of the loop and how it all fits together. Man that Swiftech MCR220QP is OLD and beat up! :)

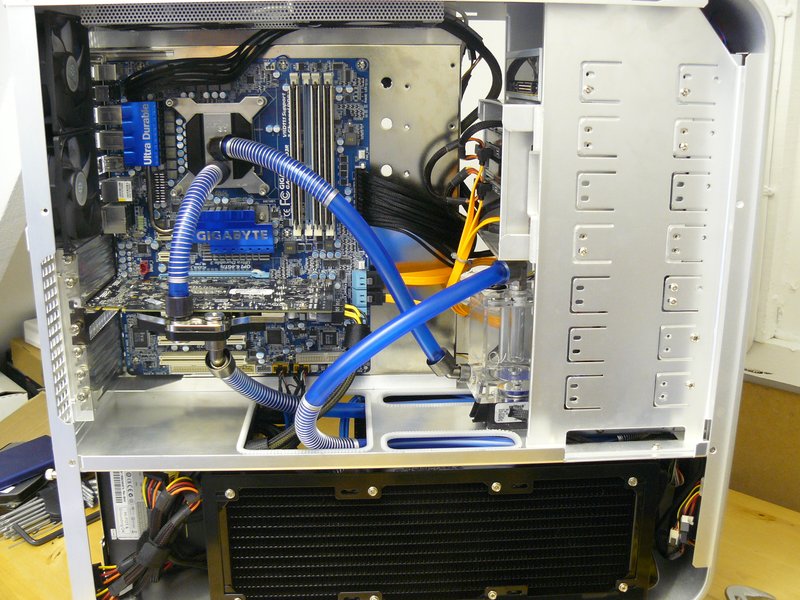
Loop plan is:

Res->pump->CPU->GPU->360->240->Res

Heres some pics to give you an idea:
P1100144.jpg
P1100143.jpg


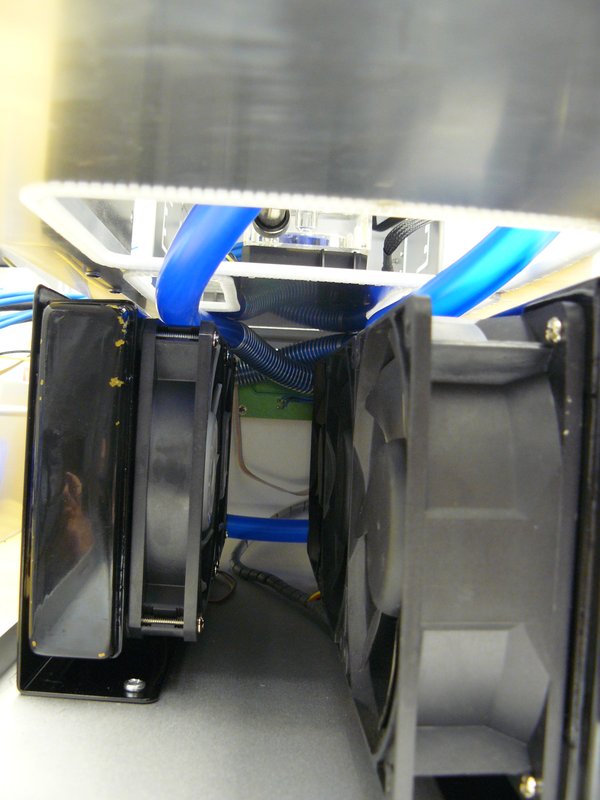
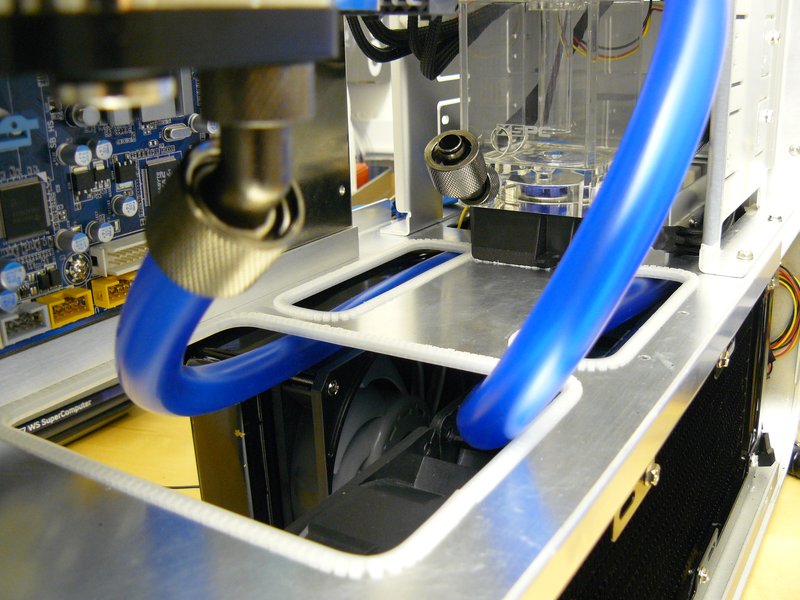
You can see the tubing connecting the two radiators and the way the entry of the tubing into the bottom area of the case is actually on opposite side the radiator its connected to, thats just to minimise any kinks or the need for multiple 90° connectors. In fact I plan only having one 90° max in the loop. :D

Oh and I'm using 38mm Yate Loons on the MCR320QP and 1850 Gentle Typhoons on the MCR220QP :)

Its just what I had left over from another more serious build. :D

I'm liking that blue tubing now.. yummy yummy.

Oh and I've decided to add something to this beautiful case that I never do on my cases, but more on that later (in case it turns out really bad I can pretend it was something else!)
 
Last edited:
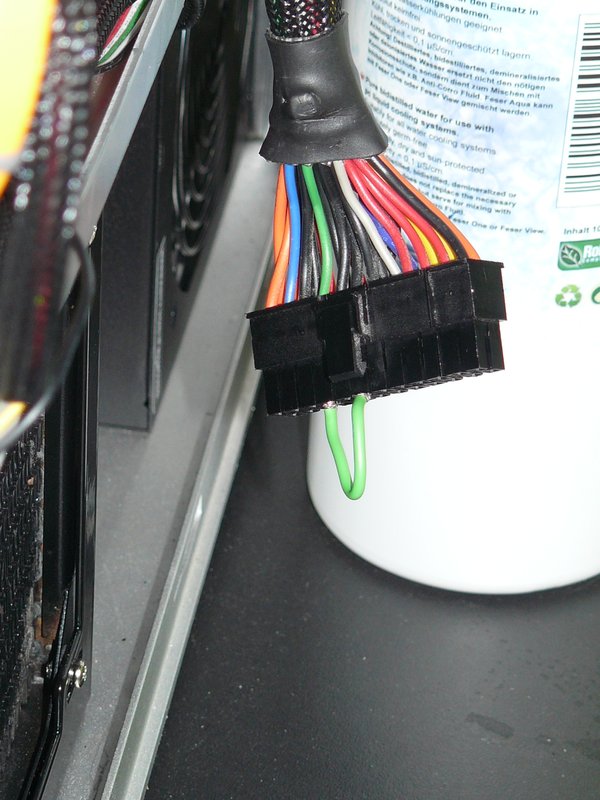
I always thought people had the air blowing in on one side, and out the other with that case, although now I think about it, I might not have actually read that anywhere, and just assumed it.

Also, is there a reason why you've put the 2 rads together in the loop, as for my (hopeful) watercooling build soon, I was going to go res>pump>cpu>rad1>gpu>rad2>res as I thought it would give better performance for the GPU, as the water will be cooler when it gets there, but the water should be a similar temperature when it goes into the cpu.

I know what you mean, about the confusion :)

At the end of the day, the temperature in a loop will stabilise throughout the loop, I know its hard to believe but it does. You can affect the temperature of a loop much more by adding restriction to it and slowing down the waterflow than you can improve it by moving the parts around.

Love the look of that TJ07. Never really been keen on silver cases but that does look very clean.

It feels amazing to touch too.
 
Amazingly temps werent OTT, the water conducts the heat so much better than air that it never went over 85° on the CPU.

Thing was I thought the pump had died, I thought "man that X20 750 has been going for years, must have just given up the ghost" because the water was moving so slowly, but it wasn't the pump/res in the end at all, and now I'm using that pump/res to leak test components, it still works great!

It was feser in there for the longest time, and after speaking with quite a few people in the industry its probably more to do with the "inhibitor" added to the premixed solutions. The Inhibitor gunks up the system and the dyes stain the parts and together its a gross combination.

The only thing that would be great over here is to be able to buy good quantities of distilled at cheap prices, yes you can get deionised and its probably just as good, and I've used it when flushing out loops, but if I can I use distilled for the final loop fluid.

Just a PITA to get it unless you have a friendly local chemist :)
 
Find them pretty good equally, probablyt the NZXT nudges it in terms of density of weave but nothing glaringly obvious to someone like me. I self braided one PSU in the past and just the thought of doing another 24pin cable ... well I'll leave that to younger men with more time on their hands :D

Another update tonight, thats the last conference call before beer! Bloody americans :P
 
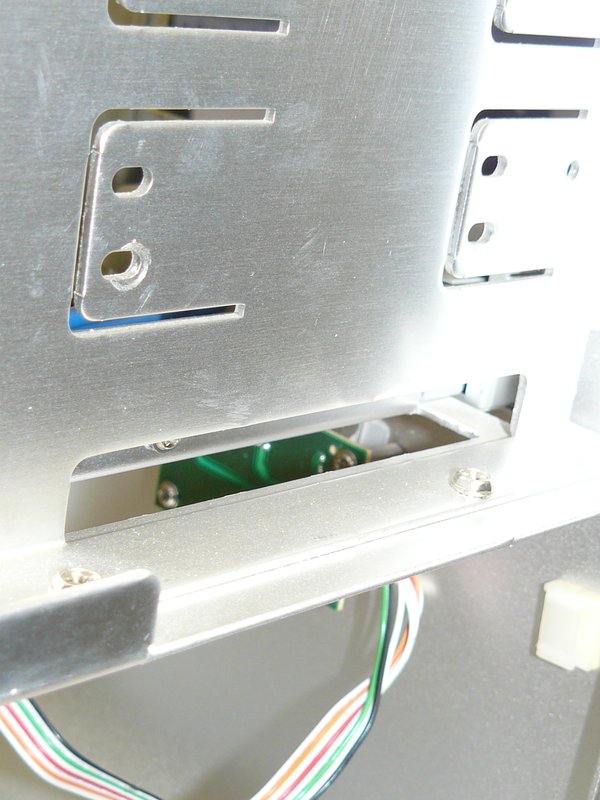
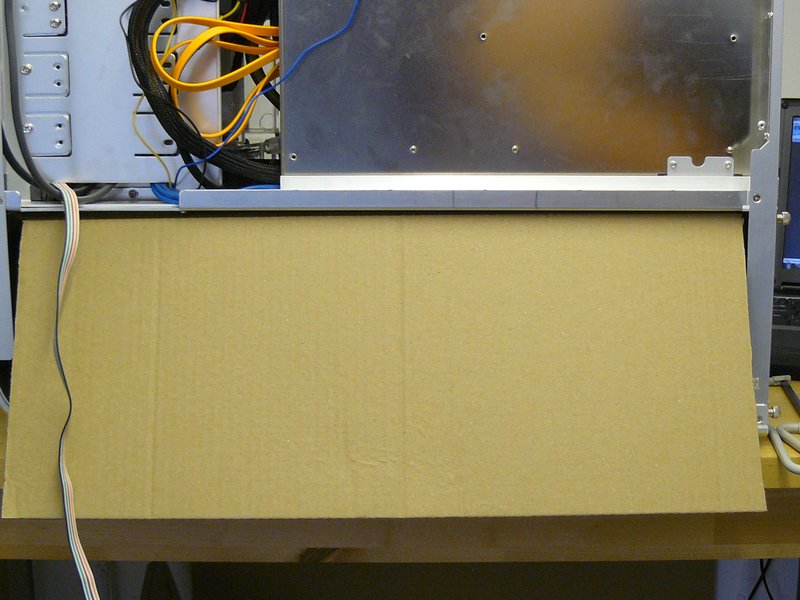
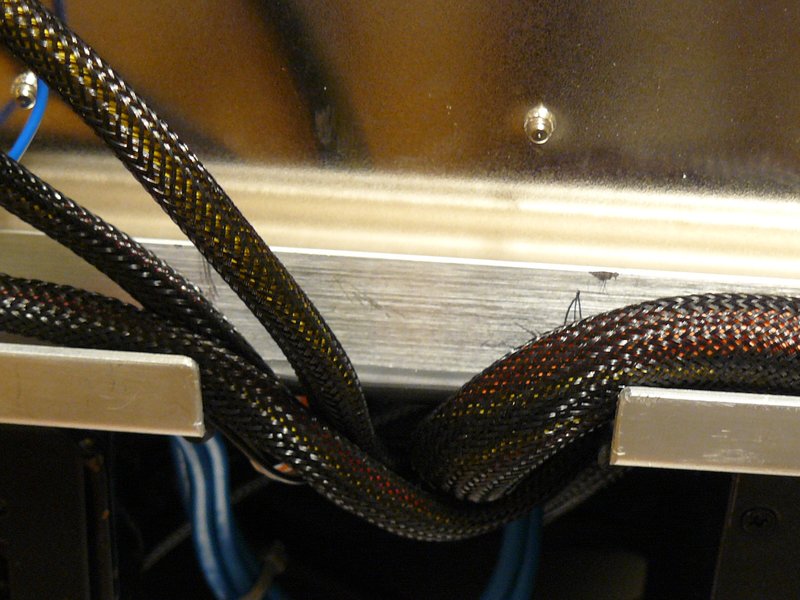
So anyone who's seen a TJ07 build knows that there are a few small shortcomings with the case that may require a bit of cutting to overcome. Now I started off trying to minimise the amount of cutting I did to the case but one thing that was really apparent was that you need some access holes cut for cabling behind the motherboard tray. I only wanted to do one cut so chose to make it largish and positioned where it would do the most good. Unfortunately I forgot to do it before starting to put everything together so had to jury rig some "protection" during the operation.

Heres where I want to cut
P1100153.jpg


Bit of a close up
P1100152.jpg


And heres the protective high tech sheeting I used to prevent dust and particles of metal getting onto the delicate parts :p
P1100154.jpg


So out with the hacksaw and dremel, then I put some black trim on it to finish it off. Final result:
P1100179.jpg


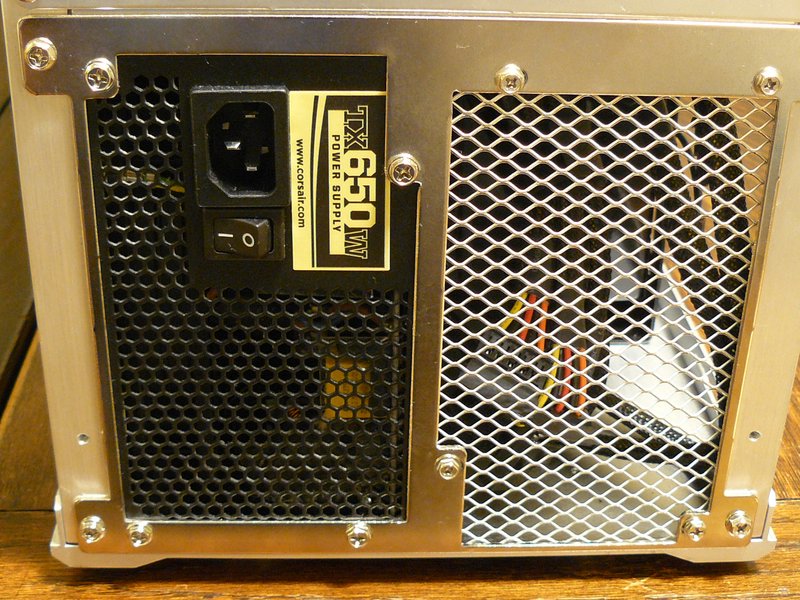
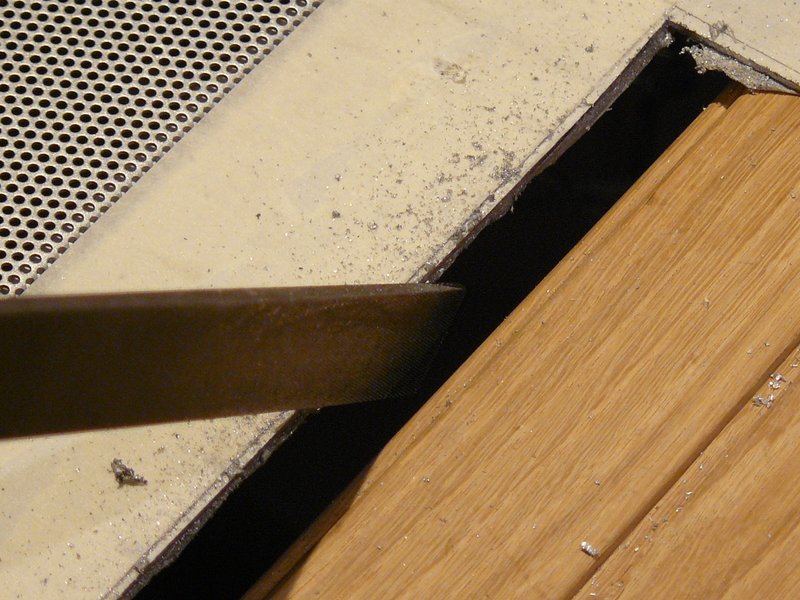
I also didn't get the blanking grill for the dual PSU plate and as I was only using one PSU I sorted needed something to keep the critters from crawling into my nice warm case during the upcoming winter months. So off to get some Aluminium mesh from the local hardware store, I quick measure and cut (Surprisingly cut it with a stanley knife!) and voila:

P1100177.jpg


Now to do some tubing layout and on to a leak test!
 
Last edited:
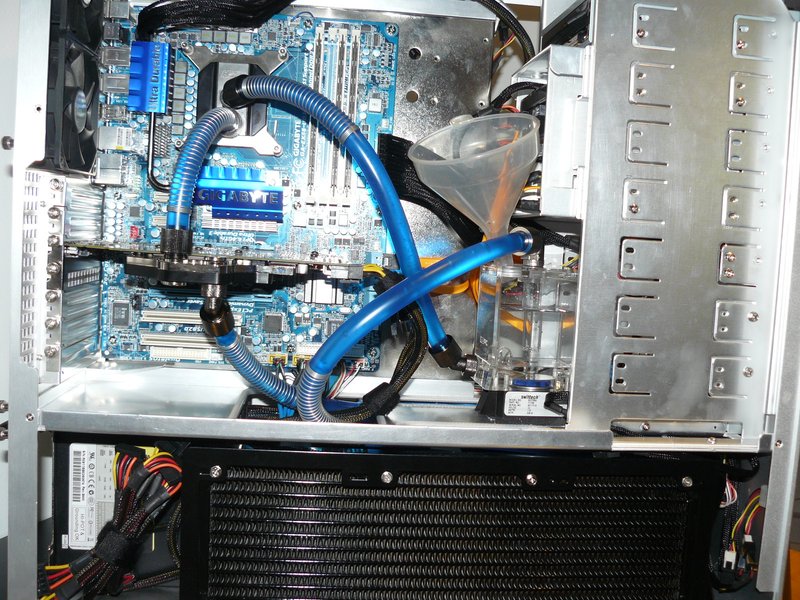
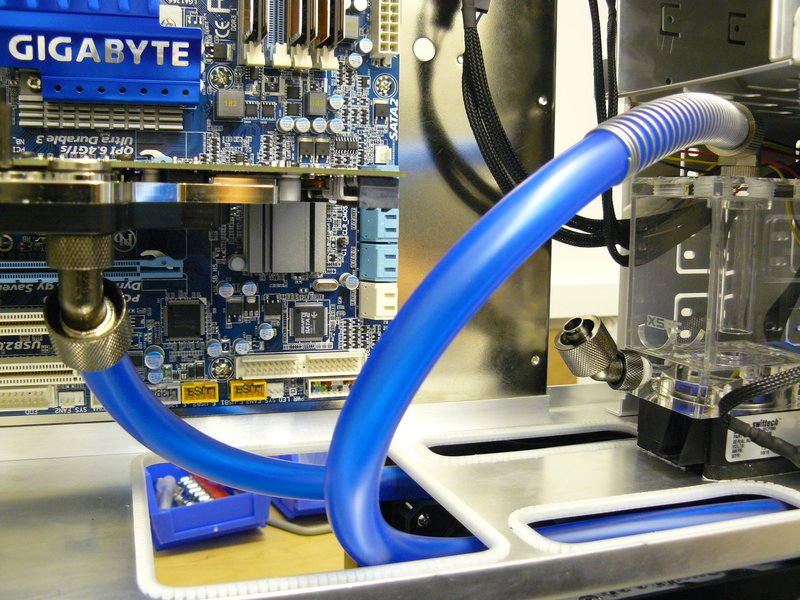
Sorting out the loop route wasn't hard, I sorta did it in my head, the only 90° fitting is on the top of the res, so hopefully not too much restriction caused there.

Loop & cable route testing:
P1100156.jpg


Decided on getting replacement SATA cables, yellow just isn't right! Oh and ordered braided extensions for the VGA power cables while I was at it :)

Gratuitous closeup shots of shiny bits :D

EK Nickel 460 block
P1100157.jpg


Pump/res in situ, Silver Killcoil already in so I don't forget it :)
P1100158.jpg


Aint she purdey? :p
P1100161.jpg


OK leak testing time!

Fill her up and jump start that PSU and see what we have got.
P1100164.jpg


Lookin good, no leaks, so far.. :eek:
P1100162.jpg


In here was where I was most worried, where the tubing connects the two radiators:
P1100165.jpg


Lots of bubbles, and the pump was as noisy as *%£)*%! Left it for a few hours and it all settled down to silence...
P1100167.jpg


Next update in a few days... and its a doozy! .. you know I said I didn't want to hack the case up too much? Well...... :p
 
Last edited:
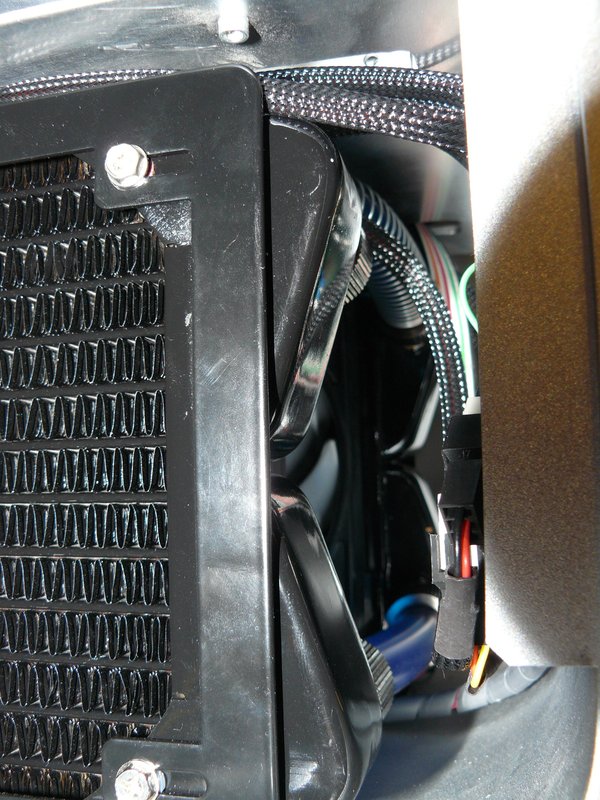
Thanks everyone for the comments.

Looking food :)

I really like the blue tubing that you have.

I don't think I'm that hungry :p But yeah the tubing is pretty neat.

Looks so nice and tidy :)

I am used to a bit of mayhem in mine really should sort mine out :(

Heh, somehow I'm not surprised :)

everyone does that cut in the T07, you think they would have thought about it when designing it.

Oh and it looks great :)

I know, but then where would be the fun in that! There are a couple of things I didn't do that I normally do in cases like this, and thats cut a couple of holes in the mobo tray. May still do that as its not too much pain to decouple everything from the mobo, pull it out and cut a couple of holes. But I don't think it looks too bad atm.
 
So... on with the show :D

OK, so remember, those of you who bother to read project logs :p, how I said I wanted to minimise the cutting of this lovely case?

Well I sort of lied. Sorry! Sorry anyone who doesn't like it when people butcher nice cases, but COME ON, you saw what I did to my CM201 and I nearly got keyboard crucified for that one! :D

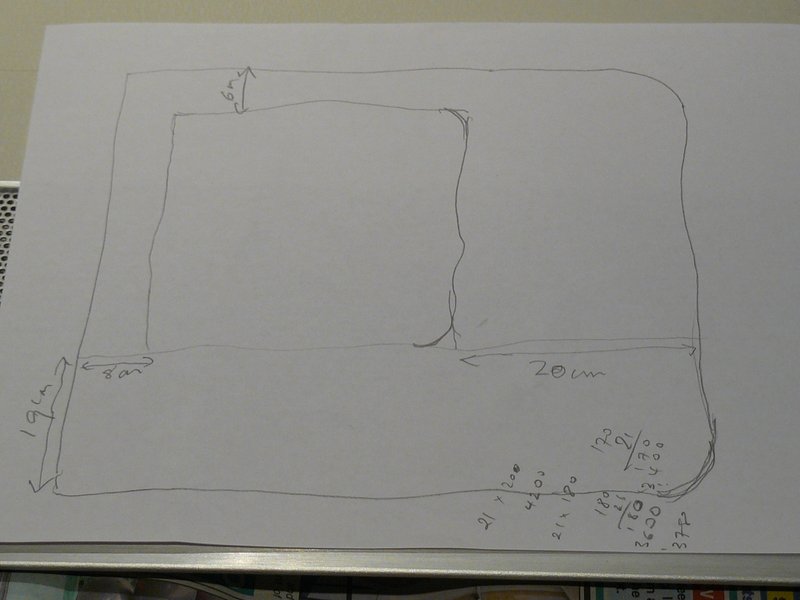
So what was the evil plan? Right, well I did something strange, I never do bling too much really, sort of a more, neat and functional sort of builder. So I'm not too sure what came over me when I drew this: :eek:

P1100214.jpg


Sorry about the overclocking notes at the bottom, I was doing too many things at once that day :)

Basically I loved the look of my loop so much I thought I'd just keep stopping through the day and opening up the side of the case just to look at it, and that would be inconvenient... soo.. arrghbuggerit.. ok it was the bling and the scary prospect of maybe doing a good job that got me going on this, whats the worst thing that could happen? HAHA

I wanted to shape the window to sympathetically follow the side panel contour with the rounded corners in the front, it had to cover all the messy bits but be big enough to see all the cool bits. So I read up on it, made some notes, bought all the bits (I'd had the perspex lying around for years just chickening out from doing it on earlier builds), girded my loins and went for it! :cool:

Here we go.

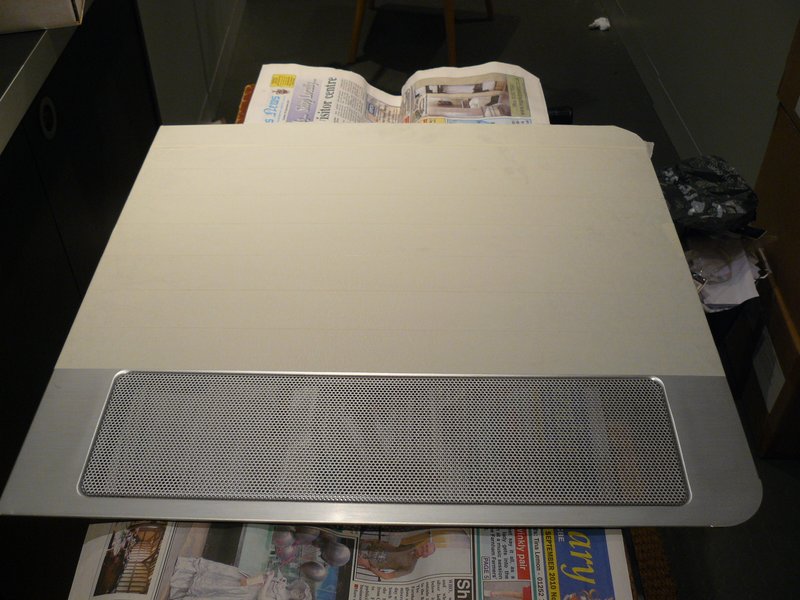
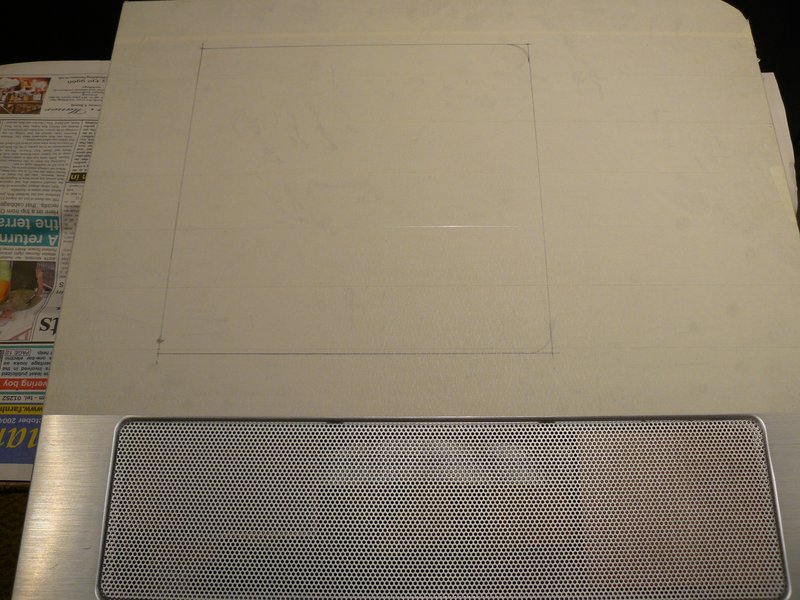
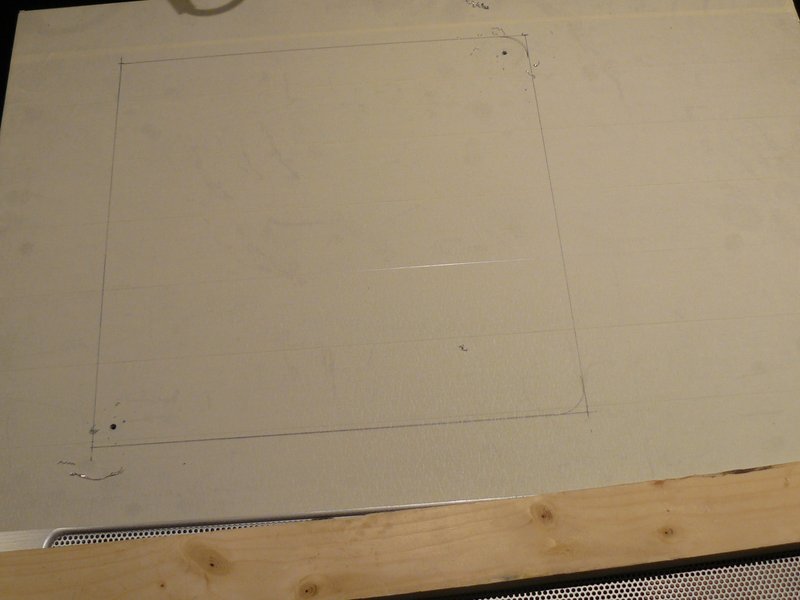
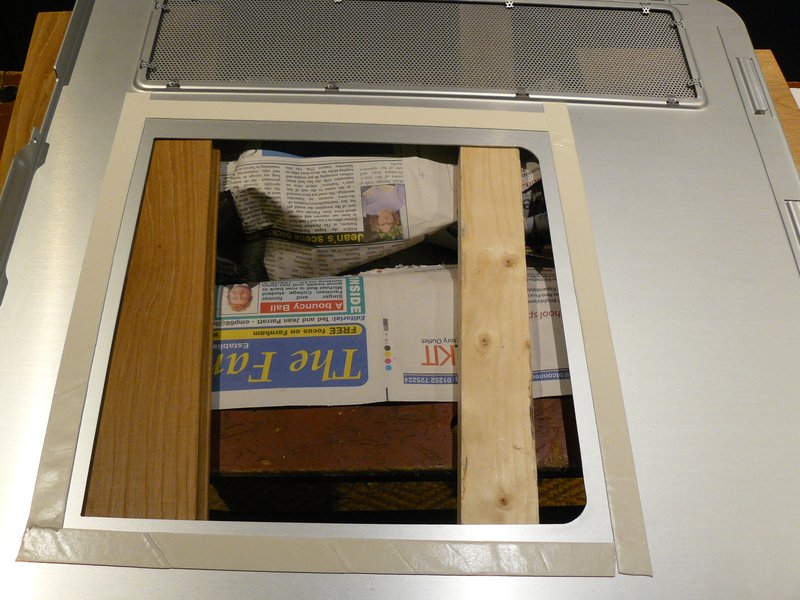
Masking tape on the front and back of the panel to let me draw the shape to cut and prevent power tools from slipping:
P1100213.jpg


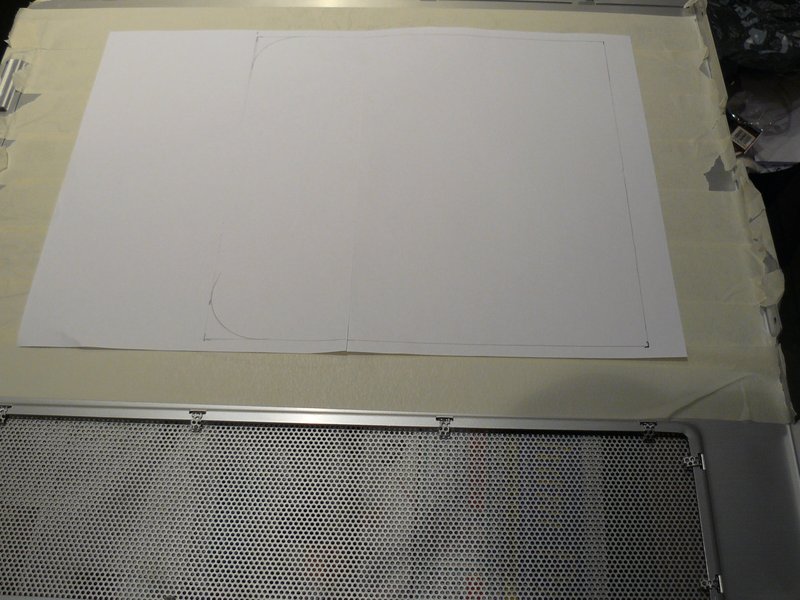
Double checking the design will not interfere with anything on the back of the panel.
P1100215.jpg


Transfer the design from paper to the masking tape.
P1100216.jpg


Drill two pilot holes on opposite corners.
P1100218.jpg


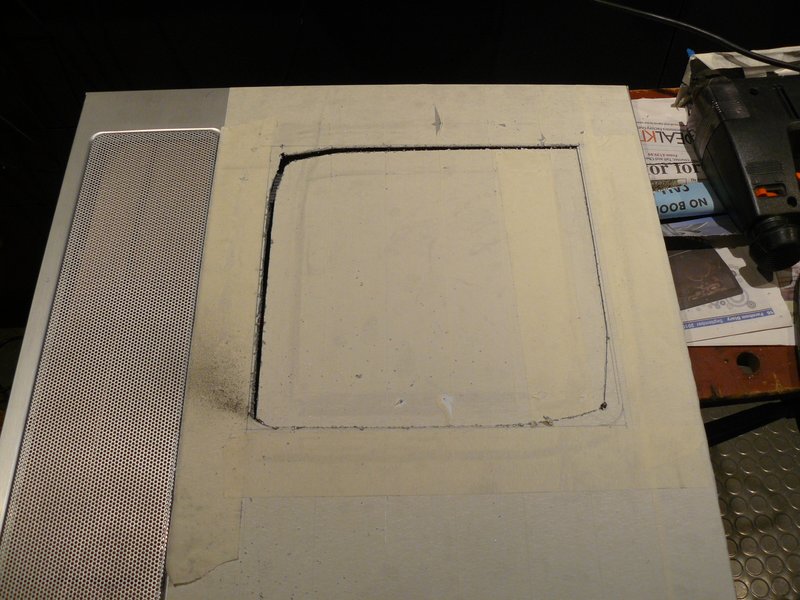
I'm going to use a jigsaw with a metal cutting blade, because for me its faster, cleaner and more manly than a dremel :D
and a few minutes later we have this:
P1100219.jpg


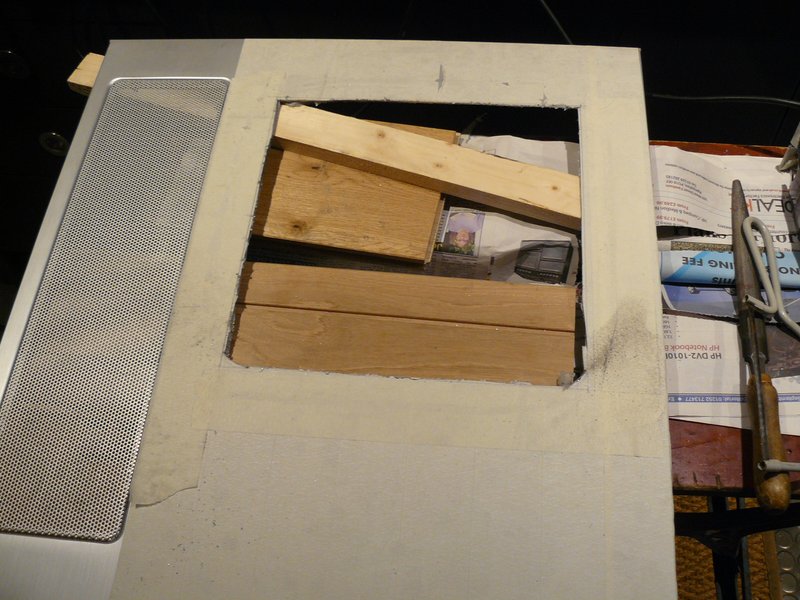
Following the advise of a Welshman called Tom I cut up to about 1.5-2mm from the line I drew, remove the cutout, a few extra trims to get into the corners a bit more and we are ready for the next stage.
P1100221.jpg
 
Last edited:
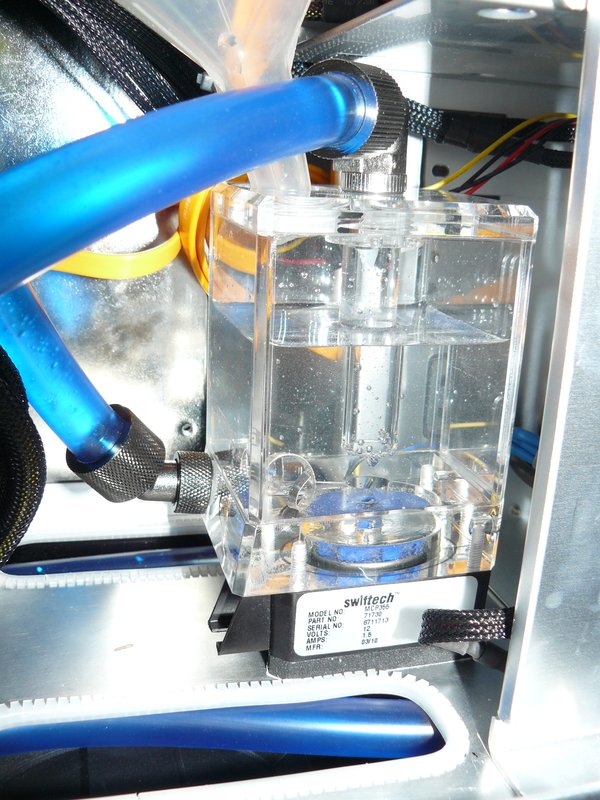
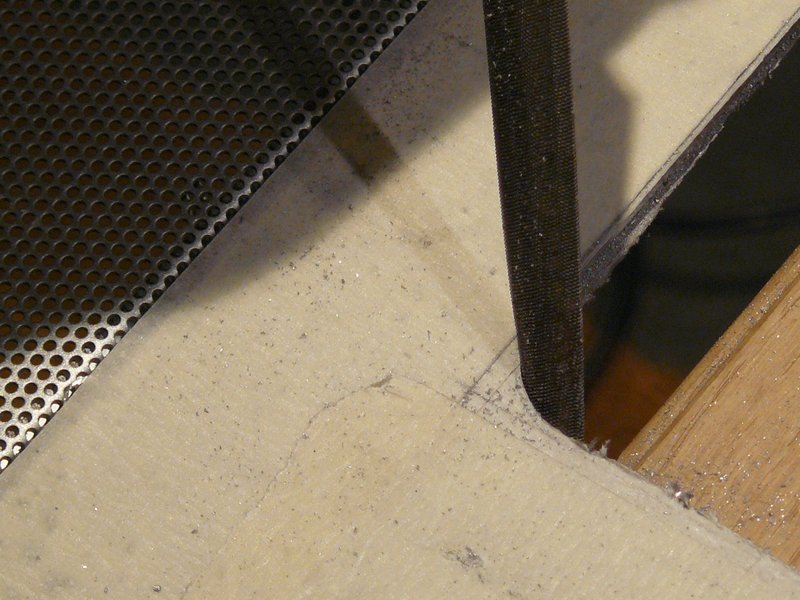
Which is... filing! Yay! Now a bit of background, my wife is a trained jeweler and has everything you would ever need to work with metal, one of which is a great set of metal files of all shapes and sizes :D

Flat file for the.. er.. flat bits :)
P1100222.jpg


Half round for the curves again not going right up to the line, just a hair off the line, makes it much easier to keep your filed edge parallel to the line you drew around 0.25mm close.
P1100223.jpg


This is the finish after the filing is all done, it definitely needs sanding.
P1100226.jpg


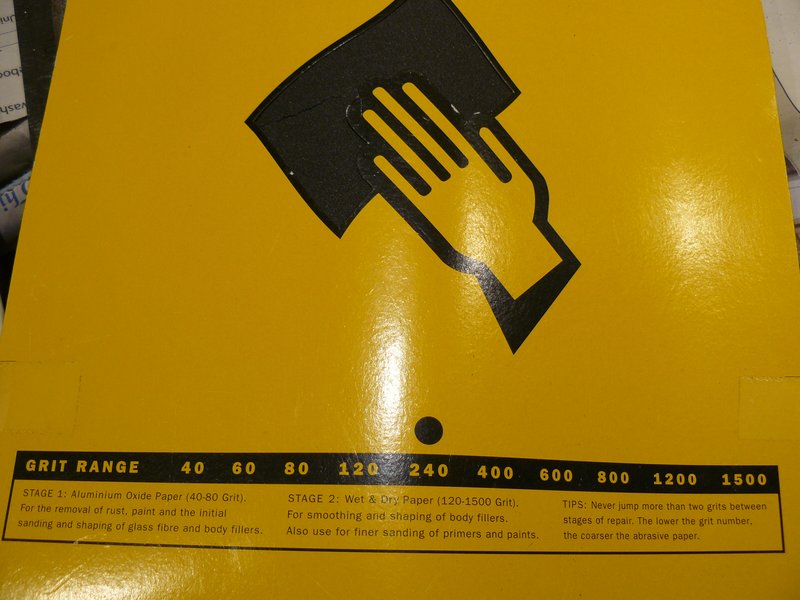
Weapons of choice
P1100227.jpg


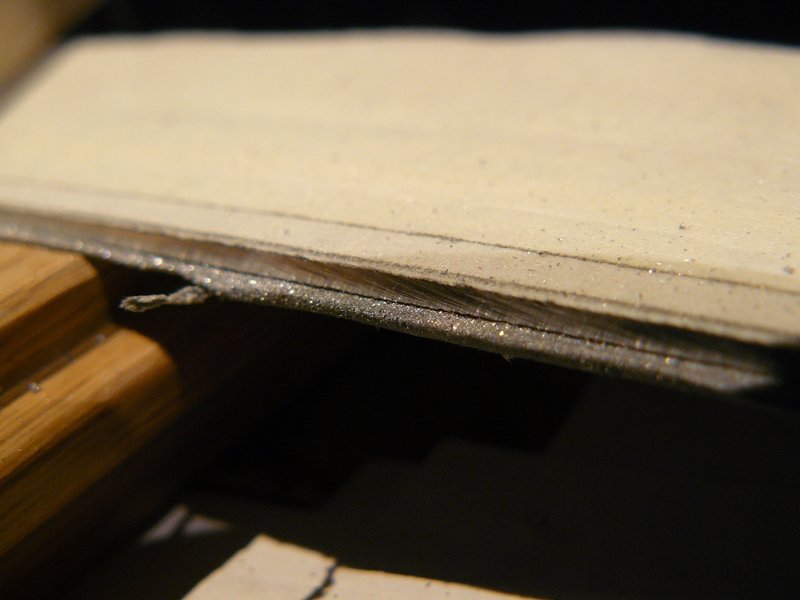
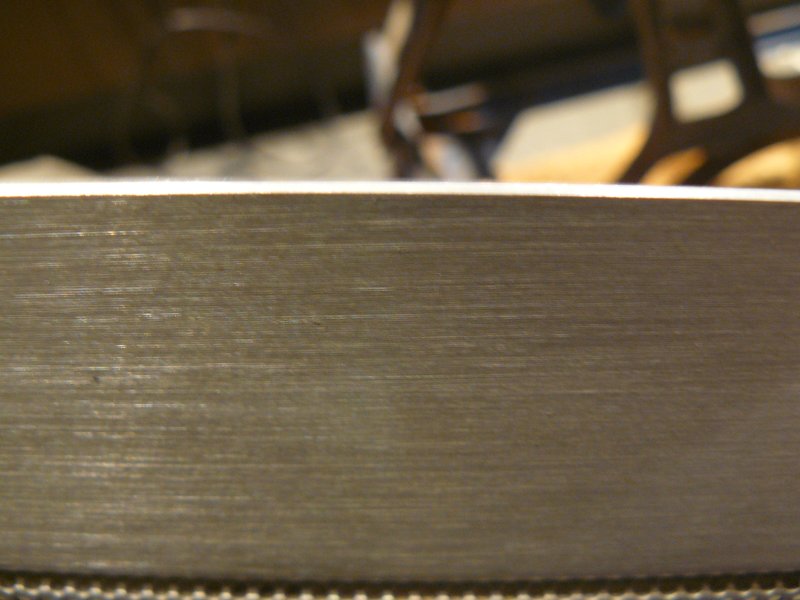
Now, some ppl advocate sanding and polising the edge up to a mirror shine or at least close to, but the TJ07 has a satin finish and I wanted to emulate that, so I stuck with 400grit and it feels about right.
P1100228.jpg


Cut the acrylic with a stanley knife and snapped on the table edge (doh no pics) and decided on double sided tape to affix the acrylic window.
P1100229.jpg


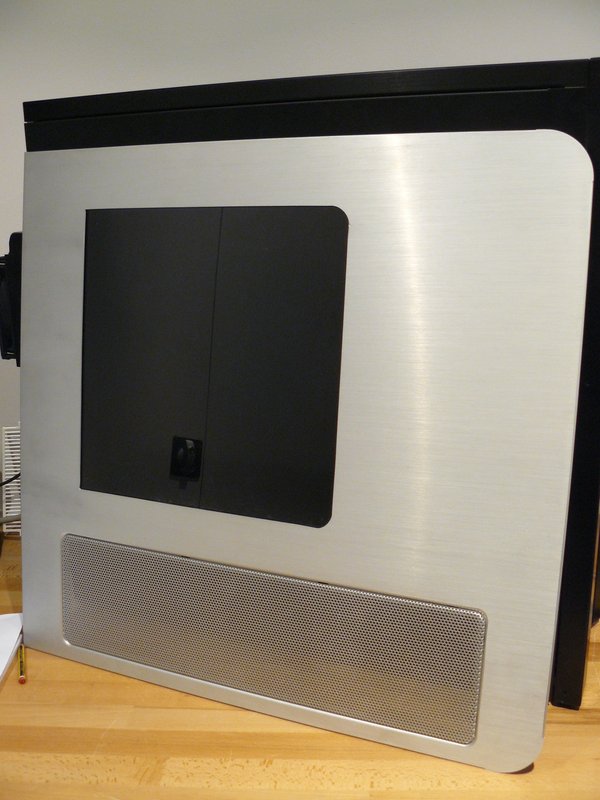
The finished article!
P1100231.jpg


In situ:
P1100233-1.jpg


OK, so stand by for the next update is gonna be completed rig with lighting, lots of gratuitous bling shots, money shots and some after dark action! :D
 
Last edited:
Other things of note:

1. Stealthed BD drive in top bay (got the trick off the original owner)
2. Removed one of the drive bays, and removed the fugly front off the other and replaced with filtered Lian Li bay covers

P1100174.jpg


:D sort of mis-quoted but I don't care, It's looking nice with a window how a case with such nice internals should be shown off to the world :)

Cheers! :D
 
Last edited:
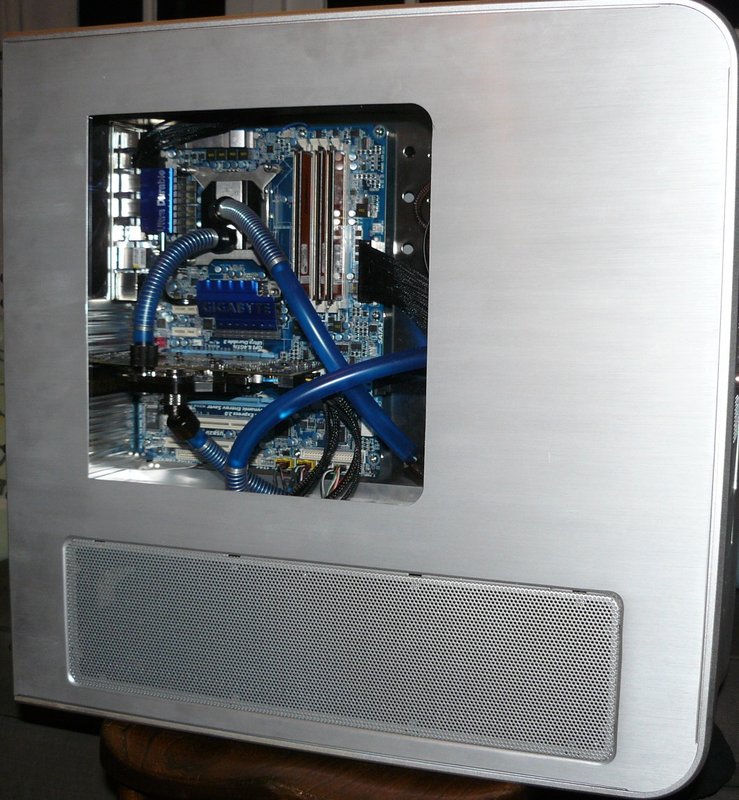
As said, heres the final (yeah right) or ok, the current status of the case. There are things I'd like to try out differently, see the end of this post for a list, but I think its the smartest build I've done and one that I am proud of.

So heres the final pics.

The long shot:
P1100239.jpg


Loop layout:
P1100171.jpg


Bling Bling Closeup!
P1100176.jpg


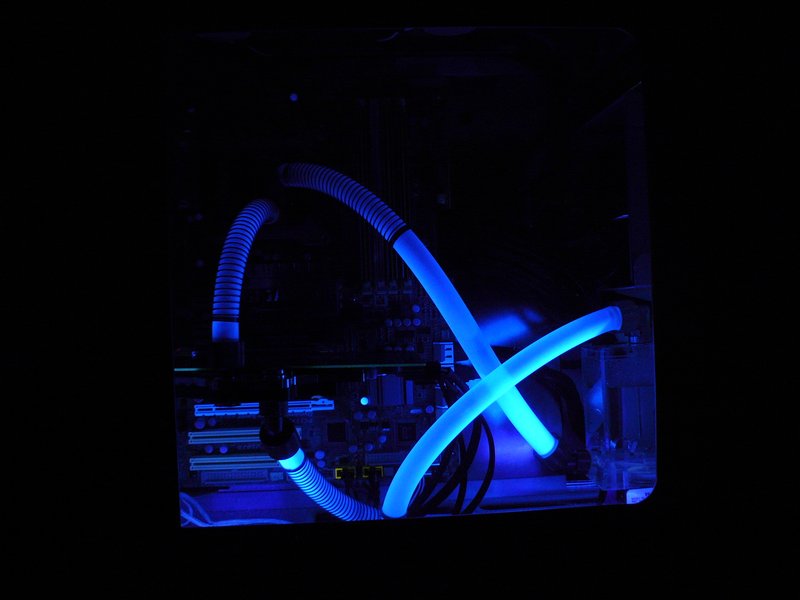
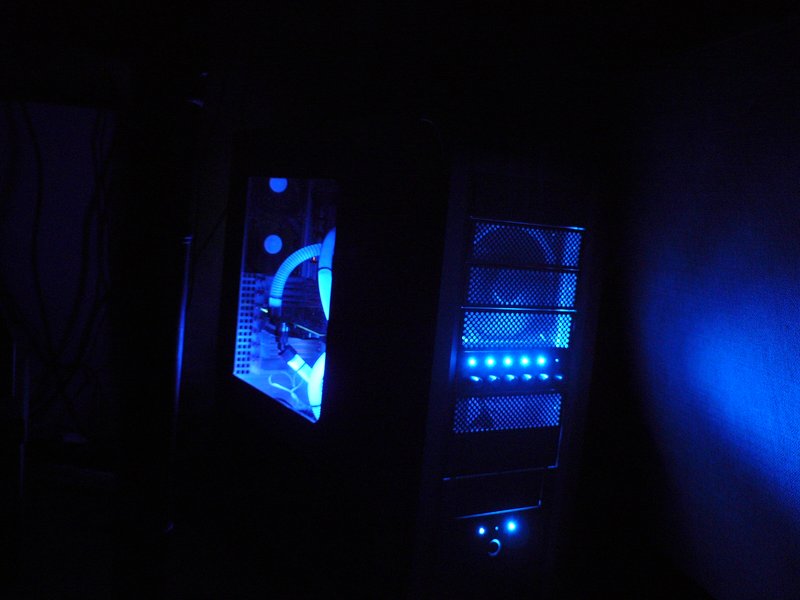
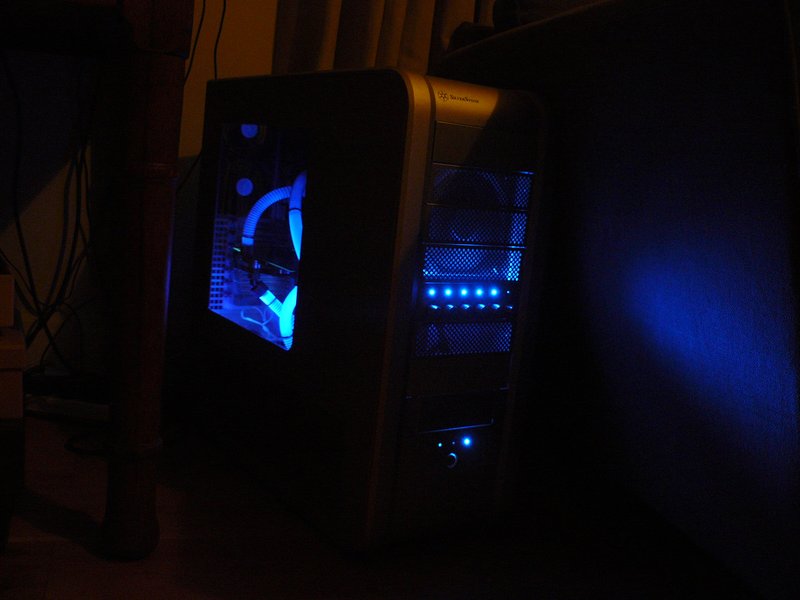
A couple of UV's and a darkened room.. ooh purdey.. )
P1100258.jpg

P1100261.jpg


In situ next to my desk.
P1100264.jpg


So we come to the end.. for now.

As with all builds, you rarely finish completely, there is always something left to do, improvements you think of, mistakes that you made. So it is with this build.

Things that fall into those categories:

  • I'd like to finalise the bezel fittings on the front, currently they are friction fit which works really well, but I'll probably try and find a more permanent solution later
  • The placement of the lighting isn't ideal
  • I'll try and rearrange the PSU cables in the base to clear air flow
  • On the concept of airflow, perhaps a fan in the custom grill I made
  • Speaking of the grill, try and find an original Silverstone square hole secondary psu grill
  • Try with the radiators pulling air into the case, combined with an exhaust fan on the secondary psu grill see if temps can be improved.
  • Remove unnecessary anti-kink coils

Thanks for watching and commenting, I hope you got as much out of it as I did :)
 
Last edited:
Just an asthetics thing, but personally I would probably put the anti-kink coil things round all the pipes, I think it would look nicer with them all the same, especially with one of them finishing half way down one of the pipes...

Agreed, at the time I was overly paranoid about kinking, now I realise I only need them down where the tubing meets the radiator fittings as thats where the only tightish bends are.

What I'll probably do is remove them altogether next time strip it down.
 
Back
Top Bottom