Associate
Hi guys! So, this is my very first attempt at PC modding so please don't fry me! I will be calling on your advice throughout this build and hopefully pay you back with an awesome finished case! I am really getting stuck straight into it, I have never so much as sprayed or cut a case before!
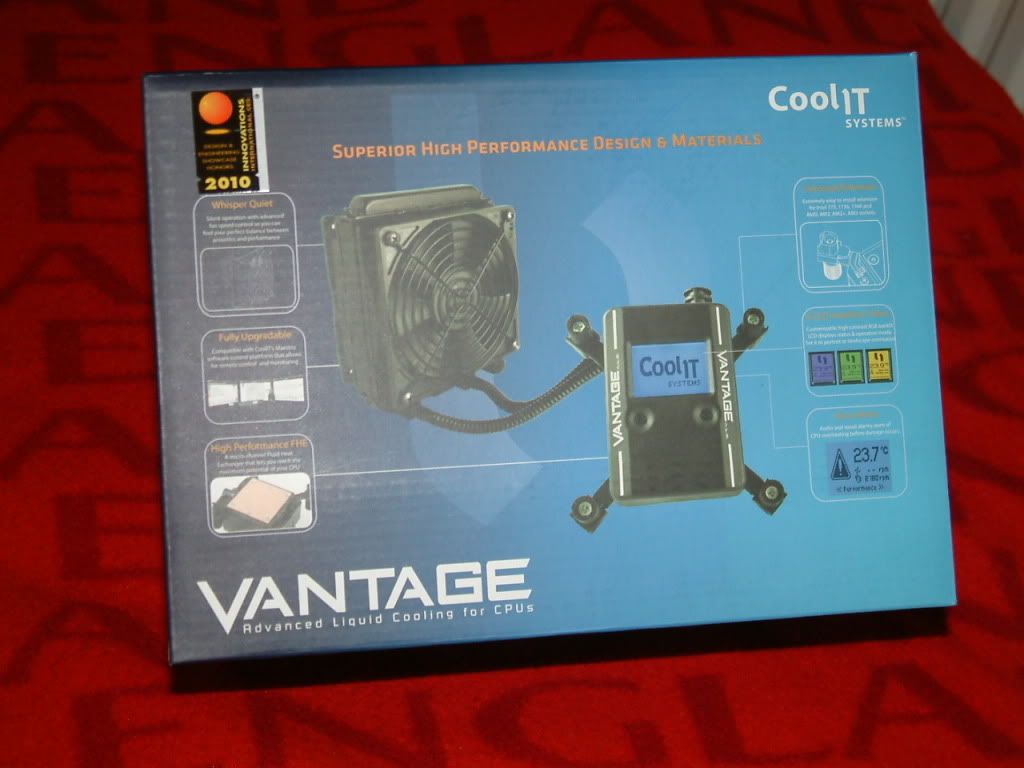
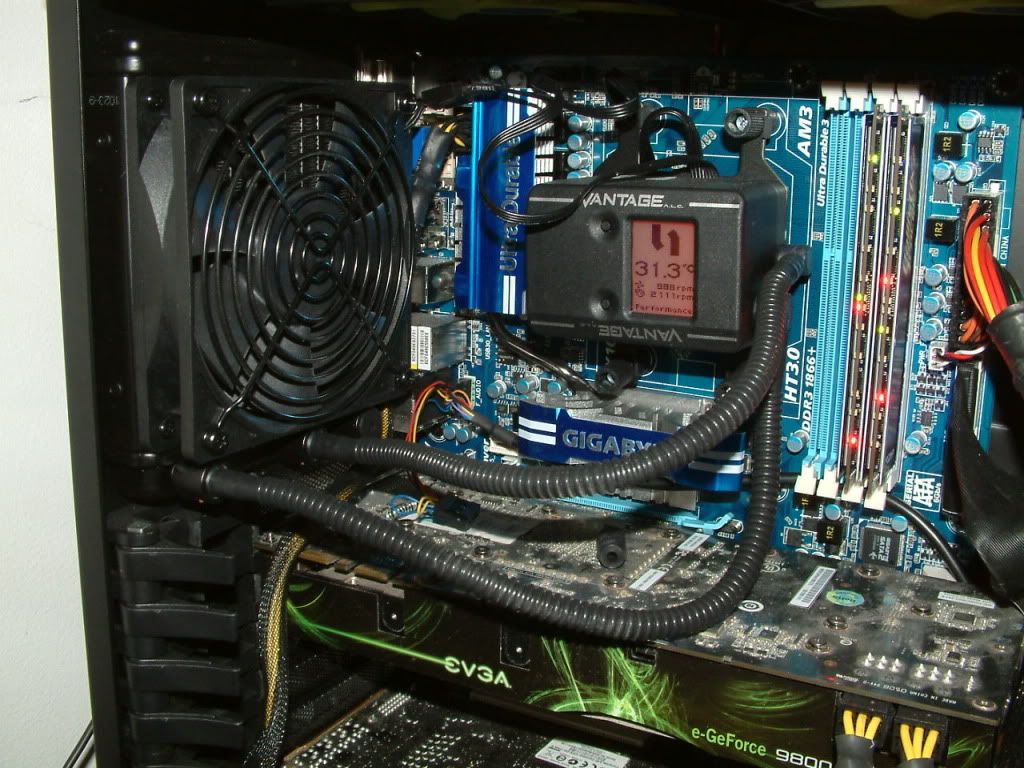
Before we start, lets get a few things sorted- I will be modding a HAF 932, and it is not a 'cardboard box mod' as someone suggested! I'm sorry if you feel offended by the win of this case (in my opinion). Secondly, I'm 14- a year ago I bought COD4 for my £300 laptop and wondered why it didn't work- I then explored the possibilities of installing a PCI-e graphics card into it! About 6 months on I built my first PC and now I have my own review site with products being sent by companies and I consider myself a fully fledged PC builder! I just thought I'd let you know in case you see me in some if my pictures. But I do not have tons of time to spare as I'm just starting my GCSEs. Lastly, being 14 I do not have a bottomless pit full of cash to spend, so some of my components are not up to today's standards, I recently did a CPU/Mobo/RAM upgrade and more parts will follow in time! Although I do have a CoolIT Vantage I won coming, so hopefully we will be seeing the 1055T @ 4GHz!
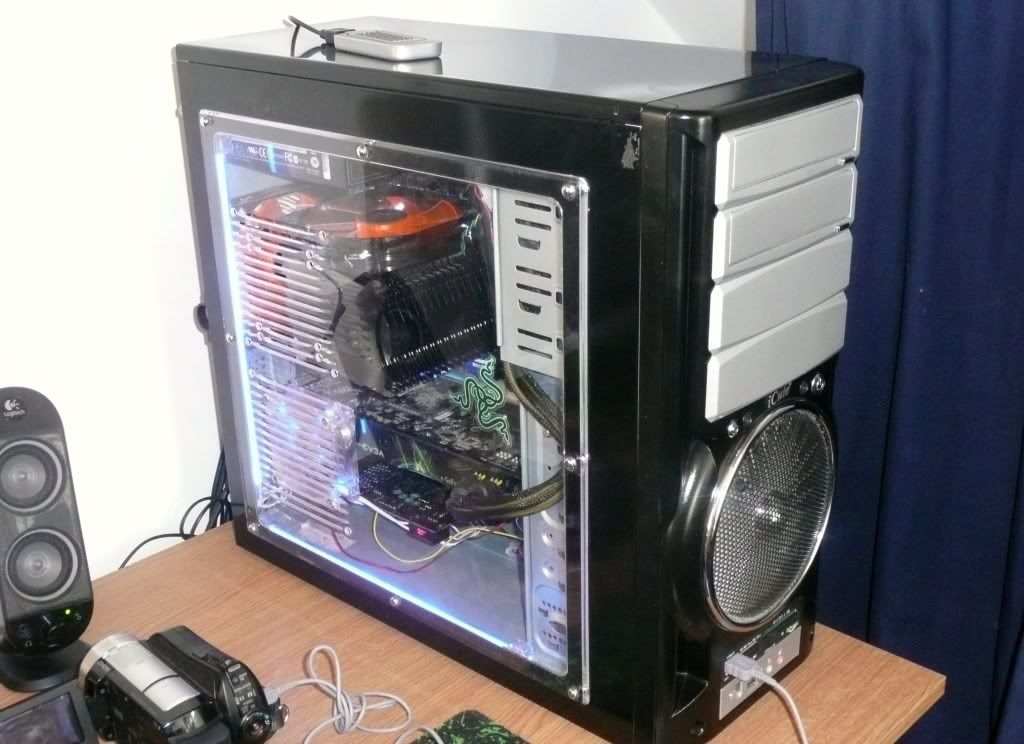
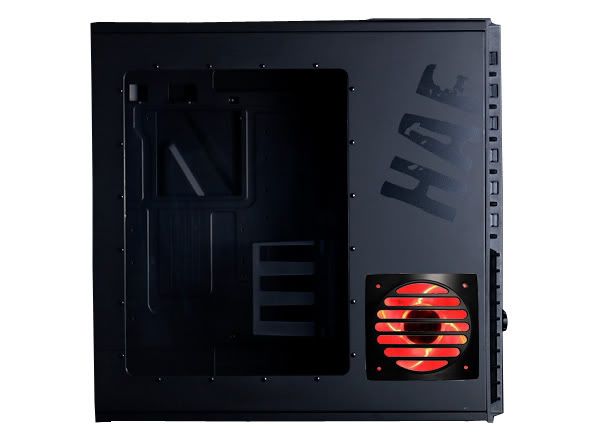
Anyway, enough about me and my cash flow- what do I want to do? I have been looking for ages for a new case to replace my old iCute (laugh if you like!) case. I like a good quality build, interesting design and a massive window. The HAF 932 was perfect for me but it lacked the enormous window, so I realised to only way to achieve my dream was with a Dremmel!
The old case of ugliness:
What I want to do:
Here we go:
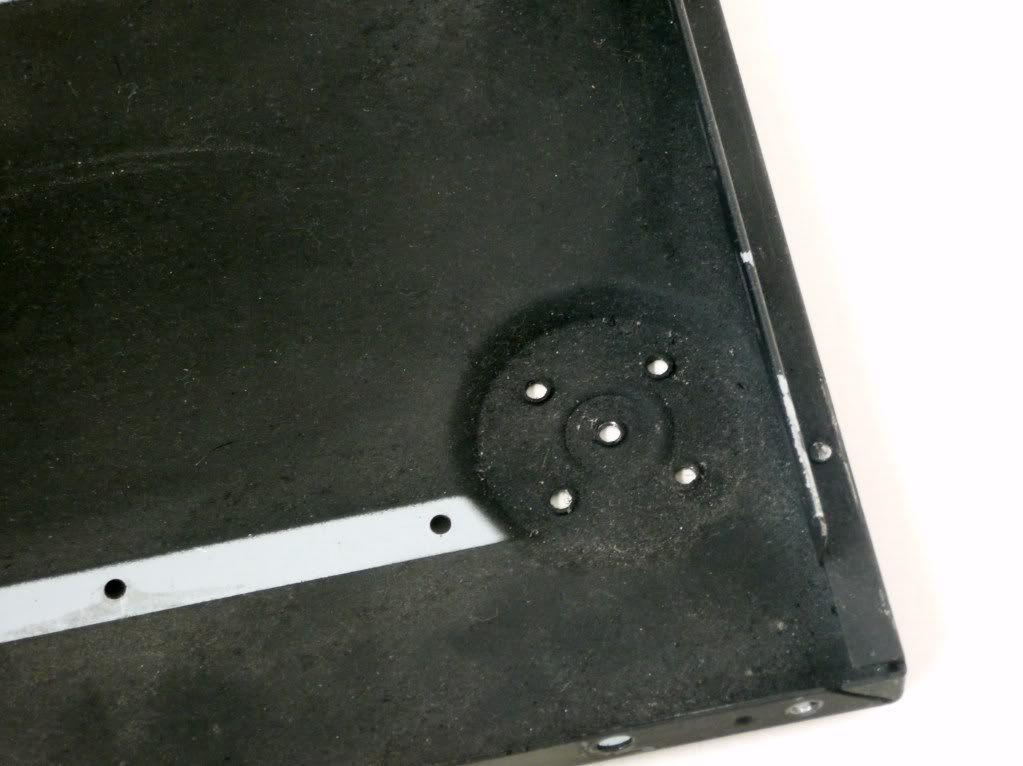
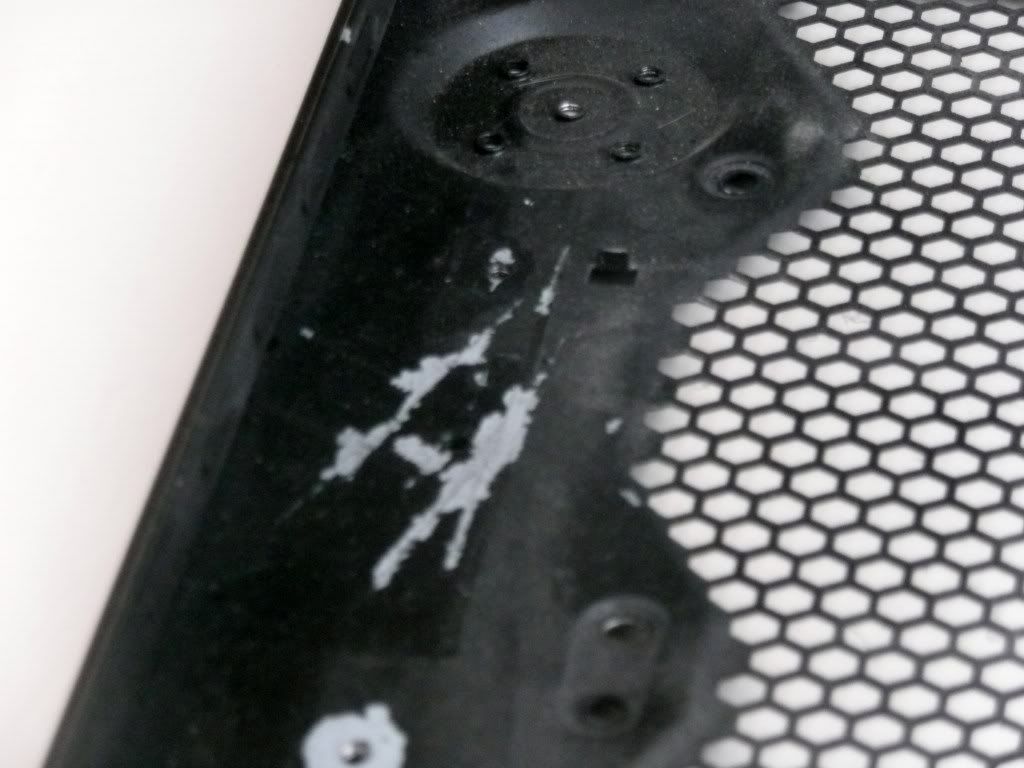
So I got my case. Got it from a user on the MM who had previously attempted to spray it. It wasn't a bad job, but there was lots of runs on the interior and a few on the top and side panels where it had splashed off the back. He didn't de-rivet the case or remove the tool-less buttons, which left an uneven coat and matt black buttons. He also didn't dust the bottom before he painted it, so it was extremely rough. He also sprayed over the window, but that didn't matter to me. But he sold it to me for only £30 inc so I was extremely happy, thank you so much! (didn't really take any pics before de-riveting).
The camera couldn't pick up the paint runs but here is some examples of where he has painted over the dust:
My first job it to de-rivet the case. I used a 3.2mm drill bit and set to work with the ridiculous number of rivets in the case. I thought I would make some mistakes on my very first time modding, but it was very therapeutic! Took me ages to get the bleeders of of the drill bit! Some were domed and some were countersunk, it doesn't really matter, but I will try and get some countersunks as well as domes when it comes to re-riveting. The de-riviting pics were frames from a video build log that didn't really work thus the poor quality:

Putting on the 3.2mm drill bit.

Taking off the OD and HDD drive bays.

Getting the top of the case off.

Taking off the OD and HDD drive bays.

Removing the MB tray from the rest of the case.
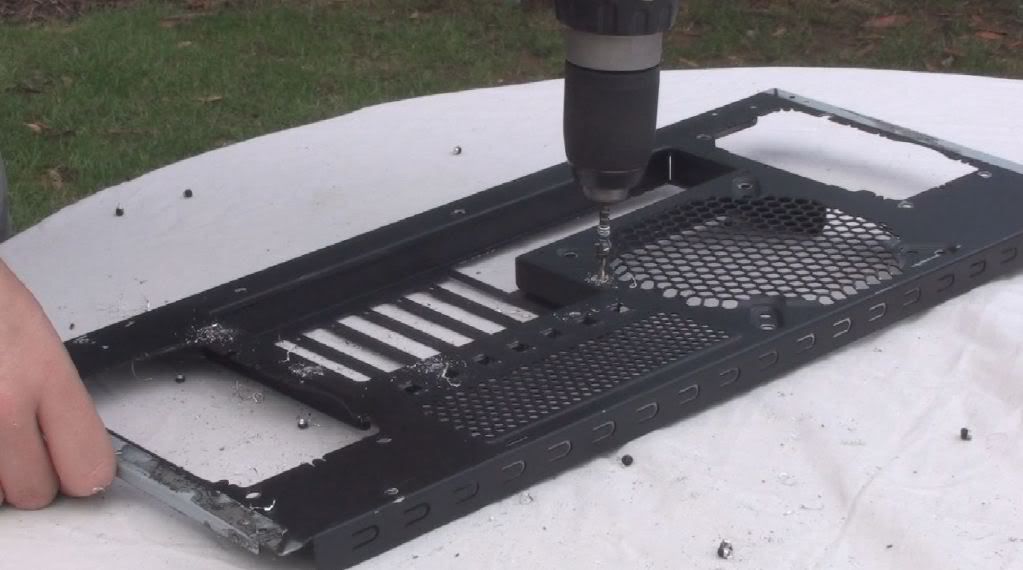
Taking off the I/O shield bit, these were countersunk.
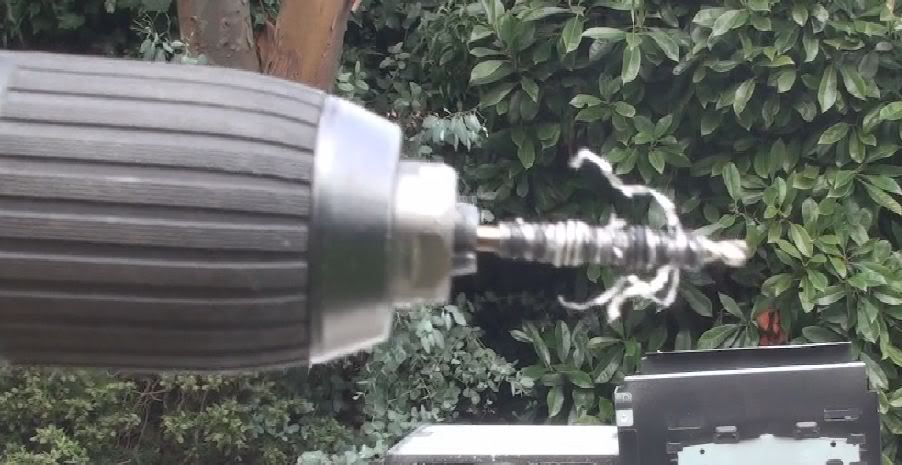
Oh dear! I spent ages trying to get these off with pliers! Learnt to take them off as I go along now.
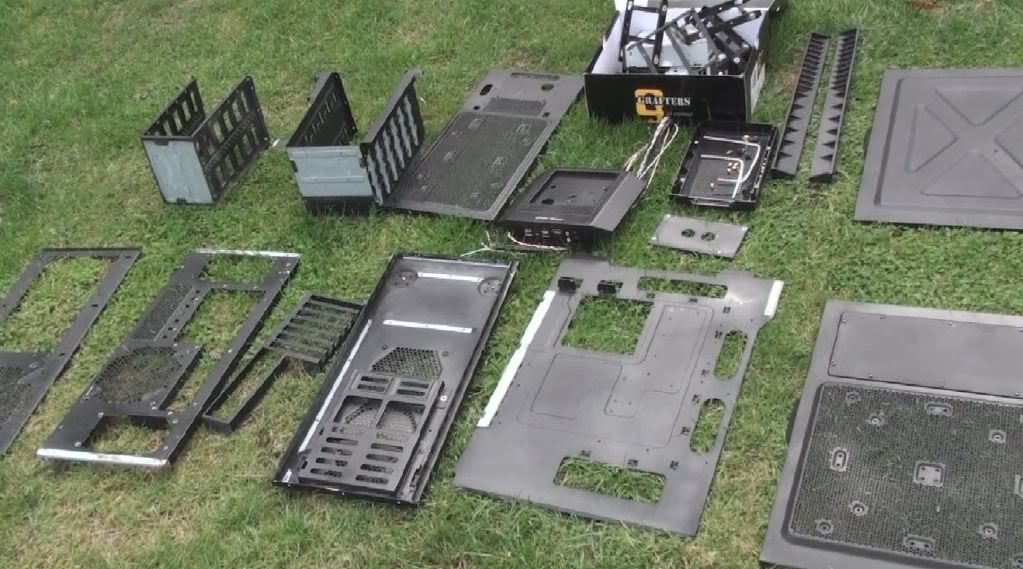
All in bits!
Overall, easier than I expected!
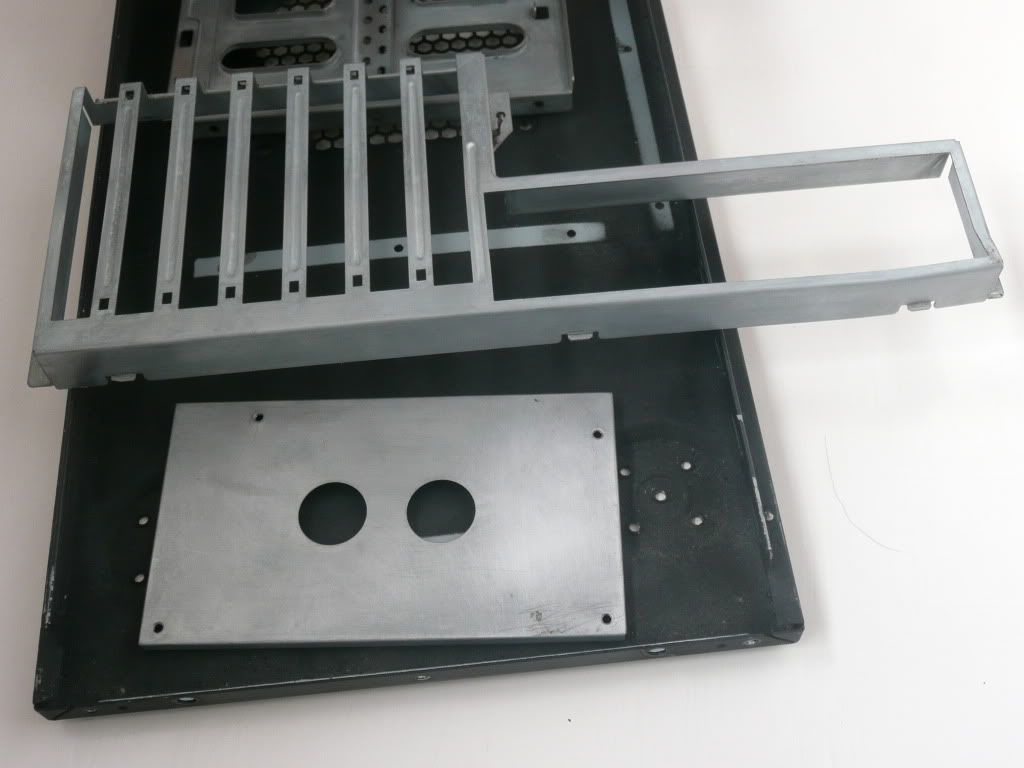
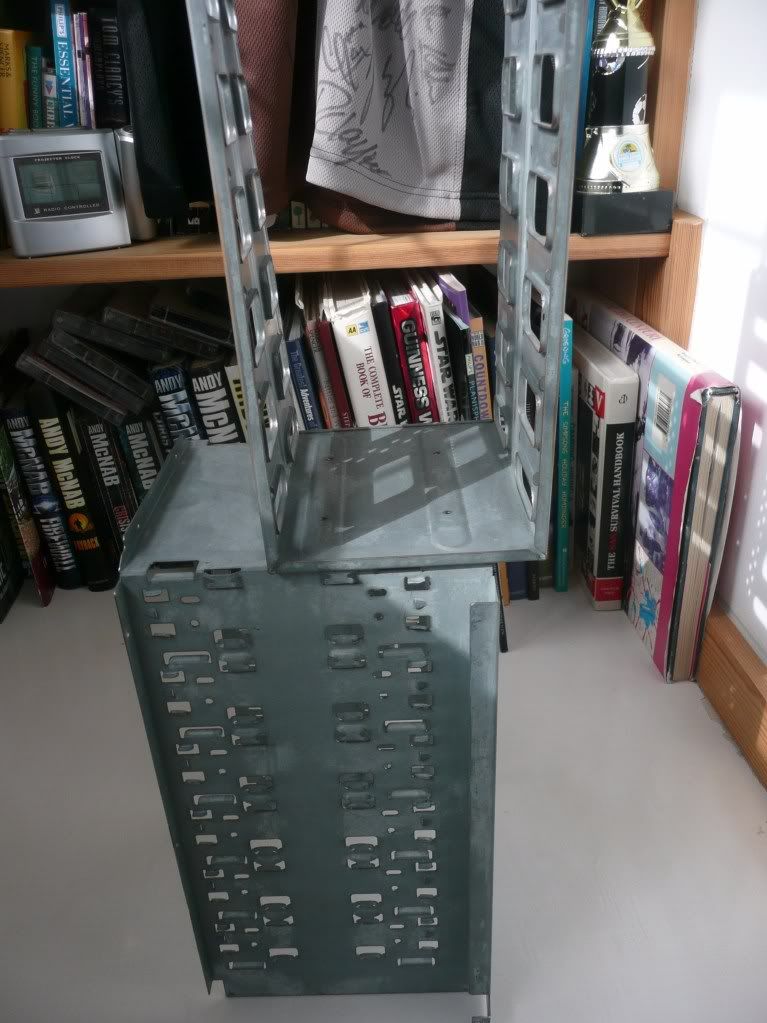
So, I will be removing all the paint apart from the outside left panel as the rest has either a rough paint job or it has been splattered by paint. It is not easy to do, so I managed to get a hot wash from my dad's work, it is used to clean grease and stuff that sticks from bus parts by spraying very hot water on it. It really softens it up well, so as soon as it comes out I get the paint stripper and a bit of wire wool and get to work. It also does the job of sanding so the paint can get a good grip! Here are a few of the parts all done:
Next I tried some spraying. I have never sprayed anything before so I got some tips before proceeding. I had a can of red primer lying about which I used. I was worried a little about the colour of the primer, but in the army cadets a trick I often used was to use red parade gloss before putting on black gloss, that way it gives a deeper colour. So I was pretty convinced that even if you could see it through the black paint, it would not give a negative effect. Anyway, this is my experiment panel:
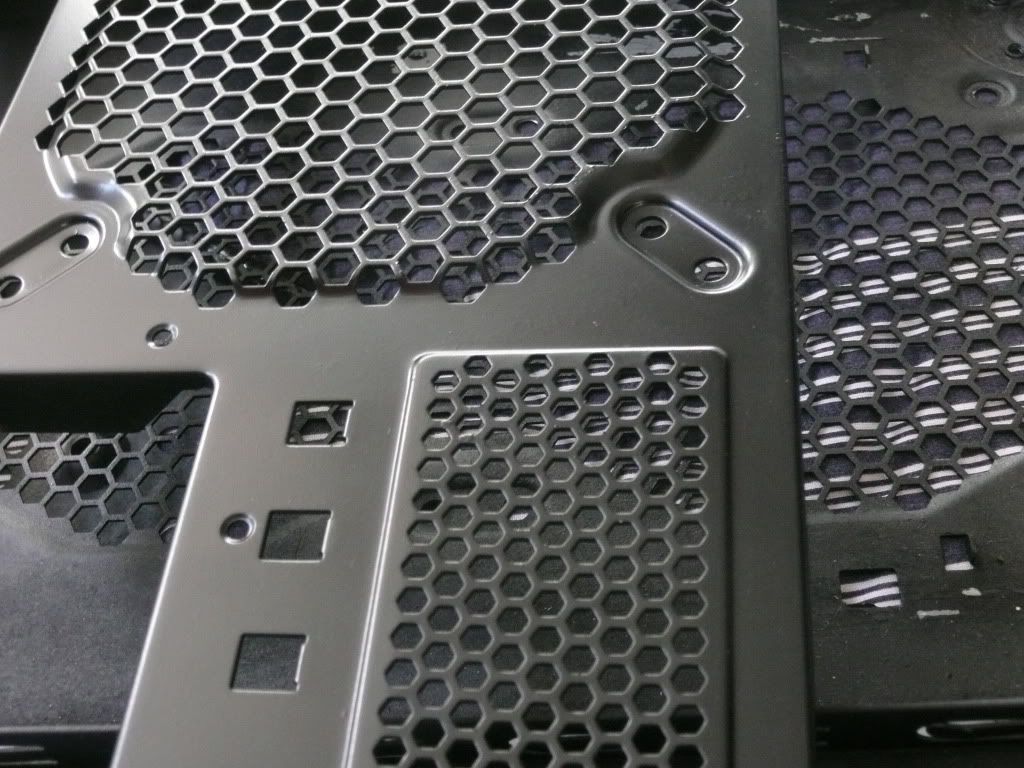
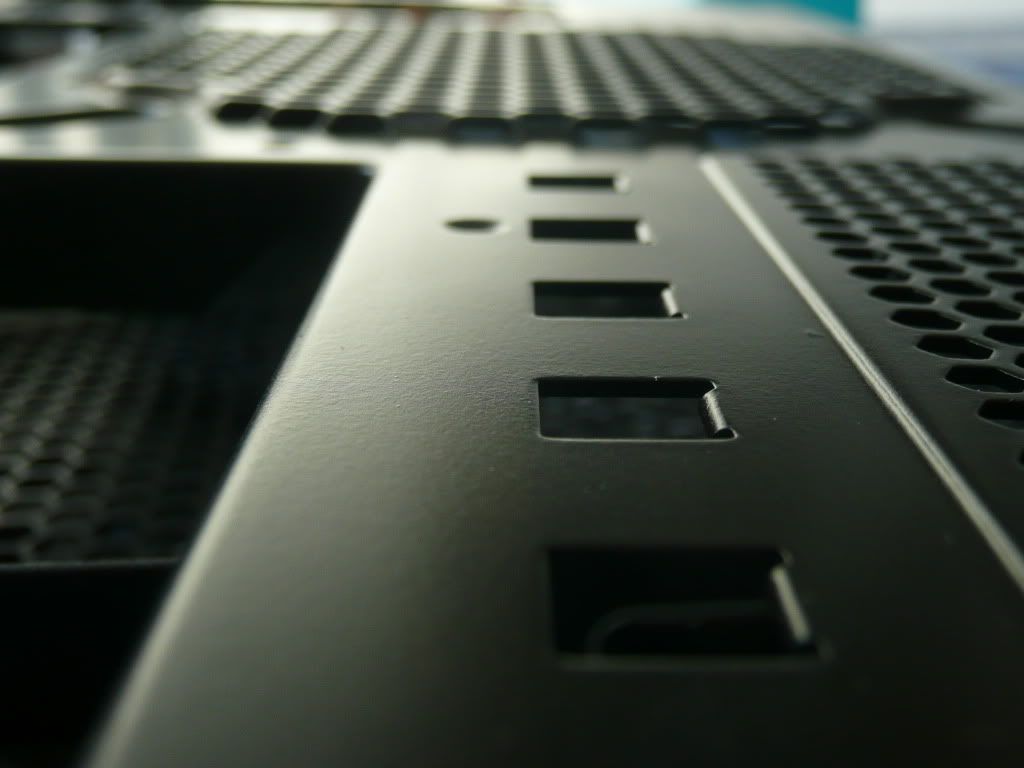
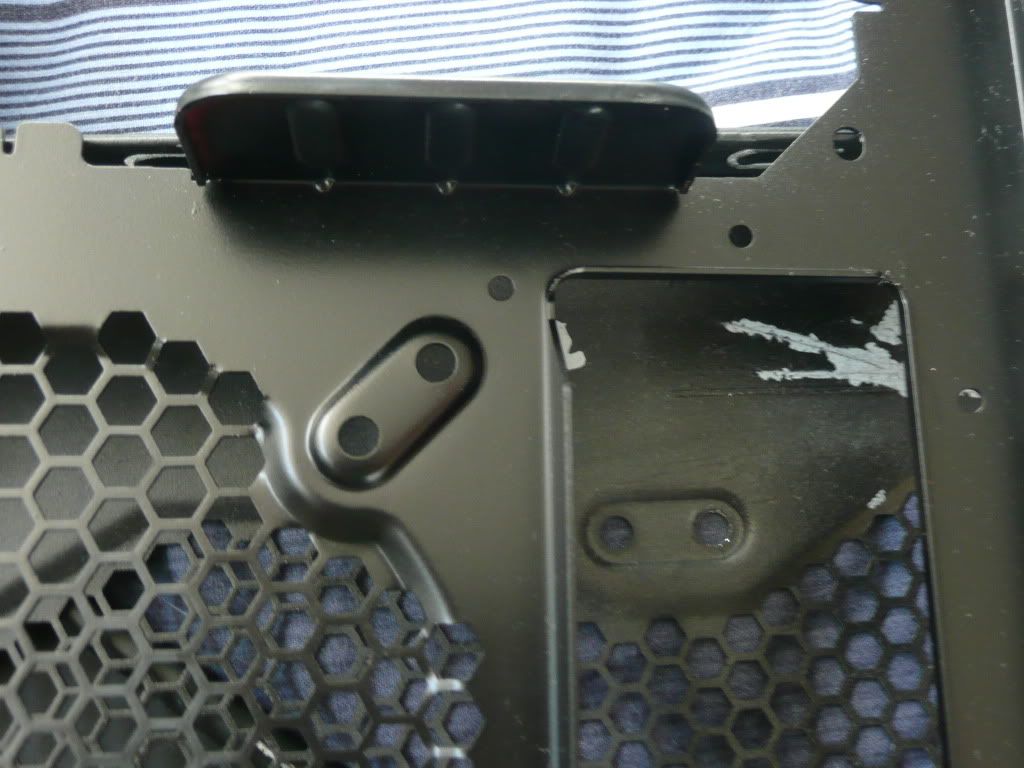
I was genuinely impressed with this considering this is my first time spraying. In my opinion it looks just as good as the factory finish on other cases. I did not use a respirator but I think I may when I am doing the rest as I will be doing it all at once. I have this old spetsnaz-syle gas mask with a working filter that will do the job. I don't really want to be going out and buying one if I don't have to. I will just have to put up with looking like Gordon Freeman!
Anyway, thats it for now, I have run out of paint stripper! Sorry for all the talking! Can't wait to get this done but with my GCSEs and homework I am limited for time.
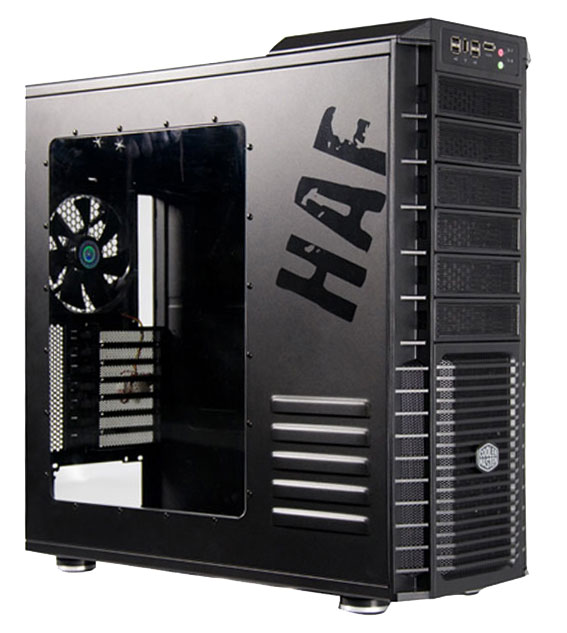
At the moment I am thinking about which fans to use, case lighting and considering replacing the vent on the left side panel with the one pictured below, it's 1/16" thick so it is good quality, just wondering how it would look (assuming this is not a competitor). Any advice or opinions would be greatly appreciated!
Before we start, lets get a few things sorted- I will be modding a HAF 932, and it is not a 'cardboard box mod' as someone suggested! I'm sorry if you feel offended by the win of this case (in my opinion). Secondly, I'm 14- a year ago I bought COD4 for my £300 laptop and wondered why it didn't work- I then explored the possibilities of installing a PCI-e graphics card into it! About 6 months on I built my first PC and now I have my own review site with products being sent by companies and I consider myself a fully fledged PC builder! I just thought I'd let you know in case you see me in some if my pictures. But I do not have tons of time to spare as I'm just starting my GCSEs. Lastly, being 14 I do not have a bottomless pit full of cash to spend, so some of my components are not up to today's standards, I recently did a CPU/Mobo/RAM upgrade and more parts will follow in time! Although I do have a CoolIT Vantage I won coming, so hopefully we will be seeing the 1055T @ 4GHz!
Anyway, enough about me and my cash flow- what do I want to do? I have been looking for ages for a new case to replace my old iCute (laugh if you like!) case. I like a good quality build, interesting design and a massive window. The HAF 932 was perfect for me but it lacked the enormous window, so I realised to only way to achieve my dream was with a Dremmel!
The old case of ugliness:

What I want to do:
- Paint stripper the previous paint job except for the left side panel
- De-rivet and spray the interior black
- Paint the I/O, expansion card slot part and a few other bits of trim red
- Paint the drive bays, top PSU hole cover and PSU stand red
- Cut a large window (similar to the the one of the HAF 932 black edition)
- Numerous other things that pop up into my head as I continue
Here we go:
So I got my case. Got it from a user on the MM who had previously attempted to spray it. It wasn't a bad job, but there was lots of runs on the interior and a few on the top and side panels where it had splashed off the back. He didn't de-rivet the case or remove the tool-less buttons, which left an uneven coat and matt black buttons. He also didn't dust the bottom before he painted it, so it was extremely rough. He also sprayed over the window, but that didn't matter to me. But he sold it to me for only £30 inc so I was extremely happy, thank you so much! (didn't really take any pics before de-riveting).
The camera couldn't pick up the paint runs but here is some examples of where he has painted over the dust:


My first job it to de-rivet the case. I used a 3.2mm drill bit and set to work with the ridiculous number of rivets in the case. I thought I would make some mistakes on my very first time modding, but it was very therapeutic! Took me ages to get the bleeders of of the drill bit! Some were domed and some were countersunk, it doesn't really matter, but I will try and get some countersunks as well as domes when it comes to re-riveting. The de-riviting pics were frames from a video build log that didn't really work thus the poor quality:

Putting on the 3.2mm drill bit.

Taking off the OD and HDD drive bays.

Getting the top of the case off.

Taking off the OD and HDD drive bays.

Removing the MB tray from the rest of the case.

Taking off the I/O shield bit, these were countersunk.

Oh dear! I spent ages trying to get these off with pliers! Learnt to take them off as I go along now.

All in bits!
Overall, easier than I expected!
So, I will be removing all the paint apart from the outside left panel as the rest has either a rough paint job or it has been splattered by paint. It is not easy to do, so I managed to get a hot wash from my dad's work, it is used to clean grease and stuff that sticks from bus parts by spraying very hot water on it. It really softens it up well, so as soon as it comes out I get the paint stripper and a bit of wire wool and get to work. It also does the job of sanding so the paint can get a good grip! Here are a few of the parts all done:


Next I tried some spraying. I have never sprayed anything before so I got some tips before proceeding. I had a can of red primer lying about which I used. I was worried a little about the colour of the primer, but in the army cadets a trick I often used was to use red parade gloss before putting on black gloss, that way it gives a deeper colour. So I was pretty convinced that even if you could see it through the black paint, it would not give a negative effect. Anyway, this is my experiment panel:


I was genuinely impressed with this considering this is my first time spraying. In my opinion it looks just as good as the factory finish on other cases. I did not use a respirator but I think I may when I am doing the rest as I will be doing it all at once. I have this old spetsnaz-syle gas mask with a working filter that will do the job. I don't really want to be going out and buying one if I don't have to. I will just have to put up with looking like Gordon Freeman!
Anyway, thats it for now, I have run out of paint stripper! Sorry for all the talking! Can't wait to get this done but with my GCSEs and homework I am limited for time.
At the moment I am thinking about which fans to use, case lighting and considering replacing the vent on the left side panel with the one pictured below, it's 1/16" thick so it is good quality, just wondering how it would look (assuming this is not a competitor). Any advice or opinions would be greatly appreciated!


 )
)
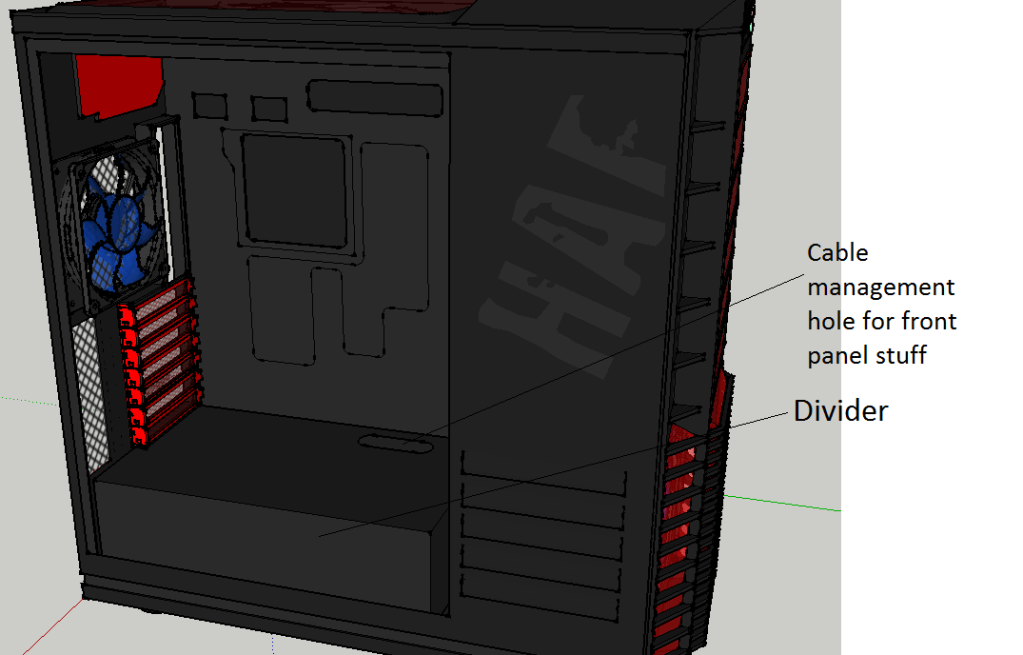
 . Then I contacted In Wjn via facebook who then sent me through their Ironclad which looks great and has an outstanding build quality, although lacked cable management (also selling on MM now). Almost kept it but I really wanted a windowed HAF...
