Soldato
- Joined
- 31 May 2006
- Posts
- 7,564
- Location
- West London
The first of the last set of parcels arrived for me today so I thought that I’d start writing up my build log.
I got into watercooling for a quiet life and to reduce my electric running costs (pc was OC running 24/7 at load)
and swapping all the fans for a 3w pumps made sense to me.
As with many taking their firsts steps into the world of WCing I went with a second hand ‘kit’.
But it wasn’t the usually XSPC or Swiftech kit’s, it was a Zalman Reserator 2.
But as with most things IT, I got the upgrade bug and moved away from the original kit of parts to
achieve high performance and remove the last fan in my build (PSU). I removed the RES2 body from
my loop a few months ago after maybe 4 year. If you find a Res2 I highly recommend you get it.
They will change the way you think about computing – they really are THAT good.
I have had my CPU/GPU/NB/MosFet/PSU/HHD all in a loop – but fanless is a pita.
In an air conditioned server room it’s workable – but a home PC - it’s more trouble than it is worth.
Others told me this as I got closer and closer to a 0dB system – I ignored them, I was wrong.
Why am I telling you all this – Well I think it helps explain some of my hardware choices, and of all the
build logs I’ve read, the ones with stories or themes are the ones I’ve enjoyed the most. But enough history.
Project:sufficiency
Sufficiency or in the words of Mary Poppins ‘Enough is as good as a feast’
It’s an old idiom that related to food portions, personal contentment and global resources equally.
It’s qualitative. It’s a personal reference point, it’s not accepting second best but at the same time
not over specifying for something that will never happen.
But sufficiency is also quantitative - do we have enough food for the week?
Will my pc overheat in summer when running full load? Will it be inaudible during the day?.
Will it allow me to work at home without waking my wife?
This isn’t a i7/800D/5970 build log – but I hope you enjoy it all the same.
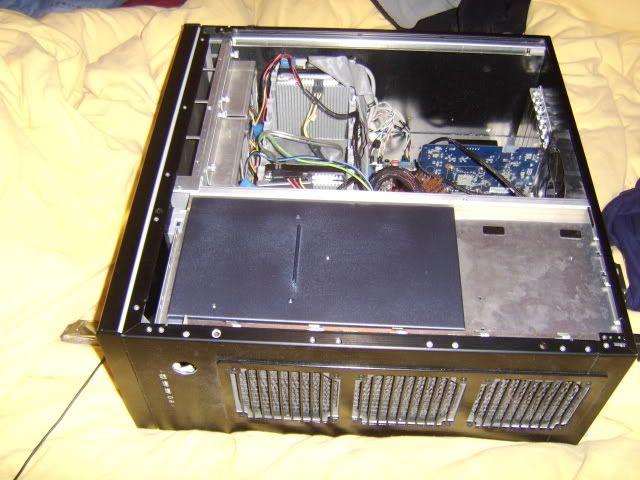
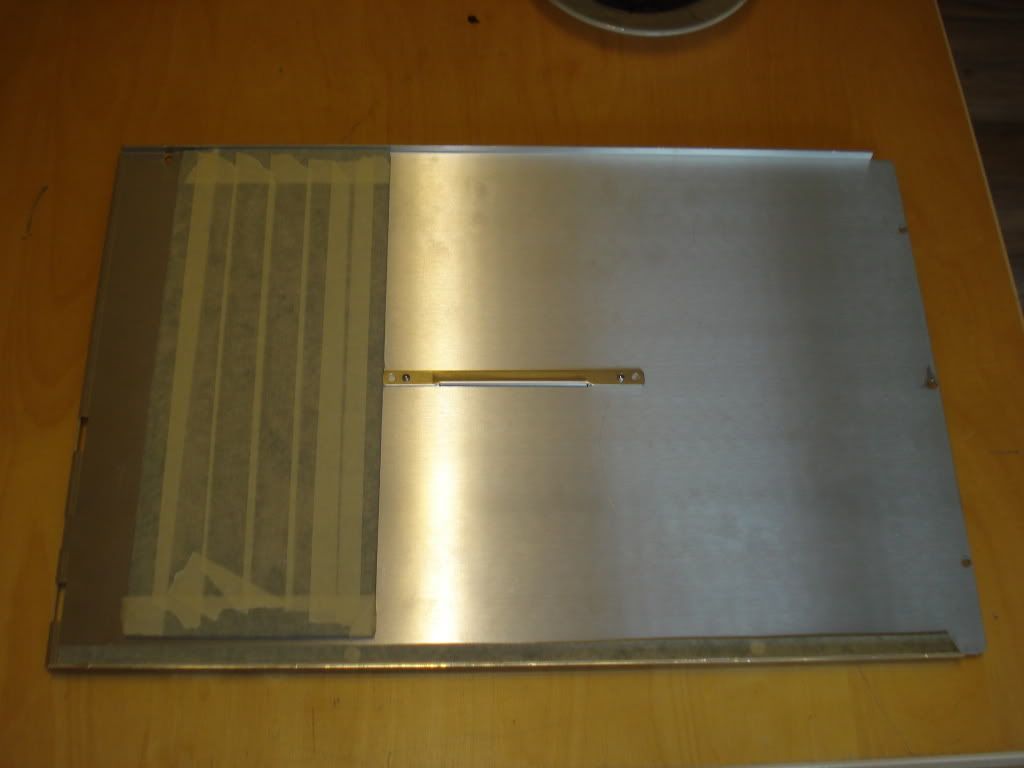
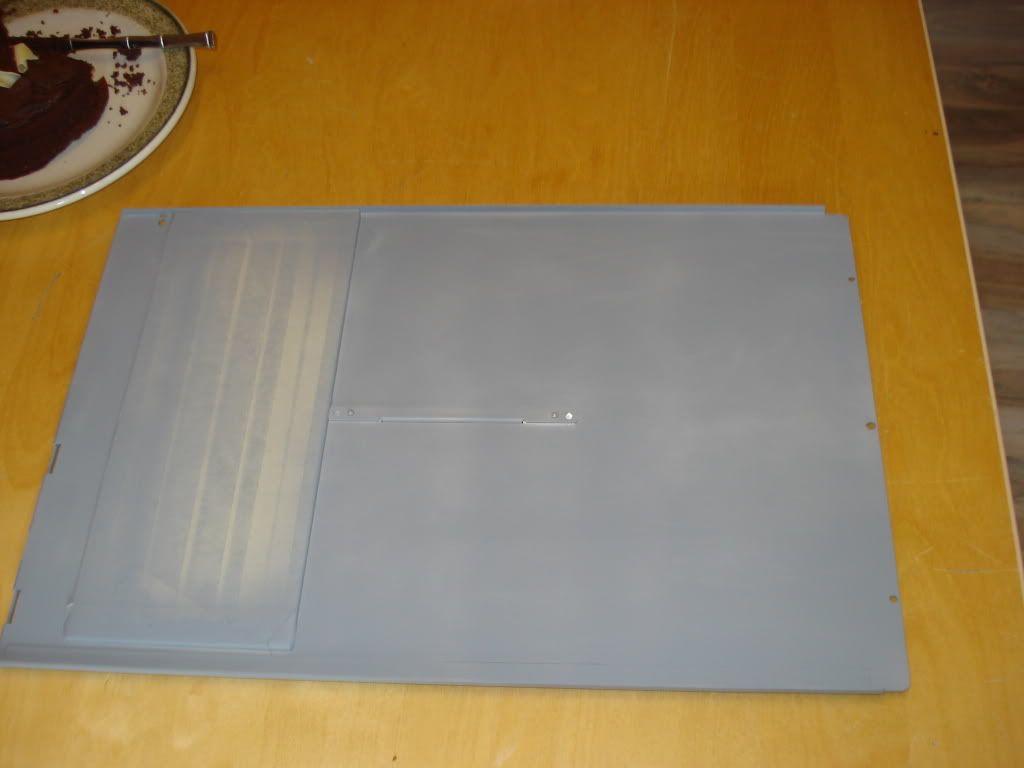
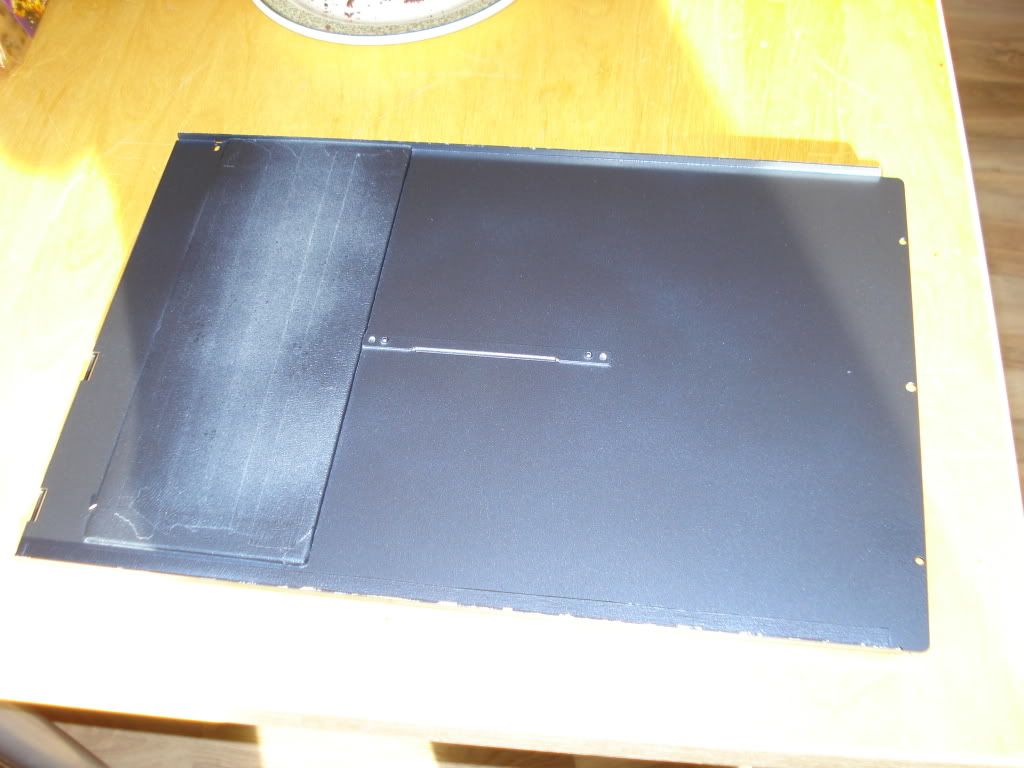
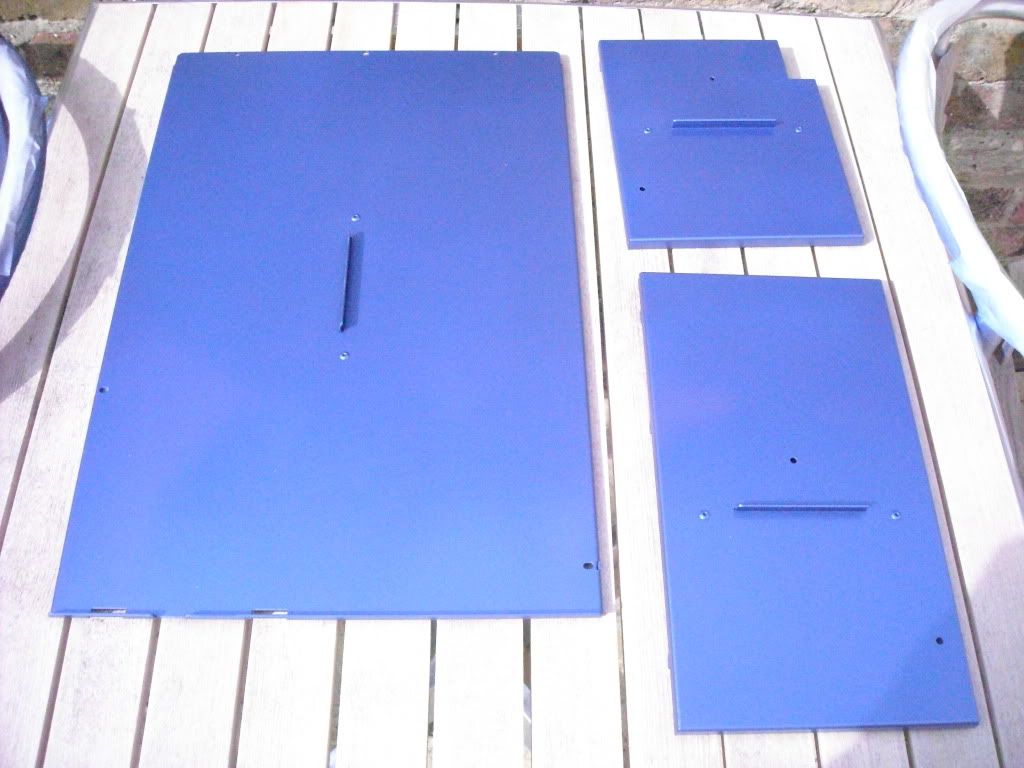
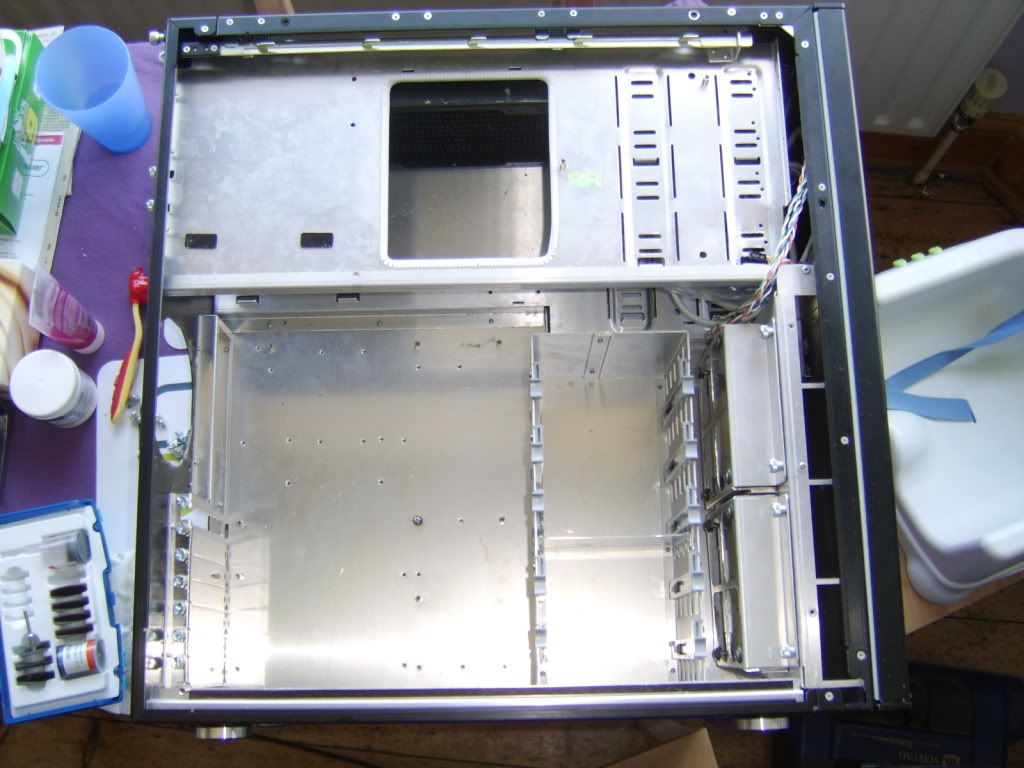
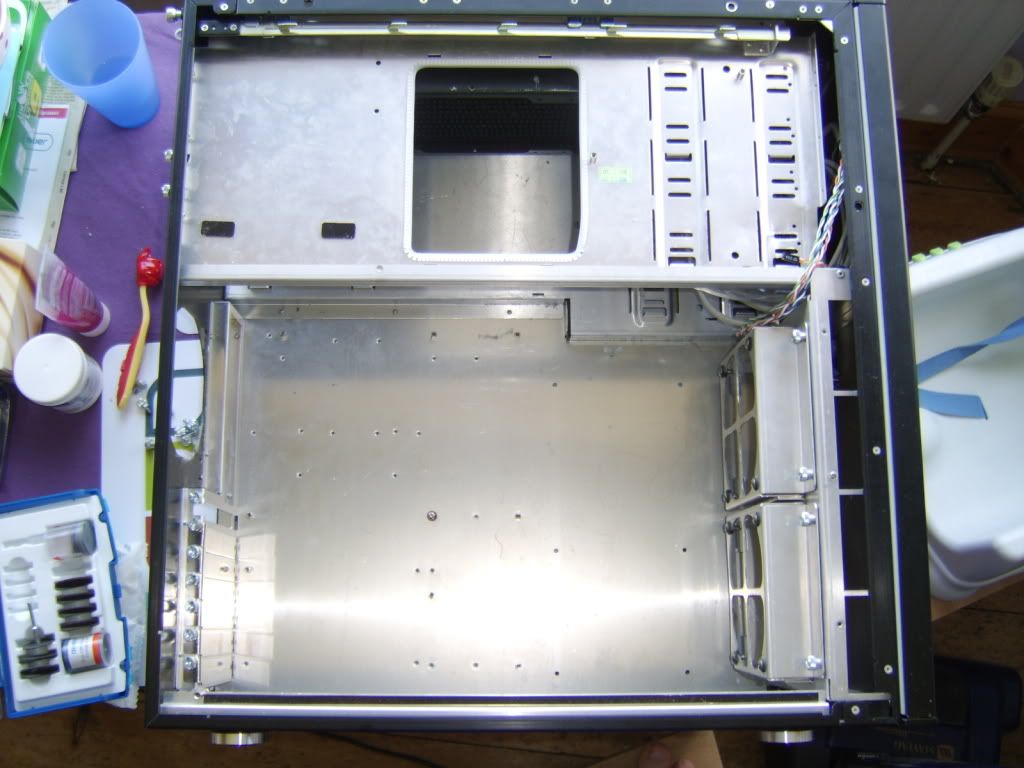
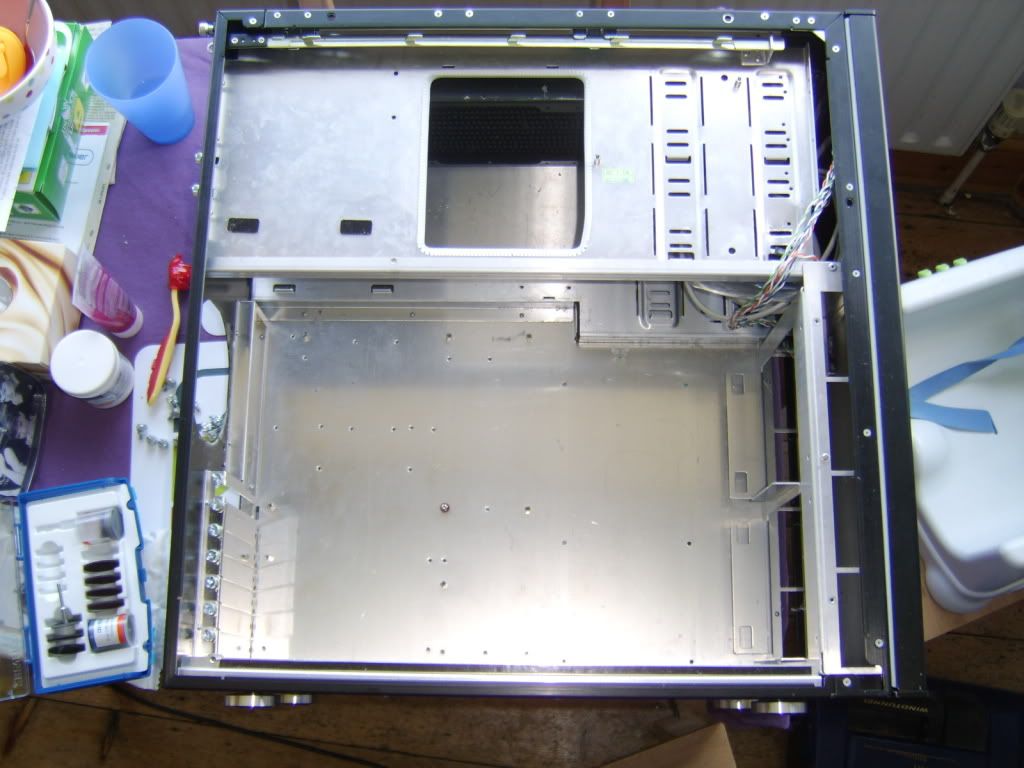
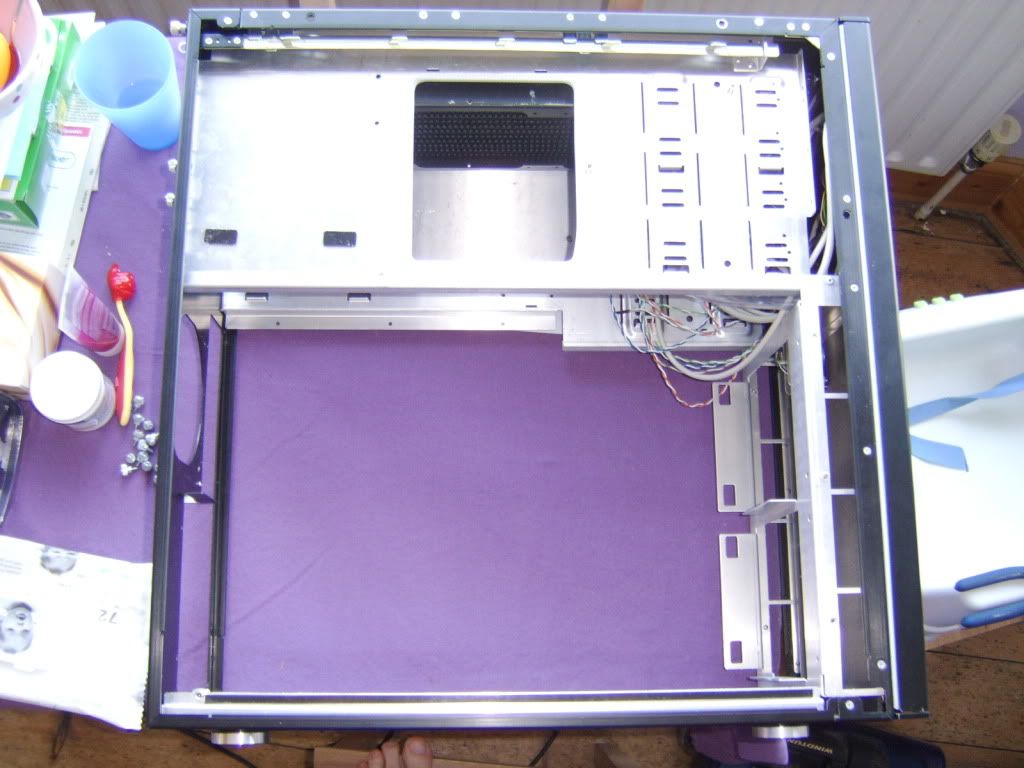
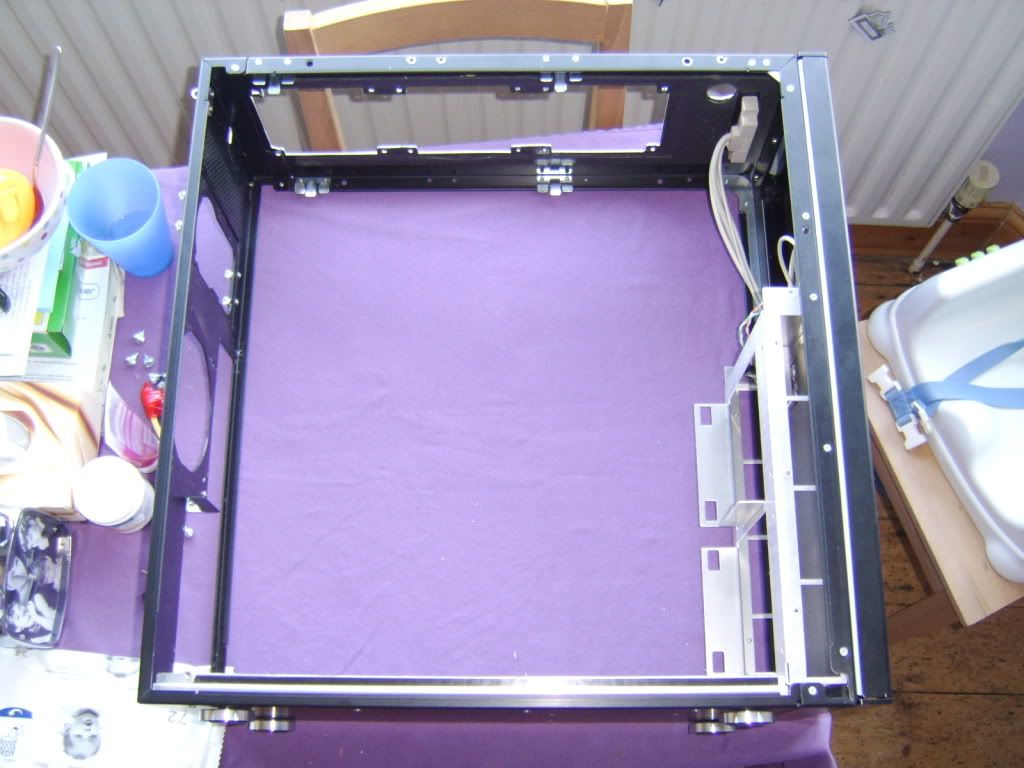
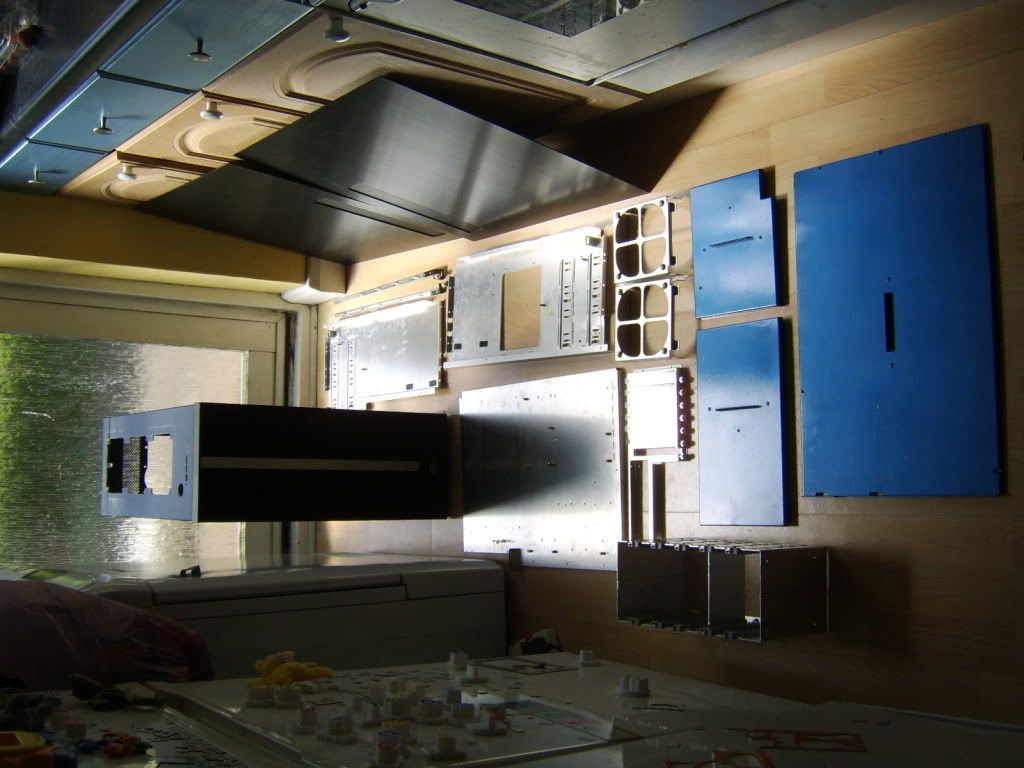
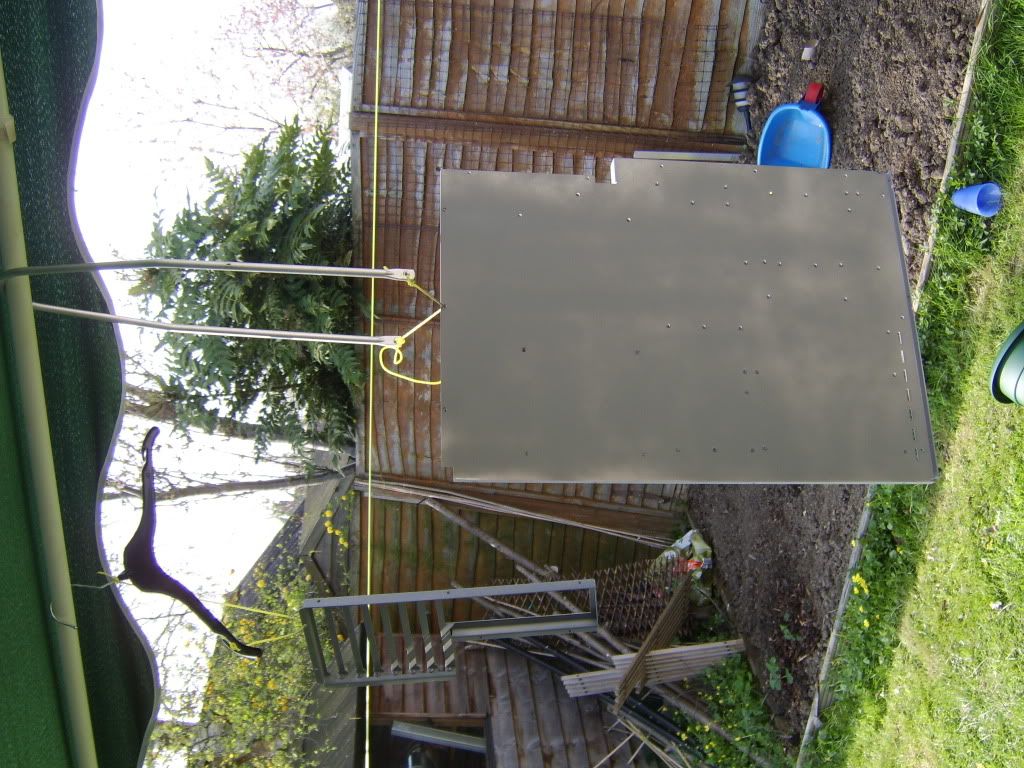
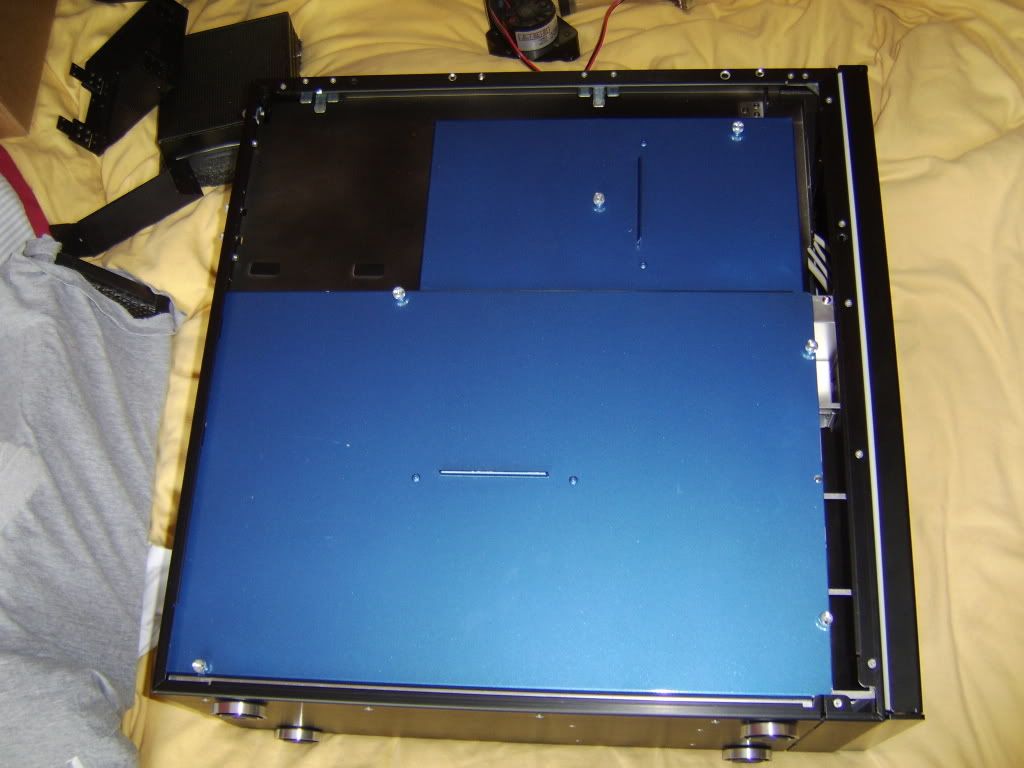
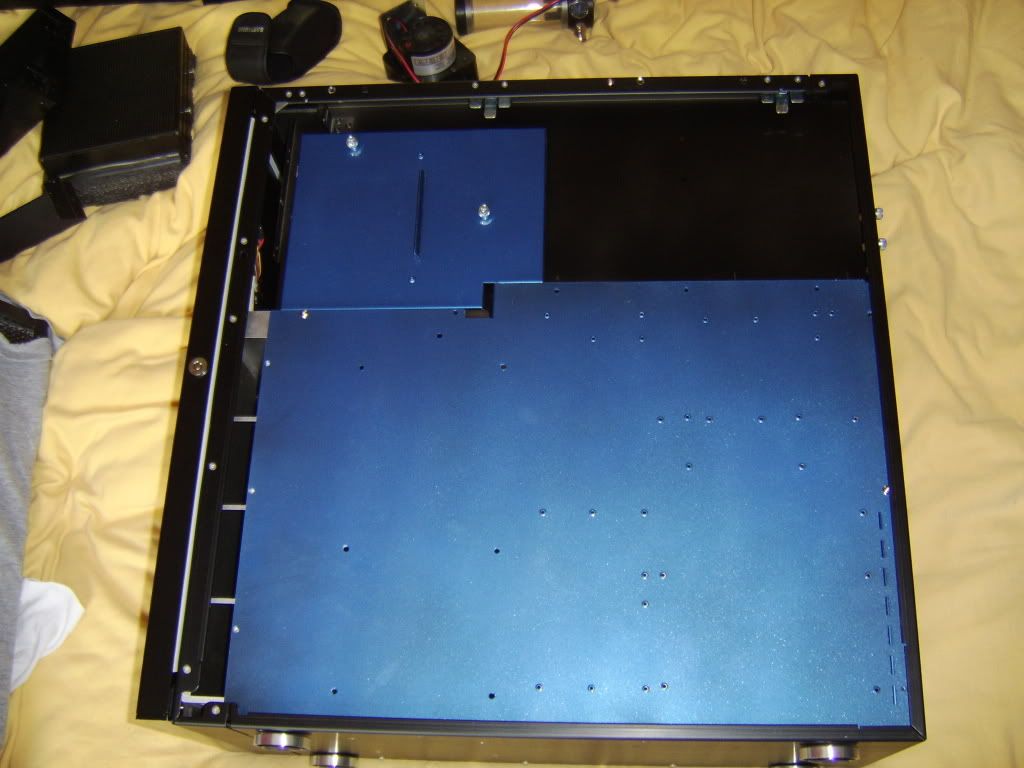
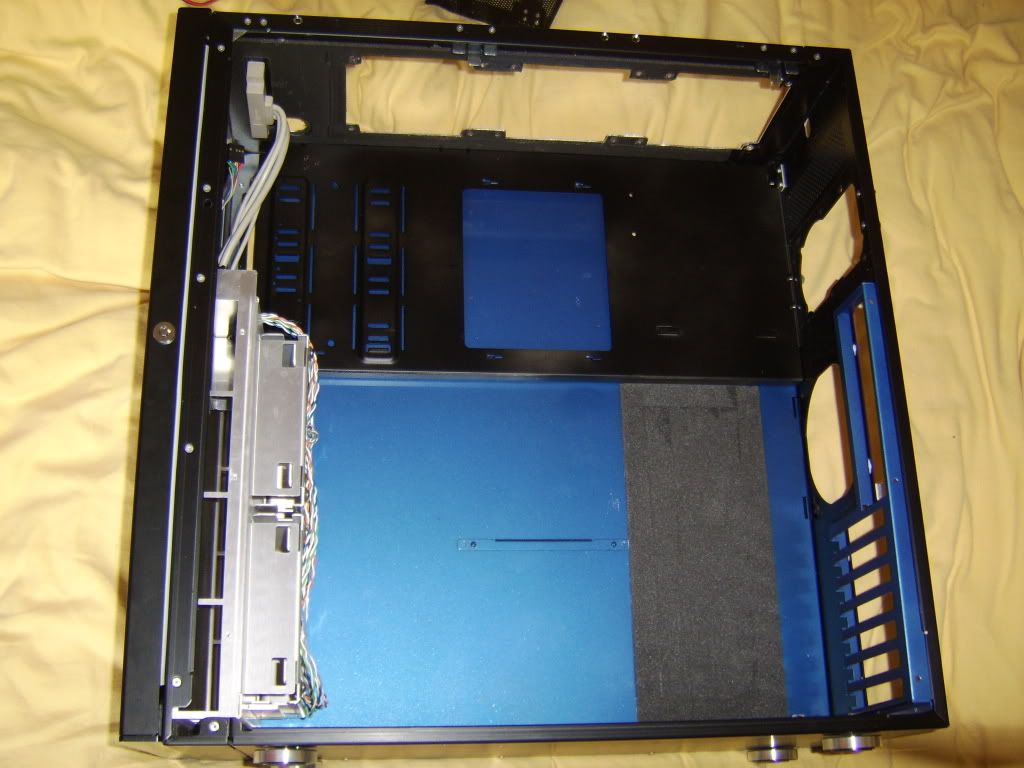
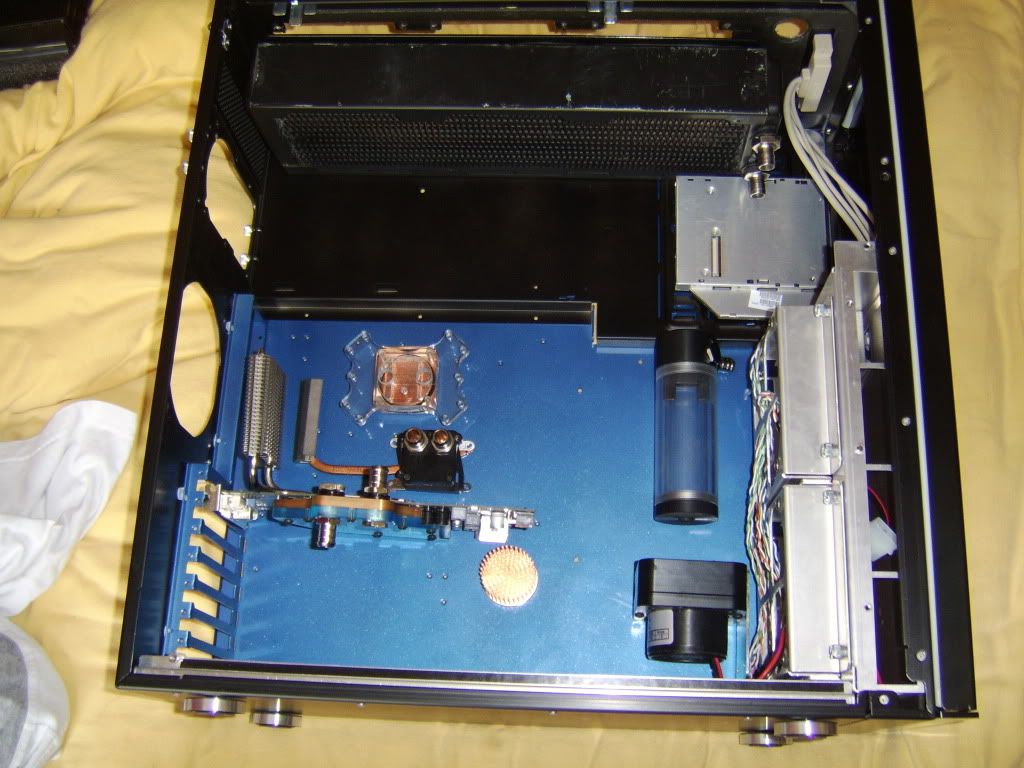
Case: Lian Li PC-S80B
A double box aluminium server case - designed like a tank for reduced noise but showing its age in design features.
I got it pre cut to accept a PA120.3 in the roof, has the quality I want and the space I need to accept a full
internal passive loop.
Mobo: Asus Maximum II Gene
One of the first gaming grade mATX motherboard - almost everything it’s bigger brother has
except a few pci slots. To by honest my P5Q vanilla was fine, but it was always a second best option.
The Gene will work with my ram, allow NB and MosFet cooling with a single waterblock,
has a better overclocking/undervolting bios and has the 24pin power socket in the right place.
The mATX form factor also allows some additional modelling opportunities.
CPU: E8200es
Engineering sample of the popular wolfdale chip – Duel core, large cache what more do you need.
It’s a great chip that runs cool, overclocked at around 1.1 volts. Perfect for CAD, Office and light gaming.
Ram: Transcend aXe PC2-9600
One of the fasted DDR2 sticks available – Four 1Gb sticks of Micro D9 covered in oversized
aluminium heat spreaders – runs with very tight timing/low volts at 800 will do silly speeds
but enough D9’s have been sacrificed already.
GPU: Sapphire 3870 ‘blue pcb’
ATI answer to the 8800gs – cool, low energy more than enough for my needs. Was a bargain
with a Blue EK full cover block and a good upgrade from my passive 8500GT.
HHD: 2x Samsung 32mb SLC in RAID & WD black 500Gb
Silent running, high read/write speed, single level cell SSD’s – Not as good as the Intel’s.
But they are quicker/quieter/a more energy efficient that the raptor they replace.
The western digital (inside a GUP) takes care for the rest.
PSU: Yesico FL-550 Fanless
High wattage passive psu - rock solid fanless server grade psu.
It has a low amp's on the 12v rail so not a gamer PSU but perfect for my needs
Radiator: PA120.3 - dual-row, dual-pass copper triple radiator – still one of the best.
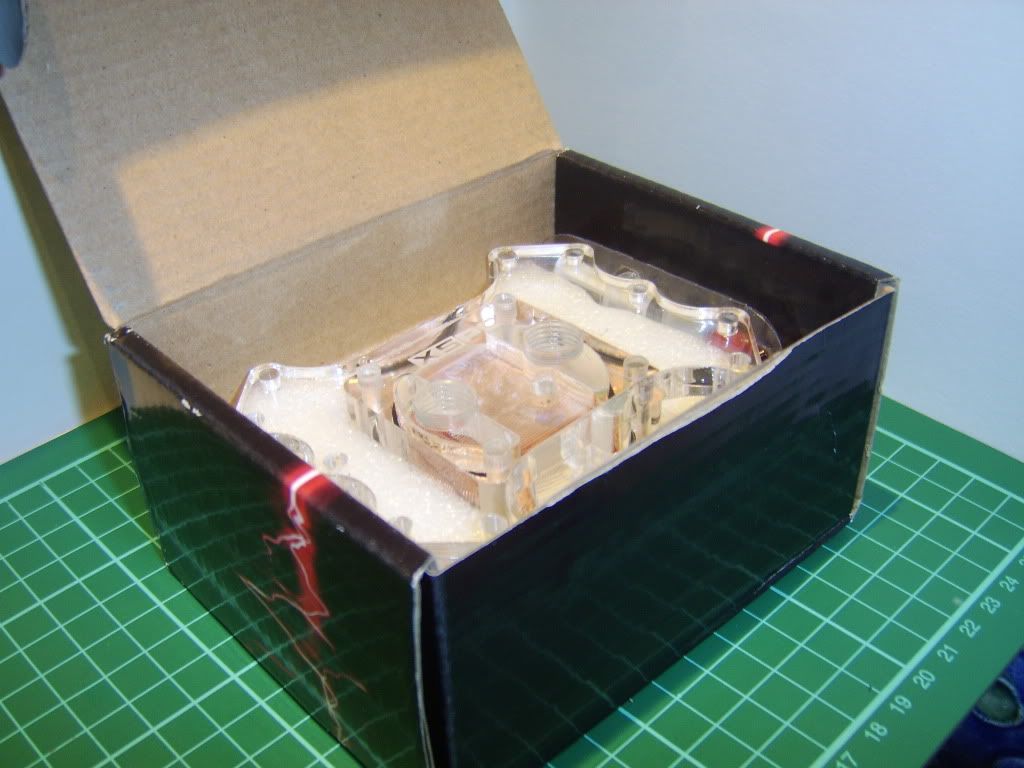
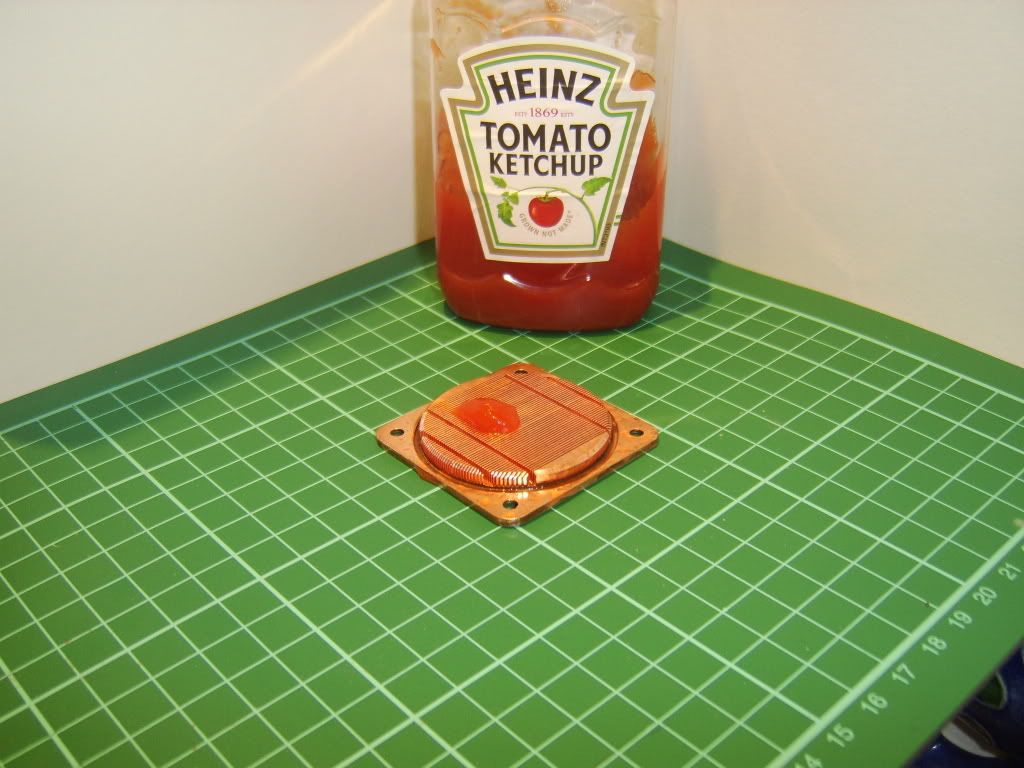
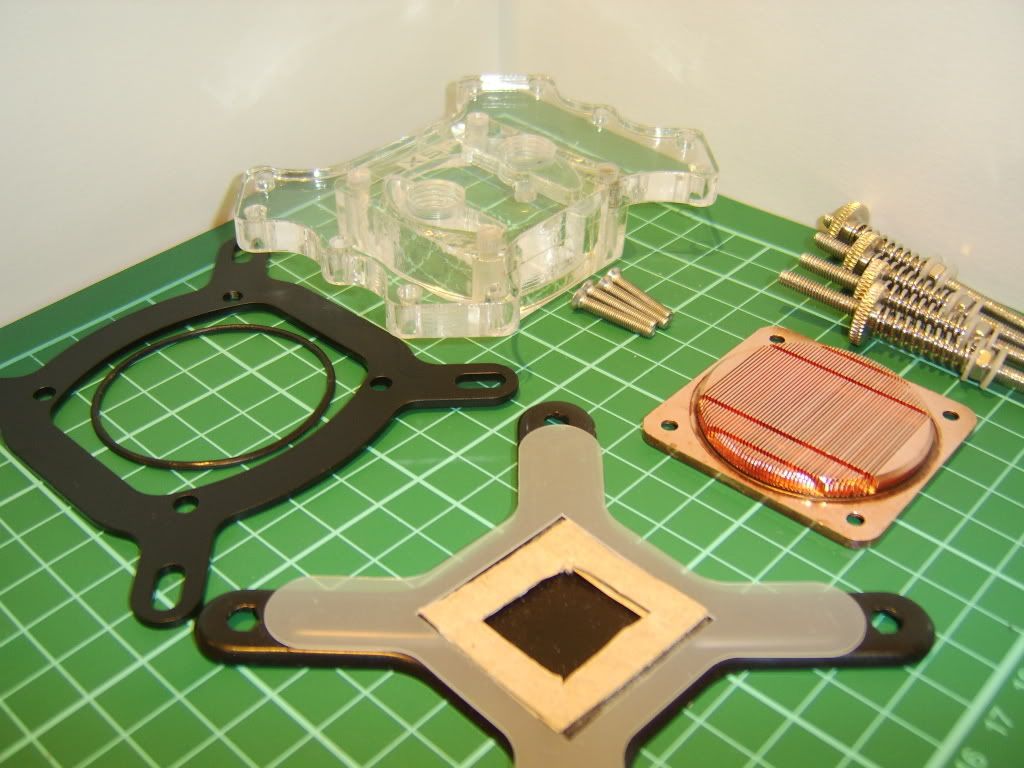
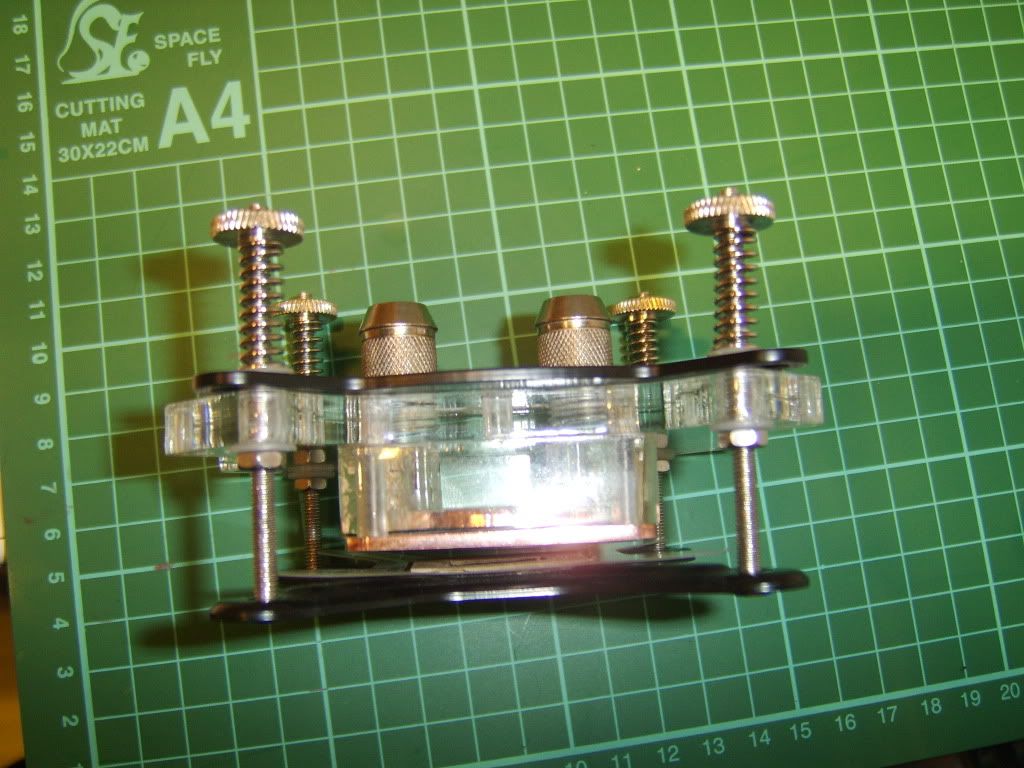
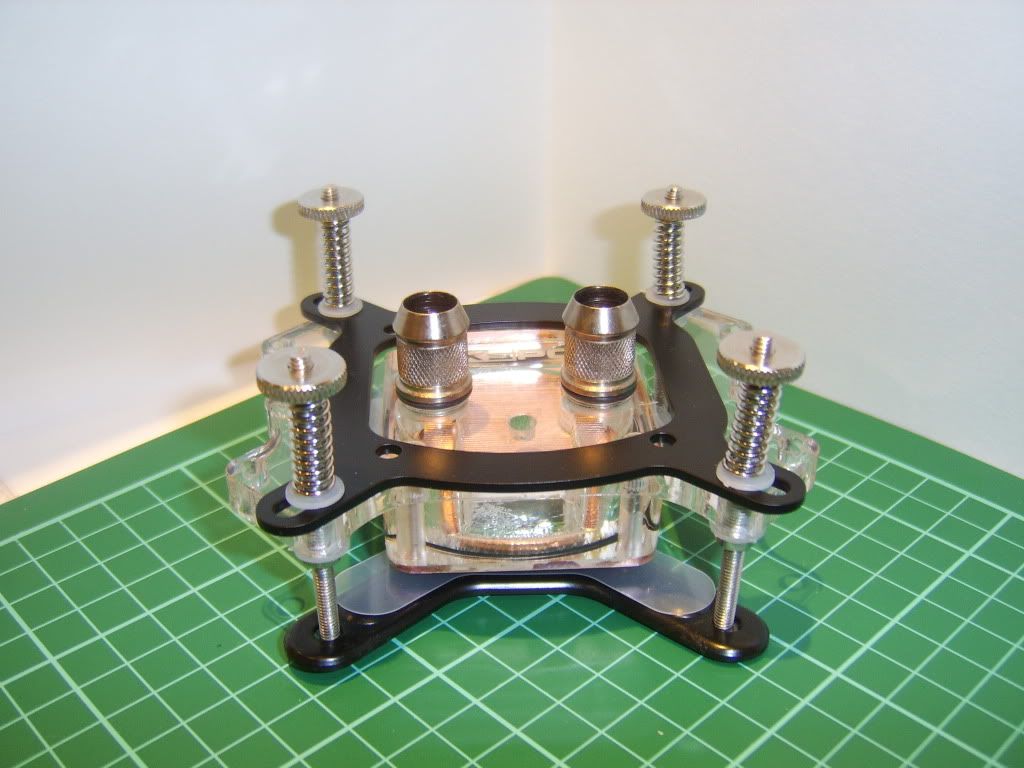
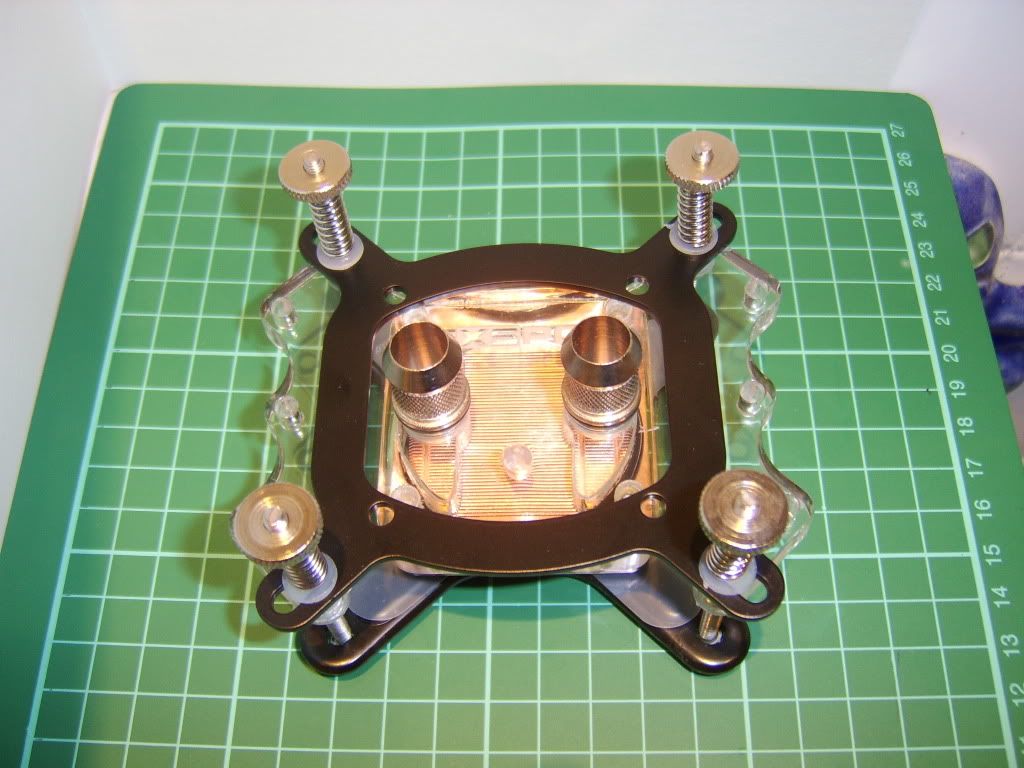
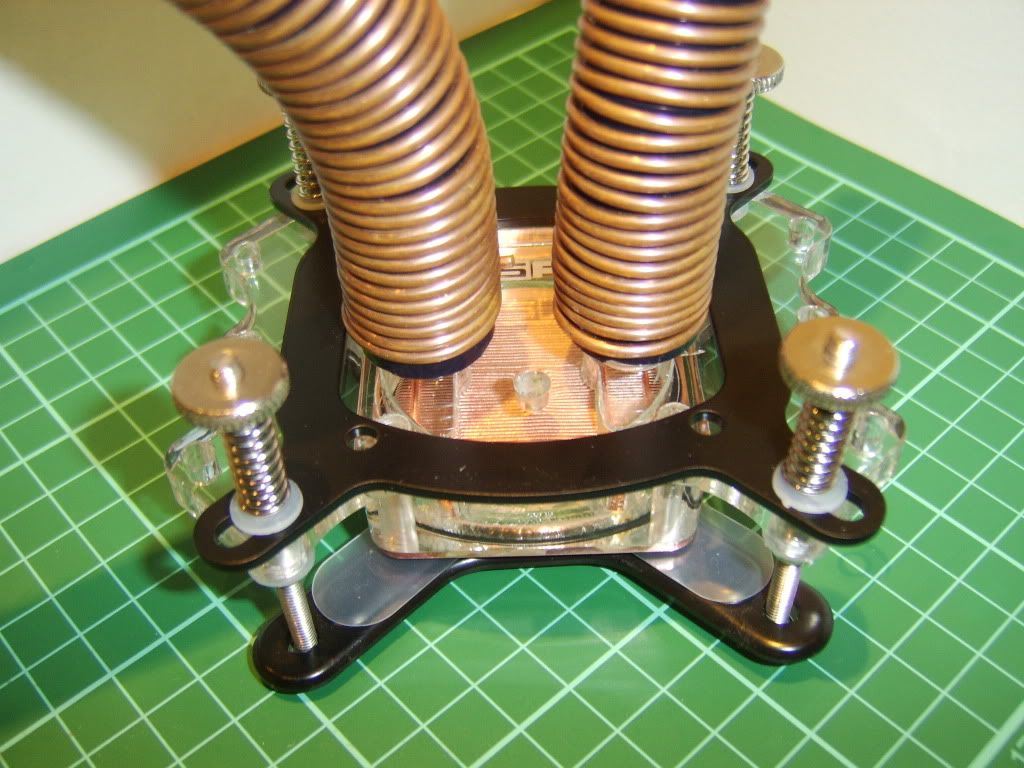
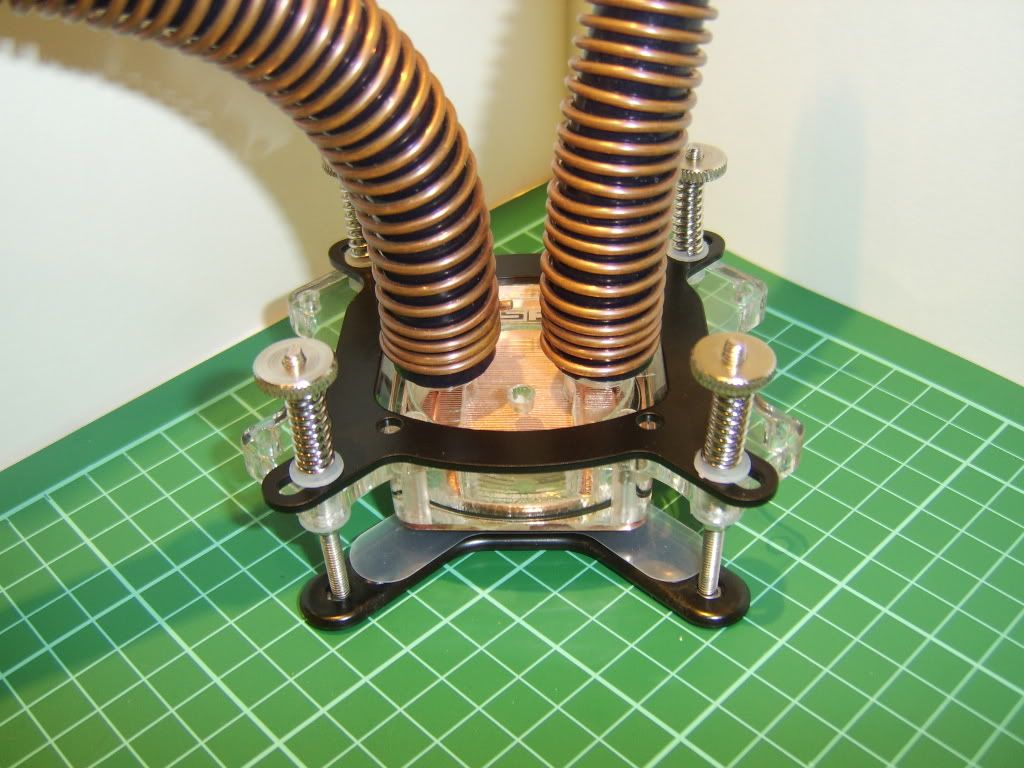
CPU Block: XSPC edge – high flow and as good as impingement blocks – EK supreme top.
GPU Block: EK-FC 3870 CF – high flow with blue plexi top to match pcb.
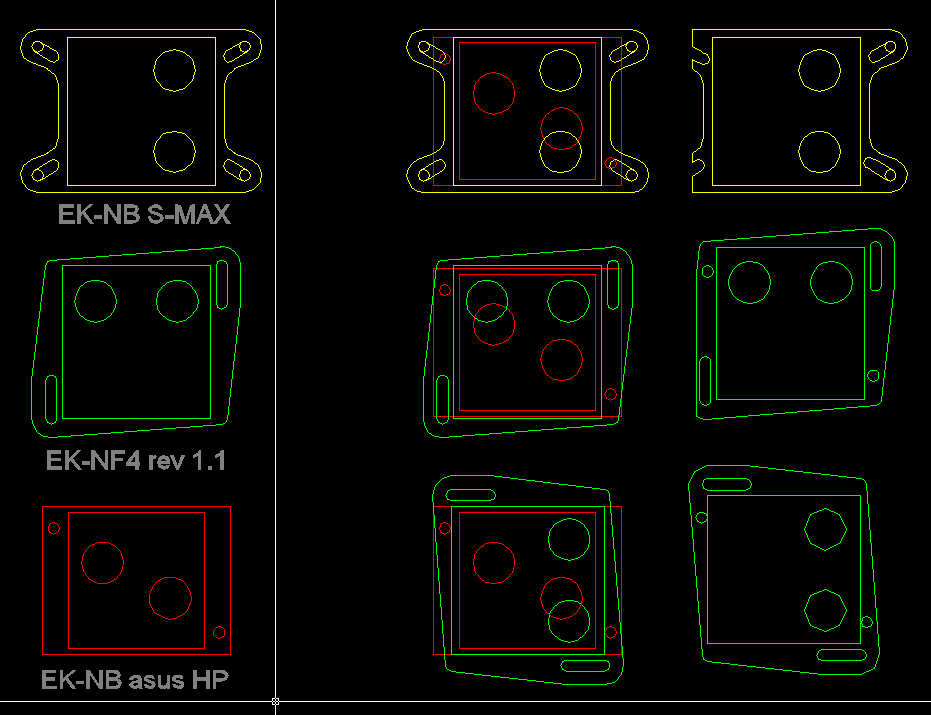
NB Block: EK-NB ASUS HP (?) – subject to change.
Res: EK-Multioption 150 – small and versatile res - upside down instillation.
Pump: D5 vario – powerful pump with variable speed/flow – best quiet pump.
Top: EK-D5 X-TOP Rev.2 – small performance increase and G1/4 threads.
Barbs: Primochill ghost – nickel plated brass High flow – Invisible and 10.1mm ID.
Tube: Feser/xspc Black – will test a few types with the barbs and see what’s best.
Detailing: Copper wire – more on this as the build progresses.
Optional external radient rad with QC's - maybe

Last edited:


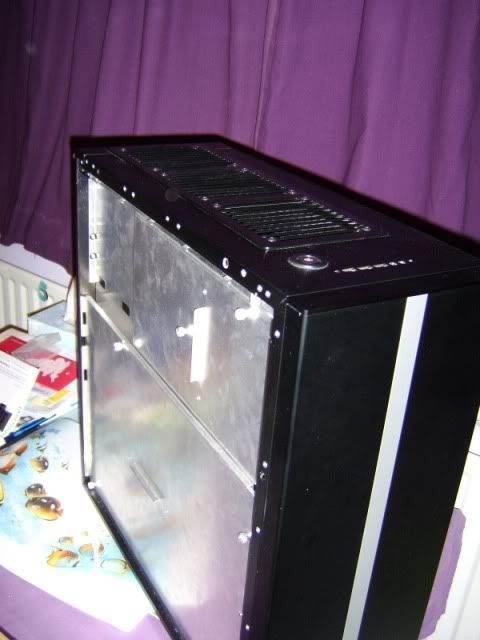
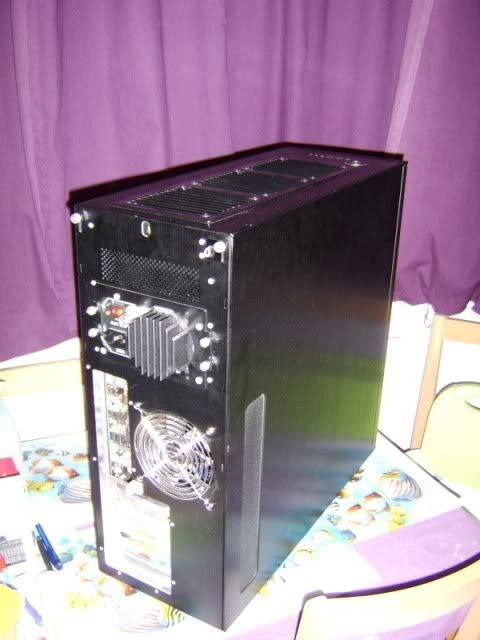
 - but yes this is not your standard build
