Project: The Elephant in the Room

Fans

Remember the "interesting" design of the radiator/fan mounting plates, where there are bars going across that don't match the spacing of either 120mm or 140mm fans?
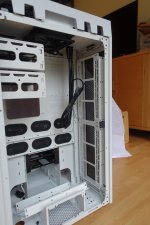
Pnuh8Ag.jpg

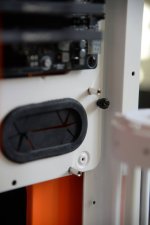
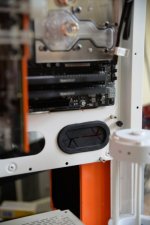
As predicted, when I mounted the fans and a radiator on these as a test there was awful fan noise even at fairly low speeds. It was a buzzy, chopping sound and my guess is that it was caused by the fans blades rotating so close the the bars. My solution was to get the Dremel out.
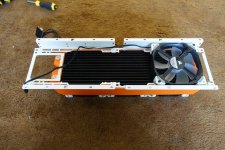
rWuuEsu.jpg

A quick test on the rough result was much quieter. I need to finish off the Dremel cuts with a file in places to neaten things up.

Three fans back in, and it's not looking too bad.
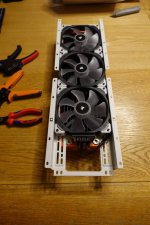
isc8u6O.jpg

I'm using an EK-WB Splitty so that I only have to have one fan cable going from each radiator to the Aquaero. Slightly overkill as it can run accommodate 9 fans but I guess it gives me expansion room if I want to go to push-pull in the future.

I trimmed the fan cables and crimped new terminals on to neaten up the cables.
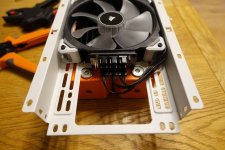
gYximxJ.jpg
 
GPU bridge block and sleeving choices

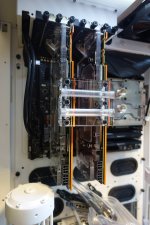
The EK-FC Terminal X2 3-slot Plexi arrived and has been fitted.

lL4dYVF.jpg

This is one of their new models. The previous range had outlets on the side (which means the bottom in this turned-round case). This would have been easier for the subsequent tube routing, but by the time I realised they had introduced a new range I could find one of the old ones that fitted cards 3 slots apart.

No matter, I shall just have to change my plans for the tubing.

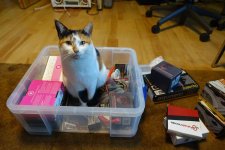
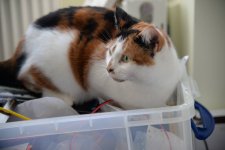
Some samples of sleeving came in as well. I was having trouble working out what to use, so I got some help from management.

Y24ncor.jpg

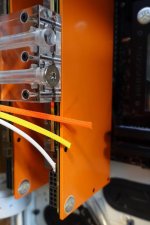
I narrowed it down to Teleios white, yellow, and orange:

modBhHS.jpg

Or MDPC-X:

mxjgoy3.jpg

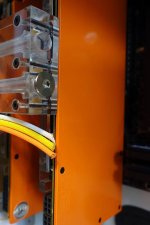
It's hard to see in these pictures because the white balance is slightly off, but the Teleois sleeving matches the colour of the orange painted parts better. I'll be going with that.

I've also sent off the SVG files to get some acrylic parts laser cut to neaten the case up a bit. Hopefully they will come back soon and I can see how disastrous my measurements were.

Next time: I can't put off bending tubing any longer.
 
27kg case!!! WOW.
Great purchase!

We recently had to get our floor fixed downstairs because of a leaking pipe. When my wife and I were carrying the case - now heavier than 27kg with all the components inside - up the stairs, we didn't think it was so great.
 
Pipe Bending

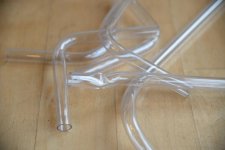
Despite quite a lot of practice, I'm not a natural pipe bender. Fortunately I bought about four times as much PETG tube as I needed.

RNpNfLr.jpg

I bought the Monsoon jigs for bending, but wasn't too impressed - they gave a very tight bend that distorted the tube more than doing it more gently by hand. They were quite useful for making multiple bends, though, especially if I need to make sure that the second bend was at 90 degrees to the first.

r6FW8Fu.jpg

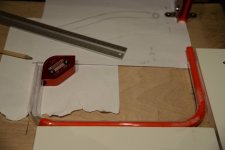
For the rest of the bends I made a simple right angle from pieces of wood screwed to a piece of plywood.

I could handle tubes with two or three bends after a few attempts but anything more was too optimistic. A couple of the tubes needed to go from the front of the case to the bottom of the radiators right at the back, and I didn't feel confident making these.

The answer was to put a panel in the middle of the case with some EK-AF pass-throughs. This meant that I could split the long tubes into two pieces, with the pass-through in the middle.

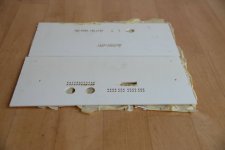
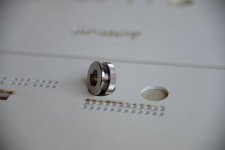
I was always planning to put a panel in the middle of the case to hide the ugly holes and grommets below the motherboard. I took the opportunity to get it laser cut with holes for the pass-throughs and the motherboard and GPU power cables.

Z1RuV70.jpg

In the end I used a company called CutLaserCut for the cutting. They were quite expensive, but did a much better job protecting the acrylic than someone I'd used before.

Here's the acrylic - still with protective paper layer and protective film - and a pass-through.

NkVFbF7.jpg

I screwed hex standoffs with M3 bolts onto the motherboard tray to mount the acrylic. I even got the bolt holes in the acrylic in the right place, more or less.

56S6hqu.jpg

So this ugly grommet mess...

R8sgigb.jpg

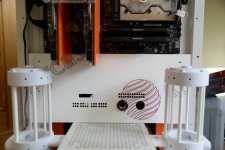
...turns into this. The design isn't on the finished product, it's on the protective film on the plain white 3mm acrylic.

6esJ9dn.jpg

Management approves.

2YZY1il.jpg
 
Things start to come together

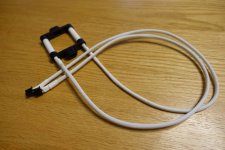
Before I can get the tubing in the case, I need the pumps in. To get the pumps in I need their cables sleeved.

NGtIvvm.jpg

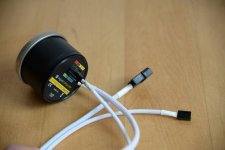
All the cooling will be controlled by an Aquaero, so that's a D5 pump with aquabus interface. I'd already set them up by USB when I had everything on a test bench months ago, so those cables are power and aquabus.

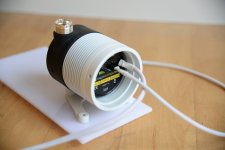
Also sleeved the cables for the Monsoon cold-cathode lights that fit between the reservoir brackets which I bought just because Monsoon made them, and not for any particularly good reason.

Ty9APrR.jpg

Pumps in cases, mounted on the acrylic baseplates which will then be screwed into the bottom of the case on 5mm hex standoffs using M3 bolts. The bottom of the case was surprisingly hard to drill though to make the mounting holes for this.

MGz24b1.jpg

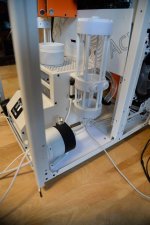
Pumps in place, tubing started. Making the short right-angle bend between the pump and the bottom of the reservoir was a right pain - there's only just enough space for the bend and a sufficient length of straight tube for the fittings to go on. In retrospect maybe I should have used right-angle fittings and straight tube. I managed it, eventually, and have about 10 not-quite-right right angle bends spare.

lcECmDE.jpg

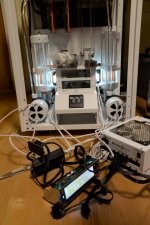
The great advantage of having the Aquaero set up already is that I can use it to start filling the loops without having anything else powered up. Excuse the spaghetti.

Qo71IXg.jpg

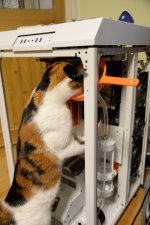
Filling the loops was the most exciting thing ever. Fortunately that was just deionised water so I wasn't too worried about her getting her face in it.

obVxUic.jpg

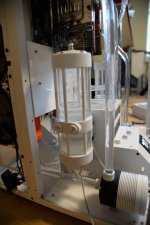
Amazingly I managed this with only one leak from a slightly loose fitting. Not bad for my first attempt at hard tubing.

4iI7HCn.jpg
 
Back
Top Bottom