

Soldato
Well, it has been a while folks! As a few of you know, I started to work for bit-tech so all the builds I did last year were either for content for the website or I didn't have time to do a proper build log. Now, I have left my job there and I work for Alphacool instead as the UK and US rep!
As such, my builds are my own again, so I can do proper build logs!
The first build:

Yes, that is correct. RGB. I am not a huge fan of RGB, but as everything is RGB at the moment I thought I would embrace it. Afterall, I have done things in the past that included RGB lighting, but I usually just set all the colours to one and leave it at that.
So, First things first.
Hardware pron:
A huge thanks goes out to Cooler Master for this project, seriously, I was just chilling out one day having some food and I got a message asking if I fancied doing a build. Cooler Master sorted out pretty much everything (bar a processor). They offered their cooling too, but obviously, I want to use Alphacool as I am now staff. Once again, a huge thank you guys!
This is what turned up:

So, let's go through some of it... First of all, the ASUS stuff! Now, as some of you may know, ASUS are one of my favourite sponsors, they help me out a lot and I meet the team a few times a year at events and they're always top folks. However, for this build, ASUS Taiwan dealt with the motherboard and one of the 1070s who I have never met! (I was meant to, but I ended up in hospital whilst in Taiwan!!)
The motherboard is the ROG Strix Z370-F Gaming. This is the first Z370 board I have had and it is rather tasty.

As always, the Strix board is quite aggressive and has some nice details, I like the hidden m.2 slot for instance.

I was surprised there weren't more USB ports on the back of the board, but I have a 12 port and an 8 port powered USB hub anyway, so that doesn't matter to me!

mmmmmmmm.... socket.

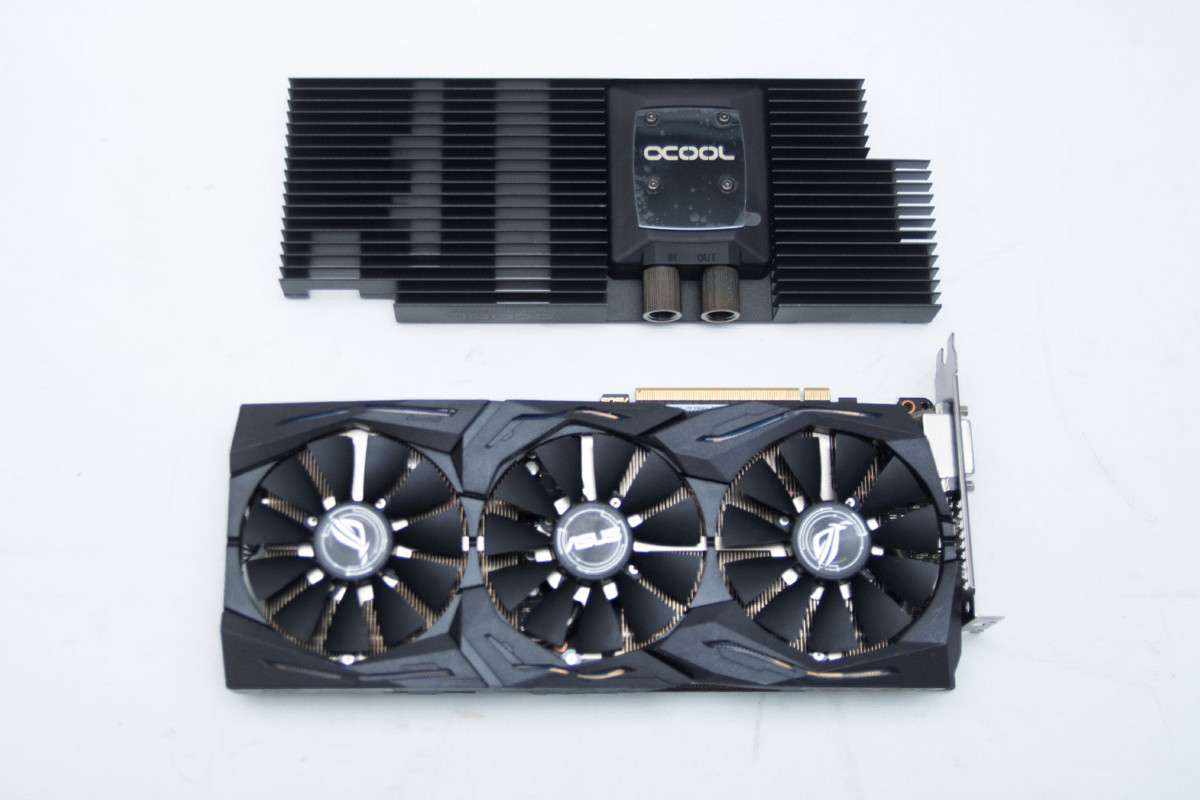
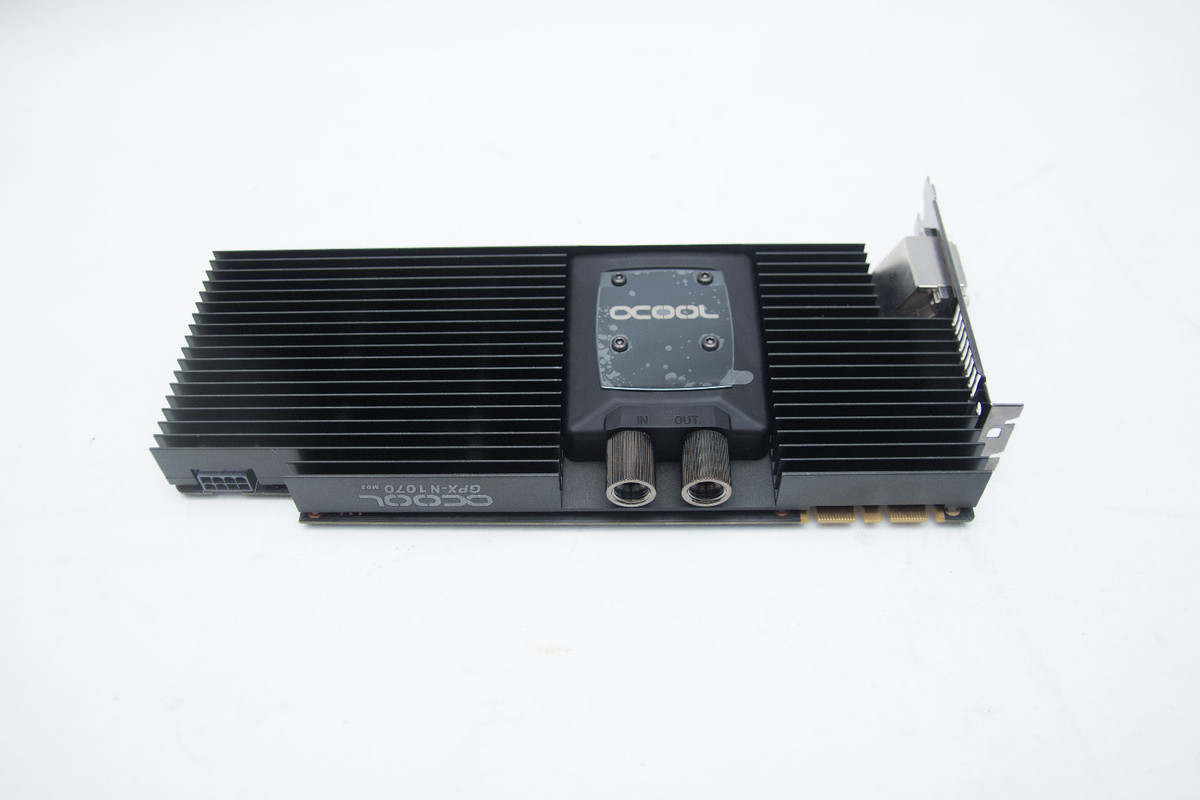
As mentioned, ASUS TW sent me 1 x 1070 Strix for this build.... "but there are 2", I hear you cry. Yes... remember when I said ASUS are babes? they sent me one a while back for another build and as always, I repurpose everything that I can

I was really struggling to find a processor for this build. Until very recently I would only have a few pounds a month to myself to spend and most of that would go on paint, tools and other items so a new processor was going to be a big hit for me. I did think about doing the build without a processor, but whilst talking to my guys at ASUS, they mentioned they had an 8700k that I could have! Mental.

So, that is the motherboard, GPUs and CPU sorted - I think this is going to be a beast!

For the SSD and the RAM, Cooler Master managed to get Apacer on board with me, this is the first time I have used Apacer for a build so a huge thanks for supporting me!

As always, I am as honest as possible and I am not sure about the aesthetics of this memory, but, that is why I mod things! I will make them something I like. If everything was perfect, there would be no point in modding it!

Once I had popped the ram into the slots, it does look a lot more pleasing to me - What do you folks think?

I really do like the SSD however, like, I NEED this pattern somehow. I might have to change the panther to a Unicorn though just to fit in with the theme

Now, let's get onto the case! I was asked if I wanted an H500P or the Cosmos C700P. Now, I REALLY like the cosmos, but I know a lot of my modding friends are working on them, so I thought I would go for this one instead.

ooooh, I made a gif!
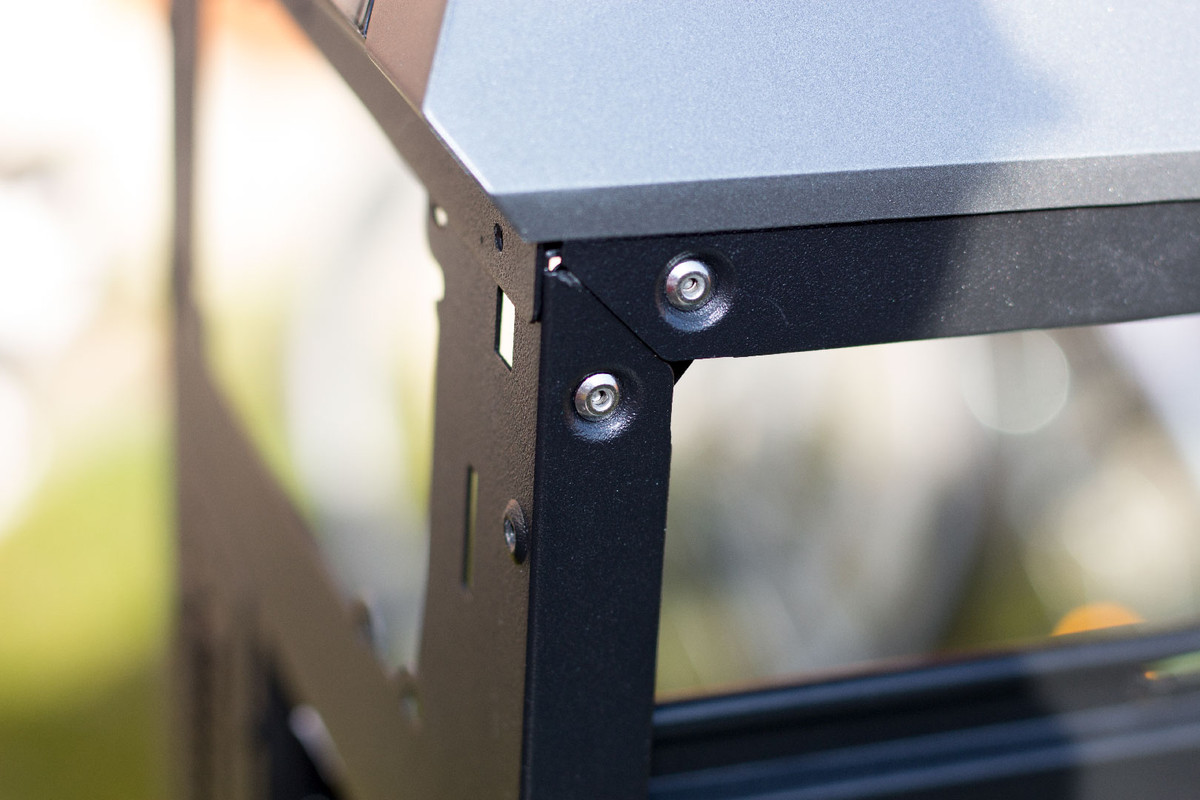
So, this is the case! when I took these pictures, I had no idea what I was going to do with this, in fact, I still don't really, but I certainly have a theme now!

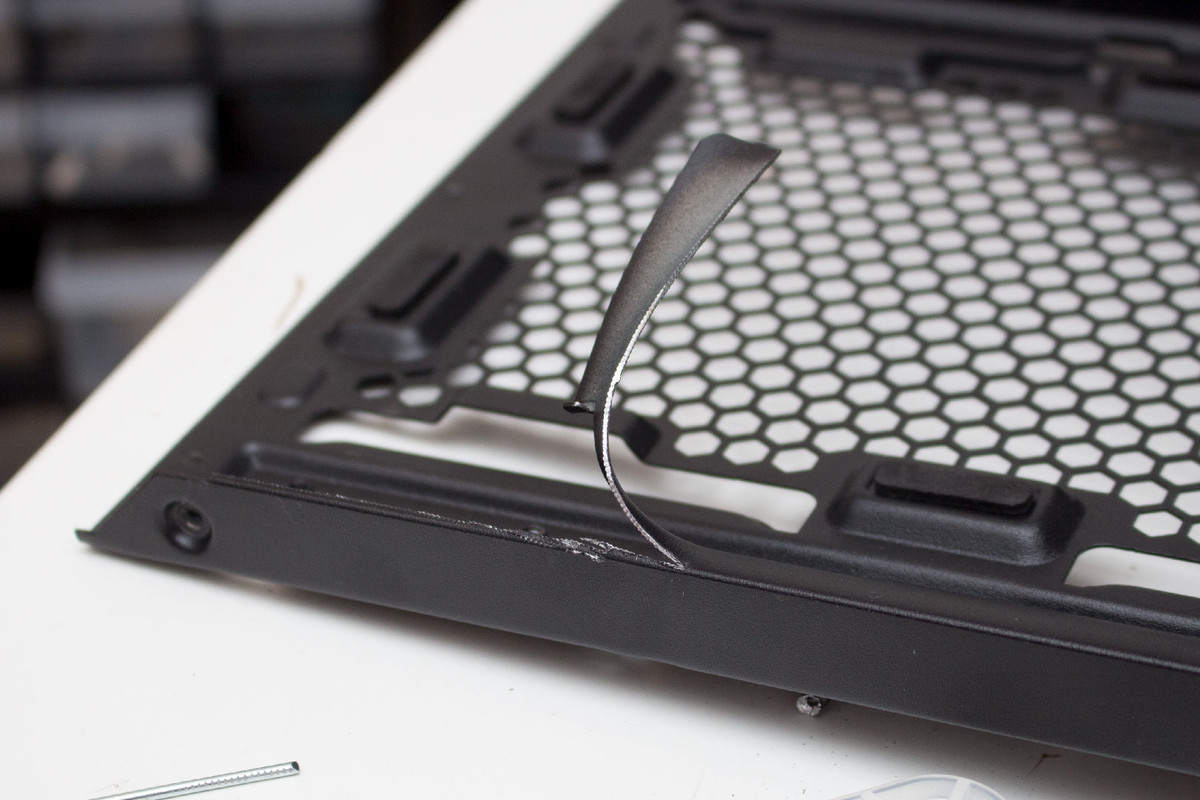
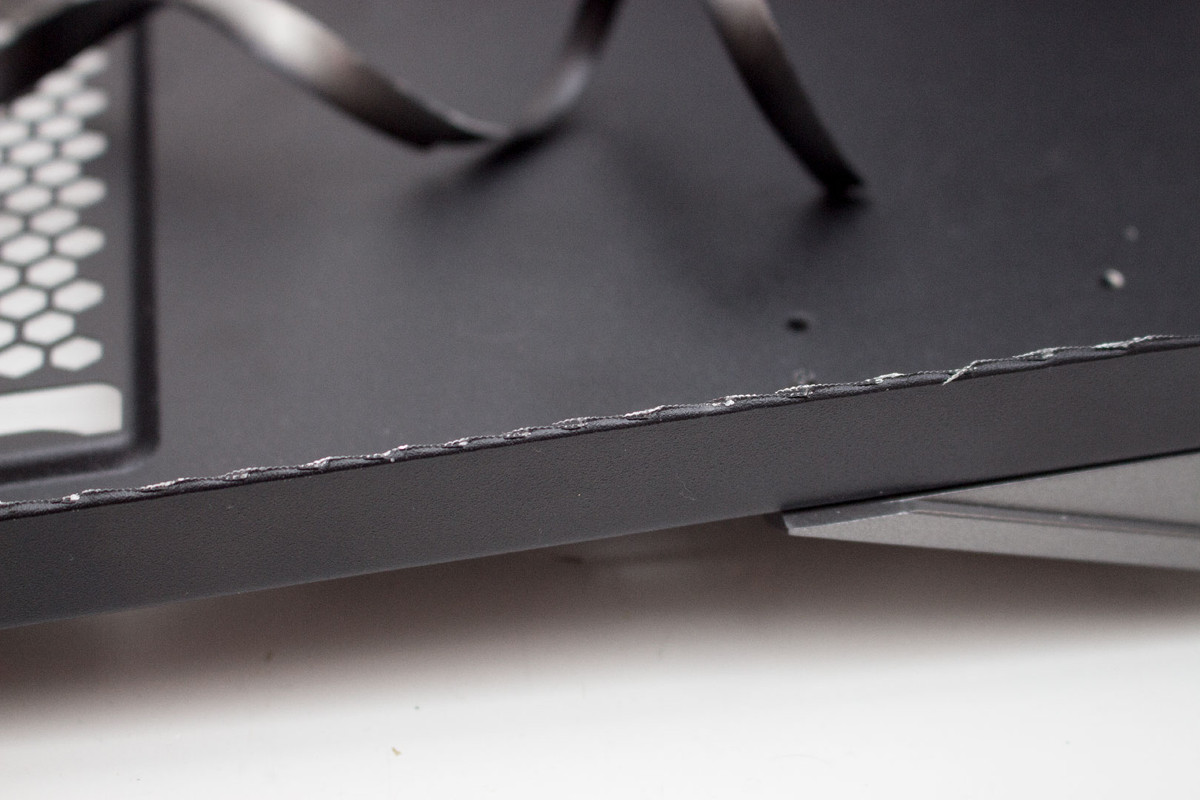
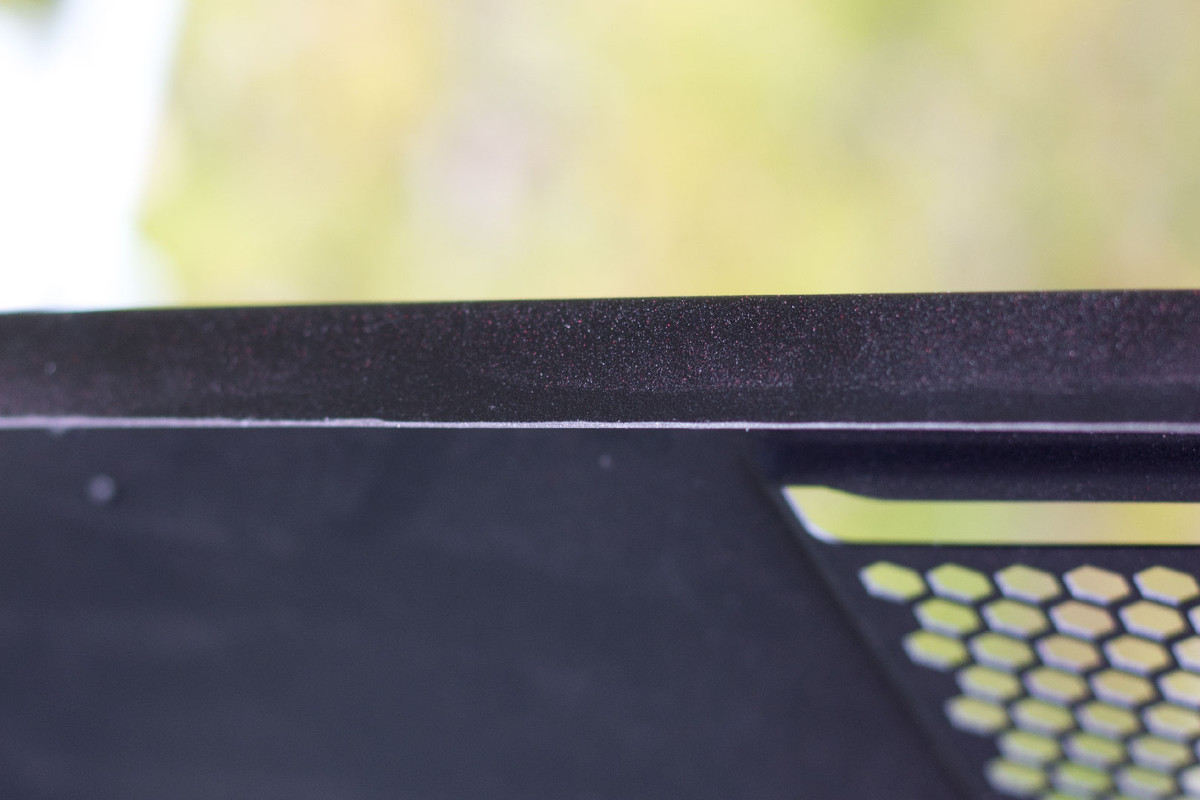
These vents are not going to be black once I have finished with them.

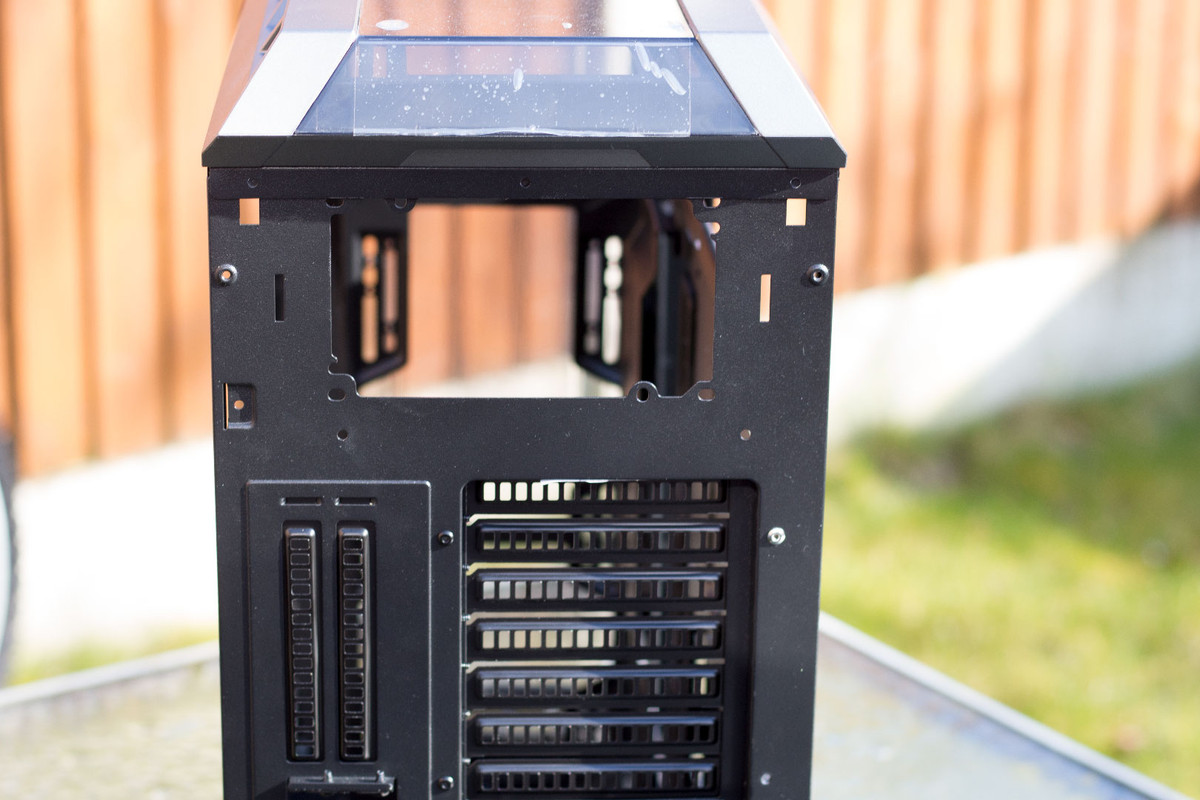
In fact, the whole case needs to change colour... and I am not sure about this layout for me either!

The PSU cover is great... but... I doubt I will keep the PSU here...

A lot of people love this case because of the huuuuuuuuge fans. Well, I don't think I will be keeping them! Sorry!! I am a big fan <- fan... get it? Of 120mm fans so I will be using those.

So, I want to RGB all of the things. I don't particularly like RGB, so I thought I would go all in for it and make my PC look like a unicorn farting rainbows.

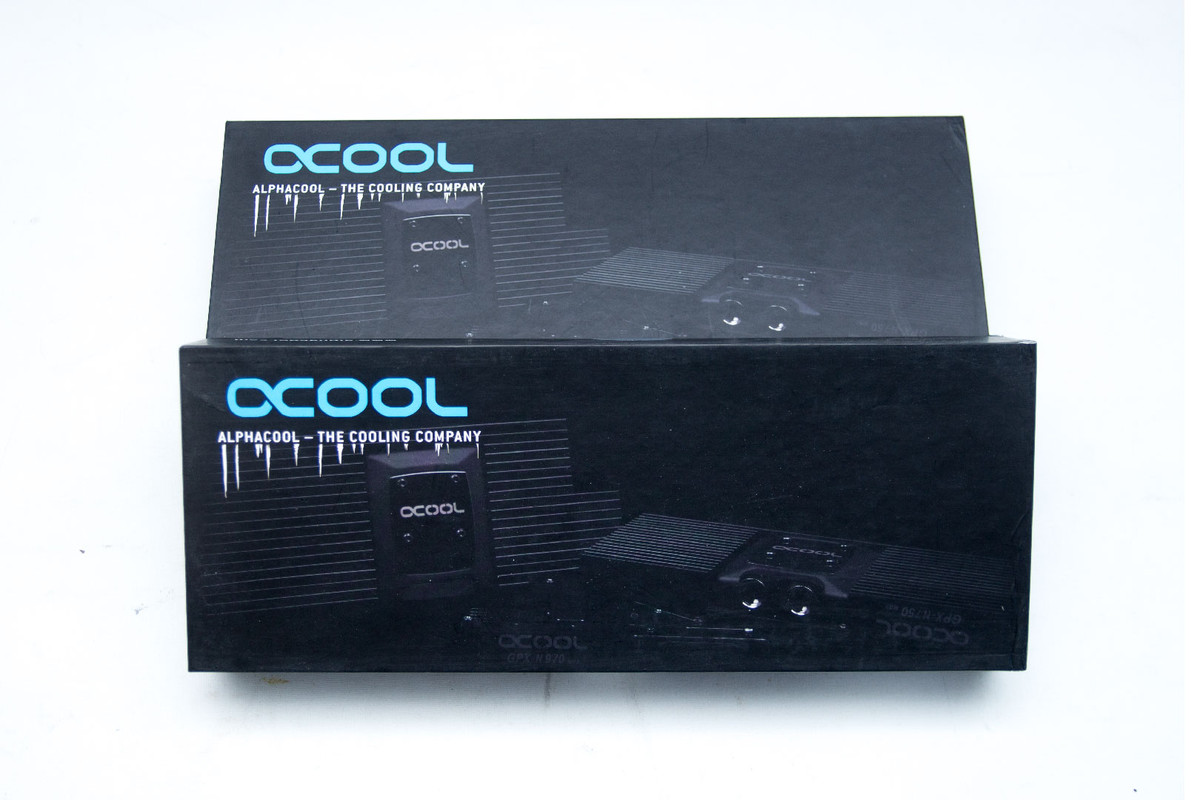
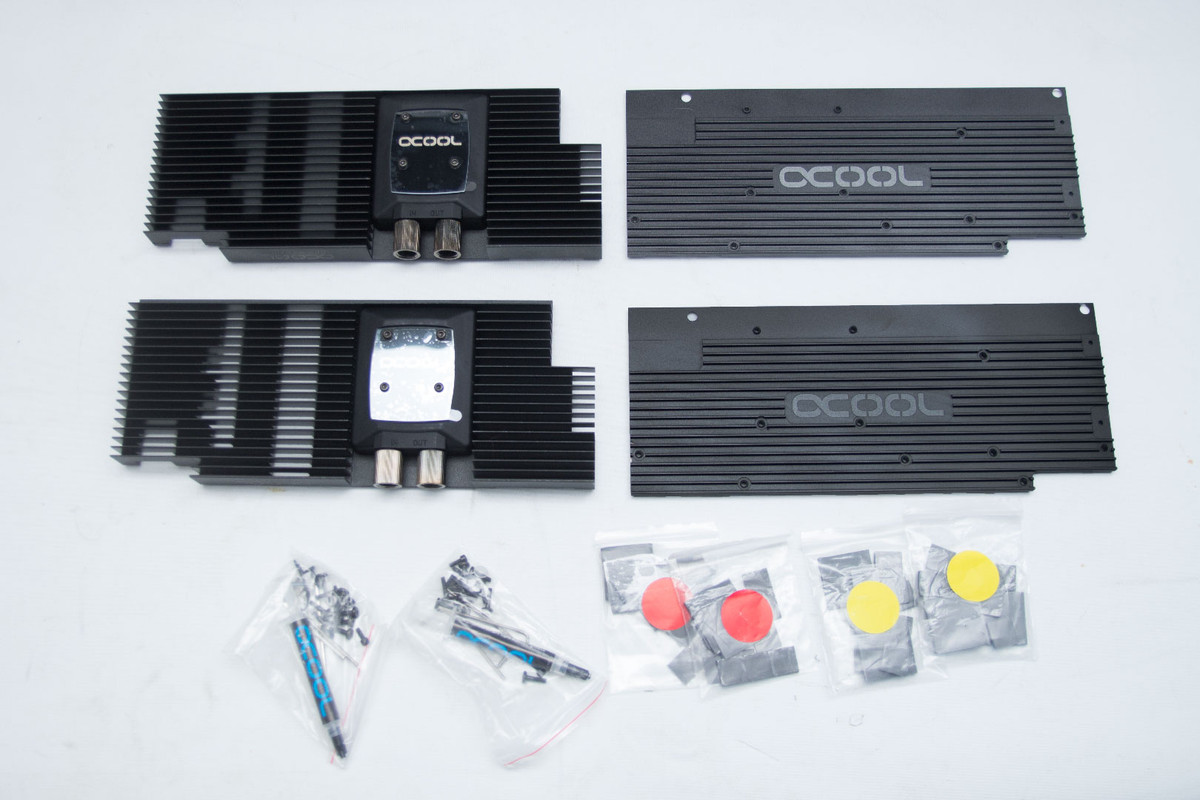
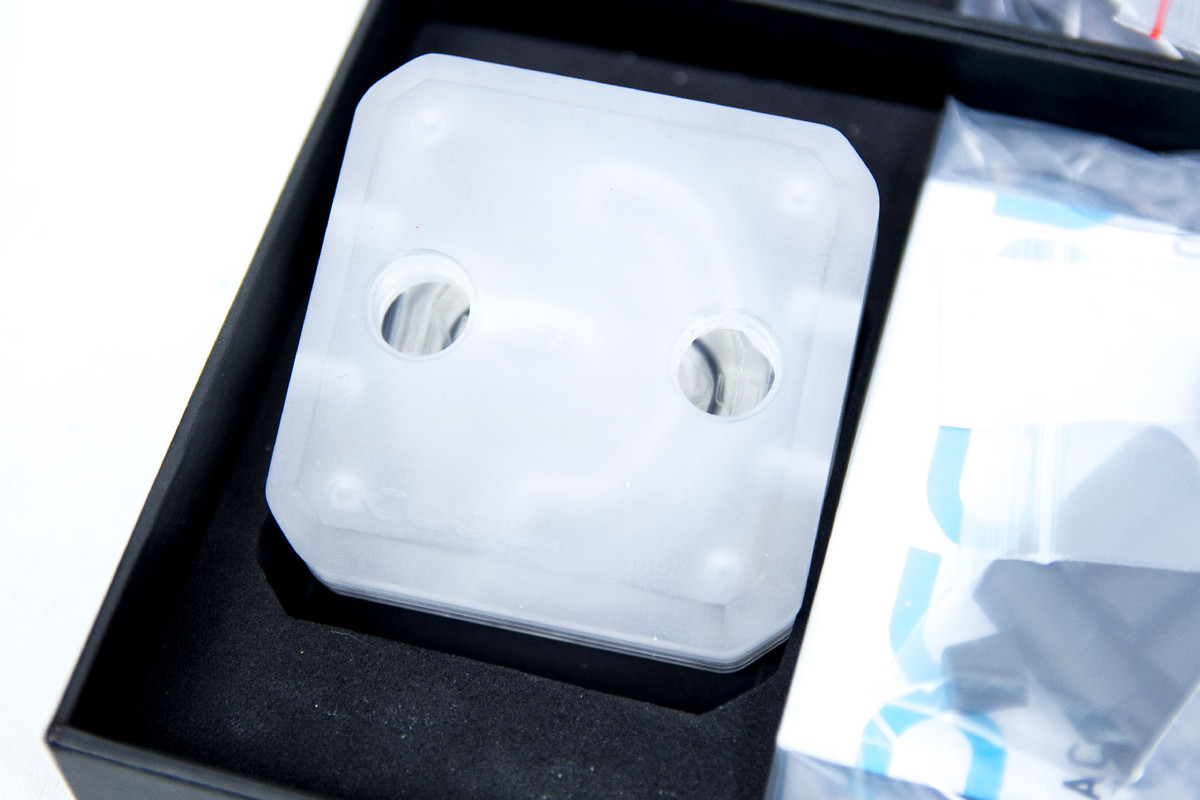
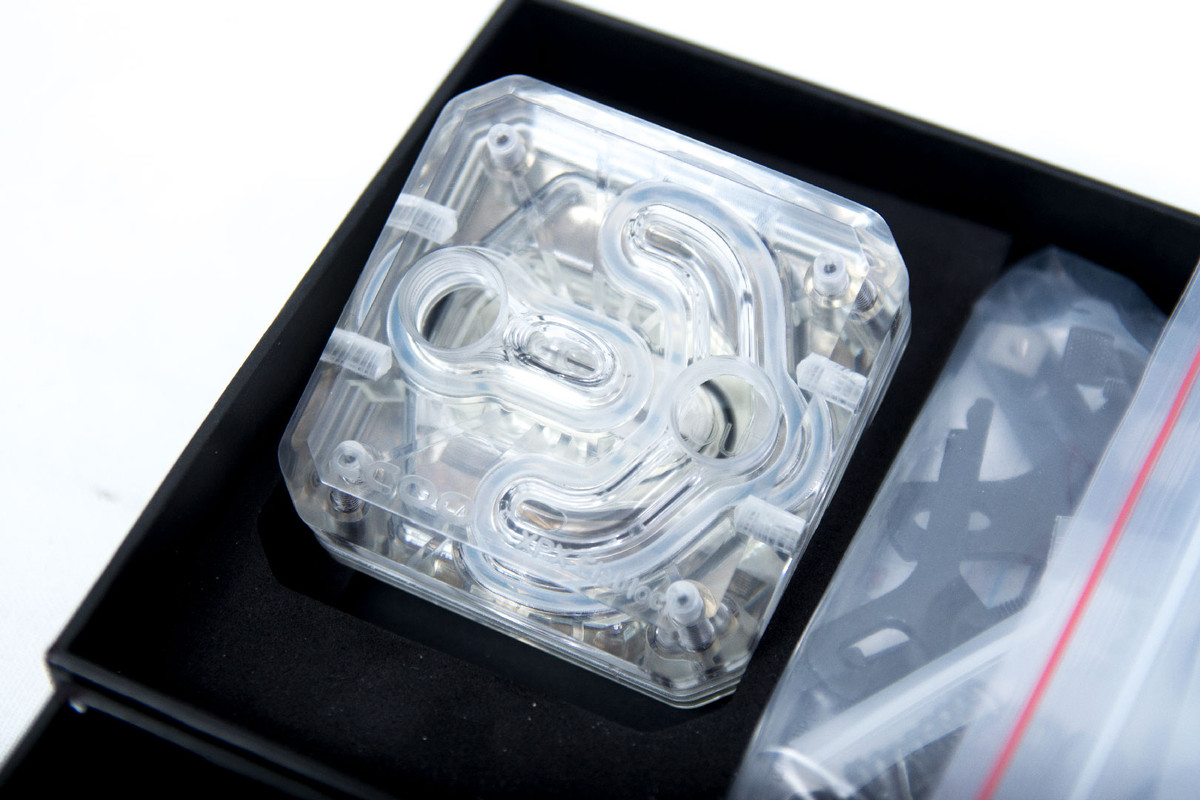
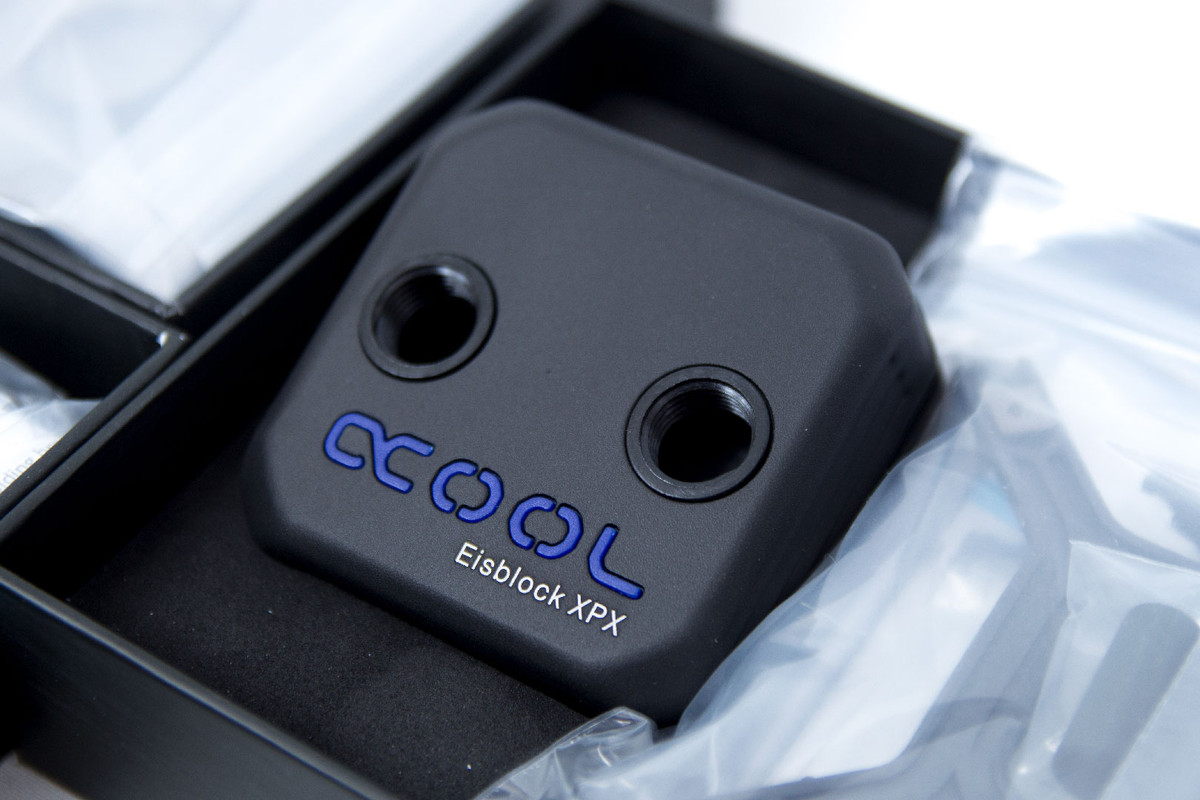
Obviously, I am going to be using Alphacool for the liquid cooling, but I will go through the parts I have chosen for this build at a later date.... but I think I have plenty of fittings!

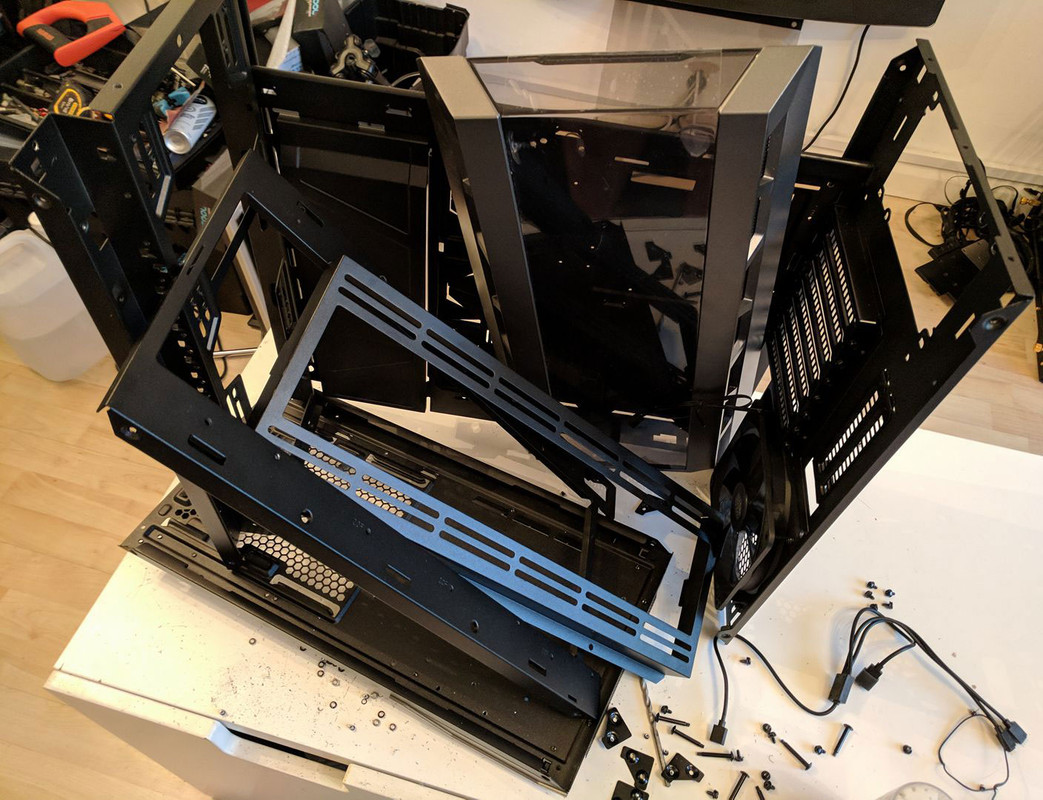
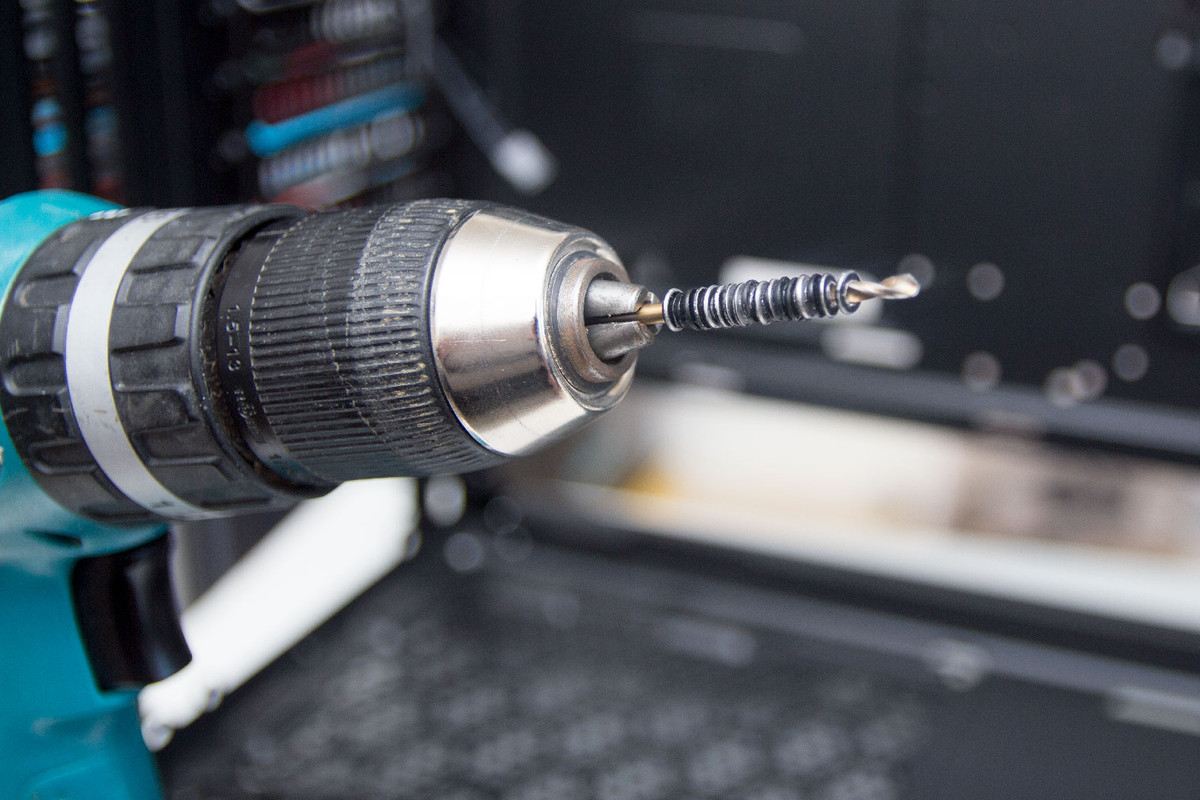
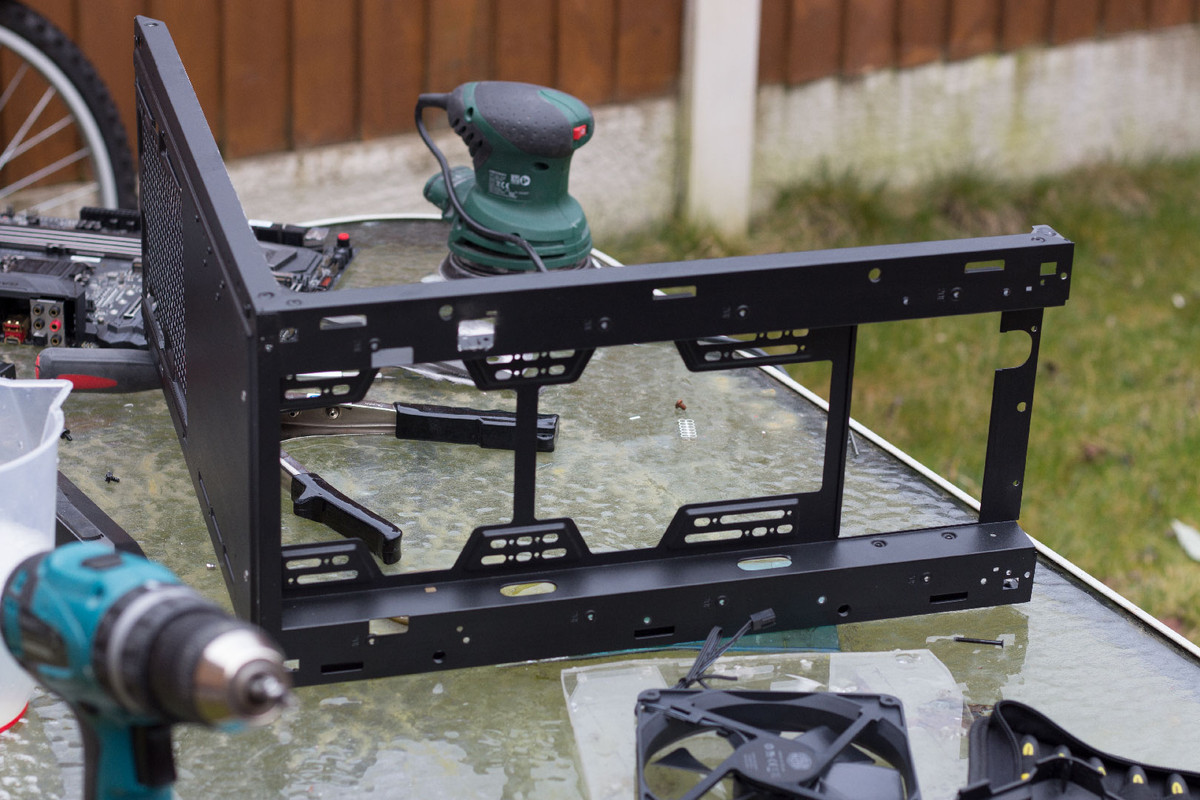
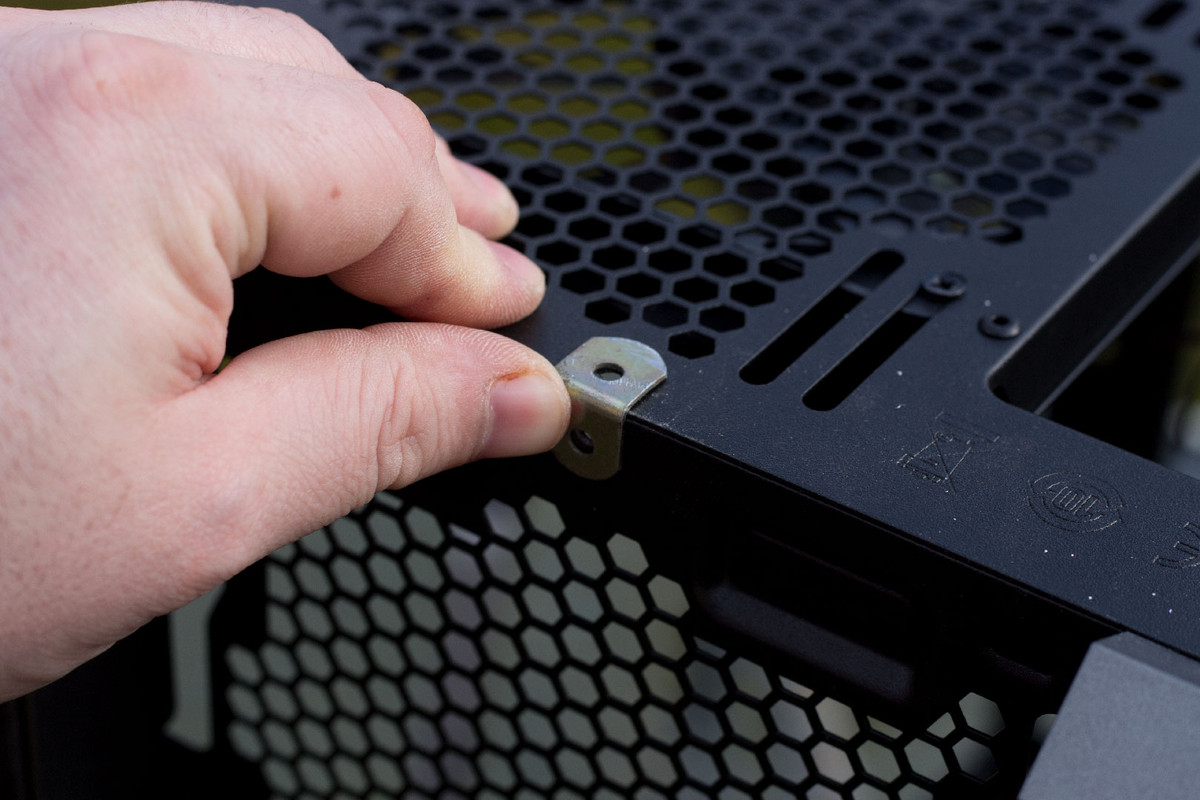
So, the first task? stripping down the case - how far can a case be stripped? well... very.

This is where I am going to leave it for now, I have ideas. you can see a rather big clue as to what the idea is here")

For now though, I am going to leave you with this... Yes, I did buy this costume thing just for this build.

As such, my builds are my own again, so I can do proper build logs!
The first build:
Yes, that is correct. RGB. I am not a huge fan of RGB, but as everything is RGB at the moment I thought I would embrace it. Afterall, I have done things in the past that included RGB lighting, but I usually just set all the colours to one and leave it at that.
So, First things first.
Hardware pron:
A huge thanks goes out to Cooler Master for this project, seriously, I was just chilling out one day having some food and I got a message asking if I fancied doing a build. Cooler Master sorted out pretty much everything (bar a processor). They offered their cooling too, but obviously, I want to use Alphacool as I am now staff. Once again, a huge thank you guys!
This is what turned up:
So, let's go through some of it... First of all, the ASUS stuff! Now, as some of you may know, ASUS are one of my favourite sponsors, they help me out a lot and I meet the team a few times a year at events and they're always top folks. However, for this build, ASUS Taiwan dealt with the motherboard and one of the 1070s who I have never met! (I was meant to, but I ended up in hospital whilst in Taiwan!!)
The motherboard is the ROG Strix Z370-F Gaming. This is the first Z370 board I have had and it is rather tasty.
As always, the Strix board is quite aggressive and has some nice details, I like the hidden m.2 slot for instance.
I was surprised there weren't more USB ports on the back of the board, but I have a 12 port and an 8 port powered USB hub anyway, so that doesn't matter to me!
mmmmmmmm.... socket.
As mentioned, ASUS TW sent me 1 x 1070 Strix for this build.... "but there are 2", I hear you cry. Yes... remember when I said ASUS are babes? they sent me one a while back for another build and as always, I repurpose everything that I can
I was really struggling to find a processor for this build. Until very recently I would only have a few pounds a month to myself to spend and most of that would go on paint, tools and other items so a new processor was going to be a big hit for me. I did think about doing the build without a processor, but whilst talking to my guys at ASUS, they mentioned they had an 8700k that I could have! Mental.
So, that is the motherboard, GPUs and CPU sorted - I think this is going to be a beast!
For the SSD and the RAM, Cooler Master managed to get Apacer on board with me, this is the first time I have used Apacer for a build so a huge thanks for supporting me!
As always, I am as honest as possible and I am not sure about the aesthetics of this memory, but, that is why I mod things! I will make them something I like. If everything was perfect, there would be no point in modding it!
Once I had popped the ram into the slots, it does look a lot more pleasing to me - What do you folks think?
I really do like the SSD however, like, I NEED this pattern somehow. I might have to change the panther to a Unicorn though just to fit in with the theme
Now, let's get onto the case! I was asked if I wanted an H500P or the Cosmos C700P. Now, I REALLY like the cosmos, but I know a lot of my modding friends are working on them, so I thought I would go for this one instead.
ooooh, I made a gif!
So, this is the case! when I took these pictures, I had no idea what I was going to do with this, in fact, I still don't really, but I certainly have a theme now!
These vents are not going to be black once I have finished with them.
In fact, the whole case needs to change colour... and I am not sure about this layout for me either!
The PSU cover is great... but... I doubt I will keep the PSU here...
A lot of people love this case because of the huuuuuuuuge fans. Well, I don't think I will be keeping them! Sorry!! I am a big fan <- fan... get it? Of 120mm fans so I will be using those.
So, I want to RGB all of the things. I don't particularly like RGB, so I thought I would go all in for it and make my PC look like a unicorn farting rainbows.
Obviously, I am going to be using Alphacool for the liquid cooling, but I will go through the parts I have chosen for this build at a later date.... but I think I have plenty of fittings!
So, the first task? stripping down the case - how far can a case be stripped? well... very.
This is where I am going to leave it for now, I have ideas. you can see a rather big clue as to what the idea is here
For now though, I am going to leave you with this... Yes, I did buy this costume thing just for this build.
Last edited:


")

