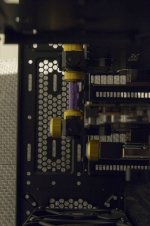
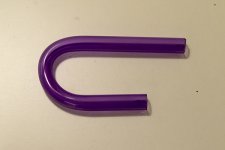
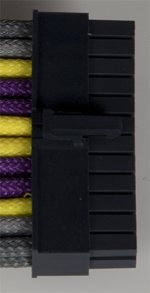
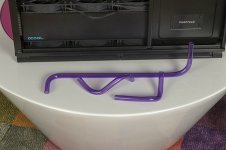
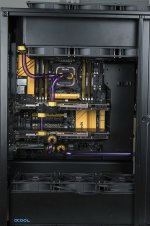
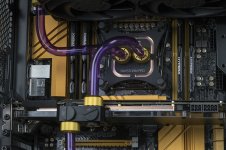
Project Viking

Associate
Joined
19 Nov 2015
Posts
60
Location
Gothenburg
Hello dear reader,
Welcome to Project Viking.

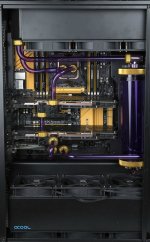
The name of this project came about as I was thinking about color scheme for my upcoming build and it ended up following the color scheme of my favourite sports team, the Minnesota Vikings.

As for me, I've been assembling my own computers for 15 years or so but have always built mid-range computers with very little modification and always with air cooling.
This project will be something else entirely.
Custom water cooling with acrylic tubes, high-end components... but not much in the terms of modding is planned. A custom-sleeved PSU is the only planned mod right now.

98% of all components are bought and should arrive this week or next week, but to keep you all in suspense I'll only update the component list as the packages arrive. :D

I still have a few question marks in this build that will hopefully be answered as things progress.
Loop - the exact routing is not yet determined.
Draining - will depend on how I route my loop.
Storage - One more SSD needs to be added, but do not know if it will be M.2, PCIe or regular SSD.
Water temperature - I want to monitor this through software, but might be impossible.


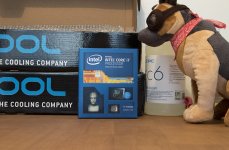
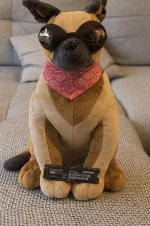
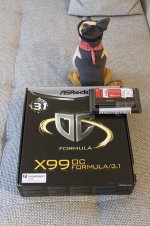
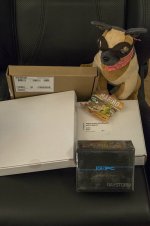
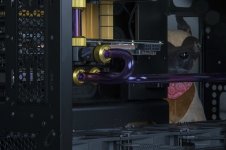
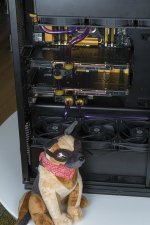
On another forum it's customary to include your pets in your build photos, but since I don't have any pets I got Dogmeat to help out ;)

Here he is keeping watch on the case for this build:
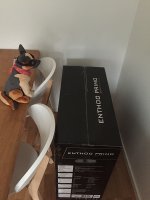
SVLsGFy.jpg

Gotta keep a close eye on the proceedings:
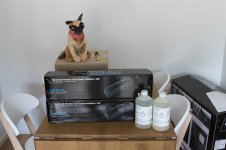
o8OrT2u.jpg

Dogmeat is just as curious as I am about these rads:
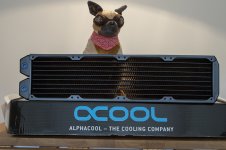
rca1l34.jpg

Have to inspect some things closely:
iCZqCvs.jpg

As for the color scheme. This is my very rough sketch of the sleeving:
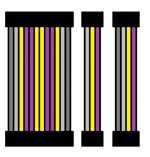
RwEvpfi.jpg


Components:
CPU - Intel i7 5930K
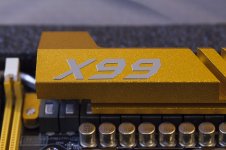
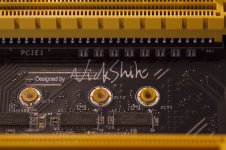
Motherboard - ASRock X99 OC Formula/3.1
Memory - HyperX Fury 2666MHz 32GB
GPU - 2x EVGA GeForce GTX 980 Ti 6GB ACX 2.0+ SC+
PSU - Corsair RM1000x
Storage - Samung 950 Pro 256GB M.2 NVMe
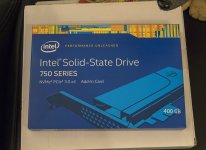
Secondary storage - Intel 750 PCIe SSD 400 GB
Case - Phanteks Enthoo Primo


Cooling:
Pump - EK-D5 PWM Motor (12V DC PWM Pump Motor)
Top - EK-XTOP Revo D5 Acetal
Radiator - 2x Alphacool NexXxos Monsta 480
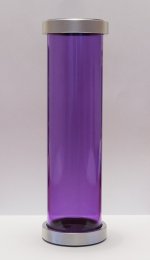
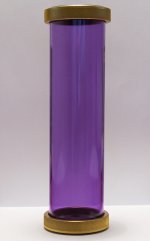
Reservoir - PrimoChill CTR Phase II Reservoir System – 240mm – Purple
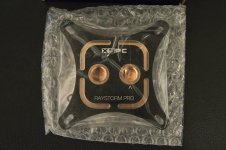
CPU - XSPC Raystorm Pro Black
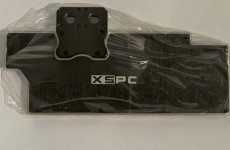
GPU - 2x XSPC Razor 980ti
Tubes - 8x60cm & 2x 90cm, PrimoChill 10x13 Purple Rigid Acrylic Tube
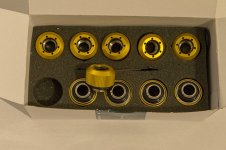
Fittings - Primochill Rigid Revolver Compression Fitting Gold
Fluid - 2L XSPC EC-6 Clear
Fans - 16x EK-Vardar F4-120ER

Link to imgur album: http://imgur.com/a/7M95R

If there is interest, I could add another album with high res images.
 
Last edited:
Ooooo those colours look very very nice, subbing :D
Please quickly finish, the anticipation of waiting 9 months for builds to finish would kill me!

You'll get a better idea of the colors once some of the cooling stuff arrives. :)
My timeplan is to have it done before x-mas, but it depends on how much I struggle with acrylic tubing and the sleeving of the PSU :)
 
Thanks all!

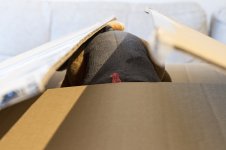
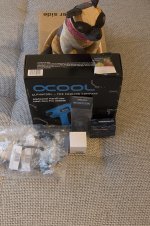
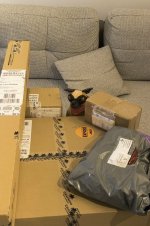
Today I took delivery of no less than 3 boxes of parts :cool:

True to his nature Dogmeat jumped straight into the first box to make sure there were nothing bad inside it:
aZ5ytaT.jpg

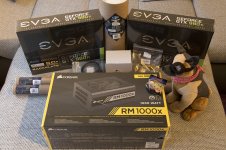
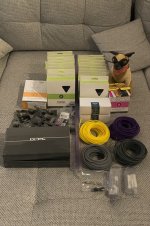
Here it is unpacked. Dogmeat was unimpressed but found a little bag of goodies that he claimed was for him:
IlZa7bK.jpg
(GPU, PSU, res, tubes, pump, leds)

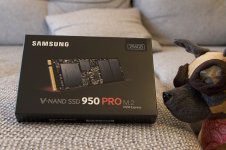
The second box only had one thing in it:
AXYZxow.jpg

Who knew Dogmeat had paternal instincts? He told me he will protect this little thing with his life:
Q7Fa9se.jpg

The third box is probably the least interesting but it did have some essential supplies. Once again there was a little baggie of goodies that Dogmeat claimed as his:
kTvh9zo.jpg
(Heatgun, PWM hub, PWM splitter cables, deburrer, temp sensor)


Please excuse the poor lighting in the next photos, it gets dark way too early at this time of year.
But anyway, to give you an idea of the color scheme... here's the reservoir:
kGO6ioB.jpg

And with some easy pimping:
imyvB90.jpg

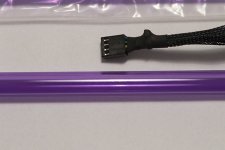
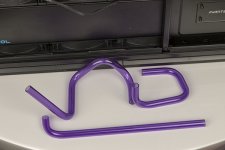
I'm almost ashamed to write it but I was surprised at how tiny the tubes are. I didn't even reflect on it when ordering... in build logs it always looks HUGE. It ain't huge... :eek:
05eng73.jpg
(4-pin PWM connector as comparison)

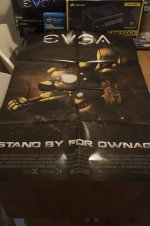
Speaking of huge things, this poster was included with the GPU's:
QlpONDN.jpg

The urge to install this right away is overwhelming, but good things come to those who wait... right? Right?
WrTKnHx.jpg

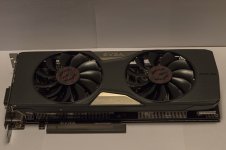
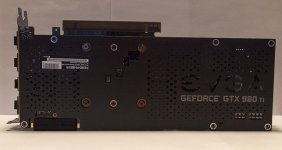
I plan on keeping this backplate as long as there are no issues with the waterblock:
Wx13t9J.jpg


Speaking of waterblocks. The GPU blocks and the pump top I've ordered were supposed to be in stock as of yesterday but they aren't and won't be for 1-2 weeks(or so I'm told). That means my schedule for this build most likely goes out the window. There will be some things I can do though, like sleeving the PSU and some other stuff. Frustrating, but these parts are not in stock anywhere so I can't order them elsewhere either. :(
 
Thank you all for the replies.

Looking forward to seeing how this one turns out, always good to see people going for different colour schemes rather than black / white / red* :)

*Yes, I know mine is black / white / red, I'm not as brave as Ohjay ;)
It ain't easy going for something different. There are few manufacturers that dare leave the black / white / red scheme of things. But I'm happy with my plan and where this is going. Wait 'til you see the mobo ;)

Damn jealous of your gpu's, in fact damn jealous of all your component list... I'm gonna need to sell a kidney before the wife lets me buy a single 980ti...

Have you got the primo yet? any modding plans?
Yeah the Primo was the first thing I bought(see the first image).
No plans for modding right now but I might have to in the end. I don't think I have a good spot to mount the pump and I want it visible, so I might be forced to mod the case.
Also I need to sort out monitoring water temp and that could end up with a display somewhere in the case, i.e. I need to mod the case for this as well.
 
Another couple of boxes arrived today. Dogmeat was disappointed since there were no small baggies of goodies this time:
RmFlqUn.jpg

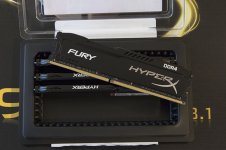
Had such a hard time finding some RAM that was to my liking. These ended up on sale on Black Friday so I couldn't pass them up:
4XILukU.jpg

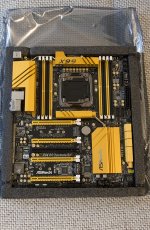
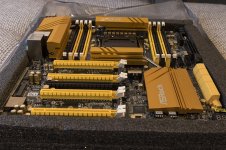
The next few images does not do the gold justice, it's really popping in color in real life. With better lighting I should be able to give it a more proper representation:
oePH2Wv.jpg

OwLsuom.jpg

xl7N12V.jpg

pmfUsru.jpg


Sorry for the lack of progress but the GPU waterblocks and pump top aren't in stock yet and it's frustrating since I can't really do anything until they arrive. I might end up cancelling the order for the GPU blocks and the pump top so I at least get the fans, CPU block and some other bits so I can do some of the piping.
The sleeving has yet to arrive as well, hopefully it should be here any day now.
 
Thanks all.

harry5522, I have no plans for modding the motherboard atm, but we'll see. If it ends up being too much gold I might have to do something about it.

Lol, I gotta stop looking at Dogmeat and focus more on the pc pron! Talking of which, that mobo! Bling!
Yeah dogmeat sure can be a distraction at times :D


I got bored waiting for stuff so I unpacked the Primo, stripped it of parts and did a mockup mounting of the bottom rad(no image, sorry) to get an idea of how I want to do my loop and where to mount the pump.

I've sussed out how and where I'll do my drain, so parts have been ordered for that.

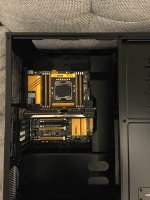
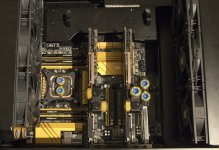
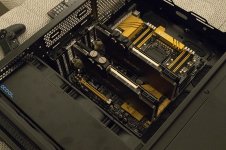
I also did a temporary mount of the motherboard with one GPU:
rN11Wbk.jpg

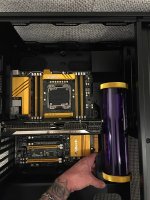
And one with reservoir mockup:
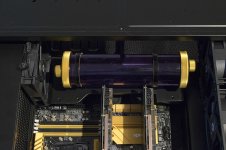
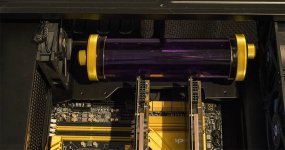
LsYZzj7.jpg

I have identified one or maybe two potential issues.
The lower GPU might hit the reservoir bracket. I won't know for sure until I get the waterblock on it, but it will be a tight fit. Easily remedied by cutting a little bit into the bracket.

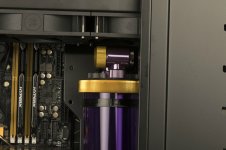
The second issue is the snug fit for the reservoir. I might end up removing the bottom of the 5.25" bay since I won't use it anway.

On the flipside I think I have my loop figured out(roughly at least) including a couple of potential mounting spots for the pump.
Another positive thing is that I've decided on my secondary storage, hopefully I can give you a juicy update on that next week(if the parts arrive) ;)
 
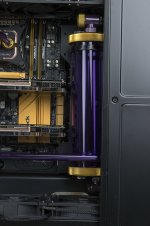
I wasn't sure that purple would work with gold but seeing that res next to the motherboard it looks really good.
Thanks. My only worry is that it might be too much gold. I wanted the gold as highlight, not really the main color, but we'll see.


Another day of deliveries today. Only one more left now 'til all parts are finally here.
Dogmeat has picked up a familiar scent and is keeping close watch:
RM4UcON.jpg

Three tiny baggies! It's not easy to spot but Dogmeat is ecstatic:
IoSAQT8.jpg
(Sleeving, tools, fittings, fans, water blocks, etc. Also bought more PETG tubing since I need to do a very long one and my 60cm pieces won't be long enough).

The poor lighting does not do these fittings justice:
jWYFXYV.jpg

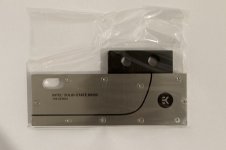
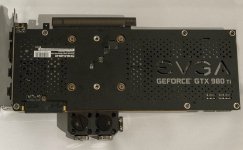
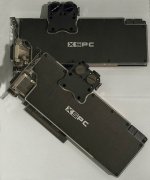
GPU-blocks. Extremely hard to get a hold of, but I finally found a pair. Better images will be shown as I assemble these:
JqJrEGc.jpg

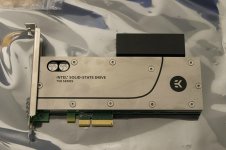
A hint of my secondary storage solution :D
c5lCcBv.jpg

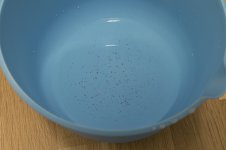
Did the radiator dance today... and I'm still not done. If anyone wonders if Alphacool radiators still need a good flushing before use, I give you this:
G3qSwoI.jpg

That's after the first flushing I did. That radiator still isn't clean enough after at least 10 radiator dances.
The second radiator was much better though, it's nearly clean after just 4 dances.

In between the radiator dances I tried to remove the pins on the PSU cables... I have yet to remove a single one. I've tried every trick in the book but they refuse to come out. At this rate I might just cut the "!£@$1!q¤"# cables and put on new pins.
Or is there a secret to removing Corsair pins? :confused:
 
A little bit of progress today but I'm missing basic stuff I forgot about, like screws, which halted progress today. *slaps forehead*

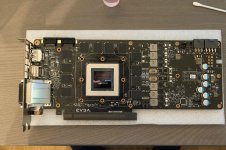
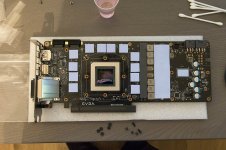
Aaaanyway, nice spread of thermal paste here by EVGA:
S4iXC1n.jpg

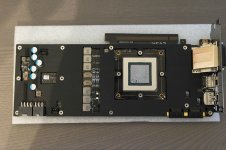
All naked and clean. Purrty stuff:
Ofq7i8I.jpg

Almost ready for the water block:
AIqNnqV.jpg

Fiddlier than I thought it would be but I think I did a good job:
pW8I3Jl.jpg

And the original back plates still fits, very happy about this:
qsQbO4g.jpg

Both of the cards done:
IJ3idUI.jpg

Did a quick test to see how things fit:
E4H1Tgy.jpg

I will have to modify the reservoir bracket, there's about 5mm that needs to be removed, otherwise it's looking good.
 
Looking good! But seriously those stop/plug fittings on the card that will stay there could do with matching so you don't have a silver set and a black set :D ( sorry just think it will look miles cleaner )

Great log so far buddy good job!

Don't worry. I just put those plugs in there to make sure nothing gets into the blocks. All visible plugs will be black in the end. :D


This is looking really nice so far! I'm interested as to how it will look once complete and has better lighting to make it look real purrttty
Thank you for the kind words.
There isn't a whole lot of good daylight here up in the "north" so the image quality ain't the best. I'll make sure the final images will be though. Hopefully some of the upcoming ones will be better as well.
 
Them GPU's look so sweet all blocked up, nice work matey!

Surely the plugs are going to be purple!! :D
I'll keep that in mind for an eventual revision of this build.. I don't think spots of purple on the black would look good so I'd have to paint the terminals as well. :)


In other news, want the good or the bad first?

Let's start with good.
The dremel came, saw and conquered:
jtZC5LO.jpg
Doesn't look too shabby but I might touch it up with some black paint.

I did a mockup with the top radiator and a fan, just to get an idea of how much space I'll have:
g24SaFI.jpg

kAOBwDH.jpg

It will be tight, really tight. I almost regret not going for angle fittings but I think it'll still be doable.
That final image will probably be how I mount the reservoir and the keen observer has already noticed that the fittings aren't fully screwed in so there are a few millimeters more to gain here.

I also finally managed to remove two pins from the PSU-cables. I had to mod the pin removal tool to make it work with the Corsair PSU but now it's easy peasy to remove the wires.
Which leads me to another problem, the capacitors on the cables. I have yet to figure out a good way to deal with the ones that are on the component side of the cables. The ones on the PSU side will be hidden anyway so I won't bother with them, but the ones near, for example, the motherboard, how will I hide/cover them up? Any ideas people?
I can't put sleeve over the capacitors so I could heatshrink them or maybe try to hide them amongst the other wires.

The bad news then...
My order containing the CPU block, secondary storage and tubing mandrels have been delayed yet again. The shipping agent returned the package to the sender for some unknown reason. Hopefully they can send it again but I won't have these parts until sometime next week at the earliest.
I swear it feels like these items are cursed, it has been nothing but trouble with this retailer. :(
 
A solution that would also look good for the issue with the reservoir could be this:

*snip*

Hope this helps
Thanks for the suggestion.
Unfortunately I think this gold color won't match the other gold colors I have. :(
But I think the bends will be doable. it will be tight, but doable.

this colour combination is looking fantastic!
Thanks! Hopefully it will look even better when all parts are in and there's some highlight lighting :D


Today I finally took delivery of what I hope to be the last batch of parts.
Dogmeat is as usual keeping watch of the proceedings:
ddposXf.jpg

Secondary storage, yay!
Xm94pNT.jpg

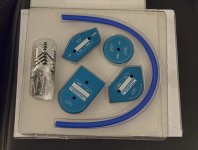
Some mandrels so I can get purrty bends:
izKp2BN.jpg

And the most anticipated part which has been the reason there hasn't really been any progress:
BxiN3DC.jpg
With the CPU block finally here I can start installing parts in the case and get cracking on those pipes. Fun times ahead! :D

(The last box had some uninteresting Primochill tools for bends, like gloves and cleaning fluid)


There has been a little bit of progress though...
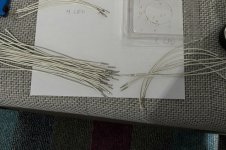
I decided to scrap the idea of sleeving the original cables on the Corsair PSU, too many capacitors, double wires, crossed wires to make it even look half-decent.
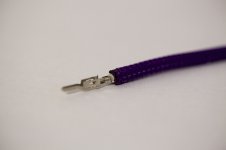
So I bought some wire, crimps, connectors and tools:
Ii27JtL.jpg

I think about half of the cables are done and ready for sleeving.
I've intentionally made the extensions short, we'll see if that comes back to haunt me, but I think it'll be fine. No original PSU wiring will be seen anyway.
 
Good god I wish I had the patience for sleeving... Think i'm gonna just order some for mine :)

What a lovely box of goodies to turn up just before Crimbly! :D

What Smffy said, you either a masochist or got far too much free time on your hands lol
Time is something I really haven't got a lot of considering I'm working full time plus I'm studying full time... Wouldn't consider myself a masochist either :p
If there had been a good color option for premade extensions I might've bought that, but I didn't find any. :(


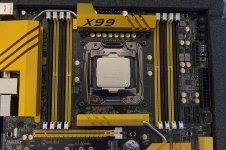
Decent bit of progress today. The CPU is in its rightful place:
gCdbyjW.jpg

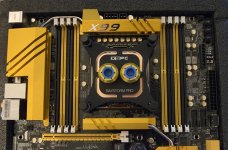
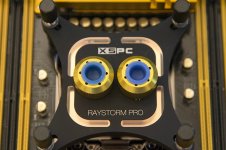
CPU-block mounted:
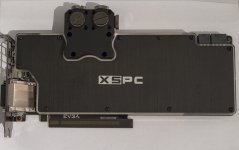
Sa5ib0P.jpg

YTnP3Sm.jpg
The black does stick out a bit, a fully acrylic block might've been better. But we'll see, I have a trick up my sleeve. ;)

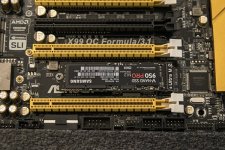
The m.2 SSD went in as well:
JpWFWl0.jpg

After that I moved on to the PCIe SSD.
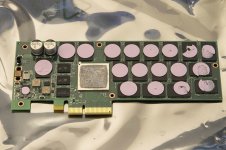
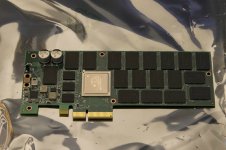
It was scary to remove the stock cooler, it was stuck really hard onto the heatpads on the chips and I had to use a lot, and I mean a lot, of force to get it loose.
NSmK3Xz.jpg

Cleaned up and ready for new heatpads and thermal paste.
gGbtiYx.jpg

This was a right pain. The EKWB heatpads were a lot more troublesome to work with than the XSPC counterparts that I worked with on the GPU blocks.
They(the EKWB ones) stuck to my fingers all the time and the protective film was troublesome to get off.
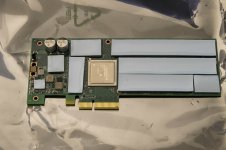
But patience paid off:
mKrSZlN.jpg

All done!
TgKlkPN.jpg

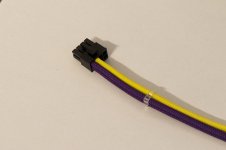
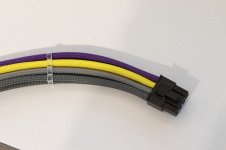
Everyone keeps saying I'm mad for doing custom sleeving and also that it's frustrating, time-consuming and a right PITA.
It's not the prettiest job but this was my first attempt:
O6kNIHn.jpg
That wasn't hard at all, I was so surprised at how easy it was. Guess I got too cocky because the next cable took three tries to get right. :mad:

As soon as I get a bit more of the technique done I think it'll go a bit faster to get the sleeving done.
Actually, the trickiest part has been to fit the wires into the connectors. The fit is so incredibly tight when you use 16 AWG wire and then add the sleeving to that...
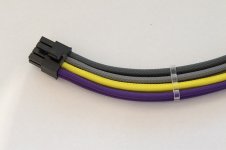
Seeing this tho makes it all worth it:
dNNN3E4.jpg
This is going to look so, so, so good :D :D

(Don't mind the cable comb, it's only there for the photo. One with the right amount of slots will be used when the cables go in)
 
Looking good mate, cables are going to finish it off a treat. This build is going to look so blingy when it's finished :D
Thanks!
I was, and still am, a bit worried that the gray is too much. It will mostly be the PCIe cables that will be visible though so maybe I'll end up redoing them if I'm not happy.


There hasn't been that much progress the last few days with the holidays and work taking up most of my time.

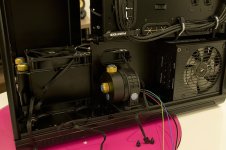
But I've fitted most of the components:
dB2oLgF.jpg

fgWiAmI.jpg
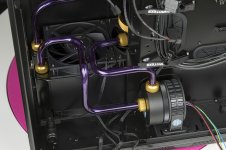
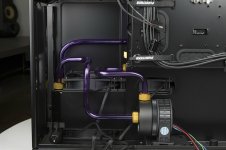
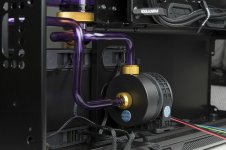
The tube from the reservoir to the pump is going to be insane. I have to plan it very carefully I think.

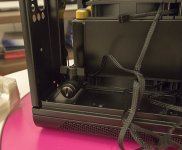
My drain solution, I'm quite happy with this to be honest:
azaE7I3.jpg

The first tube has been installed. Not quite the trickiest one ;)
YqknnEN.jpg

Made my first attempt at bending the tubing today. First bend was good but it needed some adjustment and when I reheated it I managed to heat it too much so it started to bubble on me. :(
Second attempt is much better but not yet final:
ebhmiWJ.jpg
The bend needs to be tighter and the entire tube needs to be shortened a bit. But it's a start at least.


This build is really becoming a good learning experience. Acrylic is both easier and harder than I anticipated but with some more practice I think I can get a pretty good result.

Same thing with the custom sleeving, it has been quite an experience. Precision is everything, absolutely everything. A few millimeters of difference in length on the wires makes a world of difference in the final appearance. Even a slight difference in how much you strip the wire and where you put the crimp makes a huge difference in the final result.
I'll show the cables once I'm done so you can see some of my mistakes. I probably won't correct them since they won't be visible anyway, but at some point I'll redo the extensions I believe.
 
Thank you all for your comments. Much appreciated!


Love the pump behind the motherboard tray, great idea.
I wish I could take credit for it but it's the default position offered by Phanteks in this case. It will make the tube from res to pump quite interesting, I wish I could mount the pump elsewhere but there isn't really a better spot.

Imho your cables look fantastic mate, really like the colour scheme. Again, only mho but I think you got the colour balance just right. The grey background makes the colours pop much more...
Thanks! I think you're right, especially after I got this done(sneak peek):
lIHFjFl.jpg


Bending acrylic is a really humbling experience. Most of my bends I end up redoing 5+ times just to get them right, and they still aren't perfect.
A few done:
b4RlNIn.jpg
Interestingly enough that long tube was perfect from the get-go. I just needed to shorten the ends but the the bends fit like a glove. Feels absolutely great when that happens! :D

On a tiny sidenote, I got a hold of some studio lighting so my images should be better from now on(if I can just learn to use them properly as well). ;)

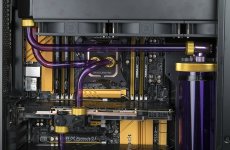
Tubes installed:
5XdRZdq.jpg

54OYPN6.jpg

ziazwgP.jpg

Dogmeat felt left out so he begged until I took a photo with him posing near the build:
B6RNLkg.jpg


There's only three tubes left to do, but two of them will be the hardest ones to get right and that's the tubes to/from the reservoir.
 
Wow, these colours work really well together nice one, and those monster radiators :eek: Really looking forward to this one when complete.
Just trying my hand at acrylic now also, totally agree with your humbling comment, but getting those few right it a great feeling :)
Yeah the monsta radiators are absolutely huge. Like a small radiator for a car, just crazy. :eek:

Nice, how many lights did you get? Any umbrellas etc?

I recently made a little studio set up at home, and it makes a world of difference.
I just got the basic Elinchrom set, mainly cause I know nothing about lighting and for basic "product photography" it should be fine.
It's two lights with softboxes and a wireless transmitter. Here's a link to a product page: Elinchrom D-Lite RX-One

With some practice I think you can do some great work with just these two. Products, models, you name it. For an amateur they are more than enough imho.

Great progress made, looking very good in situ and cables will defo add more colour into the build. Good luck with final bends!
Thanks!

I tried my hand on the reservoir bends yesterday and there simply isn't enough room. I can get a bend that fits but then I won't be able to get the compression cap onto the fitting.
So I've ordered 90 degree fittings which should arrive in a day or two which should hopefully help a lot but it will affect the overall looks I'm afraid, but we'll see. ;)
 
Sorry for the lack of updates recently but there hasn't really been much going on.
The angled connectors took longer than anticipated to arrive so there wasn't much I could do.

But! They did arrive two days ago so I quickly went ahead and installed them. I'm not sure how I feel about this look but it just felt like a better option than mismatched gold or black:
cuA73qW.jpg

Reservoir was installed as well. I will need to redo this at some point. There is a slight angle to it and it is touching the base of the 5.25" bay. Either move the mounting holes or mod the 5.25" bay(or both).
LZoD5UV.jpg

Today I could finally get around to bending the last few pieces of acrylic:
VPC8ybL.jpg

First tube installed:
mDx068l.jpg

This was the second tube of all I've done that I totally messed up. I ended up cutting it too short when sizing it down to fit so I had to redo it. And it's such a simple one as well :eek::eek::eek:

It's almost a shame that this won't be visible because I think it looks really good:
pQBnCRj.jpg
I have dreaded to do these bends because I thought it was going to end up being a nightmare to do. But in fact I got them right on the first try. I only needed to do a tiny adjustment on the tube from the res to the pump.
None of these bends were done with a mandrel, they've all been done free-hand and I've really started to like doing bends like that. I think it looks better and it's easier to get them right.

If it was visible I'd redo one of the tubes so they are at the same height:
LmvdU4e.jpg

Don't worry, the sticker will be removed:
fUL5ZIr.jpg

Just water, SLI bridge and cables missing now:
BTILCAH.jpg


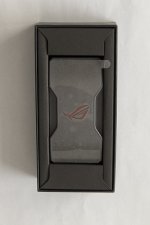
I finally decided on an SLI bridge. I found nothing I liked until I saw a forum post where someone had deconstructed this one:
YsI77E6.jpg

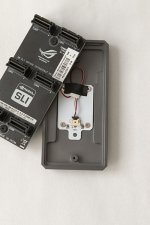
Because we can't have that red logo. No sir. So we remove a couple of screws:
Oudyxhj.jpg

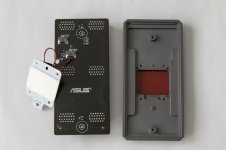
And a few more:
J9UySsz.jpg

Then I got stumped and could use some tips.
I thought the red plastic was just going to be a really thin piece of film but it is in fact something similar to plexiglass and it's a millimeter thick.
So I'm unsure of how to proceed.
Try to cut it out or remove the outer brushed aluminum face?
Cutting won't be easy and I don't know how the aluminum face is mounted, is it glue, adhesive tape, something else?

Cables then. I've managed to mess up my connectors twice. Or well, not the actual connectors but I've bought the wrong ones, twice!
I double- and triple-checked each time I've ordered but still managed to get the PCIe connectors wrong.
Third times the charm though, right? So this time I've ordered from a computer store instead of an electronics store, but that means I have to wait even longer to finish the cables. All are done except for the PCIe ones, and those just need the connectors and they're done.
Shipping from this store was slow the last time(two weeks(!)) but hopefully it's faster this time.

Tomorrow will be leak test day.
If all goes well I will also try to bleed out the loop and start on cable management(what can be done at least).
 
The project is looking good, you've done a great job with the bends as they all appear to go into the fittings flush with no angled entries. :) I'm slightly surprised though that the SLI bridge doesn't use a coloured LED but a piece of coloured plastic :confused:

Also what Monsoon Rotary fitting size did you use as it fits flush with the Primochill revolver fitting? I have had a look but can't find the size.

Great work and I look forward to seeing more updates :)

I was surprised to see that too on the SLI bridge, but that was one of the reasons I decided to buy it. I figured it would be easier to swap out a bit of plastic rather than a LED(and finding the right color).

I used 16/10 Monsoon fittings. The revolvers actually overhang by a fraction of a millimeter. Not really noticeable but there is overhang. On the other hand 19/13 will be a lot wider than the Revolver fittings...
I'll take a good photo of it tomorrow.
 
Can you cut the plexiglass along the edges from the inside, removing the piece visible from the outside?

I'd guess the aluminium is glued, so doubtful you'd be successful removing it. Otherwise you could try to rip it off and vinyl wrap it afterwards.

It's unfortunate the original Nvidia SLI bridges are not sold in Europe..

I've made a quick attempt at cutting it from the inside with a razor but since it's plexi it's really difficult.
I also tried to heat the outer aluminum piece up to dissolve the glue(if that is what they used) but didn't have any luck with that either. Might need to heat it even more for this solution.

I got an idea or two that I might try tomorrow. Somehow I will fix it though ;)
 
Quickest leak test in the world of water cooling?
Started filling the res a bit and checked to see if everything was okay. It was not. The bottom of the res leaked like crazy. :(
So I removed it, checked the O-rings reassembled it and did a leak test on just the res. Seems fine now.
I apparantly didn't mount the golden end cap properly when I switched end caps.

So I reinstall it start filling again and .... I forgot about having someplace for the air to exit which basically ended up with me getting a face full of coolant(don't ask).

Fixed that issue and continued filling until the res was almost full. Started the pump... And I've mixed up inlet and outlet :o :o :o :o
So now I can't use my drain port to empty the res and I have to empty it so I can redo the pipes for the pump after I've changed how I mounted it.
I can just remove the pipe from res to pump but I suspect it will get really messy, but it seems it's the only solution.

Lesson learned at least, double and triple check everything again after you've double and triple checked the first time. :(
 
Back
Top Bottom