YinYang Project Log
Background
I first looked into water cooling about 8 months back and spent a small fortune on a SilverStone Raven V02 + 320 Black ice stleath build. My log can be seen HERE
Then decided to go dual loop and the Raven was really starting to look small, I then found the Cool Breeze project and had been inspired to create something similar.
As I have been working on a bit of a budget so saved some cash where I could
List of Components I ahve so far.
Components
Mobo:...........................Asus Rampage ii Extreme
CPU:.............................i7 950
RAM:.............................Corsair 1600 6g
PSU:.............................BeQuiet 1200w PSU
GFX:.............................MSI GTX470 Twin Frozr II x 2 SLI
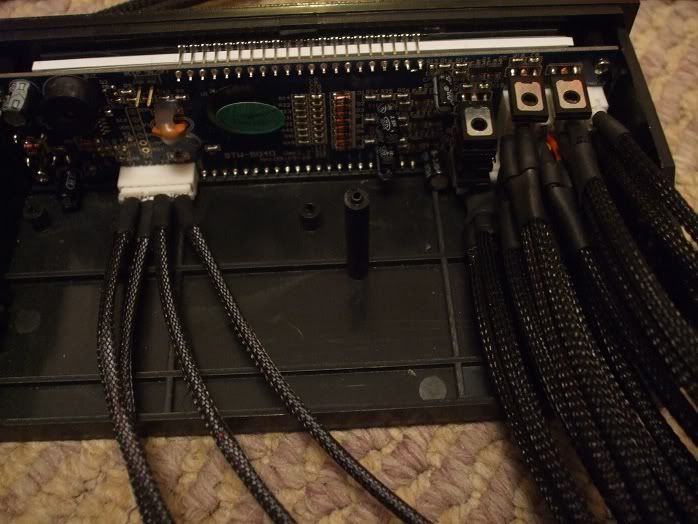
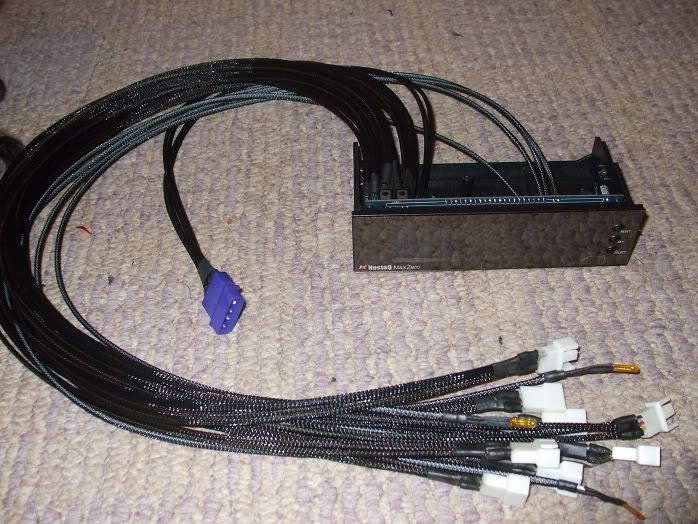
Fan Controller:................NesteQ NES-MAXZERO MaxZero Fan Controller
Optical:.........................DVD-R\RW Sata black
HDD:.............................Kingston 64GB SSD V100
HDD:.............................Samsung SpinPoint F3 1TB SataII
Case:............................Corsair Obsidian 800D
WaterCooling
--Radiators--
.........360 GT Black Ice Stealth
.........240 EK XT
--Pumps--
.........Swifttech MCP350
.........Swifttech MCP355
--Reservoirs--
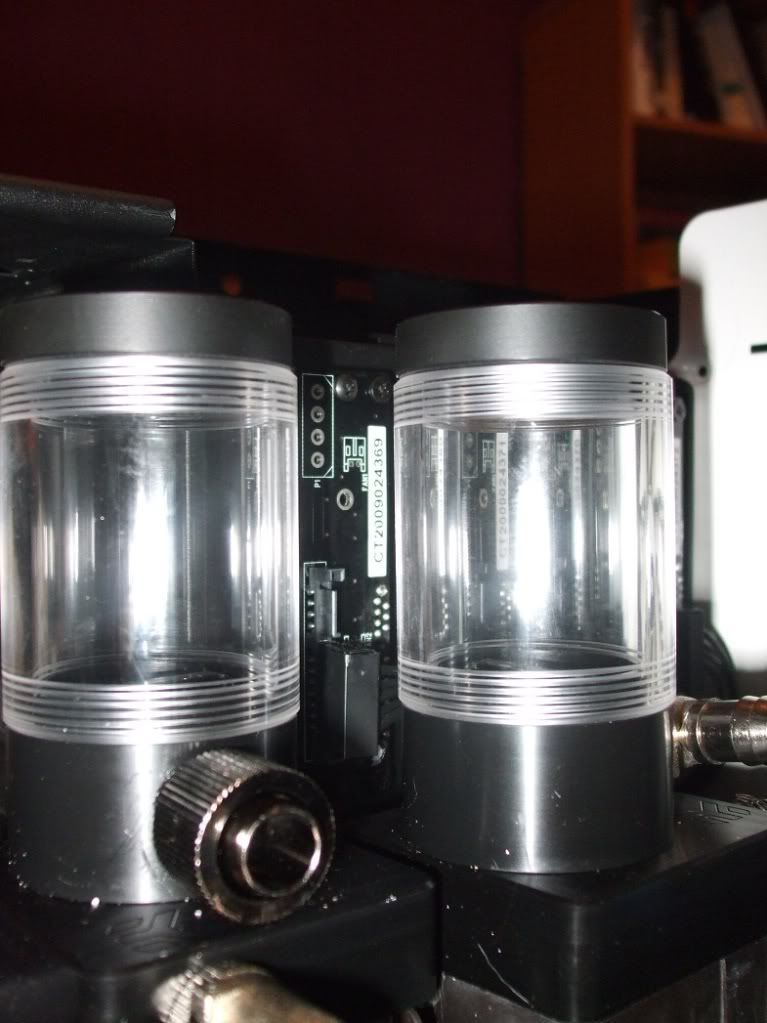
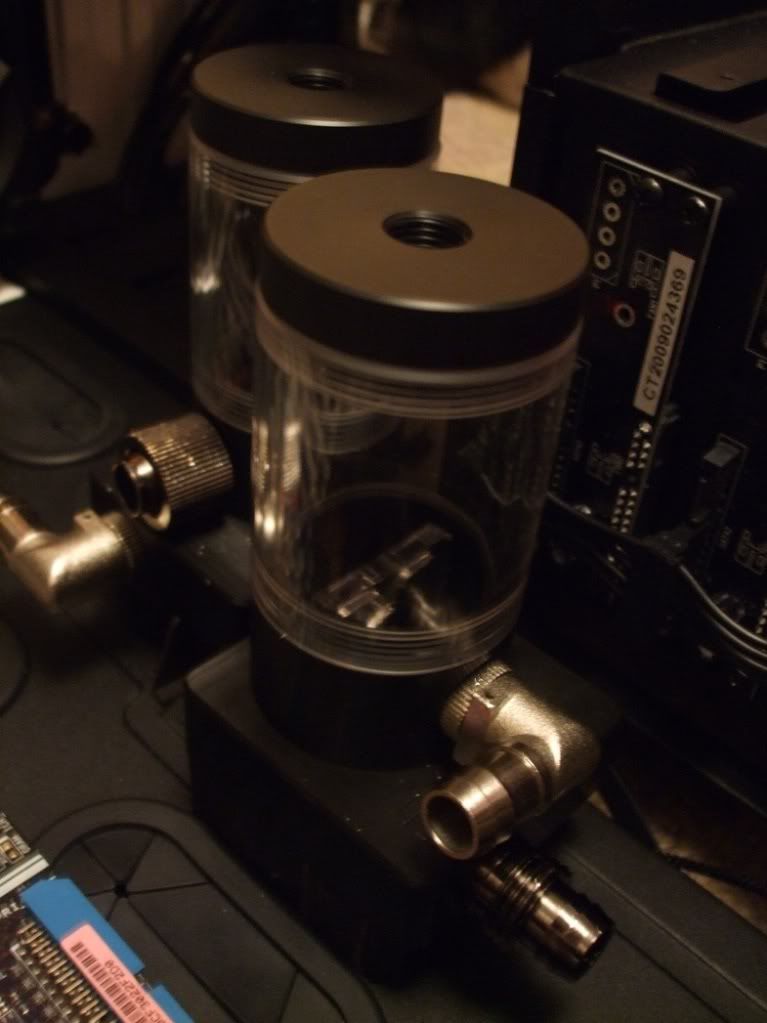
.........XSPC Single bay res Black
.........XSPC Single bay res Silver
--Water Blocks--
CPU:..................Swiftech Apogee XT Extreme
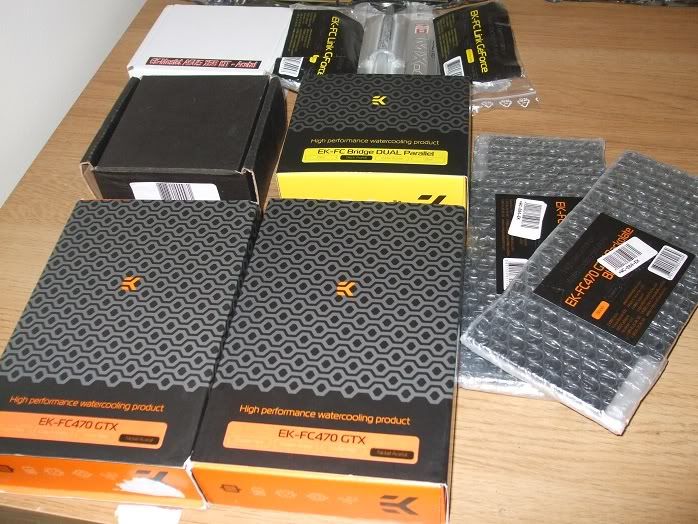
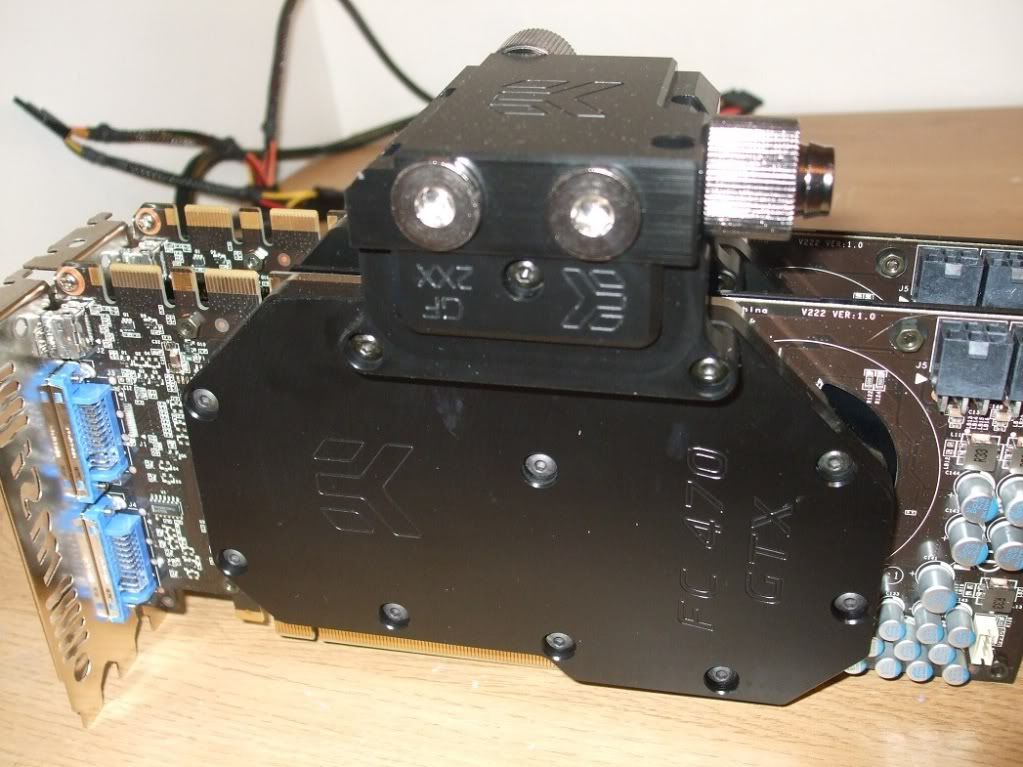
GFX:..................2 x EK 470GTX Nickel Acetal
GFX:..................2 x EK 470 Backplate
MOBO:...............EK Mosfet Asus X58 Kit - 2 Pack
MOBO:...............EK-FB Rampage II Copper Acetal
--Pipe/Fittings/Links--
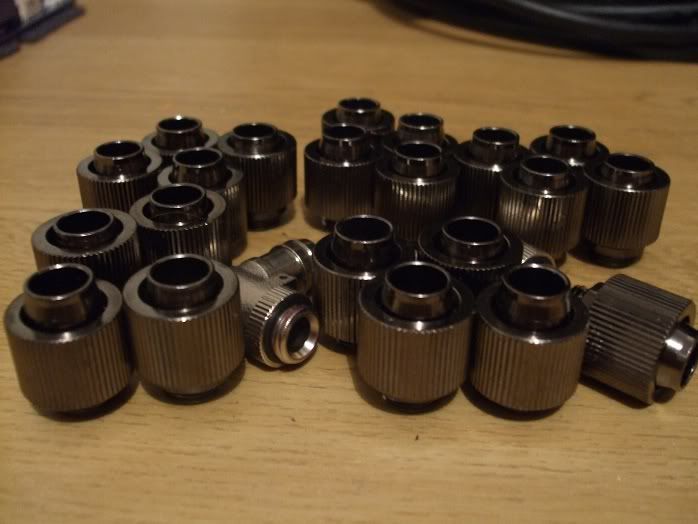
.........OCUK Nickel 1/2 Compression fittings x24
.........XSPC 7/16 Clear Tubing x 4meters
.........EK-FC Dual Sli Bridge
.........EK FC Link GeForce
--Fans--
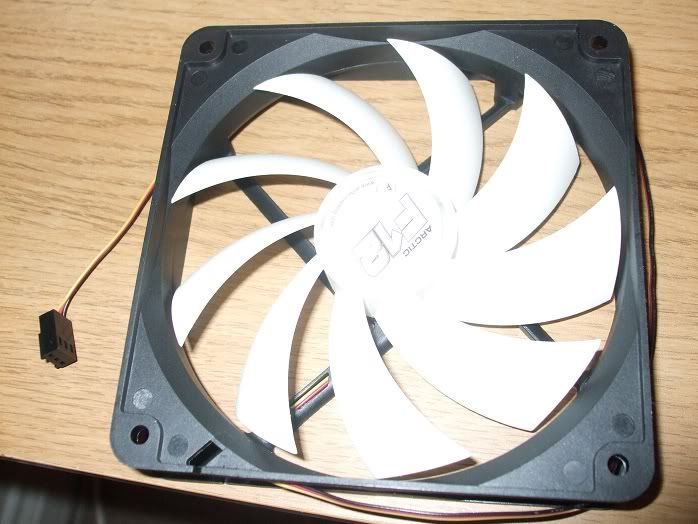
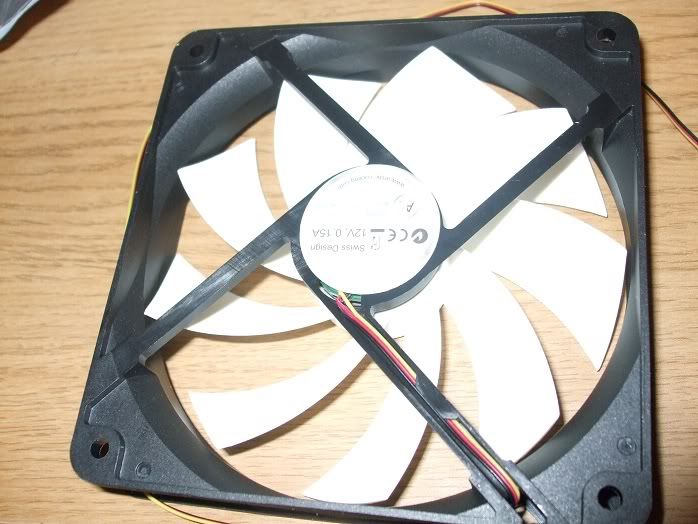
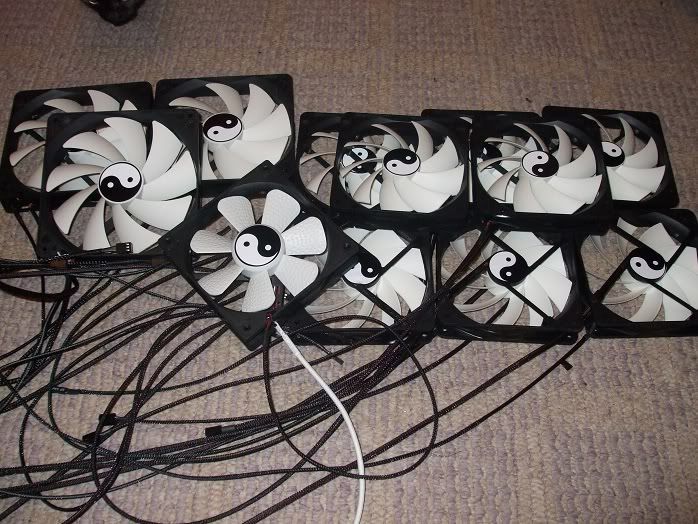
.........F12 Atric 120mm fans (white) x 8
.........Sharkoon Silent Eagle 120mm (1)
.........NZXT 140mm Rifle Bearing Fan x 3
Extras
--Lighting--
.........80xWhite LEDS prewired
.........20x2pin LED headers
.........mod/smart LED Station 20 Black PCB
--Braiding--
.........Black 3.2mm braid 200 meters
.........3mm black adhesive heatshrink 5 metres
--Custom--
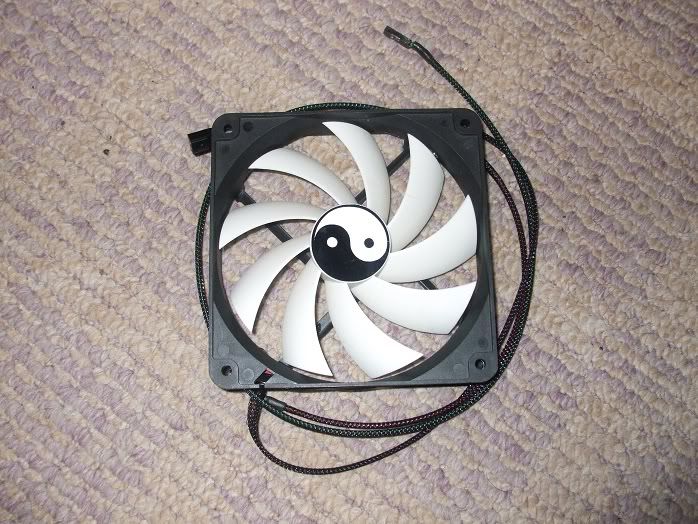
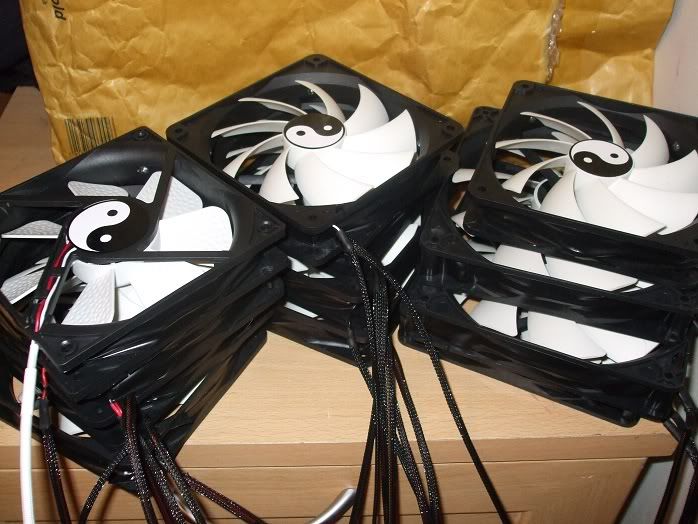
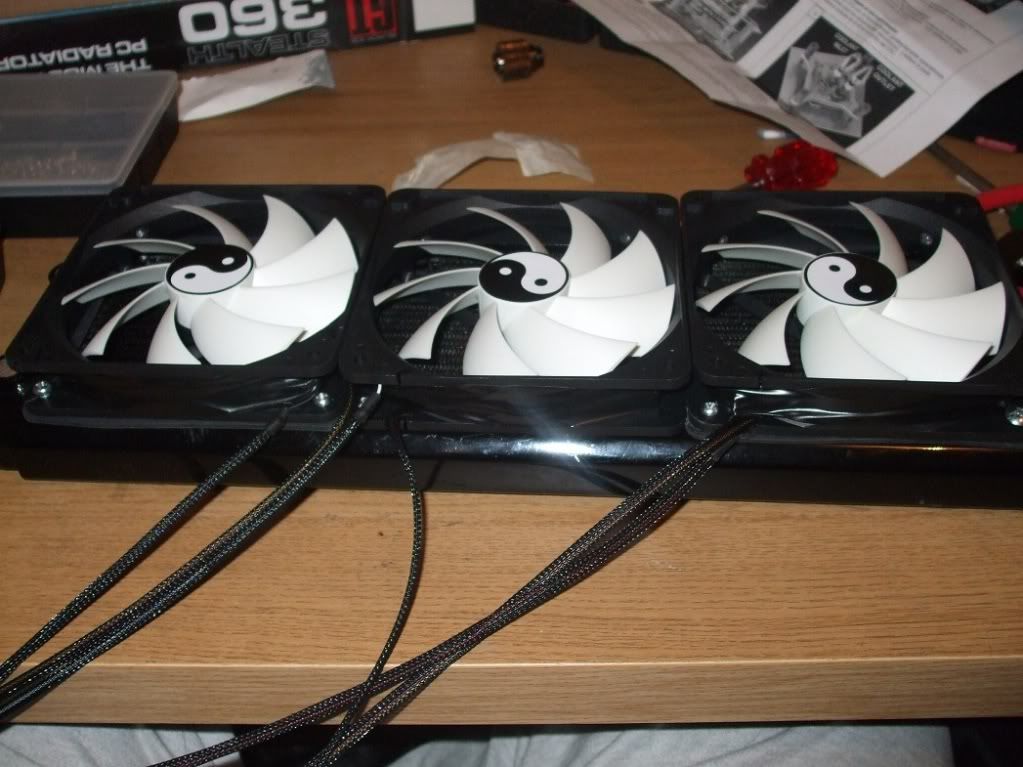
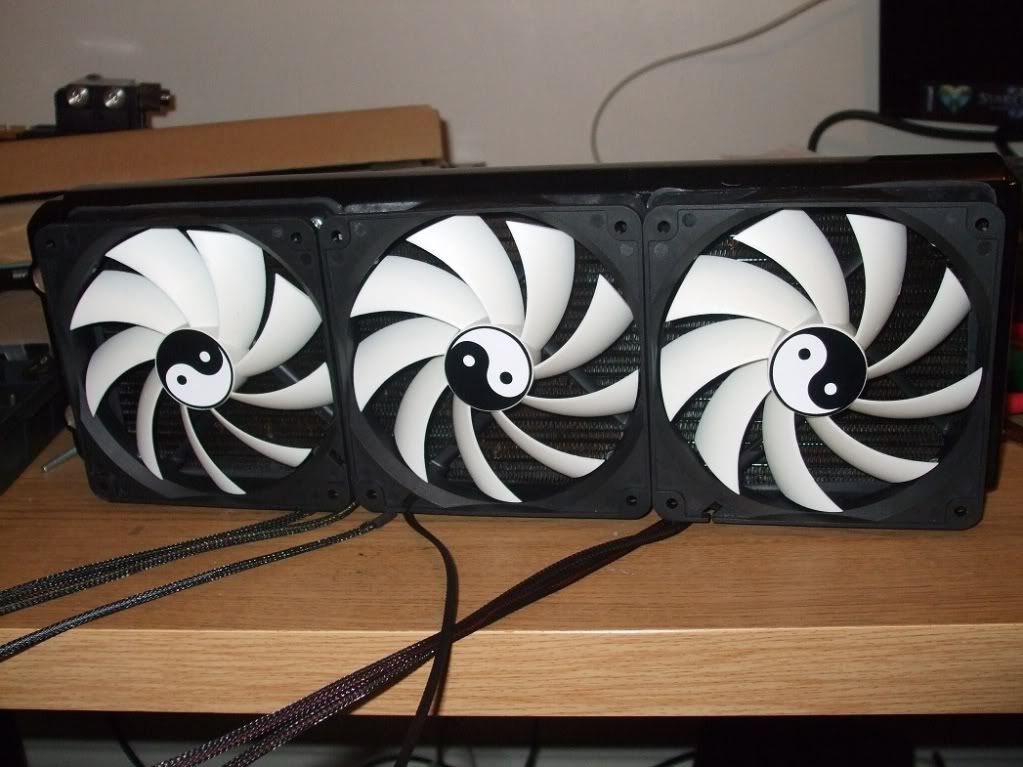
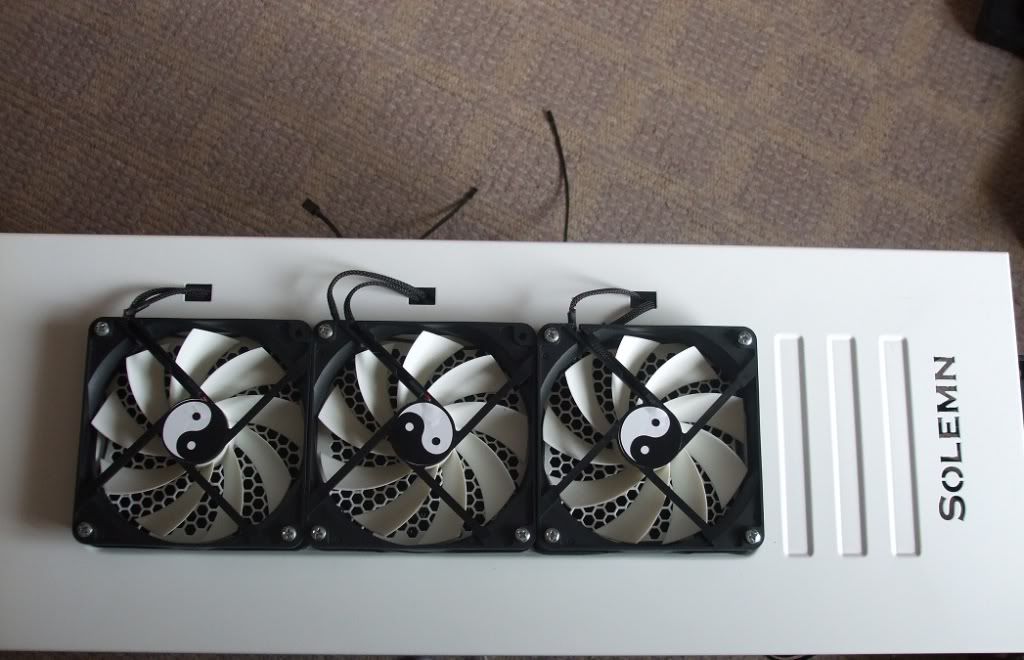
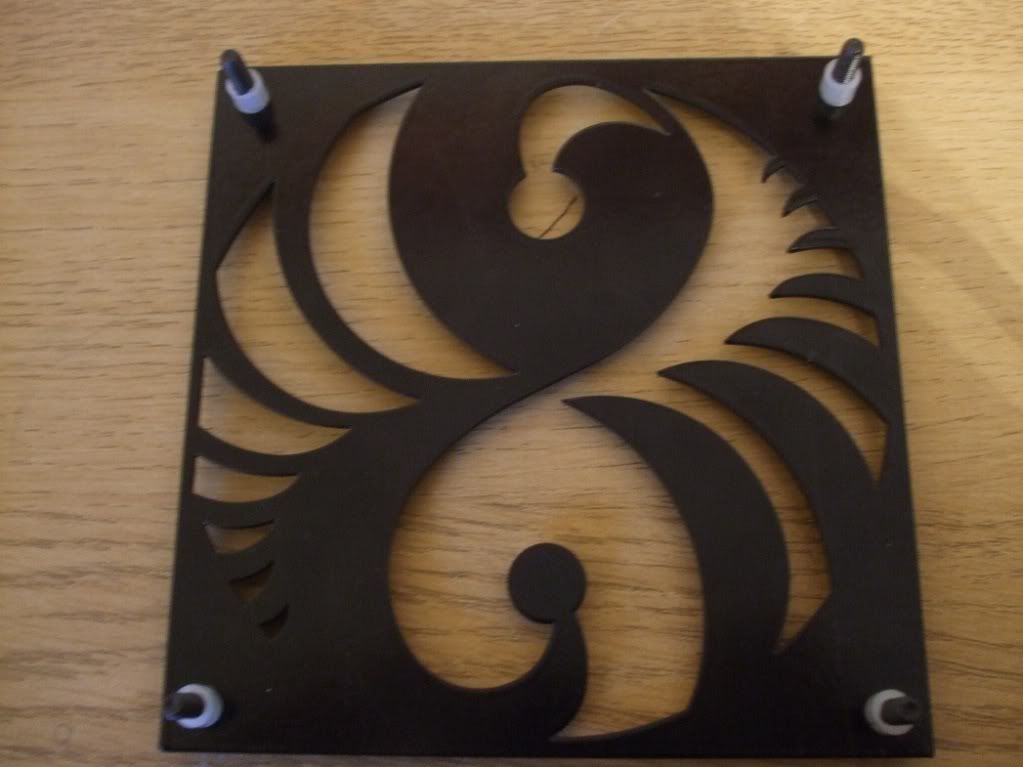
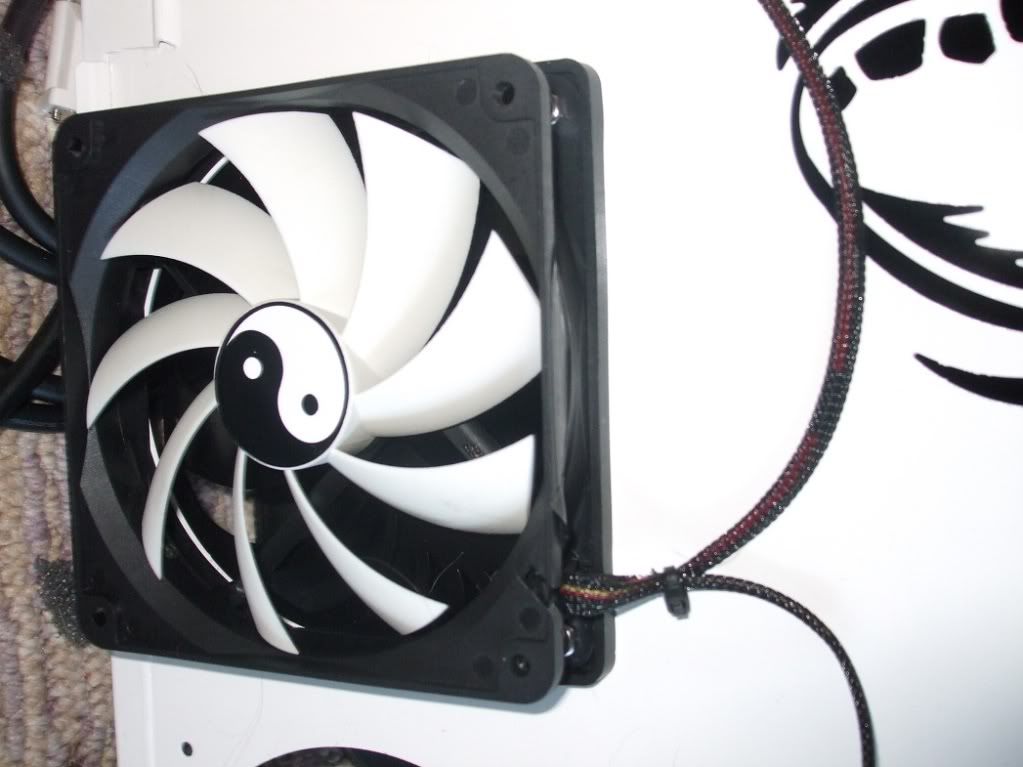
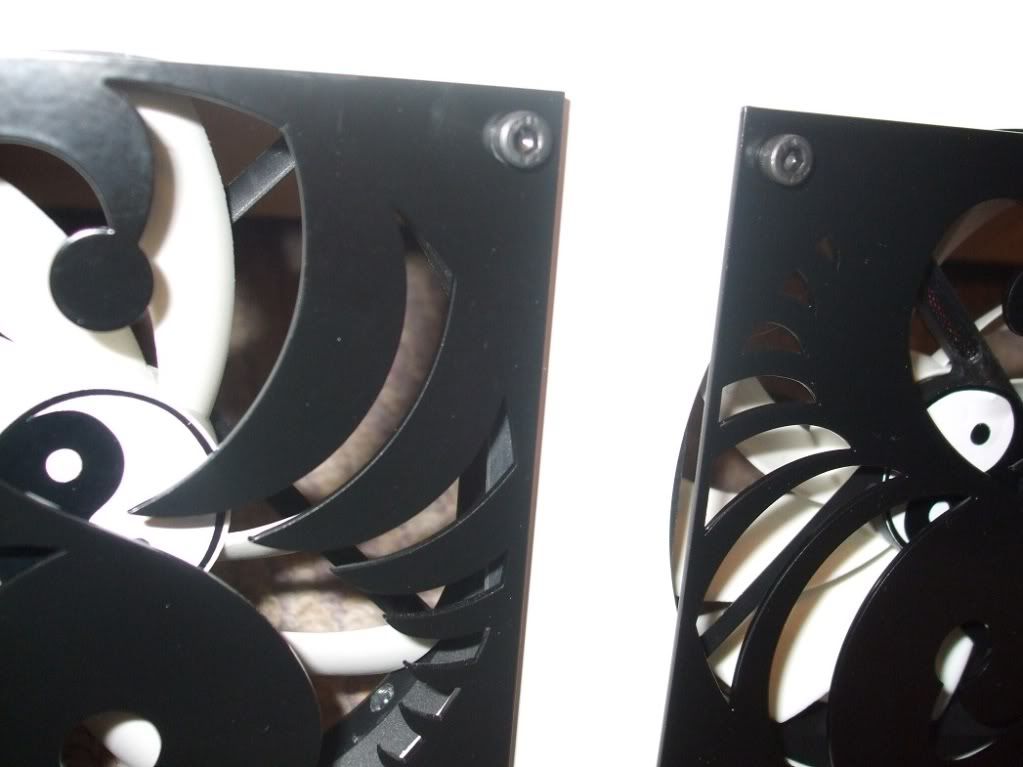
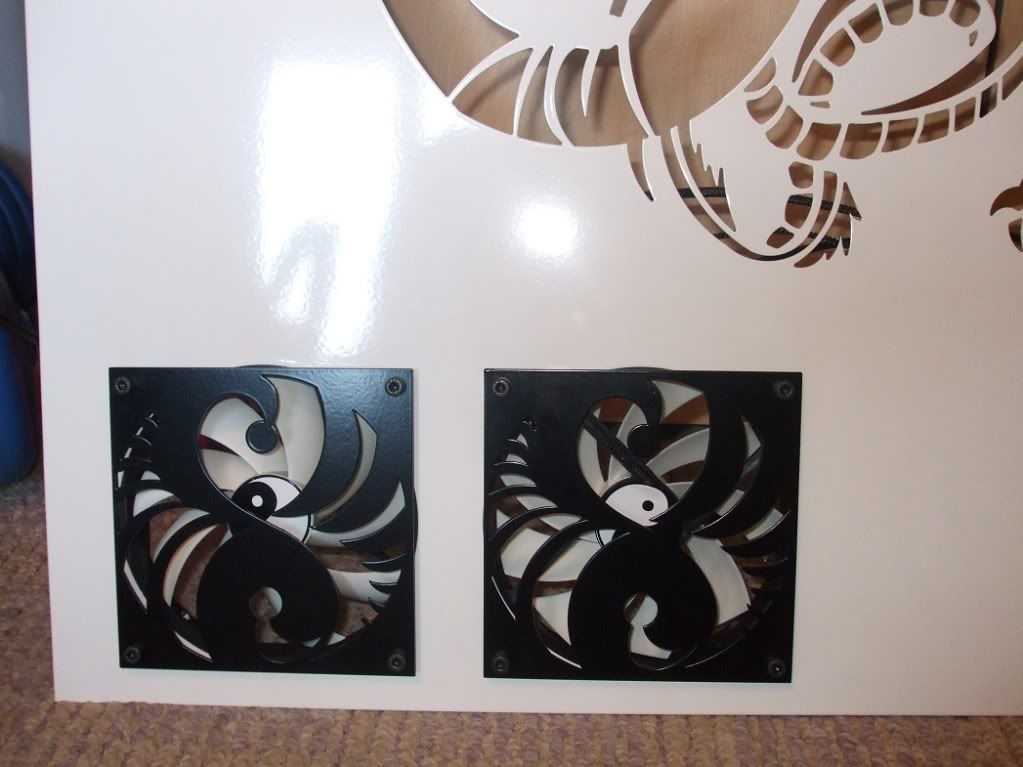
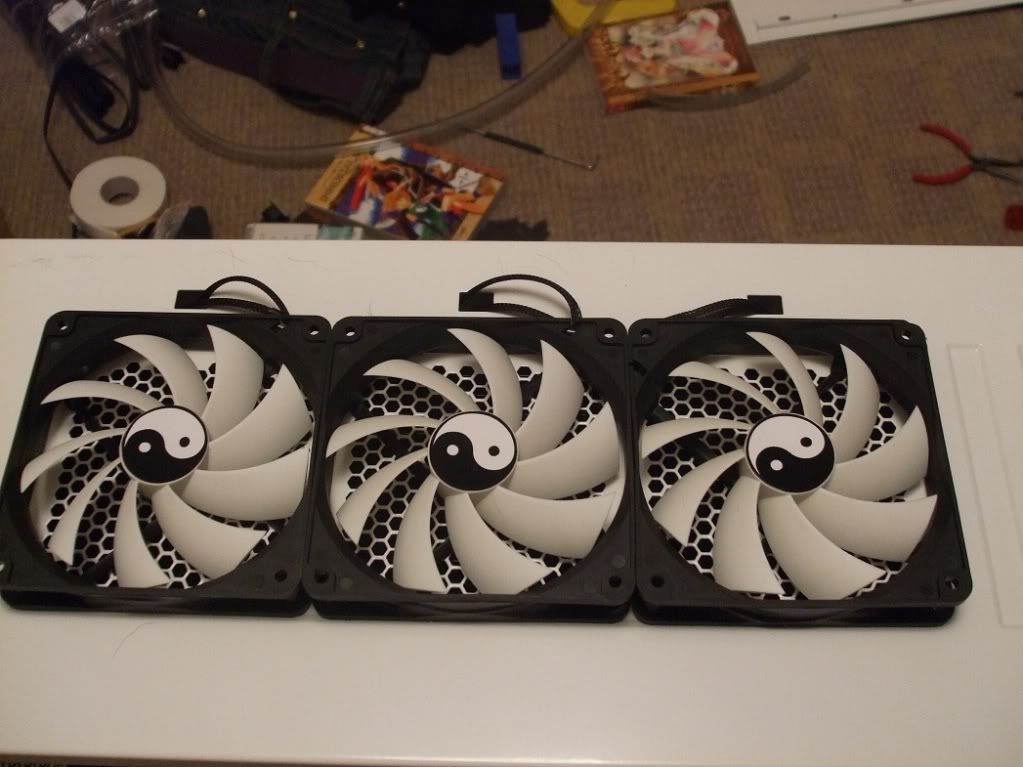
.........120mm YinYang Fan Covers x 3
.........140mm YinYang Fan Cover(1)
.........Top Custom 320mm (3x120mm fan) Shroud
--Other--
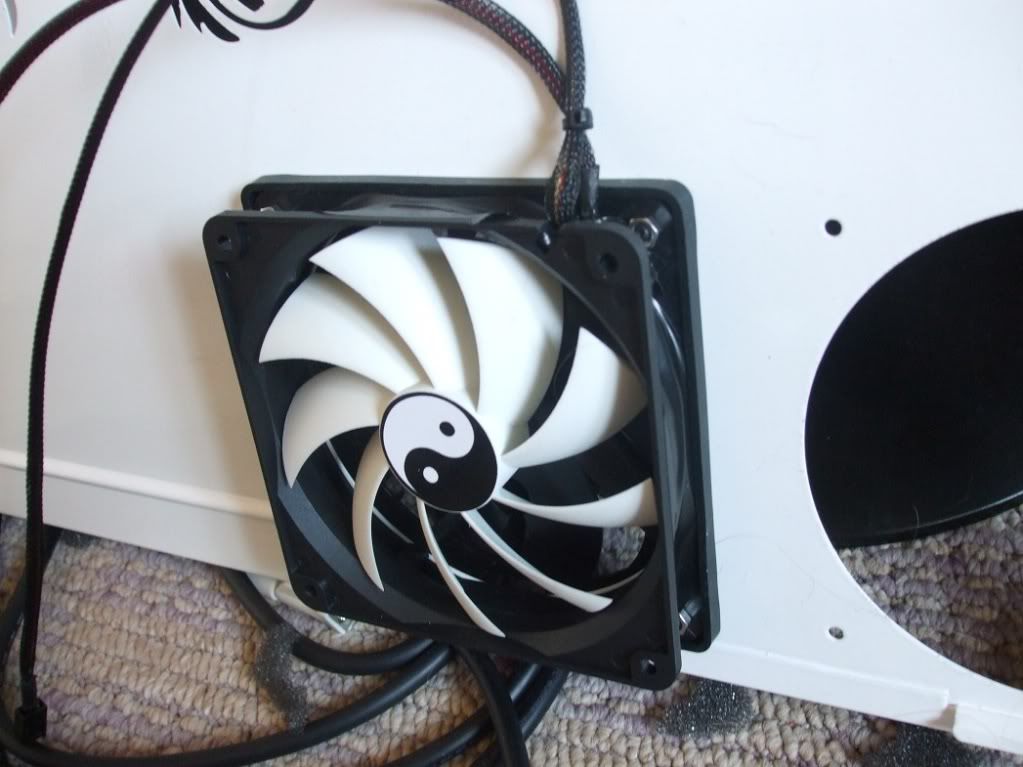
.........30 x YinYang fan stickers
.........Arctic Cooling MX-4 4g
I am still missing the chipset block for my Rampage, possible white braiding and a conector for my SLI cards as well as some 45/90 degree compressions.
I am also considering another fan controler (as i have 12 fans and my controller only supports 8) and possibly black and white tubbing instead of clear, what do you think? (personally i think coloured tubbing looks cheap but I will just be running clear water (dont wanna mess up my blocks!).
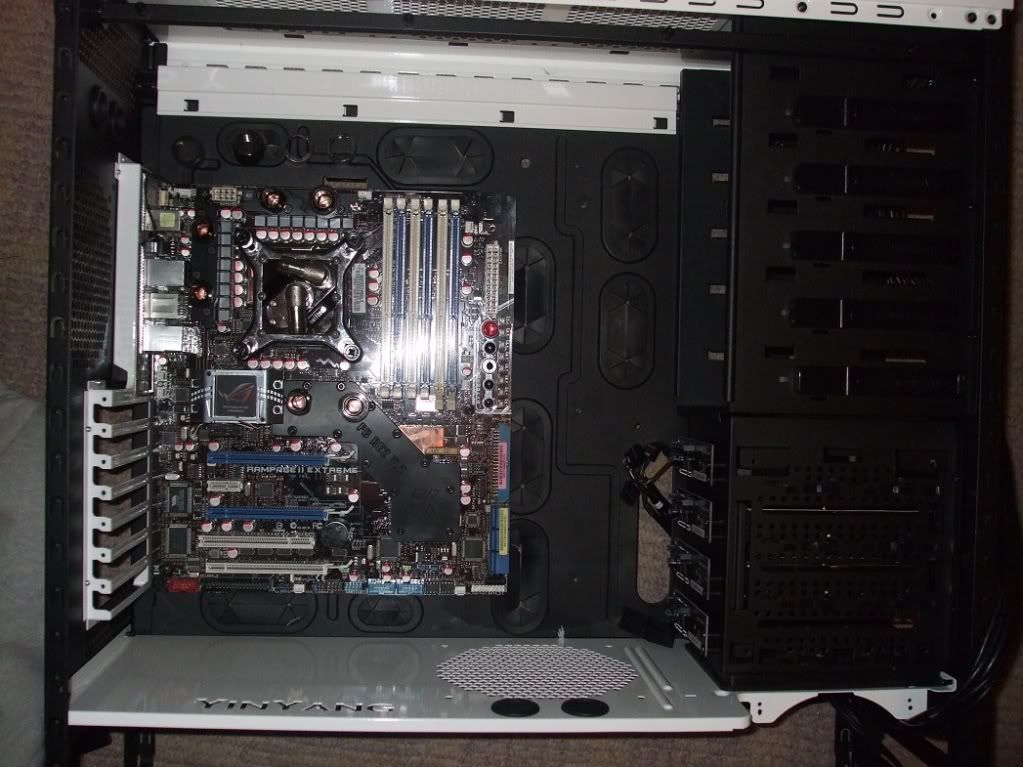
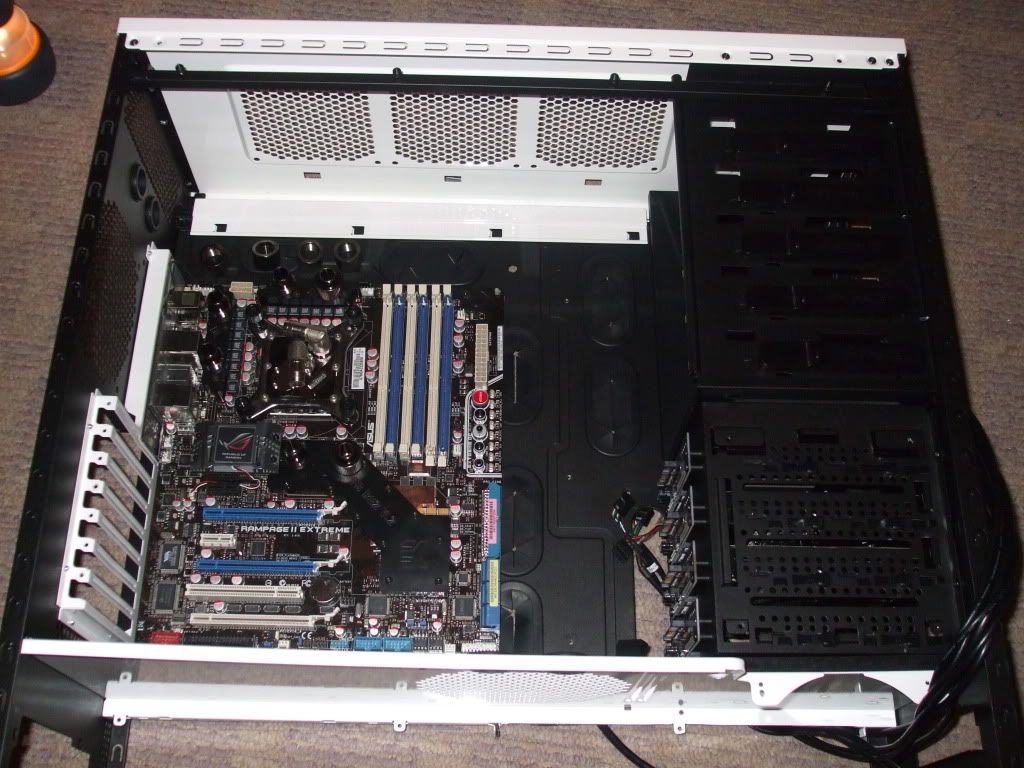
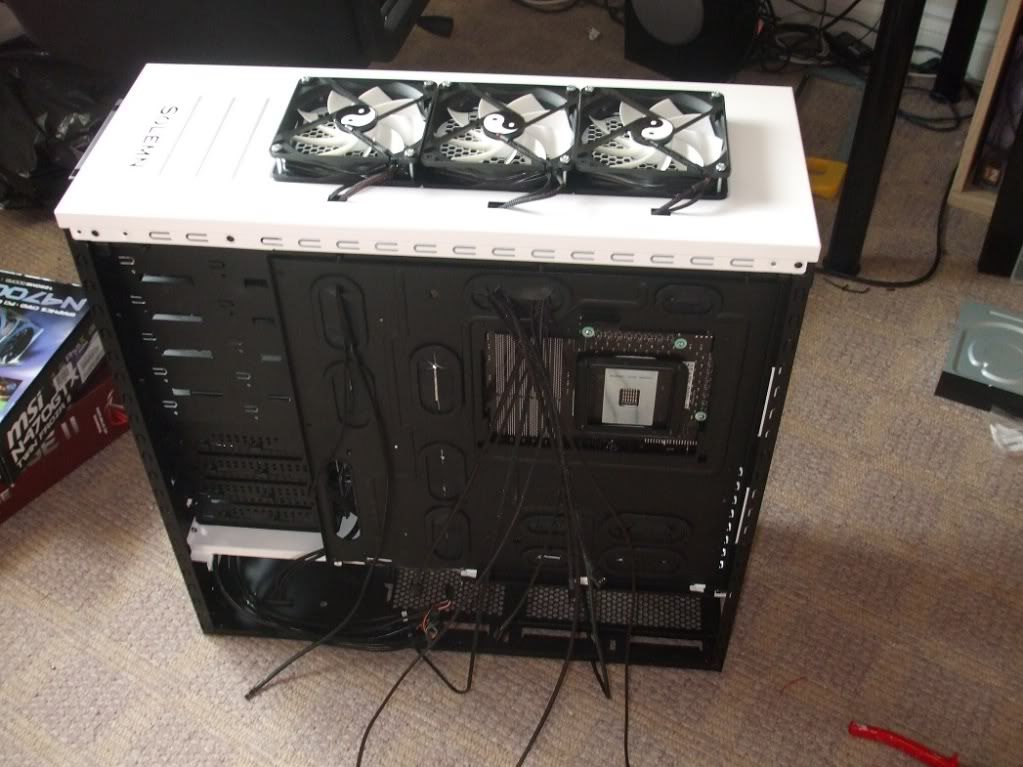
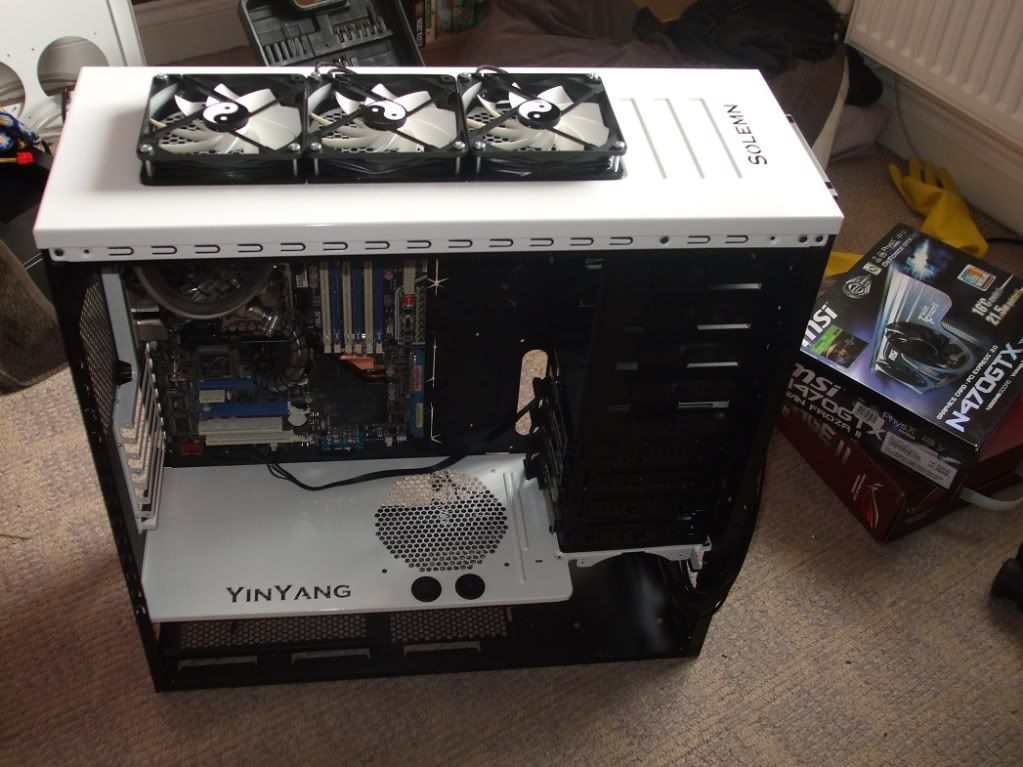
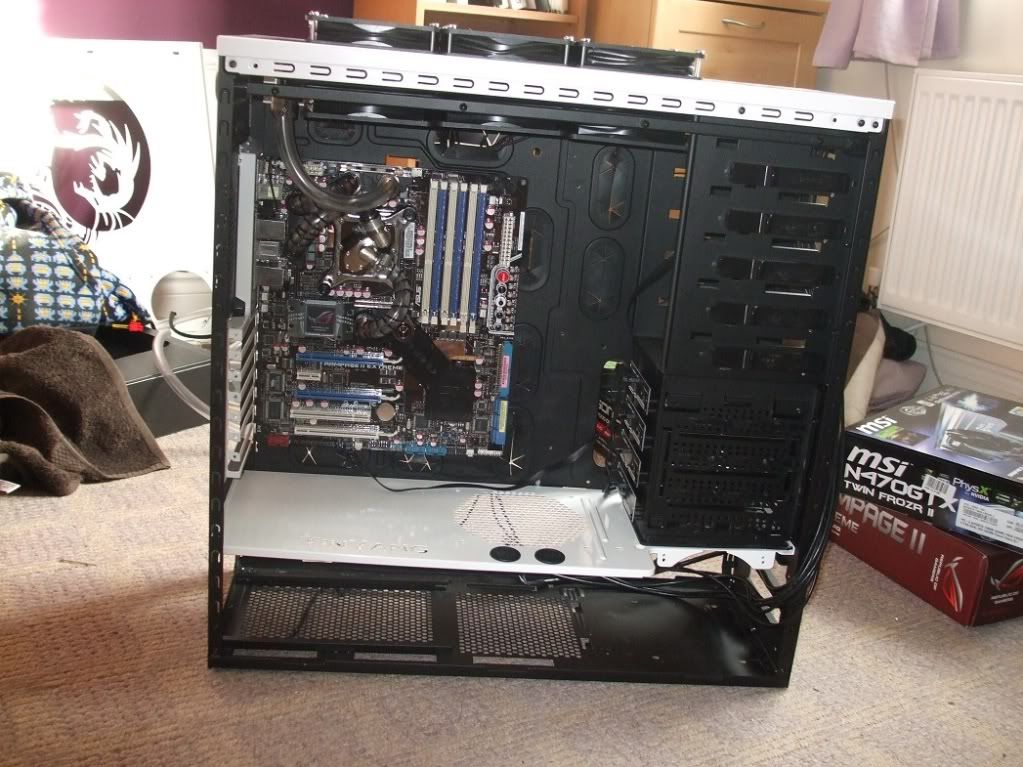
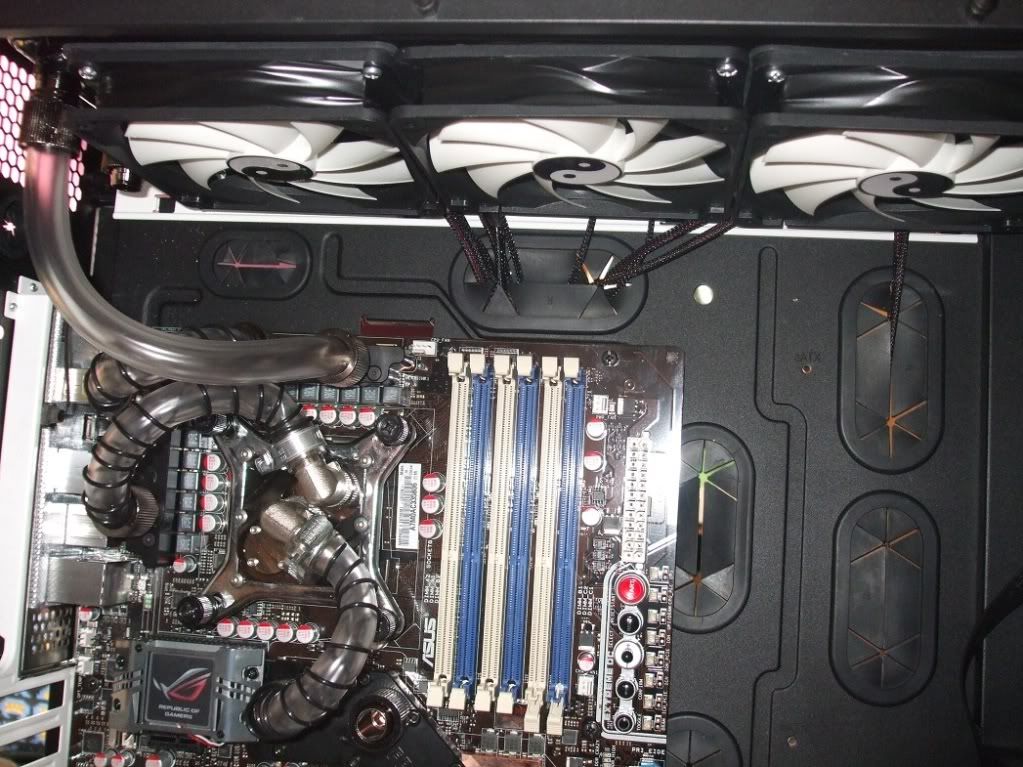
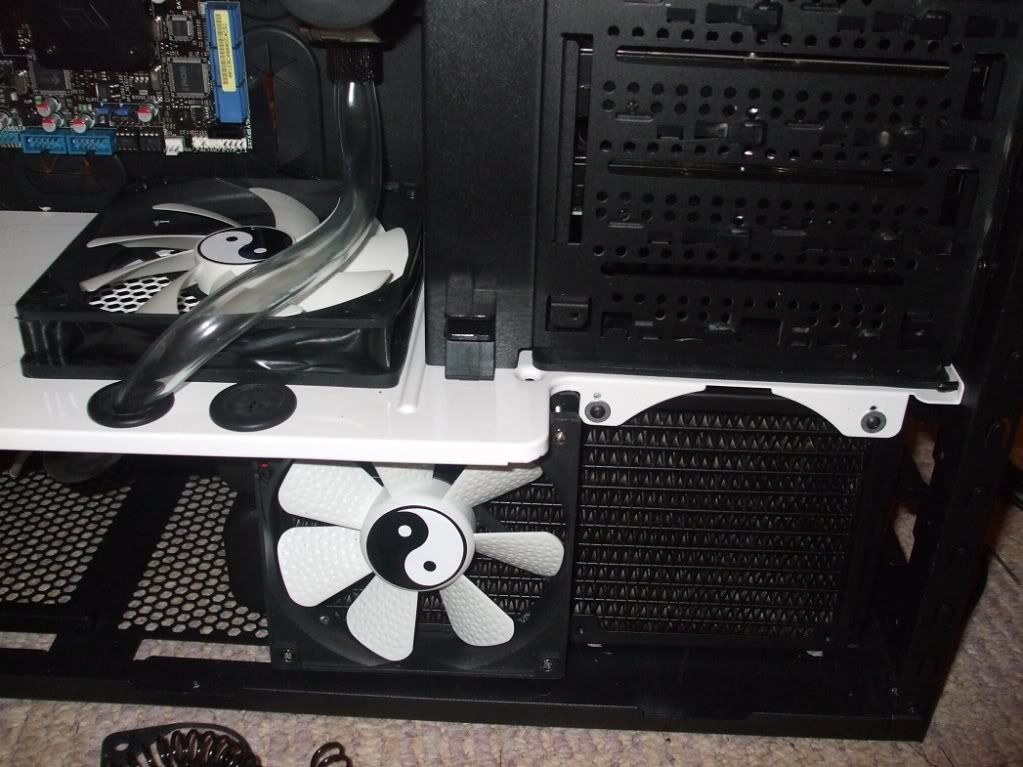
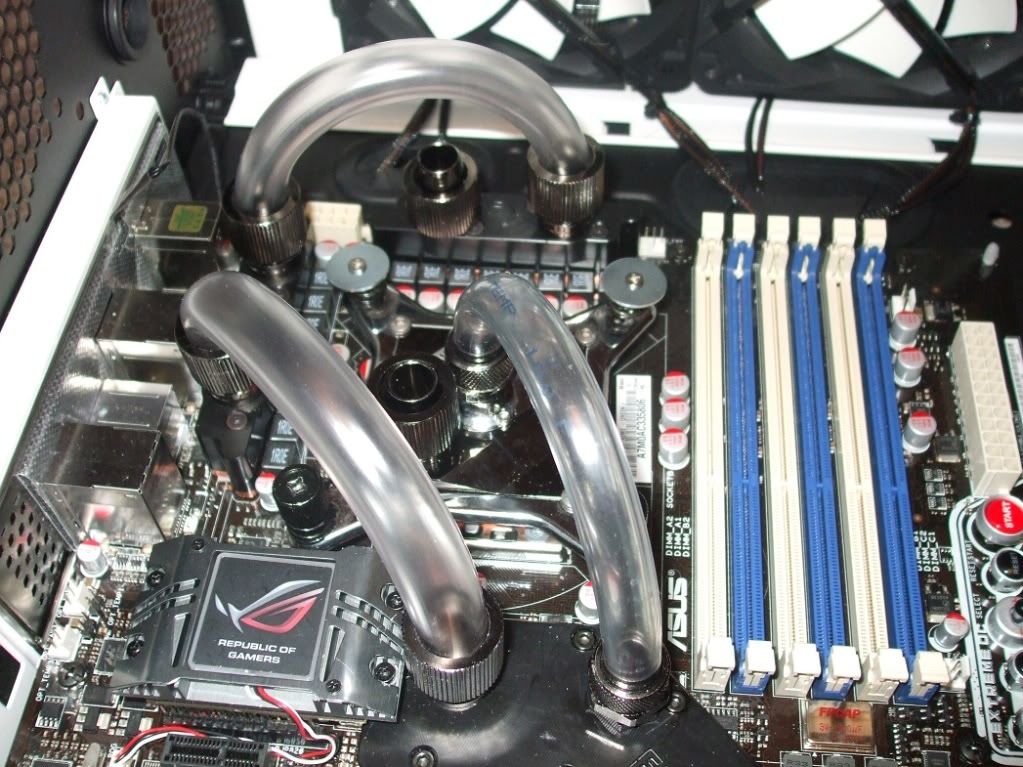
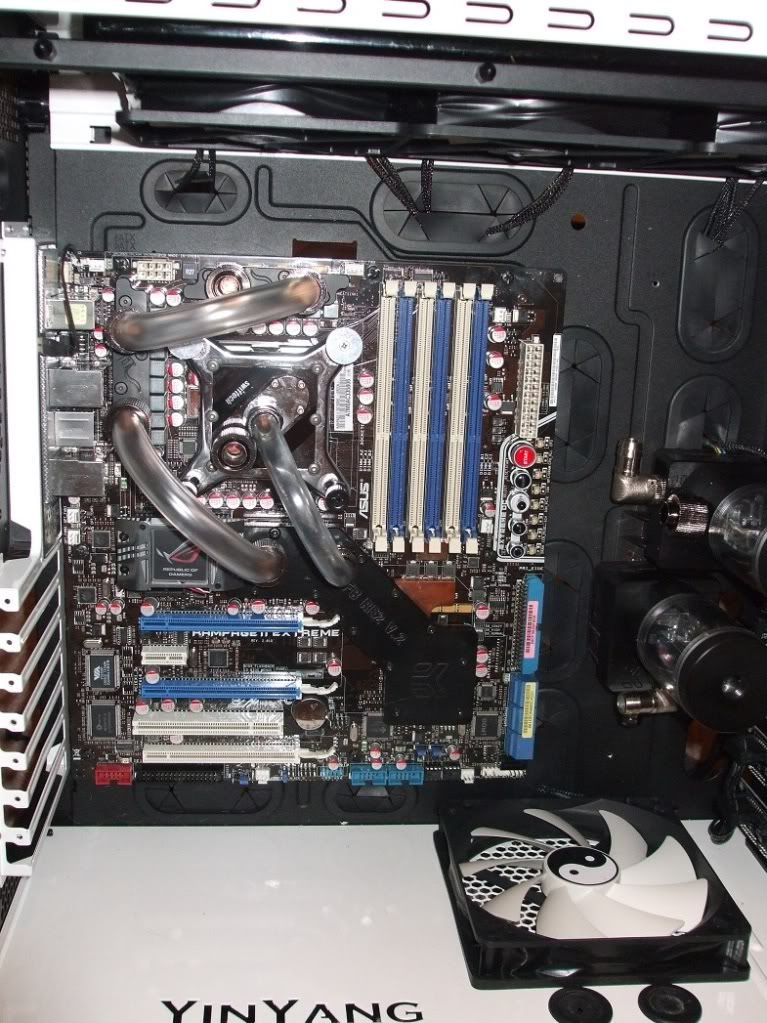
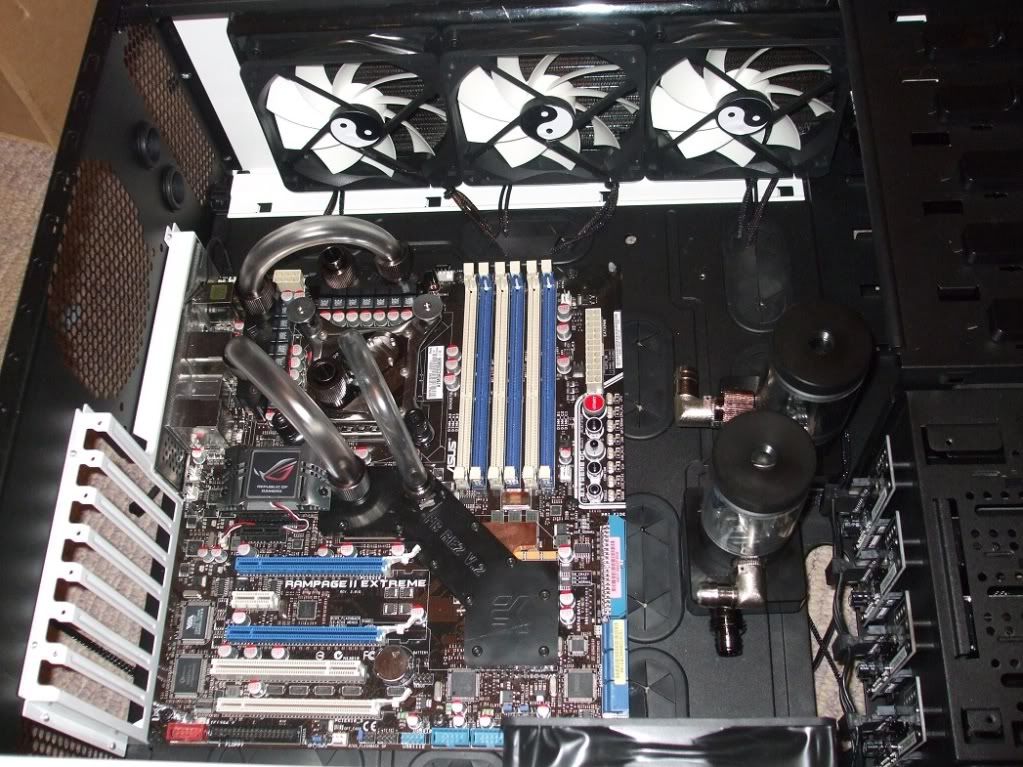
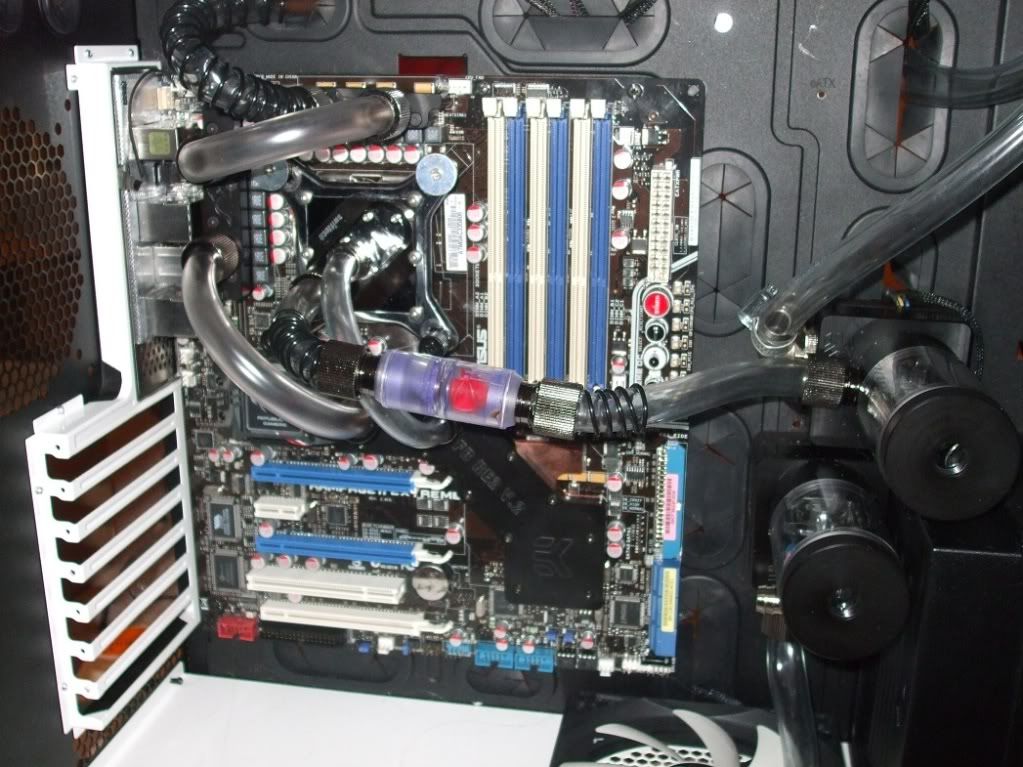
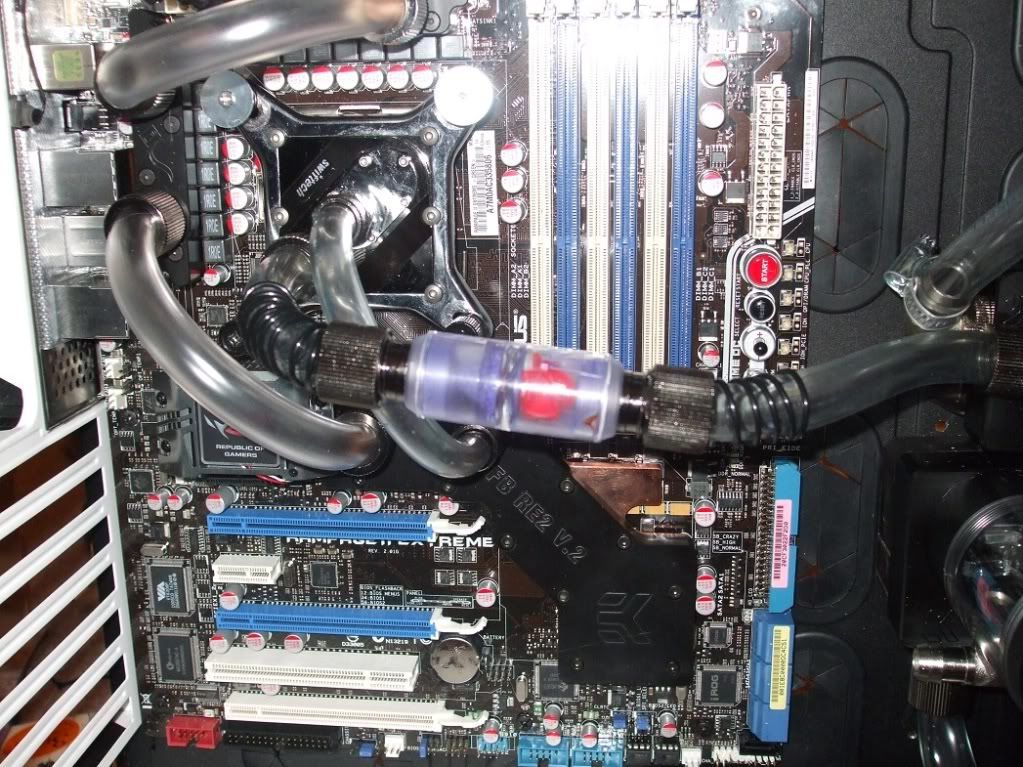
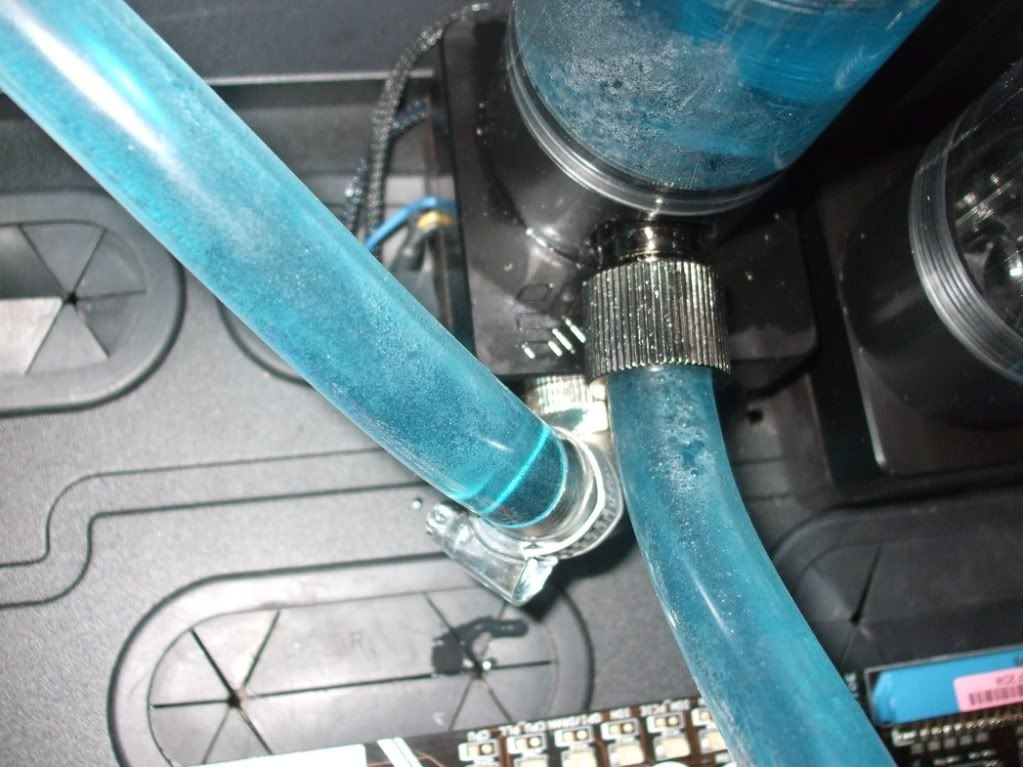
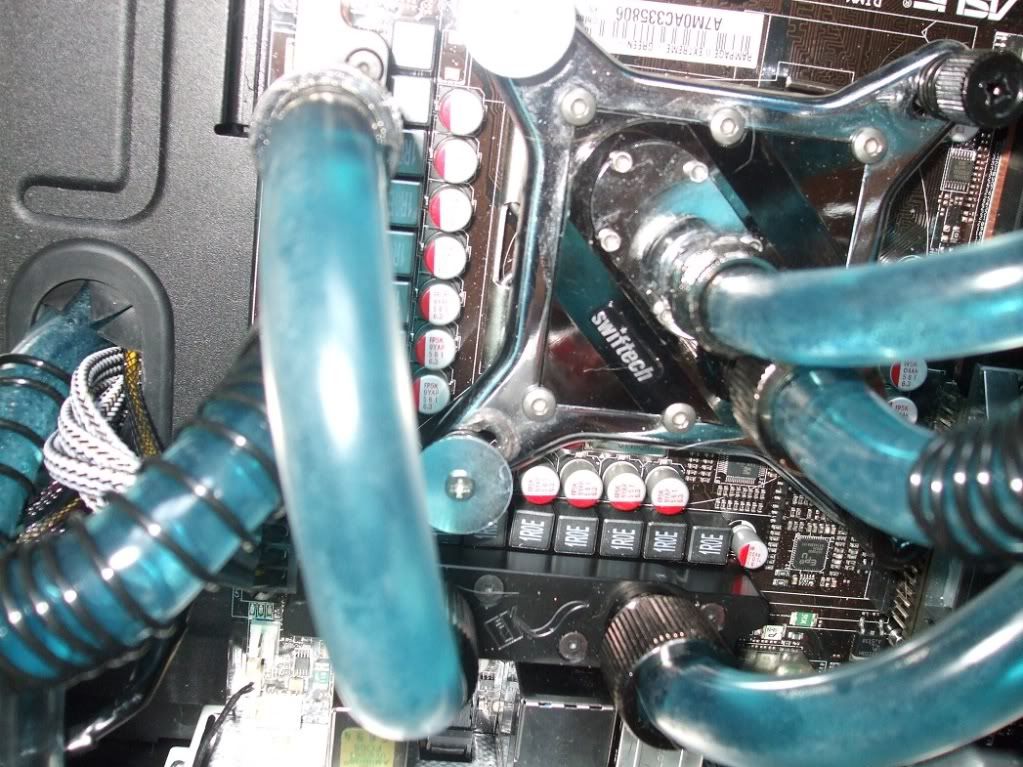
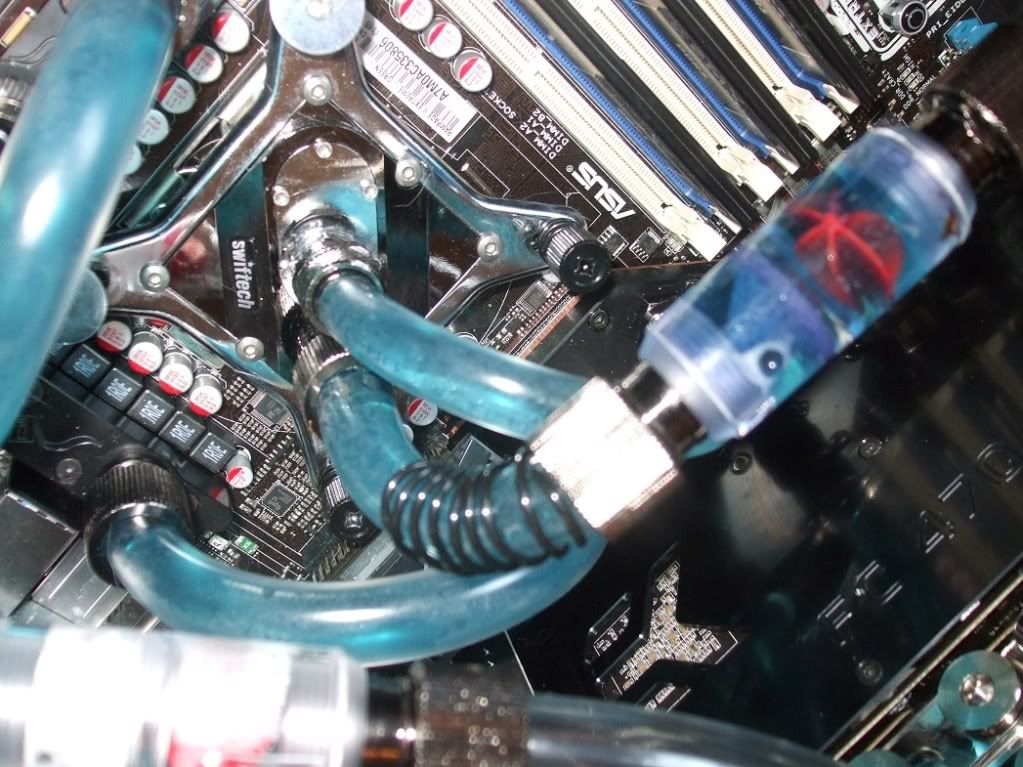
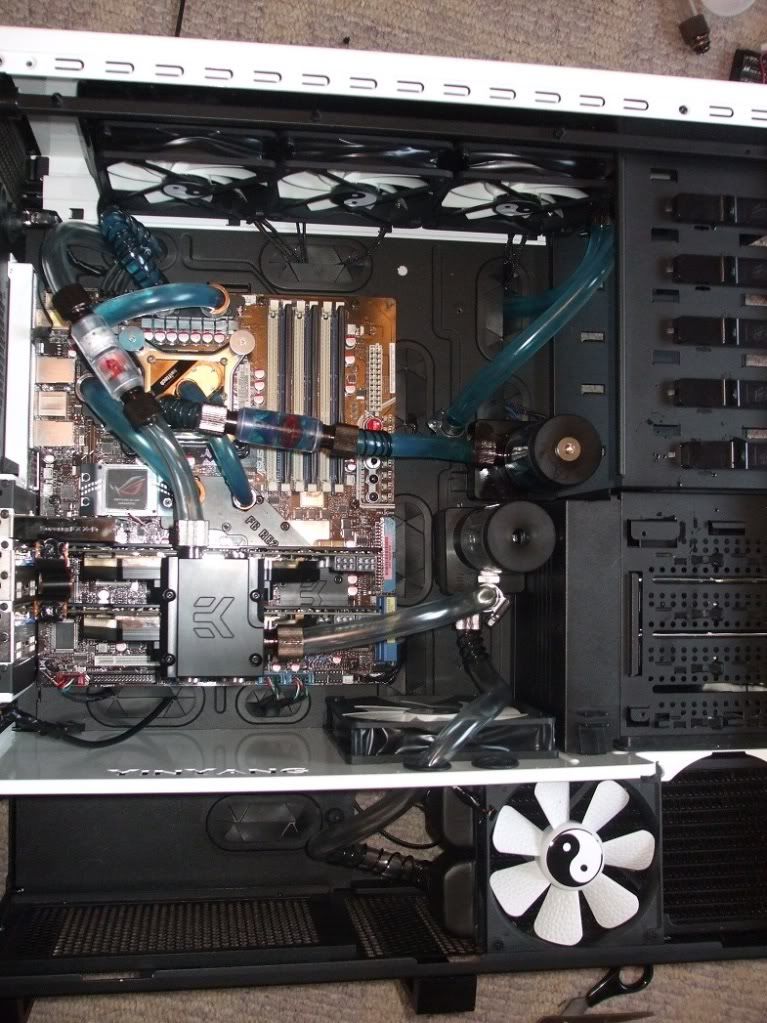
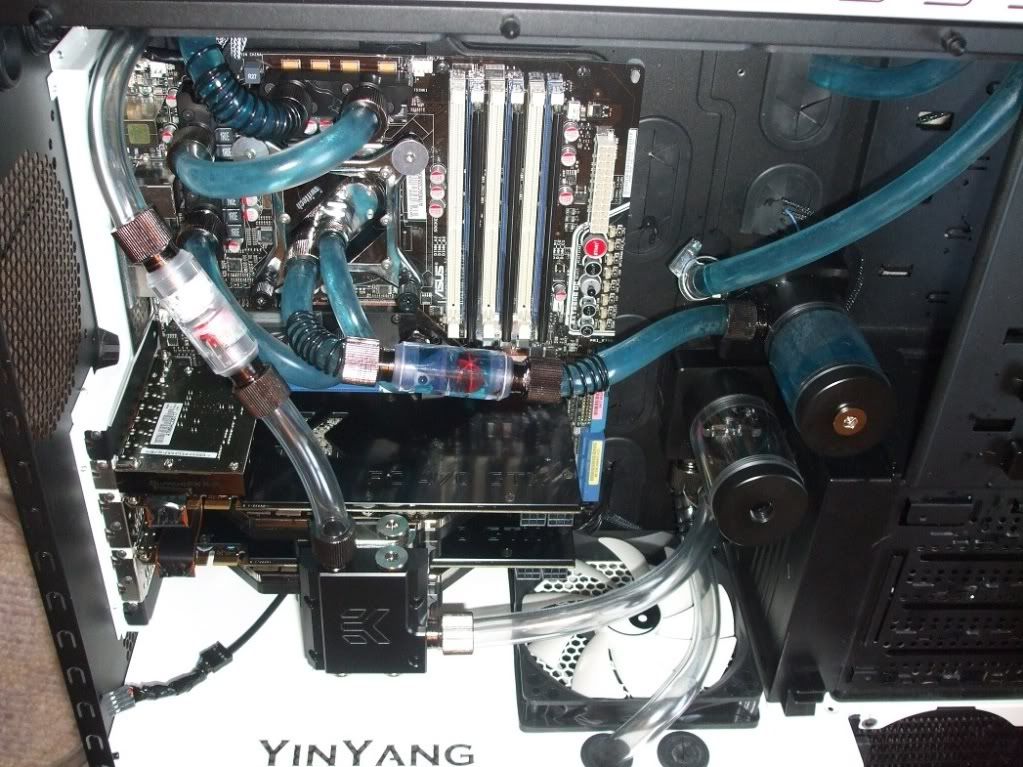
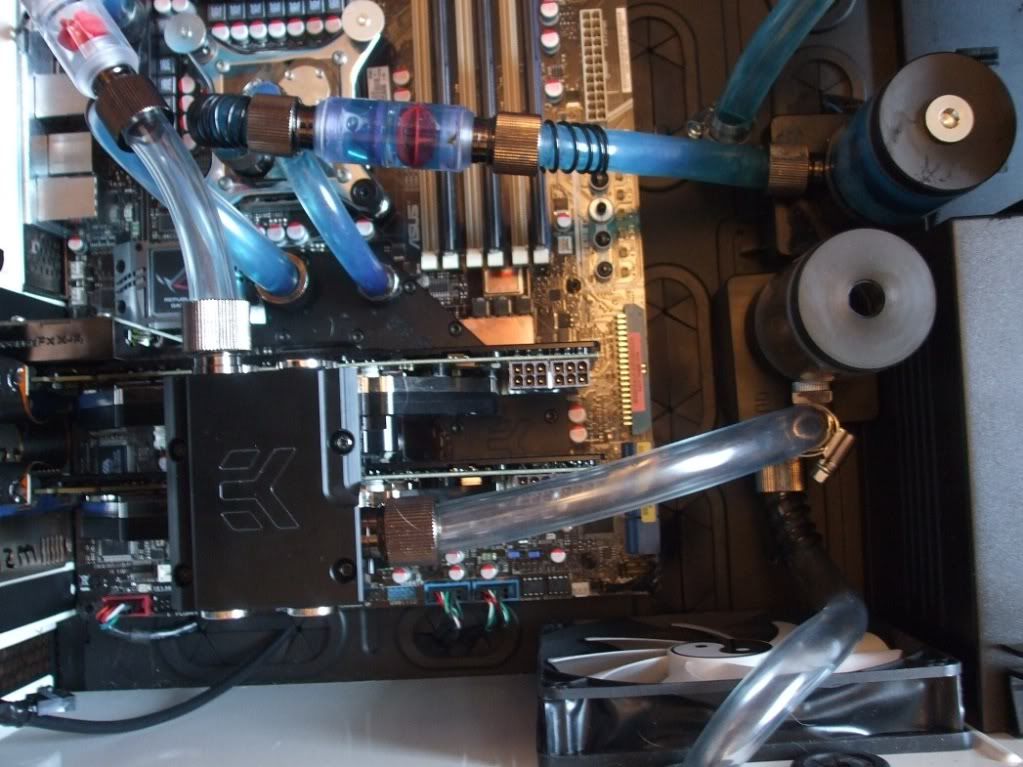
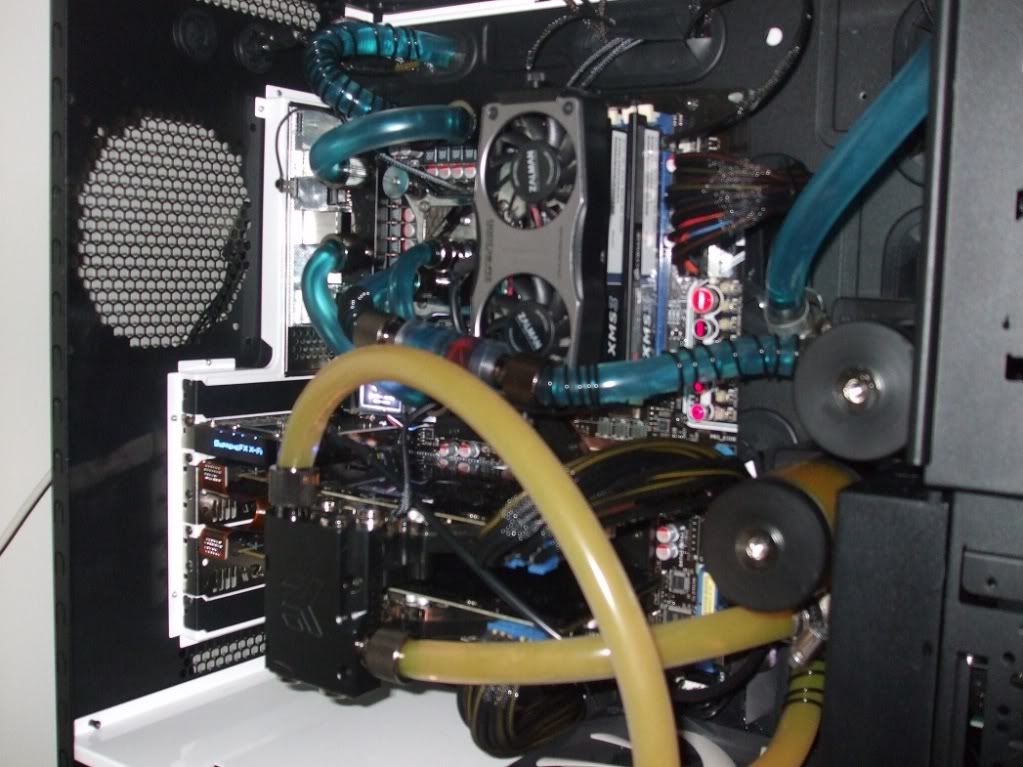
So the Plan is to have two loops. One for the Mobo and blocks with the 360 rad mounted at the top of the case, and the other for the two GPUS and to have the rad mounted length ways at the bottom of the case (see cool beeze for more details).
Case Mods
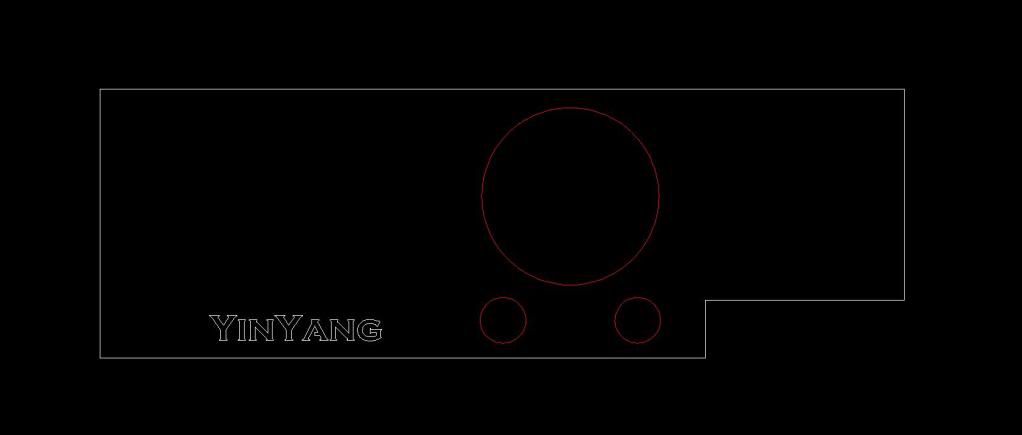
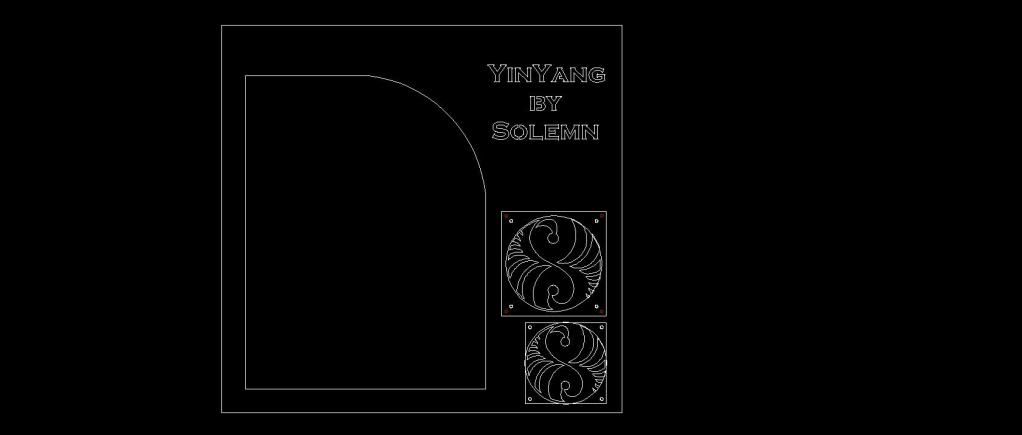
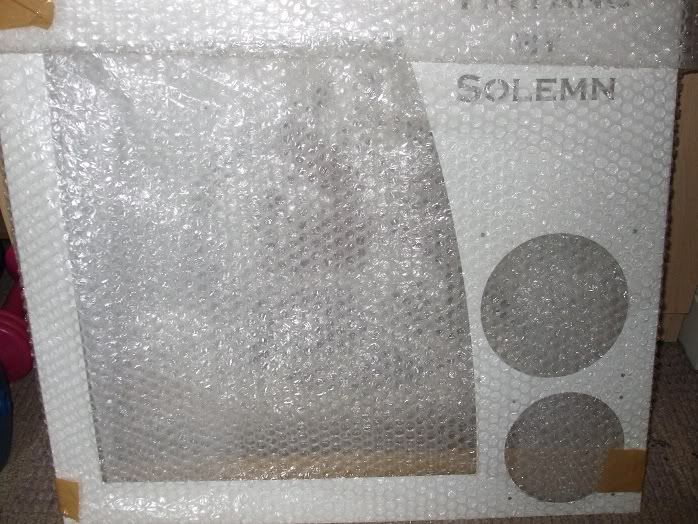
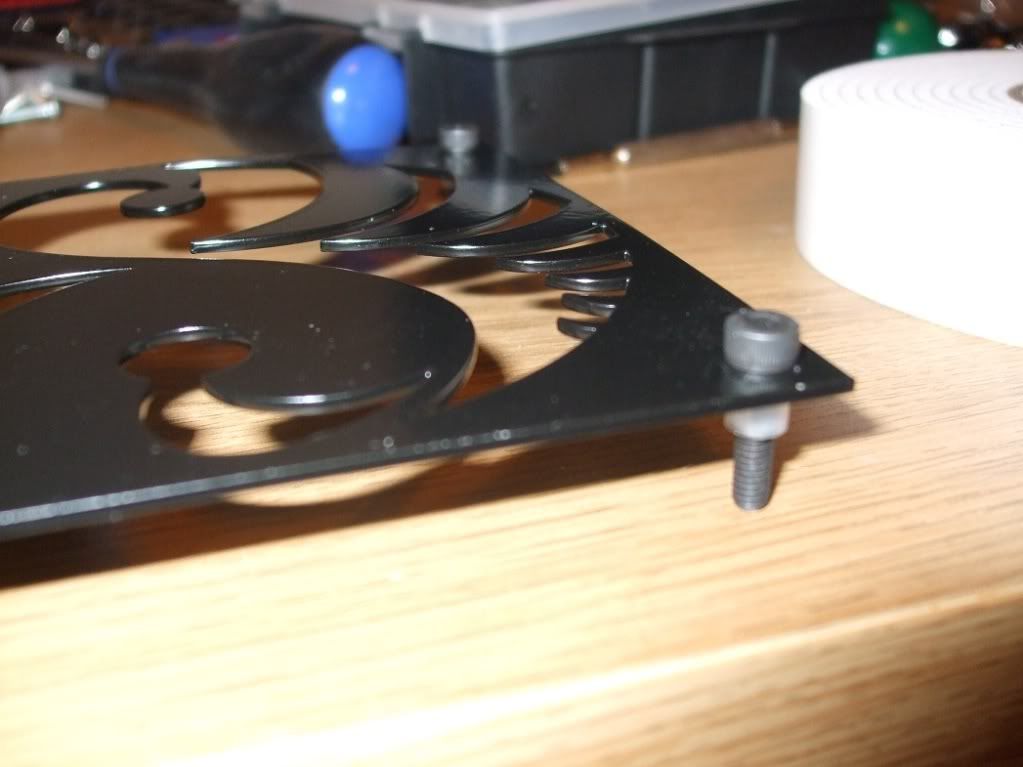
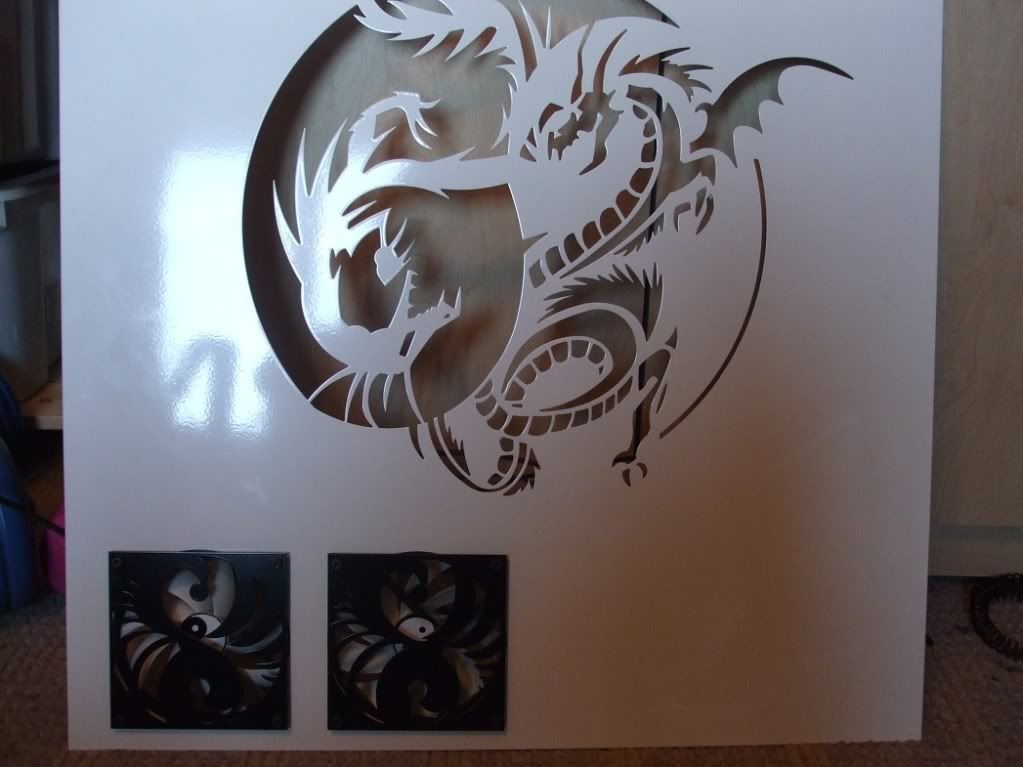
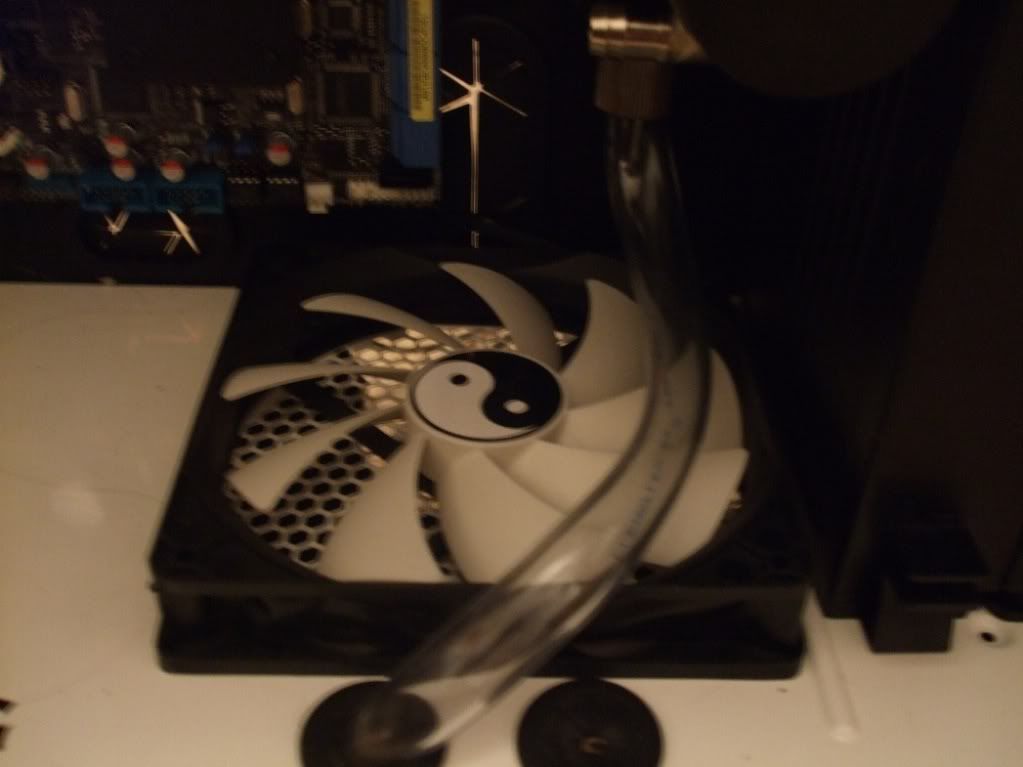
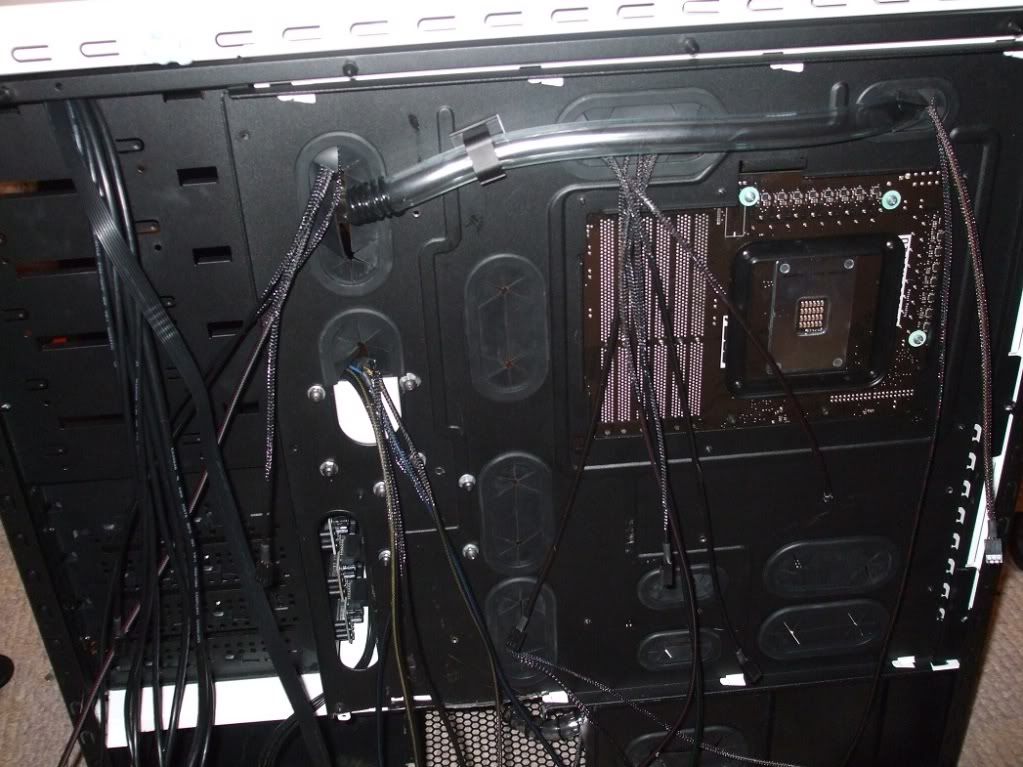
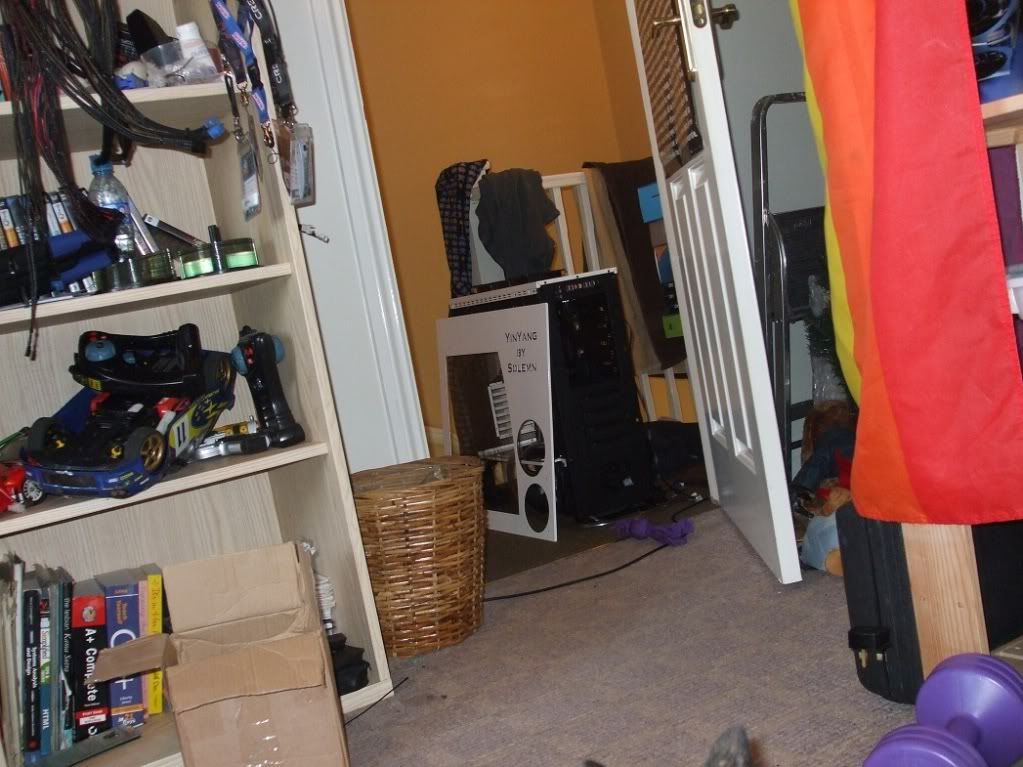
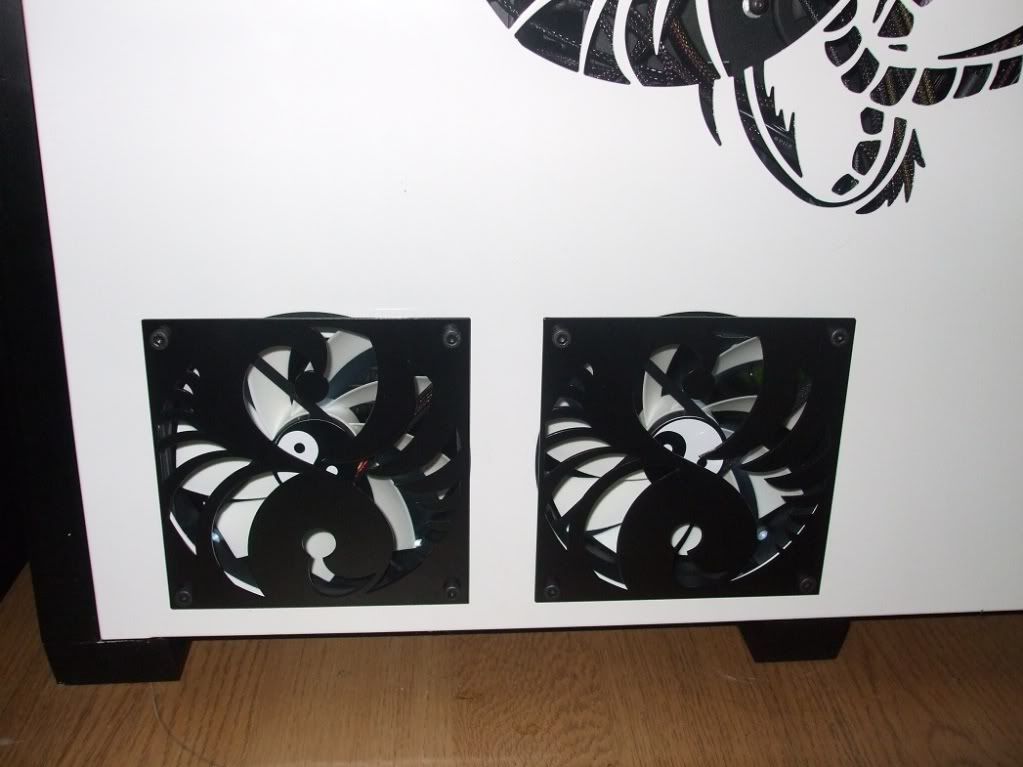
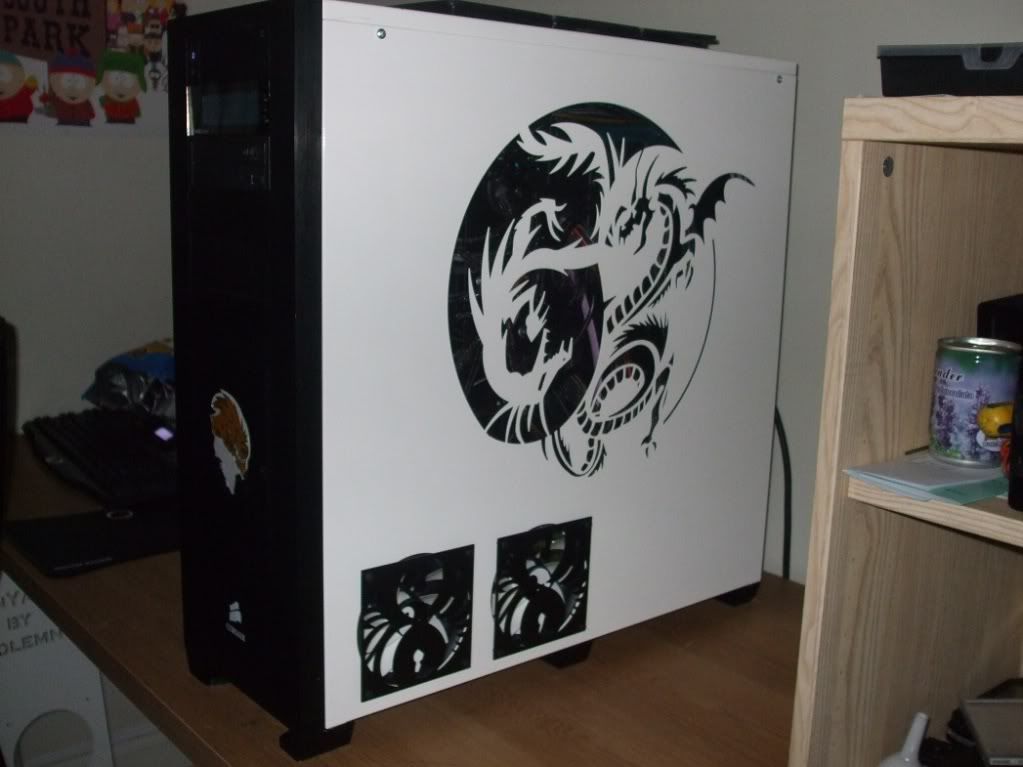
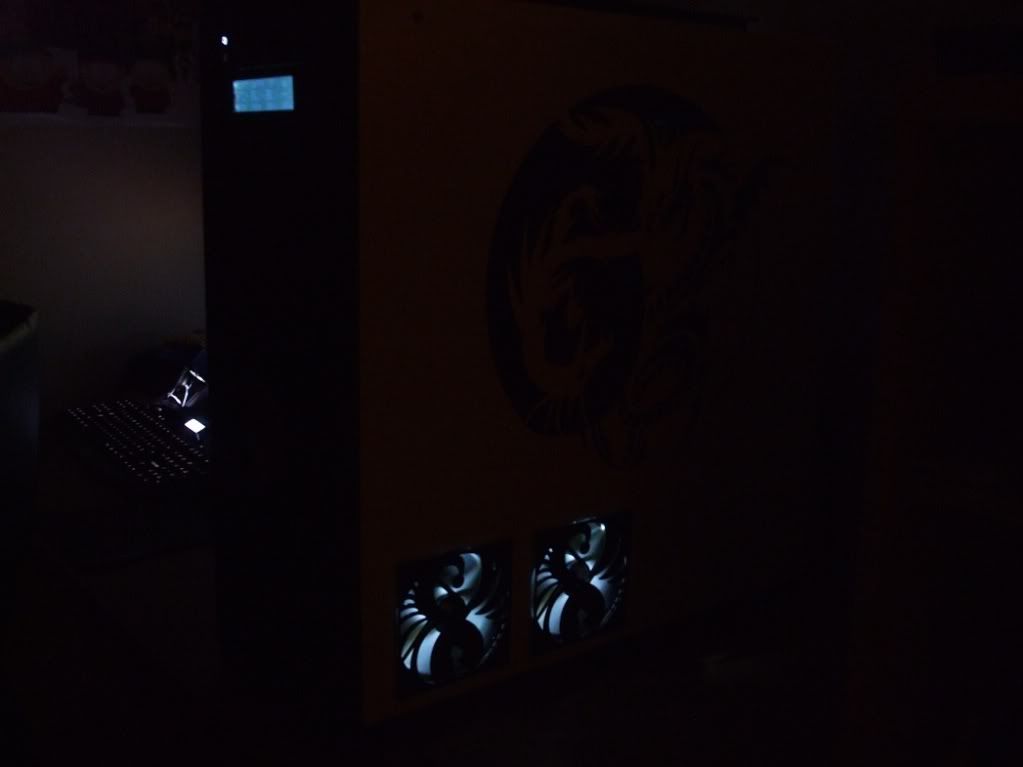
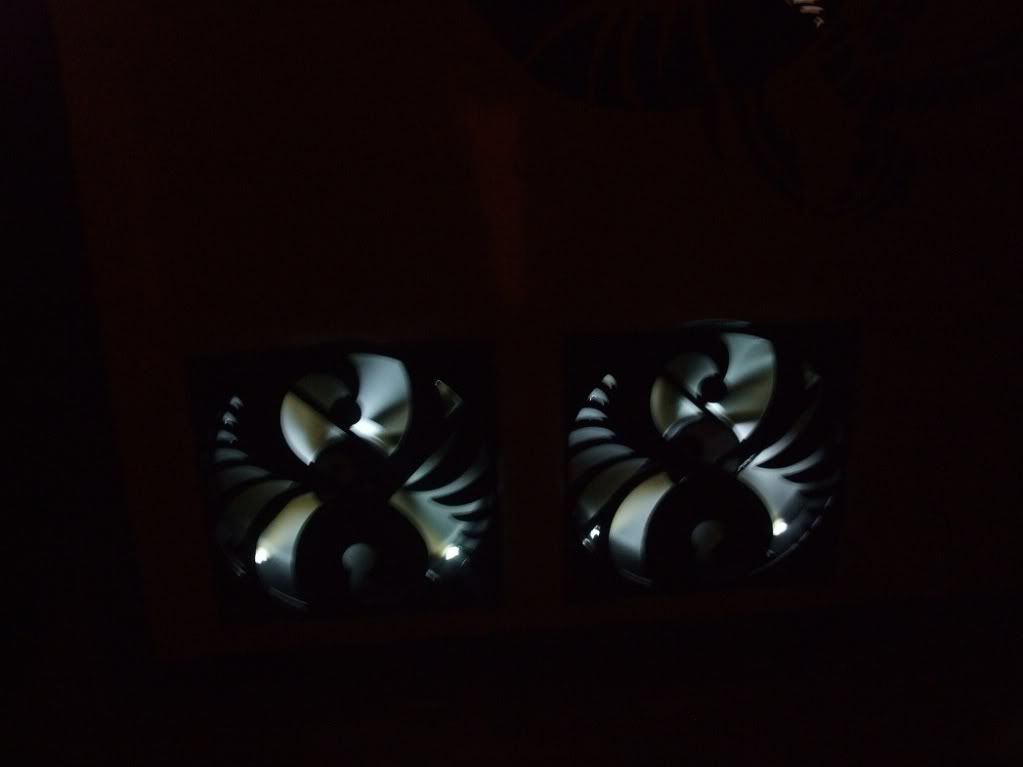
At the moment, I have have just shipped my case off to the metal worker (dont have any facilities here to do it myself). He will be cutting 4 fan blow holes into the case. 3 x 120mm blow holes at the bottom as done with cool beeze project, and then one 140mm hole for the hdd fan on the windowed panel. All these will then have the YinYang fan grills on the outside of the panels.
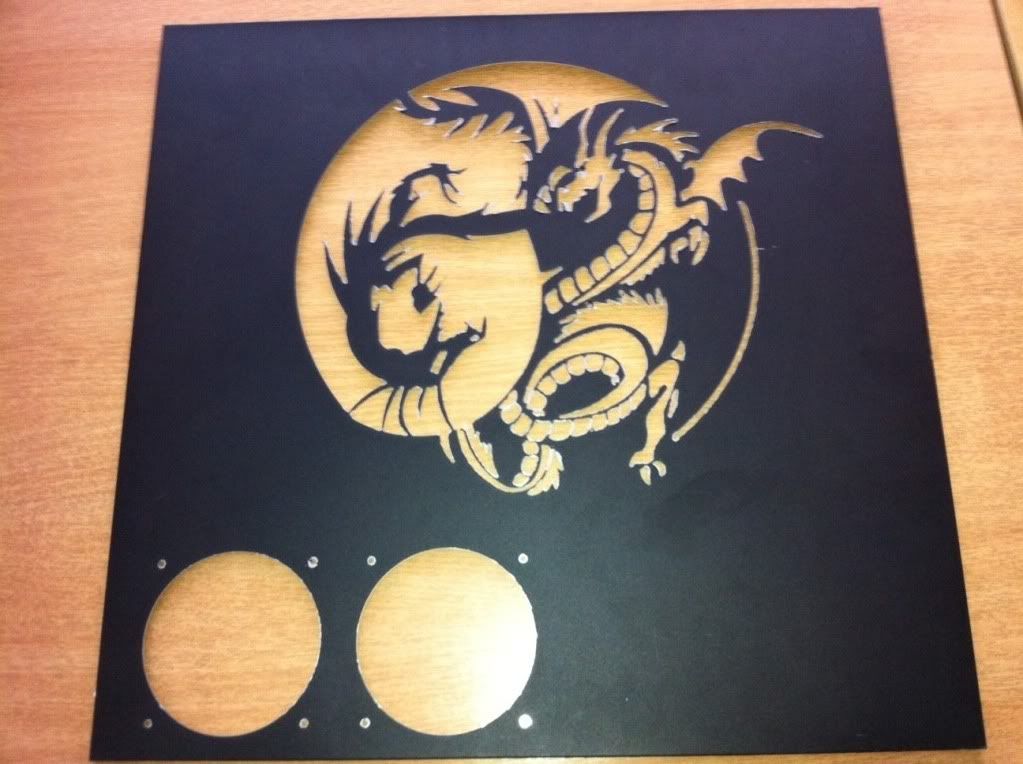
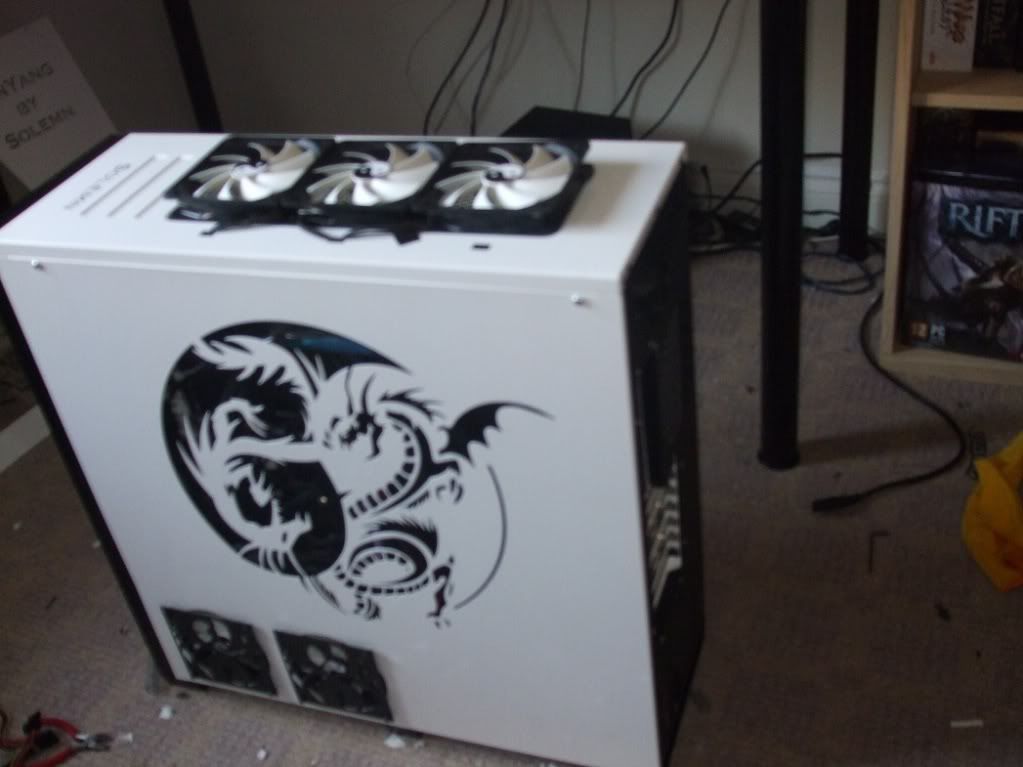
I am also having a cutom YinYang/Dragon design in the centre of the solid panel being cut (plan to have forsted white perpexs attached to the back of the design, or you will just see messy cables :/
Getting some text cut here and there as well with the same forsted perspex backing it.
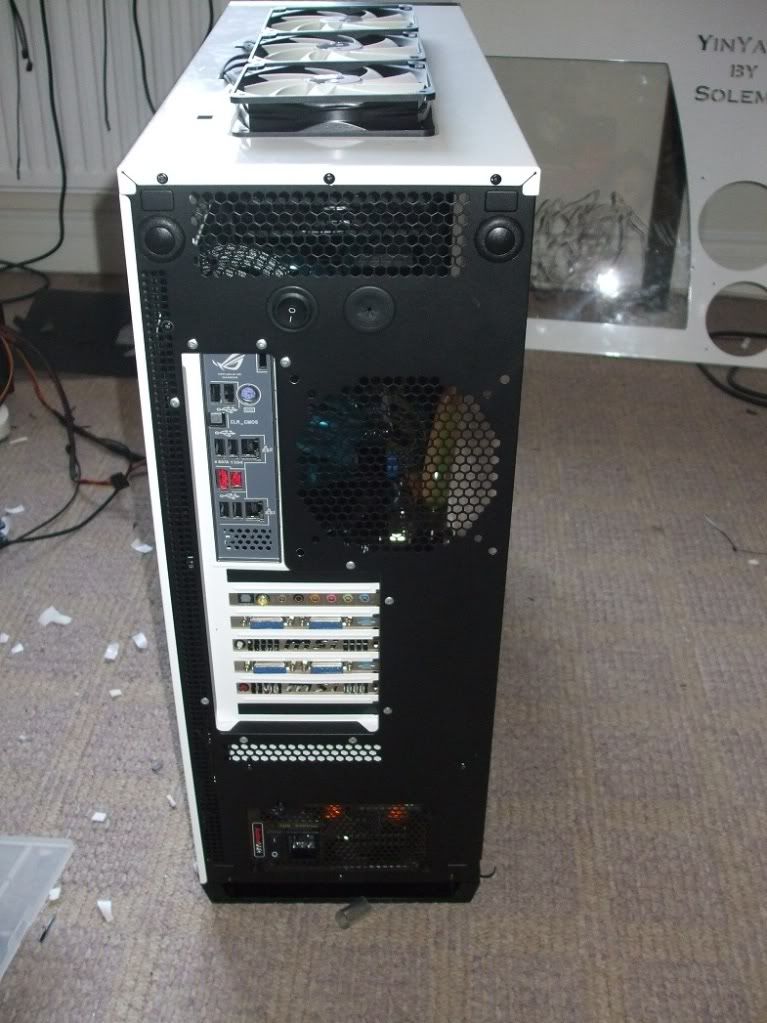
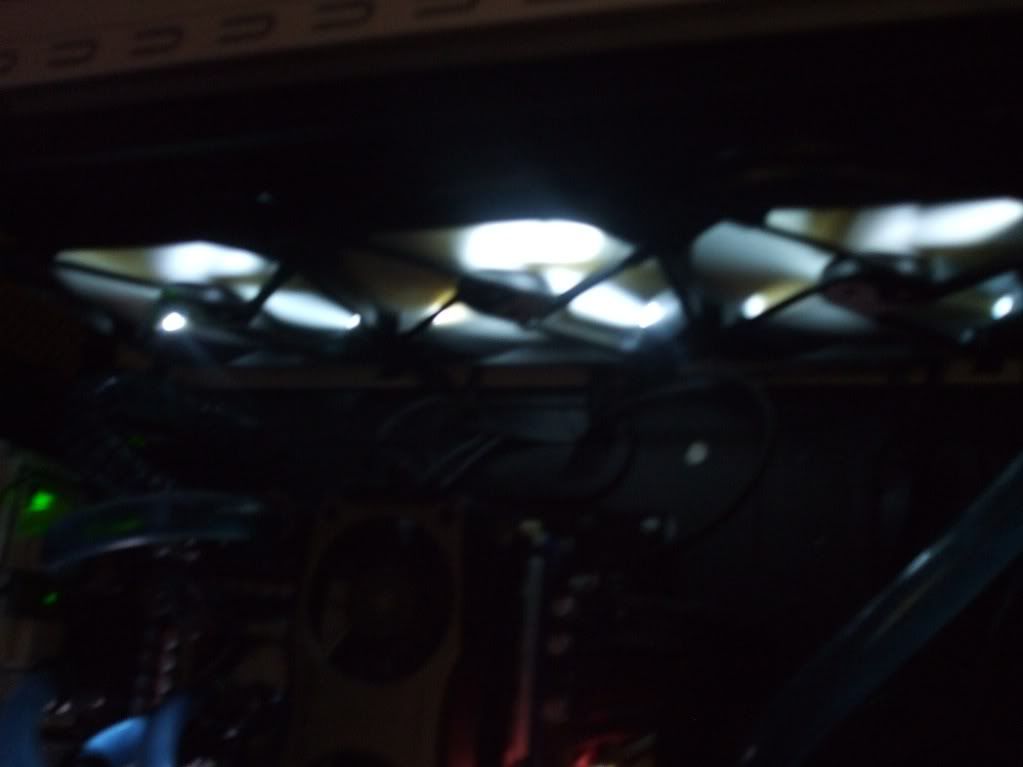
Because I plan to use push pull on the top rad, three of my 120mm fans will be on the top of the case, So I am also getting a custom (similar to Koolance's one) 320m shroud which will hide the fans, this will have the same grill design as all other fans grills on the top.
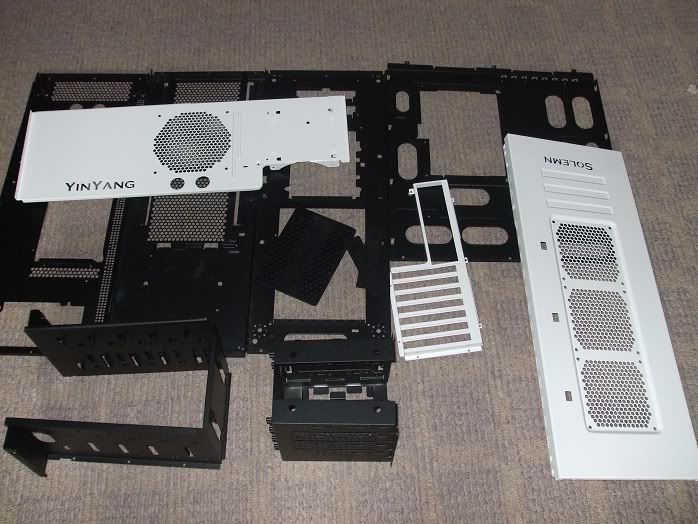
After all metal work is done, I will also having the case powder coated. Mobo and OI tray (including the PCI tray bit) will be white, the rest of the case black and the side panels.. well either black or maybe a additional third colour, Thoughts?
Thats pretty much it for the case.
Braiding
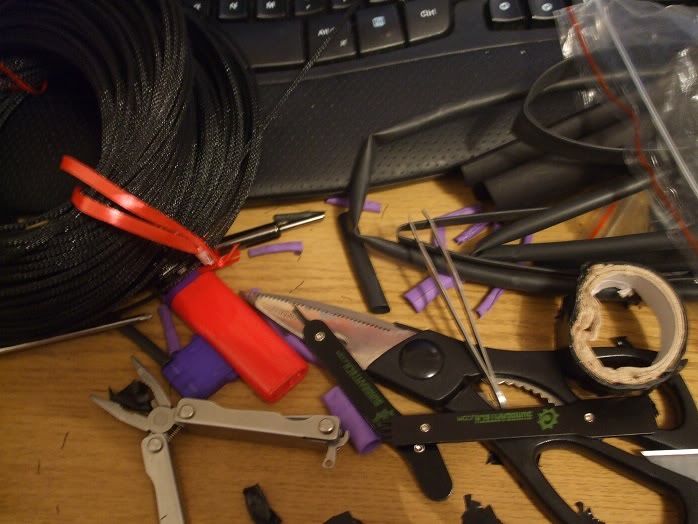
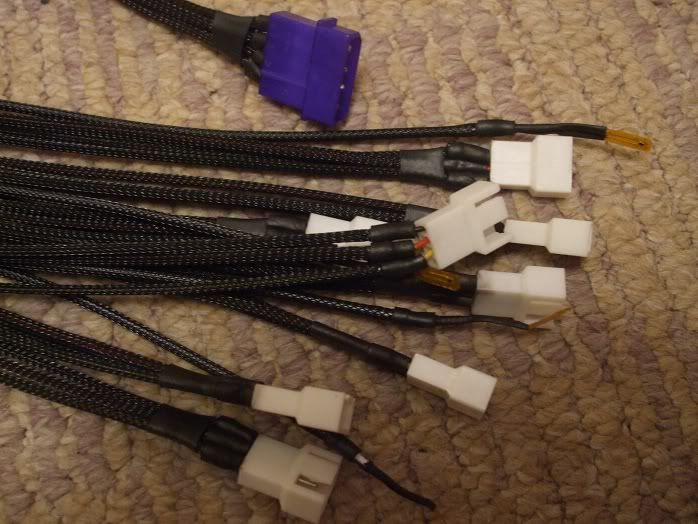
I intend to use single cable braiding for either, I have 100 meters of 3.2mm black braiding, but am also (possibly) getting some white as well... (this is purely based on money =P) I will be using black adhesive 3mm heatshrink.
Any advice or tips would be great! =)
Lighting
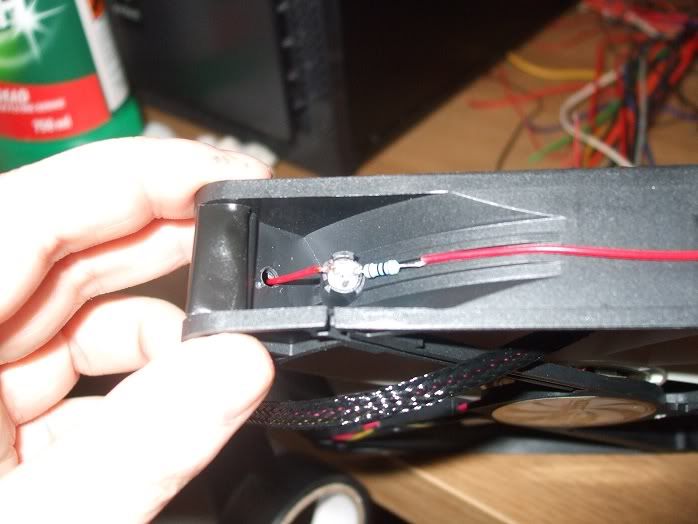
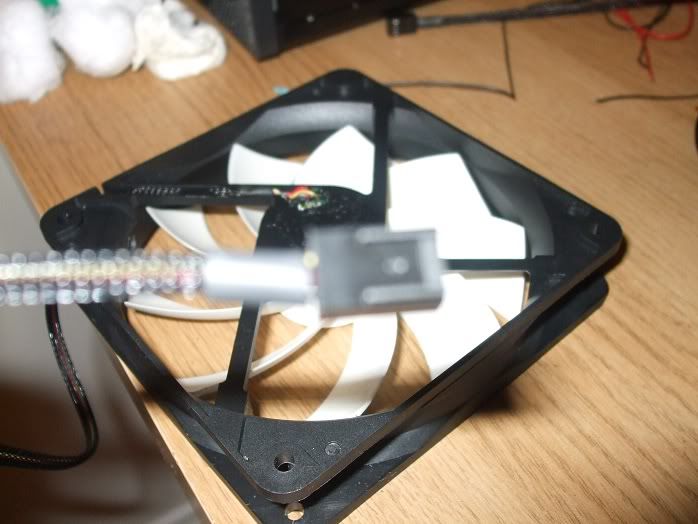
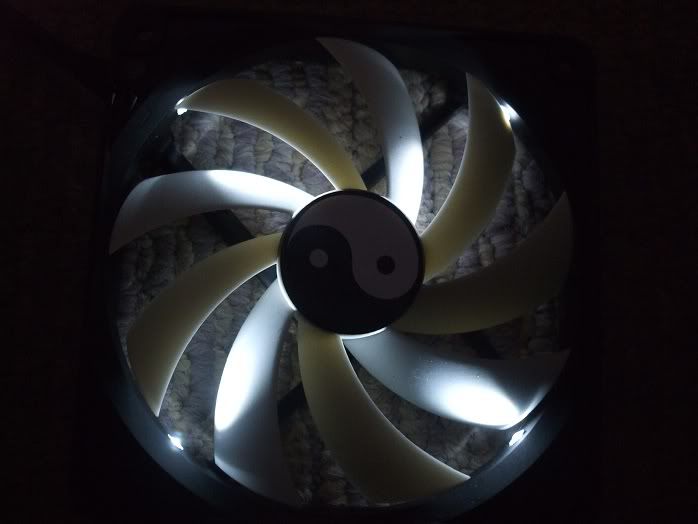
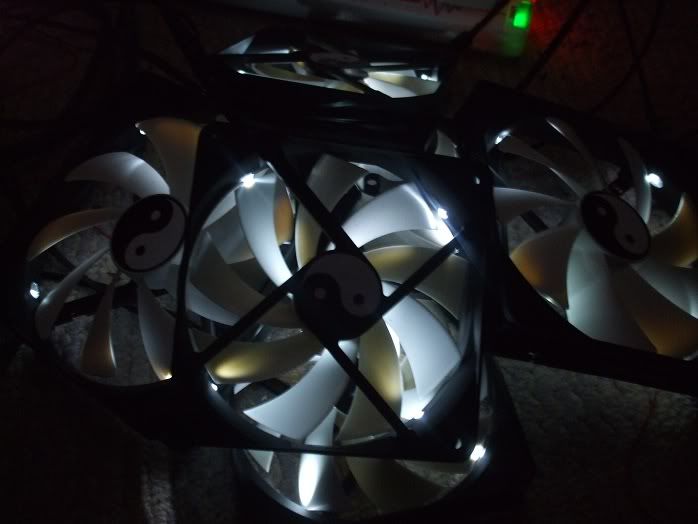
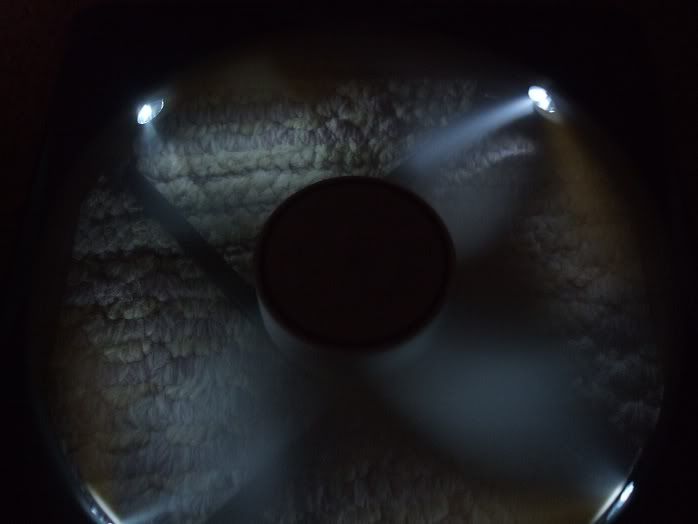
For lighting I have the 20 LED station, I intent to connect four leds seriel to each port, (probably not wise but they light up so it works ) I am going to have four LEDS on each fan, as well as placed else where within the case. They will be controled via a switch so lighting wont have to be on all the time =) Not sure where the switch will be....
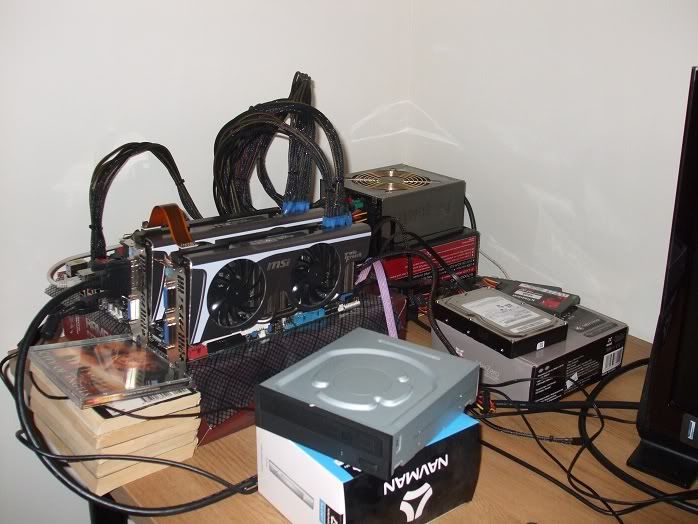
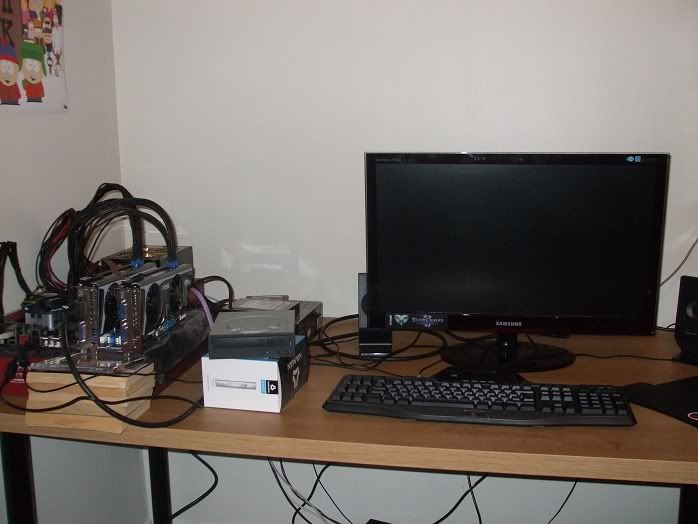
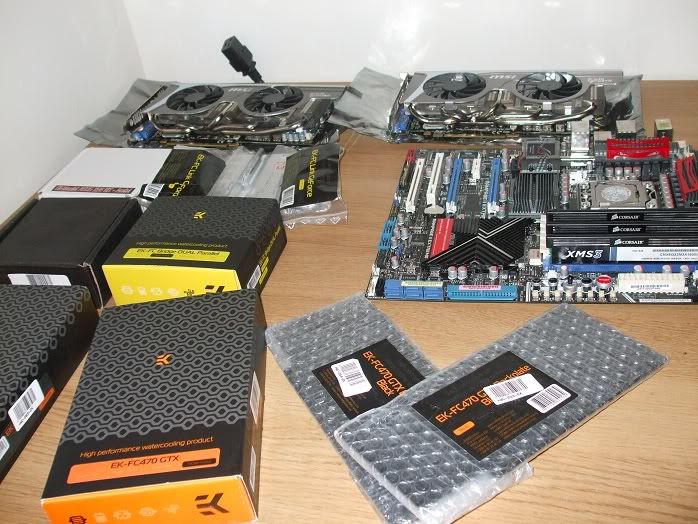
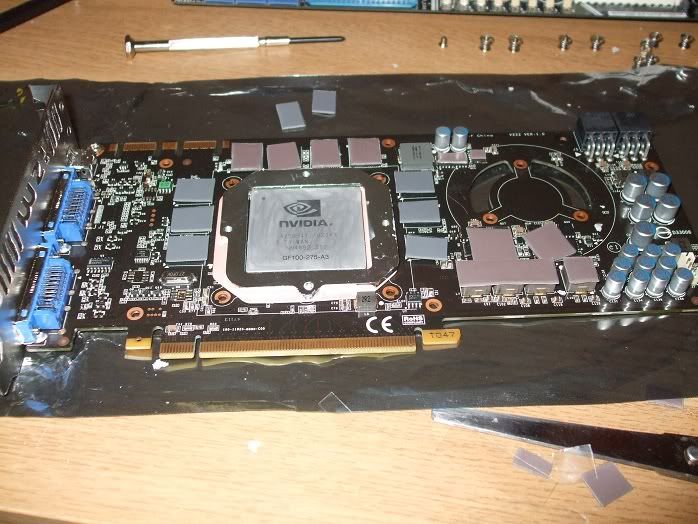
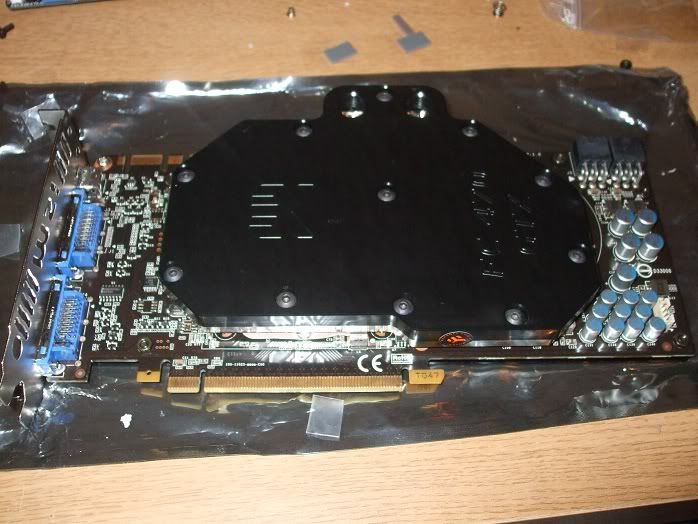
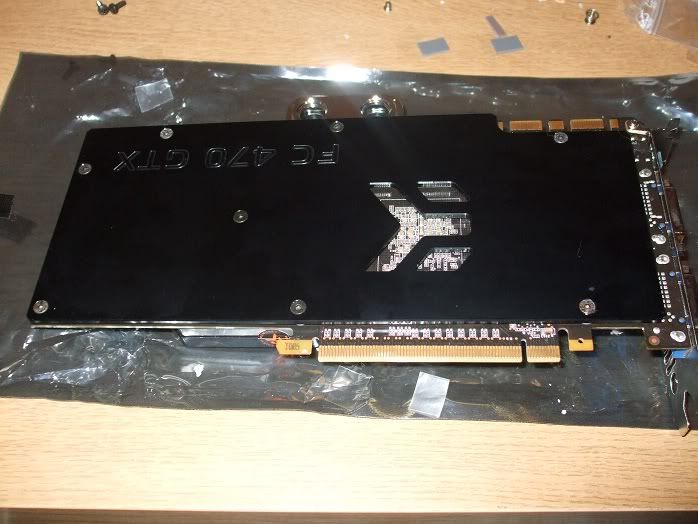
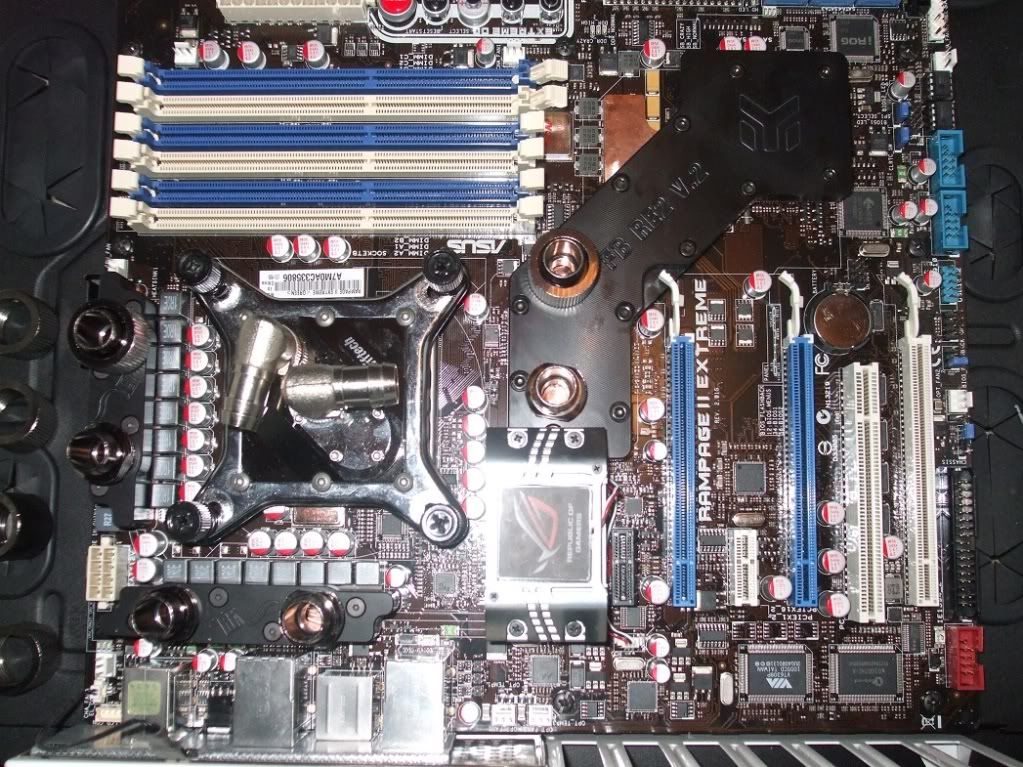
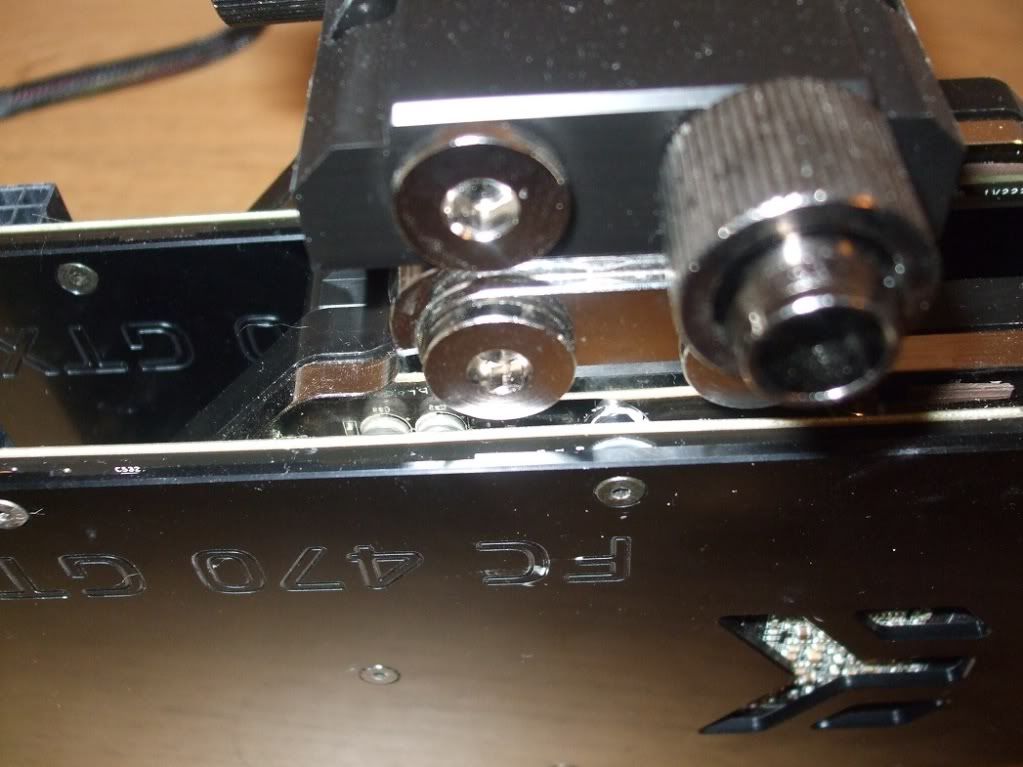
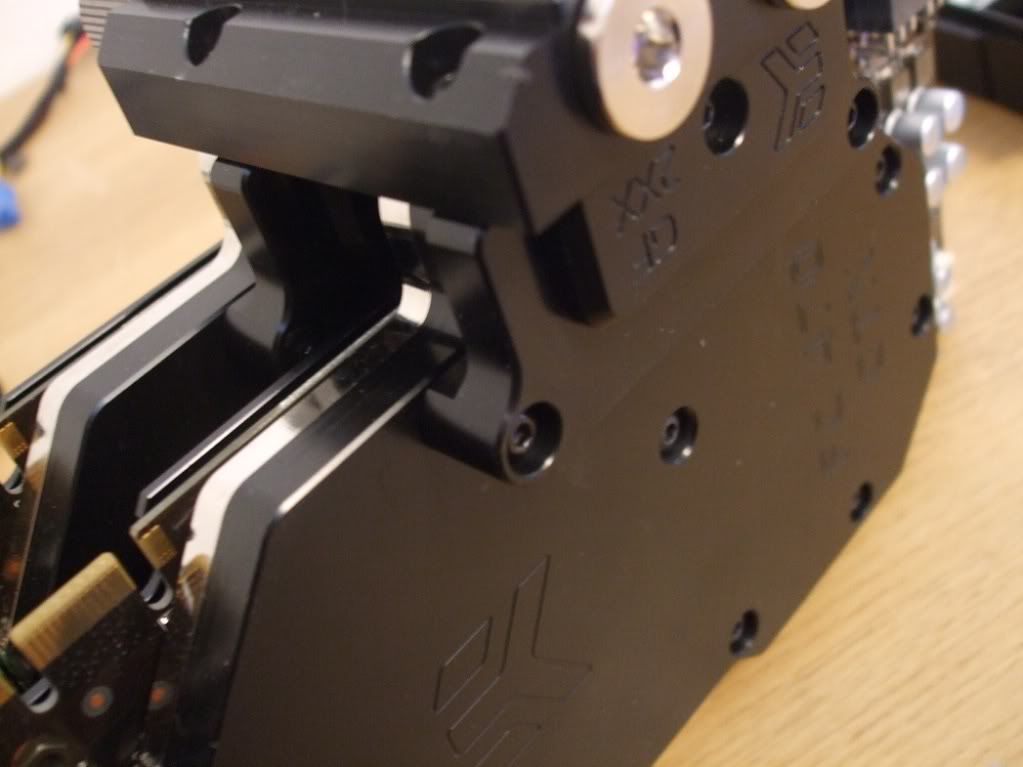
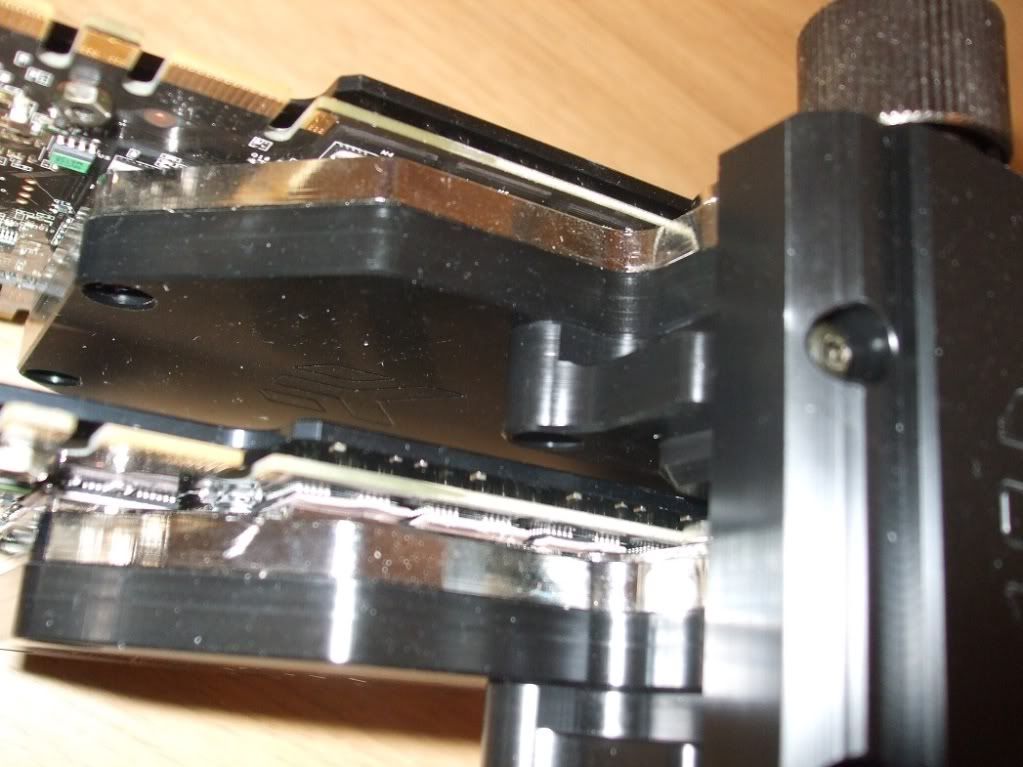
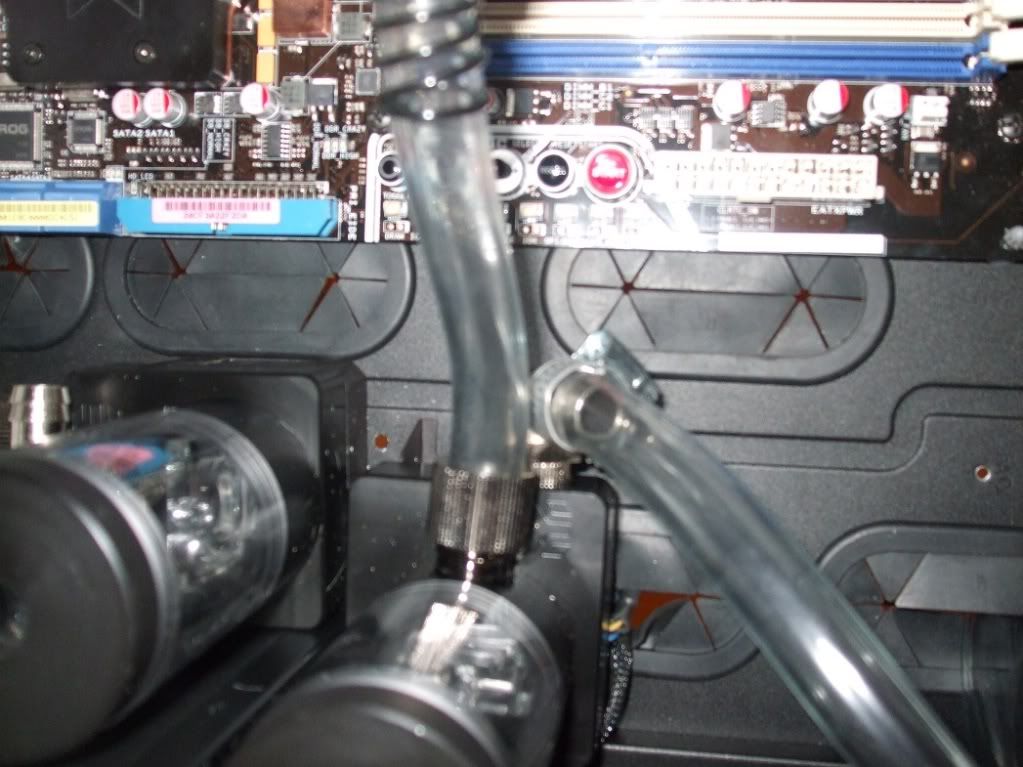
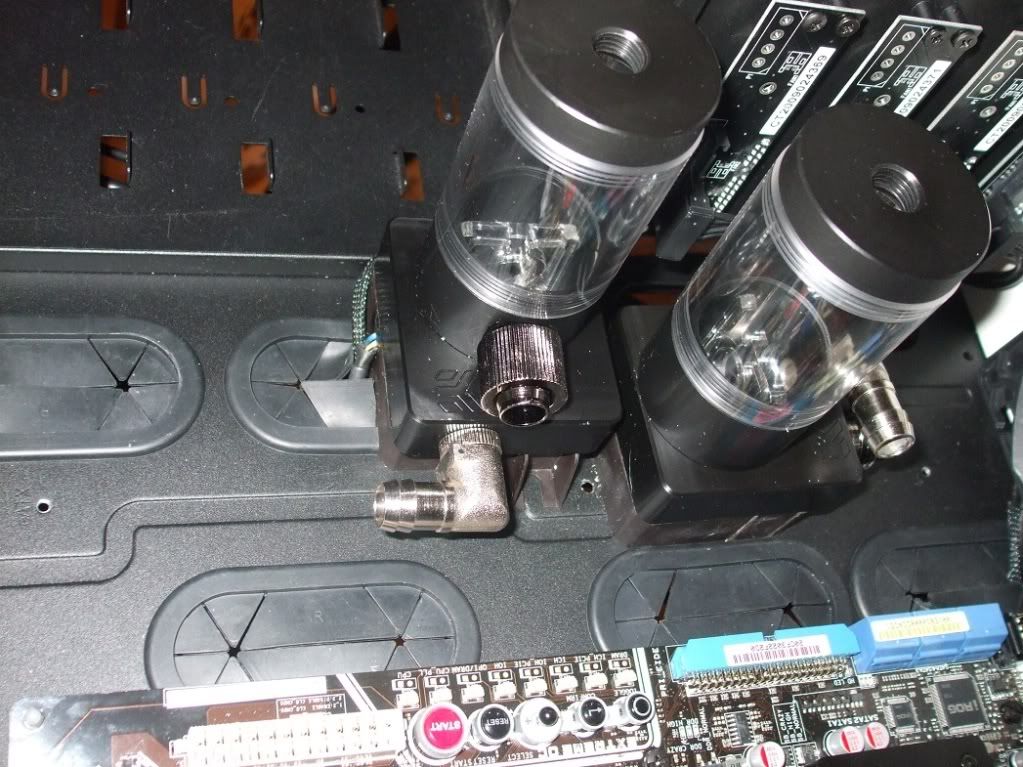
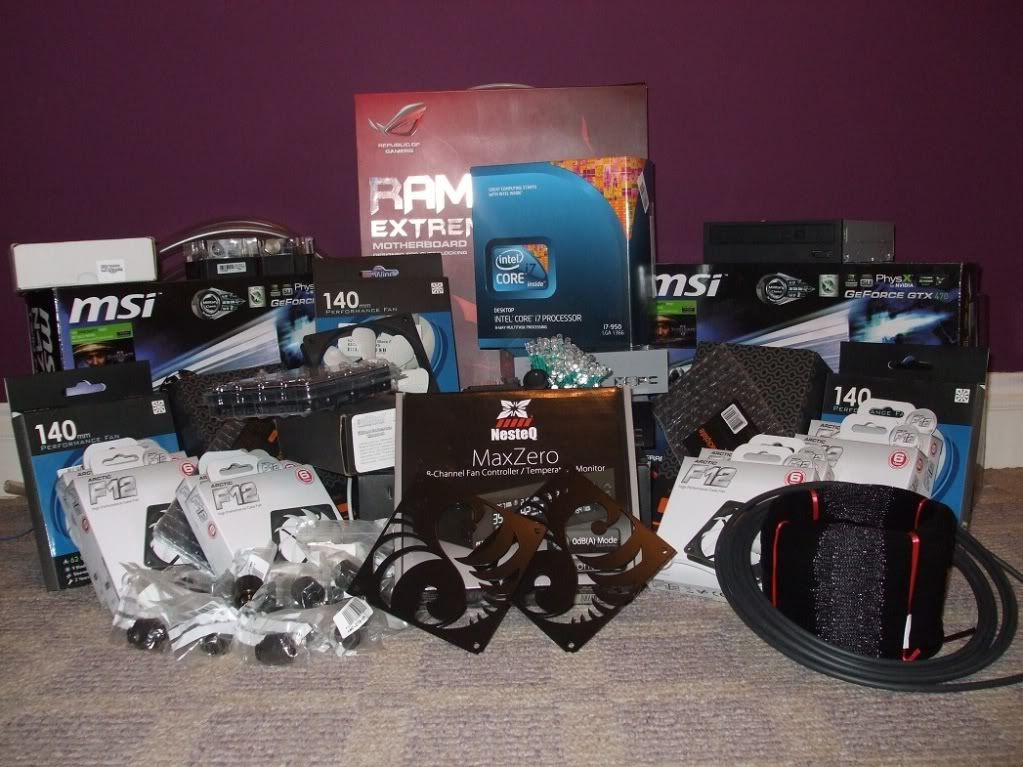
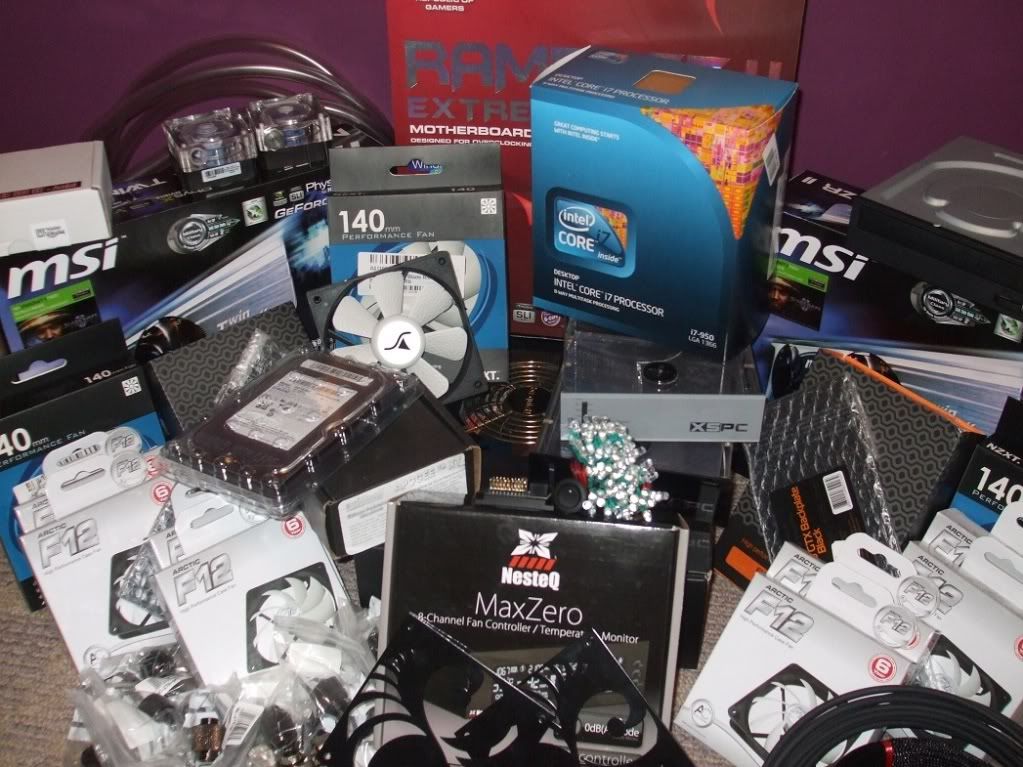
Ok So, I have some pictures for you guys, of most the components less the case rads and mobo block (radiators are being powder coated white, and the case is being lazer cut, and i haven't bought the mobo block yet =P)
Hmmm So that is it for now, Will update with Pictures etc when I get the chance =)
Background
I first looked into water cooling about 8 months back and spent a small fortune on a SilverStone Raven V02 + 320 Black ice stleath build. My log can be seen HERE
Then decided to go dual loop and the Raven was really starting to look small, I then found the Cool Breeze project and had been inspired to create something similar.
As I have been working on a bit of a budget so saved some cash where I could
List of Components I ahve so far.
Components
Mobo:...........................Asus Rampage ii Extreme
CPU:.............................i7 950
RAM:.............................Corsair 1600 6g
PSU:.............................BeQuiet 1200w PSU
GFX:.............................MSI GTX470 Twin Frozr II x 2 SLI
Fan Controller:................NesteQ NES-MAXZERO MaxZero Fan Controller
Optical:.........................DVD-R\RW Sata black
HDD:.............................Kingston 64GB SSD V100
HDD:.............................Samsung SpinPoint F3 1TB SataII
Case:............................Corsair Obsidian 800D
WaterCooling
--Radiators--
.........360 GT Black Ice Stealth
.........240 EK XT
--Pumps--
.........Swifttech MCP350
.........Swifttech MCP355
--Reservoirs--
.........XSPC Single bay res Black
.........XSPC Single bay res Silver
--Water Blocks--
CPU:..................Swiftech Apogee XT Extreme
GFX:..................2 x EK 470GTX Nickel Acetal
GFX:..................2 x EK 470 Backplate
MOBO:...............EK Mosfet Asus X58 Kit - 2 Pack
MOBO:...............EK-FB Rampage II Copper Acetal
--Pipe/Fittings/Links--
.........OCUK Nickel 1/2 Compression fittings x24
.........XSPC 7/16 Clear Tubing x 4meters
.........EK-FC Dual Sli Bridge
.........EK FC Link GeForce
--Fans--
.........F12 Atric 120mm fans (white) x 8
.........Sharkoon Silent Eagle 120mm (1)
.........NZXT 140mm Rifle Bearing Fan x 3
Extras
--Lighting--
.........80xWhite LEDS prewired
.........20x2pin LED headers
.........mod/smart LED Station 20 Black PCB
--Braiding--
.........Black 3.2mm braid 200 meters
.........3mm black adhesive heatshrink 5 metres
--Custom--
.........120mm YinYang Fan Covers x 3
.........140mm YinYang Fan Cover(1)
.........Top Custom 320mm (3x120mm fan) Shroud
--Other--
.........30 x YinYang fan stickers
.........Arctic Cooling MX-4 4g
I am still missing the chipset block for my Rampage, possible white braiding and a conector for my SLI cards as well as some 45/90 degree compressions.
I am also considering another fan controler (as i have 12 fans and my controller only supports 8) and possibly black and white tubbing instead of clear, what do you think? (personally i think coloured tubbing looks cheap but I will just be running clear water (dont wanna mess up my blocks!).
So the Plan is to have two loops. One for the Mobo and blocks with the 360 rad mounted at the top of the case, and the other for the two GPUS and to have the rad mounted length ways at the bottom of the case (see cool beeze for more details).
Case Mods
At the moment, I have have just shipped my case off to the metal worker (dont have any facilities here to do it myself). He will be cutting 4 fan blow holes into the case. 3 x 120mm blow holes at the bottom as done with cool beeze project, and then one 140mm hole for the hdd fan on the windowed panel. All these will then have the YinYang fan grills on the outside of the panels.
I am also having a cutom YinYang/Dragon design in the centre of the solid panel being cut (plan to have forsted white perpexs attached to the back of the design, or you will just see messy cables :/
Getting some text cut here and there as well with the same forsted perspex backing it.
Because I plan to use push pull on the top rad, three of my 120mm fans will be on the top of the case, So I am also getting a custom (similar to Koolance's one) 320m shroud which will hide the fans, this will have the same grill design as all other fans grills on the top.
After all metal work is done, I will also having the case powder coated. Mobo and OI tray (including the PCI tray bit) will be white, the rest of the case black and the side panels.. well either black or maybe a additional third colour, Thoughts?
Thats pretty much it for the case.
Braiding
I intend to use single cable braiding for either, I have 100 meters of 3.2mm black braiding, but am also (possibly) getting some white as well... (this is purely based on money =P) I will be using black adhesive 3mm heatshrink.
Any advice or tips would be great! =)
Lighting
For lighting I have the 20 LED station, I intent to connect four leds seriel to each port, (probably not wise but they light up so it works
 ) I am going to have four LEDS on each fan, as well as placed else where within the case. They will be controled via a switch so lighting wont have to be on all the time =) Not sure where the switch will be....
Ok So, I have some pictures for you guys, of most the components less the case rads and mobo block (radiators are being powder coated white, and the case is being lazer cut, and i haven't bought the mobo block yet =P)


Hmmm So that is it for now, Will update with Pictures etc when I get the chance =)
Last edited:


