See HERE for my newest build log
♠.SCARLET SPADE.♠

-------------------------------------------------
Progress so far...(31/05/11)
-------------------------------------------------
-------------------------------------------------
Components
-------------------------------------------------
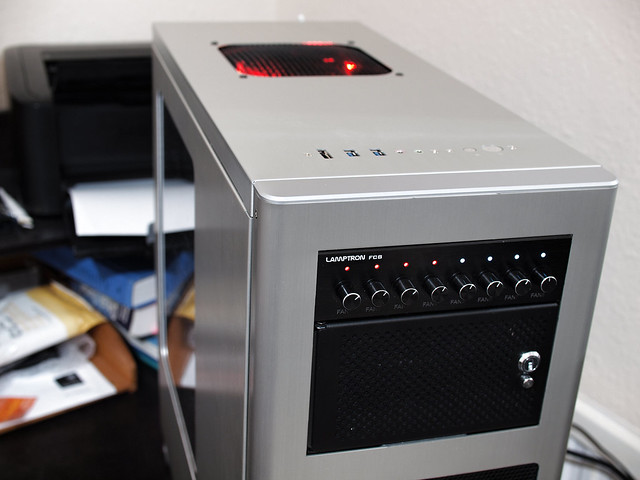
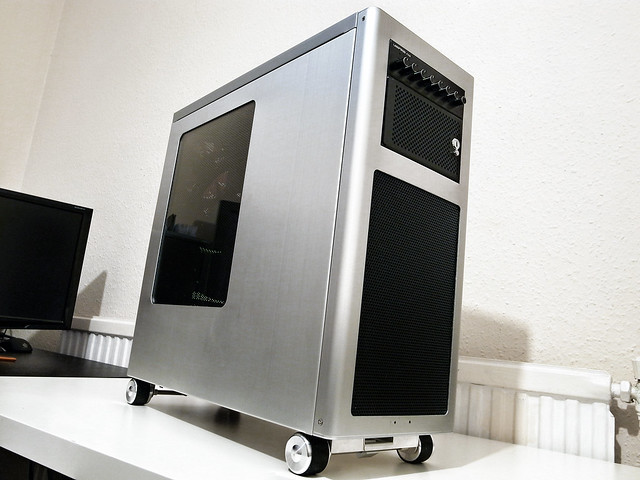
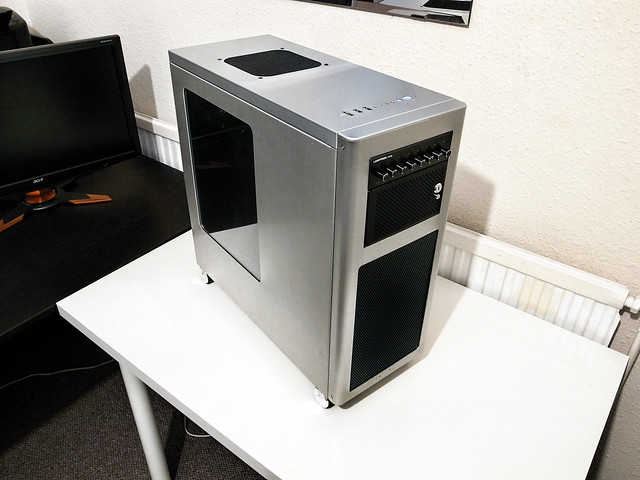
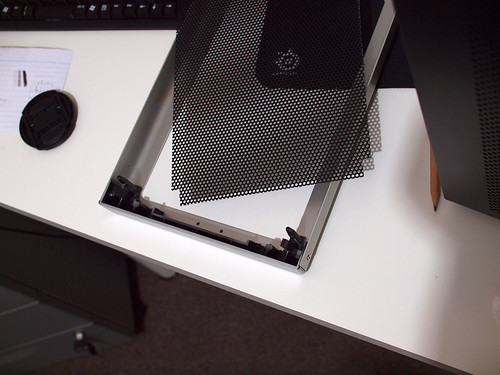
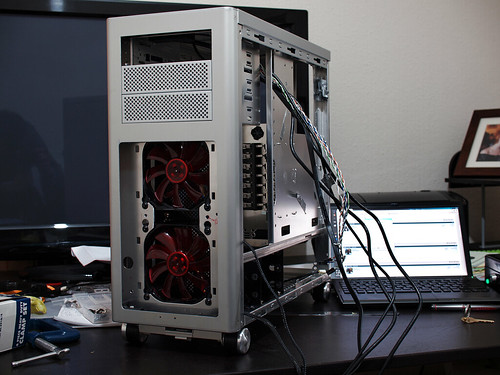
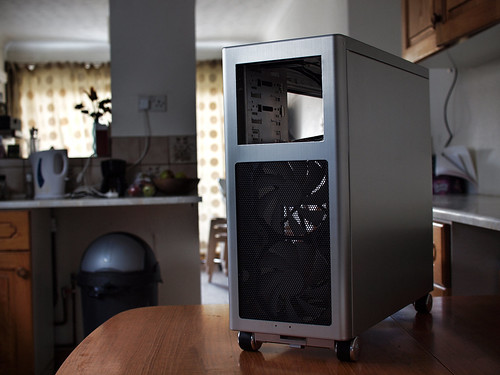
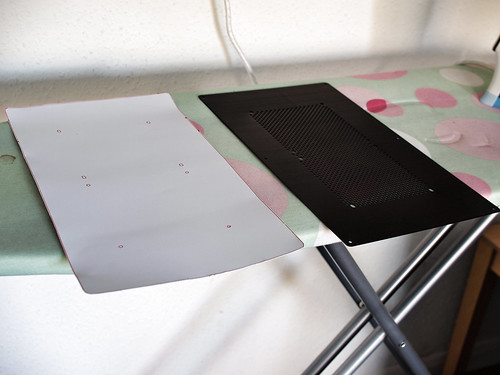
Modded Lian Li PC-8FIA (exterior anodized silver)
ASUS Rampage III Extreme
i7-930 processor
CFX ASUS RoG Matrix 5870 2GB
ASUS Essence STX
3 x 2GB Geil Black Dragon (red led)
Vertex 2 40GB boot drive
Corsair HX850W
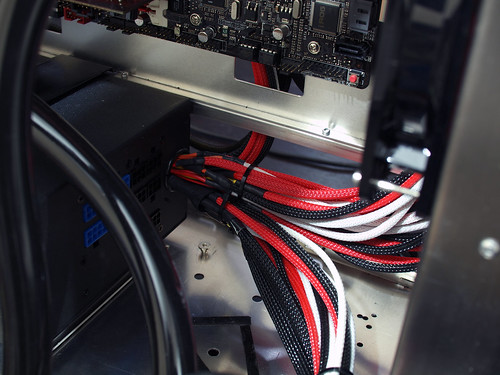
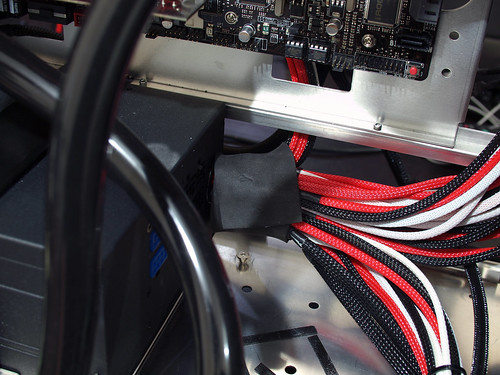
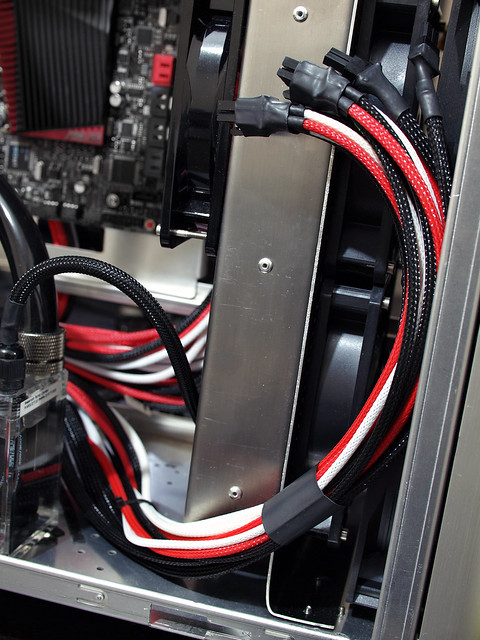
MDPC braiding
-------------------------------------------------
Background
-------------------------------------------------
Hey guys") .
.
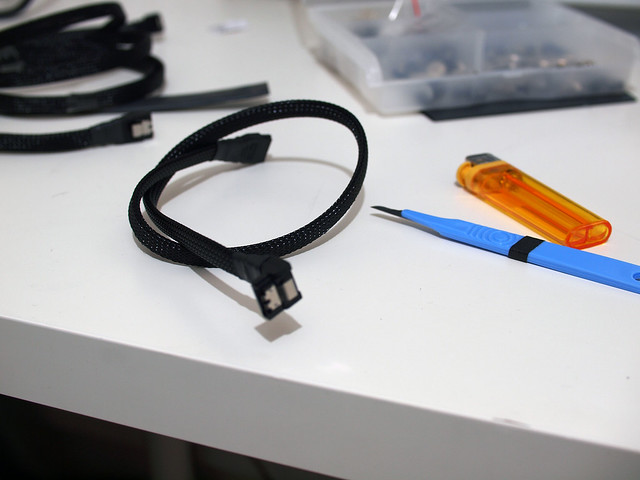
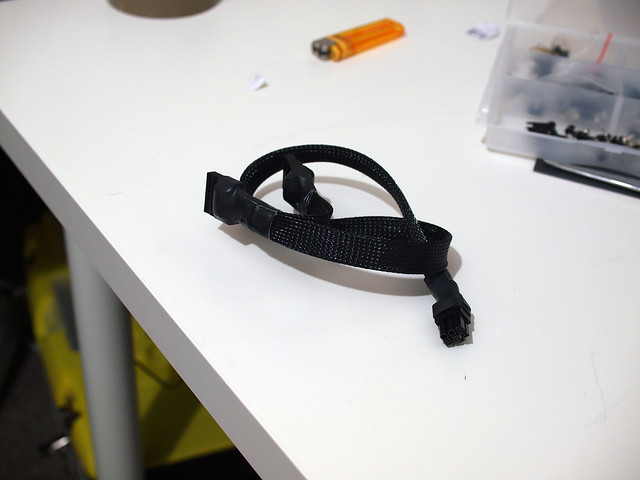
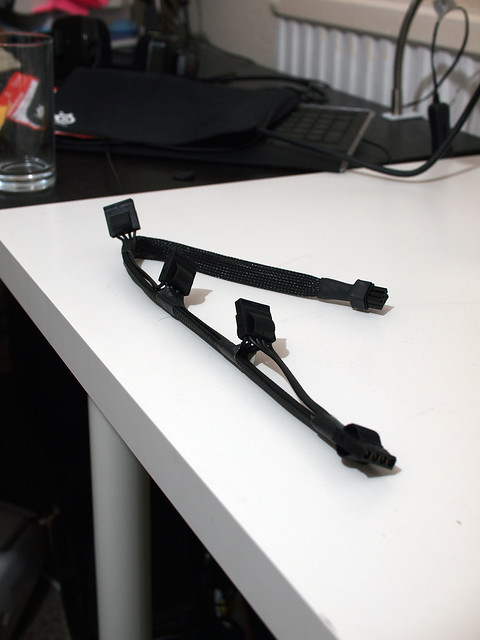
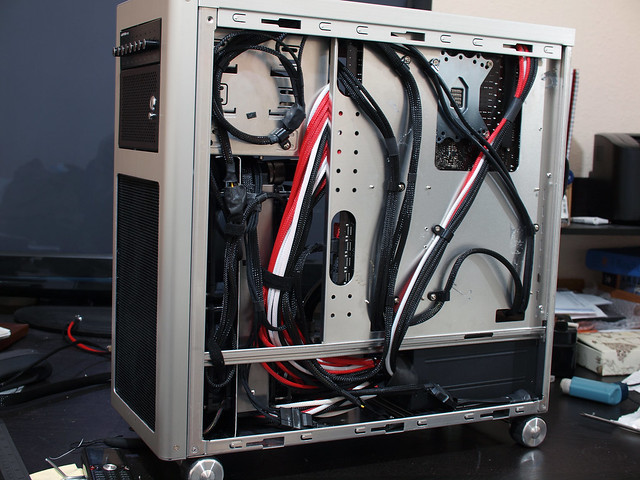
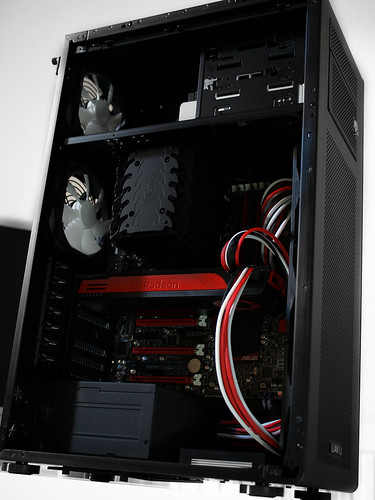
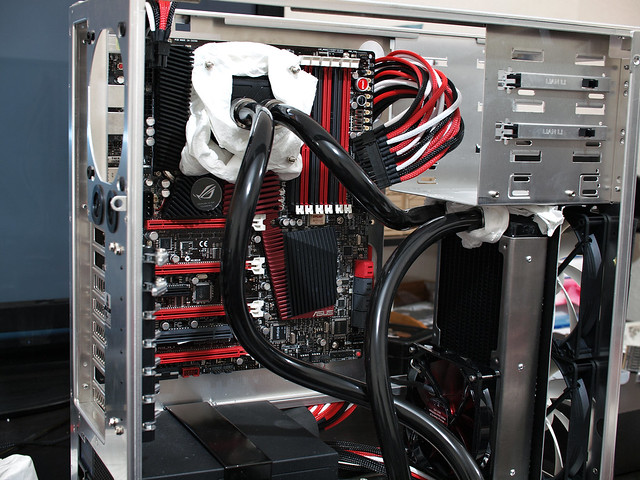
This was my last build, 'Red Spade'. Spade as in the playing card symbol, and as my handle on other forums and sites is 'mrjackspade'. As an attempt at a 'beautiful build', this was very much a starting point, through which I learnt how to braid properly. Also the first time I'd coordinated a proper colour scheme in a PC build.
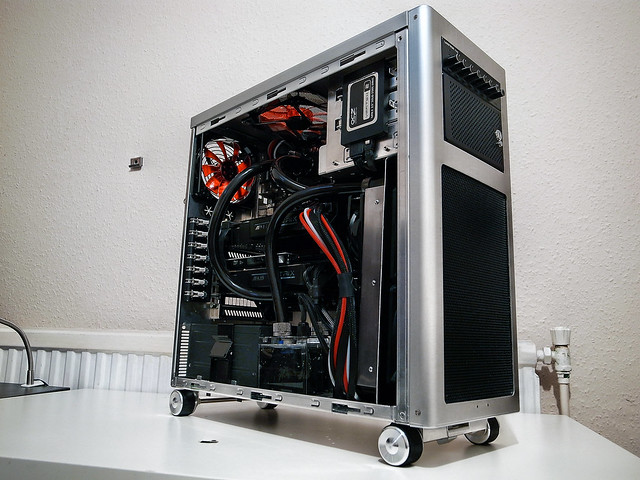
This time I wanted to try to do something similar with watercooling, using the same components in a new case that I'll mod for the purpose.
♠.SCARLET SPADE.♠
-------------------------------------------------
Progress so far...(31/05/11)
-------------------------------------------------
-------------------------------------------------
Components
-------------------------------------------------
Modded Lian Li PC-8FIA (exterior anodized silver)
ASUS Rampage III Extreme
i7-930 processor
CFX ASUS RoG Matrix 5870 2GB
ASUS Essence STX
3 x 2GB Geil Black Dragon (red led)
Vertex 2 40GB boot drive
Corsair HX850W
MDPC braiding
-------------------------------------------------
Background
-------------------------------------------------
Hey guys
.This was my last build, 'Red Spade'. Spade as in the playing card symbol, and as my handle on other forums and sites is 'mrjackspade'. As an attempt at a 'beautiful build', this was very much a starting point, through which I learnt how to braid properly. Also the first time I'd coordinated a proper colour scheme in a PC build
.This time I wanted to try to do something similar with watercooling, using the same components in a new case that I'll mod for the purpose.
Last edited:


 .
.") .
.
 .
.
 .
. 
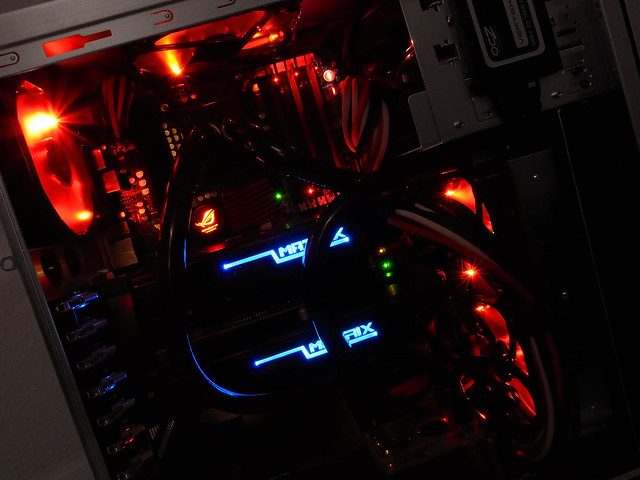
 . It was really easy to bleed this loop, all done in 30mins and left it running for 12 hours.