I have been slowly modding and changing my PC but the one thing that has largely stayed the same is my Prodigy case. I fell in love with m-itx form factor PC's 3 or 4 years ago and this was the case I needed to have when starting to get back into PC building.
I am now pretty much done with it as much as I can so though I'd through up a few pictures.
So my plan was to have as little cables visible inside the case as possible, and the cables that are on display to at least look nice. That is obviously a little tricky in a case like the Prodigy as there's no cable management at all and really nowhere to hide cables either.
This is what I started with:
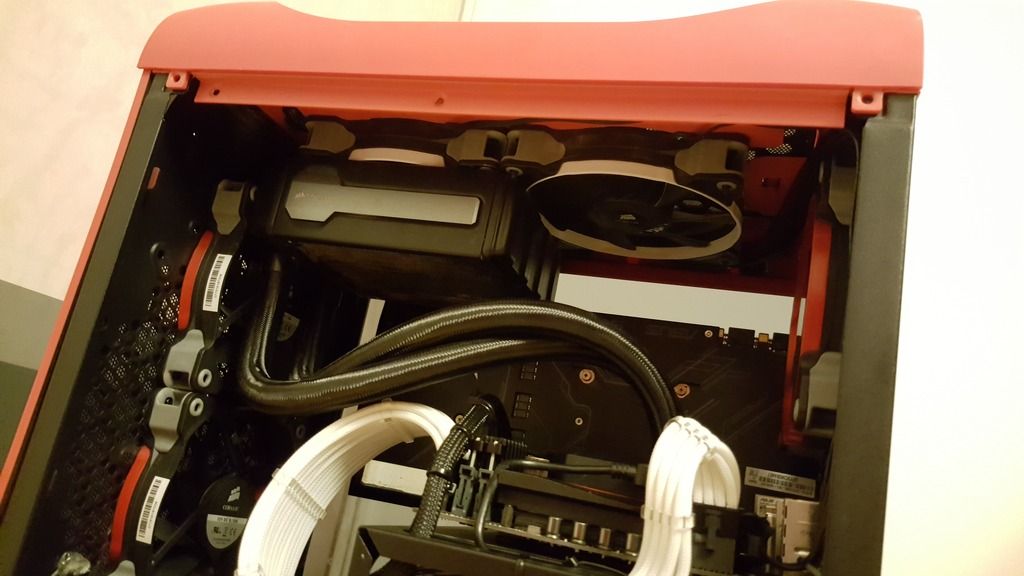
First thing's first - the panels need to come off. Here you can just about see some of the custom cables I made which include a braided 24 pin ATX, 8 pin CPU and custom Y-split 8/6 pin PCIe power cable:
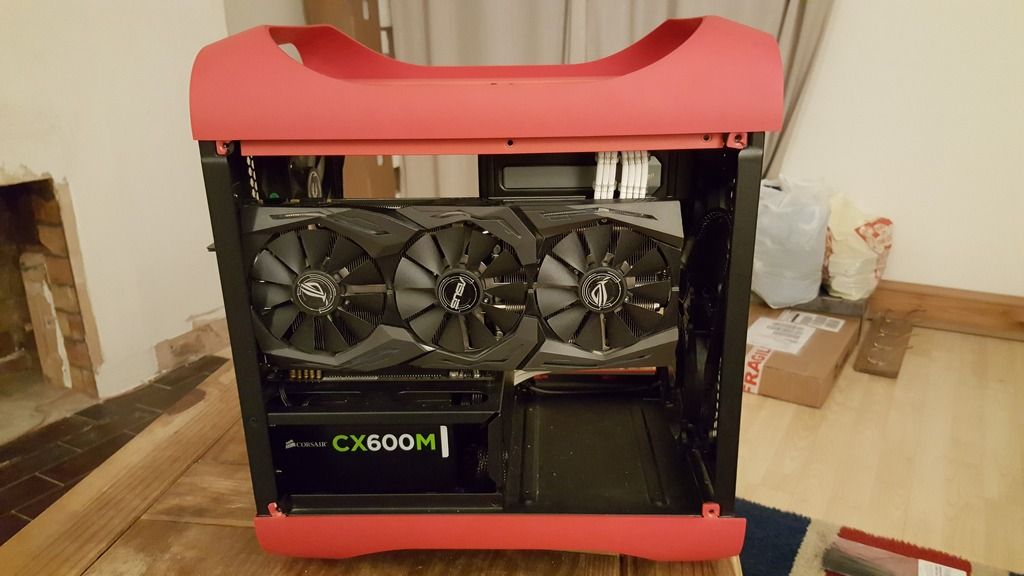
As the Prodigy has all of its "front" IO on the side, all this was removed. I may add it again at some point, but I have a Razer keyboard that has USB and audio pass-through on it so I tend to use that more anyway. Plus it removed yet more internal cabling which is nice! As for the power button, I just took a basic momentary switch, soldered a long enough cable to it and then hot glued that to the inside of the chassis. You might just be able to make it out here:
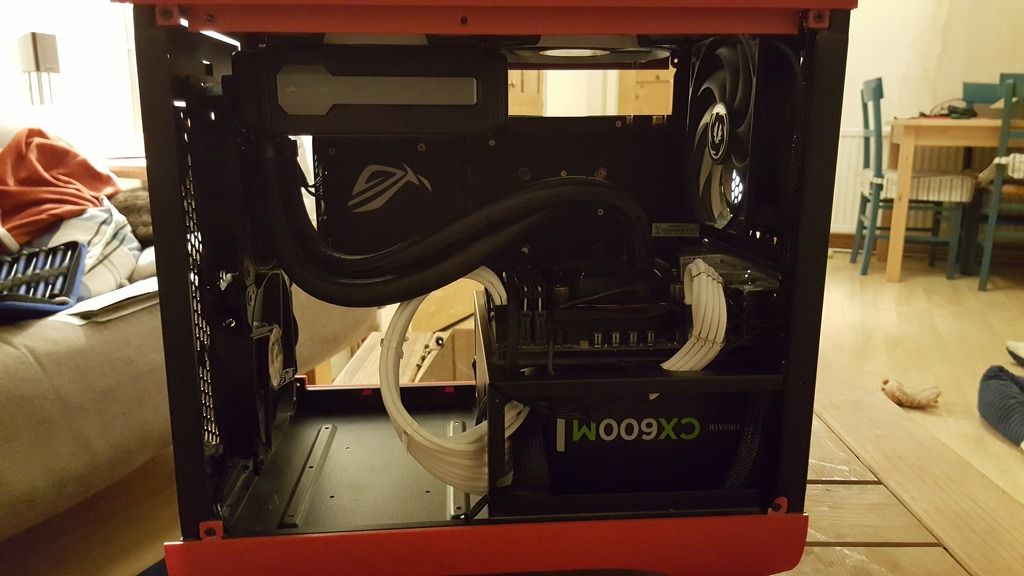
This is temporary as it means you have to unclip the front of the PC to get to the power button, but I generally leave my PC on sleep so it's not a big deal for now. That picture also gives a better view of some of the cabling. A lot of what is in there is custom to make it fit with my CX600M PSU. One of the things you can't see is the custom power cable I made so that I have both a SATA power supply and 4 pin molex. That was pretty easy once you check the pin-outs, so now I have power for both the internal USB 2 hub and for some lighting later on.
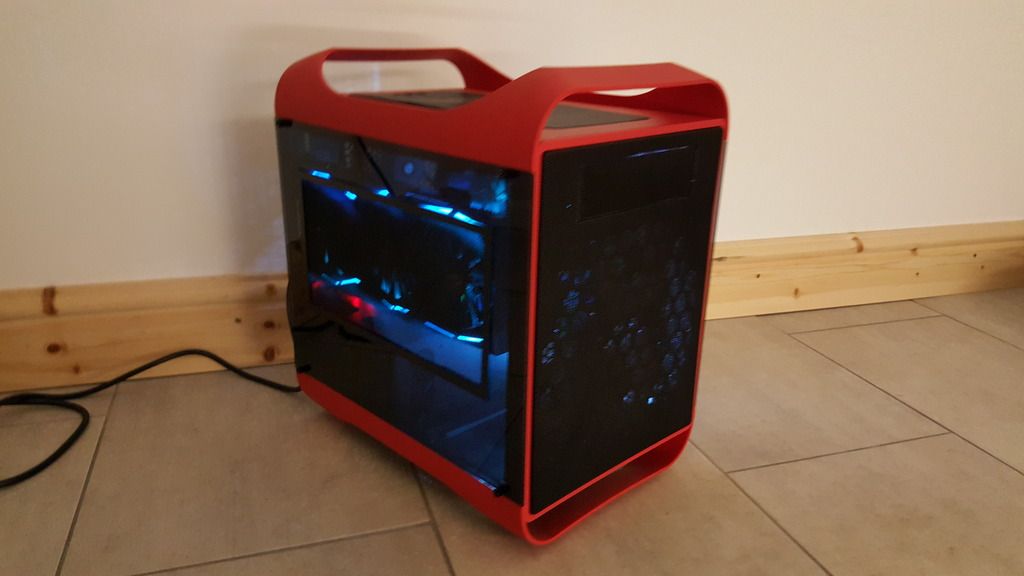
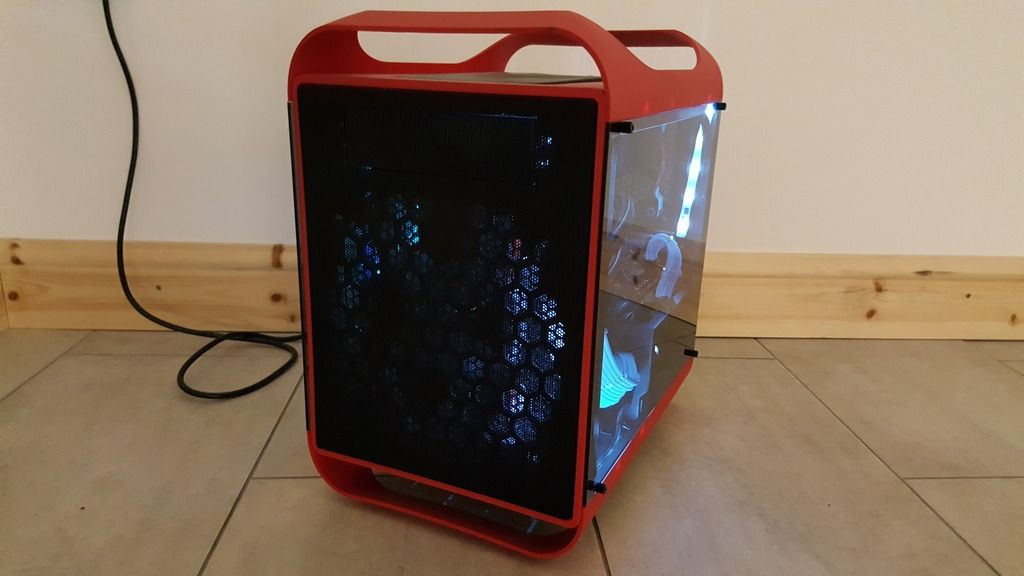
So with the cables tidied up, I got a couple of smoked side panels and replaced the solid red front panel with the red/black mesh front.
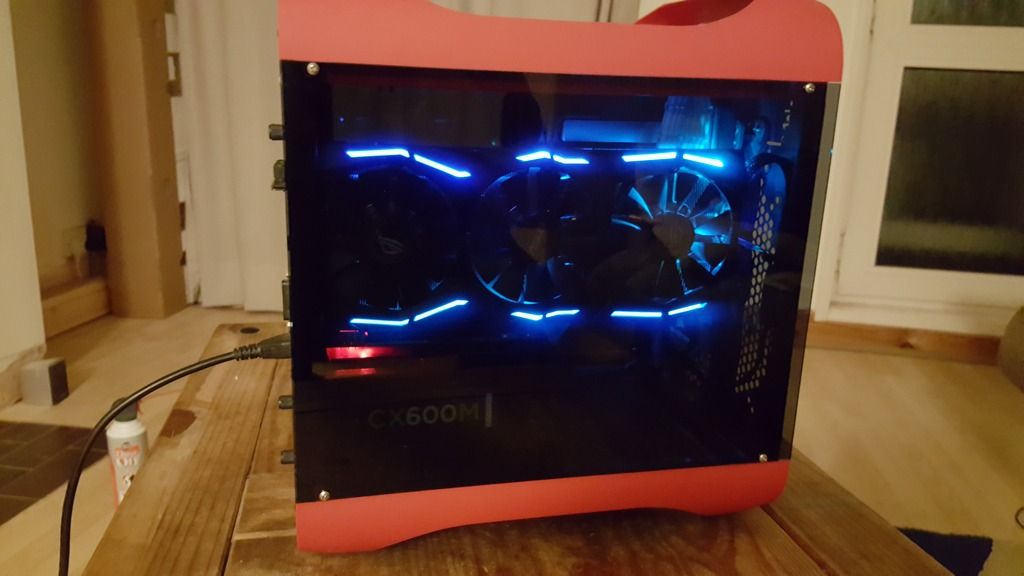
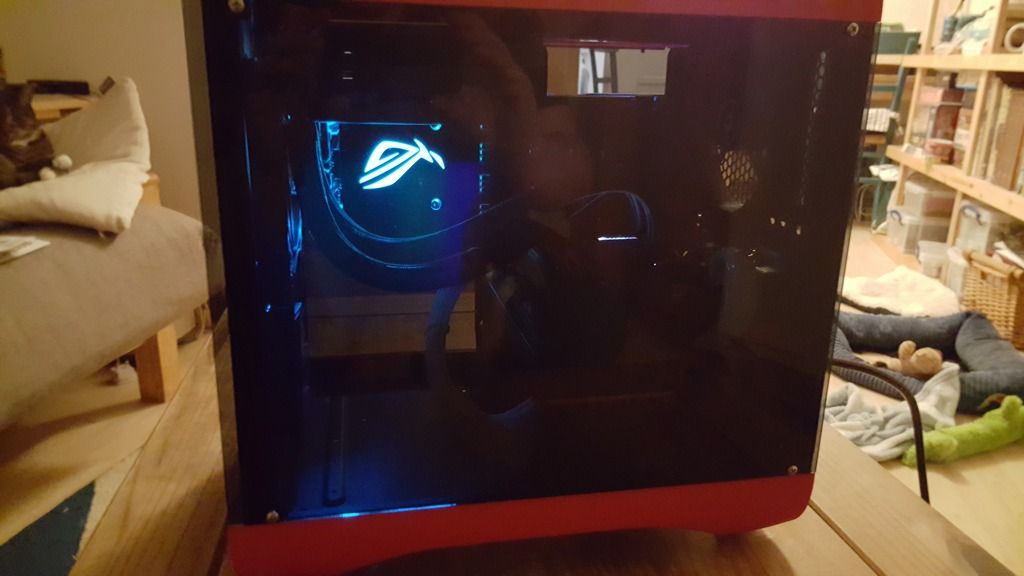
So, as awesome as the glow of the Strix was on the window, it presented a bit of a cooling issue. The standard Prodigy side panel is vented around the GPU and no matter what fans I put in the case, there was just too much heat soaking going on.
Dremel time:
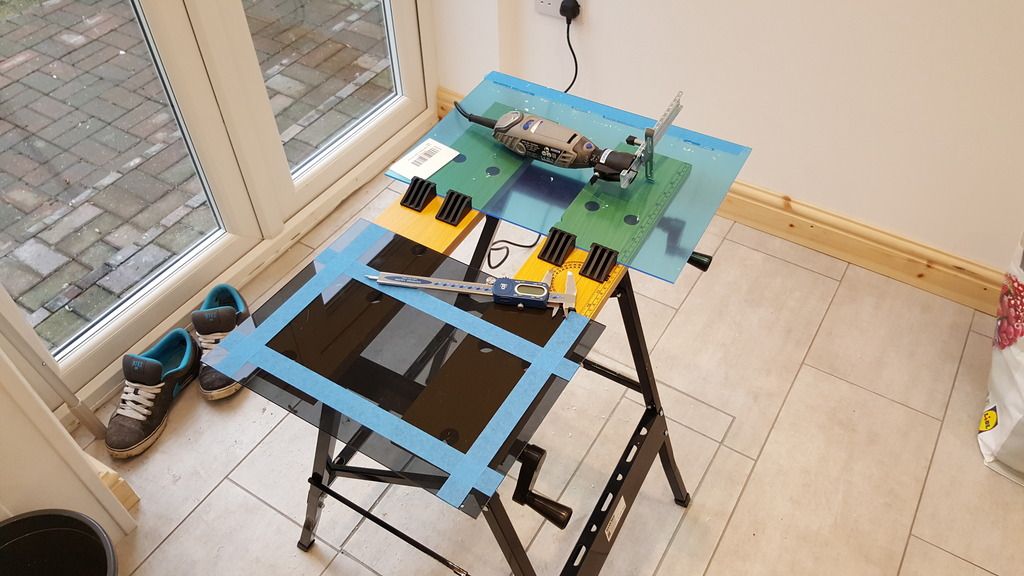
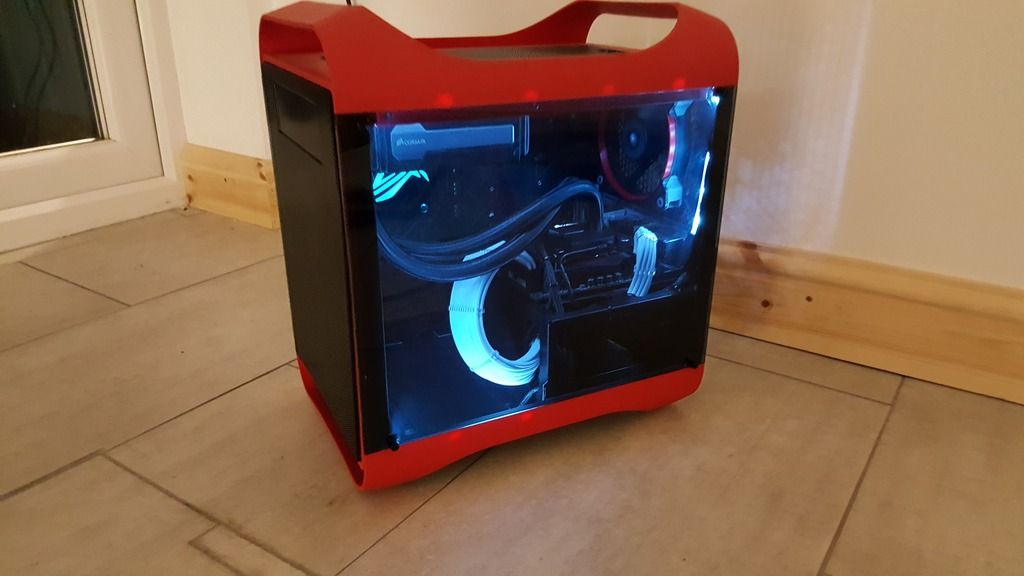
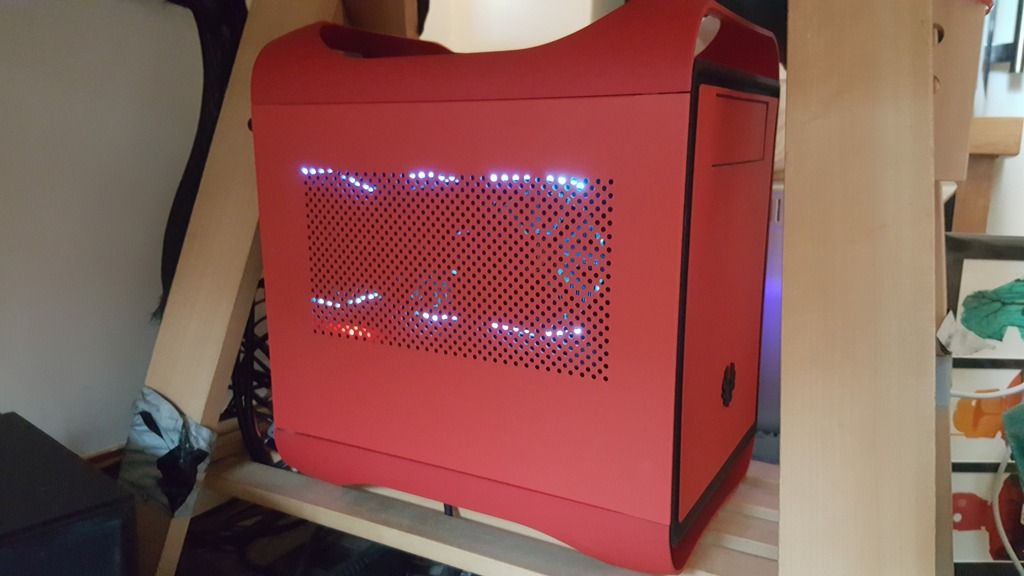
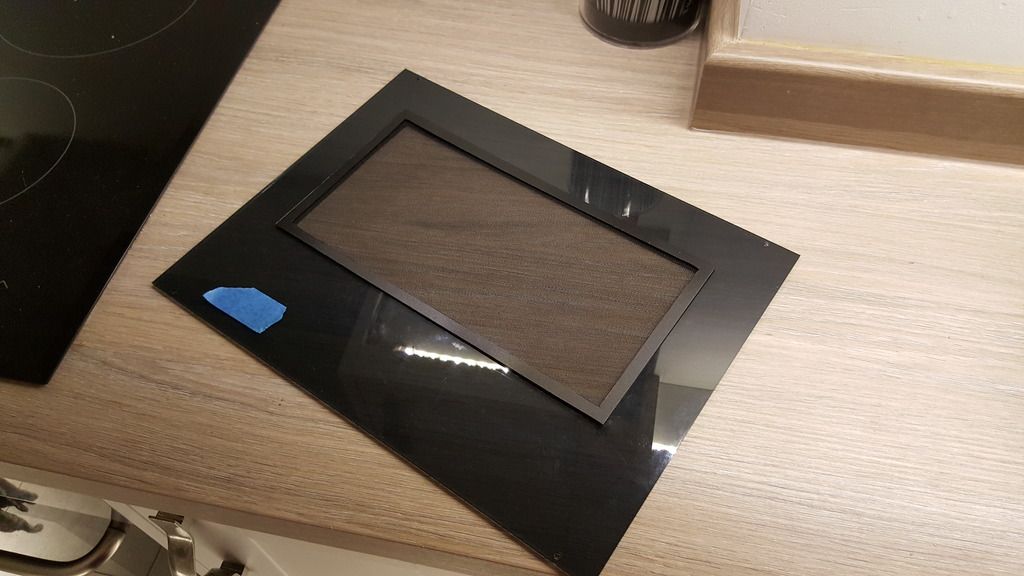
I ordered some filter grade, lab mesh, some 1mm thick acrylic and some plastikote matt black spray paint. After measuring up, cutting and painting, I had a new vented side panel: (ignore the blue tape - that was just so i knew which side was the outer side)
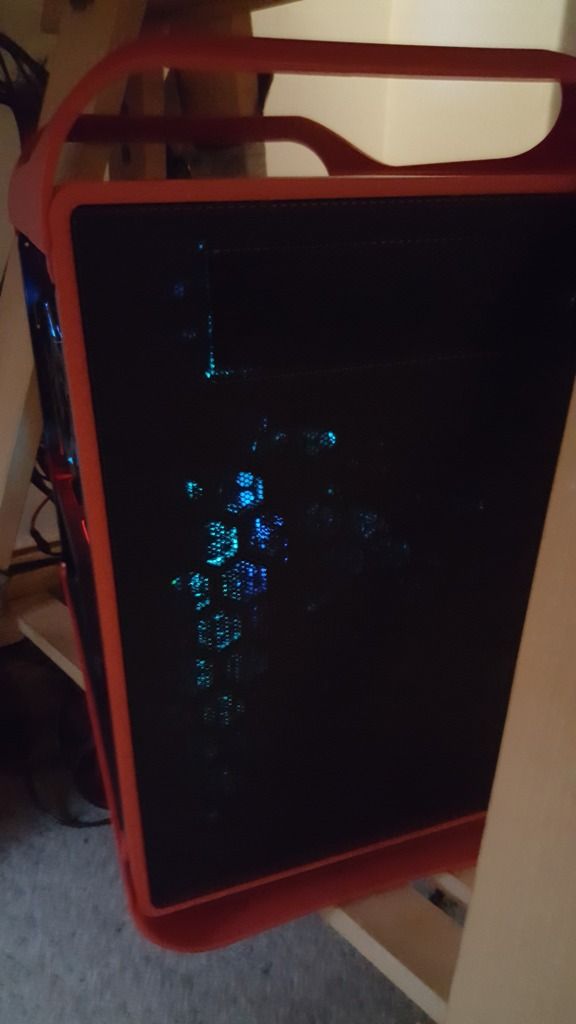
Once I hot glued that all down, popped in an NZXT Hue+ and reassembled, this is what I ended up with:
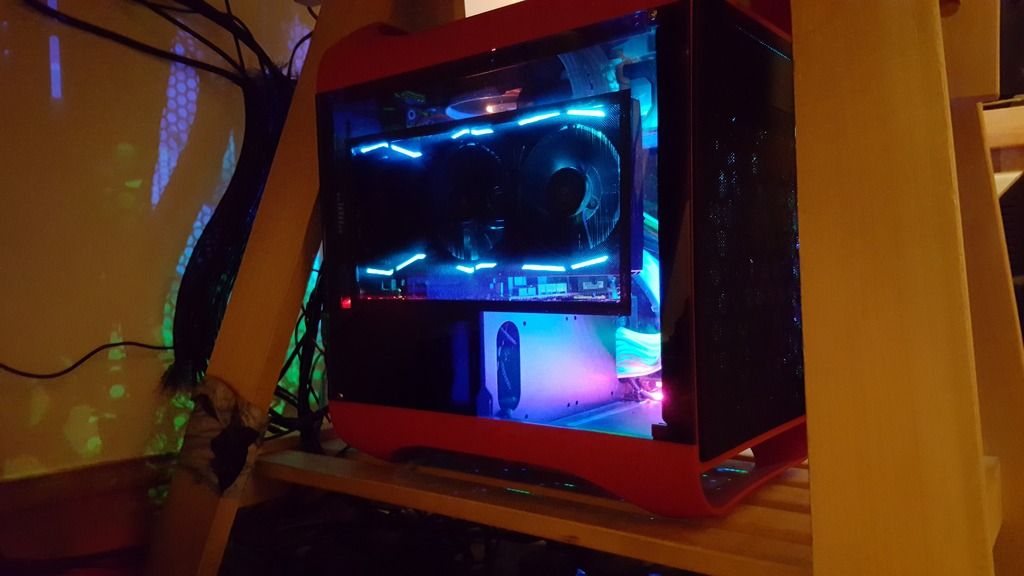
I need to take more finished pictures at some point, but I've been meaning to share this stuff at some point but kept putting it off until it was "finished". The reality is, it probably will never be truly finished (I already have more plans), but it seems like its at a pretty good place right now.
Anyway, I'm curious to know what people think of if they have any questions")
I am now pretty much done with it as much as I can so though I'd through up a few pictures.
So my plan was to have as little cables visible inside the case as possible, and the cables that are on display to at least look nice. That is obviously a little tricky in a case like the Prodigy as there's no cable management at all and really nowhere to hide cables either.
This is what I started with:
First thing's first - the panels need to come off. Here you can just about see some of the custom cables I made which include a braided 24 pin ATX, 8 pin CPU and custom Y-split 8/6 pin PCIe power cable:
As the Prodigy has all of its "front" IO on the side, all this was removed. I may add it again at some point, but I have a Razer keyboard that has USB and audio pass-through on it so I tend to use that more anyway. Plus it removed yet more internal cabling which is nice! As for the power button, I just took a basic momentary switch, soldered a long enough cable to it and then hot glued that to the inside of the chassis. You might just be able to make it out here:
This is temporary as it means you have to unclip the front of the PC to get to the power button, but I generally leave my PC on sleep so it's not a big deal for now. That picture also gives a better view of some of the cabling. A lot of what is in there is custom to make it fit with my CX600M PSU. One of the things you can't see is the custom power cable I made so that I have both a SATA power supply and 4 pin molex. That was pretty easy once you check the pin-outs, so now I have power for both the internal USB 2 hub and for some lighting later on.
So with the cables tidied up, I got a couple of smoked side panels and replaced the solid red front panel with the red/black mesh front.
So, as awesome as the glow of the Strix was on the window, it presented a bit of a cooling issue. The standard Prodigy side panel is vented around the GPU and no matter what fans I put in the case, there was just too much heat soaking going on.
Dremel time:
I ordered some filter grade, lab mesh, some 1mm thick acrylic and some plastikote matt black spray paint. After measuring up, cutting and painting, I had a new vented side panel: (ignore the blue tape - that was just so i knew which side was the outer side)
Once I hot glued that all down, popped in an NZXT Hue+ and reassembled, this is what I ended up with:
I need to take more finished pictures at some point, but I've been meaning to share this stuff at some point but kept putting it off until it was "finished". The reality is, it probably will never be truly finished (I already have more plans), but it seems like its at a pretty good place right now.
Anyway, I'm curious to know what people think of if they have any questions