

Associate
- Joined
- 17 Aug 2011
- Posts
- 120
- Location
- Surrey
Hey Everyone! This thread has been over on the general hardware page for quite a while. I realised that this is the thread I should have posted it on from the start. So I thought I should move it (I have asked one of the mods to do this but I never got a reply) Anyway I hope you gents enjoy reading it, stay tuned for more.
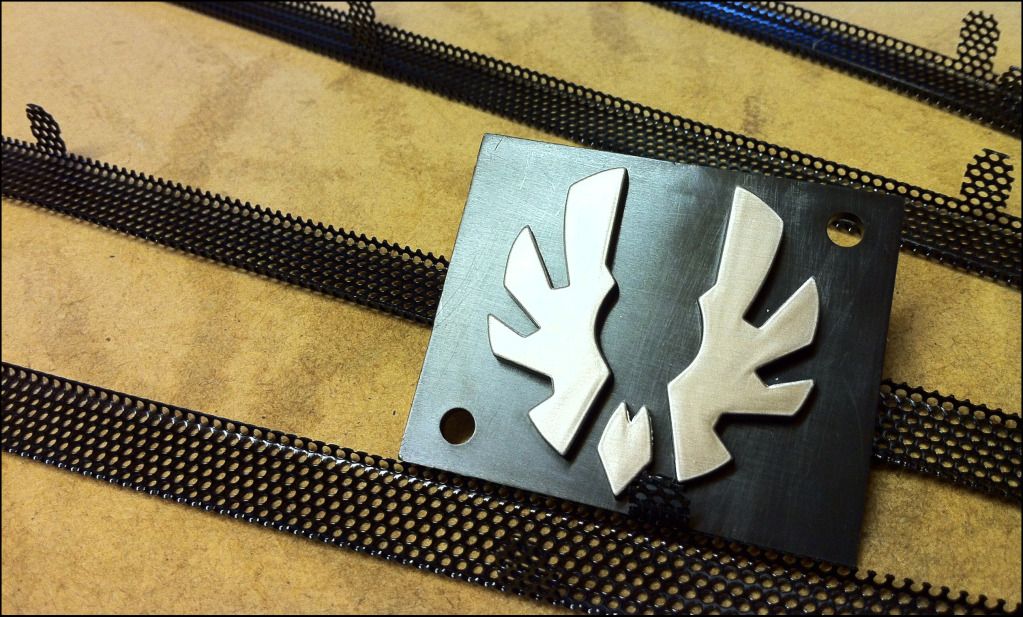
Hi guys and welcome to my very first build thread. I've named this build the 'Shinobi 2500Ti' please refer to my parts list to see why
--------------------------------------------------------------------------
Hey Everyone,
I joined the Overclockers forum a few weeks ago when I decided it was about time I stopped wishing to build my own computer and actually started doing it!
So I decided why not make my own progression thread as this is the first computer I’ve ever built from scratch, and no doubt at some point I’ll need a helping hand. I’ve watched and read lots of tutorials and guides on assembling all the major components and I’m pretty confident about starting the build.
Motivation
I use to play all my games on the PC (back in the days of Decent and Wolfpack) but over the years I turned more and more towards console gaming. This was to do with the fact I was only about 13 so couldn't afford a decent rig and also because all my friends had PS1’s, N64’s, PS2’s, Xbox’s, Dreamcast’s and Gamecube’s and so I followed suite. But lately I have gotten back into PC gaming and PC’s in general, mainly because I’m studying to be a video game artist and I realise how powerful the PC is compared to a console based systems. So after watching lots of LinusTechTips, NewEgg and Futurelooks on Youtube and reading PC Format and many other mags I decided its time for me to build my own gaming rig.
The System
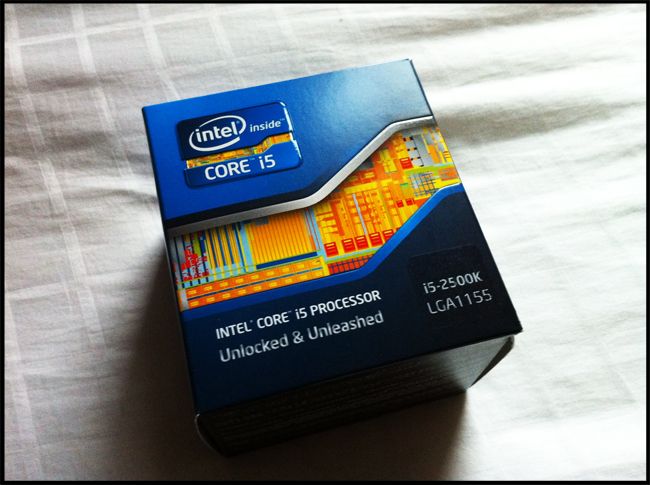
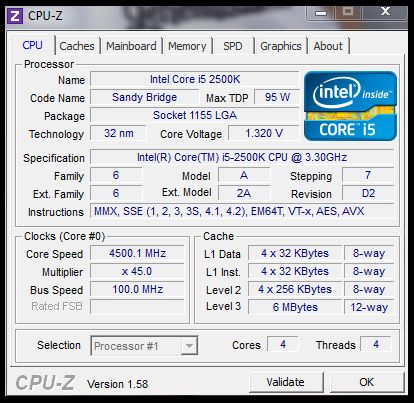
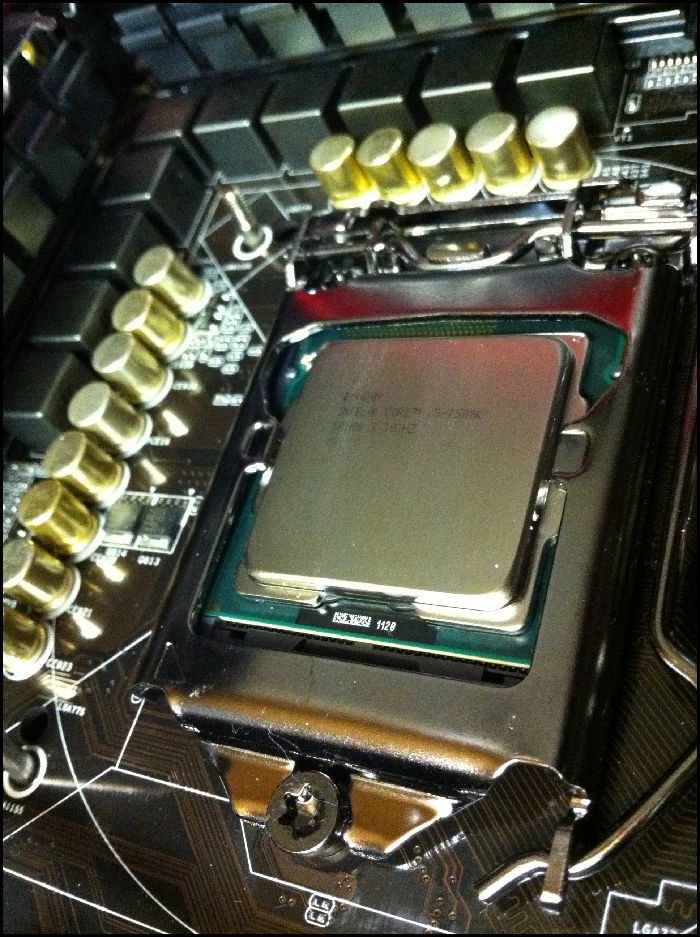
So then I spent a long time thinking about what components I wanted to use, I knew from the start that my PC would be Intel based. I also fancy having a go at the whole overclocking thing so I decided to go for the Intel Core i5 2500K CPU as its well proven with overclocker’s and seems to almost be the standard CPU to throw into a gaming rig.
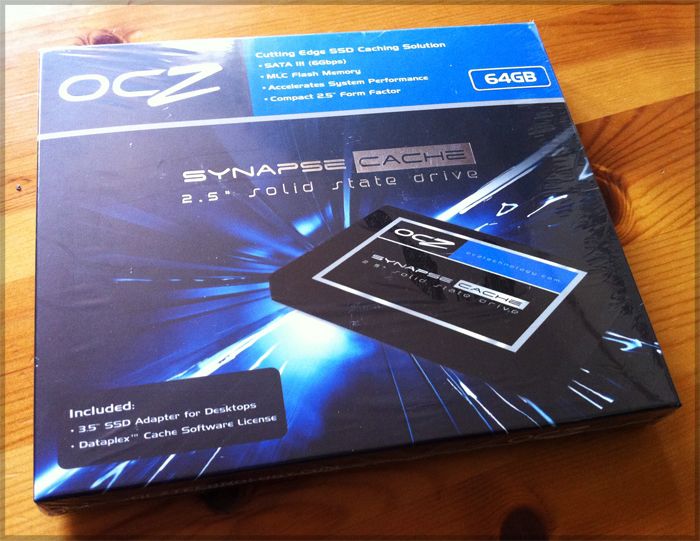
I also decided on the P67 chipset for my Mobo, as the H67 doesn't allow multiplier modifications to the CPU and the Z68 seems a tad like overkill as I’m currently not prepared to spend what I feel is a redonkulous amount of money on a SSD (I will look into this in the future when they are more affordable) and run SRT and what not.
Anyway here is my parts list, I have spent a good three months deciding on this list and it has gone through about four different revisions after recommendations from friends and forum members. I tried to make my PC as future proof as possible. But I can’t really afford a water cooled beast on my current wages so I’m making the best rig I can on my budge
Parts List
CPU - Intel Core i5 2500K
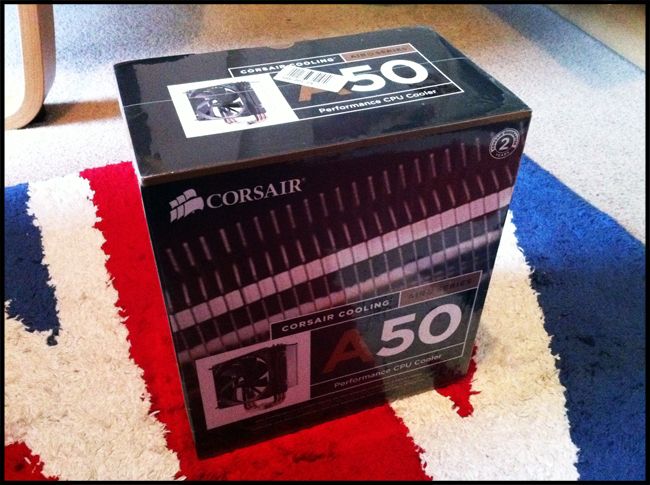
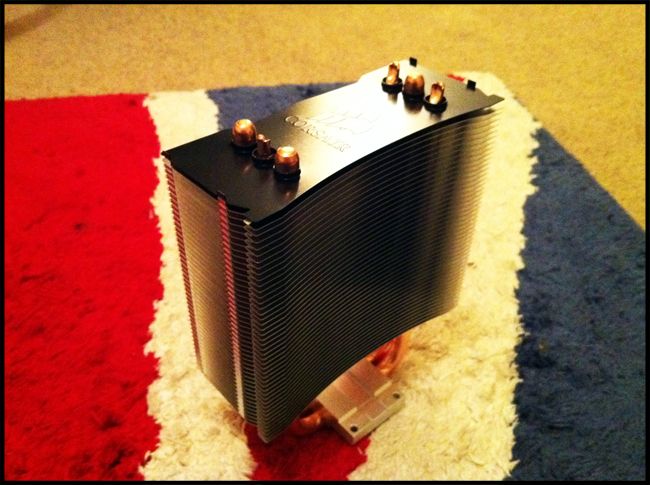
CPU Cooler - Corsair A50
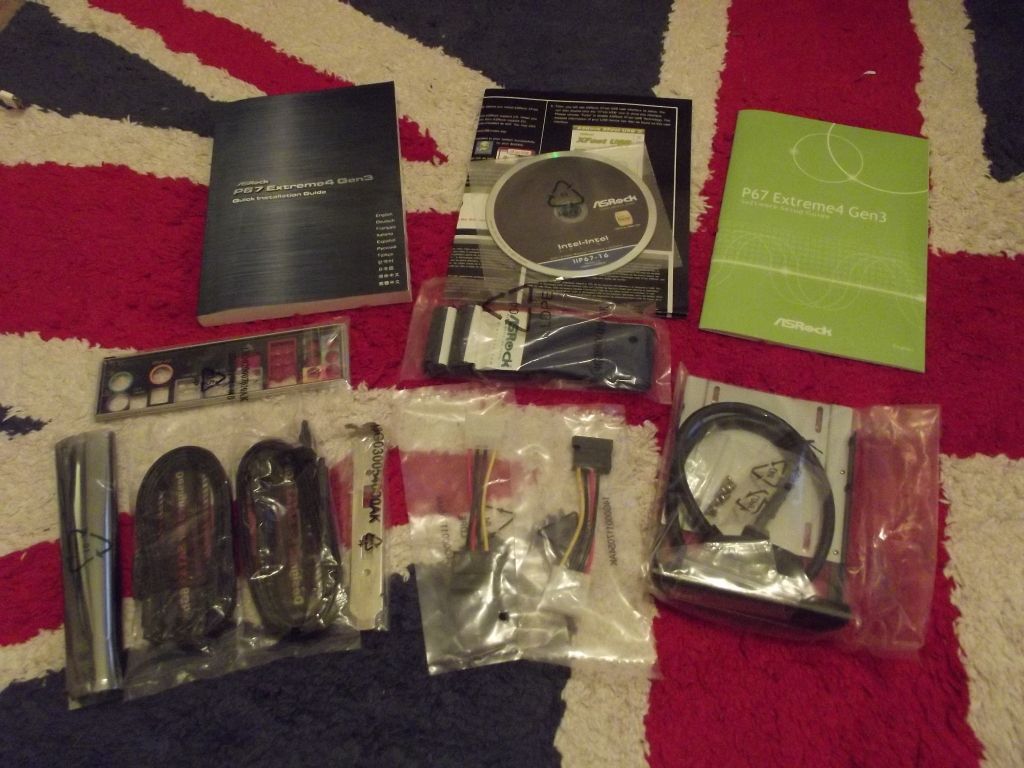
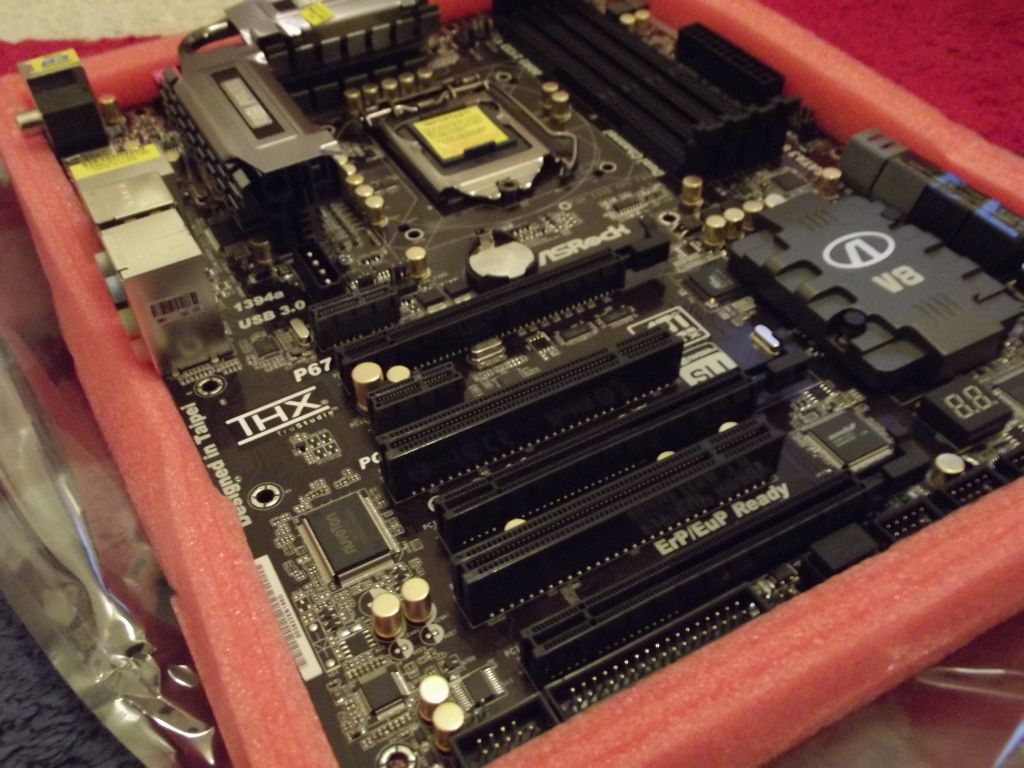
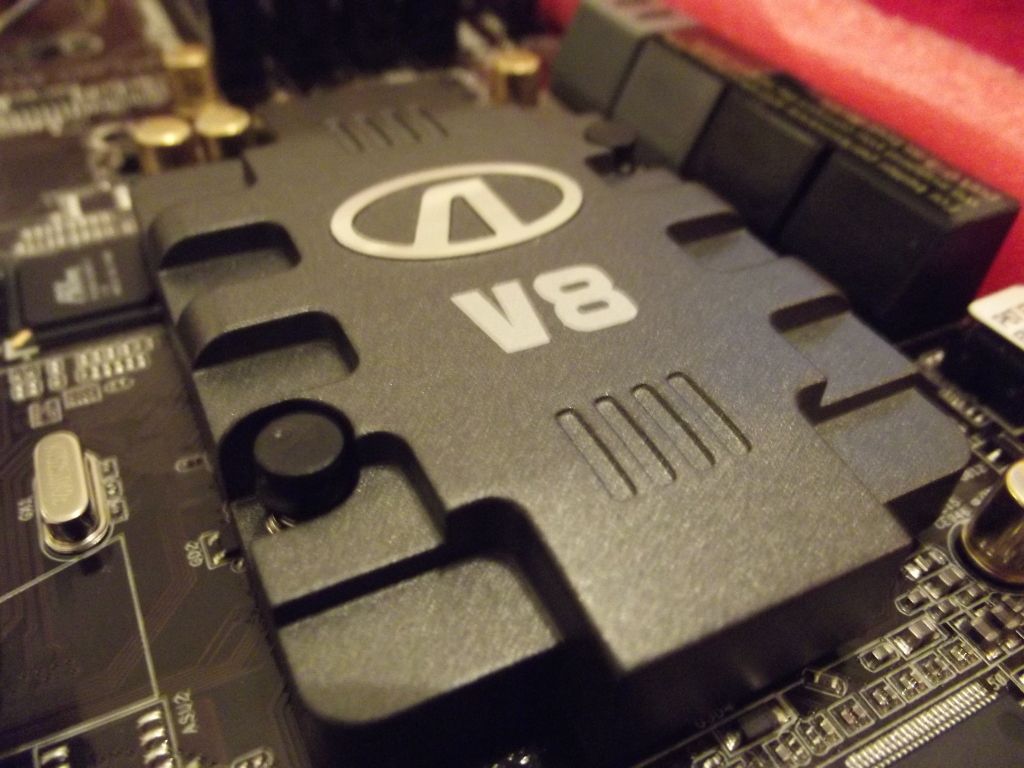
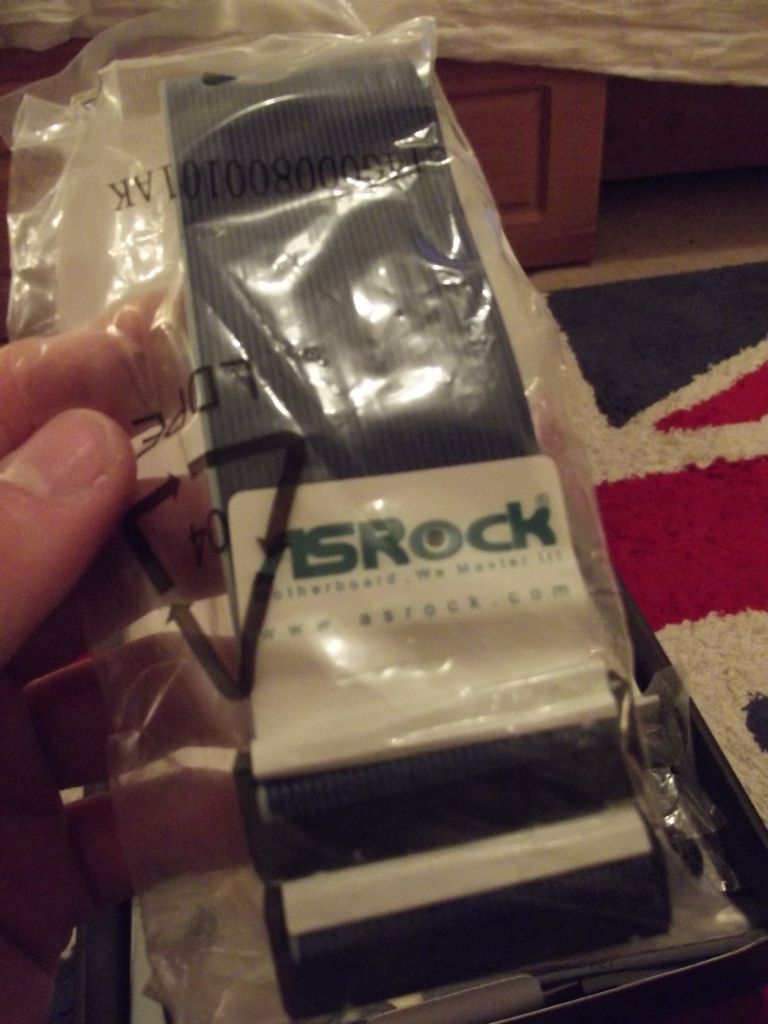
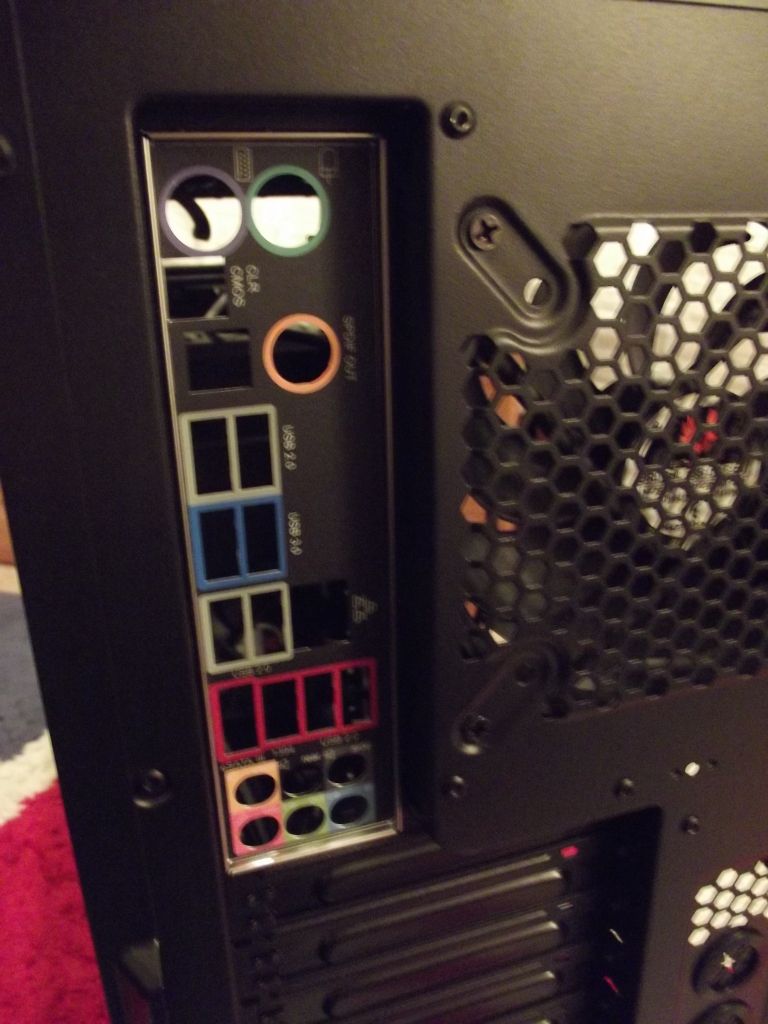
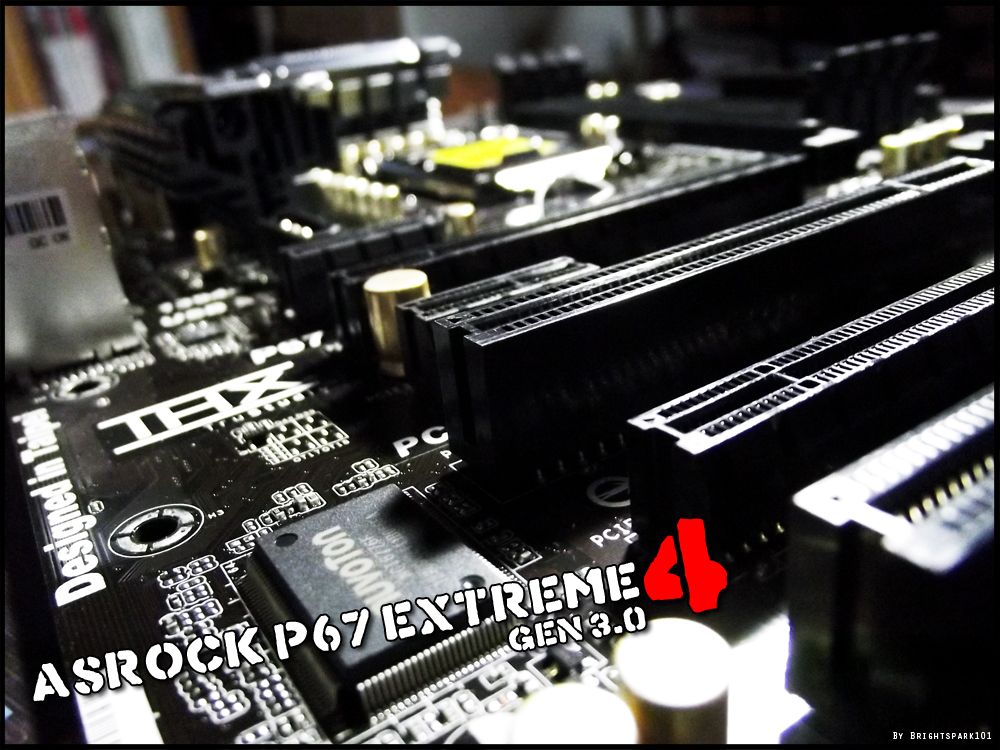
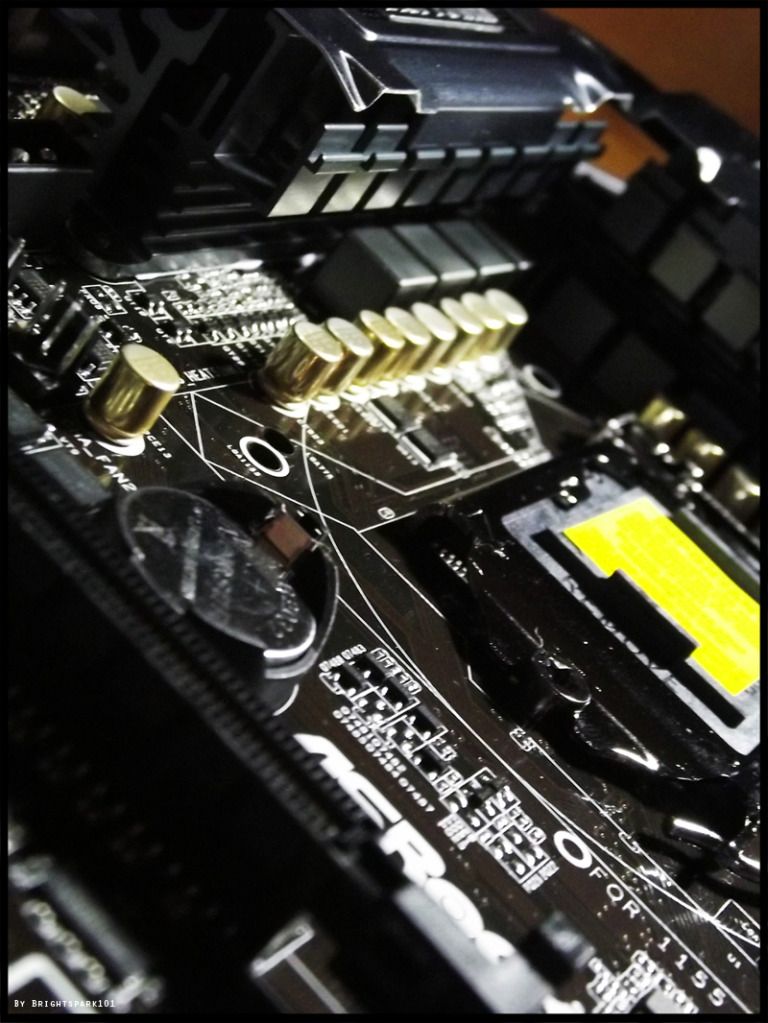
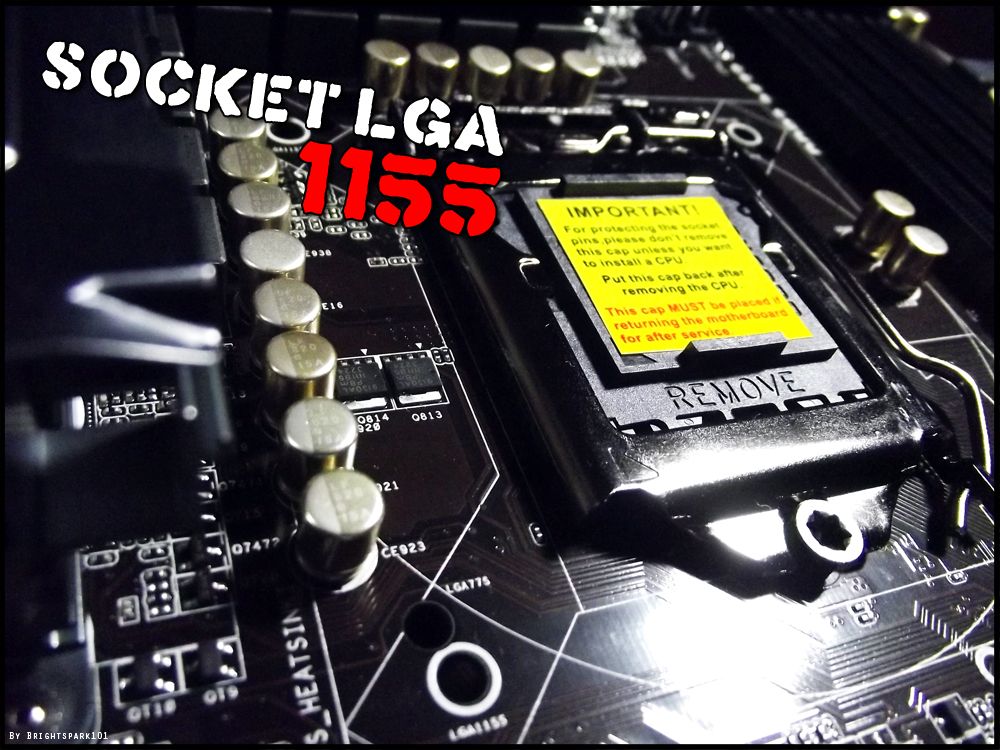
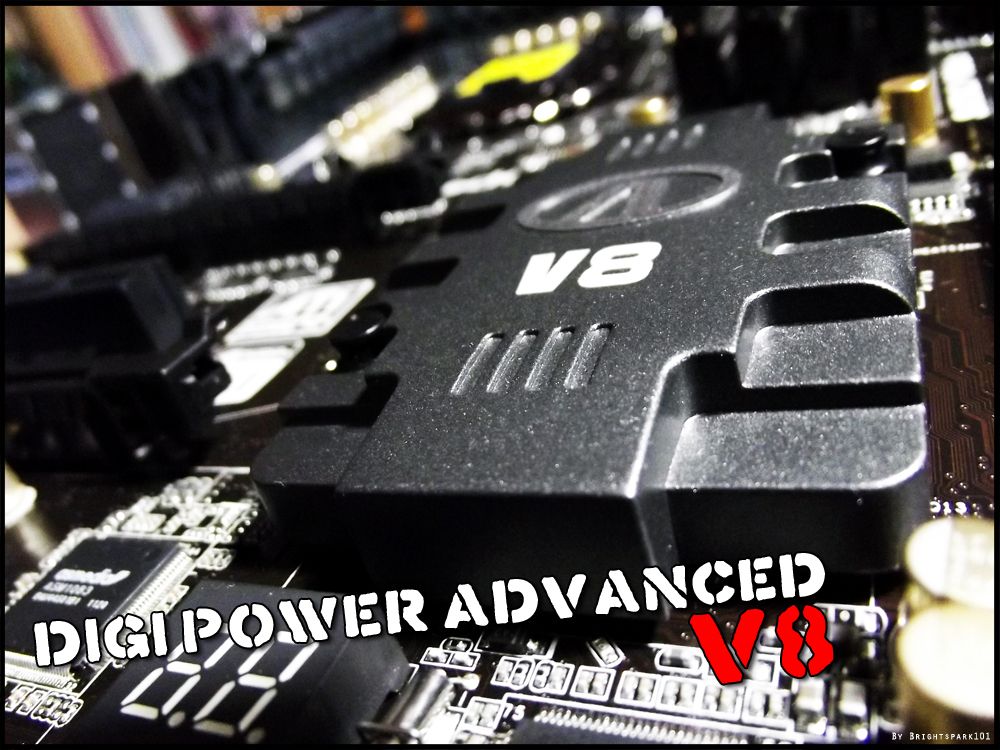
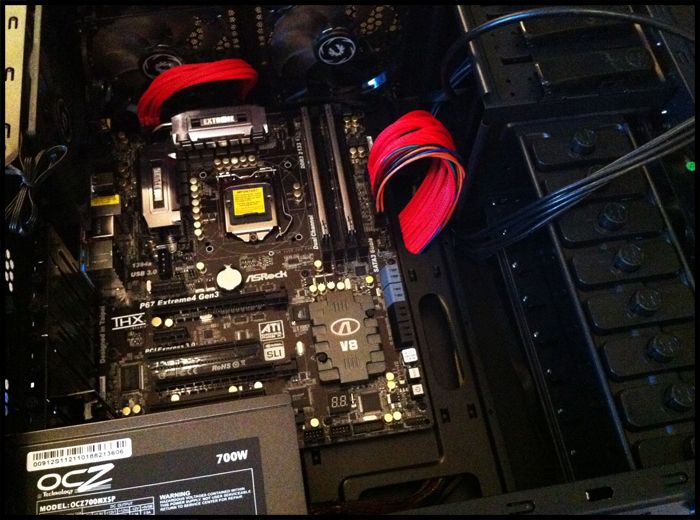
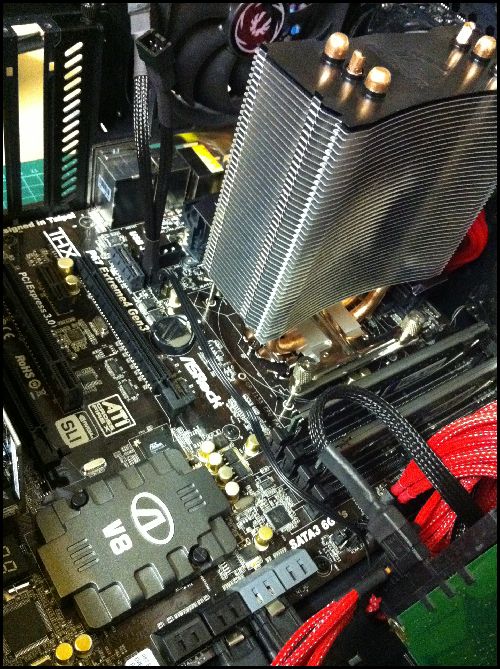
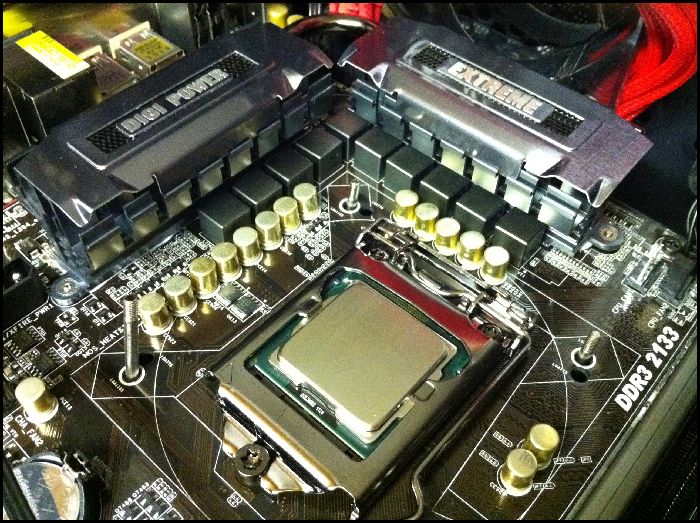
Mobo - Asrock Extreme4 Gen 3 (PCI-E 3.0 & Ivybridge ready)
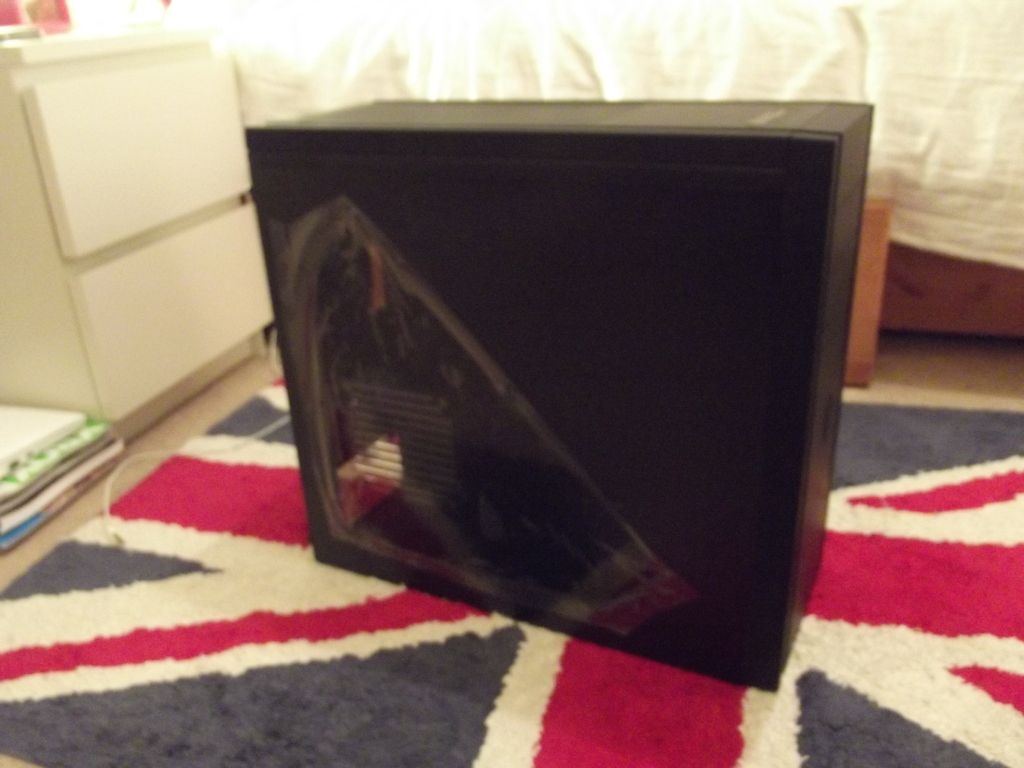
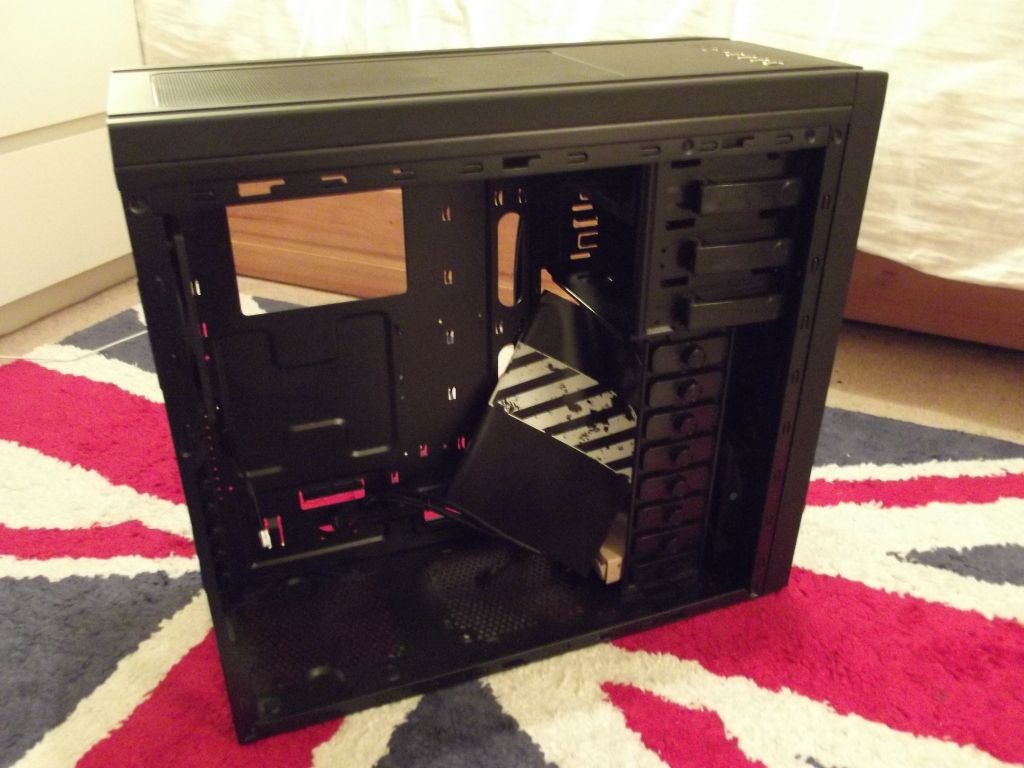
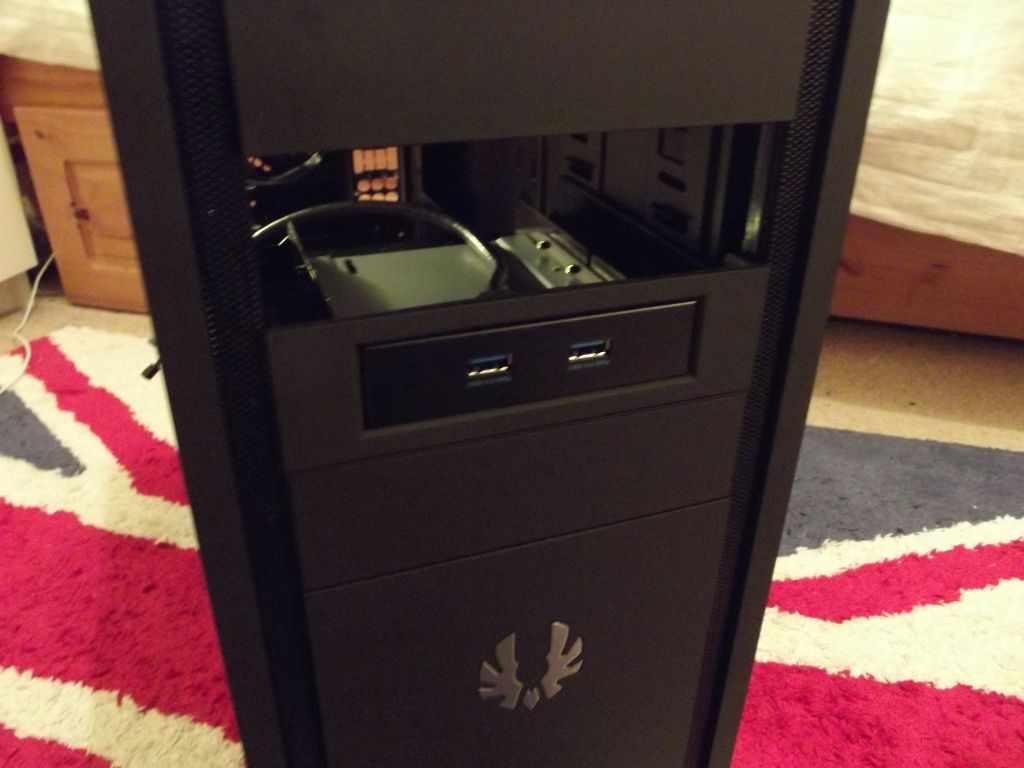
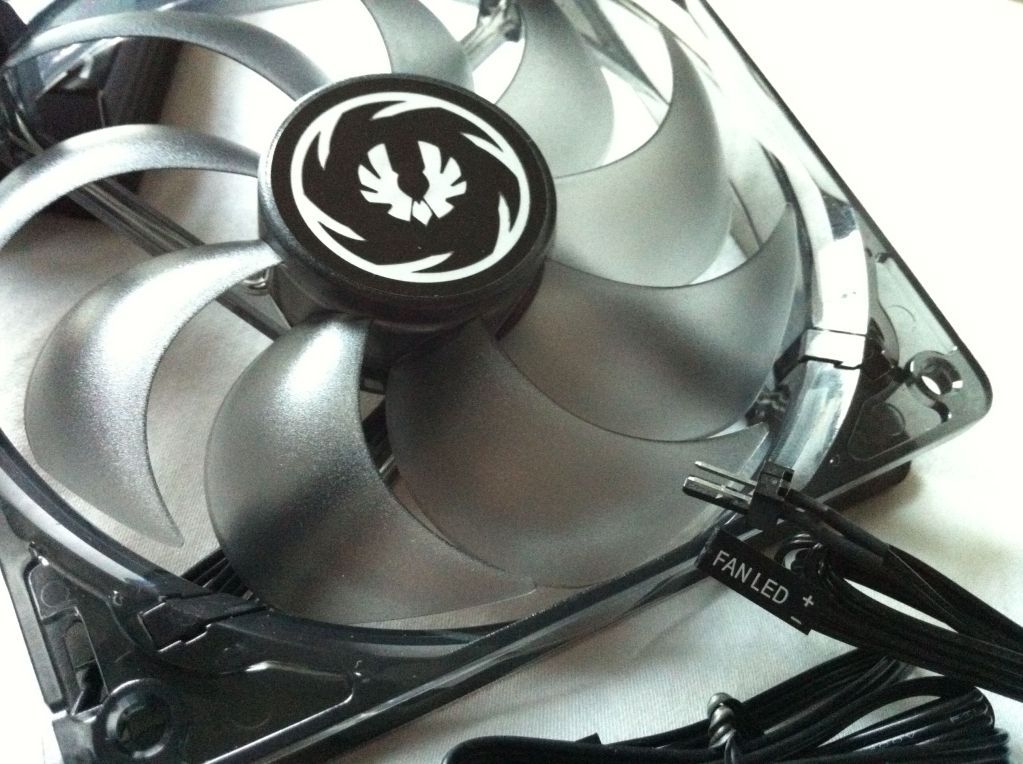
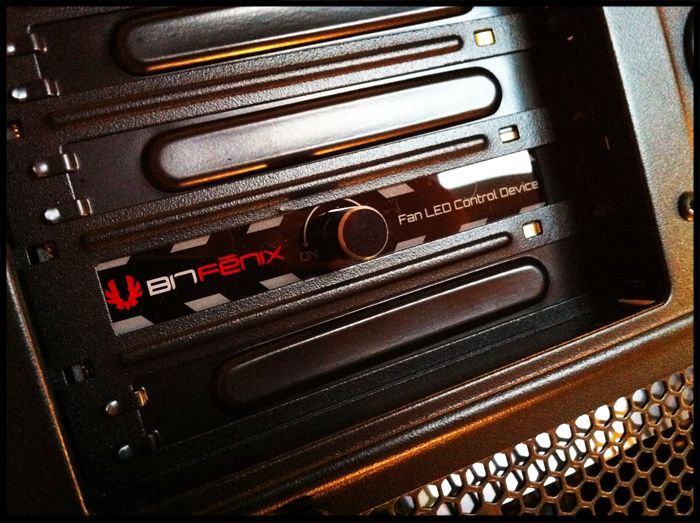
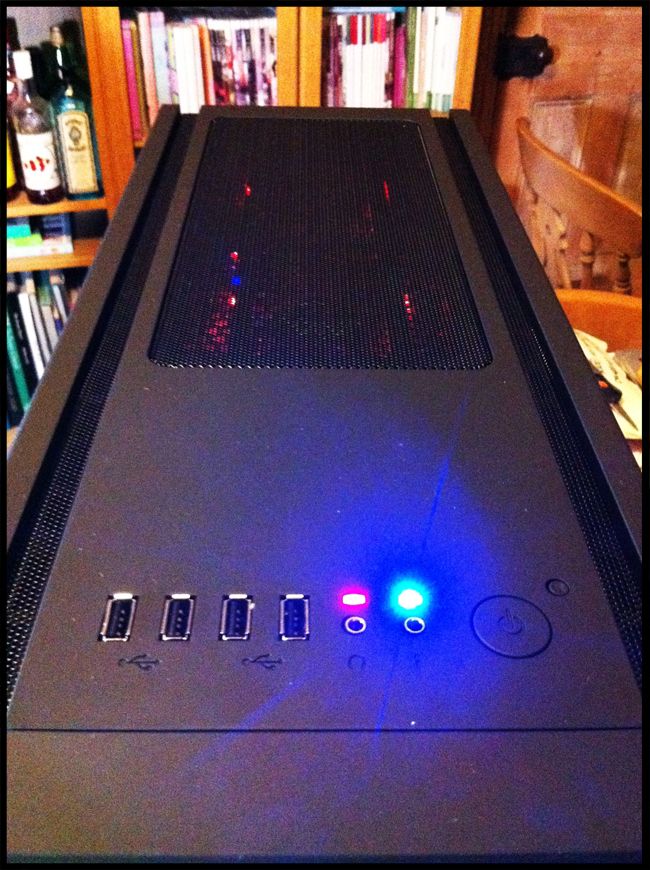
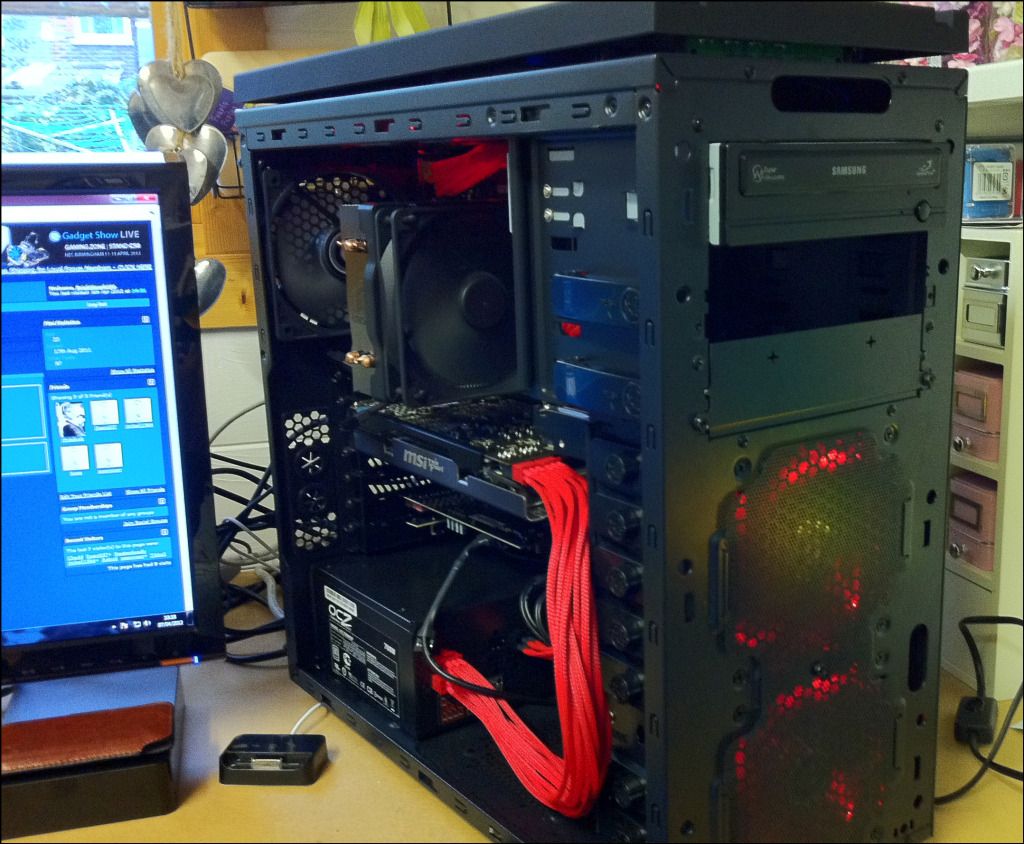
Case - BitFenix Shenobi (Windowed)
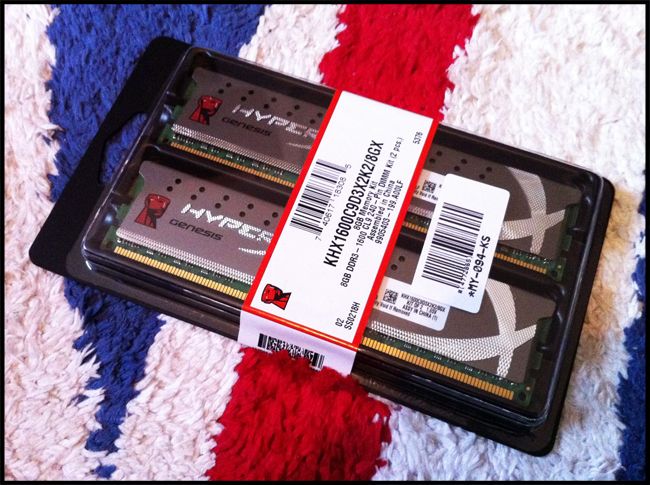
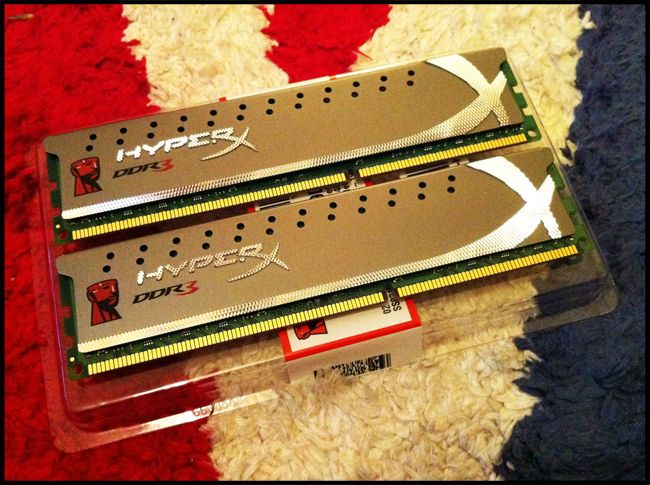
RAM - 8GB Kingston HyperX Genesis 1600Mhz
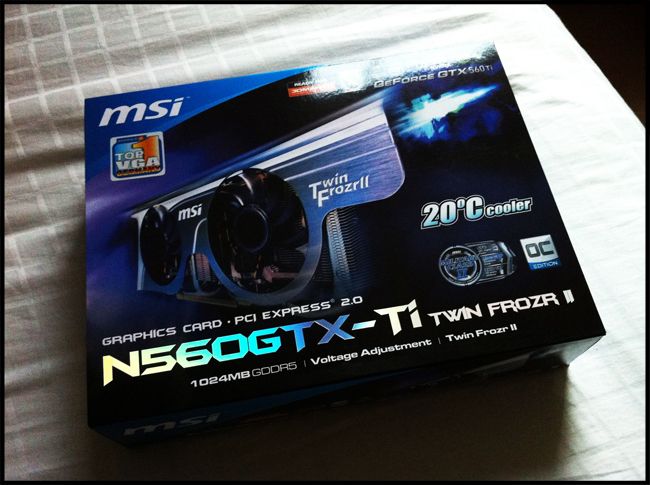
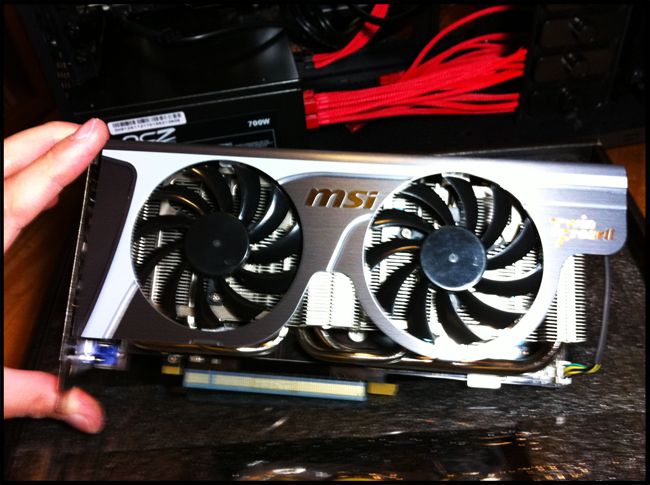
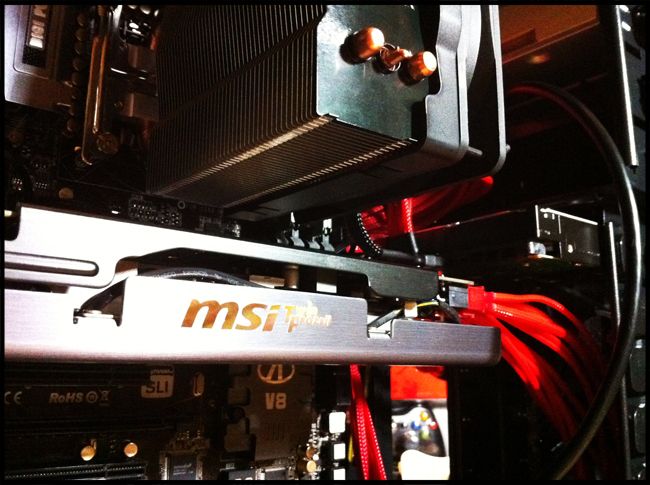
Graphics - MSI GTX560 Ti Twin Frozr II OC
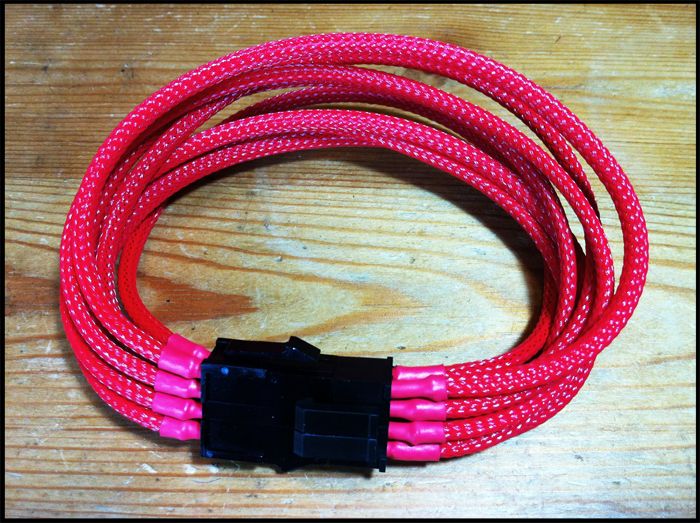
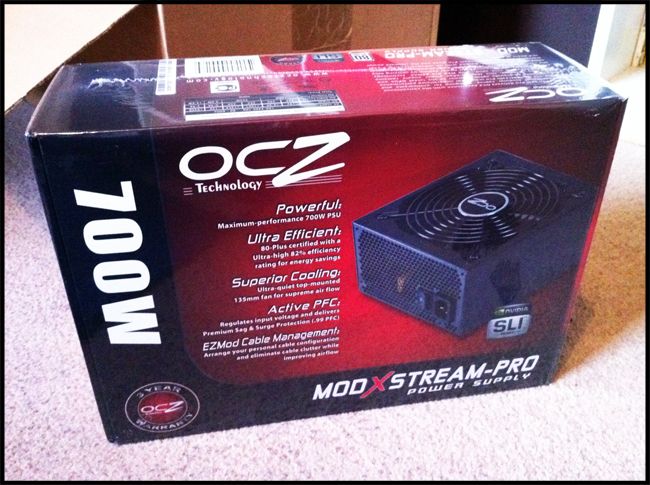
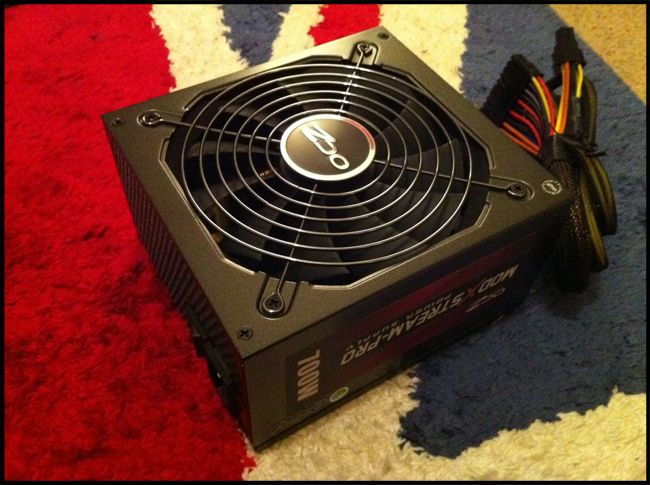
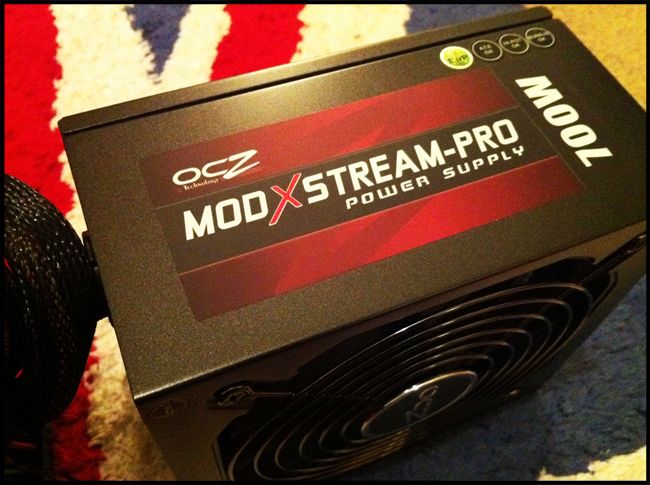
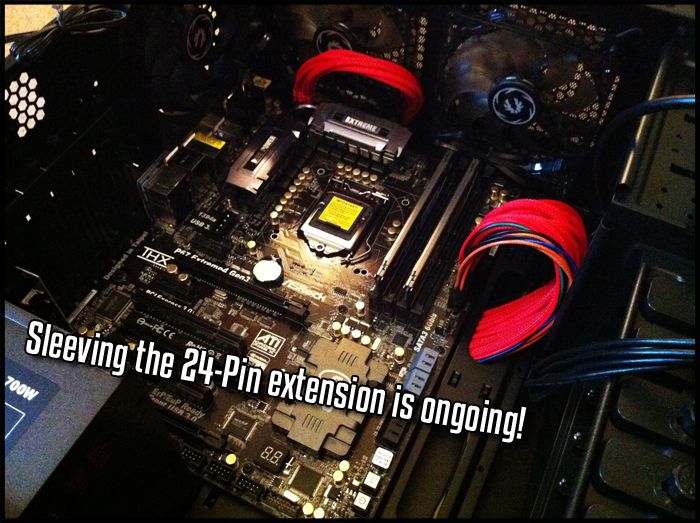
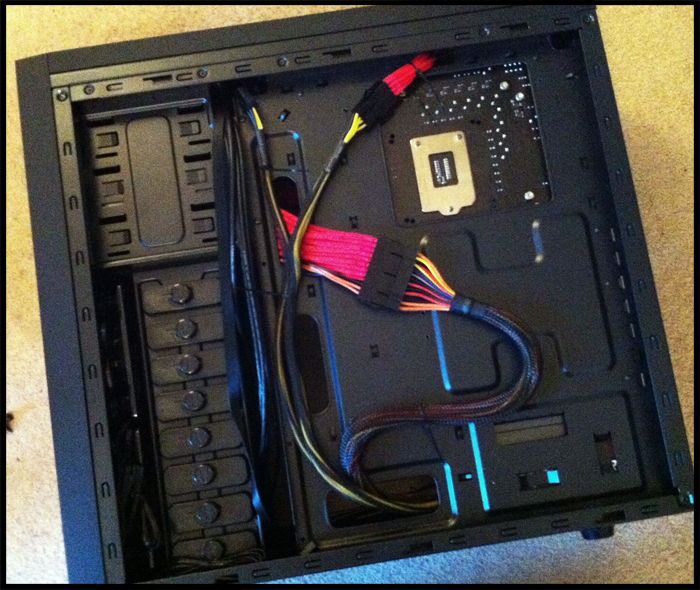
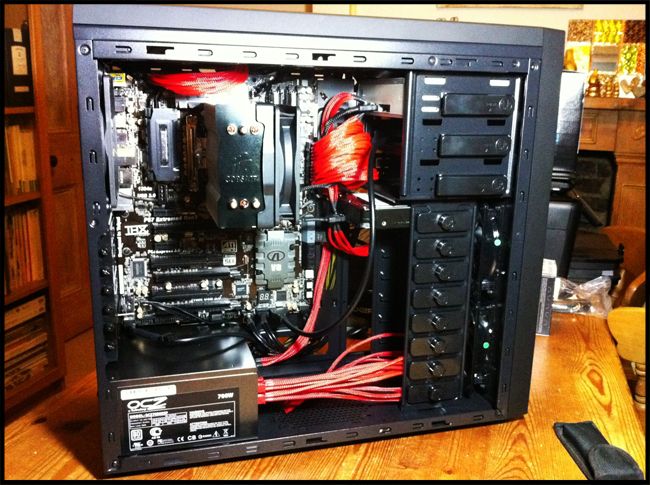
PSU - OCZ Mod Xstream Pro 700W (Plan on sleeving the wires in red)
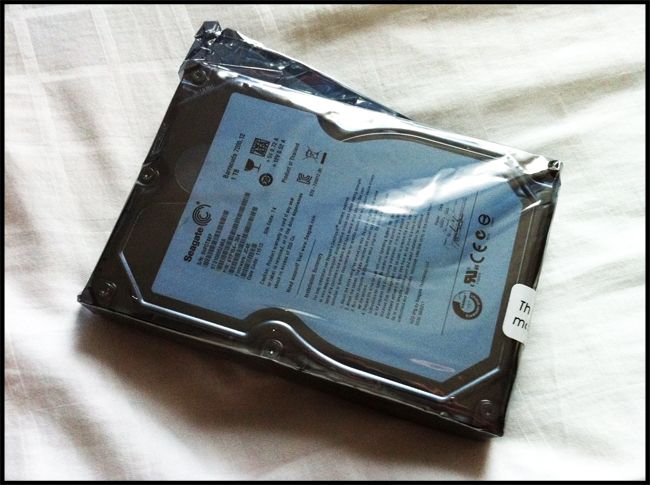
HDD - WD Cavier Blue 1TB
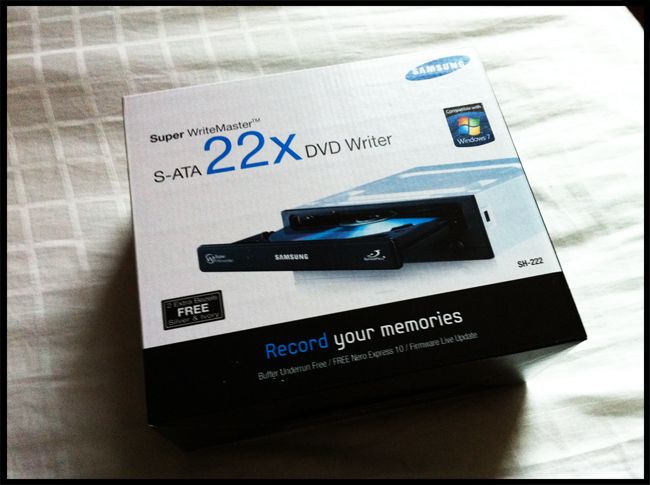
Optical - LG blah blah you just put discs in! (I already have a Blu-Ray setup, so I’m not worried about optical drives).
This list is now final, mainly because I’ve started buying parts and because if I just keep listening to peoples recommendations and changing parts again and again it will never get built. By all means fire off what you like and don’t like about this setup, I’m always interested to hear peoples opinions.
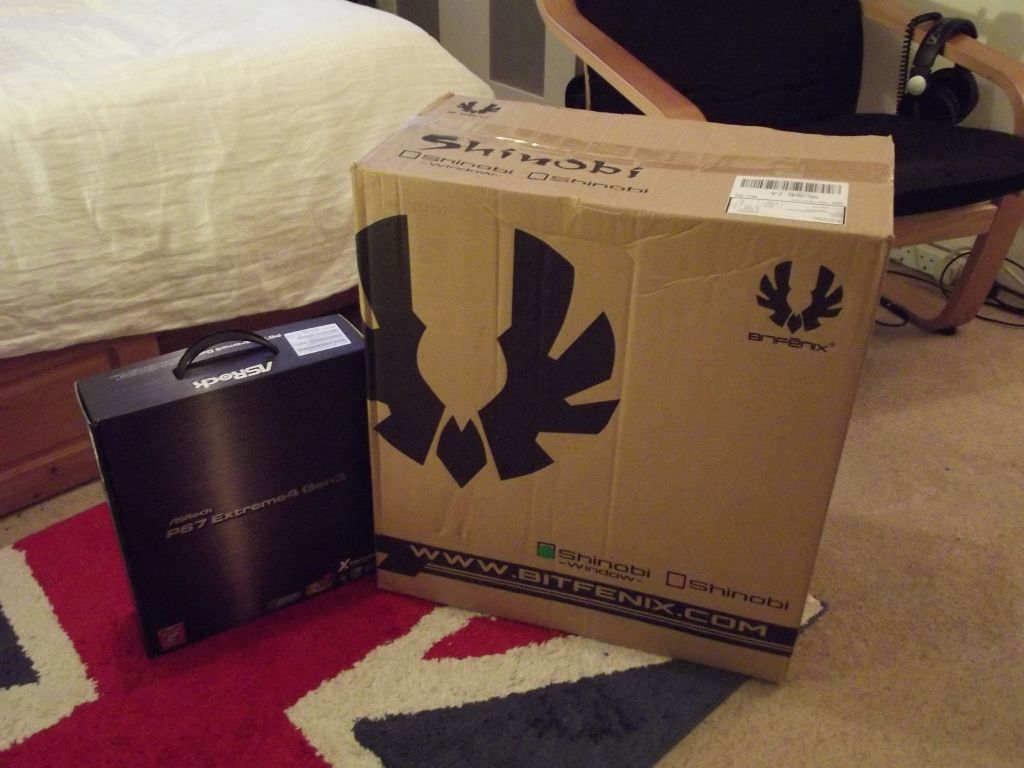
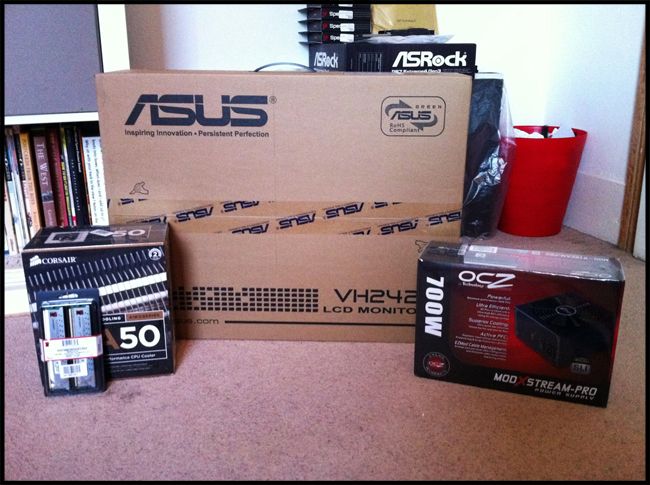
Wow now that is a post! I am waiting for my mobo and case to turn up then this thread will be getting some nice pics added to it.
But until then my PC building buddies
Hi guys and welcome to my very first build thread. I've named this build the 'Shinobi 2500Ti' please refer to my parts list to see why
--------------------------------------------------------------------------
Hey Everyone,
I joined the Overclockers forum a few weeks ago when I decided it was about time I stopped wishing to build my own computer and actually started doing it!
So I decided why not make my own progression thread as this is the first computer I’ve ever built from scratch, and no doubt at some point I’ll need a helping hand. I’ve watched and read lots of tutorials and guides on assembling all the major components and I’m pretty confident about starting the build.
Motivation
I use to play all my games on the PC (back in the days of Decent and Wolfpack) but over the years I turned more and more towards console gaming. This was to do with the fact I was only about 13 so couldn't afford a decent rig and also because all my friends had PS1’s, N64’s, PS2’s, Xbox’s, Dreamcast’s and Gamecube’s and so I followed suite. But lately I have gotten back into PC gaming and PC’s in general, mainly because I’m studying to be a video game artist and I realise how powerful the PC is compared to a console based systems. So after watching lots of LinusTechTips, NewEgg and Futurelooks on Youtube and reading PC Format and many other mags I decided its time for me to build my own gaming rig.
The System
So then I spent a long time thinking about what components I wanted to use, I knew from the start that my PC would be Intel based. I also fancy having a go at the whole overclocking thing so I decided to go for the Intel Core i5 2500K CPU as its well proven with overclocker’s and seems to almost be the standard CPU to throw into a gaming rig.
I also decided on the P67 chipset for my Mobo, as the H67 doesn't allow multiplier modifications to the CPU and the Z68 seems a tad like overkill as I’m currently not prepared to spend what I feel is a redonkulous amount of money on a SSD (I will look into this in the future when they are more affordable) and run SRT and what not.
Anyway here is my parts list, I have spent a good three months deciding on this list and it has gone through about four different revisions after recommendations from friends and forum members. I tried to make my PC as future proof as possible. But I can’t really afford a water cooled beast on my current wages so I’m making the best rig I can on my budge
Parts List
CPU - Intel Core i5 2500K
CPU Cooler - Corsair A50
Mobo - Asrock Extreme4 Gen 3 (PCI-E 3.0 & Ivybridge ready)
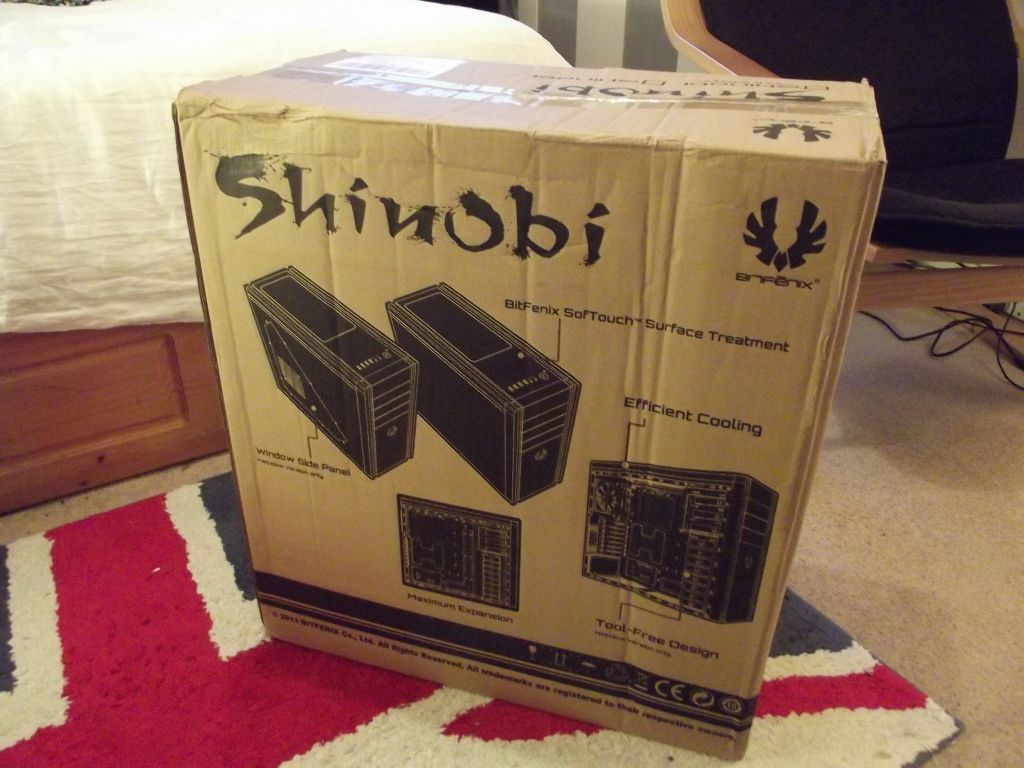
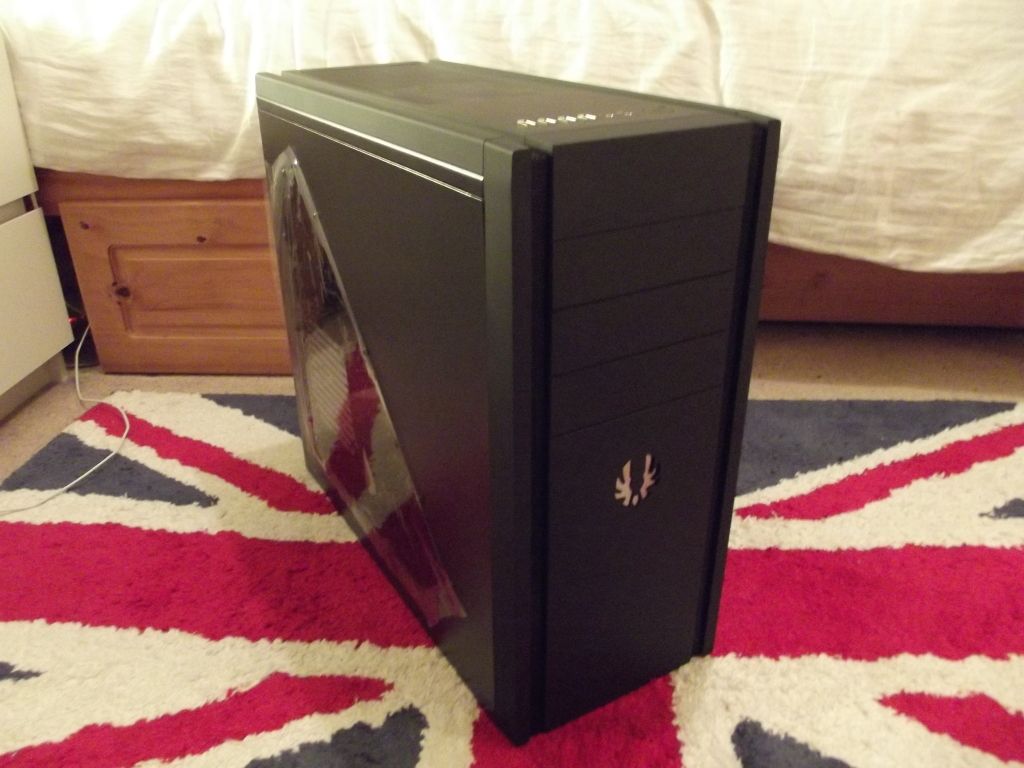
Case - BitFenix Shenobi (Windowed)
RAM - 8GB Kingston HyperX Genesis 1600Mhz
Graphics - MSI GTX560 Ti Twin Frozr II OC
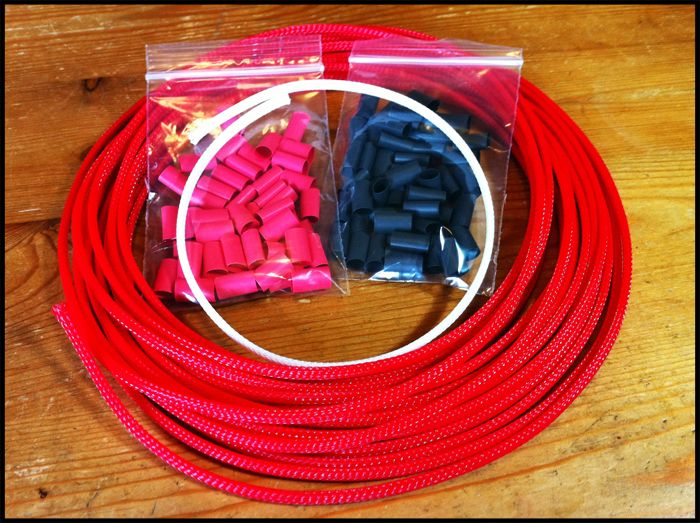
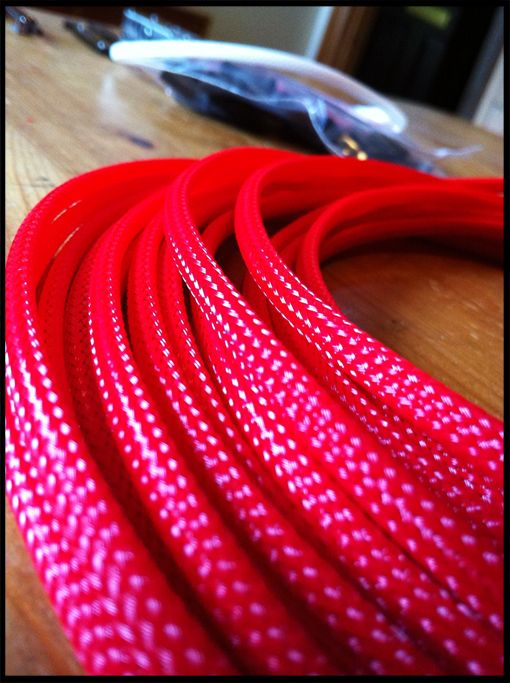
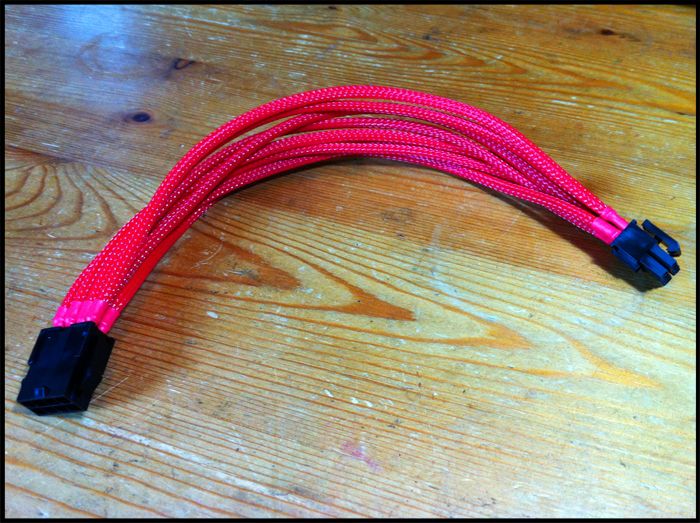
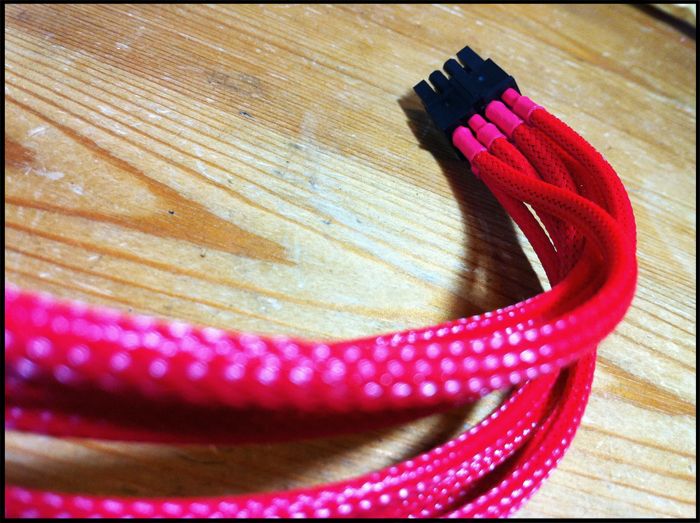
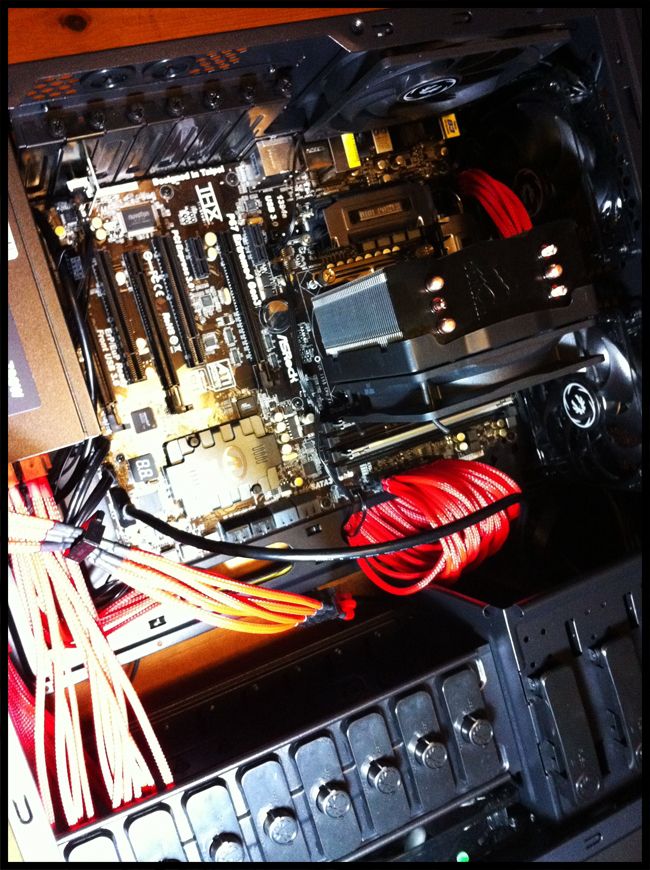
PSU - OCZ Mod Xstream Pro 700W (Plan on sleeving the wires in red)
HDD - WD Cavier Blue 1TB
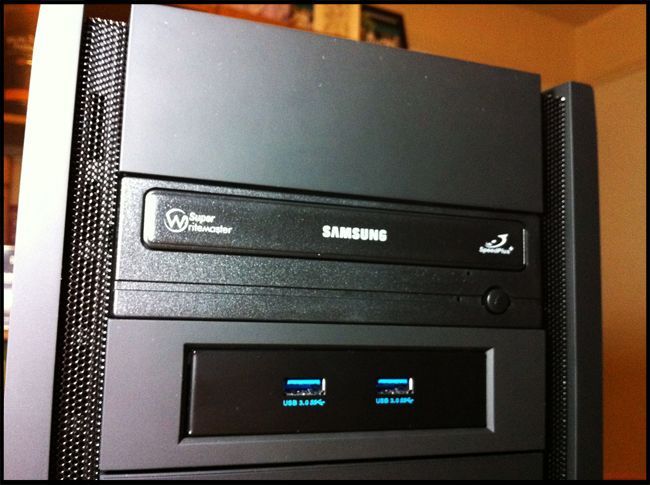
Optical - LG blah blah you just put discs in! (I already have a Blu-Ray setup, so I’m not worried about optical drives).
This list is now final, mainly because I’ve started buying parts and because if I just keep listening to peoples recommendations and changing parts again and again it will never get built. By all means fire off what you like and don’t like about this setup, I’m always interested to hear peoples opinions.
Wow now that is a post! I am waiting for my mobo and case to turn up then this thread will be getting some nice pics added to it.
But until then my PC building buddies


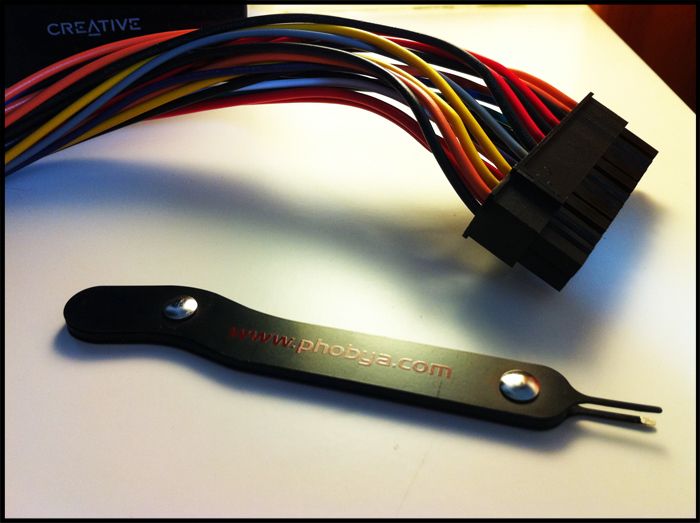


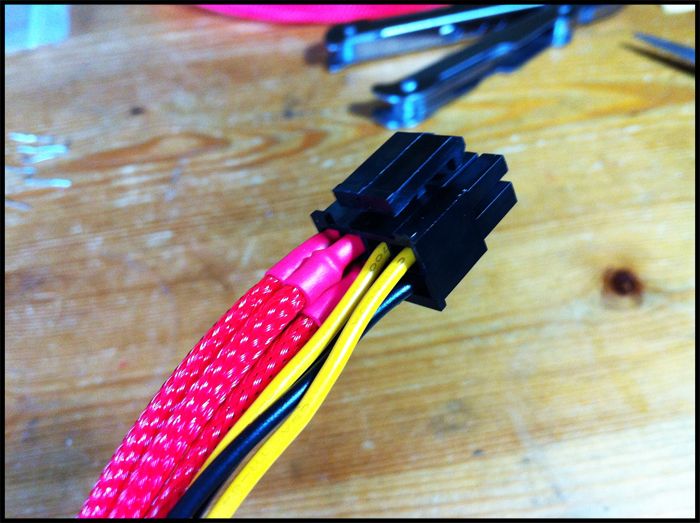
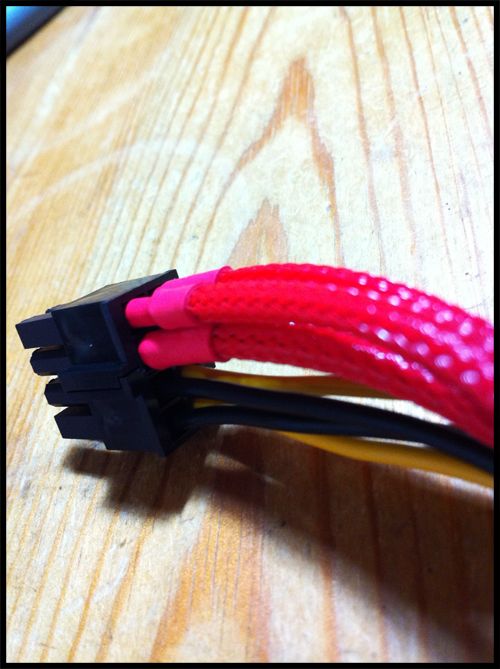
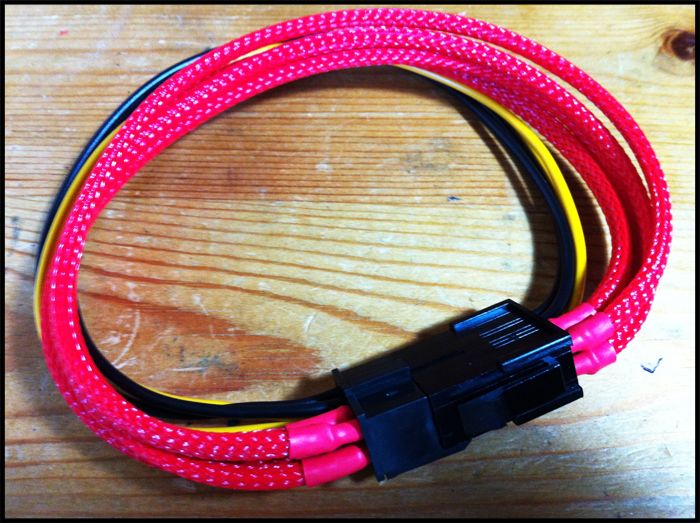
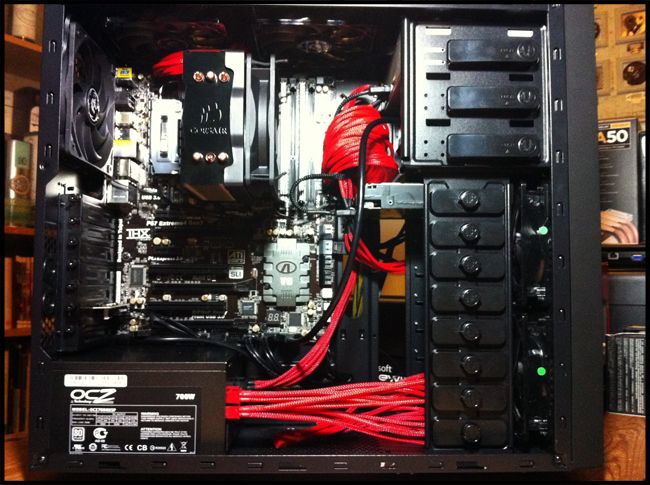
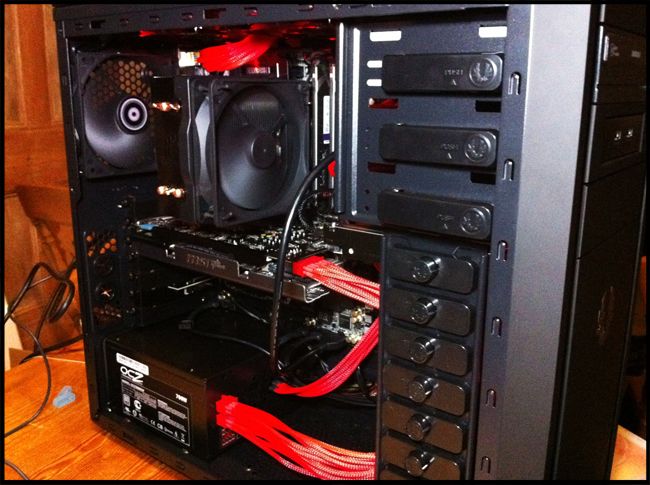
 . I'm just starting on the 24-Pin motherboard cable and hope to have that finished soon (8 pins in only 16 to go
  )
) 


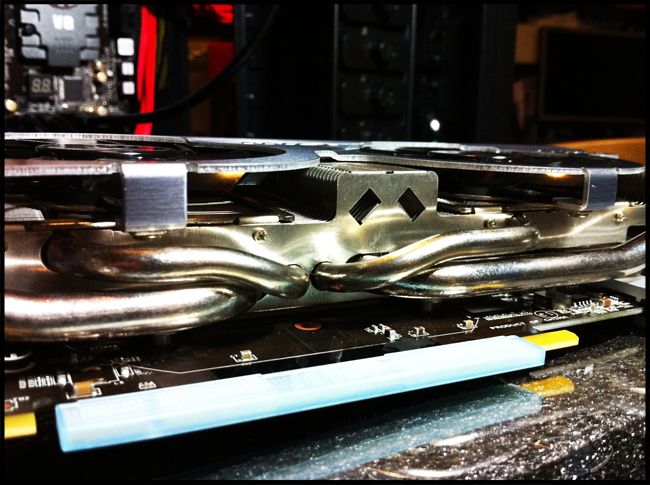
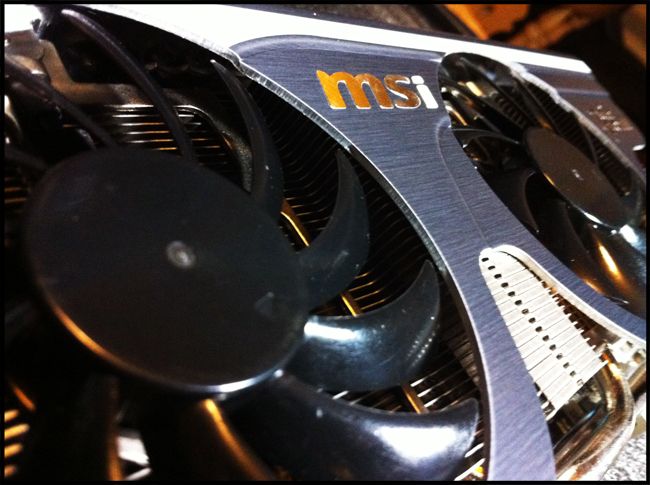
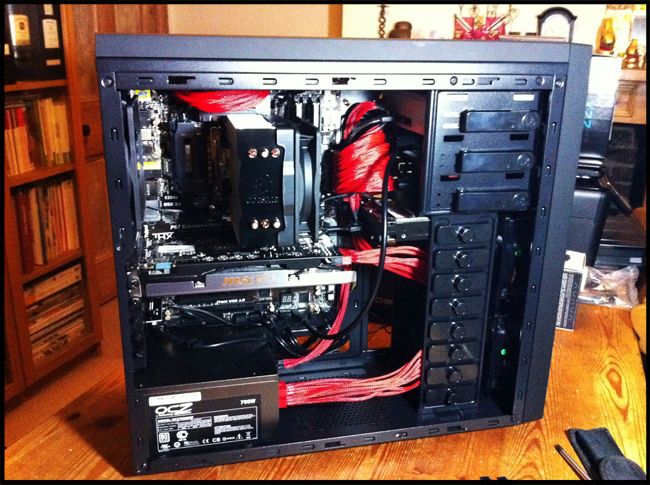
 INCREDIBLE! I can't recommend this card enough I love it.
")


") feel free to leave any comments and questions!
feel free to leave any comments and questions!