Silverstone TJ11 Carbon

Associate
Joined
27 May 2011
Posts
64
Location
netherlands


Sponsored by:


Hello my friends.

About 4 weeks I was doing nothing, My wife was getting crazy.
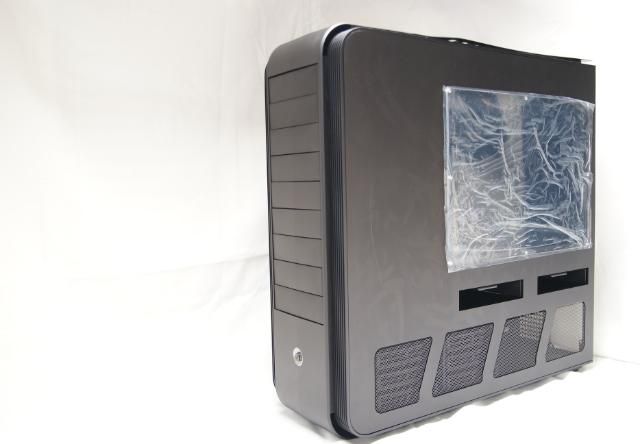
But now it is here ......... a new build, with a beautiful case, the Silverstone TJ11
When I first saw the case I had something like "I to want to mod this one"

I must admit that a number points are not so nice at this case.
This "negative" points I will certainly adjust. But they have also a lot of beautifull things renewed.
The main hardware and other materials

De hardware:

Case: Silverstone TJ11
PSU: Coolermaster 1200w
Motherboard: I’m not quite sure, but for the fitting and measuring, gonna use a EVGA Classified E759
Processor: i7 930
GPU: 3 x GTX 480
Memory: 6 x 2GB Corsair DDR3 1600
HDD: 2 x SSD 120GB And some sata

Cooling:

Water cooling of course, but have to gather and brainstorm what best suits the TJ
So it’s a bit of a gray area. But I have some great ideas.
For now:

2 x EK 360 radiator
EK HF Supreme plex
EK Ram cooler plex
BitspowerSilver shiny
Tygon tube Transparant
And more…….

Other products/ materials:

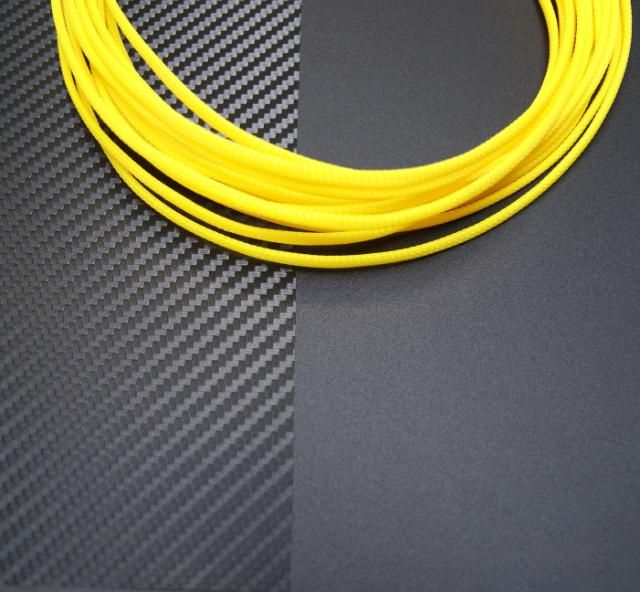
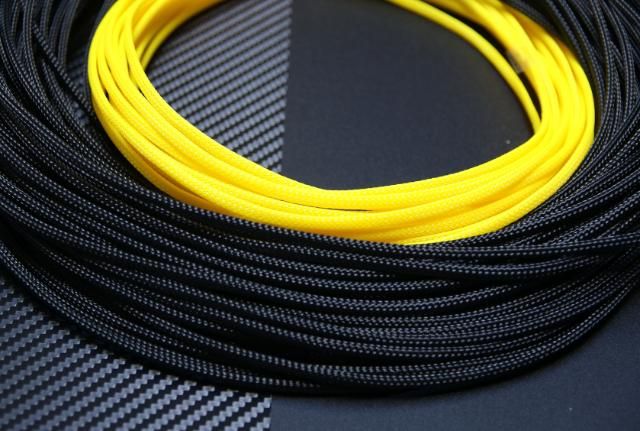
MDPC Sleeve, colors: Black and...........yellow
Carbon fiber film
SMD lighting I think, but not too much this time
Some Acryl, yellow and black

About what exactly will happen, I will not say too much for now. I have a lot of ideas;)

The beginning:

My hero the guy of GLS, delivered the package.
Luckily, he treats the case with love and the TJ is without damage.
It’s big, really big…………..but beautifull

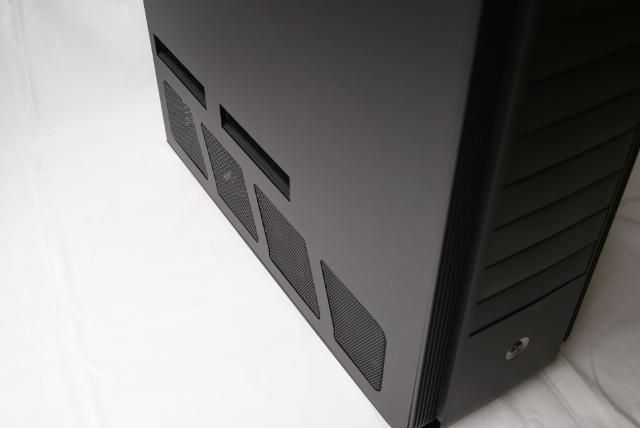
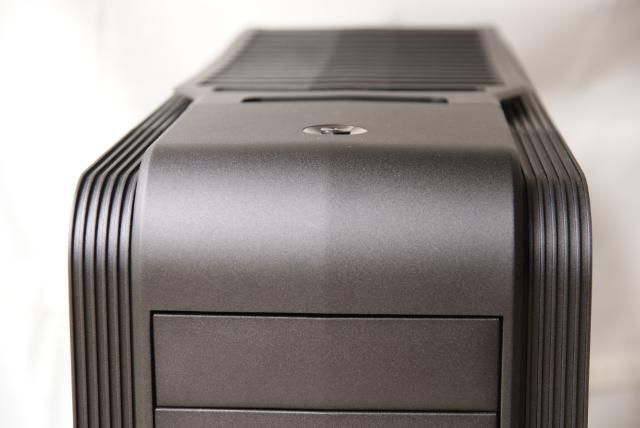
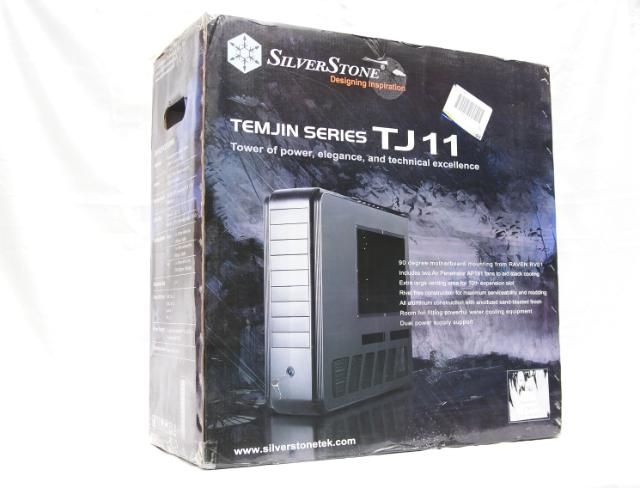
The Silverstone TJ11

The box
DSC09651.jpg


Out of the box

DSC09726.jpg


DSC09719.jpg


DSC09721.jpg


DSC09710.jpg


DSC09713.jpg


DSC09718.jpg


DSC09679.jpg


DSC09677.jpg


DSC09680.jpg


DSC09685.jpg


DSC09730.jpg


Inside

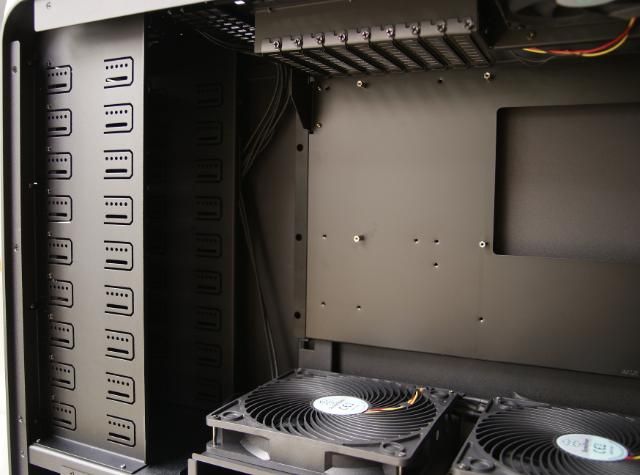
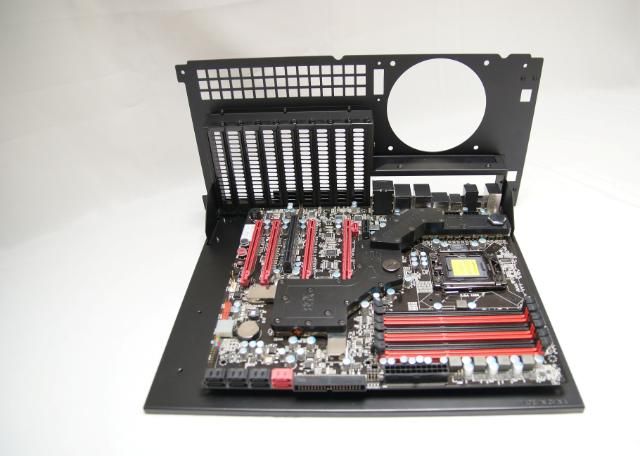
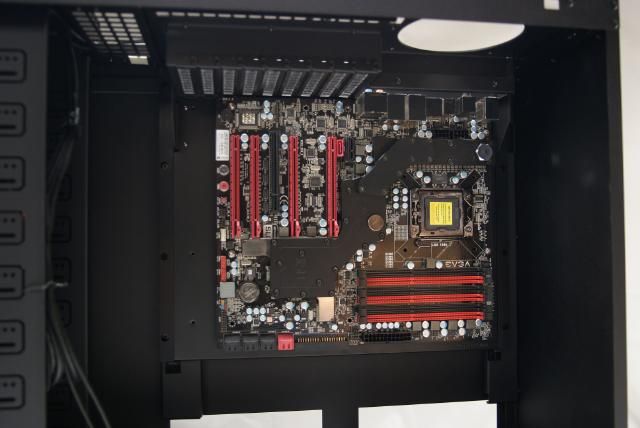
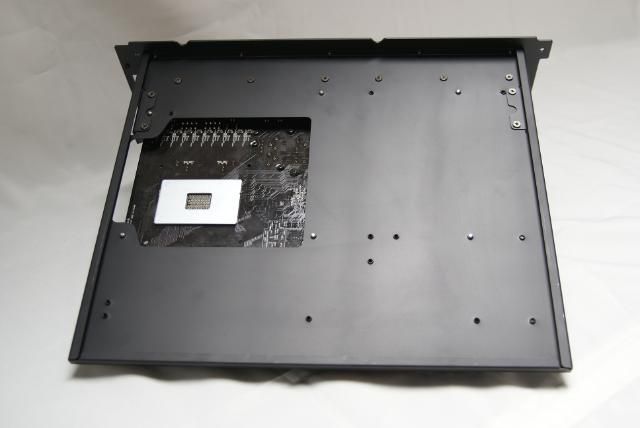
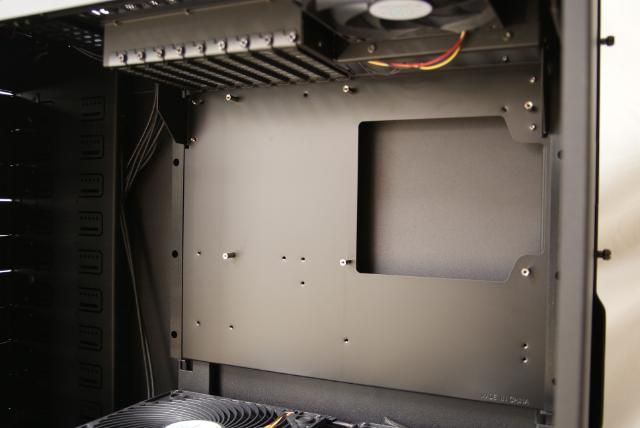
Top-mounted slide out motherboard tray
DSC09663.jpg


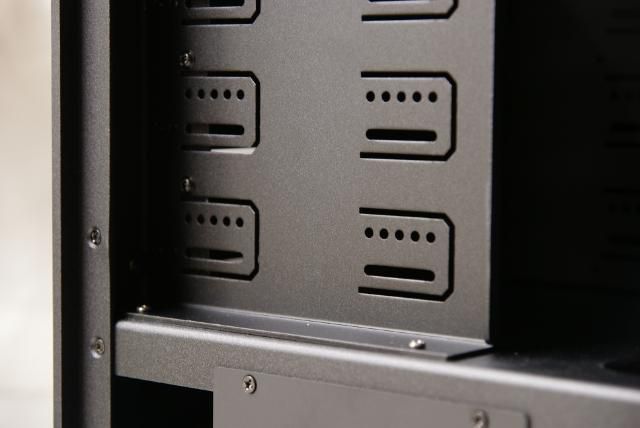
9 uninterrupted 5.25” drive bays

DSC09660.jpg


DSC09670.jpg


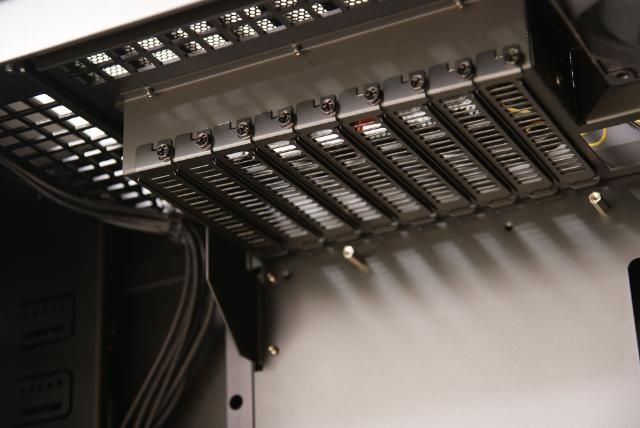
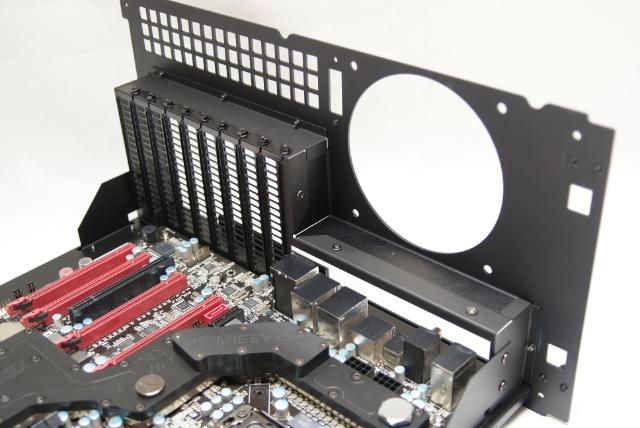
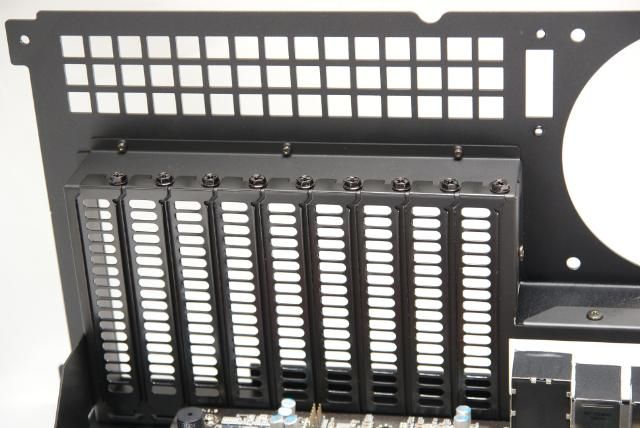
9+1 expansion slots

DSC09666.jpg


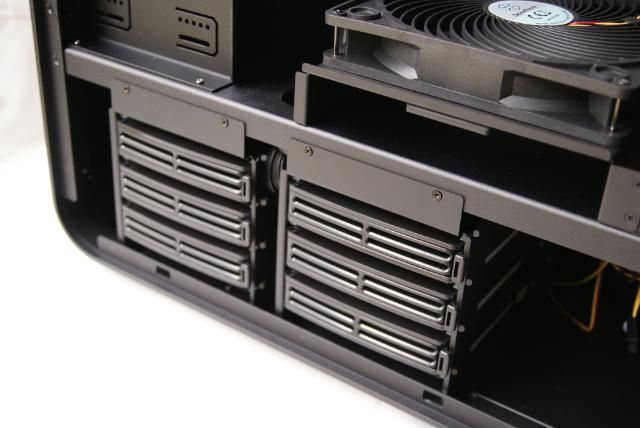
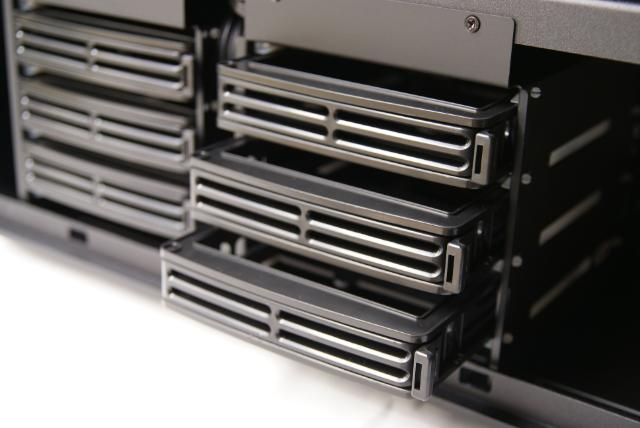
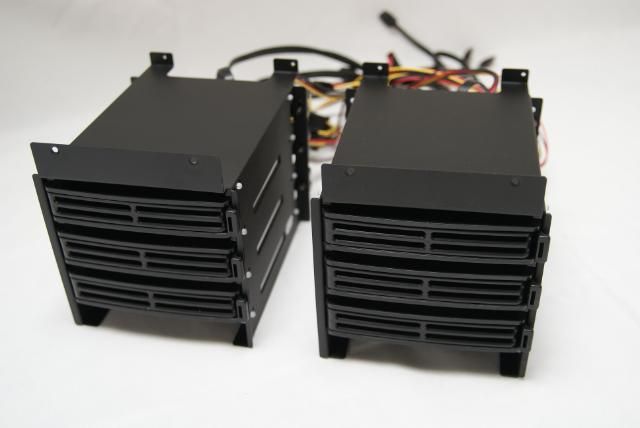
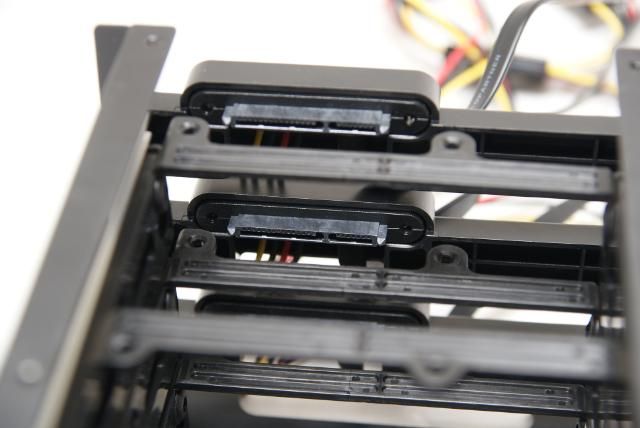
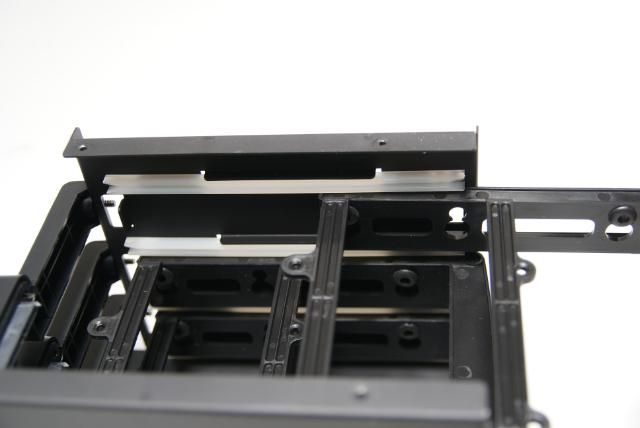
6 x 3.5” hard drive trays

DSC09657.jpg


DSC09671.jpg


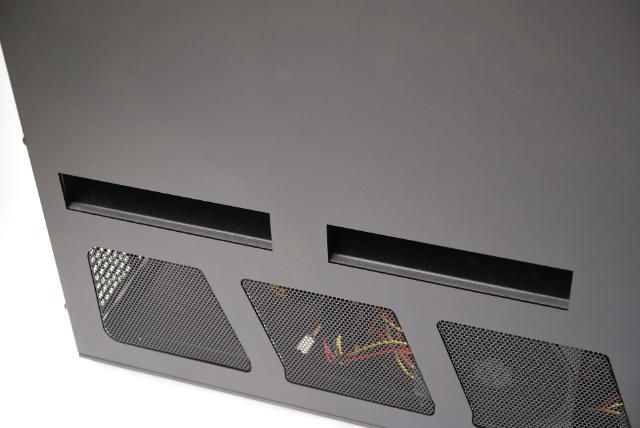
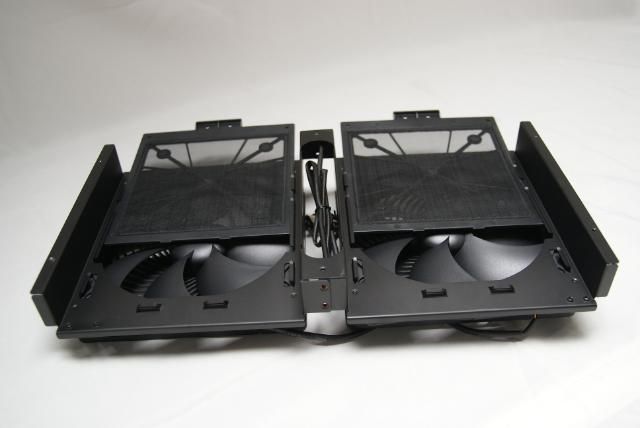
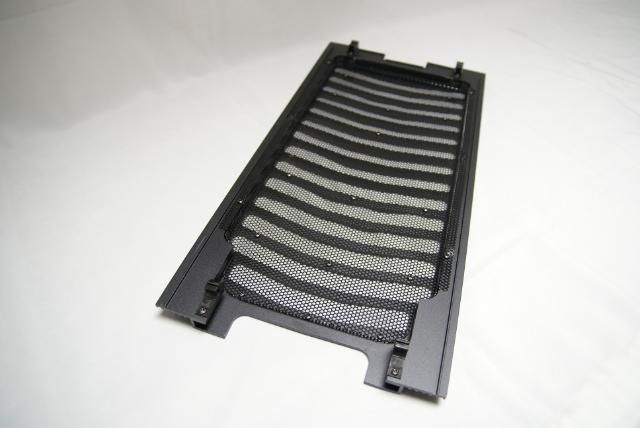
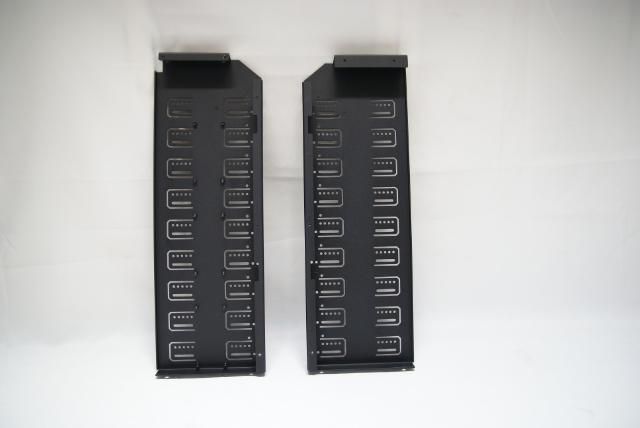
Dual see-through air intake vents

DSC09655.jpg


DSC09674.jpg


DSC09676.jpg


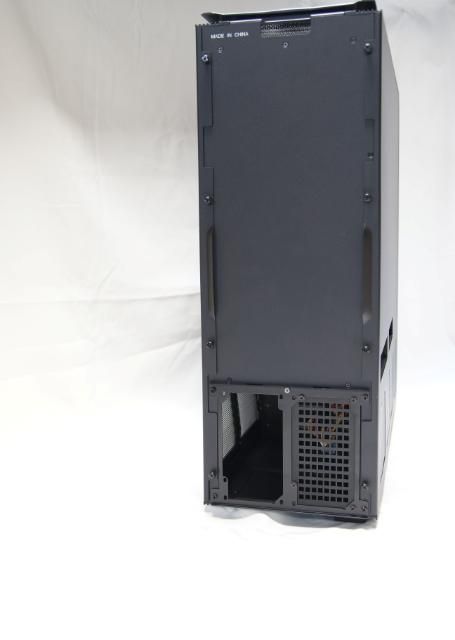
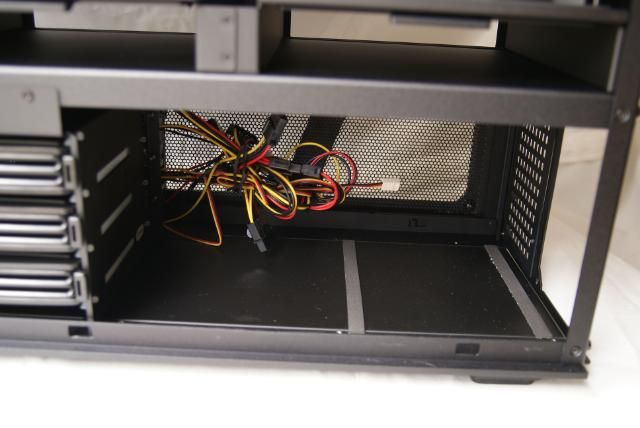
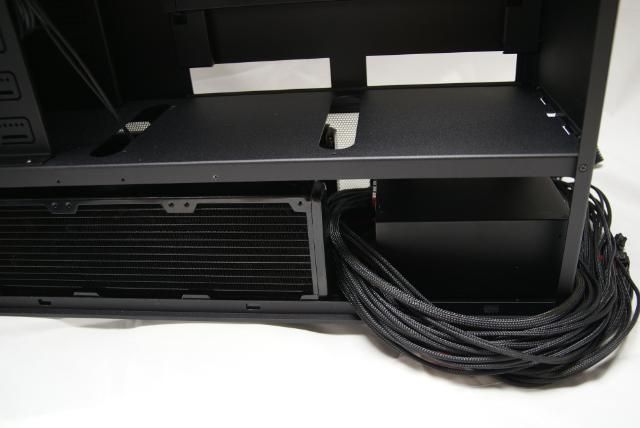
Dual ATX/PS2 PSU compartment

DSC09668.jpg


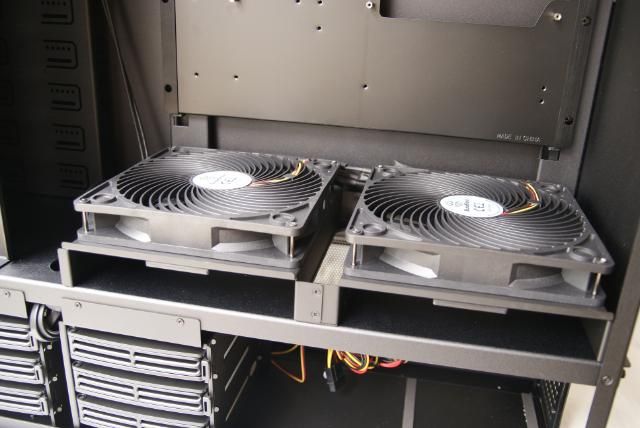
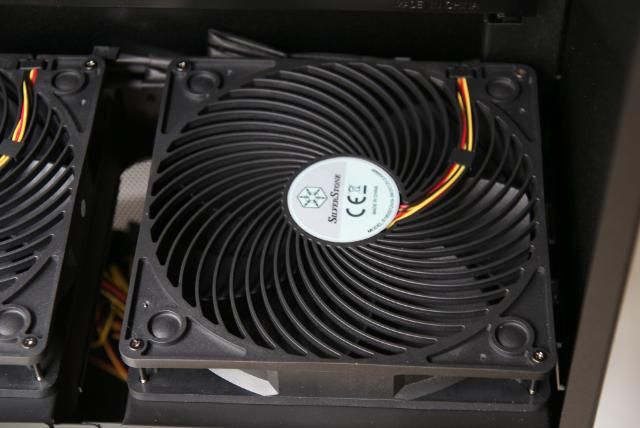
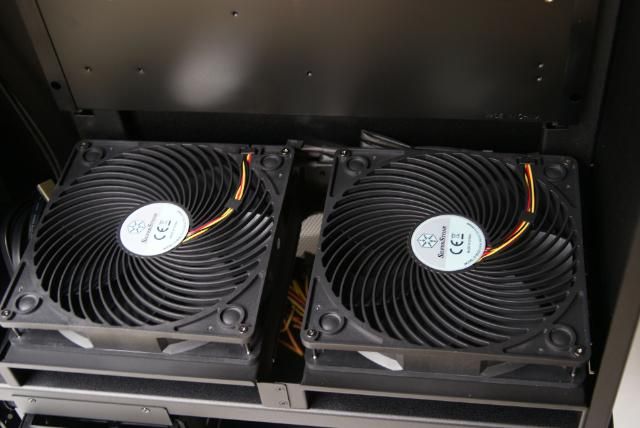
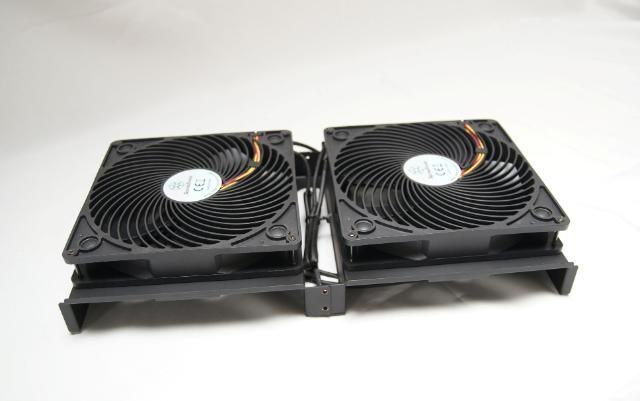
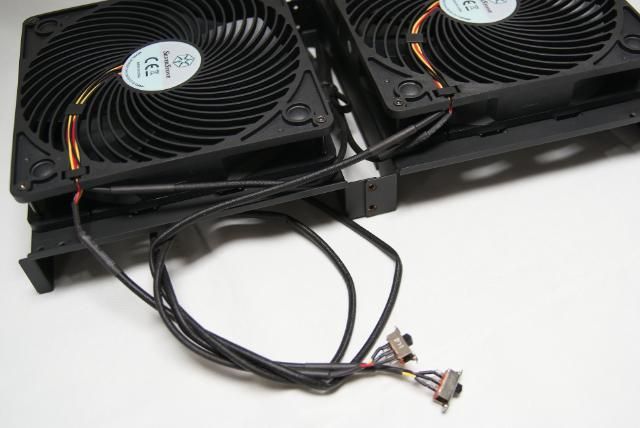
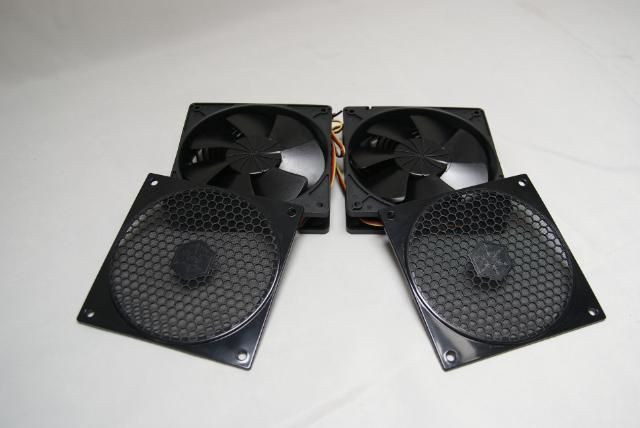
2 x AP121 fans with hot-swap adapters
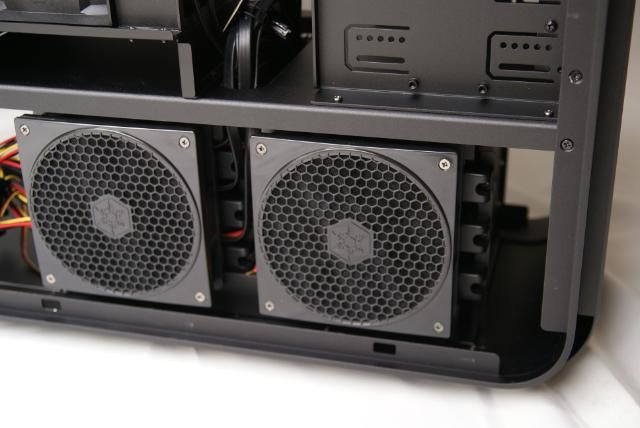
DSC09723.jpg


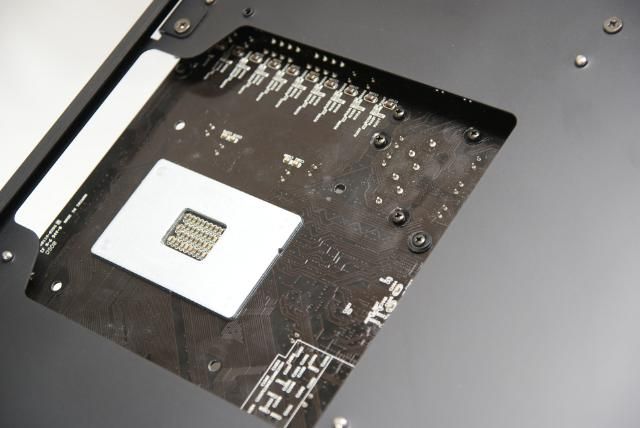
Extra large motherboard tray cut-out for CPU cooler backplates
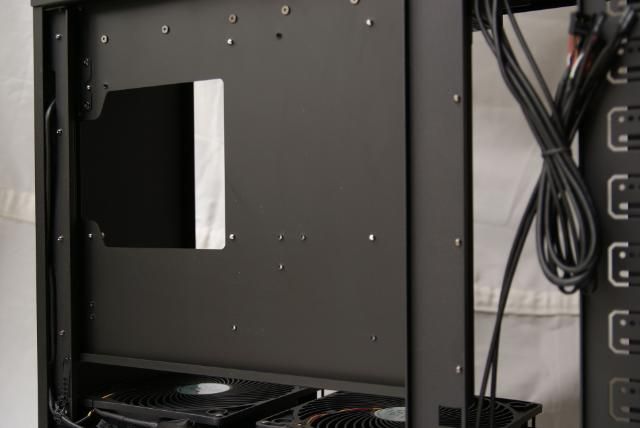
DSC09725.jpg


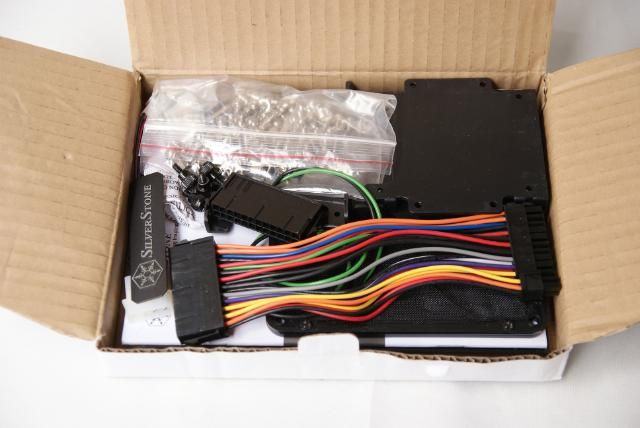
And a little box with small stuff

DSC09691.jpg


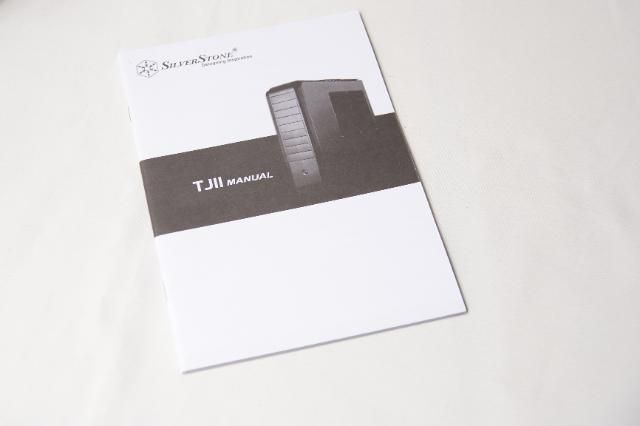
Manual……….lol

DSC09701.jpg


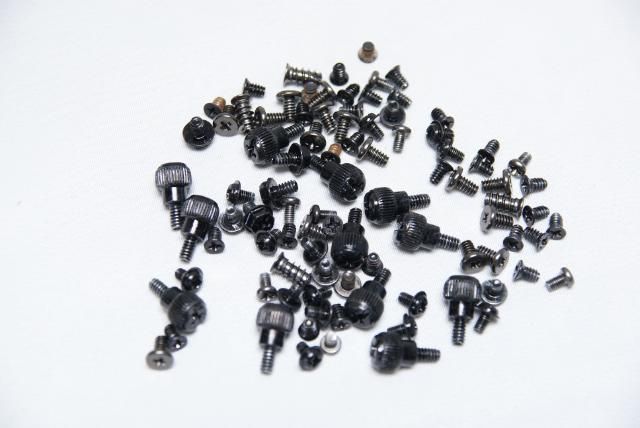
Fasteners, unfortunately silver not black. Missed opportunity
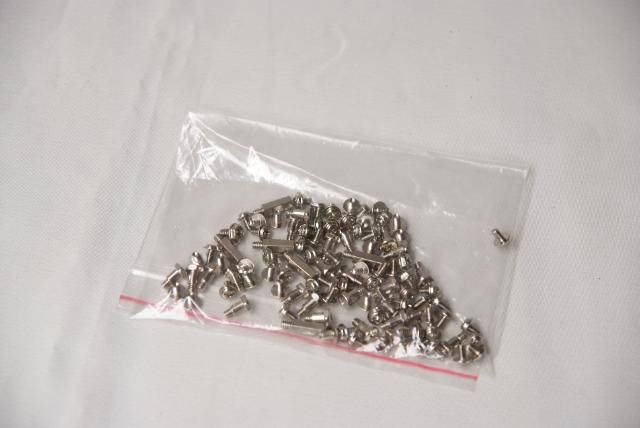
DSC09697.jpg


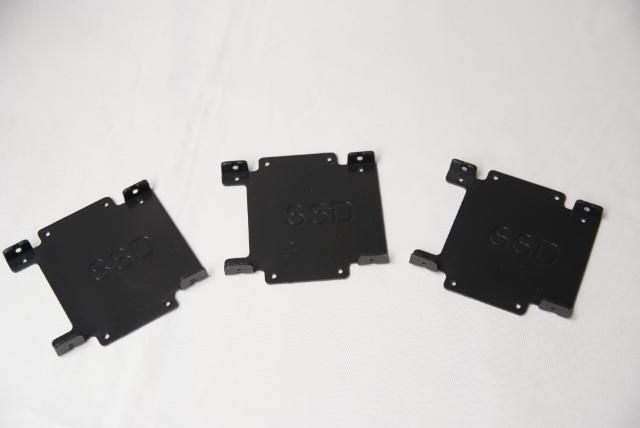
SSD Brackets

DSC09692.jpg


Horizontal mount bracket for the PSU

DSC09694.jpg


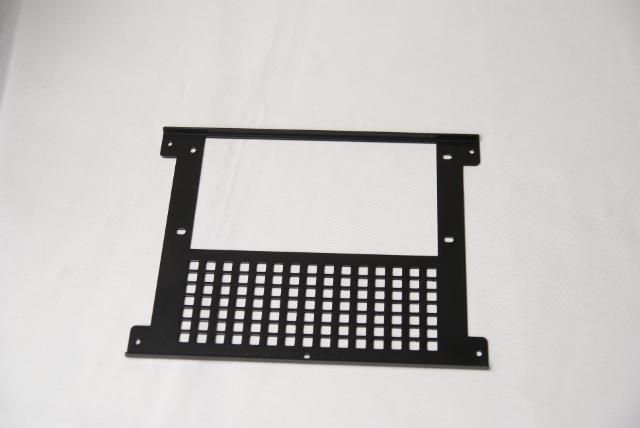
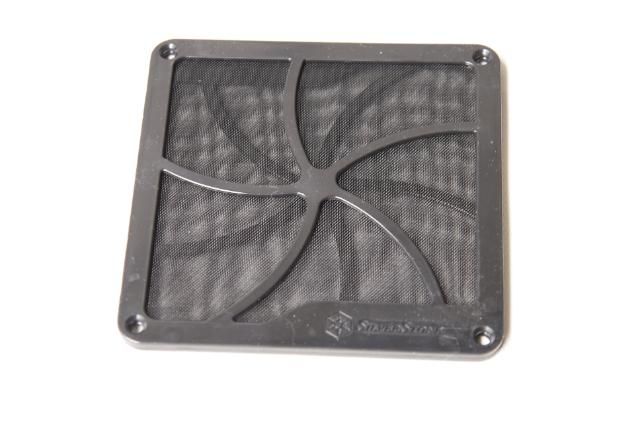
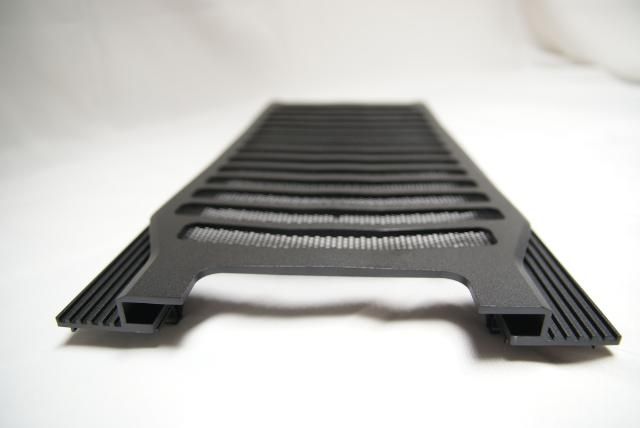
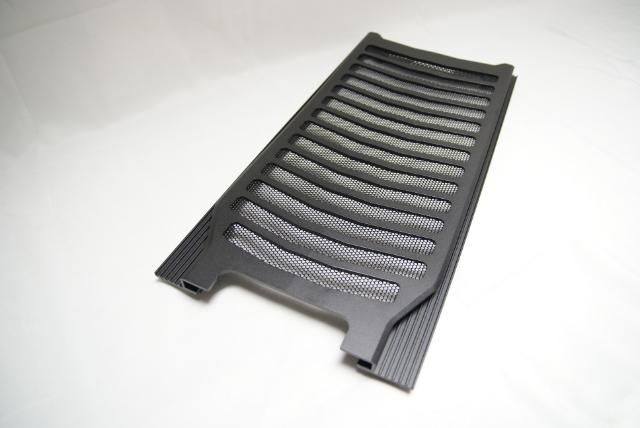
Filter

DSC09704.jpg


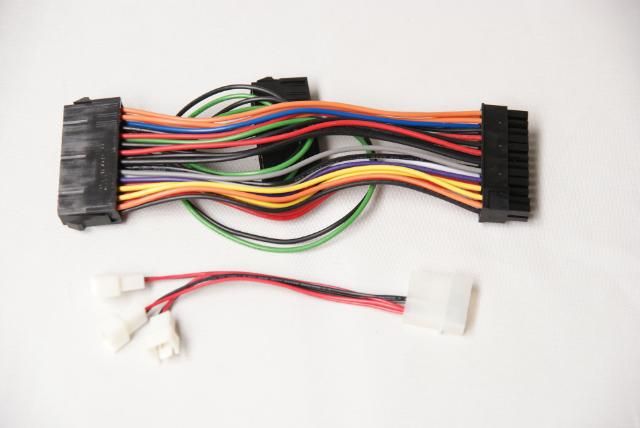
PSU cable

DSC09708.jpg


And a Silverstone logo for on the case or something. could laugh about this
DSC09703.jpg


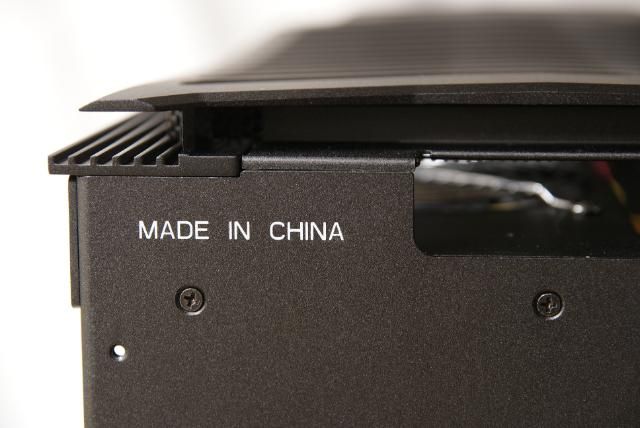
Because the painted this on my beautiful expensive case
DSC09682.jpg


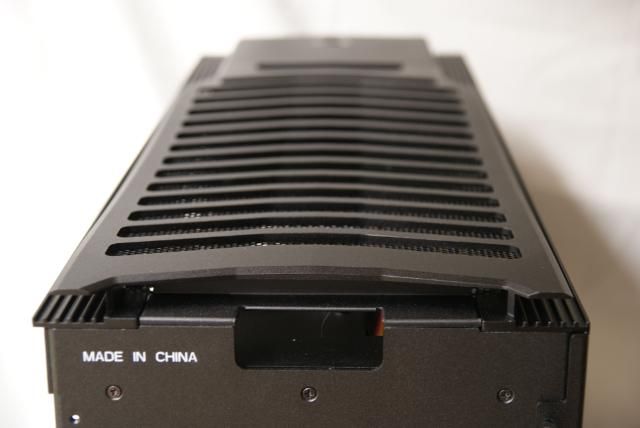
Do not mind that it’s made in China, but please don’t do this anymore
This was the case step by step. next challenge is to brainstorm how to install the various components.
New case, new challenges I love it :clap: ............... to be continued;)

Grtzzz.
 
Last edited:
Very nice case, one question,

What else was included with the case? as I saw a video where they visited Silverstone head quarters for the first look at the first production case and they said something was a secret that came included in the box.
 
Hot damn, bout time we had one of these cases :D. Also your wife gets annoyed when you're not doing a casemod :p?!
 
subbed too
close to getting one of these cases and i am interested to see if you have any problems and how it comes out.
Shame about the made in china bit though:)
 
What isn't?

We'll soon be getting to the point that manufacturers will be highlighting when things aren't Made in China.
 
What isn't?

We'll soon be getting to the point that manufacturers will be highlighting when things aren't Made in China.

Think he meant the label being printed onto the case instead of in a sticker.

Hard for the case not to be made in China considering that Silverstone are a Chinese ('Taiwanese') company :p.
 
Made in China is a killer! lol
Shame they haven't come up with something cheaper and smaller for all that don't need WC and so many HDDs...
 
thnx you guys, the China thing is coming off, lol


Update: dismantling the TJ

What a pleasure, I didn’t need this today. No rivets in this case

DSC09823-1.jpg


Only used this one

DSC09825-1.jpg


Have almost the entire case apart and this is what’s left

DSC09806.jpg


First removed the air intakes what was quiet easy apart from one thing

DSC09758.jpg


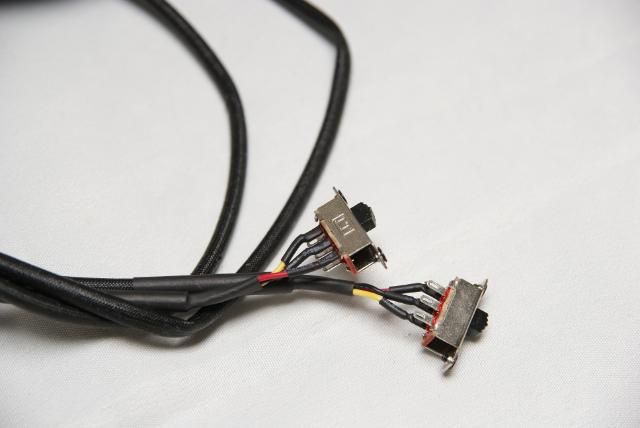
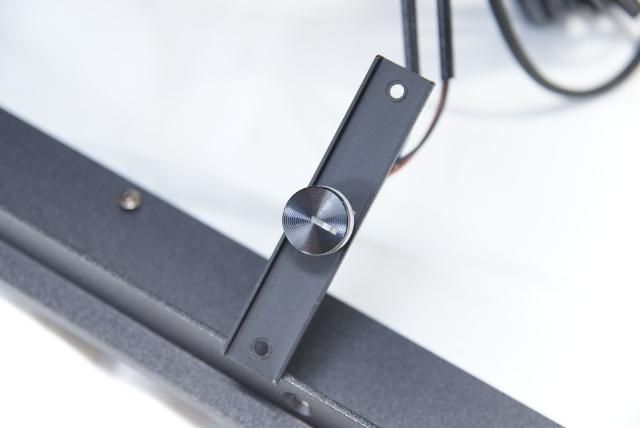
The speed controllers on top are not with a connector, so had to remove it from the case

DSC09761.jpg


DSC09760.jpg


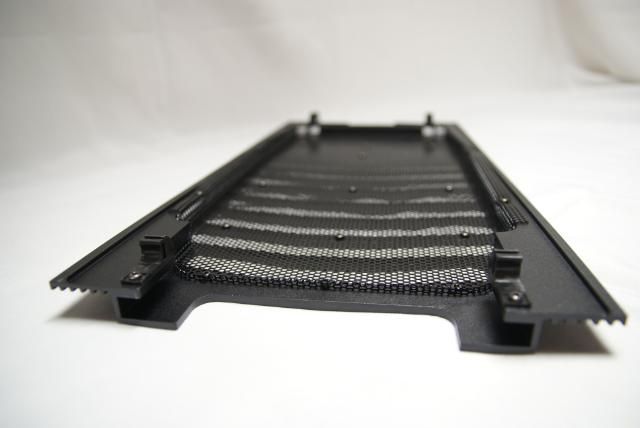
Back side with the filters

DSC09763.jpg


Hotswaps also removed

DSC09754.jpg


These will still be used

DSC09751.jpg


DSC09756.jpg


The fans from the bays

DSC09766.jpg


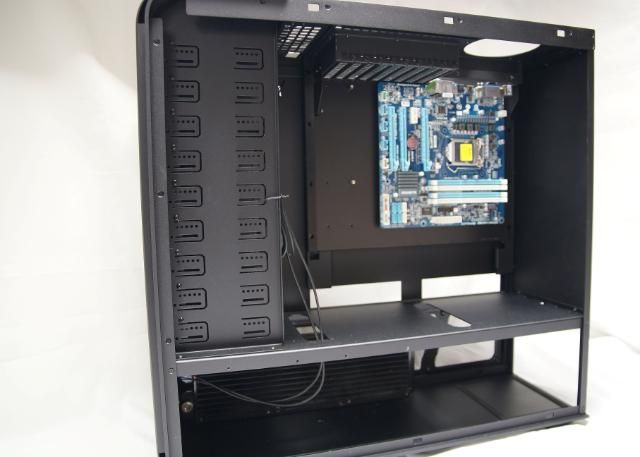
When this was out, had playtime with some motherboards
Find the board

DSC09738.jpg


Small isn’t it, can you see it?
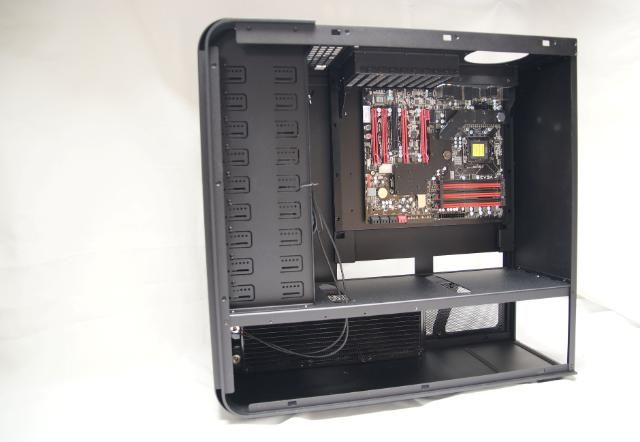
No, not this one......... but for now this one

DSC09742.jpg


Still is a nice motherboard with the EK blocks. Maybe it willstay with some changes to the red, but I’m still not sure

DSC09776.jpg


DSC09749.jpg


Back of the tray. Enough space for swapping the backplate

DSC09783.jpg


DSC09784.jpg


Enough slots

DSC09777.jpg


DSC09781.jpg


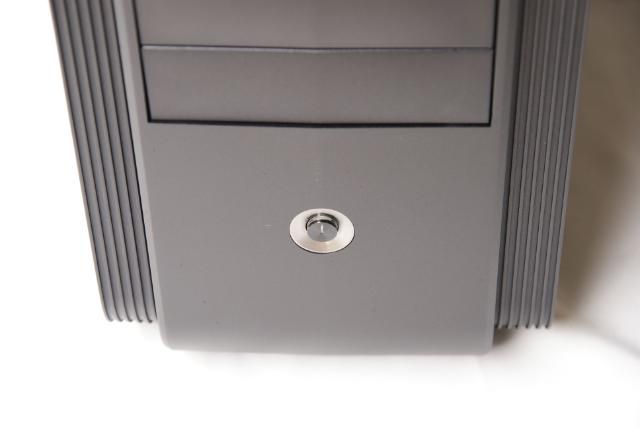
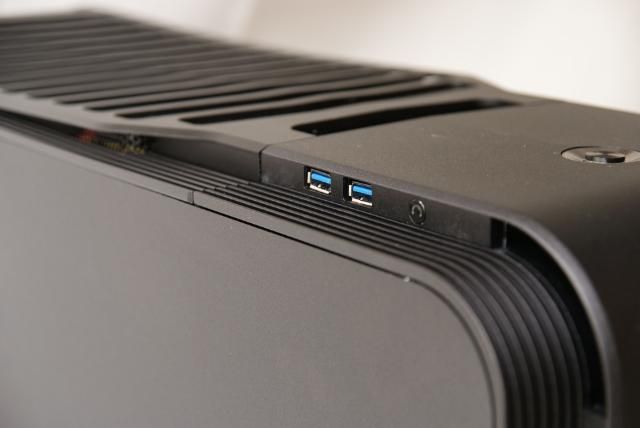
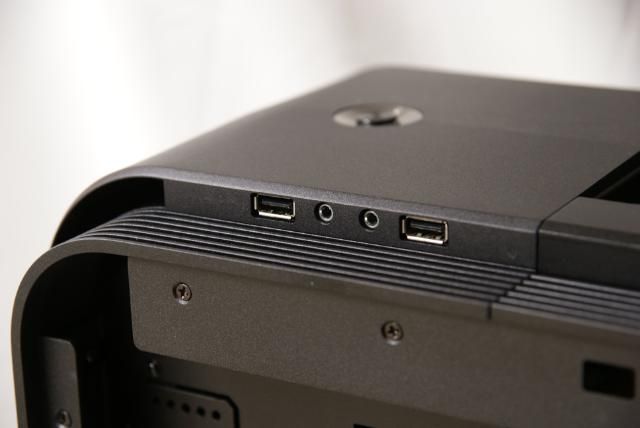
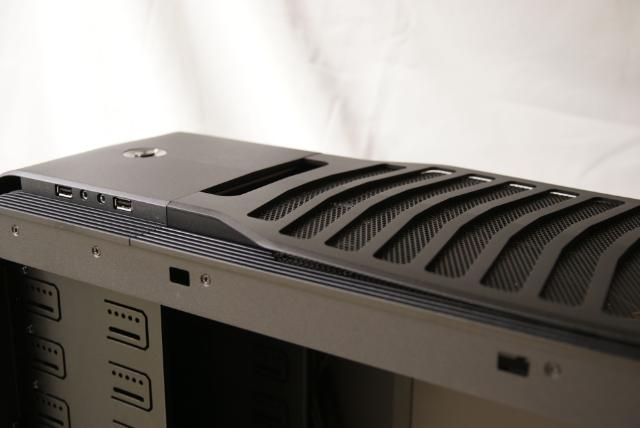
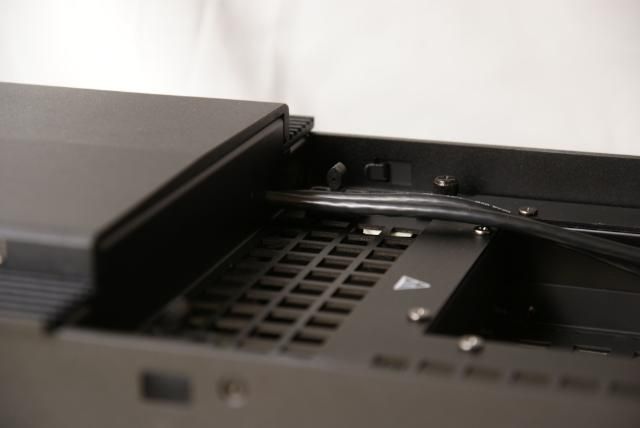
Continuing the dismantling. The top panel is simply push / click, but it’s a very nice design, therefore some pics;)

DSC09774.jpg


DSC09770.jpg


Other side

DSC09773.jpg


DSC09771.jpg


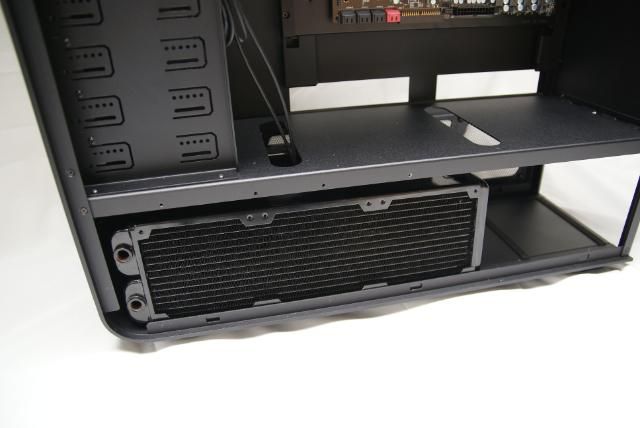
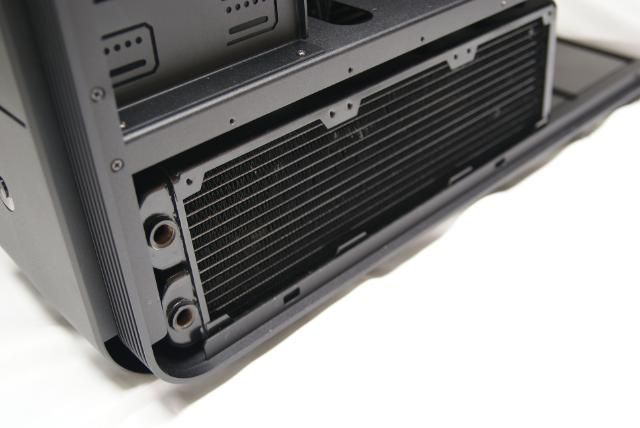
Quick look at how it’s gonna be with a 360 radiator

DSC09744.jpg


DSC09745.jpg


PSU in..........lots of space :)

DSC09746.jpg


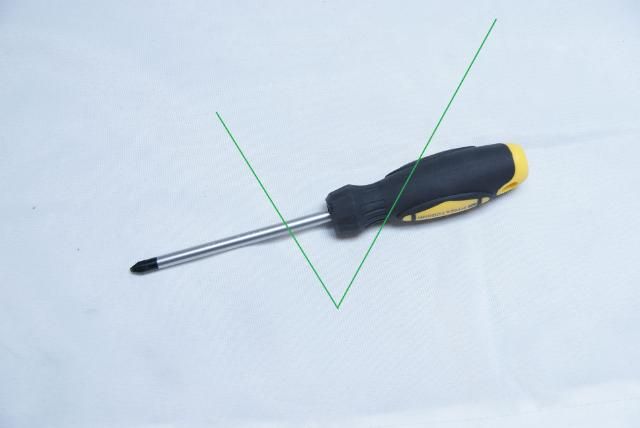
Further......still with my Phillips screwdriver, the drive bays. Very easy to disassemble

DSC09789.jpg


Had to disconnect the power switch because it is connected to the switch on top

DSC09802.jpg


DSC09799.jpg


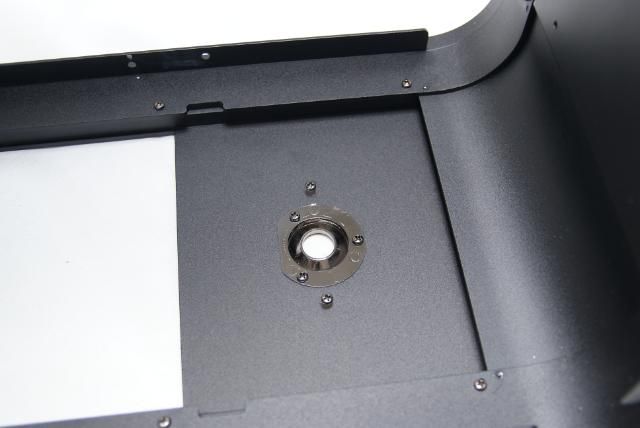
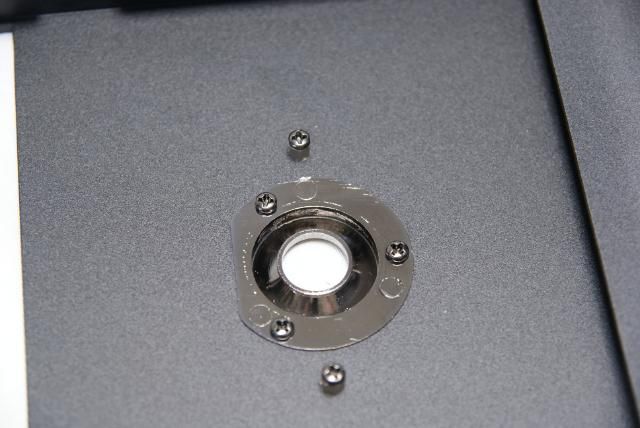
Nice hole can be adjusted

DSC09800.jpg


Omg where is the TJ?

DSC09792.jpg


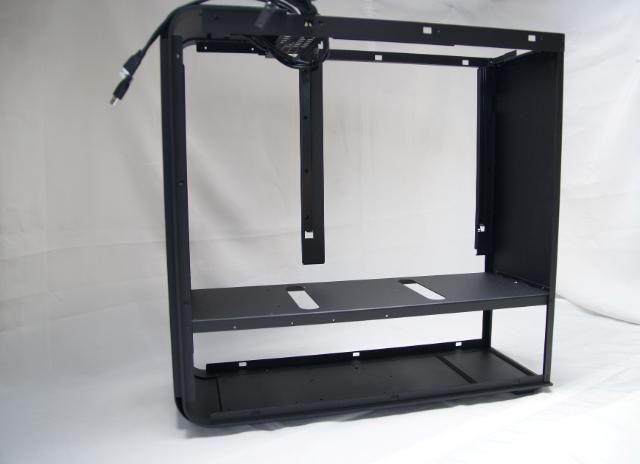
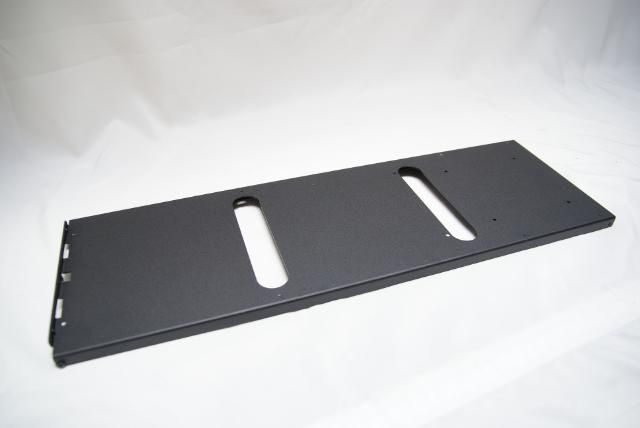
Midplate. This was a bit more difficult, I had to remove the motherboard slide
But still managed without too much trouble

DSC09803.jpg


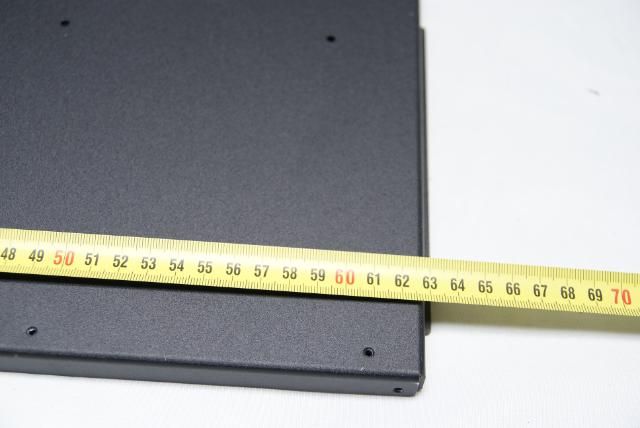
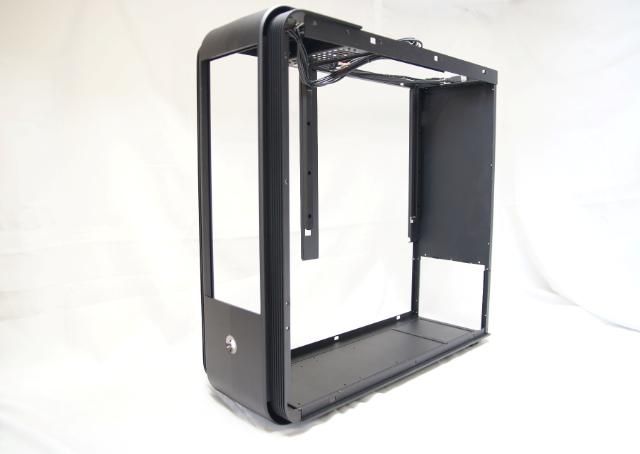
It’s huge ……..63 cm

DSC09805.jpg


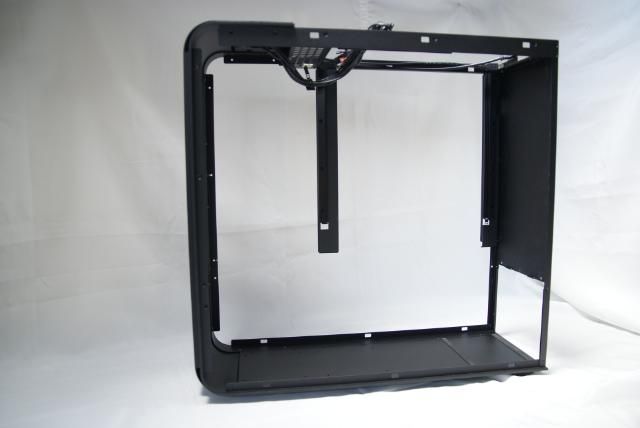
Hmmm, not much left of it

DSC09795.jpg


DSC09798.jpg


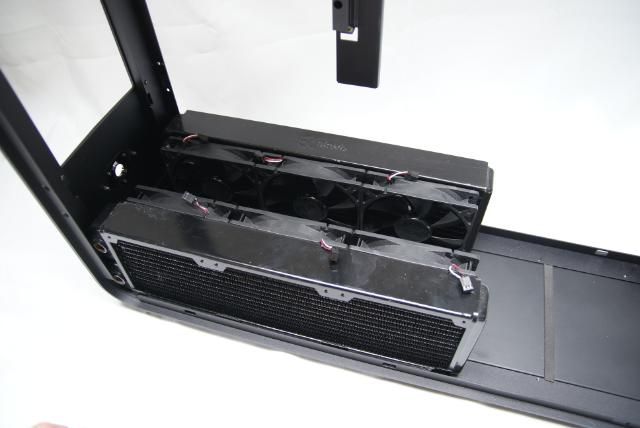
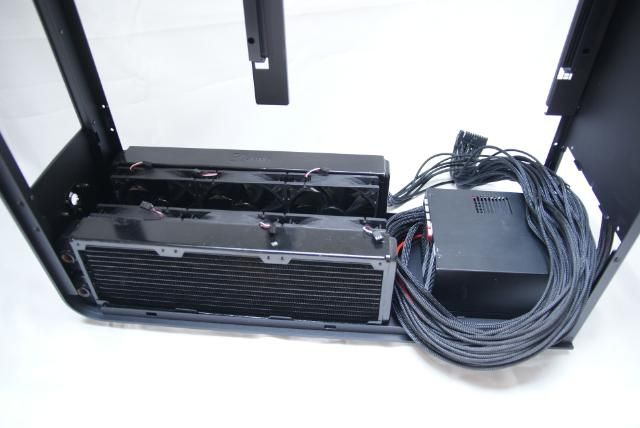
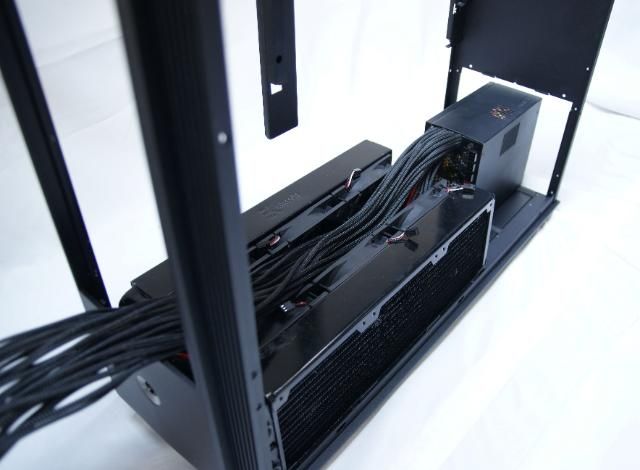
And again placed the 2 radiators inside with the fans on the inside pulling air through the radiators

DSC09807.jpg


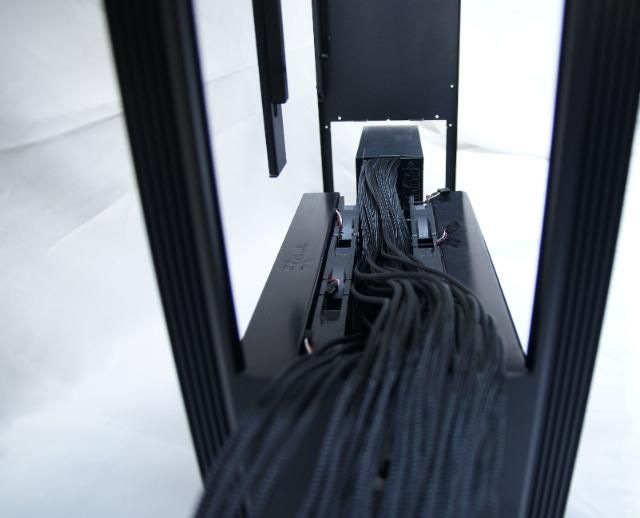
Like this I have enough space between radiators for the tubes

DSC09811.jpg


psu in it. Not the psu that is finally coming in, but I had this one lying around

DSC09812.jpg


DSC09818.jpg


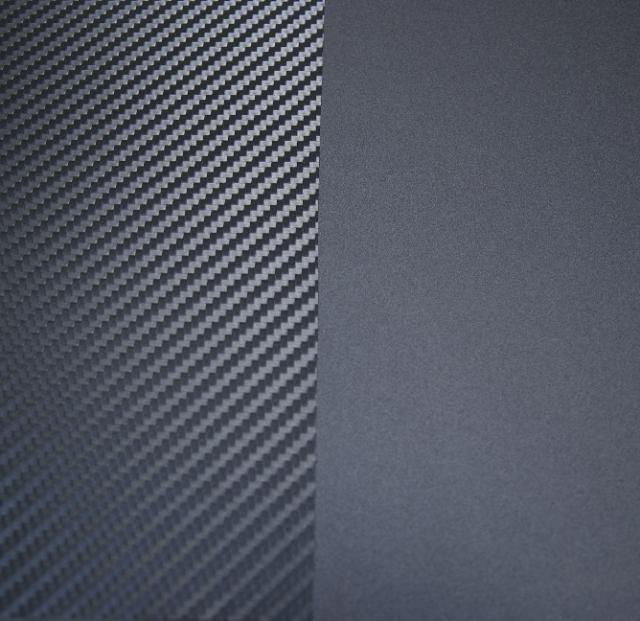
And some pictures of the color combination
Carbon and black

DSC09827.jpg


Yellow sleeve with it

DSC09828.jpg


And always nice..........the black one

DSC09846.jpg


Looks nice!!!

Just ordered some stuff for the case itself. I will keep you informed ;)
Grtzzz.
 
Last edited:
Back
Top Bottom