You are using an out of date browser. It may not display this or other websites correctly.
You should upgrade or use an alternative browser.
You should upgrade or use an alternative browser.
Silverstone TJ11 Carbon
- Thread starter kier
- Start date
More options
Thread starter's postsAssociate
- Joined
- 28 Oct 2010
- Posts
- 2,446
- Location
- Colchester
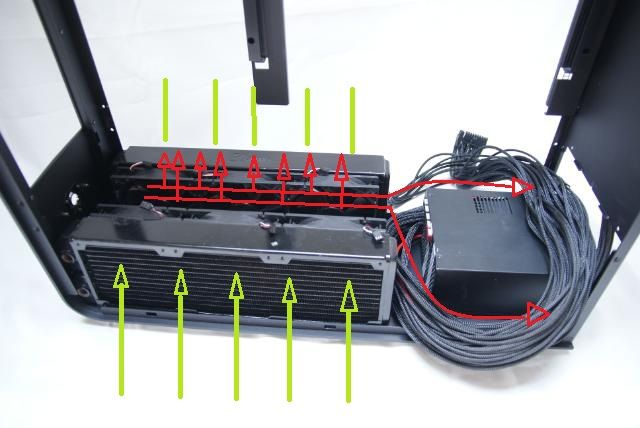
looks really good but looks really tight with 2 rads and the psu in there, what about the ait flow?.
That black and yellow looks amazing
Thats exactly what I was gonna say!
That black and yellow looks amazing
Thanks, looked better then I expected
looks really good but looks really tight with 2 rads and the psu in there, what about the ait flow?.
Pulling air true the radiators, air going up and to the back, maybe ganno make air vents in the bottom
Msi should give you a big bang marshal, or evga should give you an sr2
That would be great but.............
EVGA has thanked for the interest for their products
Msi has not replied yet


Update: First carbon practice
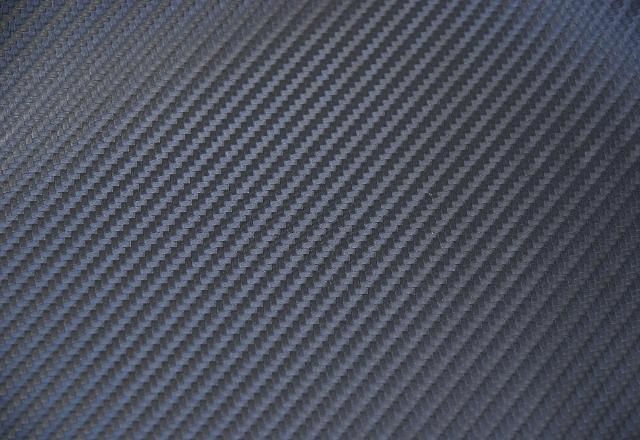
3M Di-Noc CARBON FIBER FILM
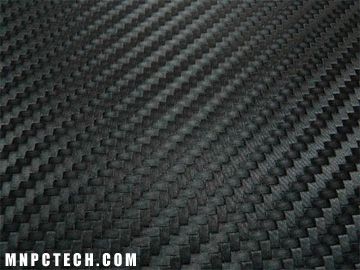
Yesterday been playing with the carbon film
To test my skills, I have coated my classified block with the film
before
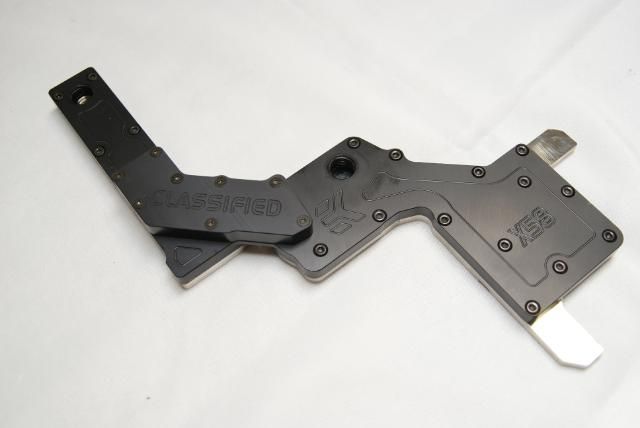
And after
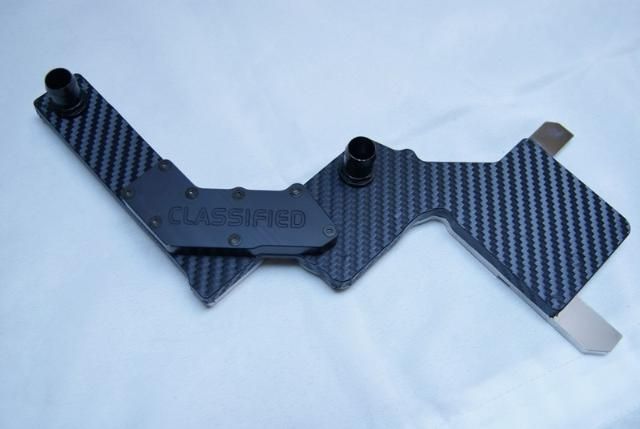
Also my Supreme HF coated. Again before
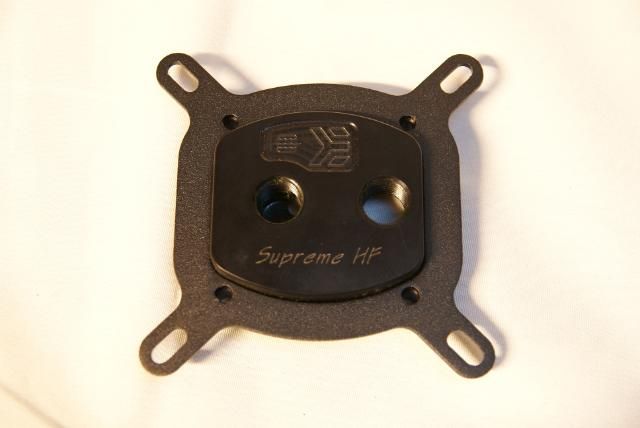
And now with carbon look
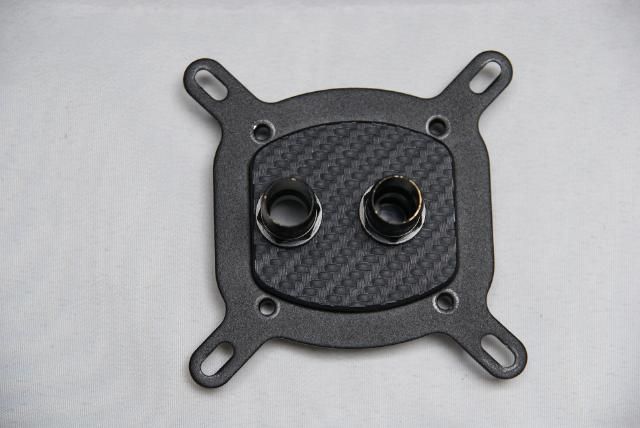
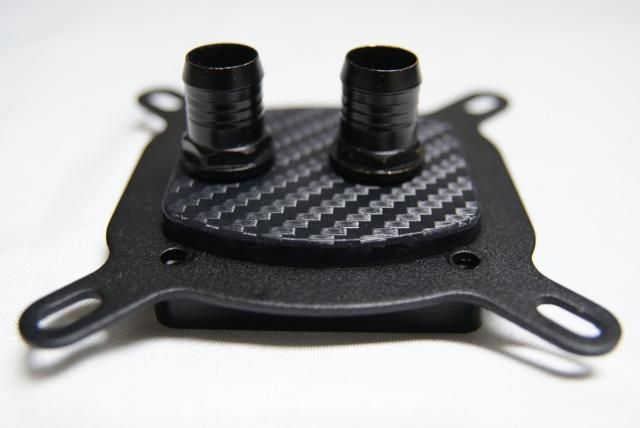
Put everything on the motherboard
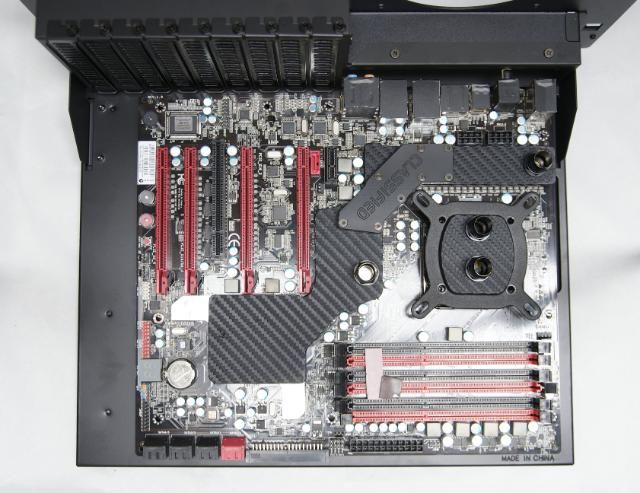
Also did the laptop
Just kidding
The waiting is for the materials now, but luckily I have some stock
For the radiators I’m gonna make a sort of bracket, from beginning to end of the case, at least on the visible side
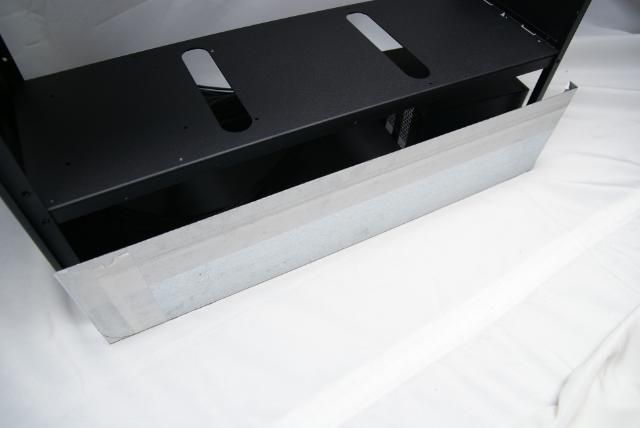
other side gets an open area for cables and other purposes
Piece of iron plate with the angle to cut
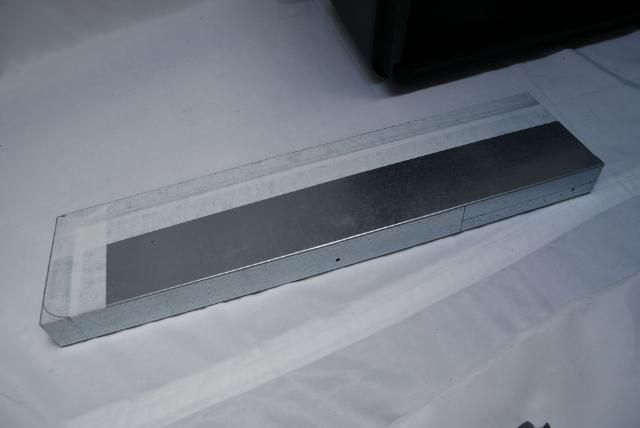
Round edge marked
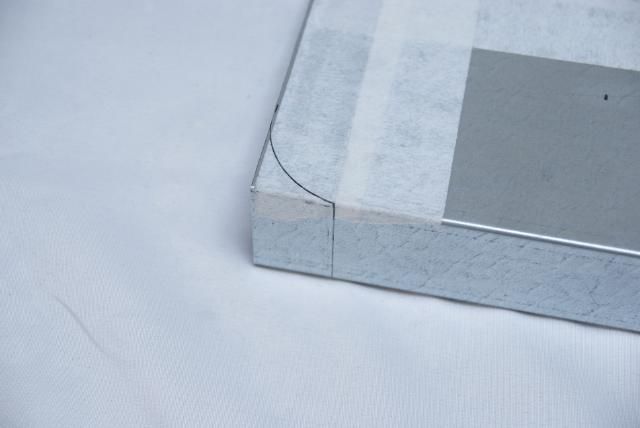
Cutout for the psu
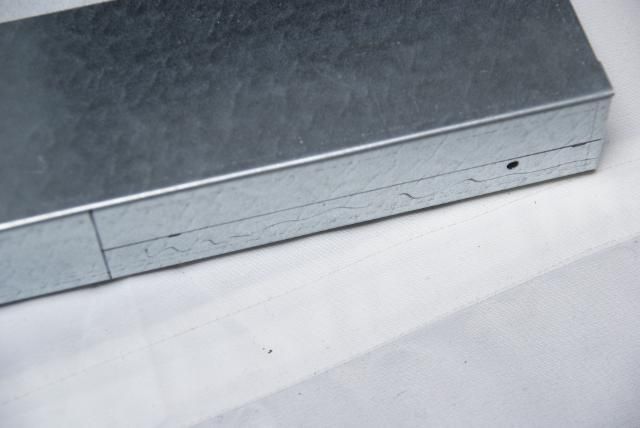
And here the custom plate, perfect fit
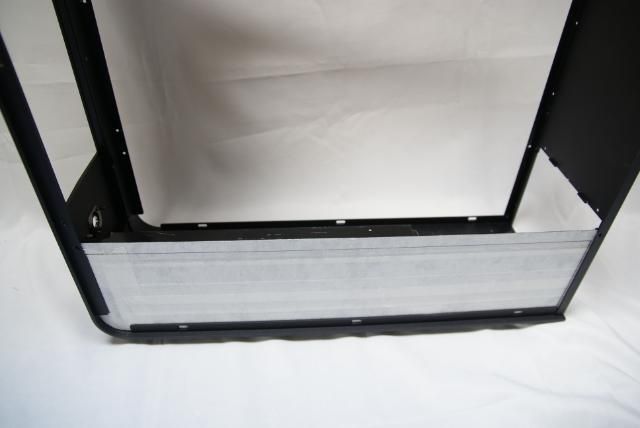
Opening made for the radiator, so that you don’t see the mounting holes and just straight to the air intake of the sidepanel
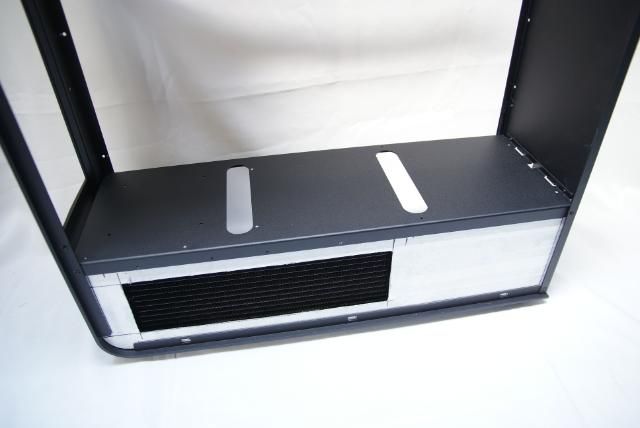
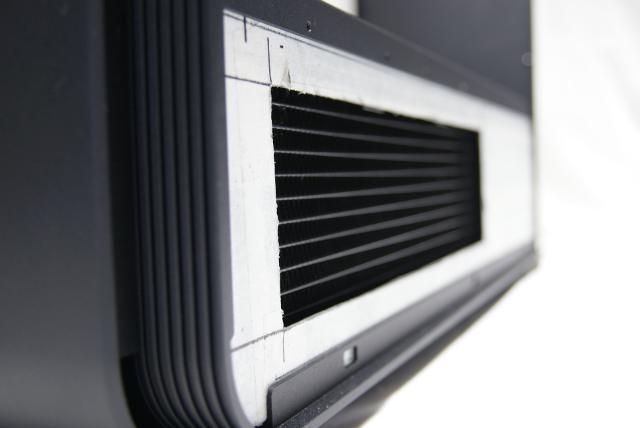
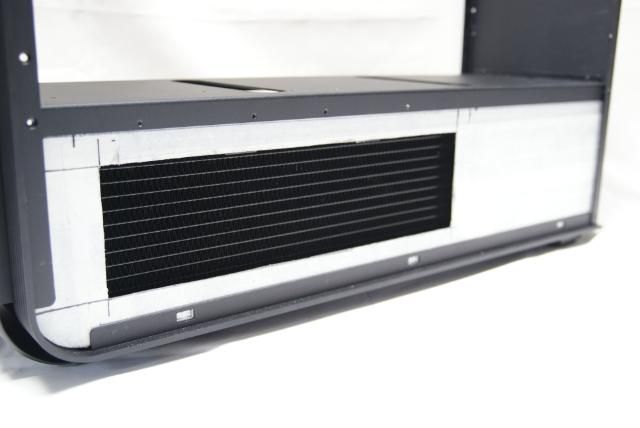
Sidepanel on it
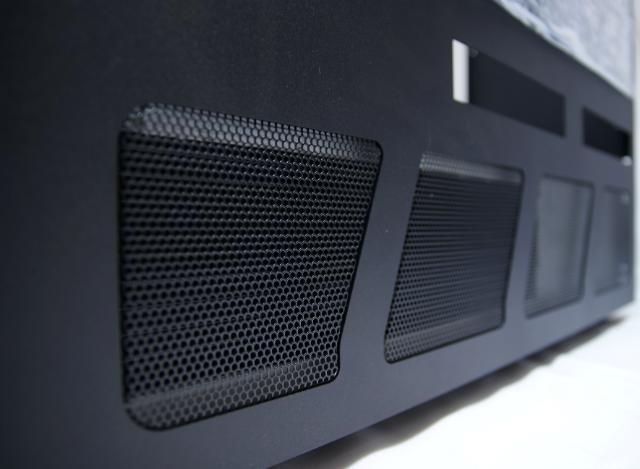
Rear intake is gonna be closed and the whole will be covered with carbon
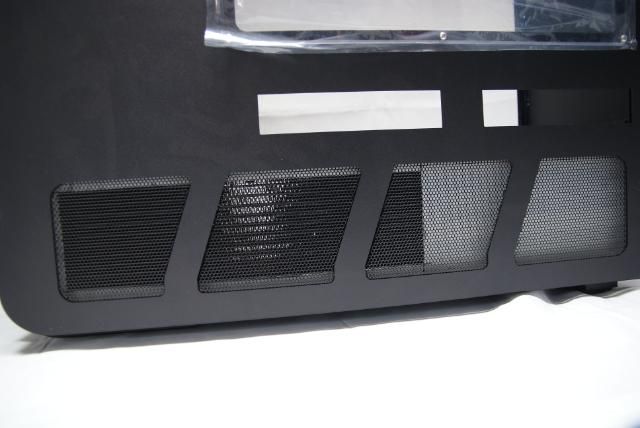
That’s it for today.
Bye bye
Last edited:


Update: Front plate
Fortunately i’ve received some products this week, modding time !!!
To place some hdd’s put the hdd bays together
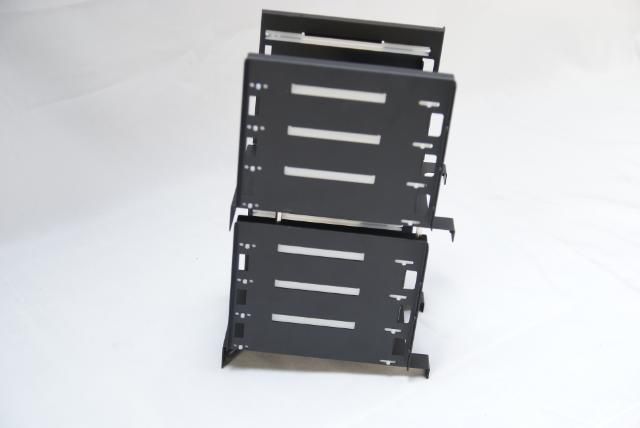
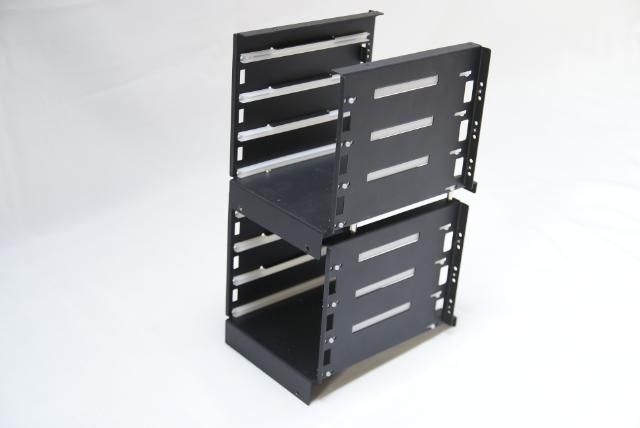
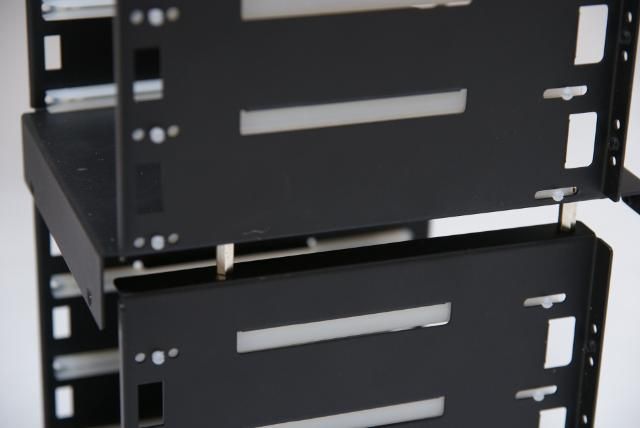
To get this build a little over the top I’m gonna put in 3 BP hdd coolers. A while ago I had two from L3p bought for a future build, but this is the perfect case for the coolers. So This week i’ve bought the third. L3p Thanks man!
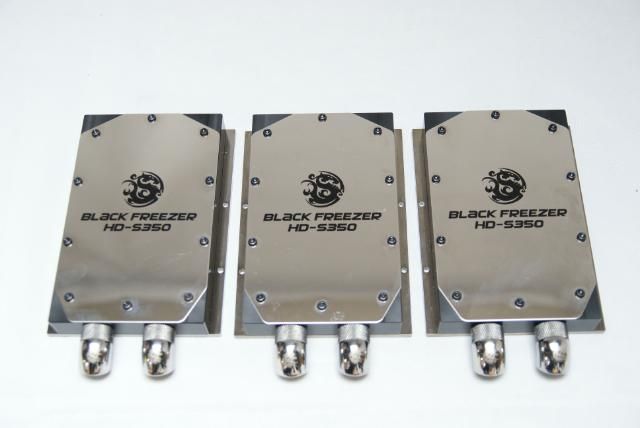
Later on hdd's underneath with some support at the sides
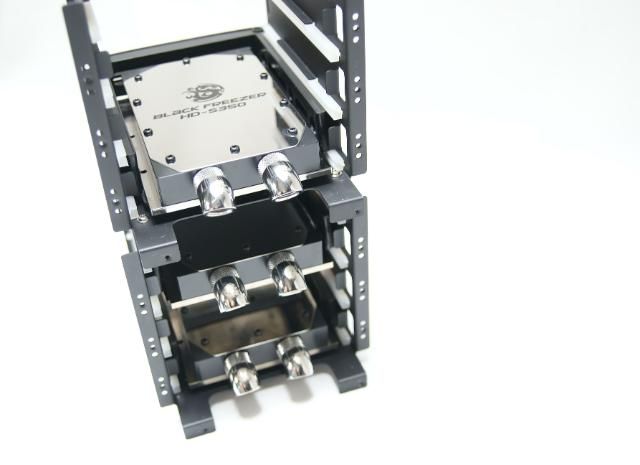
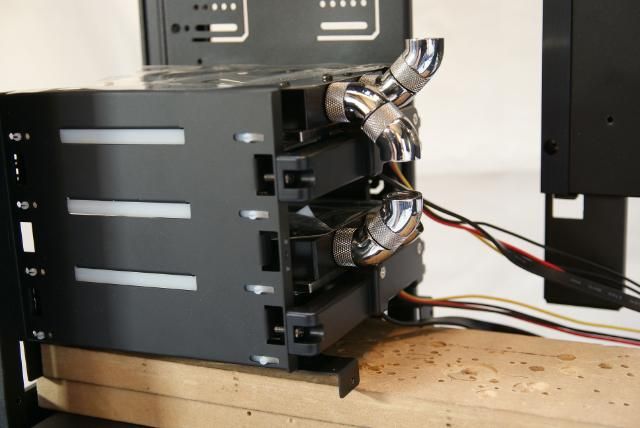
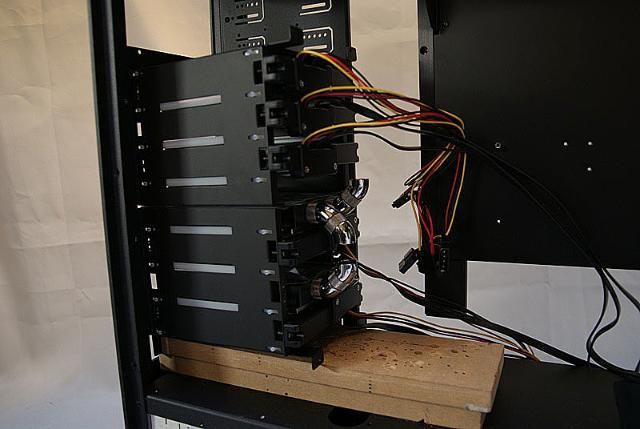
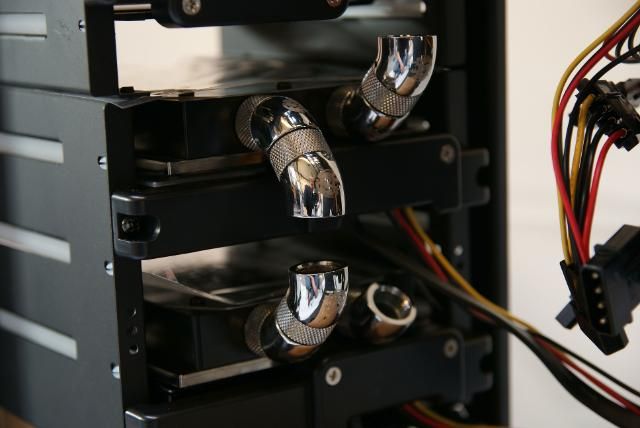
The bay is accessible and gonna be placed like this
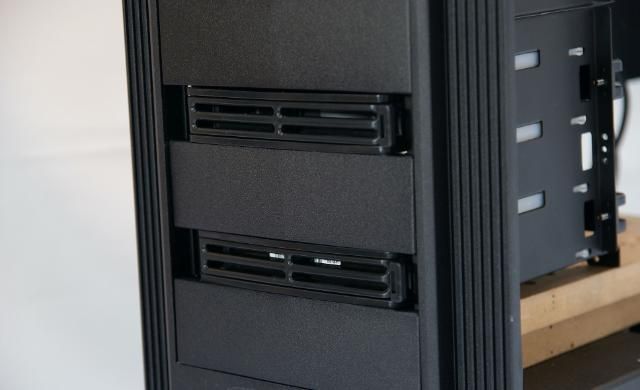
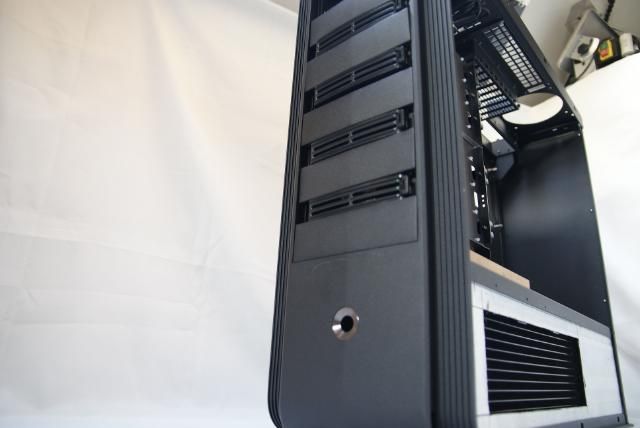
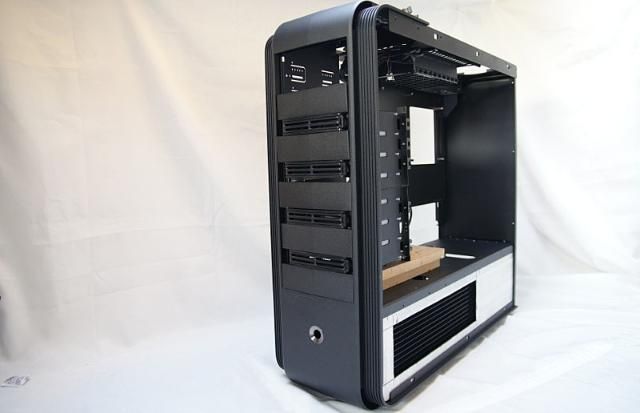
And i’ve used an old piece aluminum panel that I had left after a window cutout ........ never throw something away
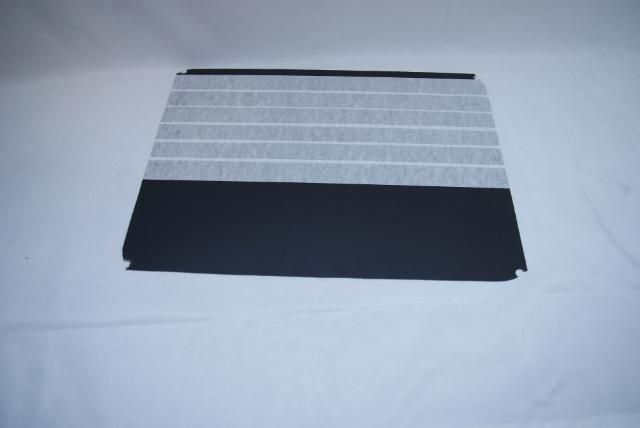
Draw some Lines for the jigsaw
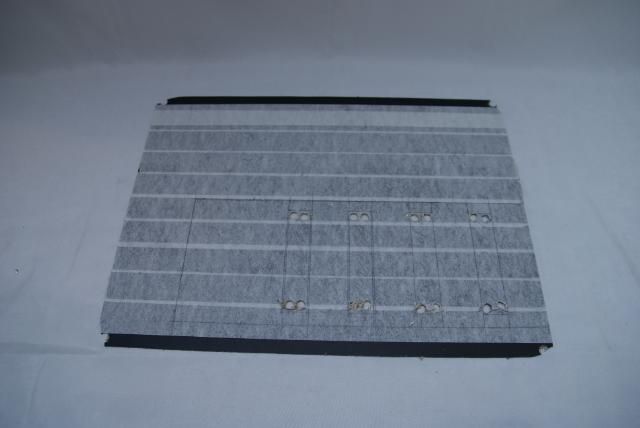
After some sawing and filing it already starts to take shape
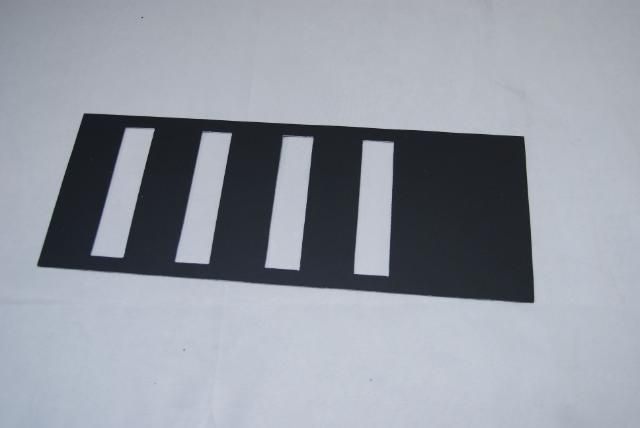
Adhesive tape over it to see how it is going to be
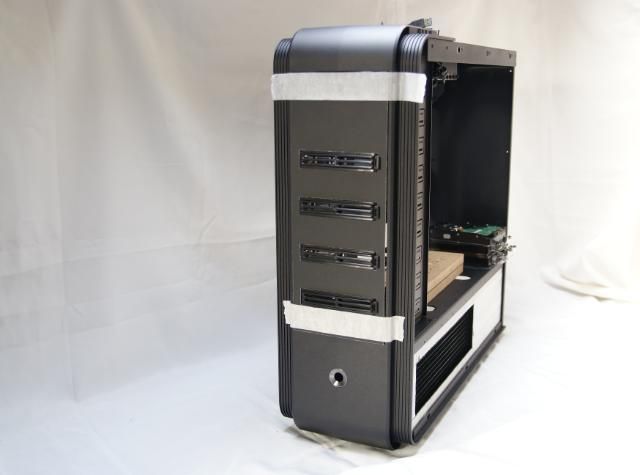
And tried without tape
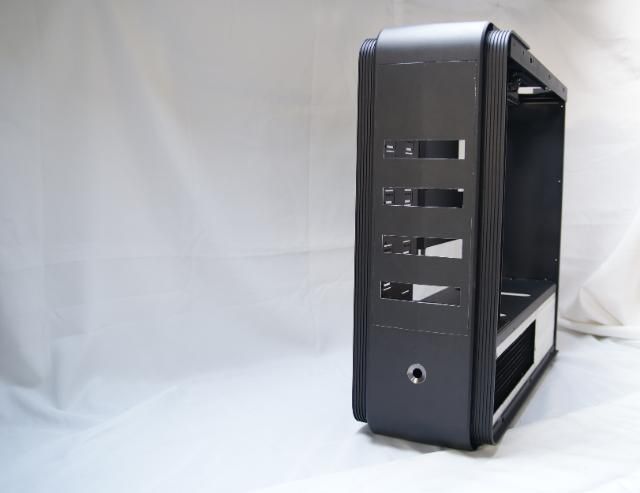
After that the slot for the slim-line DVD-RW
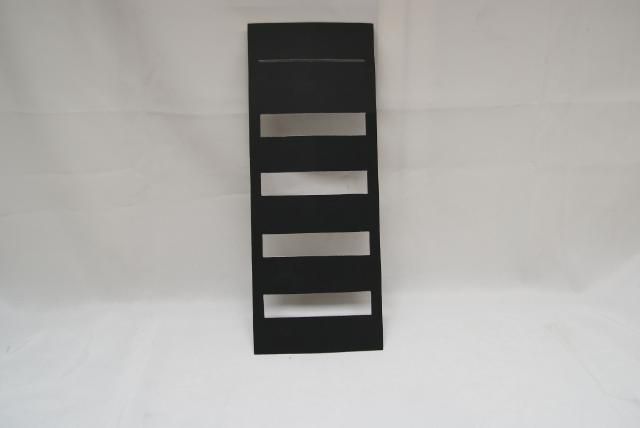
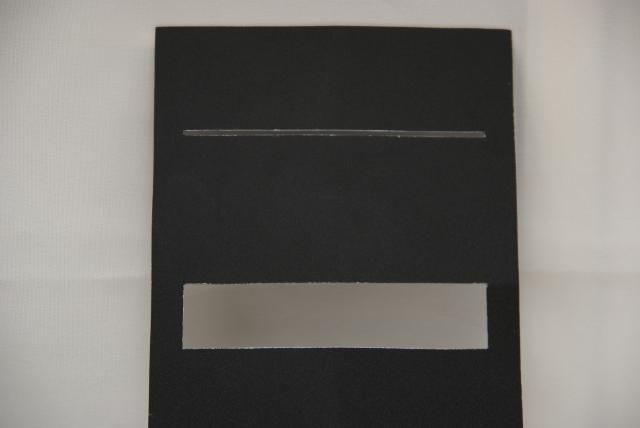
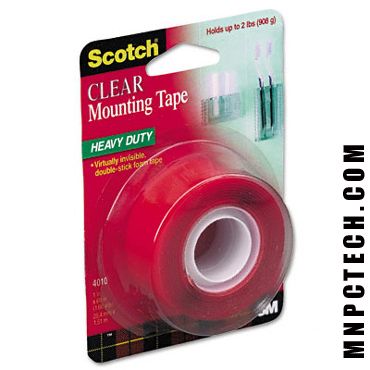
And then put the plate on the upper and lower bay cover with
3M Scotch Clear Mounting Tape #4010
And put everything back
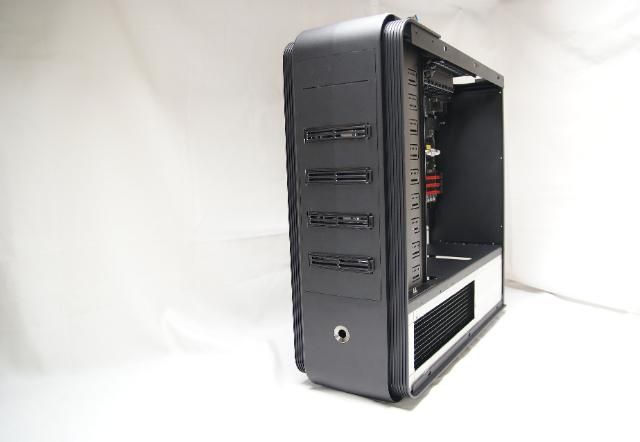
But not finished yet ....... missing something.
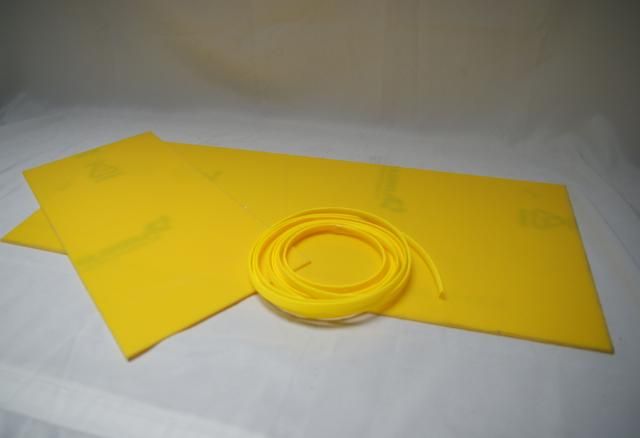
I ordered some yellow acrylic. Really a gamble because no pictures were there of the yellow color
But fortunately it is just the right color that fits with my yellow sleeve
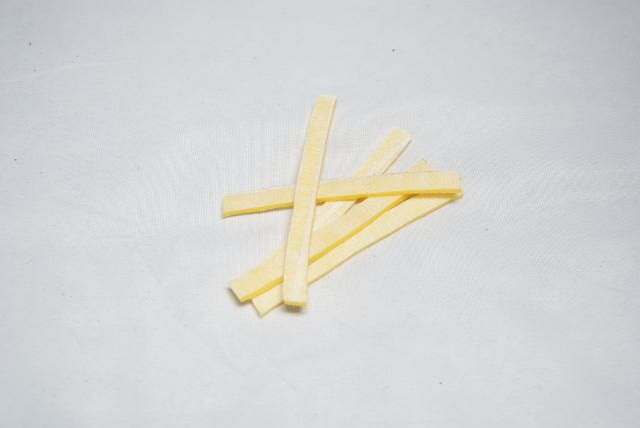
Made some french fries
And made the yellow lines in the slots of the hotswaps. Don’t have to be open because the water cooling. And the yellow lines will come back more often in this build
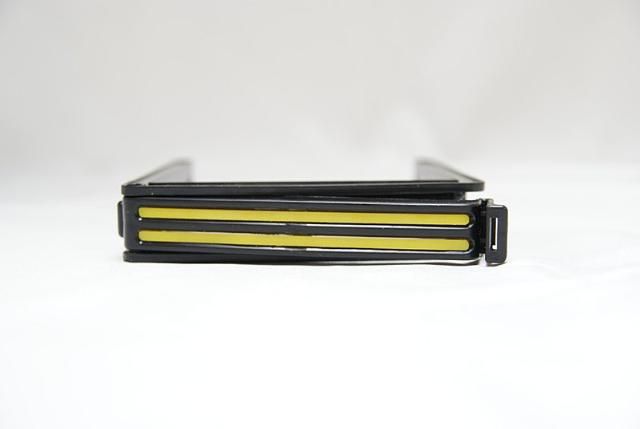
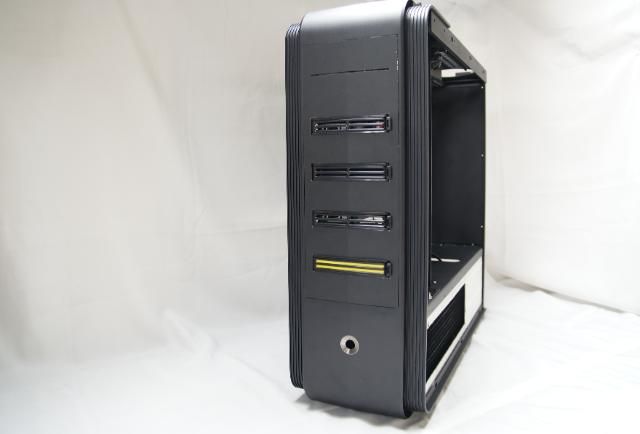
And the remaining three hotswaps finished
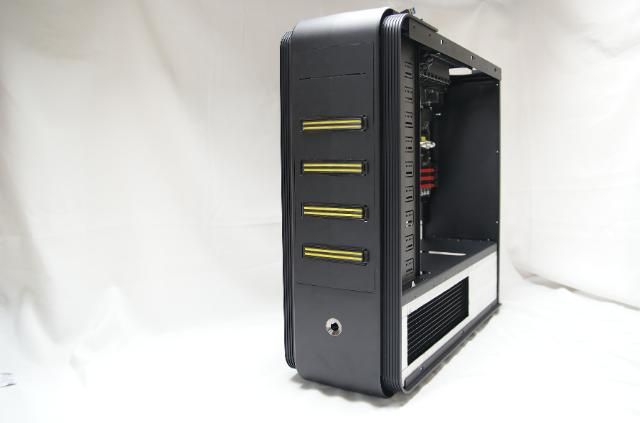
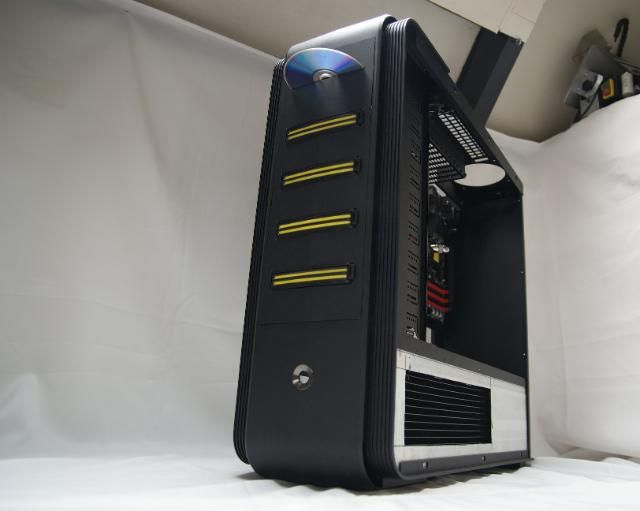
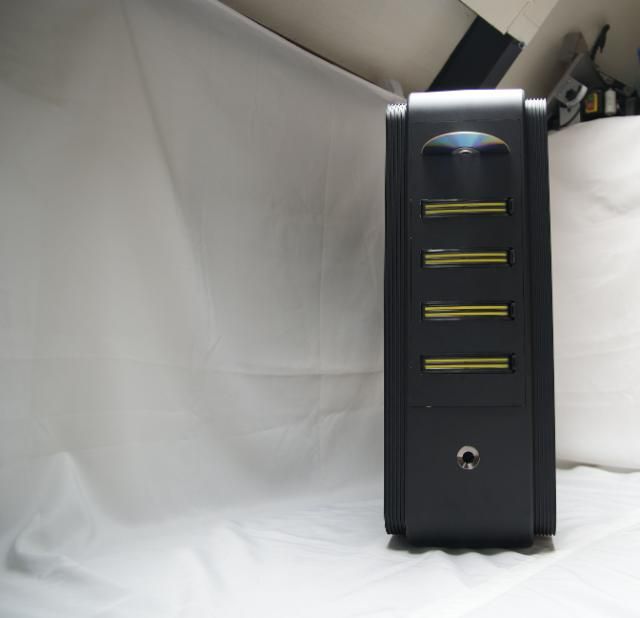
Imagine the front plate with carbon film (vertical straight lines)
And finally a hardware exchange. The Classified goes out the to a buddy of mine, he was in love with the carbon blocks. And I got an nice opportunity
The Rampage III Extreme
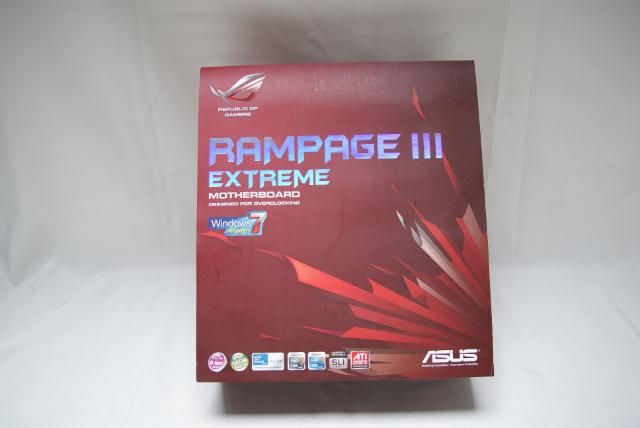
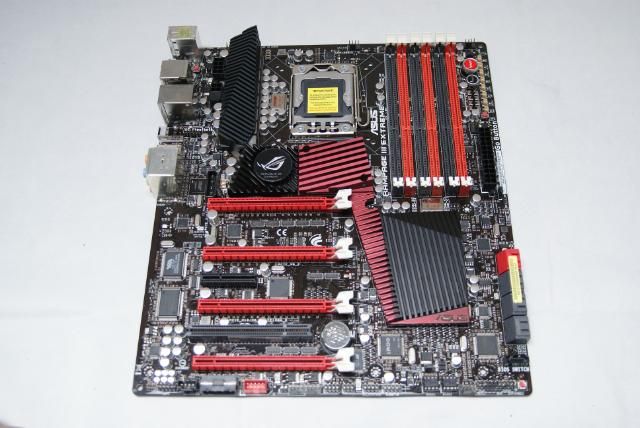
With the EK full cover block
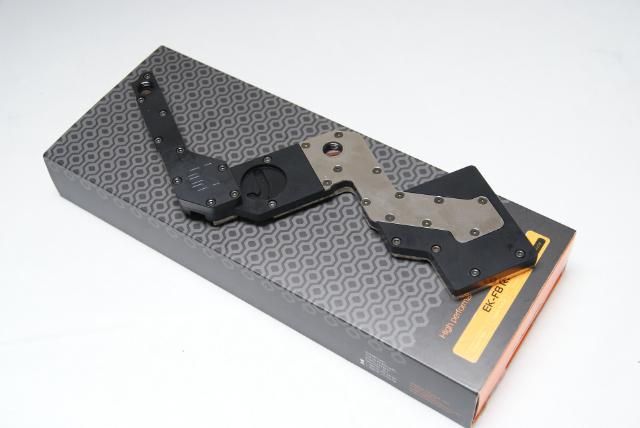
This will also be covered with carbon

That's it............Grtzzz
Last edited:


Update
Now that I have the REIII I can not stay behind in order to coat it with carbon. Before I'm going to do this, there is some treatment needed.
If I stick the carbon film without doing this, you will see the holes where the bolds are in
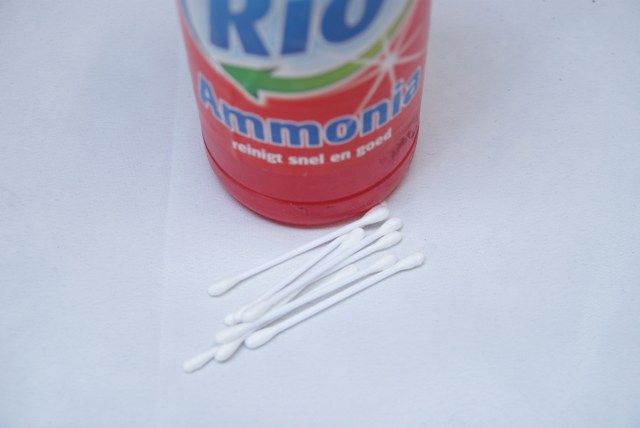
That's why I’m gonna cover the holes. What we need:
Detergent
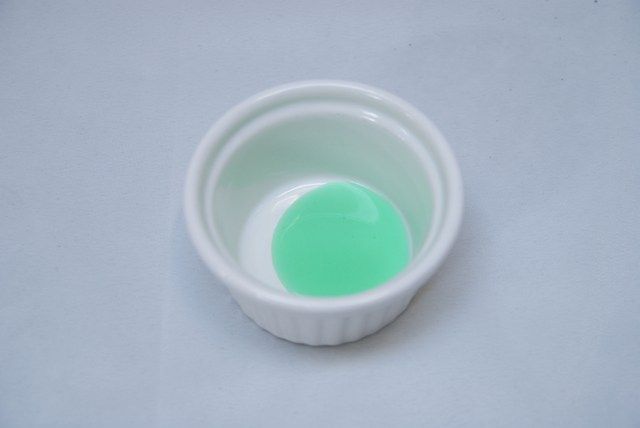
Ammonia with some cotton swabs
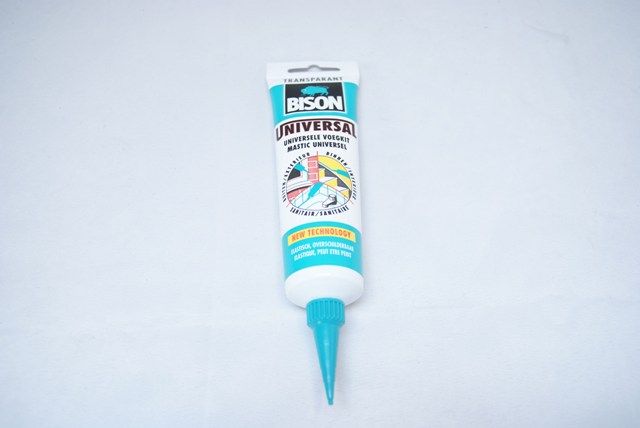
And some silicone sealant
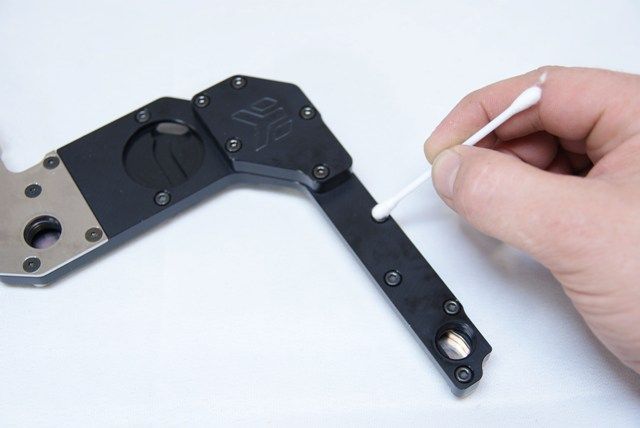
First I have cleanedand degreased the holes and bolts
Then the put the sealant in it and smoothed it with detergent on the finger
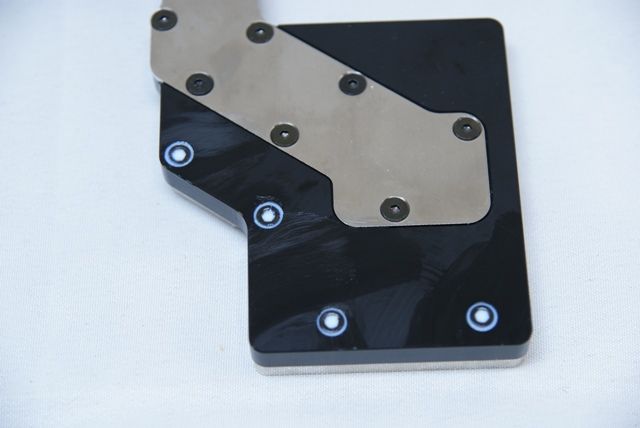
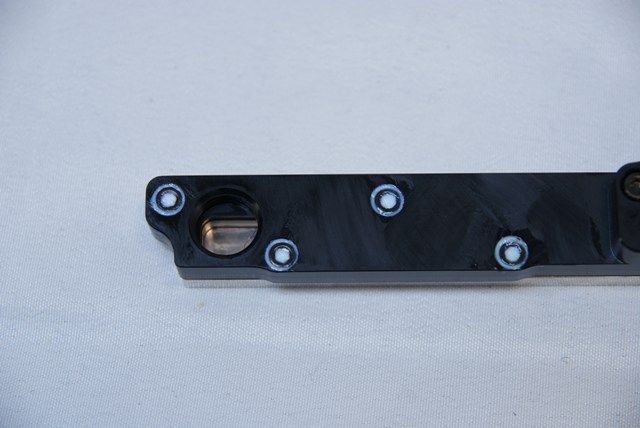
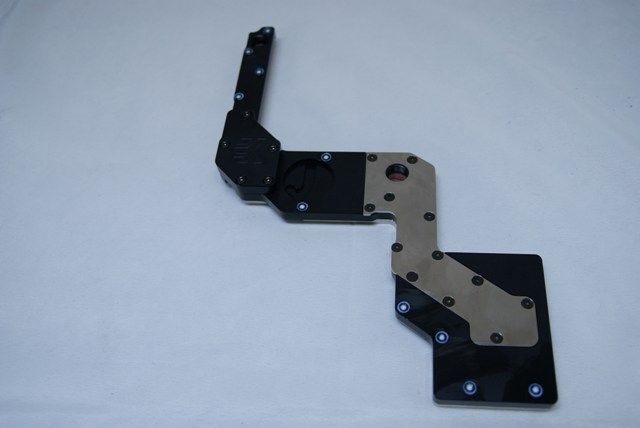
When everything was dry I put the carbon on. Heated the carbon with the heatgun to get the Straight edges
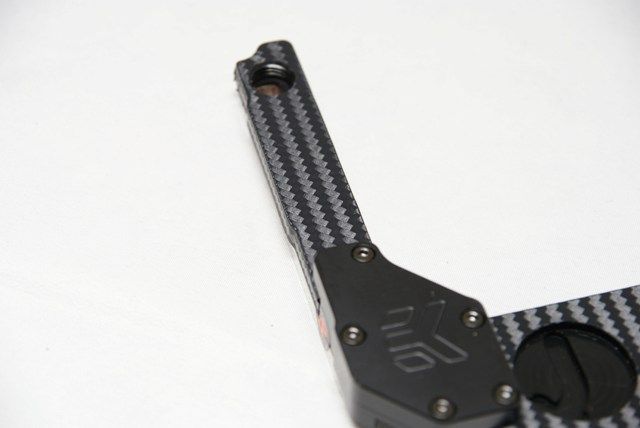
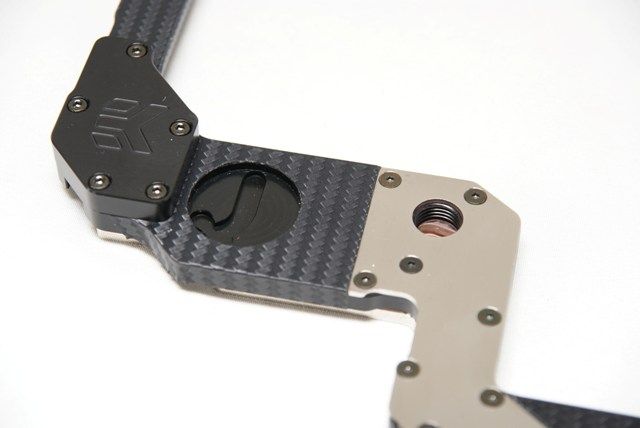
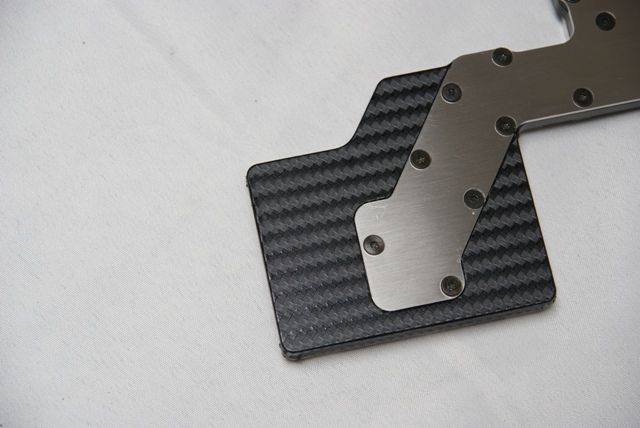
Cut the edges and lines with a sharp knife
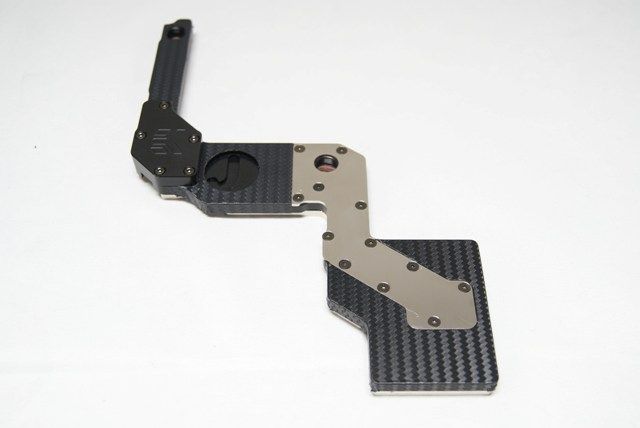
Then it was time to treat the motherboard. Screwed the The original blocks off and used a cleaning kit to clean everything
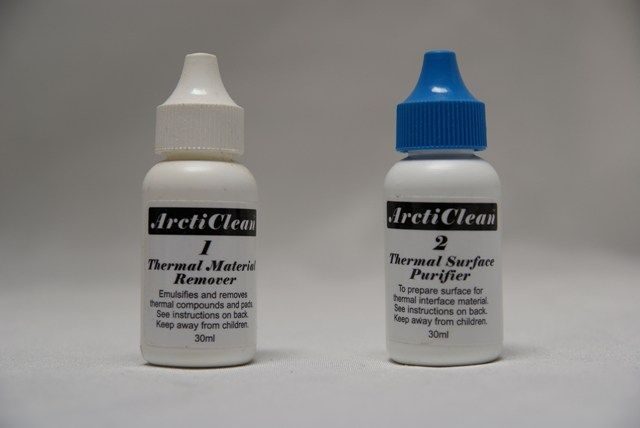
A few drops
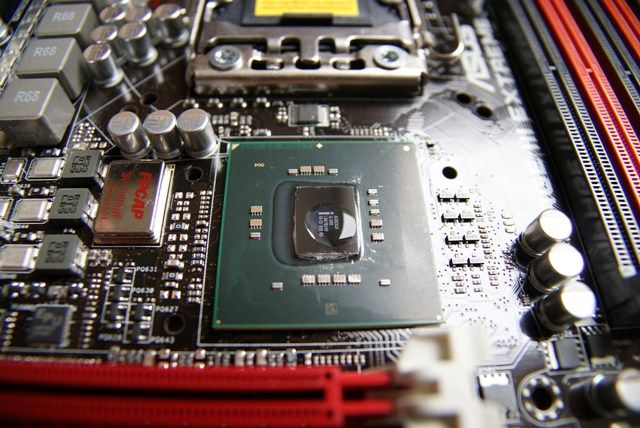
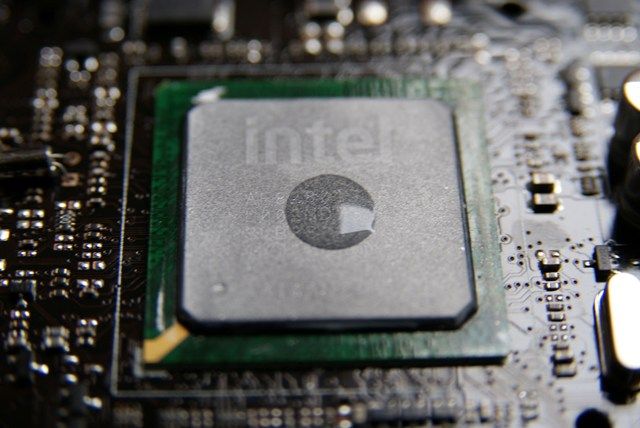
And it's clean
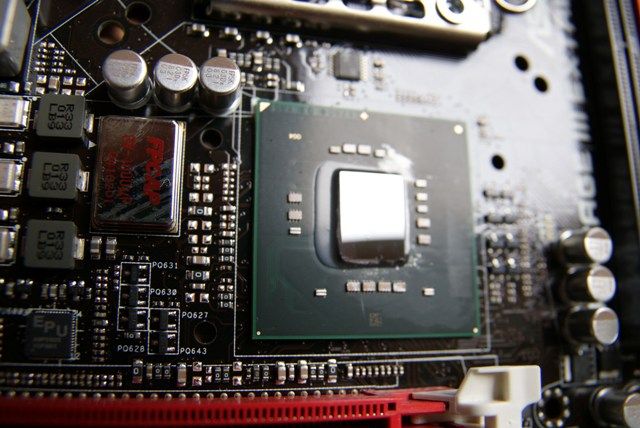
Placed the Waterblock
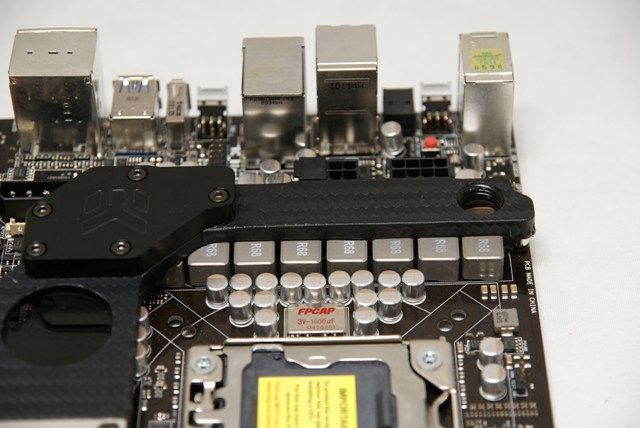
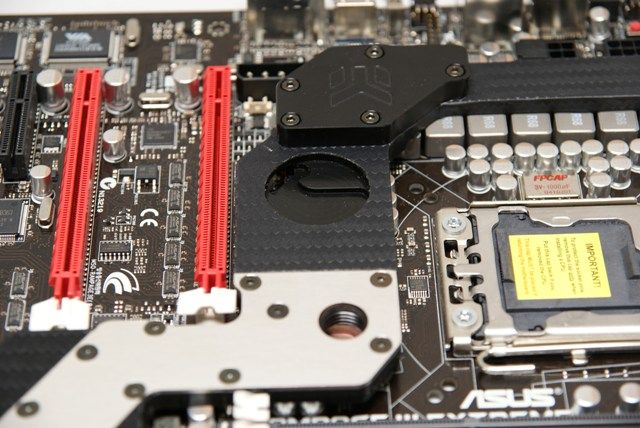
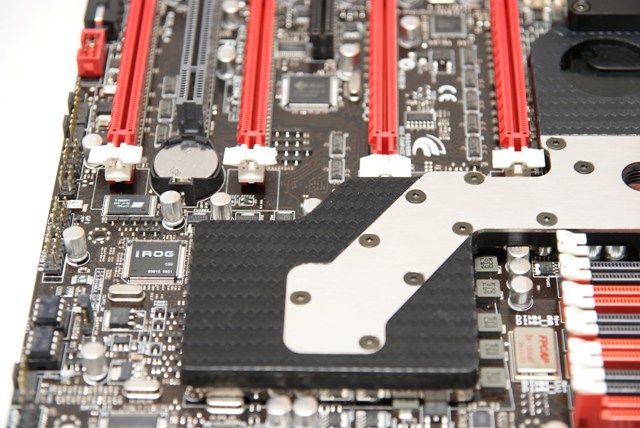
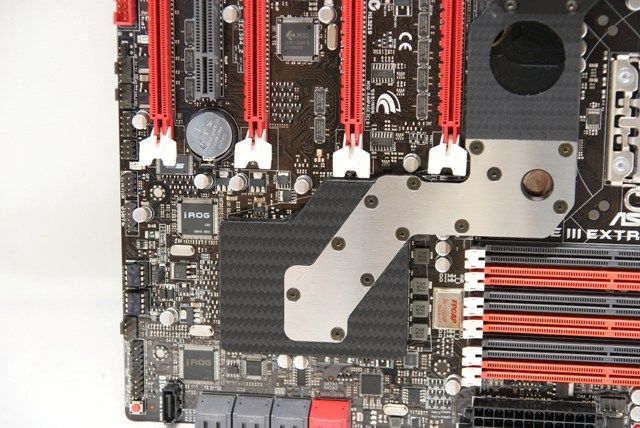
Finished
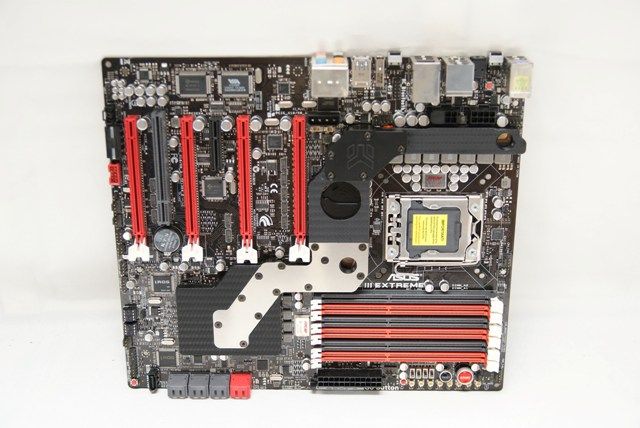
I also changed the cover of the radiator, as I need to have optimum heat dissipation. That's why I cut a 120mm hole next to the radiator
.
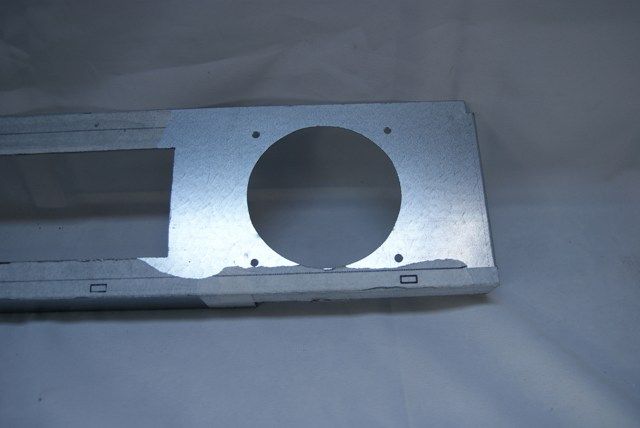
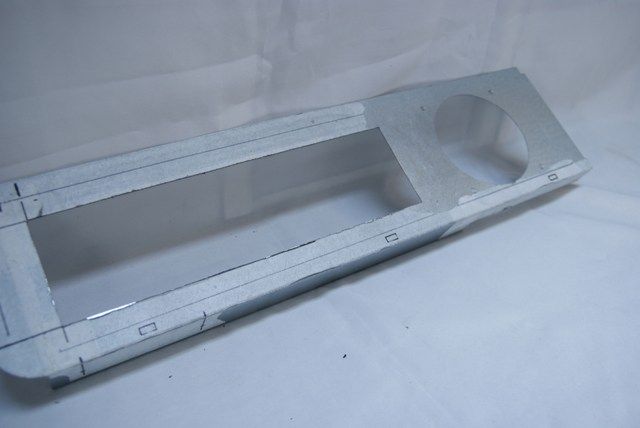
This fan will blow the hot air out from the lower compartment
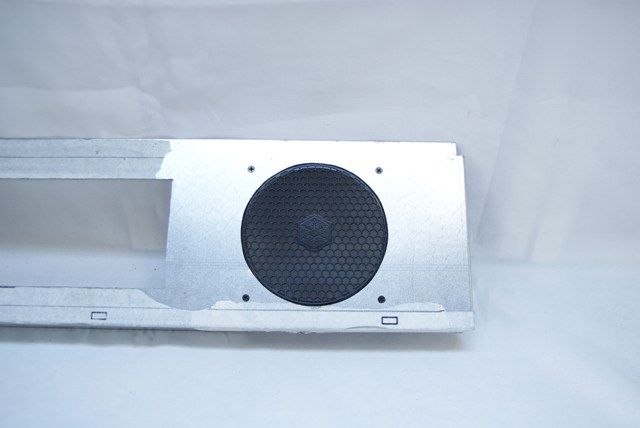
To still stay a little original , I’ve have made a custom midplate, this will be covered with yellow acryl
1mm Aluminum plate
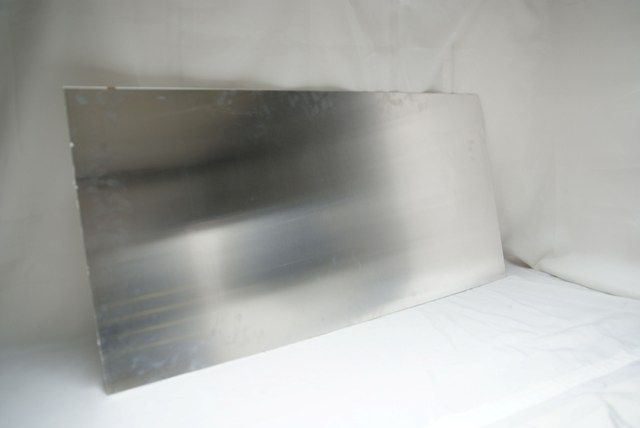
First tape it and marking it
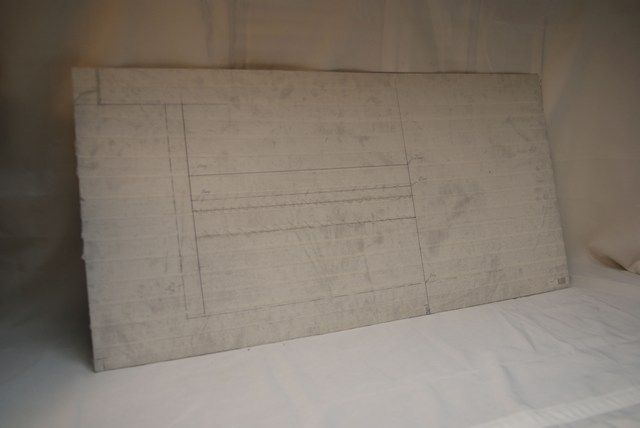
Total shot coming up. The air intakes in the side panels are in my opinion not pretty, but it offers a possibility to use it for 2 aquaero's
Made a bracket and fitted it with an old Aquaero
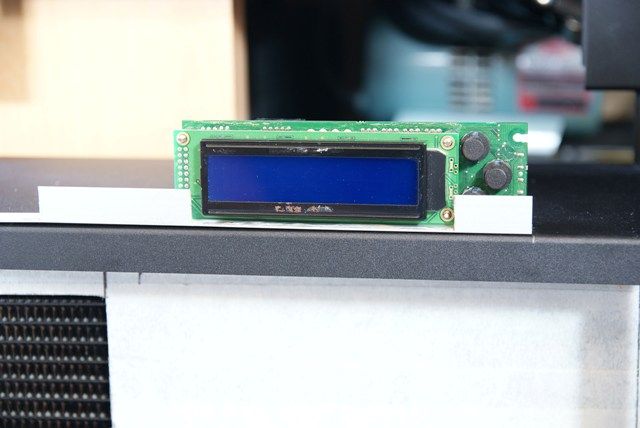
For this one also created openings for the midplate that still has to be bent. I had hoped that I already could showed, but I'm still waiting for my new little folding machine
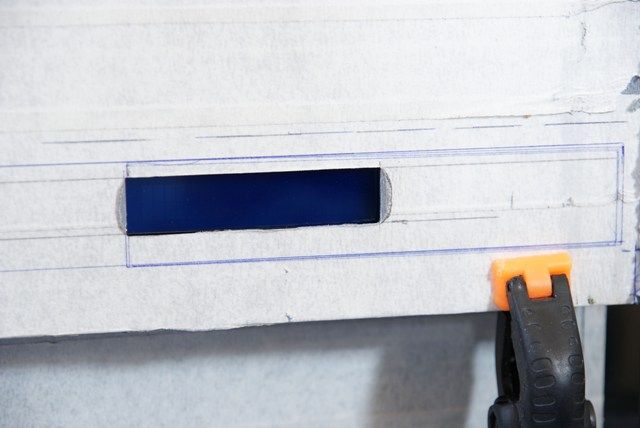
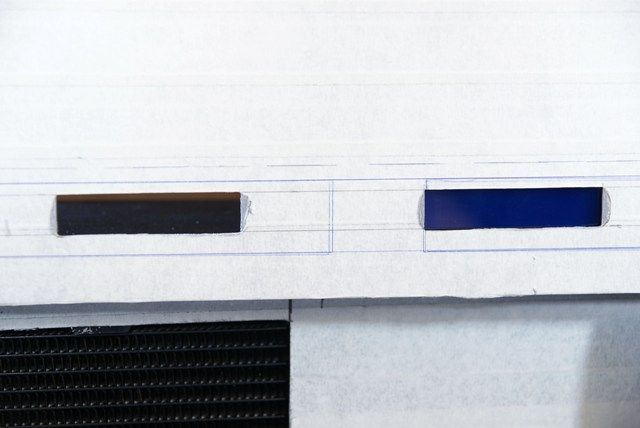
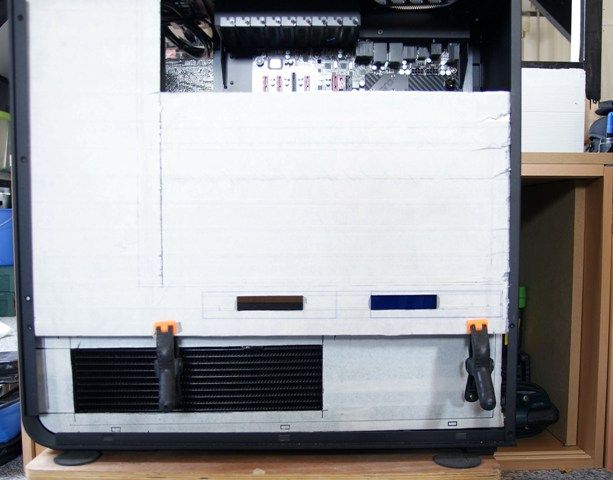
Then placed the two Aquaero's VF
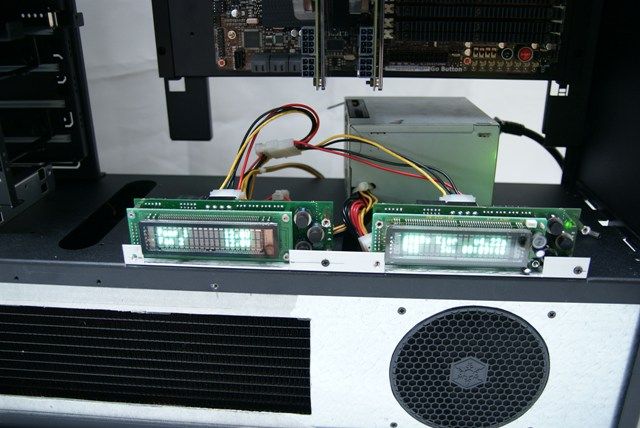
Placed the midplate in front
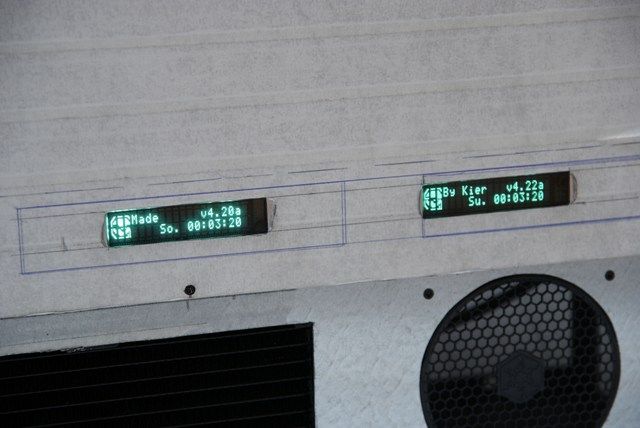
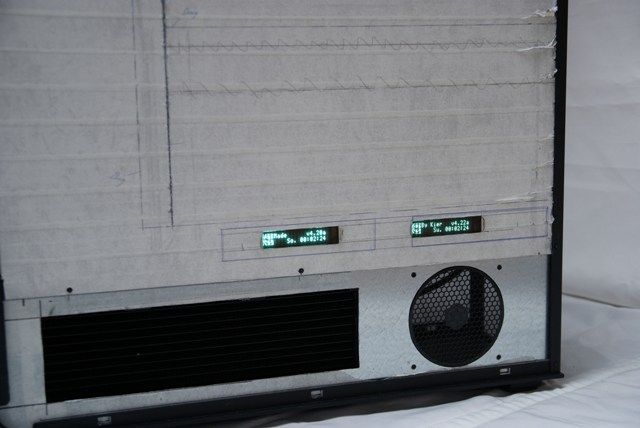
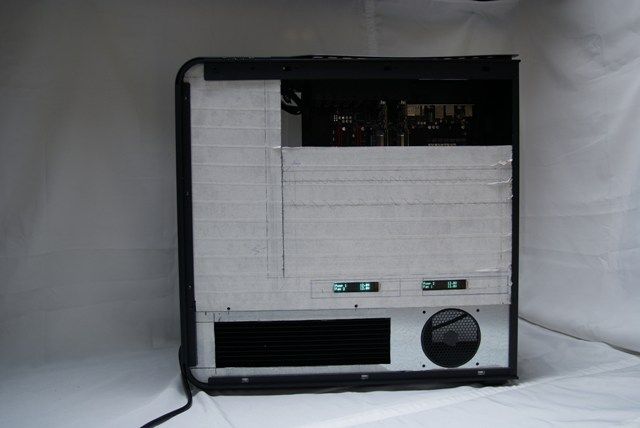
Also placed the side panel
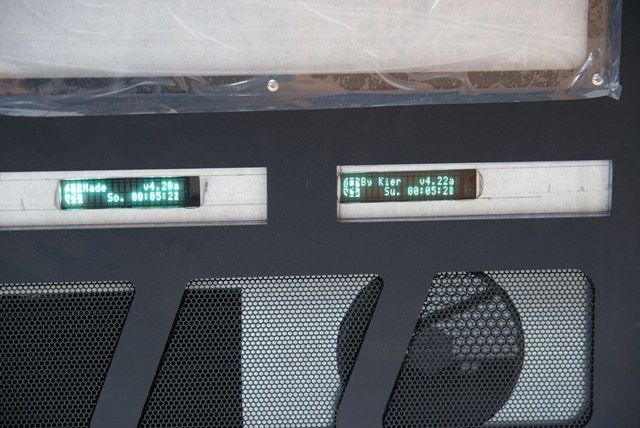
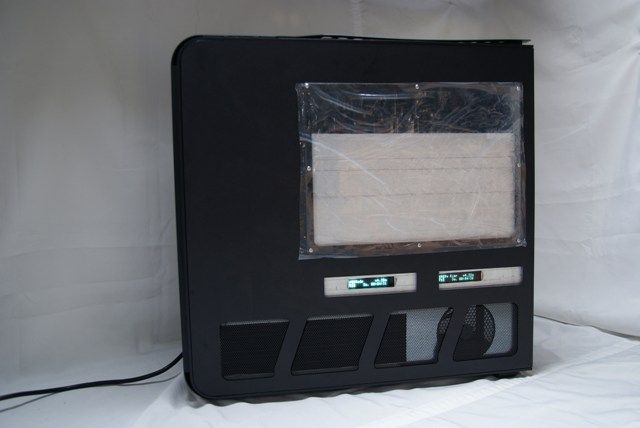
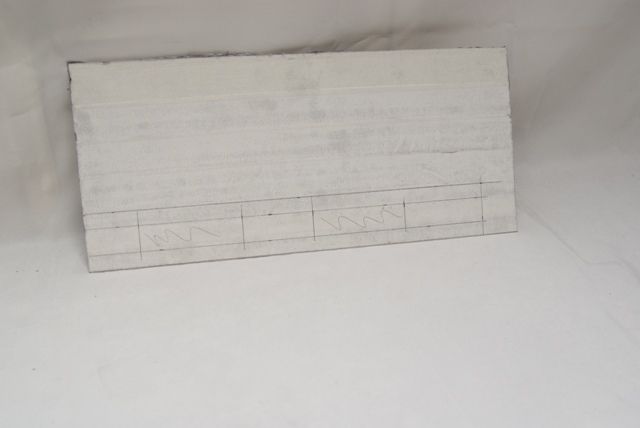
To get smaller recess in the side panel I have a made a piece of aluminum and marked it
And made this also with openings in the size of the display of the aquaero, s
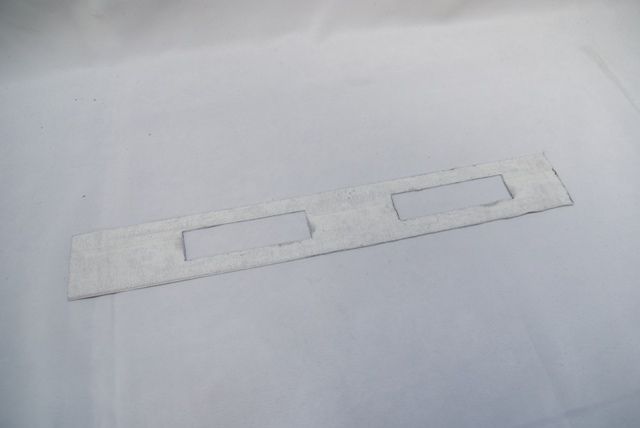
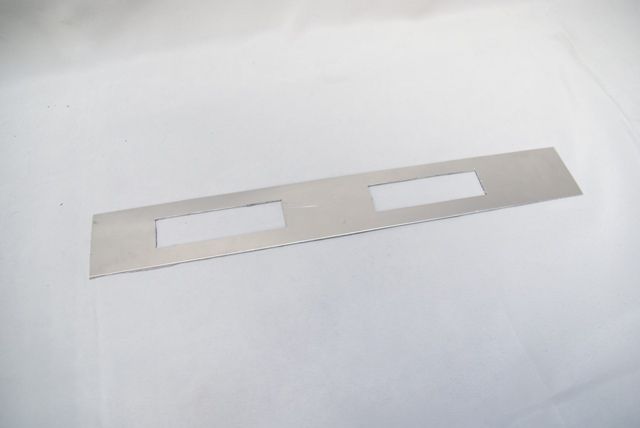
These I put on the inside and on the outside I have made another piece
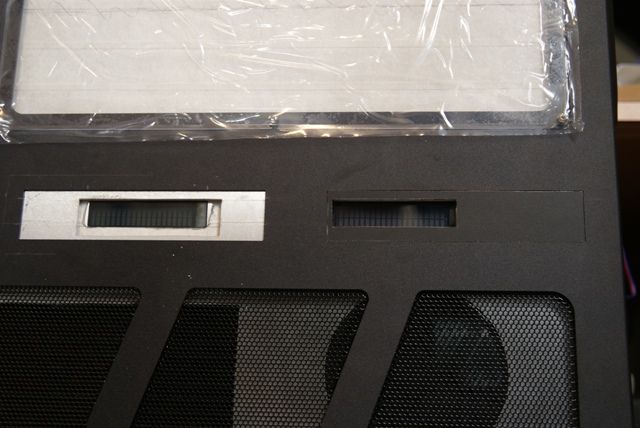
This I have made as tight as possible because there wil be later on carbon on it and I do not want to have ugly edges visible. Just put a little bit carbon on it to show what the intention is
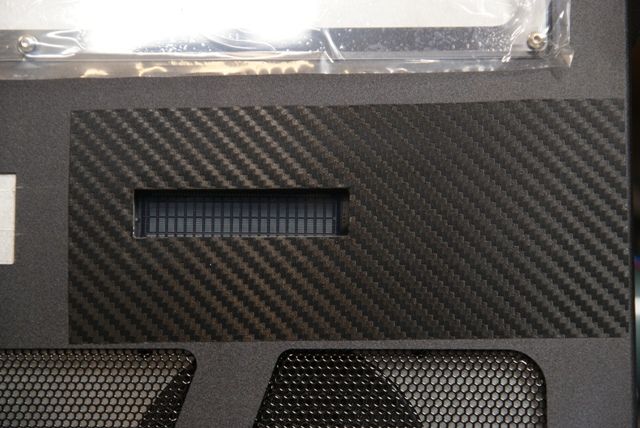
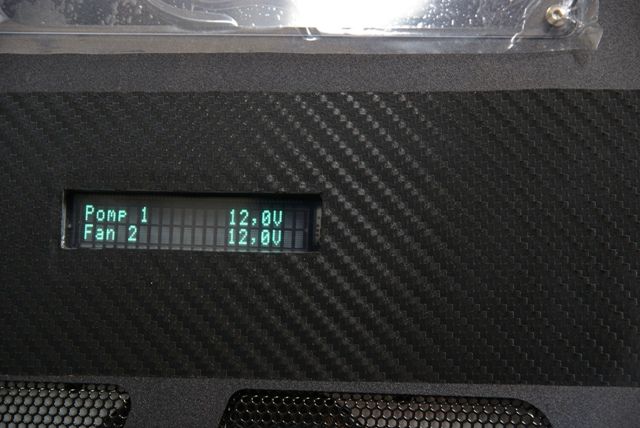
Soon as I'm going to do the whole panel, and maybe I’m gonna place another acrylic display for it
Am also has been busy with the hardware and the WC stuff. Gonna place the reservoir at the back. For this there are coming 2 x EK-DDC X-RES with 200mm reservoirs
To see how it will look i’ve placed them like this
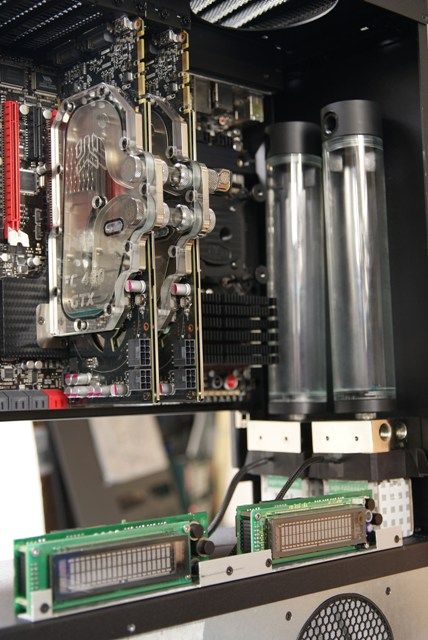
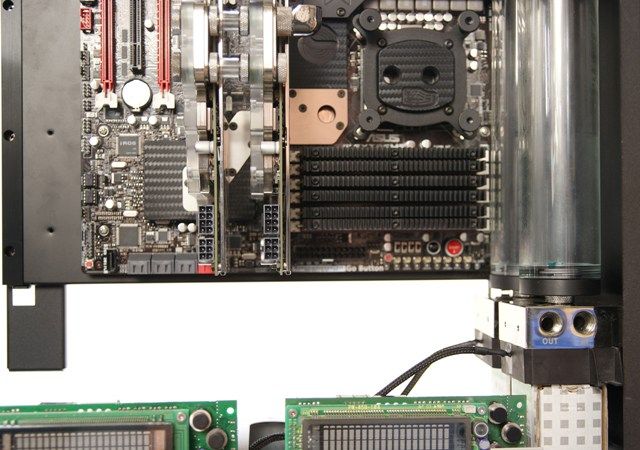
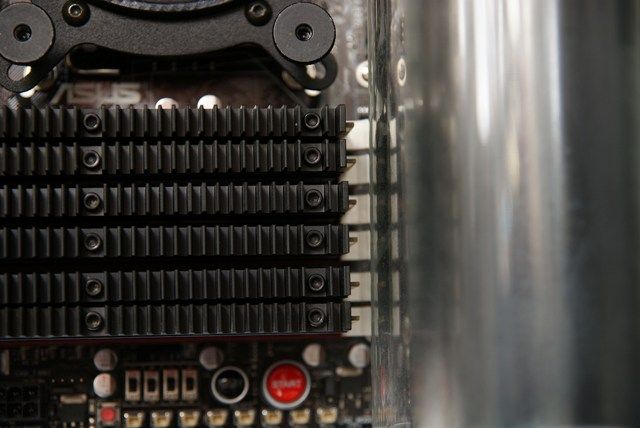
Fits tightly next to my Corsairs
Placed the two GTX480, third one is coming. Still gonna do someting with the gpu’s
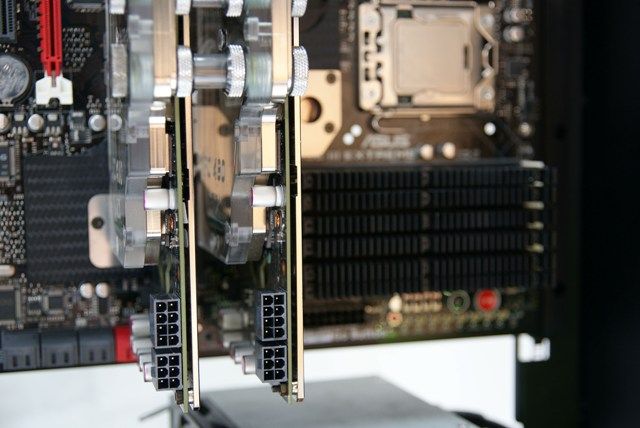
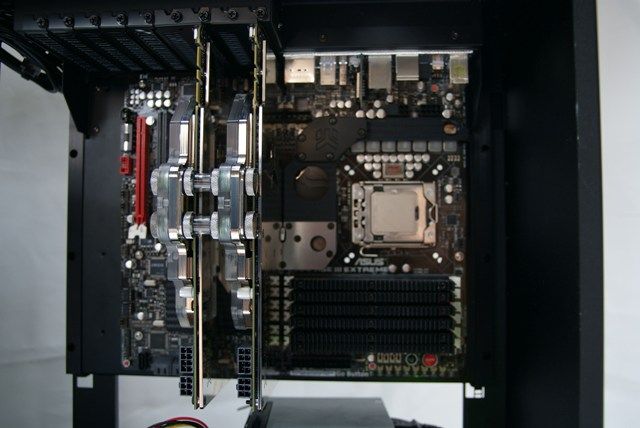
Now there are nickel backplates but these will be exchanged with black ones
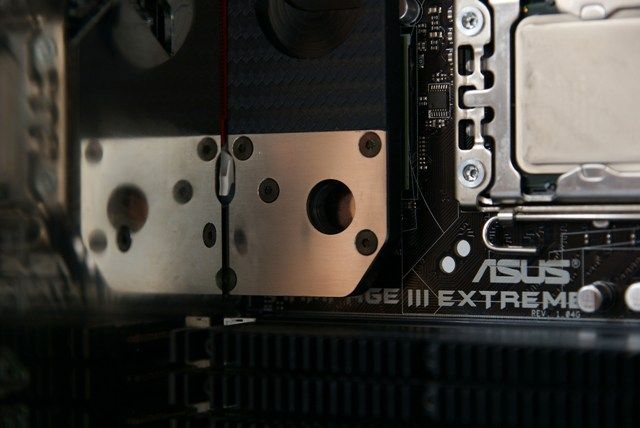
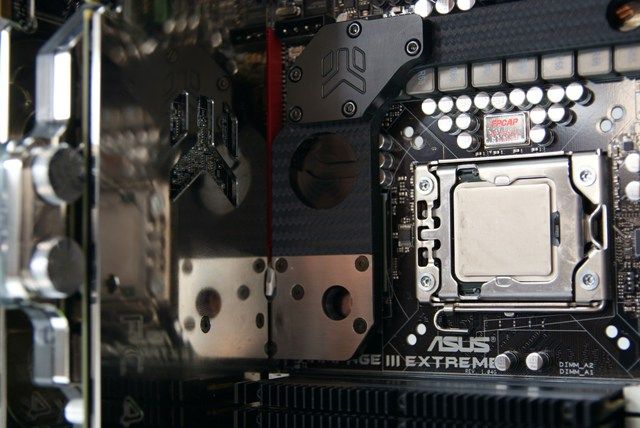
Nice to have Corsair
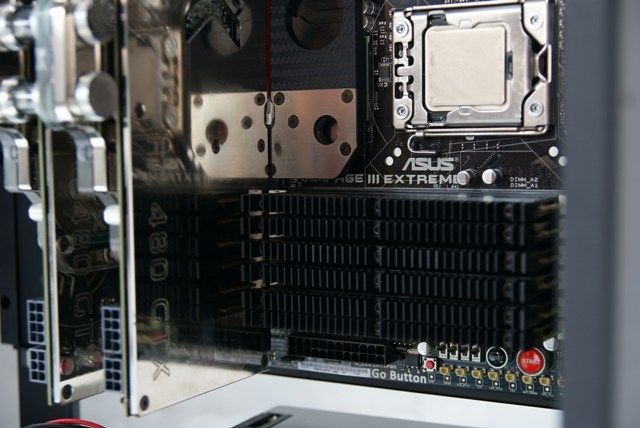
Tuesday my folding machine is coming and I can finish the midplate
That's it on my last day of my vacation, tomorrow back to work ........... unfortunately
Updates will now take a bit longer
Grtzzz.
Last edited:
Soldato
- Joined
- 1 Dec 2009
- Posts
- 2,815
- Location
- Staffordshire
that looks ******* awesome! 

thank y'all 


Small Update:
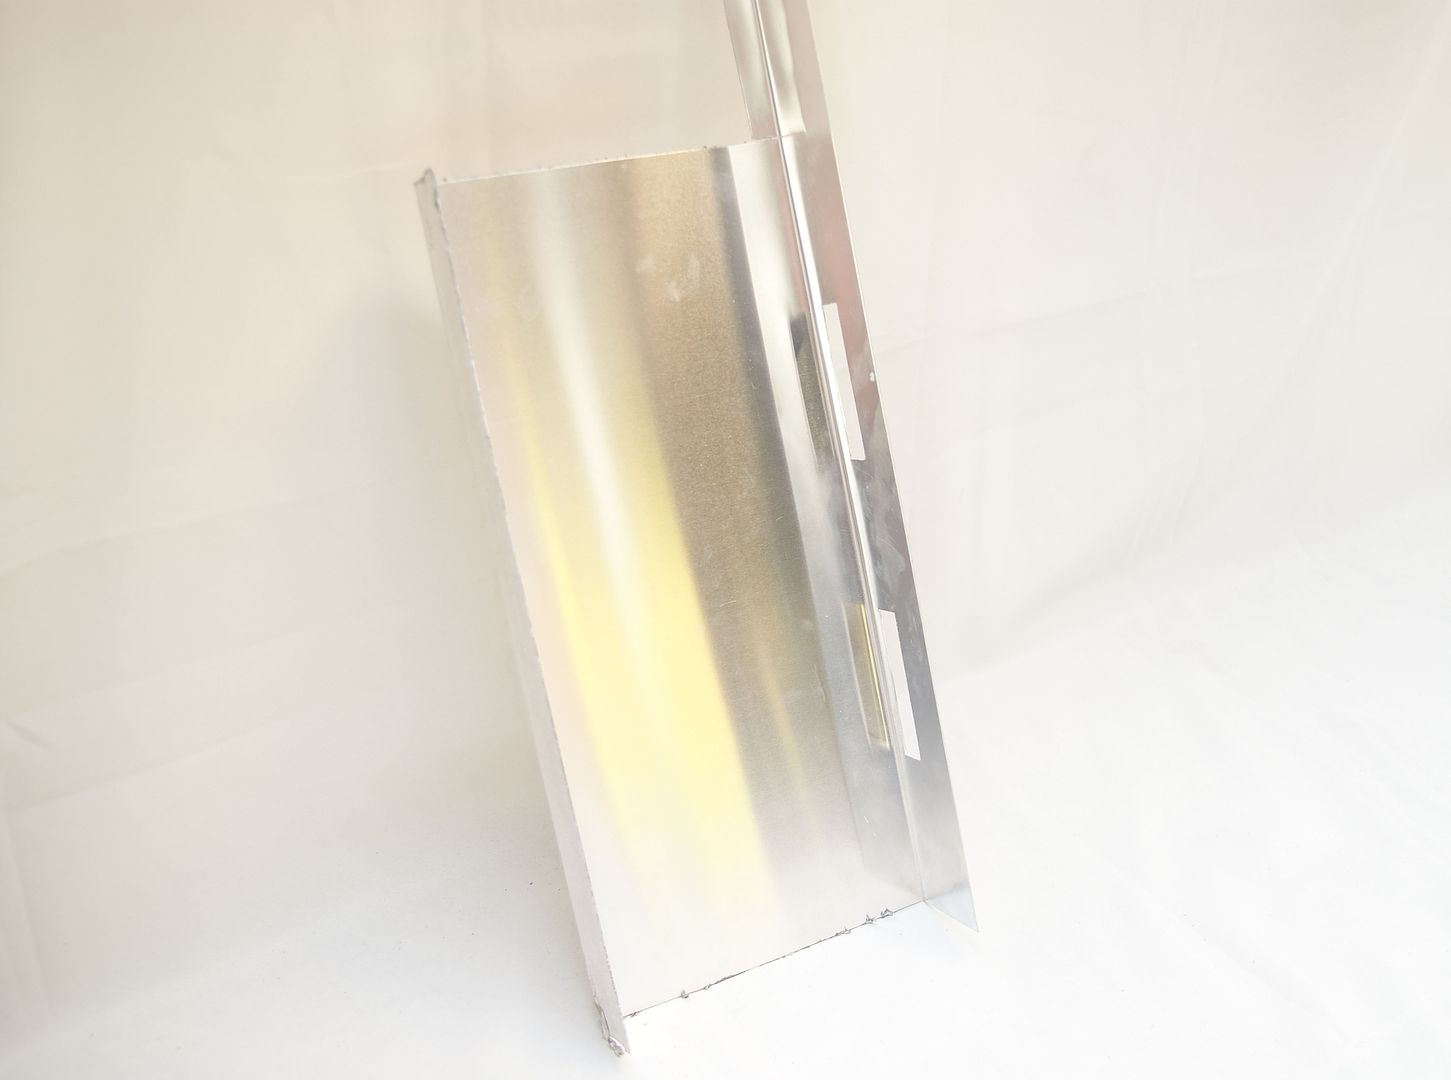
This week i've got my little hightech folding machine, real nice addition to my tools
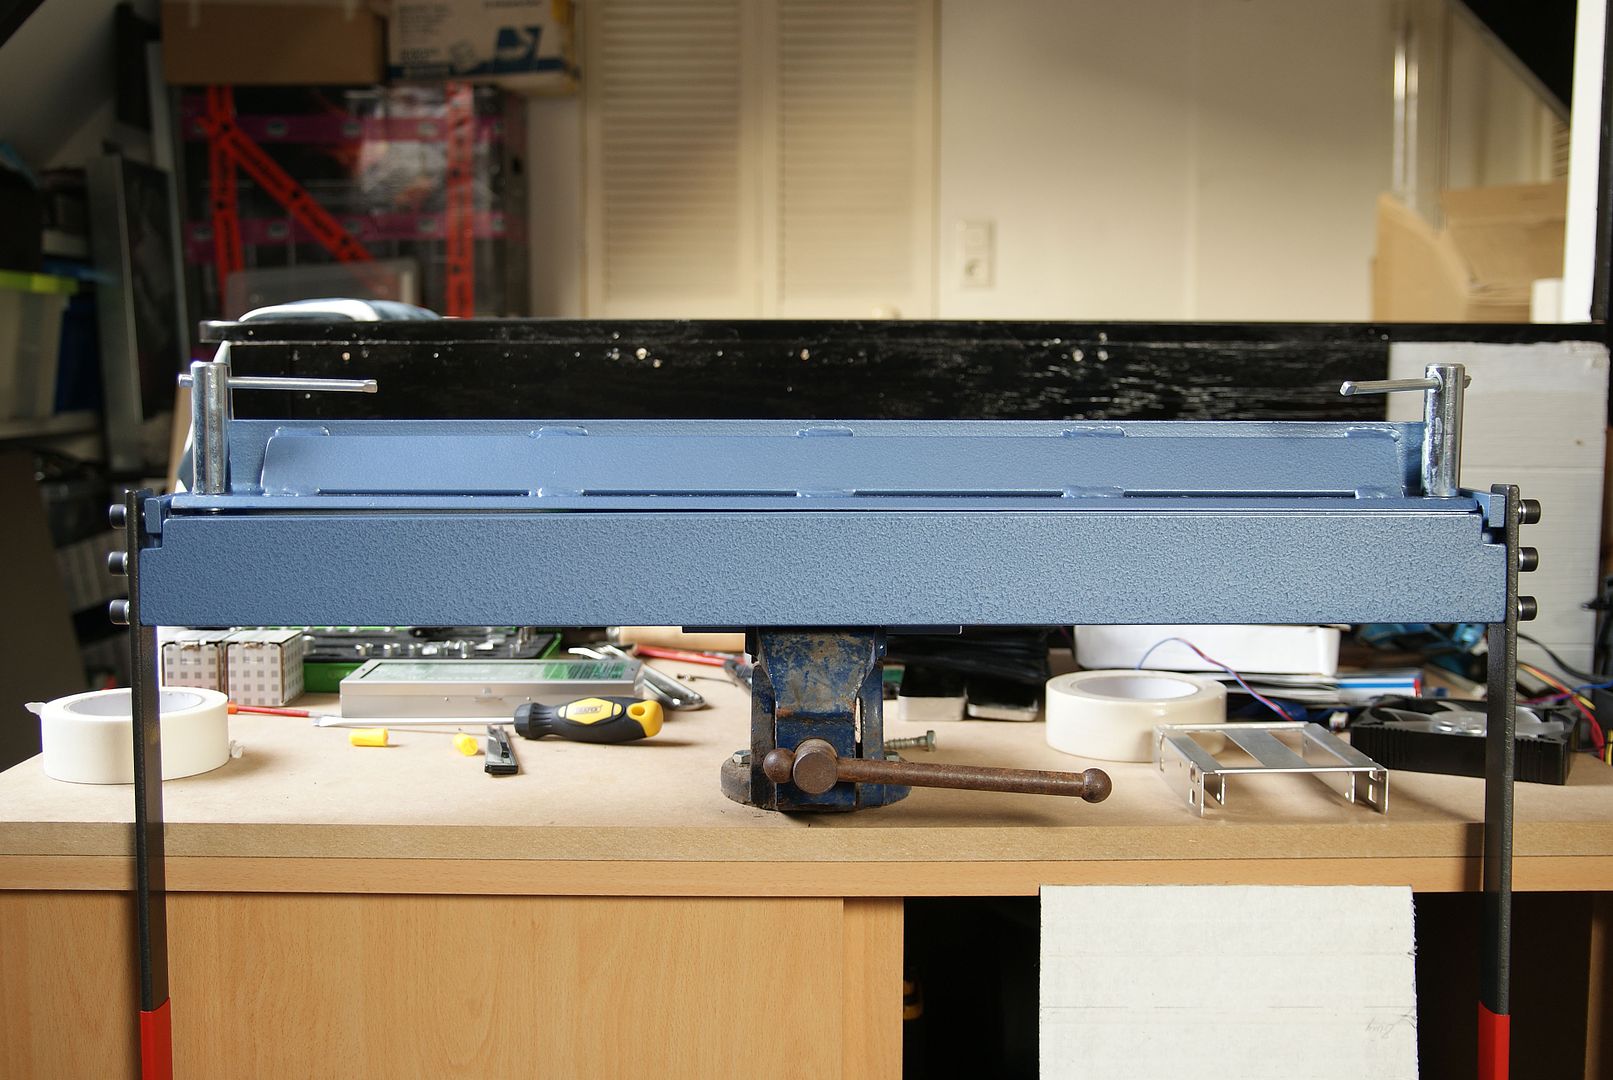
Ok, lets bend something,
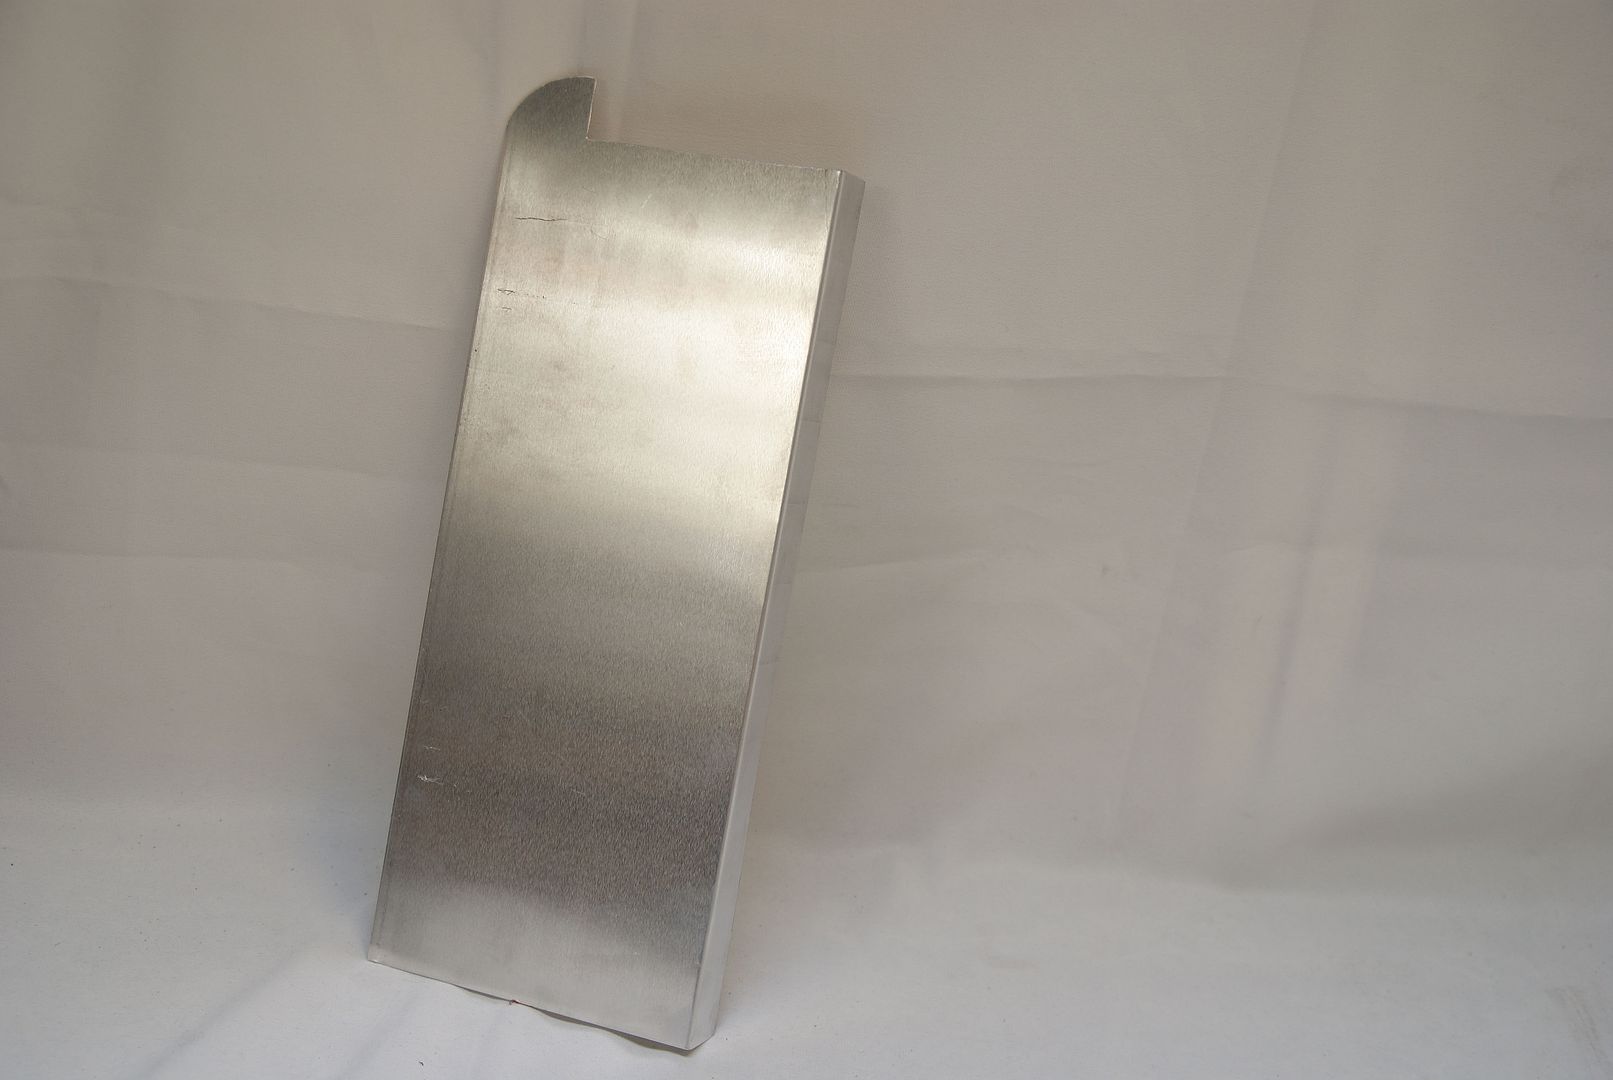
And the midplate part one
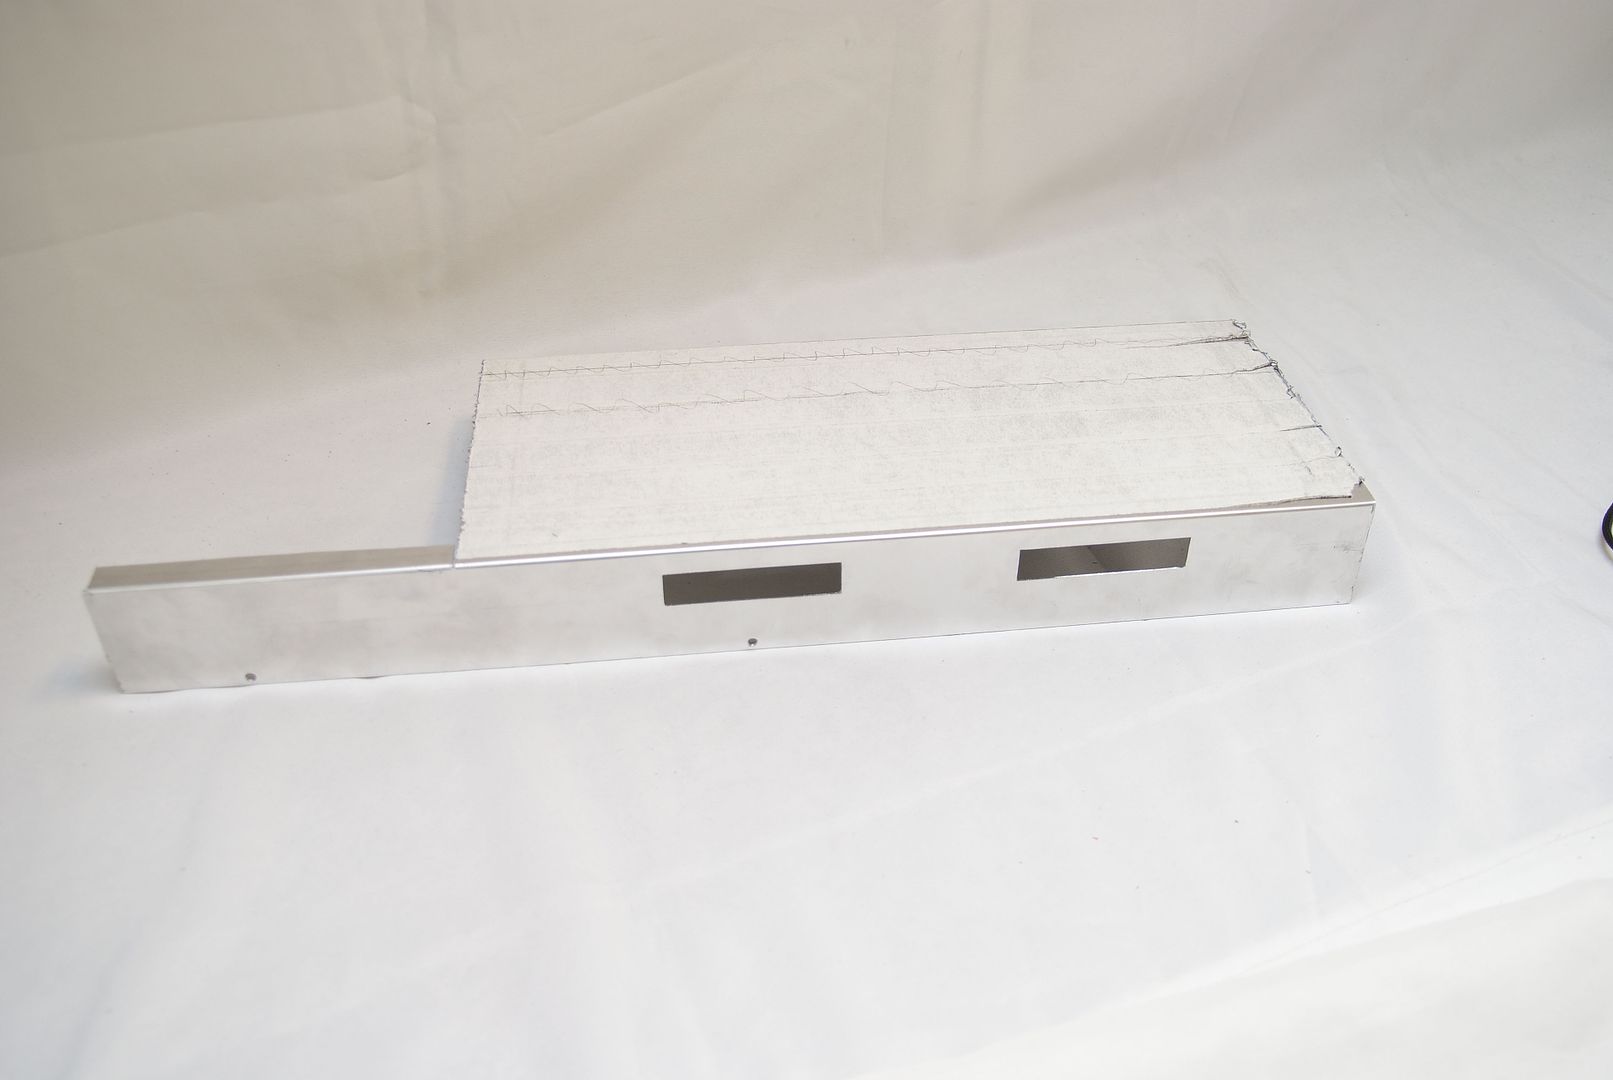
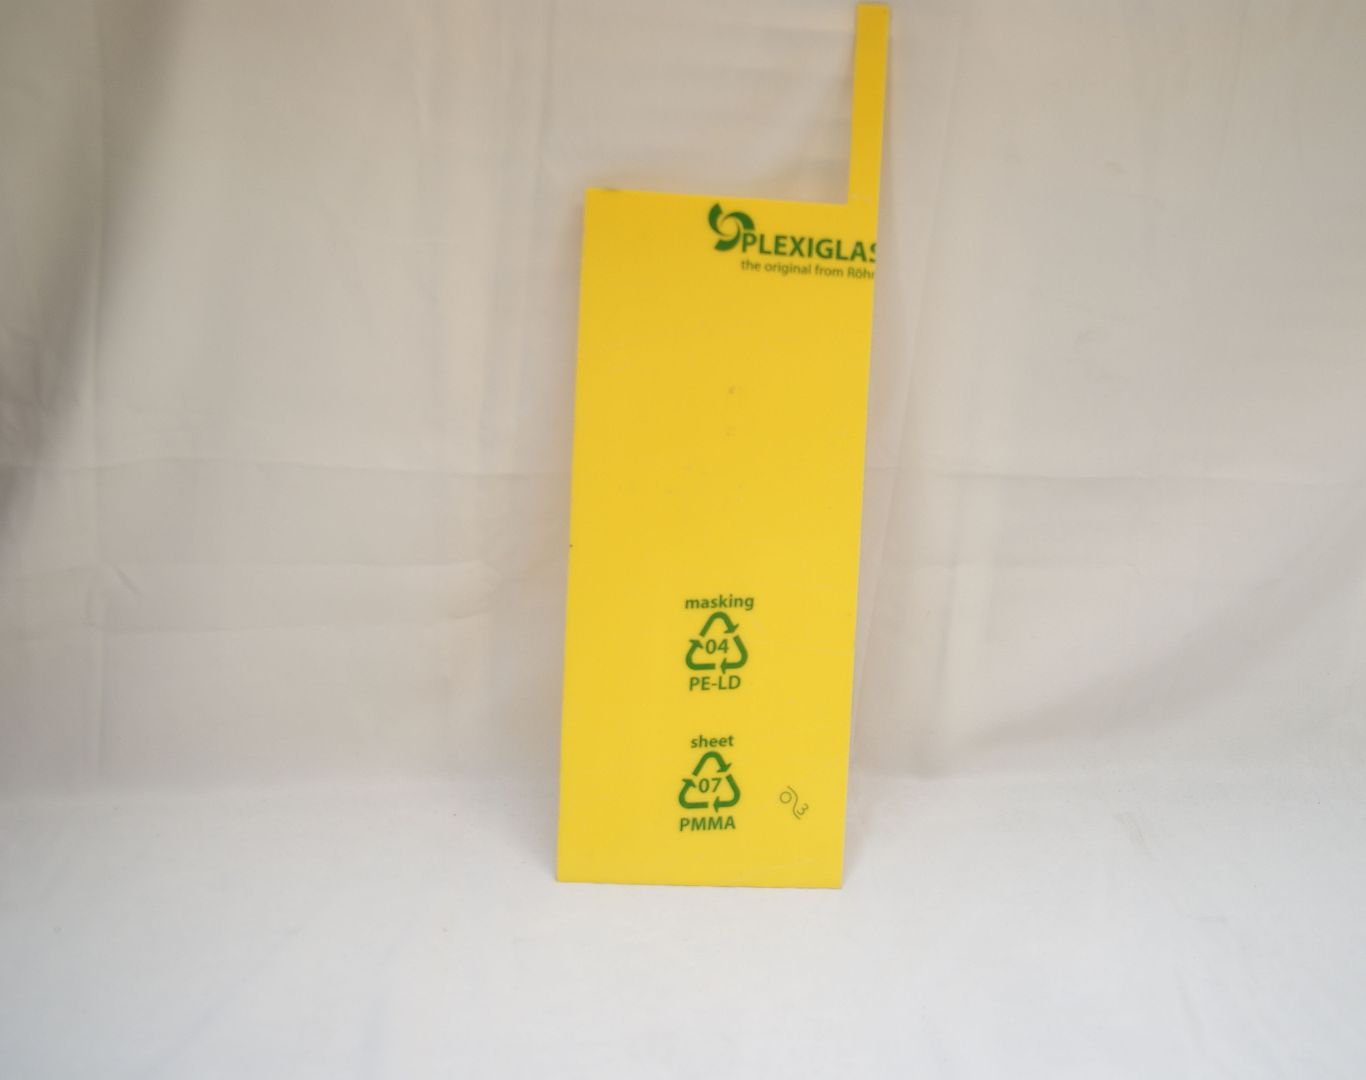
And sawn the midplate part two from the yellow acryl
And put it al together
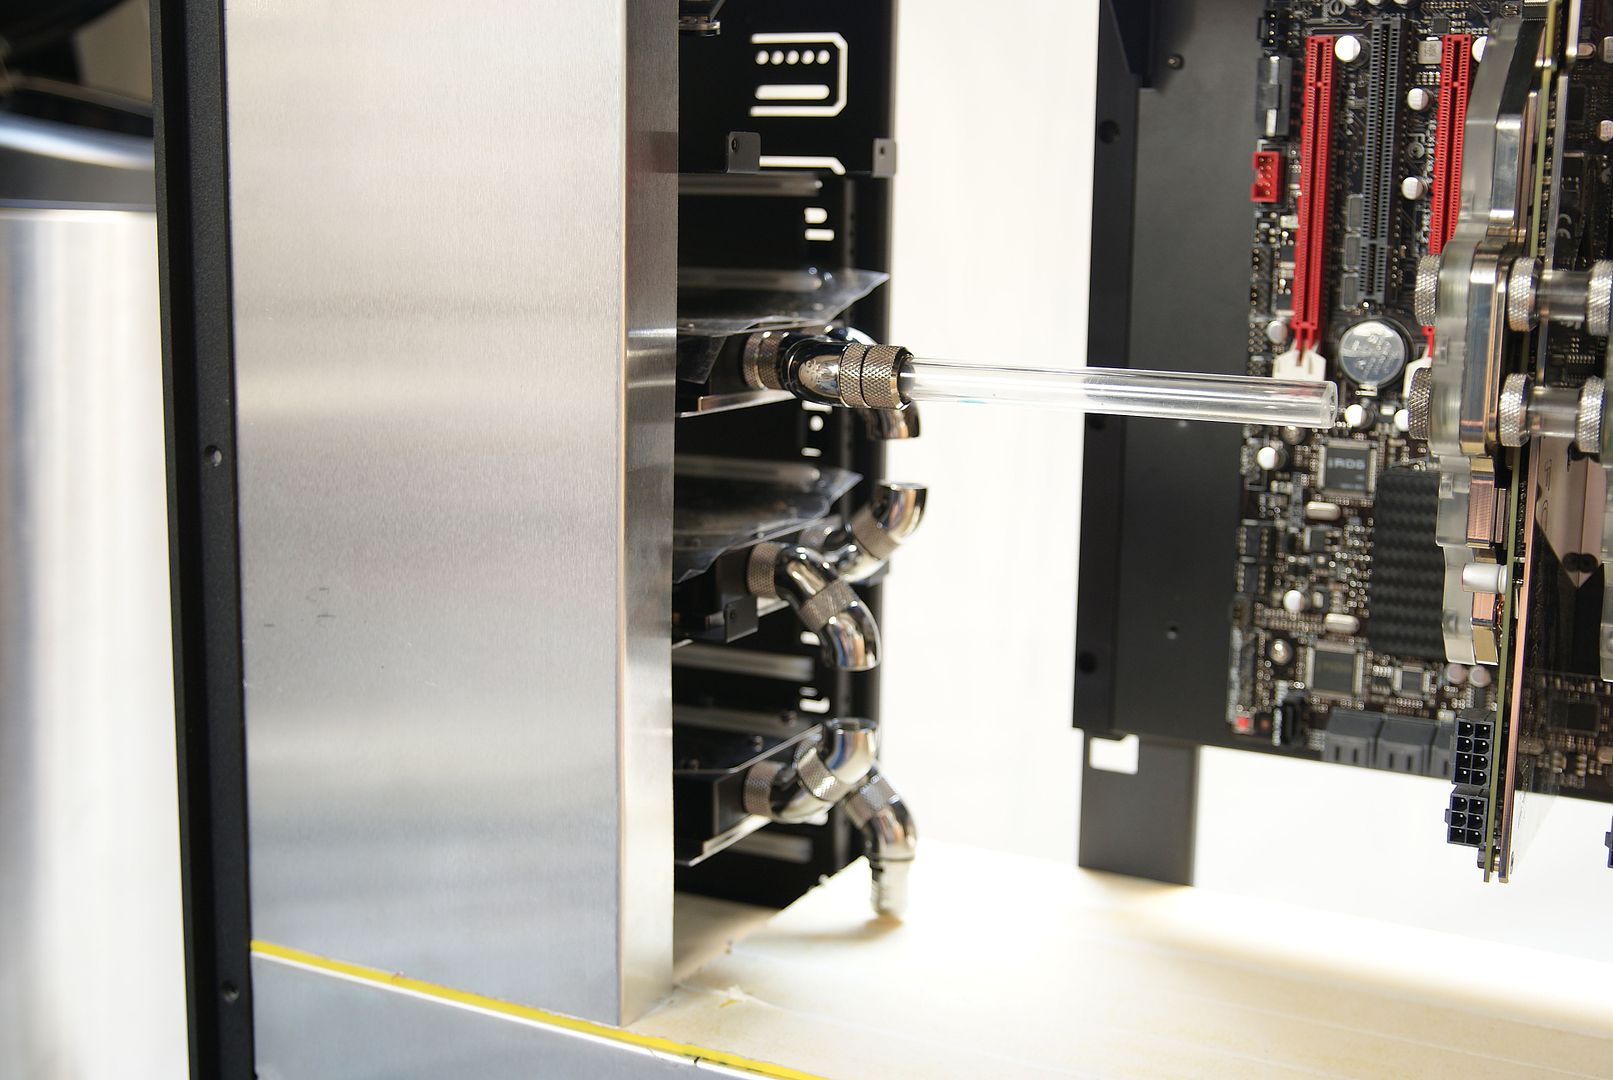
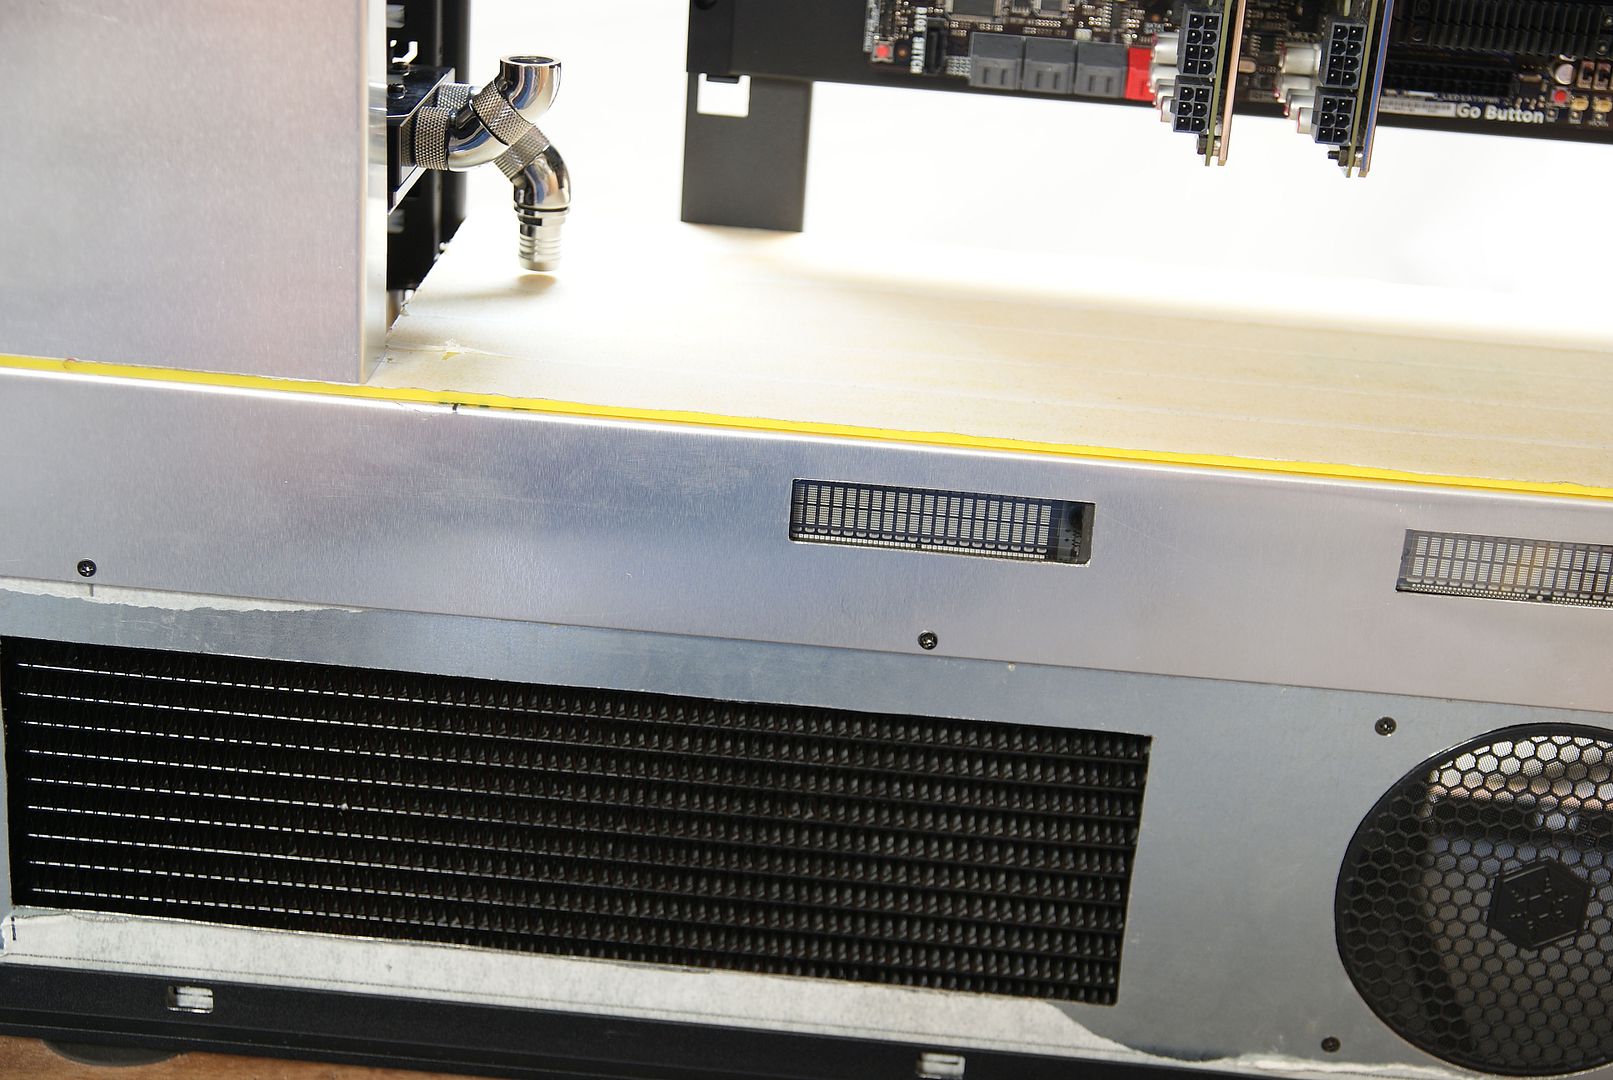
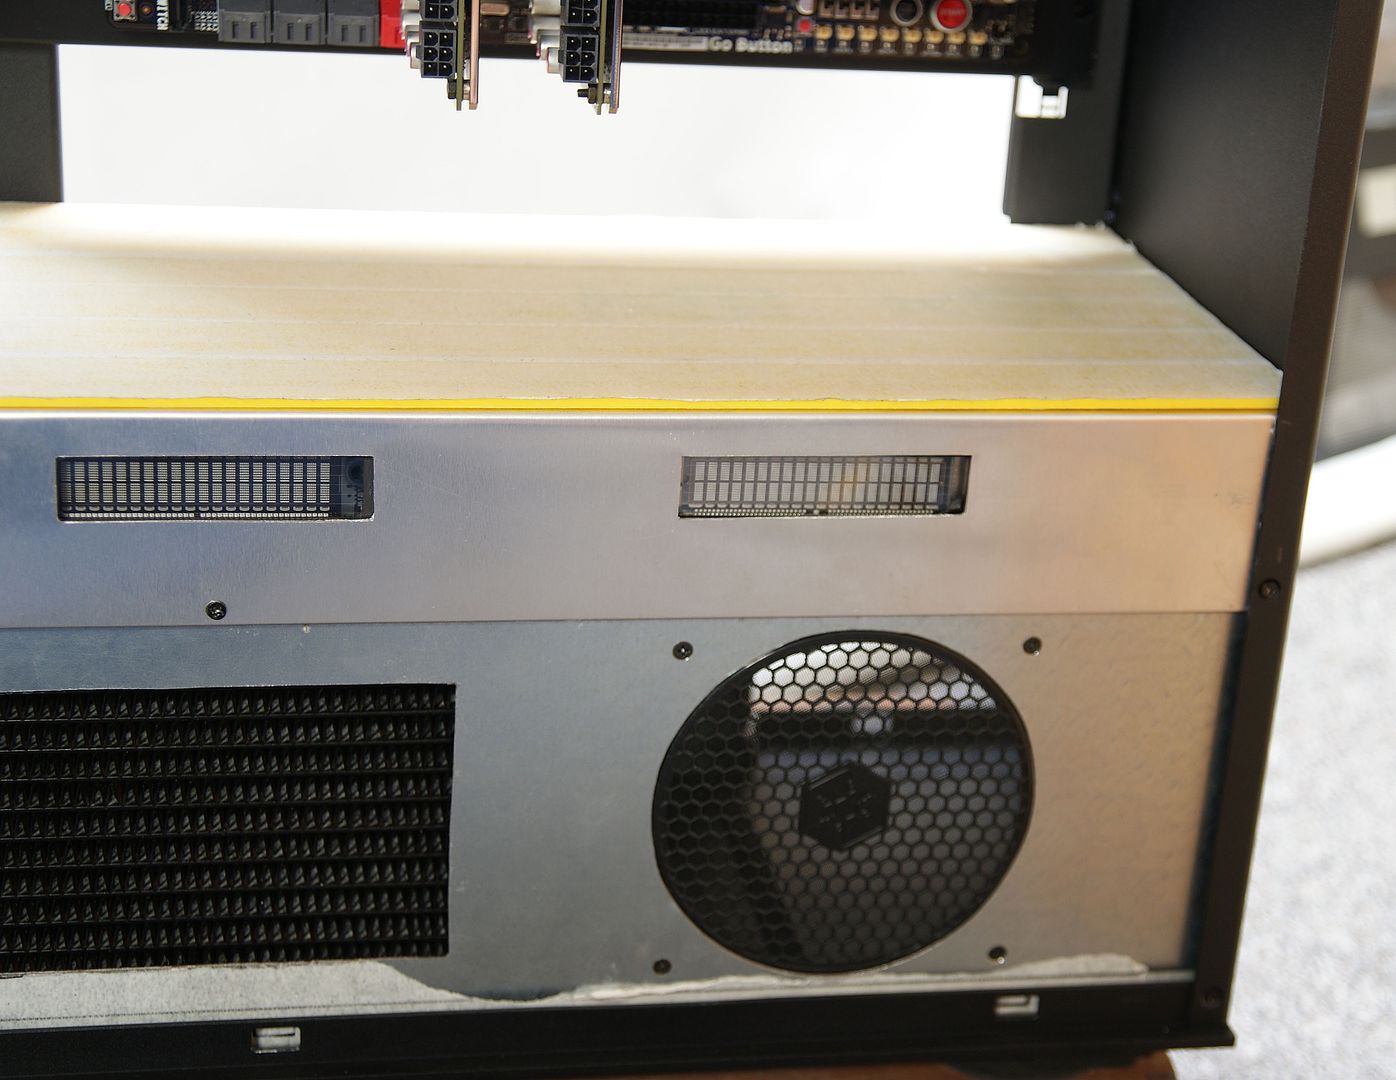
Everything is gonna be poadercoated later on
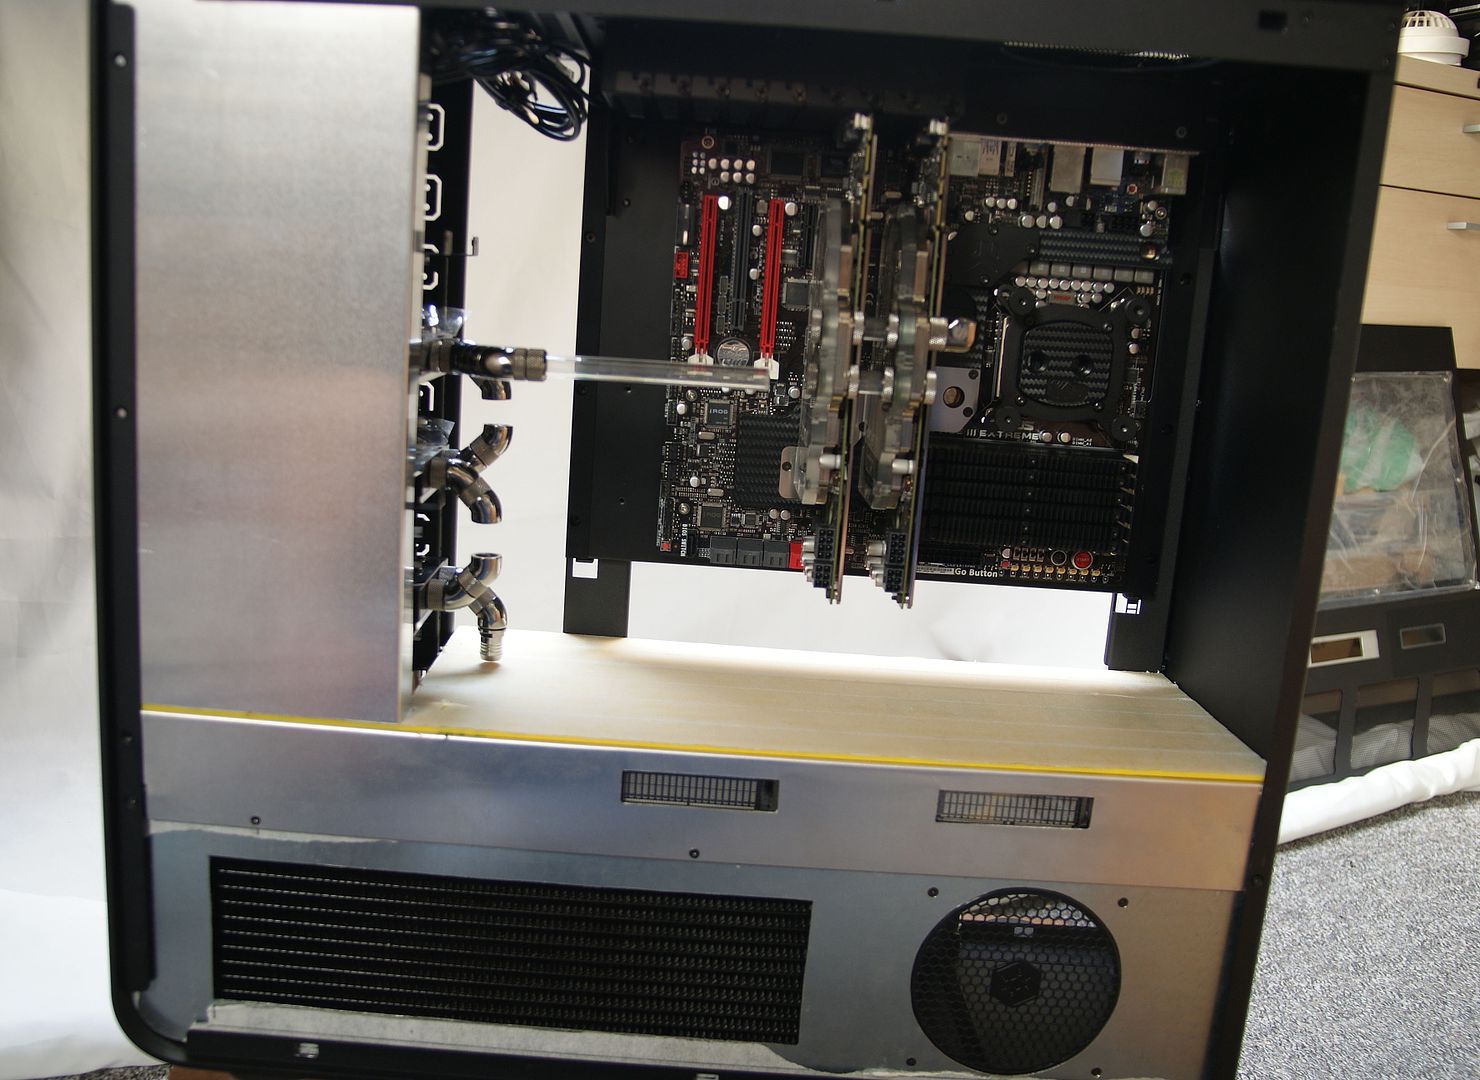
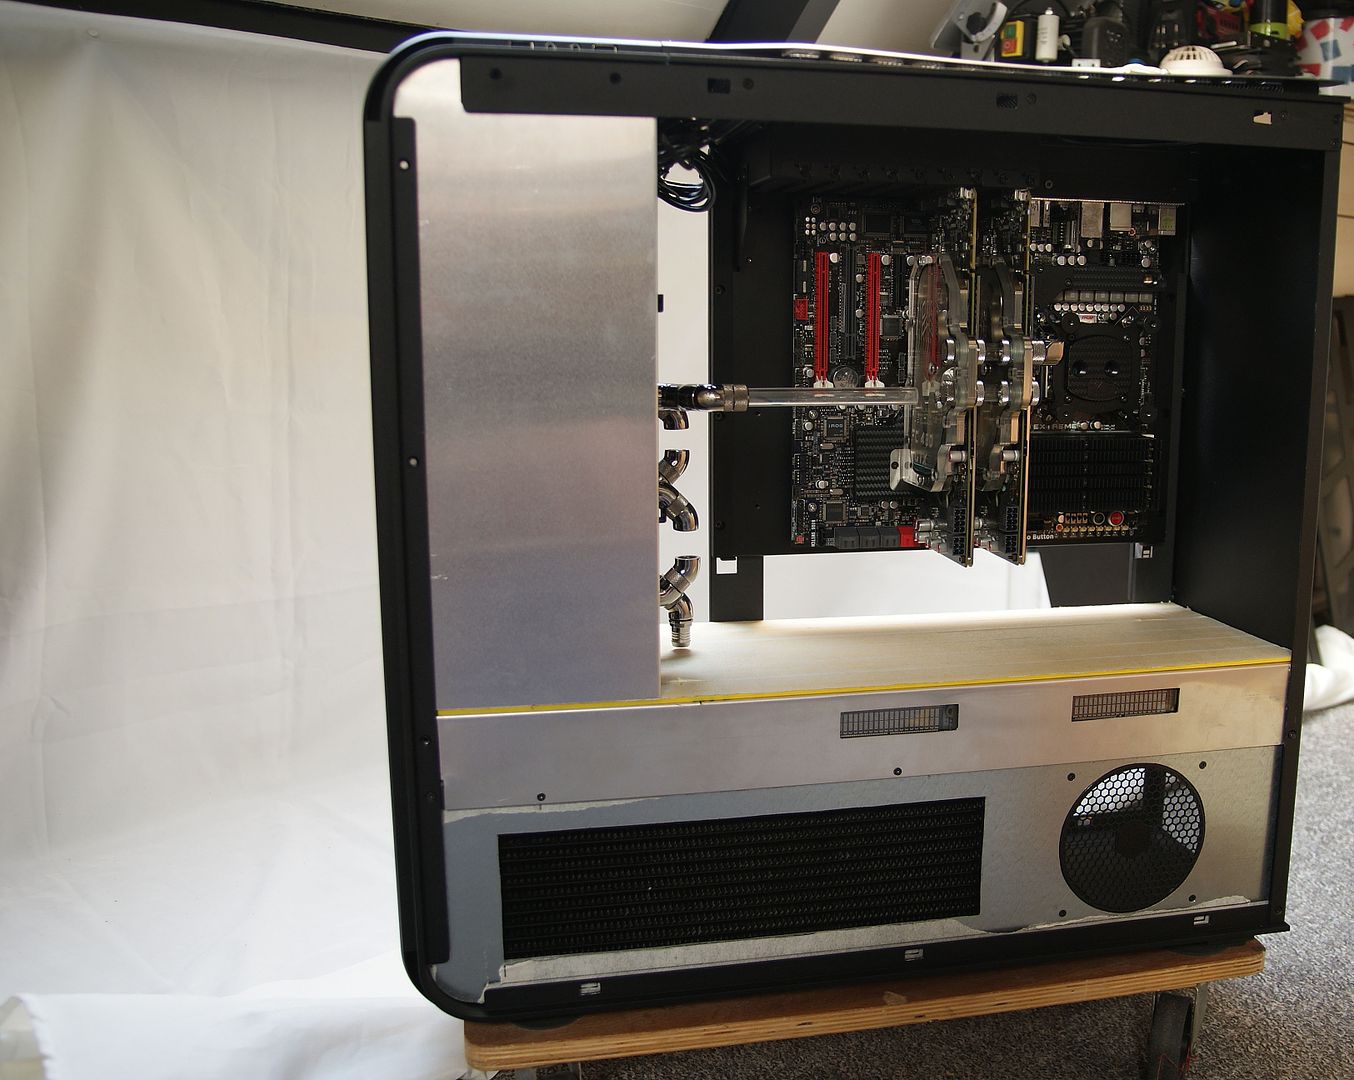
And next step is to measure al the slots for the cables and the WC
To be continued


Small Update:
This week i've got my little hightech folding machine, real nice addition to my tools

Ok, lets bend something,

And the midplate part one


And sawn the midplate part two from the yellow acryl

And put it al together


Everything is gonna be poadercoated later on


And next step is to measure al the slots for the cables and the WC
To be continued


