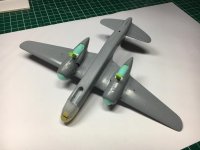
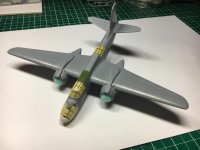
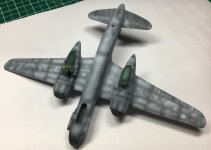
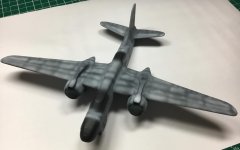
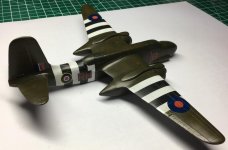
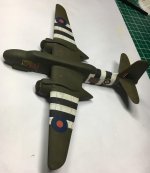
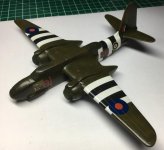
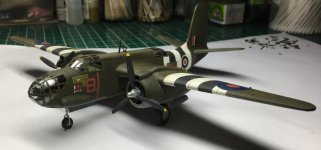
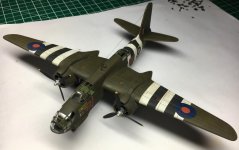
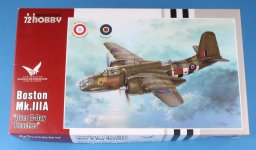
Special Hobby 1/72 Boston MKIIIA (Over D-Day Beaches)

Soldato
Joined
5 Feb 2006
Posts
5,170
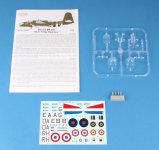
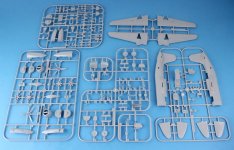
Special Hobby 1/72 Boston MKIIIA (Over D-Day Beaches).


The Douglas A-20 Havoc/Boston (company designation DB-7) is a United States attack, light bomber, intruder, and reconnaissance aircraft of World War II.

It served with several Allied air forces, principally the United States Army Air Forces (USAAF), the Soviet Air Forces (VVS), Soviet Naval Aviation (AVMF), and the Royal Air Force (RAF) of the United Kingdom. Soviet units received more than one in three (2,908 aircraft) of the DB-7s ultimately built.

It was also used by the air forces of Australia, South Africa, France, and the Netherlands during the war, and by Brazil afterwards.

In British Commonwealth air forces, bomber/attack variants of the DB-7 were usually known by the service name Boston, while night fighter and intruder variants were usually known as Havoc. An exception to this was the Royal Australian Air Force, which referred to all variants of the DB-7 by the name Boston. The USAAF referred to night fighter variants as P-70.

https://en.wikipedia.org/wiki/Douglas_A-20_Havoc

046OeoS.jpg

SxbZIRR.jpg

Sn92Nom.jpg
 
Soldato
OP
Joined
5 Feb 2006
Posts
5,170
UPDATE ONE

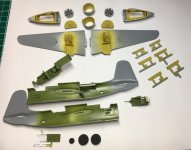
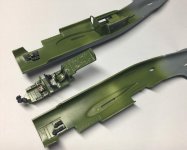
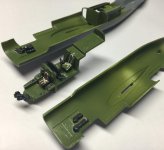
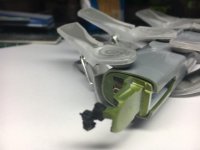
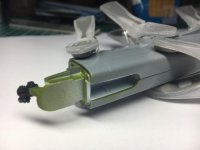
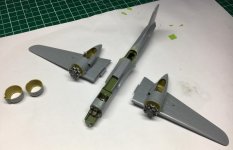
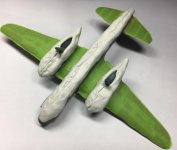
Works started on all parts that needed to be painted prior to assembly. For the cockpit an internals, MRP-131 Interior Green was used. For engine and undercarriage bays, Tamiya XF-4, Yellow Green was used.


dEjoJek.jpg

Then detail painting in the cocckpit and rear gunner area was done and some sponge chipping with silver carried out. This was rounded out with a oil wash with abteilung 502 starship filth.

k3JNlId.jpg

FJxao1z.jpg

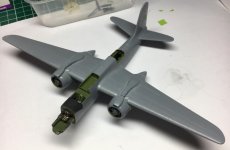
There were some fit issues during assembly so much sanding and test fitting was needed and then lots of clamping when glue was applied.


2DKlTo7.jpg

iUn5lZ5.jpg

With wings and fuselage assembled.

8Rm6nJS.jpg

EB6LFHV.jpg


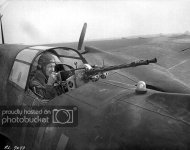
I have had to cut down the rear gun mount as the mount alone stops the rear canopy fitting let alone with the guns fitted. Had to search for pictures for this to understand why the kit does not have cut outs in the rear canopy for the guns.

So the rear canopy is in 2 parts and slides back into the fuselage.

megwccz.jpg

so I decided to put the guns in the stowed position.
 
Soldato
OP
Joined
5 Feb 2006
Posts
5,170
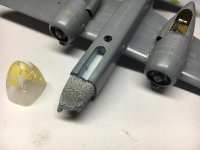
After further assessment, i decided to try adding some weight directly in the nose area where the glass front will be painted. This went in well and test fitting the front glass made sure the weight conformed to the gap well.

hEu4KuI.jpg
 
Soldato
OP
Joined
5 Feb 2006
Posts
5,170
UPDATE TWO

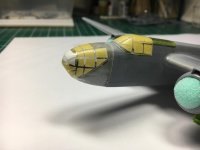
All the transparencies were masked and fitted with canopy glue. The engines and U/C bays were filled with sponge to mask those areas.

Some sanding and filler was needed around the front transparency to get a reasonably good fit.

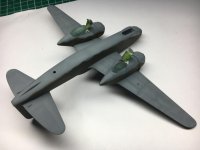
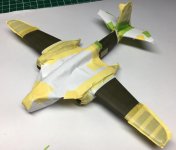
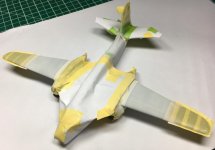
Then after cleaning with IPA, the model was primed with badgers black primer and then the panels in-filled with Tamiya xf-2 white.

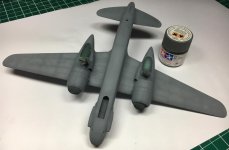
Then 3 thin coats of Tamiya XF-53 neutral grey was applied to the underside.

ZGIl0y2.jpg

CZRFk9V.jpg

kLIcKi7.jpg

YP9ldta.jpg

LHQxX1h.jpg

7USQFHs.jpg
 
Soldato
OP
Joined
5 Feb 2006
Posts
5,170
UPDATE THREE

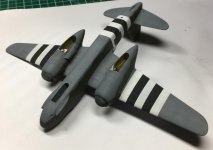
The underside neutral grey was masked of with tape and white tack.

7313nNy.jpg

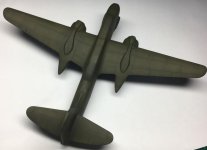
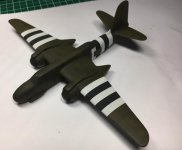
Top side colour of Tamiya XF-62 Olive drab was layered on thinly in several passes.

xH874pI.jpg

Masking removed.

1CWI7DH.jpg

Then masking for the white of the invasion stripes was done.

tRE3BBz.jpg

White laid down.

i1vqg08.jpg
 
Soldato
OP
Joined
5 Feb 2006
Posts
5,170
FINAL UPDATE

The paint work was sealed with Alclad aqua gloss and then the decals applied. Decals went on very well and when dry were sealed with Alclad aqua gloss.

I planned to do some weathering with oils but it didn't work how i wanted (probably due to gloss coat rather satin/matt).

So, after cleaning of the oils, I did a all over wash with Flory models grime wash.

after the wash was cleaned to leave the desired effect, the model was sealed with a matt coat.

The broken off undercarriage legs were re-attached, one side had to be drilled and pinned.

Then the props, wheels, U/C doors and aerials were fitted.

clear parts were unmasked and the model is complete.

KaJVITc.jpg

NlLQNGC.jpg

LqNgzTP.jpg

5jEGa6i.jpg

uJumuhB.jpg
 
Back
Top Bottom