

My daughter is re-doing the house they bought earlier this year, and has a tricky transition from the top of the stairs stringer (with moulding on top) to the new skirting board.
It's particularly difficult because the stringer is much thicker, and sticks out further than the skirting.
I'm struggling to think of a decent way to make this look decent. Any suggestions...?

It's particularly difficult because the stringer is much thicker, and sticks out further than the skirting.
I'm struggling to think of a decent way to make this look decent. Any suggestions...?
 (not cool)
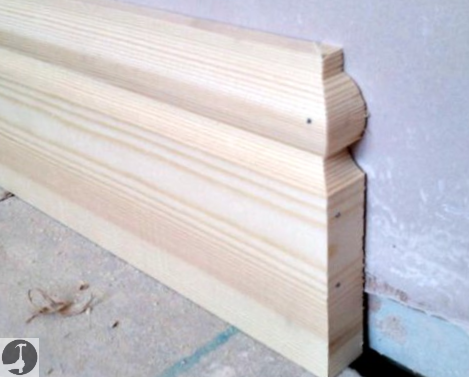
")


 Given the amount of 'wonk' going on in their house I suspect that they presence of a couple of plinth blocks will never even be noticed and will actually look OK when caulked and painted white.